How to Defrost Chicken
How to Defrost Chicken is one of those lifesaving kitchen skills I turn to when a meal plan goes sideways and I need dinner sorted quickly. The first time I learned these methods I was running between work and after school activities, with a frozen package of chicken tucked in a grocery bag and nowhere near thawed. I remember feeling flustered, so I tested safe, fast approaches until I found reliable ways that preserve texture and safety. Over time, these techniques became my go to, and I still use them when I need to transform frozen chicken into a weeknight hero.
Since then, I’ve helped friends and neighbors who panic at the thought of half frozen chicken at dinnertime. I like to explain the differences between methods in plain language, and show why timing and temperature matter. I also share little habits that avoid dinner disasters, like placing packages on the lowest fridge shelf and always changing thaw water. These small routines keep the meat safe and the kitchen calm, and they let you focus on seasoning and cooking rather than running a rescue mission.
Recipe Snapshot
15 mins
0 mins
15 mins
Medium
200 kcal
American
Keto, Paleo
Dinner
Microwave, Large bowl, Resealable bag, Fridge
The Magic of This How to Defrost Chicken
1. Safety first
I care deeply about safe food handling because few things ruin a meal faster than illness. Using cold water, the fridge, or the microwave correctly prevents the growth of bacteria, and I’ll explain exactly how to check for doneness so you don’t overthink it. I want you to feel confident that thawing can be safe and predictable.
2. Speed without sacrifice
I love the cold water and microwave methods because they let you move from frozen to cooking much faster than the fridge method, while still preserving texture when done right. I’ll walk you through little checks, like feeling for give in the thickest part of the chicken, that tell you it’s ready to cook rather than risky to eat.
3. Flexibility for any cut
Whether you have a chicken breast, thigh, or a whole bird, the methods scale. I’ll point out how bone in pieces need more time, and why portion and packaging affect thaw speed. These adjustments helped me rescue last minute meals without a compromise in taste.
4. Practical troubleshooting
I share common pitfalls I’ve seen, like using warm water or leaving meat in the microwave too long and starting to cook it. These are easy to avoid once you know the sensory cues to look for, such as the absence of a hard frozen center and no icy patches near the bone.
5. Confidence for weeknight cooks
After following these approaches a few times, you’ll gain a sense of timing and rhythm that makes thawing just another step, not a crisis. I want you to feel empowered to plan, or pivot, with calm and competence.
What You Need for How to Defrost Chicken
These are simple, purely functional ingredients because thawing is about safety rather than flavor. The key players are the chicken itself and plain water for the cold water method. They work together because the packaging isolates the meat from the water, while the water transfers heat evenly so the frozen center warms without cooking the outside.
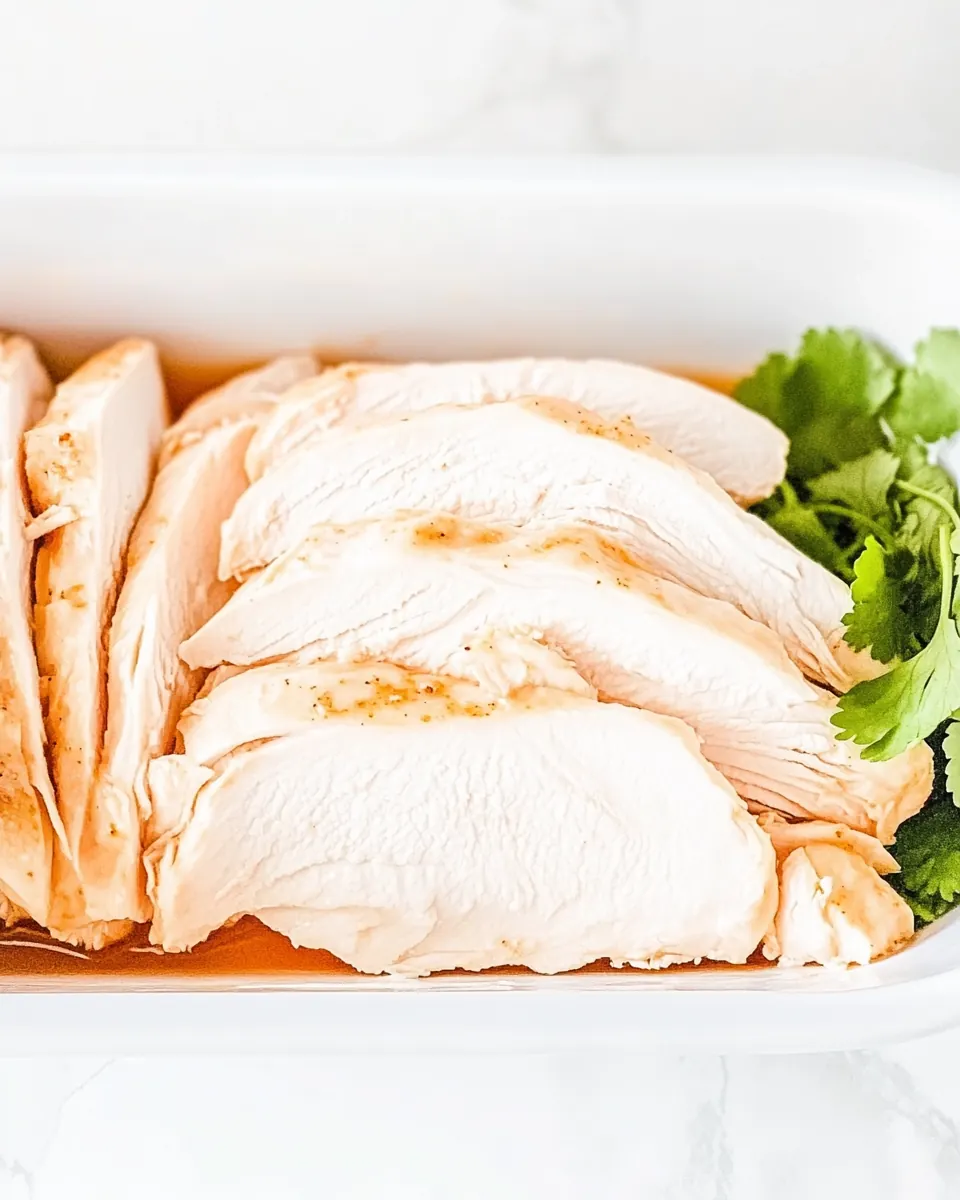
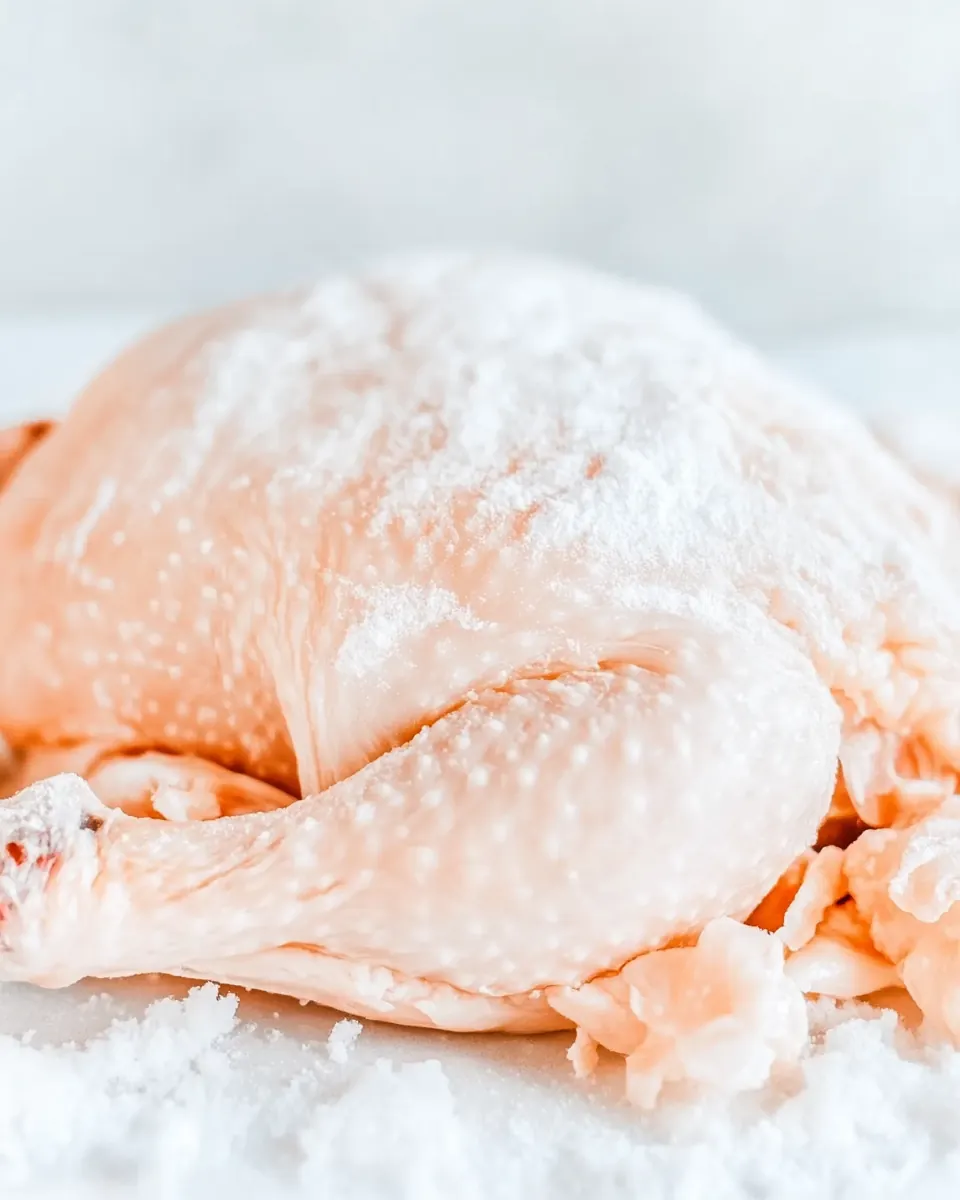
- 1 chicken (breast, wings, thighs, legs, whole): Place and handle as the primary protein to be thawed; ensure chicken is sealed and intact before thawing to prevent contamination. Thaw using appropriate method (refrigerator or cold water) and monitor temperature to keep below 40°F to maintain safety. Pat dry and use promptly or cook immediately after thawing to preserve quality and reduce bacterial growth.
- water (for thawing in water; enough to submerge chicken): Use as the medium for thawing when opting for a cold-water method; fully submerge the chicken to ensure even, safe thawing. Change water every 30 minutes to keep it cold and speed thawing without allowing temperatures to rise into the danger zone. Dispose of used water and sanitize surfaces afterward to prevent cross-contamination.
Preparation Steps for How to Defrost Chicken
Thawing chicken properly is part technique and part observation. The steps below are practical and sensory, so you’ll know what to listen for and what to feel as the meat softens. I’ll guide you through each method with troubleshooting notes drawn from real kitchen experience.
- Place chicken in a microwave-safe dish and set microwave to defrost.: You will notice a faint warm aroma as the edges begin to lose ice, and sometimes a little moisture beads on the package, signaling the start of thawing. The reason this matters is the microwave’s defrost mode cycles power to avoid cooking, so positioning the sealed chicken in a dish catches any juices if the packaging leaks. A common mistake is using too high a power setting, which can partially cook thin edges. If that happens, stop and switch to short bursts at lower power, flipping often to encourage even thawing.
- Cook 2-3 minutes at a time, then check it, and put it in for another 2-3 minutes, until it's done. Flip or reposition it each time you check to help it thaw more evenly.: As you work in short intervals, listen for the microwave’s hum and look for softened spots where ice melts. The goal is even thaw without warm patches, which happen if you leave it in too long. This incremental approach prevents the outer meat from moving into the cooking zone while the center is still rock hard. A frequent error is checking too infrequently, which leads to over thawing on the edges. Check often and reposition the package so the microwave energy hits different areas each time.
- Once defrosted (middle is no longer frozen), cook it immediately.: Handling the package produces a slight slosh sound as internal ice shifts, and you’ll feel cooler or slightly pliable spots when you touch the packaging through the dish. The why here is simple, microwaves can create hot spots, so flipping encourages uniform exposure. Avoid the mistake of rushing through flips, because uneven thaw creates cold pockets that extend overall time; be patient and use short cycles with repositioning.
- Place chicken in an airtight, leak-proof, resealable bag. It’s important that no water can get into the bag.: You’ll notice the center gives under gentle pressure and there are no icy bits left. This matters because parts of the meat may briefly enter temperatures where bacteria grow if left out, so cooking right away ensures safety. A common slip is letting thawed chicken sit on the counter, which can invite bacterial growth; always transfer directly to cooking or refrigerate immediately.
- Fill a large bowl with COLD water. Do not use hot or warm water, as that will start to cook the meat. You can fill your sink with cold water and use that instead of a bowl. Either way, make sure there is room to submerge the chicken.: When preparing the cold water method, you want silence from the bowl as the bag seals tightly around the meat, with no water intrusion. The sealed bag keeps the meat sanitary while allowing water to flow freely around it for even heat transfer. An error to avoid is using a bag with small holes or poor seals; always test the seal briefly before submerging to prevent contamination.
- Place the chicken (in the bag) in the cold water and let it sit. Change the water at least every 25-30 minutes to make sure it stays COLD. The water will warm up as it sits, so changing it is important.: The water should feel brisk and chilling to the touch, which is exactly what you want. Cold water draws heat steadily from the surrounding environment into the center of the frozen chicken without cooking the exterior. People sometimes think warm water will speed things up, but it just creates unsafe surface temperatures. Use cold tap water and ensure the bowl is large enough to fully submerge the package so all surfaces thaw uniformly.
- Keep changing the water until chicken has fully thawed, then cook immediately.: You will hear only the soft sound of water movement as the bag settles, and you’ll notice the water warms slightly between changes, which is why refreshing it is important. Regular changes maintain a cold environment, helping the core thaw at a steady pace without entering the danger zone. A common oversight is forgetting to change the water, which prolongs thaw and increases risk; set a timer to stay on track.
- One pound or less of boneless chicken should only take about an hour. More than a pound, or bone-in pieces, will need 2-3 hours. Cook immediately after thawing.: When the thaw is complete you’ll feel the meat yield under light pressure through the bag and see no crystalline white patches. The constant cold refresh preserves safety while moving heat inward. Avoid the habit of leaving it in the bowl after thawing, because standing water can warm and create unsafe conditions; move it straight to the stove or oven.
- Keep the chicken in its packaging, place it in the fridge, and simply let it sit. I recommend placing it on the bottom shelf of your fridge, apart from other meats or poultry, just in case there is any leakage as it thaws.: You can sense the difference as smaller pieces relax quicker while bone in parts remain firm longer near the bone. The explanation is density and the thermal conductivity of bone, which slow thawing. Many underestimate how much extra time bone in cuts need; plan for the longer window to avoid halfway thawed centers.
- 24 hours should be enough time for smaller amounts to fully thaw. If you have a whole chicken, give it up to 2 days to thaw.: The fridge method is quiet and patient, with only occasional condensation on the packaging. Cold fridge air gently transfers temperature, keeping the meat safely below the danger zone while ice melts. People sometimes tuck items behind others and forget them, which is why I always put thawing packages on a tray on the bottom shelf for visibility and to protect other foods.
- It can sit in the fridge up to 2 days after it has been defrosted. You can safely return it to the freezer if you decide not to cook it.: Smaller portions often soften overnight while whole birds need more extended, even cooling. Understanding this timeline prevents surprises at dinnertime because you can schedule ahead. A frequent mistake is assuming all packages will thaw in a day; check size and bone content to decide how early to start.
- It can sit in the fridge up to 2 days after it has been defrosted You can safely return it to the freezer if you decide not to cook it: You’ll notice the package still feels cold and firm, indicating it’s safe to store briefly, and freezing again is possible if you haven’t left it at room temperature. The reason this works is the fridge keeps bacteria growth slow, but re freezing is best only if it never reached warm temperatures. Avoid re freezing if the meat has been left out or partially cooked, because food safety becomes uncertain in those cases.
Helpful Notes about How to Defrost Chicken
These notes expand on the timing and safe handling details you need when thawing chicken. Read them through so you can pick the method that fits your timeline and confidence level. I’ve expanded each point from practical experience to make them actionable.
- Fridge timing: If you have small packages under a pound, expect about 24 hours for a full thaw. For larger items or whole birds, allow up to 48 hours. This conservative pacing prevents rushed, unsafe thawing and keeps texture intact.
- Cold water pace: Estimate roughly 30 minutes per pound for the cold water method, keeping in mind bone in pieces take longer. Change the water every 25 30 minutes to keep it cold and maintain even thawing.
- Microwave caution: Use the defrost setting or low power and work in short 2 to 3 minute bursts, checking and repositioning frequently. This prevents the edges from cooking while the center remains icy.
- Packaging precautions: Always use an airtight, leak proof bag for water thawing and place thawing items on a tray in the fridge. These small steps prevent cross contamination and make cleanup easier if any juices escape.
- When in doubt cook: If a portion is mostly thawed but has a small icy spot near the bone, cook it immediately and adjust cooking time slightly longer to ensure even doneness.
Best Served With
The thawing methods set you up to cook safely and confidently, so your serving choices focus on how you plan to prepare the chicken. Below I outline pairing ideas, occasions, and storage suggestions to help you finish the meal well. Each list item describes practical serving options and when they shine.
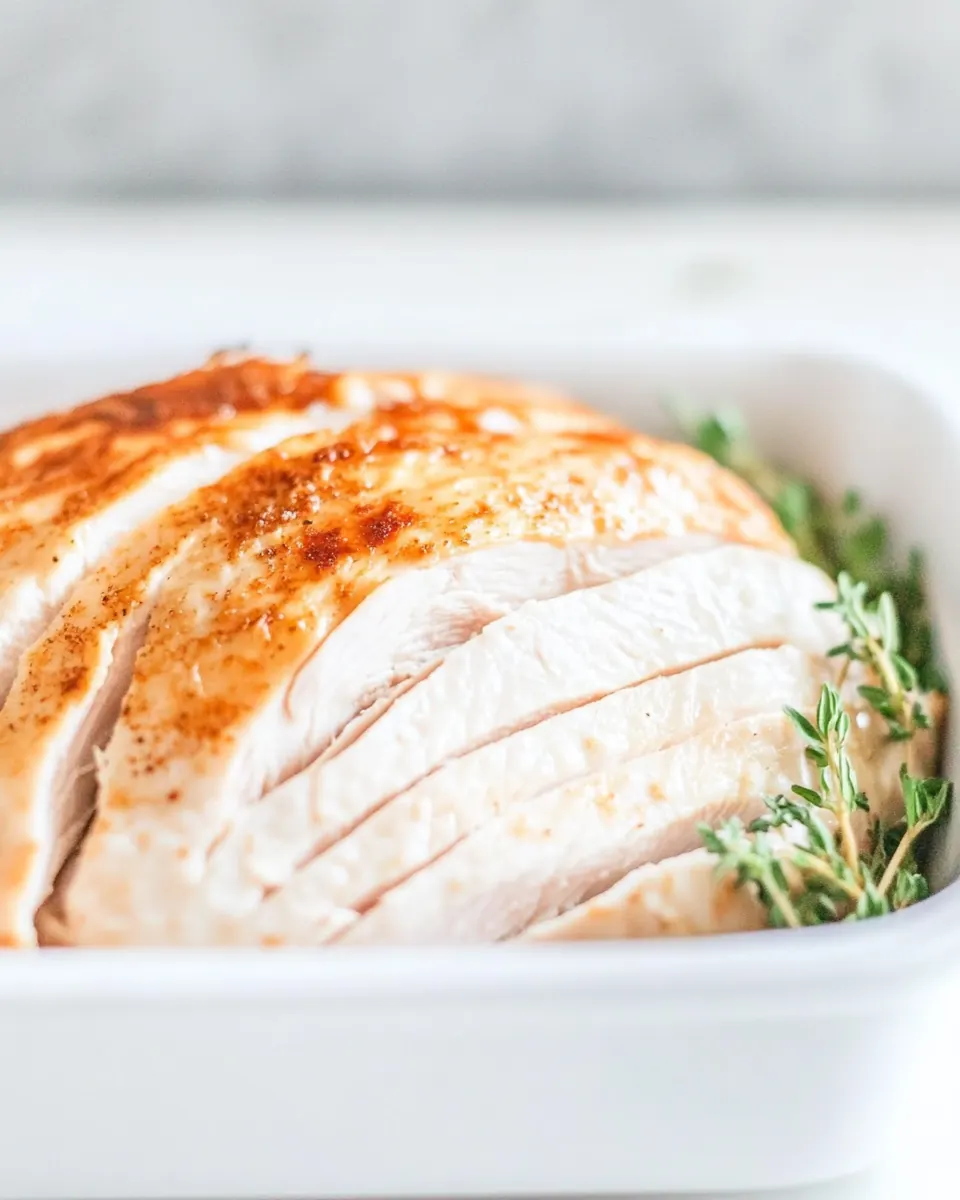
- Simple roasted dinner: Roast thawed chicken with a sprinkle of salt and herbs for an effortless weeknight main. Serve with roasted vegetables and crusty bread for a balanced plate. This is ideal for casual dinners where you want comforting, homey food.
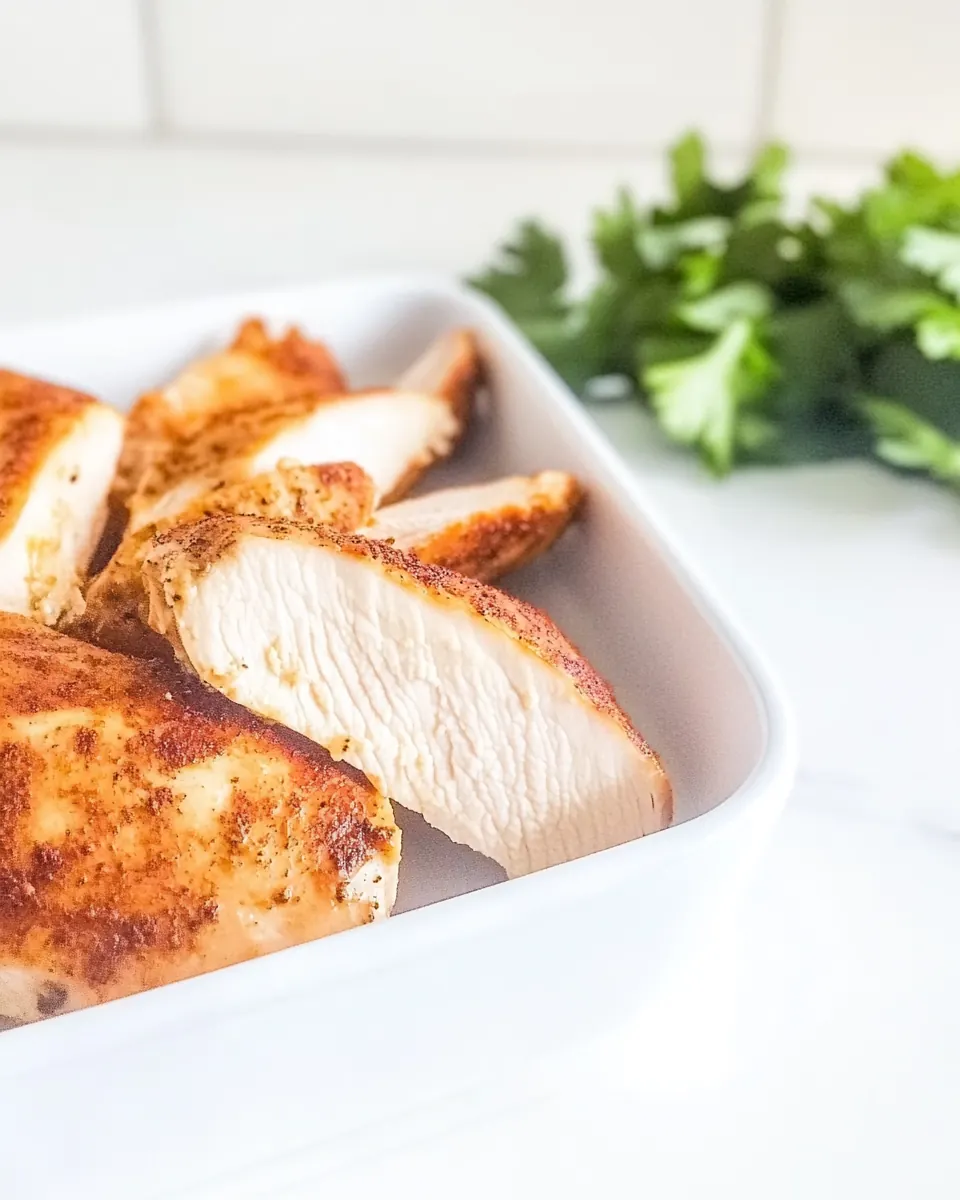
- Quick pan sear for weeknight meals: Sear thawed boneless pieces on high heat for a crispy exterior and juicy interior. Pair with a quick grain like rice or couscous and a simple salad for a fast, satisfying meal after a busy day.
- Meal prep: Use thawed chicken to prepare batch cooked proteins for lunches through the week. Cooked portions store well in the fridge for up to a few days and can be repurposed into wraps, bowls, or salads for easy meals.
- Family occasions: For larger gatherings, thaw a whole bird slowly in the fridge and serve carved as the centerpiece. This method is well suited to holidays or weekend dinners when you have time to plan and want a comforting roasted presentation.
- Storage tips: If plans change, you can safely refreeze unopened meat that has been thawed in the fridge, but avoid refreezing meat thawed in water or the microwave unless it’s been cooked first. Label and date packages to keep track of freshness.
- Seasonal pairing: In colder months, pair with root vegetables and warming grains, while in warmer months lighter sides and bright, vinegary salads keep the plate fresh and balanced.
FAQ
Conclusion
What makes this guide special is its clear, practical approach to safely turning frozen chicken into a cook ready ingredient using methods that suit any timeline. Give these techniques a try next time you find yourself with frozen meat and a plan to rescue dinner; the confidence you gain will make meal prep less stressful. I hope these steps help you feel calm and capable in the kitchen, whether you choose the slow fridge method, the reliable cold water soak, or careful microwave defrosting.
How to Defrost Chicken
Equipment
- Microwave
- Large Bowl
- Resealable bag
- Fridge
Ingredients
- 1 chicken (breast, wings, thighs, legs, whole) Place and handle as the primary protein to be thawed; ensure chicken is sealed and intact before thawing to prevent contamination. Thaw using appropriate method (refrigerator or cold water) and monitor temperature to keep below 40°F to maintain safety. Pat dry and use promptly or cook immediately after thawing to preserve quality and reduce bacterial growth.
- water (for thawing in water; enough to submerge chicken) Use as the medium for thawing when opting for a cold-water method; fully submerge the chicken to ensure even, safe thawing. Change water every 30 minutes to keep it cold and speed thawing without allowing temperatures to rise into the danger zone. Dispose of used water and sanitize surfaces afterward to prevent cross-contamination.
Instructions
- Place chicken in a microwave-safe dish and set microwave to defrost.: You will notice a faint warm aroma as the edges begin to lose ice, and sometimes a little moisture beads on the package, signaling the start of thawing. The reason this matters is the microwave’s defrost mode cycles power to avoid cooking, so positioning the sealed chicken in a dish catches any juices if the packaging leaks. A common mistake is using too high a power setting, which can partially cook thin edges. If that happens, stop and switch to short bursts at lower power, flipping often to encourage even thawing.
- Cook 2-3 minutes at a time, then check it, and put it in for another 2-3 minutes, until it's done. Flip or reposition it each time you check to help it thaw more evenly.: As you work in short intervals, listen for the microwave’s hum and look for softened spots where ice melts. The goal is even thaw without warm patches, which happen if you leave it in too long. This incremental approach prevents the outer meat from moving into the cooking zone while the center is still rock hard. A frequent error is checking too infrequently, which leads to over thawing on the edges. Check often and reposition the package so the microwave energy hits different areas each time.
- Once defrosted (middle is no longer frozen), cook it immediately.: Handling the package produces a slight slosh sound as internal ice shifts, and you’ll feel cooler or slightly pliable spots when you touch the packaging through the dish. The why here is simple, microwaves can create hot spots, so flipping encourages uniform exposure. Avoid the mistake of rushing through flips, because uneven thaw creates cold pockets that extend overall time; be patient and use short cycles with repositioning.
- Place chicken in an airtight, leak-proof, resealable bag. It’s important that no water can get into the bag.: You’ll notice the center gives under gentle pressure and there are no icy bits left. This matters because parts of the meat may briefly enter temperatures where bacteria grow if left out, so cooking right away ensures safety. A common slip is letting thawed chicken sit on the counter, which can invite bacterial growth; always transfer directly to cooking or refrigerate immediately.
- Fill a large bowl with COLD water. Do not use hot or warm water, as that will start to cook the meat. You can fill your sink with cold water and use that instead of a bowl. Either way, make sure there is room to submerge the chicken.: When preparing the cold water method, you want silence from the bowl as the bag seals tightly around the meat, with no water intrusion. The sealed bag keeps the meat sanitary while allowing water to flow freely around it for even heat transfer. An error to avoid is using a bag with small holes or poor seals; always test the seal briefly before submerging to prevent contamination.
- Place the chicken (in the bag) in the cold water and let it sit. Change the water at least every 25-30 minutes to make sure it stays COLD. The water will warm up as it sits, so changing it is important.: The water should feel brisk and chilling to the touch, which is exactly what you want. Cold water draws heat steadily from the surrounding environment into the center of the frozen chicken without cooking the exterior. People sometimes think warm water will speed things up, but it just creates unsafe surface temperatures. Use cold tap water and ensure the bowl is large enough to fully submerge the package so all surfaces thaw uniformly.
- Keep changing the water until chicken has fully thawed, then cook immediately.: You will hear only the soft sound of water movement as the bag settles, and you’ll notice the water warms slightly between changes, which is why refreshing it is important. Regular changes maintain a cold environment, helping the core thaw at a steady pace without entering the danger zone. A common oversight is forgetting to change the water, which prolongs thaw and increases risk; set a timer to stay on track.
- One pound or less of boneless chicken should only take about an hour. More than a pound, or bone-in pieces, will need 2-3 hours. Cook immediately after thawing.: When the thaw is complete you’ll feel the meat yield under light pressure through the bag and see no crystalline white patches. The constant cold refresh preserves safety while moving heat inward. Avoid the habit of leaving it in the bowl after thawing, because standing water can warm and create unsafe conditions; move it straight to the stove or oven.
- Keep the chicken in its packaging, place it in the fridge, and simply let it sit. I recommend placing it on the bottom shelf of your fridge, apart from other meats or poultry, just in case there is any leakage as it thaws.: You can sense the difference as smaller pieces relax quicker while bone in parts remain firm longer near the bone. The explanation is density and the thermal conductivity of bone, which slow thawing. Many underestimate how much extra time bone in cuts need; plan for the longer window to avoid halfway thawed centers.
- 24 hours should be enough time for smaller amounts to fully thaw. If you have a whole chicken, give it up to 2 days to thaw.: The fridge method is quiet and patient, with only occasional condensation on the packaging. Cold fridge air gently transfers temperature, keeping the meat safely below the danger zone while ice melts. People sometimes tuck items behind others and forget them, which is why I always put thawing packages on a tray on the bottom shelf for visibility and to protect other foods.
- It can sit in the fridge up to 2 days after it has been defrosted. You can safely return it to the freezer if you decide not to cook it.: Smaller portions often soften overnight while whole birds need more extended, even cooling. Understanding this timeline prevents surprises at dinnertime because you can schedule ahead. A frequent mistake is assuming all packages will thaw in a day; check size and bone content to decide how early to start.
- It can sit in the fridge up to 2 days after it has been defrosted You can safely return it to the freezer if you decide not to cook it: You’ll notice the package still feels cold and firm, indicating it’s safe to store briefly, and freezing again is possible if you haven’t left it at room temperature. The reason this works is the fridge keeps bacteria growth slow, but re freezing is best only if it never reached warm temperatures. Avoid re freezing if the meat has been left out or partially cooked, because food safety becomes uncertain in those cases.
Notes
- Fridge timing: If you have small packages under a pound, expect about 24 hours for a full thaw. For larger items or whole birds, allow up to 48 hours. This conservative pacing prevents rushed, unsafe thawing and keeps texture intact.
- Cold water pace: Estimate roughly 30 minutes per pound for the cold water method, keeping in mind bone in pieces take longer. Change the water every 25 30 minutes to keep it cold and maintain even thawing.
- Microwave caution: Use the defrost setting or low power and work in short 2 to 3 minute bursts, checking and repositioning frequently. This prevents the edges from cooking while the center remains icy.
- Packaging precautions: Always use an airtight, leak proof bag for water thawing and place thawing items on a tray in the fridge. These small steps prevent cross contamination and make cleanup easier if any juices escape.
- When in doubt cook: If a portion is mostly thawed but has a small icy spot near the bone, cook it immediately and adjust cooking time slightly longer to ensure even doneness.