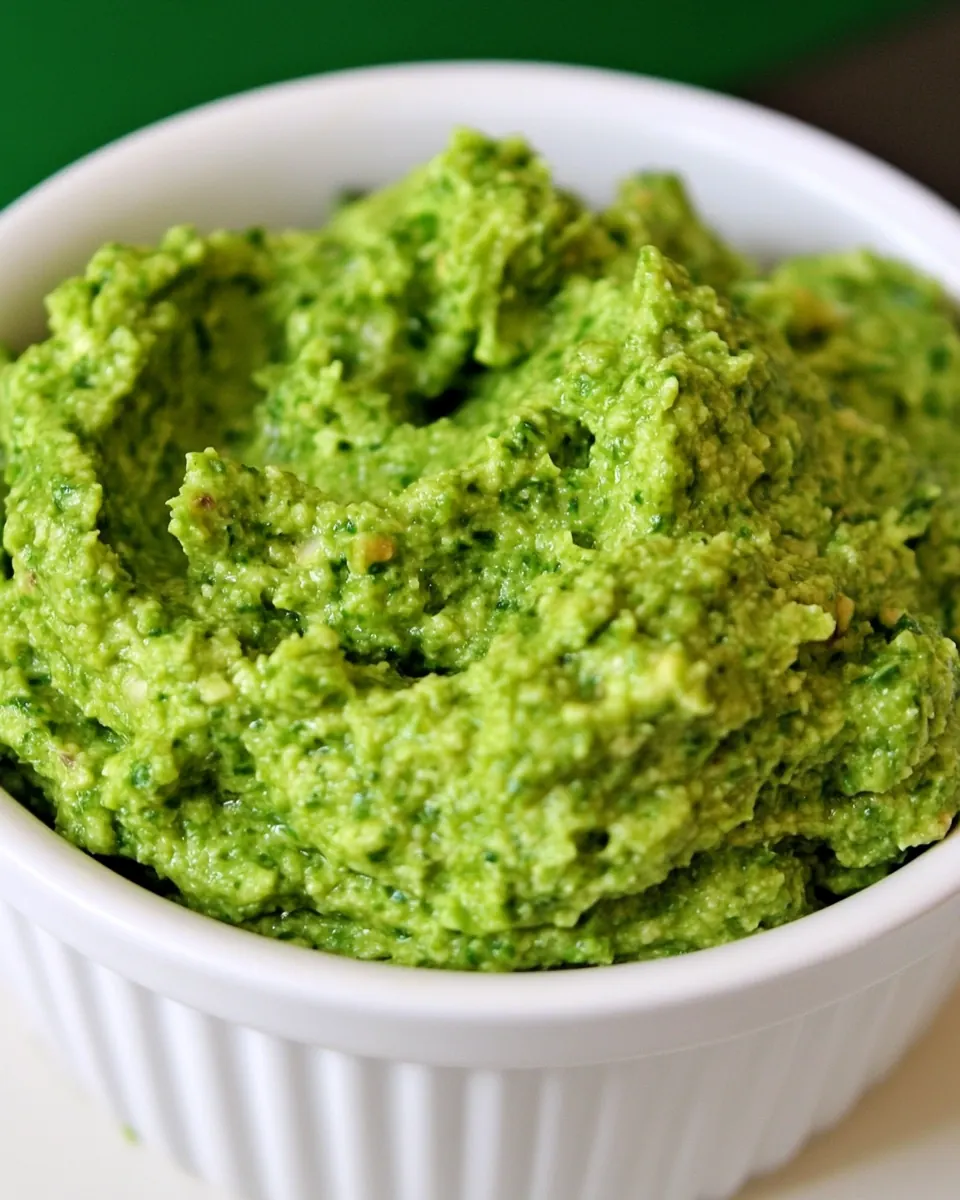
Garlic Scape Pesto
Garlic Scape Pesto is one of those recipes that sneaks into my kitchen every spring and changes the way I think about green sauces. The first time I made it, I had a bunch of curly, bright green scapes from a farmer’s market box and no real plan. I tossed them into the food processor with a few pantry staples and ended up with a sauce that smelled like lawn after rain, with a soft garlic bite and an herbal brightness that makes even plain pasta sing.
Over the years I have learned to tweak proportions based on mood, sometimes keeping the texture slightly coarse so you can see threads of garlic scapes and flecks of Swiss Chard. Other times I blitz everything until it is silky, spooning it over warm grains or stirring a dollop into eggs. This sauce travels well, too. I often freeze single portions and pull one out for an easy midweek boost. It has become my go to condiment for lifting simple dinners into something memorable.
Recipe Snapshot
25 mins
15 mins
10 mins
Medium
320 kcal
Italian
Keto, Gluten-Free
Pasta
Food processor, Mini muffin tin, Ziploc bag
What You’ll Enjoy About This Garlic Scape Pesto
Bright, seasonal flavor
I love how Garlic Scape Pesto captures the freshness of spring. The garlic scapes bring a young garlic flavor that is less sharp than mature garlic cloves, while the Swiss Chard adds a verdant depth. Together they taste like the best part of a farmers market visit rolled into a spoonable sauce.
Versatility on the plate
This pesto is endlessly useful. I reach for it when I want to enliven pasta, mix into rice, toss with roasted vegetables, or fold into scrambled eggs. It doubles as a finishing sauce and a cooking ingredient, so you can use it straight from the jar or incorporate it into dishes while they cook.
Easy, forgiving technique
Processing the ingredients is straightforward, and small differences in texture are not failures, they are personality. I appreciate that the recipe tolerates variability in chopping, processing time, and oil amount. If you pulse less, you get a chunkier, rustic sauce; if you go longer you get a silkier spread. That flexibility makes it ideal for cooks of all skill levels.
Great for preserving spring abundance
I often make a batch when garlic scapes are at peak and freeze portions for months. Freezing in mini muffin tins is a habit I adopted early, and it means I have ready made green sauce to brighten winter meals. It feels like capturing a little bit of spring in the freezer.
Nutty, lemony balance
The combination of toasted pine nuts, bright lemon juice, and salty Parmesan cheese makes the pesto sing. The oil smooths everything and helps carry flavors, while the nuts and cheese provide body and richness. I always taste and adjust salt at the end, because that tiny tweak can lift the whole jar.
What Goes Into Garlic Scape Pesto
The ingredients in Garlic Scape Pesto are simple and purposeful. Each item plays a clear role, the scapes delivering a mild garlicky note, the chard adding green depth, the lemon brightening the mix, the oil emulsifying, the pine nuts giving a creamy, nutty backbone, and the Parmesan cheese bringing savory umami and salt. This is a sauce built on balance rather than complication.
- 1 cup chopped garlic scapes: Provide a bright, garlicky foundation with a mild, fresh allium flavor that defines the pesto; blend finely for even distribution and to release aromatics that lift the whole sauce.
- 4 cups chopped Swiss Chard leaves: Add a tender, leafy green body offering earthy, slightly bitter notes and vibrant color; wilt lightly if desired or blend raw for texture and nutritional depth to the pesto.
- 1/4 cup fresh lemon juice: Contribute a citrusy, acidic brightness that balances richness and cuts through oil and cheese; squeeze fresh and adjust to taste to preserve brightness without overpowering.
- 1/2 cup olive oil: Impart a silky mouthfeel and carry flavors while adding richness; drizzle in gradually while blending to emulsify the mixture and achieve desired pesto consistency.
- 1/2 cup pine nuts: Introduce a warm, buttery nuttiness and subtle crunch that enhances texture and depth; toast lightly if preferred to deepen flavor before processing into the pesto.
- 2 cups Parmesan cheese: Provide savory, umami-rich creaminess and salty complexity that thickens and binds the pesto; grate finely and fold or blend to integrate fully for a cohesive sauce.
- salt to taste (I used about 2 tsp. salt): Season to enhance and balance flavors, bringing out sweetness and reducing bitterness; add gradually and taste as you go to reach a comfortable salt level that complements other ingredients.
How to Make Garlic Scape Pesto
I like to keep the mood relaxed when making Garlic Scape Pesto. A food processor does the heavy lifting, and the rhythm of pulsing, scraping, and tasting is part of the joy. Below I walk you through each step with sensory clues and troubleshooting tips so you get a perfect texture and vibrant flavor.
- Wash and dry garlic scapes; then cut into short lengths until you have one cup of chopped scapes.: The scent of fresh garlic scapes will lift immediately as you wash them, releasing a cool, green garlic aroma. Pat them dry thoroughly so water does not dilute the sauce when processed. Cutting into short lengths helps the processor chop them evenly, preventing long fibrous strands. A common mistake is skipping a thorough dry, which can make the pesto watery. If they seem stringy, trim the tougher ends to avoid chewy bits.
- Wash, dry, and chop Swiss Chard until you have 4 cups chopped chard.: As you handle the Swiss Chard , notice its earthy scent and vibrant green color, which signal freshness. Remove any thick ribs or chop them finely so they blend smoothly. Drying is important to avoid steam and diluted flavor in the processor. Overpacking the bowl with wet leaves can cause uneven processing, so work in manageable piles.
- Add garlic scapes to the food processor and process until they are starting to look finely chopped, about 2-3 minutes.: You will hear a steady whir and see the pieces shrink and glisten as their oils release, producing a fragrant, grassy aroma. Stop and scrape once they are uniformly small to prevent uneven chopping. Running too long without scraping leads to uneven texture and overheating, which can dull brightness. If the machine stalls, pulse gently to help it along.
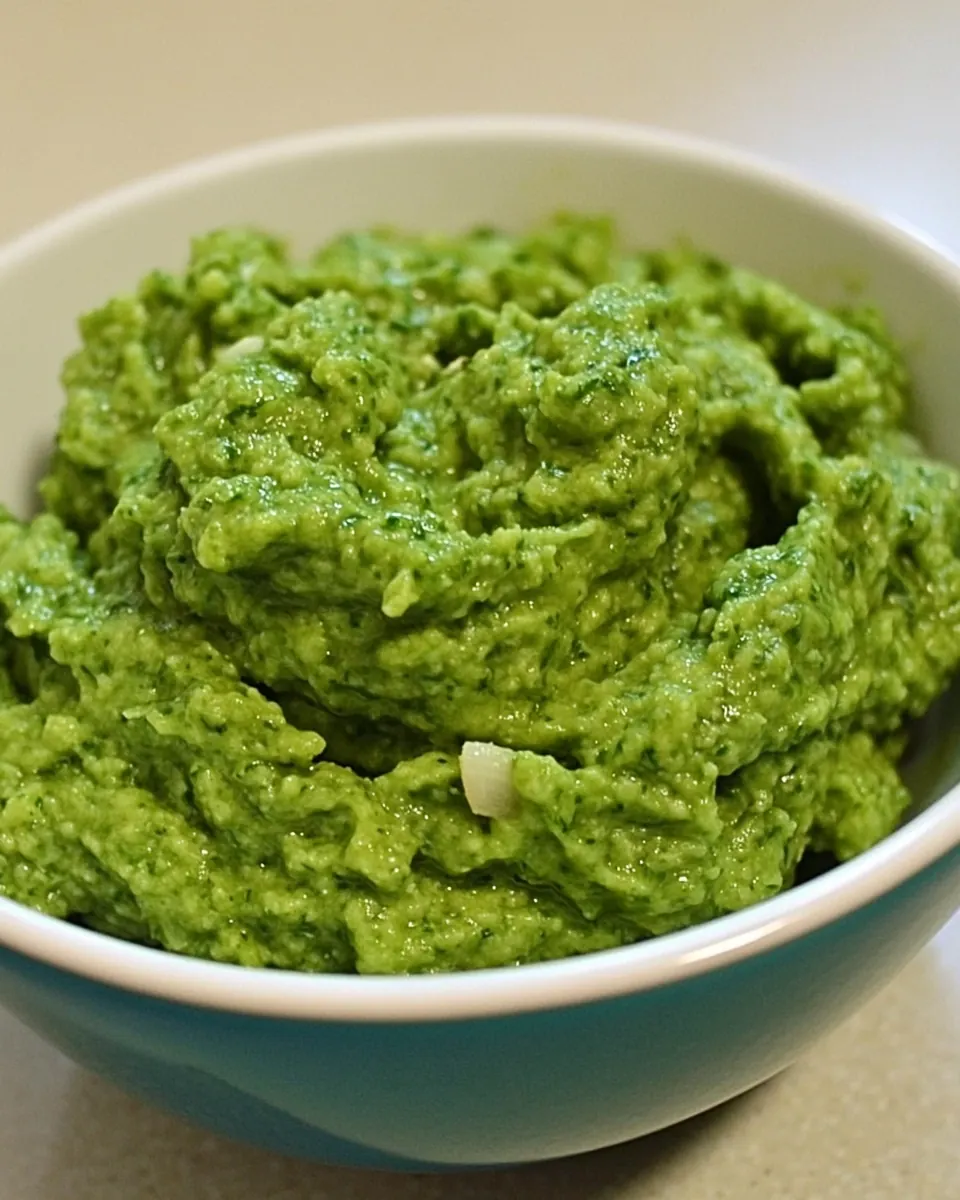
- Add chard and process the mixture about 2 minutes more, scraping the sides of the bowl as needed.: The color will deepen and the mixture will take on a leafy green paste look, with small flecks of stem if present. Scraping ensures all bits meet the blade and avoids overworking one area while others remain coarse. If you process too long, you risk a mushy result that loses vibrancy, so aim for a cohesive but lively green mixture.
- Add the lemon juice, olive oil, and pine nuts and process about 2 minutes more.: When you add the lemon juice , the bright citrus scent will lift the whole bowl, and the pine nuts will lend a toasted, buttery aroma as they break down. Slowly adding the olive oil helps emulsify the mixture into a creamy consistency. If you pour oil all at once, the texture can separate or become too thin; a slow stream yields a glossy, stable sauce. Be cautious about heat buildup from prolonged processing which can slightly cook the greens.
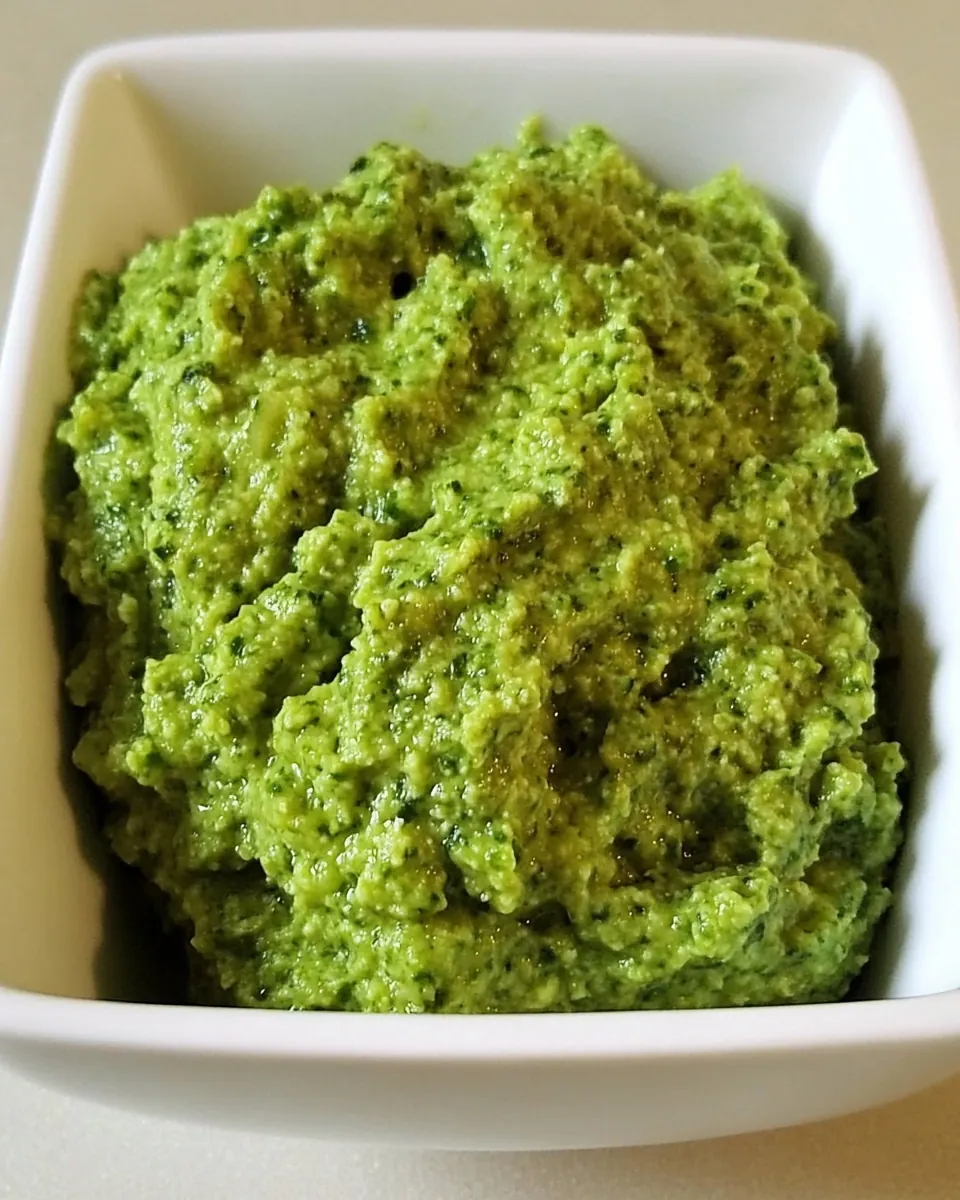
- Add Parmesan and process 1-2 minutes more, or until the pesto reaches the texture you prefer.: Adding the Parmesan cheese brings a savory, nutty complexity and you will notice the mixture thicken slightly as the cheese incorporates. Processing for a short time yields a slightly chunky pesto where you can see threads of greens, while longer yields a smoother finish. A typical pitfall is adding the cheese too early, which can gum up the blades; add it near the end for best integration.
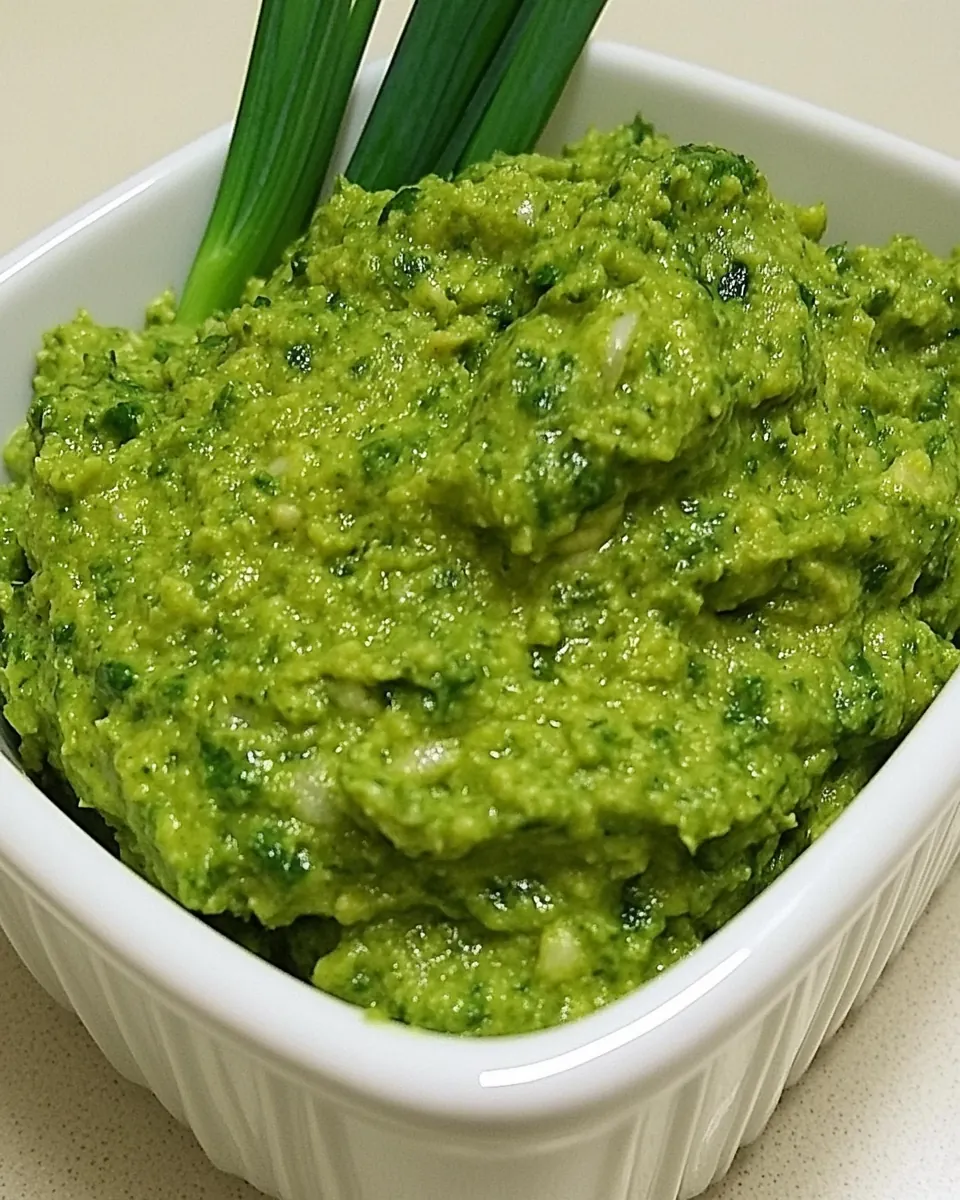
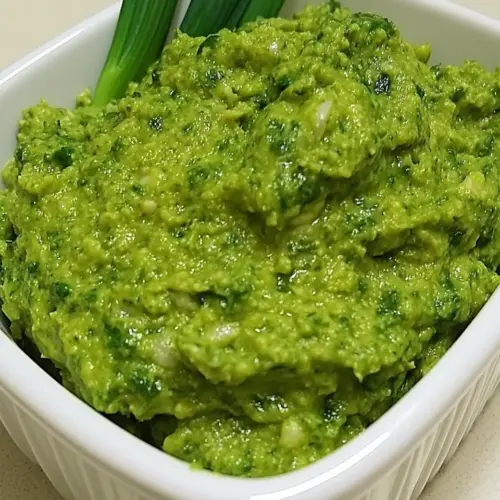
- I like to keep it slightly chunky.: The texture decision is personal, and a chunkier pesto offers bursts of herb and nut in each bite, with a rustic mouthfeel and visible pieces of garlic scapes and pine nuts . This approach also holds up better when tossed with warm pasta or spooned over vegetables. Avoid overprocessing if you want those textural highlights, and taste for seasoning before storing.
- I froze the pesto in a mini muffin tin and then popped out the cubes and stored them in a Ziploc bag in the freezer.: Freezing preserves the bright green color and fresh flavor, and the mini cube method gives convenient single use portions. Spoon the pesto into the tin, press a piece of plastic wrap over the surface to prevent freezer burn, and freeze until solid. A common error is packing too much into each cavity which makes defrosting slow; keep portions small for quick thawing.
- This pesto is good on pasta, stirred into rice, on cooked vegetables, stirred into scrambled eggs or added to soup. You could also use it as a green sauce on grilled fish or chicken.: The aroma and flavor will change slightly when heated, becoming more integrated and mellow, which can be wonderful for warming grains or enriching soups. When using as a finishing sauce, add it off heat to preserve brightness. Overheating the pesto can dull the lemon and green freshness, so stir in at the last minute when possible.
Pro Tips and Tweaks
I like to offer practical tweaks so your Garlic Scape Pesto turns out just the way you enjoy it. These tips cover texture choices, storage, and quick swaps to adjust flavor and convenience. Read through and pick the ones that fit your routine and pantry.
- Texture control Start by pulsing and check the mixture every 20 to 30 seconds so you can stop when you reach your preferred chunkiness rather than overprocessing into a paste.
- Pine nut substitute approach If pine nuts are scarce or pricey, use another neutral nut you like, but toast lightly and adjust quantities because different nuts vary in oiliness and flavor strength.
- Lemon balancing Add lemon juice gradually, tasting as you go, to keep the bright lift without overwhelming the green notes from the garlic scapes and Swiss Chard.
- Freezing method Portion into ice cube trays or mini muffin tins and freeze solid before transferring to a frozen storage bag, which maintains color and makes single servings easy to use.
- Serve cold or warm Use the pesto cold as a spread or stir it into hot dishes at the end of cooking to preserve its fresh character and vibrant color.
Pairing Suggestions for Garlic Scape Pesto
Garlic Scape Pesto is a flexible condiment that complements many meals across occasions. Whether you are planning a simple weeknight bowl of pasta, a festive spring lunch, or prepping make ahead freezer portions for Ramadan or busy weeks, this sauce adds a bright herbaceous note. Below are detailed serving ideas and storage tips to help you use it often and well.
- Simple pasta toss Warm pasta and toss with a few spoonfuls of pesto, adding a splash of pasta cooking water to make a silky sauce. Serve with extra grated Parmesan cheese if desired.
- Stir into grains Fold into cooked rice or quinoa for a vibrant side dish, excellent alongside roasted vegetables for lunch or dinner.
- Egg enhancer Swirl into scrambled eggs at the end of cooking for a herbaceous breakfast or brunch that feels elevated without fuss.
- Vegetable finish Spoon over steamed or roasted vegetables as a finishing sauce to add richness and a bright herbal lift, perfect for spring menus.
- Frozen portioning Freeze in small portions and label with date; frozen pesto will keep its best quality for several months and thaws quickly under running water or in the fridge overnight.
- Occasion ideas Use as part of a spring picnic spread, a casual dinner with friends, or prepped for busy weeks when you want an easy way to add freshness to meals.
FAQ
Conclusion
Garlic Scape Pesto shines because it captures the bright, approachable essence of spring with simple ingredients and forgiving technique. Give it a try this season, whether you spoon it over pasta, stir it into eggs, or freeze portions for later. Once you make a batch, you will find many small moments where a spoonful of this green sauce transforms an ordinary dish into something special, and it becomes a staple you reach for again and again.
Garlic Scape Pesto
Equipment
- Food Processor
- Mini Muffin Tin
- Ziploc bag
Ingredients
- 1 cup chopped garlic scapes Provide a bright, garlicky foundation with a mild, fresh allium flavor that defines the pesto; blend finely for even distribution and to release aromatics that lift the whole sauce.
- 4 cups chopped Swiss Chard leaves Add a tender, leafy green body offering earthy, slightly bitter notes and vibrant color; wilt lightly if desired or blend raw for texture and nutritional depth to the pesto.
- 1/4 cup fresh lemon juice Contribute a citrusy, acidic brightness that balances richness and cuts through oil and cheese; squeeze fresh and adjust to taste to preserve brightness without overpowering.
- 1/2 cup olive oil Impart a silky mouthfeel and carry flavors while adding richness; drizzle in gradually while blending to emulsify the mixture and achieve desired pesto consistency.
- 1/2 cup pine nuts Introduce a warm, buttery nuttiness and subtle crunch that enhances texture and depth; toast lightly if preferred to deepen flavor before processing into the pesto.
- 2 cups Parmesan cheese Provide savory, umami-rich creaminess and salty complexity that thickens and binds the pesto; grate finely and fold or blend to integrate fully for a cohesive sauce.
- salt to taste (I used about 2 tsp. salt) Season to enhance and balance flavors, bringing out sweetness and reducing bitterness; add gradually and taste as you go to reach a comfortable salt level that complements other ingredients.
Instructions
- Wash and dry garlic scapes; then cut into short lengths until you have one cup of chopped scapes.: The scent of fresh garlic scapes will lift immediately as you wash them, releasing a cool, green garlic aroma. Pat them dry thoroughly so water does not dilute the sauce when processed. Cutting into short lengths helps the processor chop them evenly, preventing long fibrous strands. A common mistake is skipping a thorough dry, which can make the pesto watery. If they seem stringy, trim the tougher ends to avoid chewy bits.
- Wash, dry, and chop Swiss Chard until you have 4 cups chopped chard.: As you handle the Swiss Chard , notice its earthy scent and vibrant green color, which signal freshness. Remove any thick ribs or chop them finely so they blend smoothly. Drying is important to avoid steam and diluted flavor in the processor. Overpacking the bowl with wet leaves can cause uneven processing, so work in manageable piles.
- Add garlic scapes to the food processor and process until they are starting to look finely chopped, about 2-3 minutes.: You will hear a steady whir and see the pieces shrink and glisten as their oils release, producing a fragrant, grassy aroma. Stop and scrape once they are uniformly small to prevent uneven chopping. Running too long without scraping leads to uneven texture and overheating, which can dull brightness. If the machine stalls, pulse gently to help it along.
- Add chard and process the mixture about 2 minutes more, scraping the sides of the bowl as needed.: The color will deepen and the mixture will take on a leafy green paste look, with small flecks of stem if present. Scraping ensures all bits meet the blade and avoids overworking one area while others remain coarse. If you process too long, you risk a mushy result that loses vibrancy, so aim for a cohesive but lively green mixture.
- Add the lemon juice, olive oil, and pine nuts and process about 2 minutes more.: When you add the lemon juice , the bright citrus scent will lift the whole bowl, and the pine nuts will lend a toasted, buttery aroma as they break down. Slowly adding the olive oil helps emulsify the mixture into a creamy consistency. If you pour oil all at once, the texture can separate or become too thin; a slow stream yields a glossy, stable sauce. Be cautious about heat buildup from prolonged processing which can slightly cook the greens.
- Add Parmesan and process 1-2 minutes more, or until the pesto reaches the texture you prefer.: Adding the Parmesan cheese brings a savory, nutty complexity and you will notice the mixture thicken slightly as the cheese incorporates. Processing for a short time yields a slightly chunky pesto where you can see threads of greens, while longer yields a smoother finish. A typical pitfall is adding the cheese too early, which can gum up the blades; add it near the end for best integration.
- I like to keep it slightly chunky.: The texture decision is personal, and a chunkier pesto offers bursts of herb and nut in each bite, with a rustic mouthfeel and visible pieces of garlic scapes and pine nuts . This approach also holds up better when tossed with warm pasta or spooned over vegetables. Avoid overprocessing if you want those textural highlights, and taste for seasoning before storing.
- I froze the pesto in a mini muffin tin and then popped out the cubes and stored them in a Ziploc bag in the freezer.: Freezing preserves the bright green color and fresh flavor, and the mini cube method gives convenient single use portions. Spoon the pesto into the tin, press a piece of plastic wrap over the surface to prevent freezer burn, and freeze until solid. A common error is packing too much into each cavity which makes defrosting slow; keep portions small for quick thawing.
- This pesto is good on pasta, stirred into rice, on cooked vegetables, stirred into scrambled eggs or added to soup. You could also use it as a green sauce on grilled fish or chicken.: The aroma and flavor will change slightly when heated, becoming more integrated and mellow, which can be wonderful for warming grains or enriching soups. When using as a finishing sauce, add it off heat to preserve brightness. Overheating the pesto can dull the lemon and green freshness, so stir in at the last minute when possible.
Notes
- Texture control Start by pulsing and check the mixture every 20 to 30 seconds so you can stop when you reach your preferred chunkiness rather than overprocessing into a paste.
- Pine nut substitute approach If pine nuts are scarce or pricey, use another neutral nut you like, but toast lightly and adjust quantities because different nuts vary in oiliness and flavor strength.
- Lemon balancing Add lemon juice gradually, tasting as you go, to keep the bright lift without overwhelming the green notes from the garlic scapes and Swiss Chard.
- Freezing method Portion into ice cube trays or mini muffin tins and freeze solid before transferring to a frozen storage bag, which maintains color and makes single servings easy to use.
- Serve cold or warm Use the pesto cold as a spread or stir it into hot dishes at the end of cooking to preserve its fresh character and vibrant color.