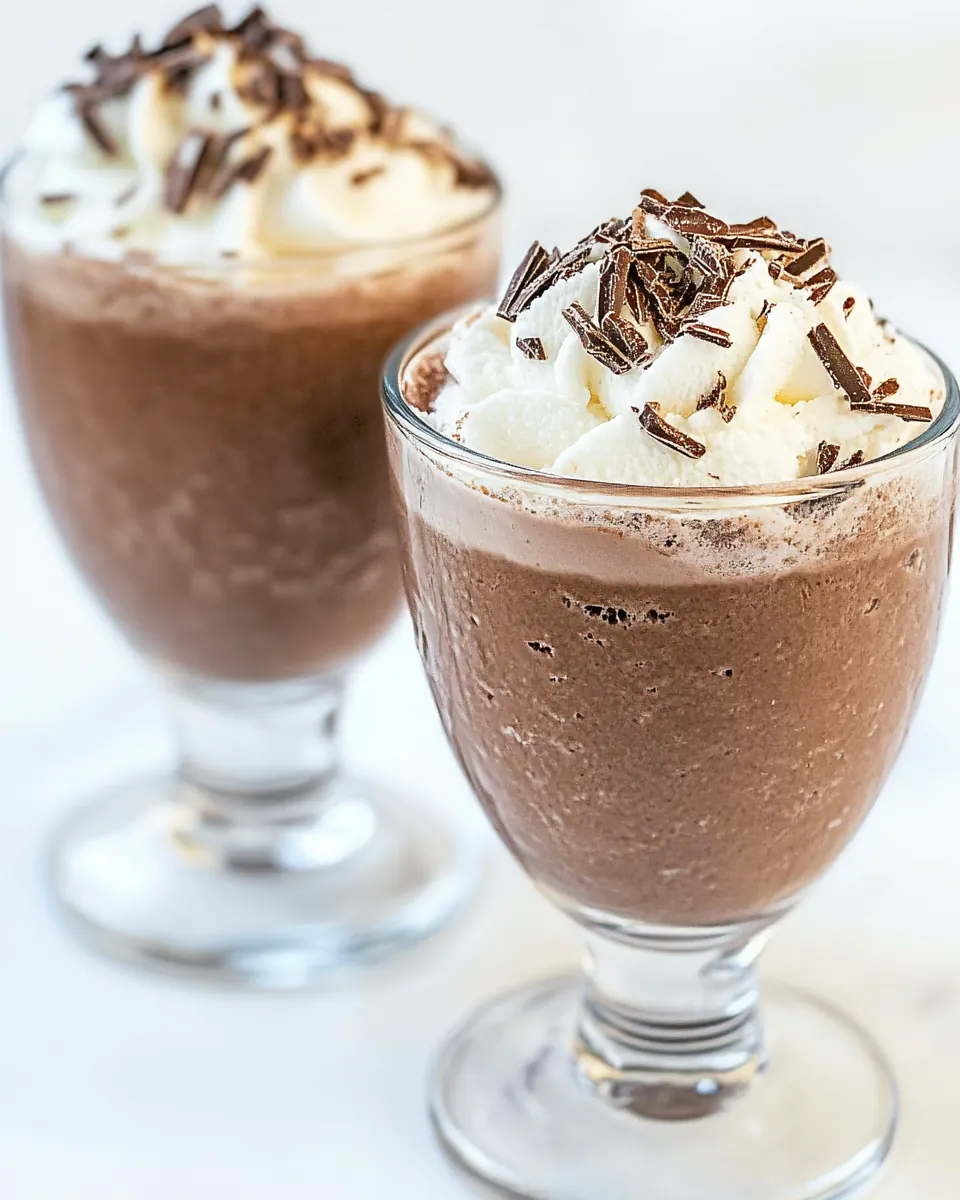
Frozen Hot Chocolate
Frozen Hot Chocolate has been my go to cool treat on blistering afternoons ever since I first discovered how a simple blender and a few pantry staples could feel like dessert magic. The very first time I made it, I remember laughing at how something named hot could be so perfectly chilled, and how the texture hovered somewhere between a milkshake and a snow day memory. That contrast hooked me, and I started tweaking small details until it felt like a signature sip I could make in under ten minutes.
Over the years I’ve brought Frozen Hot Chocolate to backyard gatherings, quiet solo afternoons, and late night movie marathons. Some friends asked for it after a spicy dinner, because the creamy chocolate tempered the heat so well. Other times I’ve served it with a straw and a little parade of garnishes, enjoying the tiny rituals that make it feel festive. I never get tired of the moment when the blender lid comes off and that glossy, cold mixture glints like a promise.
Recipe Snapshot
5 mins
5 mins
Easy
250 kcal
American
Keto, Gluten-Free
Desserts
Blender
Why You Need This Frozen Hot Chocolate
Comfort in a Glass
I love that Frozen Hot Chocolate serves cozy chocolate vibes while staying refreshingly cold. It satisfies the craving for something smooth and chocolate forward without weighing you down, which is why I reach for it on hot afternoons when dessert still seems necessary.
Speed and Simplicity
One major reason I keep this recipe in heavy rotation is how fast it comes together. With a reliable Blender and a handful of ingredients, you can have a café worthy treat in minutes. I appreciate recipes that respect my time, and this one absolutely does.
Flexible Flavor
This recipe is a brilliant canvas. I like that you can emphasize creaminess by adjusting the milk amount, or dial up the chocolate intensity by picking richer hot chocolate mix. Small changes make a big difference, and that creative freedom makes me come back to it.
Playful Presentation
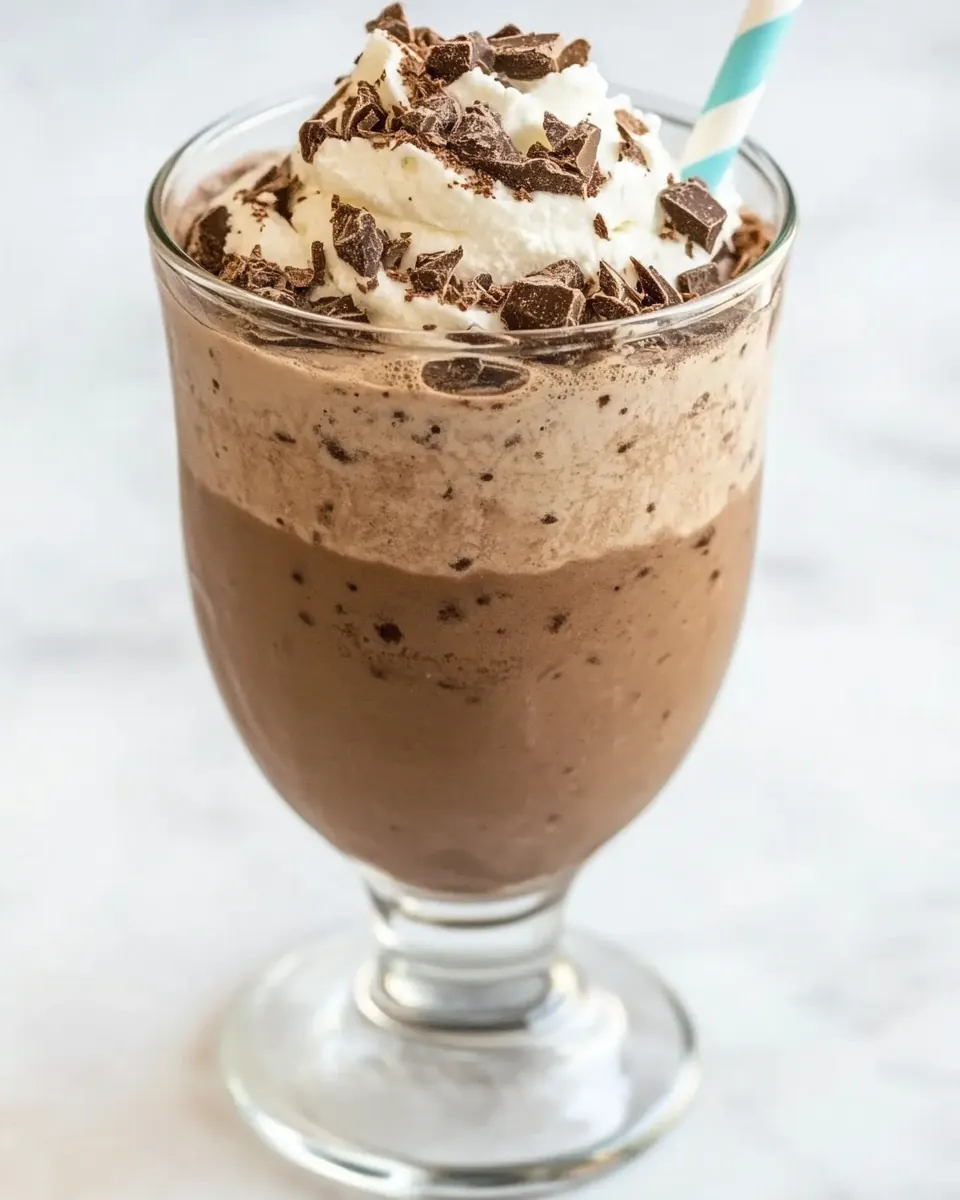
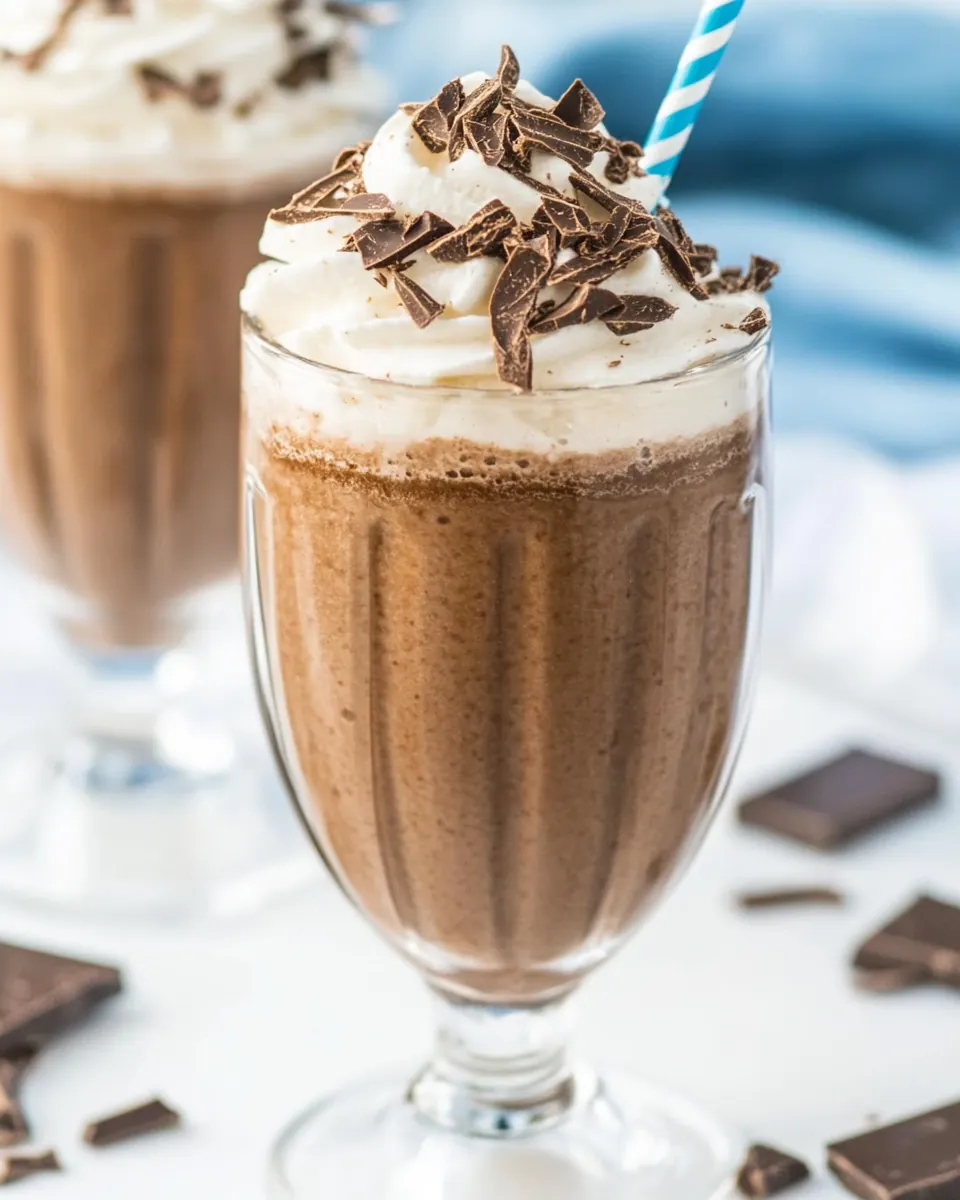
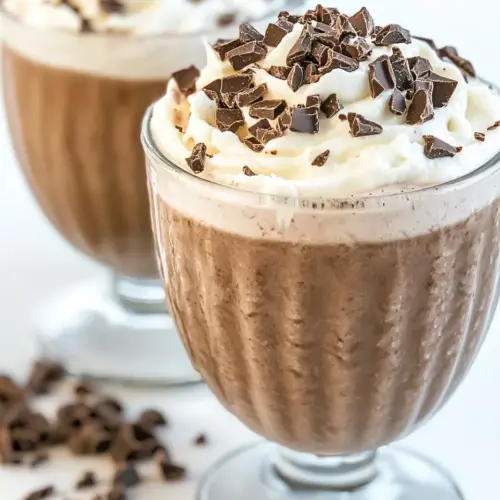
Serving Frozen Hot Chocolate feels celebratory. A drizzle of extra chocolate syrup, a cloud of Whipped Cream, and a shower of chocolate chips or curls turns a simple drink into a party. I love seeing guests smile at the first sip.
Kid Friendly and Crowd Pleasing
Families and friends tend to adore this one because it hits the sweet spot for kids and adults. I often double or triple the batch without fuss, and everyone ends up with a chilled, chocolaty treat that’s hard to resist.
Ingredient List for Frozen Hot Chocolate
These components are intentionally few and approachable, which is the philosophy behind the Frozen Hot Chocolate. Each item plays a clear role: the ice creates the frozen texture, the milk provides creaminess and body, the hot chocolate mix brings concentrated chocolate flavor, and the small additions like vanilla extract and chocolate syrup lift the aroma and depth. The garnishes add texture and visual delight so each sip feels special.
- 1 cup ice: Provide a chilling base that freezes the drink and creates the slushy texture; helps thin the mixture so blades can blend everything smoothly. Use fresh, solid ice for best consistency and avoid overly melted ice which dilutes flavor.
- 1/2 cup milk: Add creaminess and body while balancing the frozen texture; contributes subtle dairy richness that melds with chocolate for a smooth mouthfeel. Choose whole or low-fat milk depending on desired richness and adjust quantity slightly to reach preferred thickness.
- 3 tablespoons hot chocolate mix or 1 packet: Deliver concentrated cocoa flavor and sweetness that defines the drink; dissolves into the milk to form the hot chocolate backbone of the frozen treat. Use a store-bought packet or measured tablespoons to control chocolate intensity consistently.
- 1/4 teaspoon vanilla extract: Introduce a warm floral note that brightens and rounds out the chocolate flavor; a small amount enhances overall aroma without overpowering sweetness. Add sparingly and taste, as too much will shift the balance away from chocolate.
- 1/2 tablespoon chocolate syrup + more for garnish: Provide an extra layer of chocolate flavor and glossy sweetness while helping to thicken the mixture slightly; reserve a little for drizzling as a garnish to enhance presentation. Use good-quality syrup for richer taste and smoother texture.
- Whipped Cream chocolate chips or chocolate curls for garnish: Finish with an airy, decorative topping and additional chocolate texture for contrast; whipped cream adds creaminess while chips or curls contribute bite and visual appeal. Add just enough garnish to complement the drink without overwhelming the balanced chocolate profile.
How to Make Frozen Hot Chocolate
I approach this recipe like a quick performance piece, where timing and small choices shape the final result. Keep your Blender ready and cold ingredients chilled so the texture stays pleasantly icy. Follow the sequence, and the drink will come out glossy, rich, and smooth every time.
- In a blend combine ice, milk, hot chocolate mix, vanilla extract and chocolate syrup.: The first sensory cue is the icy clatter as the blades start, and the sweet, chocolatey perfume as ingredients begin to marry. Blending these cold ingredients from the outset ensures even dispersion, minimizing chalky pockets from the hot chocolate mix . The why here is simple, thorough mixing produces a uniform texture and flavor, preventing streaks of syrup or clumps of mix. One common mistake is packing the Blender too tightly, which prevents proper circulation and causes uneven blending, so leave a little space for movement.
- Blend until mostly smooth.: Listen for the rhythm change as the sound shifts from loud chattering to a smoother hum, and watch for a glossy, slightly slushy texture. You want small, soft ice crystals rather than large shards, which gives the mouthfeel of a milkshake mixed with snow. This step matters because over-blending will warm the mixture and under blending will leave ice chunks that are unpleasant when sipping. If your mixture seems too thick to move, pulse briefly rather than running continuously, and avoid running the Blender so long it heats the drink.
- Drizzle additional chocolate syrup around inside of glass: Drizzling gives a dramatic visual and adds intense chocolate pockets as you sip. The syrup should be viscous and shiny, clinging to the glass in ribbons that create attractive streaks. The reason for this step is both cosmetic and flavor oriented, because those syrup ribbons deliver concentrated chocolate bites. A common error is drizzling after pouring the drink, which mutes the visual effect, so do this before you add the mixture to the glass.
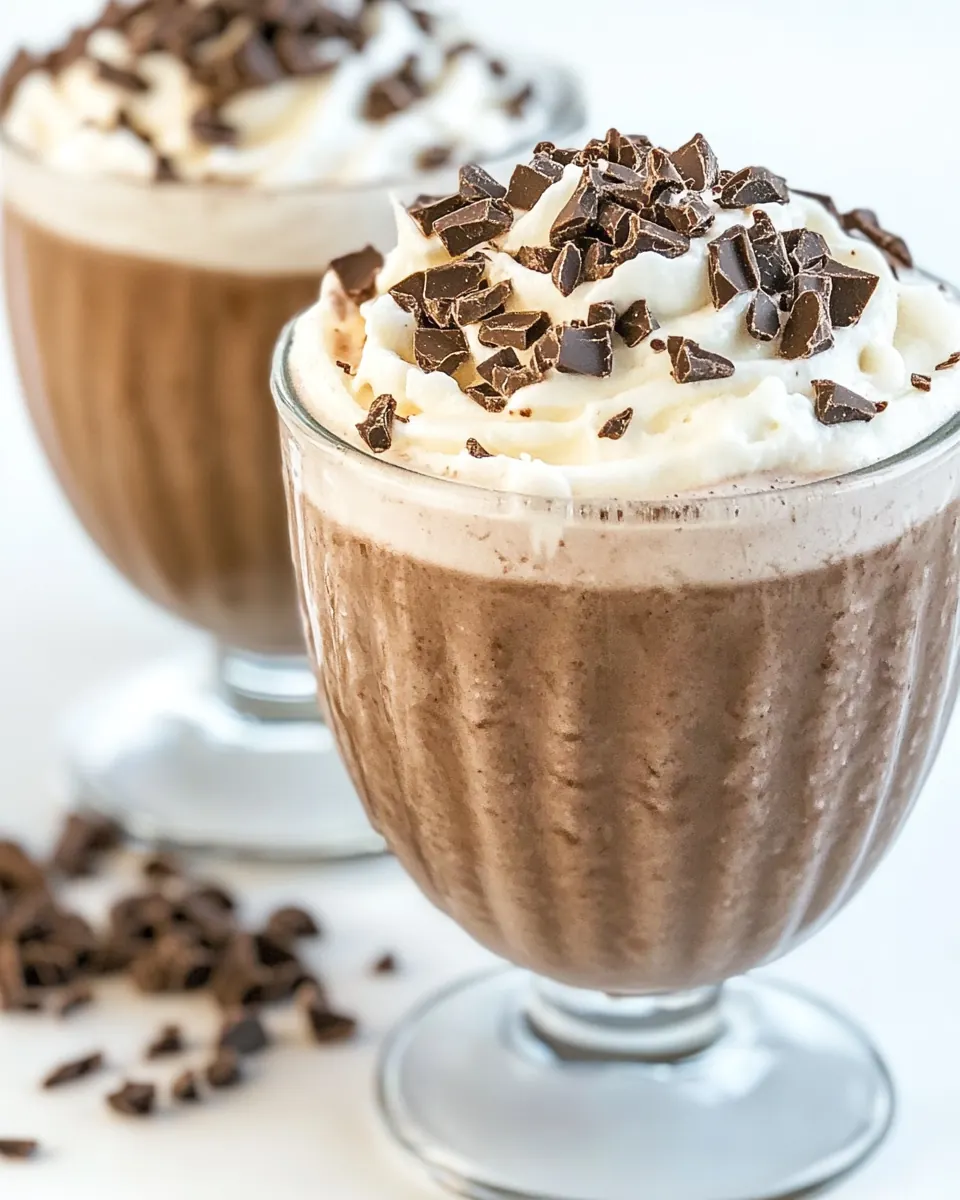
- Then pour frozen hot chocolate mixture into the glass, top with whipped cream and chocolate curls.: As you pour, you will hear a soft splash and see the glossy surface settle into the glass, with tiny air bubbles that show the drink is well aerated. Topping with Whipped Cream introduces a cloud like texture and the chocolate curls add delicate crunch. This final assembly is important because it balances temperature and texture, giving contrast between the icy base and the airy topping. A typical pitfall is waiting too long to serve, which allows the ice to melt and waters down the flavor, so garnish and serve immediately for the best experience.
Substitutions and Tips
This short intro orients you to thoughtful swaps and practical tips that keep the essence of the recipe intact while offering flexibility. Small adjustments can tailor the drink to your taste without losing the childhood charm I love about Frozen Hot Chocolate.
- Swap milk for milk alternatives if you need a different texture or flavor, adjusting the quantity slightly for creaminess while keeping the chilling effect.
- Use richer hot chocolate mix for deeper chocolate notes, which can replace the need for extra syrup and create a more decadent result.
- Reserve syrup for the glass to enhance presentation and deliver concentrated chocolate hits as you sip, rather than diluting the entire drink.
- Pulse the blender first to break down large ice pieces before blending continuously, which helps avoid overworking the motor and keeps the drink cold.
- Top at the last moment with Whipped Cream and chocolate curls so the garnishes stay crisp and visually appealing.
Side Dish Ideas for Frozen Hot Chocolate
Frozen Hot Chocolate pairs wonderfully with light bites and playful desserts, and you can serve it across a variety of casual occasions. Here are ideas to match mood and season, plus storage notes to keep leftovers tasting their best.
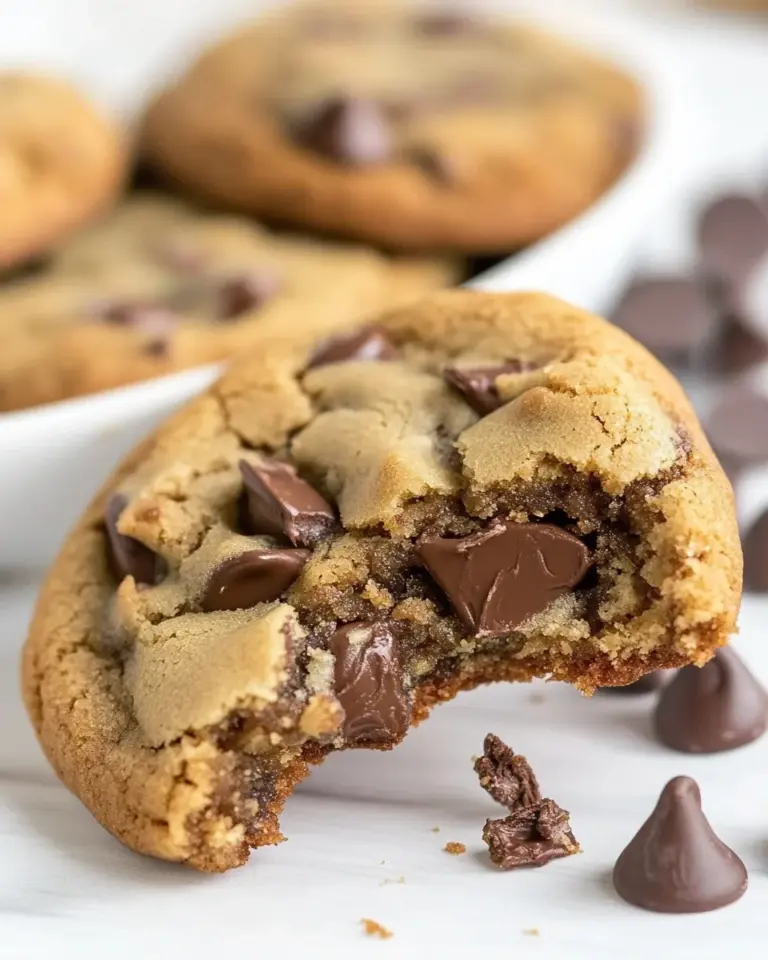
- Sweet cookies such as simple butter or chocolate chip cookies provide a pleasing textural contrast to the creamy drink, and dunking is encouraged for a nostalgic experience.
- Fruit platter featuring berries or orange segments brightens the palate and balances the richness of the chocolate, making it suitable for a leisurely brunch or afternoon gathering.
- Mini sandwiches like cucumber or light tea sandwiches create a casual snack spread that complements the drink for a relaxed get together or rainy day teatime.
- Movie night is a perfect occasion, where the drink functions as dessert and beverage in one, paired with popcorn or small candies for a whimsical treat.
- Summer parties benefit from this chilled offering, and you can set up a small garnish station with extra syrup and chocolate bits so guests customize their servings.
- Storage tips suggest consuming immediately for best texture; if you must store, keep the blended mixture overnight in an airtight container in the freezer and reblend briefly before serving to refresh the slushiness.
FAQ
Conclusion
Frozen Hot Chocolate stands out because it delivers rich chocolate flavor in a refreshingly icy form that is quick to assemble and endlessly customizable. Give it a try when you want a dessert like drink without spending a long time in the kitchen, and enjoy how small tweaks make it your own. I hope this becomes one of those recipes you turn to for instant comfort and a little bit of fun, whether you are treating yourself or sharing with friends.
Frozen Hot Chocolate
Equipment
- Blender
Ingredients
- 1 cup ice Provide a chilling base that freezes the drink and creates the slushy texture; helps thin the mixture so blades can blend everything smoothly. Use fresh, solid ice for best consistency and avoid overly melted ice which dilutes flavor.
- 1/2 cup milk Add creaminess and body while balancing the frozen texture; contributes subtle dairy richness that melds with chocolate for a smooth mouthfeel. Choose whole or low-fat milk depending on desired richness and adjust quantity slightly to reach preferred thickness.
- 3 tablespoons hot chocolate mix or 1 packet Deliver concentrated cocoa flavor and sweetness that defines the drink; dissolves into the milk to form the hot chocolate backbone of the frozen treat. Use a store-bought packet or measured tablespoons to control chocolate intensity consistently.
- 1/4 teaspoon vanilla extract Introduce a warm floral note that brightens and rounds out the chocolate flavor; a small amount enhances overall aroma without overpowering sweetness. Add sparingly and taste, as too much will shift the balance away from chocolate.
- 1/2 tablespoon chocolate syrup + more for garnish Provide an extra layer of chocolate flavor and glossy sweetness while helping to thicken the mixture slightly; reserve a little for drizzling as a garnish to enhance presentation. Use good-quality syrup for richer taste and smoother texture.
- Whipped Cream chocolate chips or chocolate curls for garnish Finish with an airy, decorative topping and additional chocolate texture for contrast; whipped cream adds creaminess while chips or curls contribute bite and visual appeal. Add just enough garnish to complement the drink without overwhelming the balanced chocolate profile.
Instructions
- In a blend combine ice, milk, hot chocolate mix, vanilla extract and chocolate syrup.: The first sensory cue is the icy clatter as the blades start, and the sweet, chocolatey perfume as ingredients begin to marry. Blending these cold ingredients from the outset ensures even dispersion, minimizing chalky pockets from the hot chocolate mix . The why here is simple, thorough mixing produces a uniform texture and flavor, preventing streaks of syrup or clumps of mix. One common mistake is packing the Blender too tightly, which prevents proper circulation and causes uneven blending, so leave a little space for movement.
- Blend until mostly smooth.: Listen for the rhythm change as the sound shifts from loud chattering to a smoother hum, and watch for a glossy, slightly slushy texture. You want small, soft ice crystals rather than large shards, which gives the mouthfeel of a milkshake mixed with snow. This step matters because over-blending will warm the mixture and under blending will leave ice chunks that are unpleasant when sipping. If your mixture seems too thick to move, pulse briefly rather than running continuously, and avoid running the Blender so long it heats the drink.
- Drizzle additional chocolate syrup around inside of glass: Drizzling gives a dramatic visual and adds intense chocolate pockets as you sip. The syrup should be viscous and shiny, clinging to the glass in ribbons that create attractive streaks. The reason for this step is both cosmetic and flavor oriented, because those syrup ribbons deliver concentrated chocolate bites. A common error is drizzling after pouring the drink, which mutes the visual effect, so do this before you add the mixture to the glass.
- Then pour frozen hot chocolate mixture into the glass, top with whipped cream and chocolate curls.: As you pour, you will hear a soft splash and see the glossy surface settle into the glass, with tiny air bubbles that show the drink is well aerated. Topping with Whipped Cream introduces a cloud like texture and the chocolate curls add delicate crunch. This final assembly is important because it balances temperature and texture, giving contrast between the icy base and the airy topping. A typical pitfall is waiting too long to serve, which allows the ice to melt and waters down the flavor, so garnish and serve immediately for the best experience.
Notes
- Swap milk for milk alternatives if you need a different texture or flavor, adjusting the quantity slightly for creaminess while keeping the chilling effect.
- Use richer hot chocolate mix for deeper chocolate notes, which can replace the need for extra syrup and create a more decadent result.
- Reserve syrup for the glass to enhance presentation and deliver concentrated chocolate hits as you sip, rather than diluting the entire drink.
- Pulse the blender first to break down large ice pieces before blending continuously, which helps avoid overworking the motor and keeps the drink cold.
- Top at the last moment with Whipped Cream and chocolate curls so the garnishes stay crisp and visually appealing.