
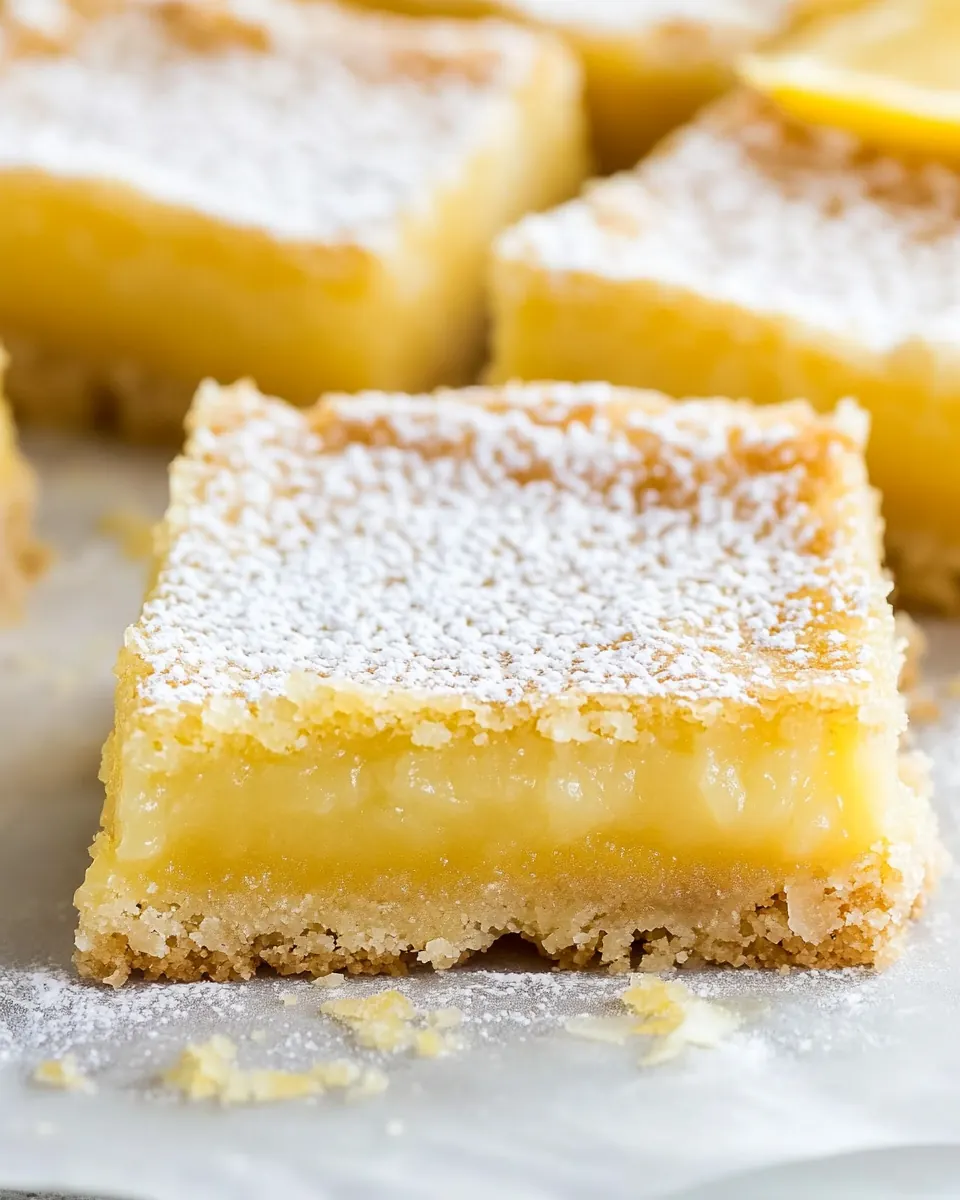
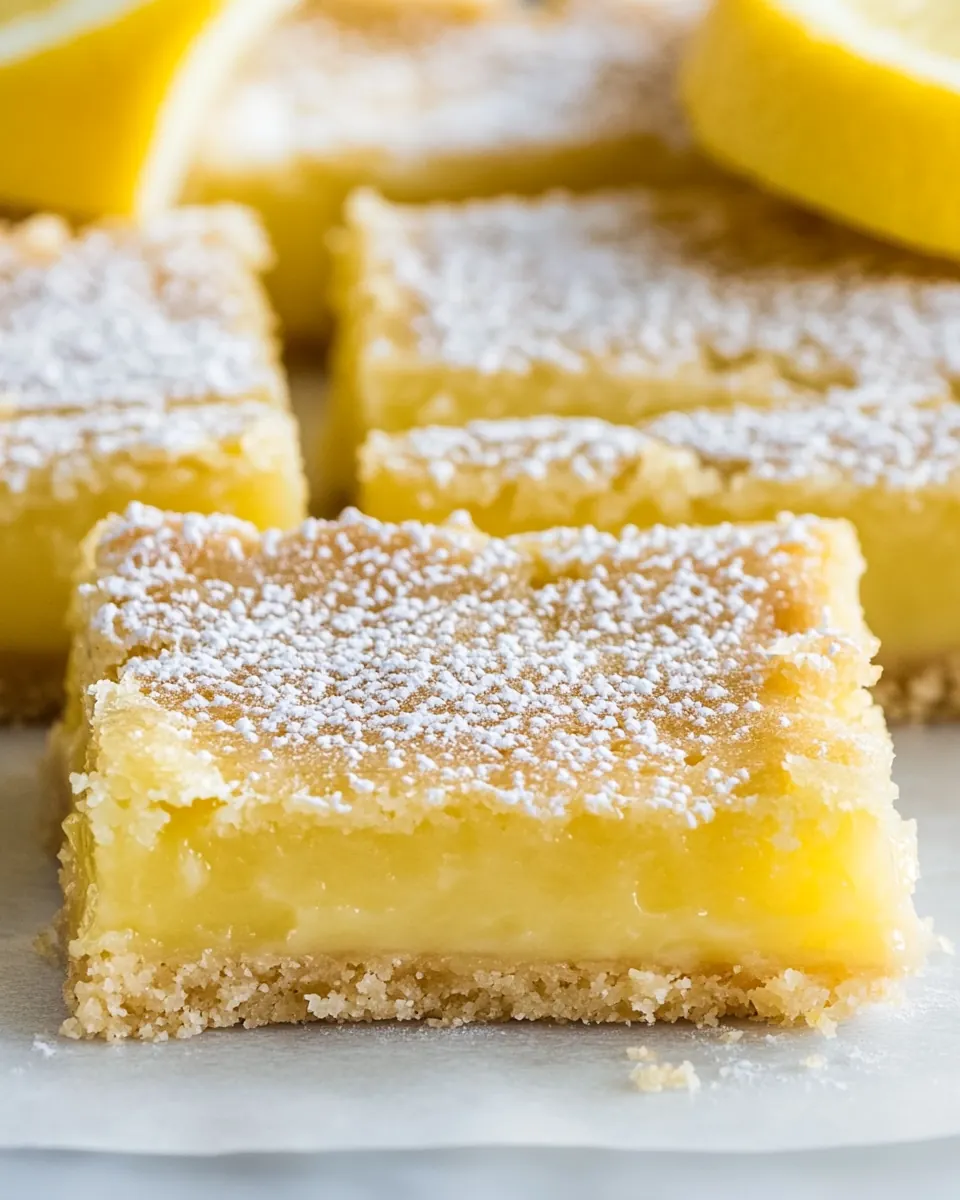
Easy Lemon Bar Recipe
Easy Lemon Bar Recipe has been one of those joyful constants in my kitchen for years, a recipe I reach for whenever I want something bright, comforting, and unmistakably home made. I first made these bars on a windy spring afternoon when a neighbor dropped off a bag of fresh lemon juice from a backyard tree, and the whole house filled with that citrusy perfume that instantly lifts the mood. From that moment on, the tart, velvety filling paired with the buttery, crumbly base became my go to treat to bring to potlucks and to share with friends.
Over time I learned tiny adjustments that make these bars reliably perfect. I now watch the crust for a pale golden edge, and I nudge the oven temperature a bit if my pan runs hot. I like to whisk the filling until it feels silkier than you might expect, because that texture sets into a lovely custard like center that still yields when you cut into it. Every time I slice them, powdered sugar clouds rise like a soft snowfall, and people always pause before taking that first bite. It never gets old.
Recipe Snapshot
1 hr 5 mins
20 mins
45 mins
Medium
250 kcal
American
Gluten-Free, Low FODMAP
Desserts
9 x 13 inch baking pan, parchment paper, mixing bowls, pastry cutter, whisk, measuring cups
The Appeal of This Easy Lemon Bar Recipe
They balance bright and buttery perfectly
I love that the Easy Lemon Bar Recipe combines a rich, buttery butter forward crust with a tang forward lemon juice filling. The contrast is what keeps me coming back, the way a short, tender base supports a silky, slightly puckered top. When I serve them, people often comment on how the textures play together, and that is exactly the aim.
Reliable crowd pleaser
When I bring these to gatherings, they disappear quickly. The bars are easy to portion, transport, and store, so they feel like a no stress dessert to bring to picnics or neighborhood potlucks. I especially appreciate that they hold well in the fridge for several days, so you can make them ahead and stay relaxed.
Simple pantry friendly ingredients
I always have most of the elements on hand: all purpose flour, sugar, eggs, and a lemon zest or two. That accessibility means you do not need a trip to the specialty store. Because the components are straightforward, the recipe is forgiving if you are a casual baker, yet it rewards attention with noticeably better texture and flavor.
Technique that teaches you baking instincts
Working through the crust and the filling gives you a great sense of visual and tactile cues: crumb size for the base, and the wobble of the center for the filling. I like teaching friends how to read those signs because it makes them more confident in the oven. Small habits, like pressing the crust evenly or whisking until silky, produce consistent results every time.
Versatile for seasons and occasions
This recipe travels well across different menus. I serve these at spring brunches, summer BBQs, and as a lighter finish for dinner parties. The lemony brightness feels especially appropriate in spring, yet the buttery base keeps it feeling comforting year round.
What’s In This Easy Lemon Bar Recipe
These ingredients form a classic partnership of rich, tender texture and bright, tart flavor. The crust provides a buttery, slightly crumbly foundation, while the filling brings acidity and silkiness that cuts through the richness. The key players are the butter and the lemon juice, which together create that signature contrast. I view this ingredient list as intentionally simple, each item pulling clear duty toward structure, sweetness, or tang.
- 1 cup butter, cold (cut into tiny pieces): Provide cold, cubed fat that creates a flaky, tender crust; cut into tiny pieces to chill quickly and incorporate evenly into the dough. Use cold butter to prevent a greasy texture and ensure the base bakes up crisp and golden. Handle minimally to keep the butter solid for proper layering during baking.
- 6 tbsp brown sugar: Add a touch of molasses-sweetened depth to balance the lemon tang and enhance the crust's flavor complexity. Brown sugar contributes moisture to the dough and helps the crust brown attractively during baking. Use measured tablespoons to maintain the intended crumb and sweetness of the base.
- 3 cups all purpose flour: Build structure and bulk for both the crust and filling by providing starch and gluten when mixed with liquids. Sift or whisk before measuring to avoid lumps and ensure even distribution in the dough. Use all purpose flour for a reliable balance of tenderness and strength in the bars.
- 1 large egg: Bind the crust ingredients together and add richness for a slightly tender texture in the base. Beat the egg lightly before incorporating to ensure even moisture and cohesion throughout the dough. Use a large egg for consistent volume and structure.
- 1 tsp lemon juice: Brighten the filling with sharp acidity and a subtle citrus note that enhances overall lemon flavor. Add measured lemon juice to balance sweetness and help the filling set as the acid interacts with eggs during baking. Use fresh juice when possible to ensure clean, vibrant flavor.
- 6 large eggs: Thicken and set the filling through coagulation when heated, providing a custard-like texture for lemon bars. Whisk eggs thoroughly to incorporate air and ensure a smooth, uniform filling mixture. Use large eggs for predictable consistency and reliable setting.
- 3 cups sugar: Sweeten the lemon filling to create the classic sweet-tart balance and provide body to the custard. Dissolve sugar well into the lemon and egg mixture to avoid graininess and promote even baking. Adjust slightly if a less or more sweet result is desired, but follow the recipe for intended texture.
- 2 tbsp lemon zest: Concentrate aromatic citrus oils to intensify lemon flavor and lift the aroma of the bars. Finely grate only the yellow outer peel to avoid bitterness from the pith, and measure zest tightly for consistent potency. Use freshly zested lemon for the brightest, freshest citrus notes.
- 1 cup lemon juice, freshly squeezed: Deliver the main lemon flavor and necessary acidity to set the custard filling while providing a vivid, fresh citrus profile. Freshly squeezed juice ensures clean acidity and avoids off-flavors from bottled alternatives. Measure accurately to maintain the balance between tartness and sweetness.
- 1 cup all purpose flour: Provide additional structure and slight thickening to the filling while contributing to a smooth texture when combined with the wet ingredients. Use the same all purpose flour as in the crust for a consistent crumb and to help the filling hold its shape once baked. Whisk in gradually to prevent lumps for a silky custard.
- Powdered sugar: Lightly dust the cooled bars to add a delicate sweetness and attractive presentation; powdered sugar also mellows intense lemon tartness on the palate. Sift before sprinkling to avoid clumps and achieve an even, snowy finish. Apply just before serving to maintain a fresh appearance.
Step by Step Guide for Easy Lemon Bar Recipe
These instructions take you from chilled crust components to glossy, tart bars with a tender base. I walk through sensory cues, reasons behind each technique, and common missteps I have learned to avoid so you can feel confident at every stage.
- Preheat oven to 350 degrees F. Line a 9 x 13" pan with parchment paper or tinfoil so the paper comes over the edges of the pan, making it easier to remove the bars once cooled.: You will notice a warm, dry scent when the oven reaches temperature and the pan should feel stable when you press the parchment into place. Proper lining provides a sling so you can lift the bars out cleanly, avoiding jagged cuts. If you skip the sling you risk tearing the crust when removing the bars, which affects presentation. A common mistake is not securing the parchment at the corners, causing it to shift during baking; tuck the edges tightly so the crust presses evenly into the pan.
- Combine the ingredients for the crust in a large bowl and use a pastry cutter to make a coarse and crumbly mixture. Alternatively you can place the ingredients into your food processor and pulse until mixture becomes crumbly.: As you cut the butter into the all purpose flour and brown sugar , you should feel small pea sized pieces of butter distributed throughout the dry mix, and the aroma will turn slightly rich and nutty. Those pea sized bits are crucial because they melt in the oven and create that tender, flaky crumb. If you overwork the dough it can become mealy or greasy, losing that desirable texture. A frequent error is letting the butter warm up too much, which leads to a heavy crust rather than a delicate one.
- Press the mixture into an even layer in the prepared 9 x 13" pan. Bake for 15 to 20 minutes or until a pale golden brown.: When you press the crust, aim for an even thickness across the pan so it bakes uniformly; visually check edges to ensure they are not thinner than the center. During baking you will see the edges turn a pale golden brown and you may smell a toasty, buttery note rising from the oven, signaling readiness. If you underbake the crust the final bars can be soggy from the filling, while overbaking will make them too crumbly and dry. Avoid pressing too hard which can compress the texture and make the base dense.
- While the crust is baking combine the ingredients for the filling in a large bowl and whisk until smooth. Pour mixture over the crust and bake for an additional 30 to 35 minutes, or until the center is set.: As you whisk the eggs , sugar , lemon juice , lemon zest , and a bit of all purpose flour , the mixture should go from grainy to glossy and slightly thickened; the fragrance of citrus will become pronounced and bright. Pouring it onto the warm crust lets the heat begin the set so you should see the filling settle and the surface gently shimmer as it bakes. The center should appear mostly set with only a faint jiggle when gently nudged, similar to a firm custard; this ensures a tender, not rubbery, texture. A common pitfall is overbaking until the surface cracks, which results in a dry filling, so remove as soon as the wobble is slight.
- Let bars cool completely and then lift out of the pan by holding the sides of the paper and lifting straight up. Cut into bars and dust with powdered sugar. Keep refrigerated. Enjoy!: Cooling transforms the hot, wobbly custard into a sliceable, silky bar; you will notice the filling tighten and the citrus aroma mellow into a pleasant balance with the buttery base. When you lift the sling, the pan should release cleanly; if the bars are still warm they will be soft and hard to slice neatly, so patience is rewarded. Dusting with powdered sugar creates an inviting visual contrast and adds a faint sweetness on the first bite. A frequent mistake is slicing too soon while the filling is still warm, which leads to ragged edges and a messy plate, so wait until fully cooled and chilled if possible.
Pro Tips and Tweaks

I like to offer small adjustments that help you tailor the Easy Lemon Bar Recipe to your kitchen and taste. Below are practical tips I rely on every time I bake these, expanded into clear, actionable items you can use to improve texture, flavor, and presentation.
- Use fresh lemon juice: Fresh lemon juice brightens the filling in ways bottled juice cannot, providing a clean acidity and lively aroma. Squeeze and strain to remove seeds and pulp for a smooth custard.
- Keep butter cold: Cold diced butter ensures a tender, short crust because the solid fat creates pockets that melt during baking, giving a flaky texture rather than a dense one.
- Room temperature eggs for the filling: Let the eggs sit at room temperature for easier incorporation, which helps you achieve a uniform, smooth filling and reduces the chance of lumps.
- Even press for the crust: Press the crust into the pan with an even hand or use the bottom of a measuring cup to create a consistent layer, so it bakes uniformly and supports the filling.
- Don’t overbake the filling: Remove when the center has a gentle jiggle, not when it is fully firm; carryover heat will continue to set the custard, preventing a dry texture.
- Chill before slicing: Cooling completely, and briefly chilling, firms the bars so you can slice cleanly and achieve neat, presentable pieces for serving.
Serve This Easy Lemon Bar Recipe With
These bars are versatile for casual and slightly formal occasions alike. They shine as a bright finish to a spring lunch, a portable treat for potlucks, or a sweet bite for afternoon tea. Below I outline serving suggestions, storage notes, and pairing ideas to help you plan.
- Serve chilled: For neat slices and the ideal texture, serve these bars straight from the fridge so the filling holds its shape.
- Pair with tea or coffee: The citrus notes complement a mug of black tea or a light roast coffee, creating a balanced dessert experience.
- Occasions: Bring these to spring gatherings, brunches, or potlucks where portable, sliceable desserts are appreciated.
- Storage: Keep stored in an airtight container in the refrigerator for up to seven days, layering with parchment to prevent sticking.
- Presentation: Dust generously with powdered sugar before serving and cut into uniform bars for a tidy platter that travels well.
- Seasonal pairings: The lemon brightness works especially well in spring and summer menus, offering a refreshing contrast to heavier mains.
FAQ
Conclusion
What makes these bars special is the contrast between a tender, buttery base and a silky, tangy lemon filling that brightens every bite. Give them a try the next time you want a dessert that feels both nostalgic and refreshingly light. They are easy to prepare, transportable for gatherings, and reliably loved by guests, so enjoy sharing them with friends and family.

Easy Lemon Bar Recipe
Equipment
- 9 x 13-inch baking pan
- Parchment Paper
- Mixing Bowls
- Pastry Cutter
- Whisk
- Measuring Cups
Ingredients
- 1 cup butter, cold (cut into tiny pieces) Provide cold, cubed fat that creates a flaky, tender crust; cut into tiny pieces to chill quickly and incorporate evenly into the dough. Use cold butter to prevent a greasy texture and ensure the base bakes up crisp and golden. Handle minimally to keep the butter solid for proper layering during baking.
- 6 tbsp brown sugar Add a touch of molasses-sweetened depth to balance the lemon tang and enhance the crust's flavor complexity. Brown sugar contributes moisture to the dough and helps the crust brown attractively during baking. Use measured tablespoons to maintain the intended crumb and sweetness of the base.
- 3 cups all purpose flour Build structure and bulk for both the crust and filling by providing starch and gluten when mixed with liquids. Sift or whisk before measuring to avoid lumps and ensure even distribution in the dough. Use all purpose flour for a reliable balance of tenderness and strength in the bars.
- 1 large egg Bind the crust ingredients together and add richness for a slightly tender texture in the base. Beat the egg lightly before incorporating to ensure even moisture and cohesion throughout the dough. Use a large egg for consistent volume and structure.
- 1 tsp lemon juice Brighten the filling with sharp acidity and a subtle citrus note that enhances overall lemon flavor. Add measured lemon juice to balance sweetness and help the filling set as the acid interacts with eggs during baking. Use fresh juice when possible to ensure clean, vibrant flavor.
- 6 large eggs Thicken and set the filling through coagulation when heated, providing a custard-like texture for lemon bars. Whisk eggs thoroughly to incorporate air and ensure a smooth, uniform filling mixture. Use large eggs for predictable consistency and reliable setting.
- 3 cups sugar Sweeten the lemon filling to create the classic sweet-tart balance and provide body to the custard. Dissolve sugar well into the lemon and egg mixture to avoid graininess and promote even baking. Adjust slightly if a less or more sweet result is desired, but follow the recipe for intended texture.
- 2 tbsp lemon zest Concentrate aromatic citrus oils to intensify lemon flavor and lift the aroma of the bars. Finely grate only the yellow outer peel to avoid bitterness from the pith, and measure zest tightly for consistent potency. Use freshly zested lemon for the brightest, freshest citrus notes.
- 1 cup lemon juice, freshly squeezed Deliver the main lemon flavor and necessary acidity to set the custard filling while providing a vivid, fresh citrus profile. Freshly squeezed juice ensures clean acidity and avoids off-flavors from bottled alternatives. Measure accurately to maintain the balance between tartness and sweetness.
- 1 cup all purpose flour Provide additional structure and slight thickening to the filling while contributing to a smooth texture when combined with the wet ingredients. Use the same all purpose flour as in the crust for a consistent crumb and to help the filling hold its shape once baked. Whisk in gradually to prevent lumps for a silky custard.
- Powdered sugar Lightly dust the cooled bars to add a delicate sweetness and attractive presentation; powdered sugar also mellows intense lemon tartness on the palate. Sift before sprinkling to avoid clumps and achieve an even, snowy finish. Apply just before serving to maintain a fresh appearance.
Instructions
- Preheat oven to 350 degrees F. Line a 9 x 13" pan with parchment paper or tinfoil so the paper comes over the edges of the pan, making it easier to remove the bars once cooled.: You will notice a warm, dry scent when the oven reaches temperature and the pan should feel stable when you press the parchment into place. Proper lining provides a sling so you can lift the bars out cleanly, avoiding jagged cuts. If you skip the sling you risk tearing the crust when removing the bars, which affects presentation. A common mistake is not securing the parchment at the corners, causing it to shift during baking; tuck the edges tightly so the crust presses evenly into the pan.
- Combine the ingredients for the crust in a large bowl and use a pastry cutter to make a coarse and crumbly mixture. Alternatively you can place the ingredients into your food processor and pulse until mixture becomes crumbly.: As you cut the butter into the all purpose flour and brown sugar , you should feel small pea sized pieces of butter distributed throughout the dry mix, and the aroma will turn slightly rich and nutty. Those pea sized bits are crucial because they melt in the oven and create that tender, flaky crumb. If you overwork the dough it can become mealy or greasy, losing that desirable texture. A frequent error is letting the butter warm up too much, which leads to a heavy crust rather than a delicate one.
- Press the mixture into an even layer in the prepared 9 x 13" pan. Bake for 15 to 20 minutes or until a pale golden brown.: When you press the crust, aim for an even thickness across the pan so it bakes uniformly; visually check edges to ensure they are not thinner than the center. During baking you will see the edges turn a pale golden brown and you may smell a toasty, buttery note rising from the oven, signaling readiness. If you underbake the crust the final bars can be soggy from the filling, while overbaking will make them too crumbly and dry. Avoid pressing too hard which can compress the texture and make the base dense.
- While the crust is baking combine the ingredients for the filling in a large bowl and whisk until smooth. Pour mixture over the crust and bake for an additional 30 to 35 minutes, or until the center is set.: As you whisk the eggs , sugar , lemon juice , lemon zest , and a bit of all purpose flour , the mixture should go from grainy to glossy and slightly thickened; the fragrance of citrus will become pronounced and bright. Pouring it onto the warm crust lets the heat begin the set so you should see the filling settle and the surface gently shimmer as it bakes. The center should appear mostly set with only a faint jiggle when gently nudged, similar to a firm custard; this ensures a tender, not rubbery, texture. A common pitfall is overbaking until the surface cracks, which results in a dry filling, so remove as soon as the wobble is slight.
- Let bars cool completely and then lift out of the pan by holding the sides of the paper and lifting straight up. Cut into bars and dust with powdered sugar. Keep refrigerated. Enjoy!: Cooling transforms the hot, wobbly custard into a sliceable, silky bar; you will notice the filling tighten and the citrus aroma mellow into a pleasant balance with the buttery base. When you lift the sling, the pan should release cleanly; if the bars are still warm they will be soft and hard to slice neatly, so patience is rewarded. Dusting with powdered sugar creates an inviting visual contrast and adds a faint sweetness on the first bite. A frequent mistake is slicing too soon while the filling is still warm, which leads to ragged edges and a messy plate, so wait until fully cooled and chilled if possible.
Notes
- Use fresh lemon juice: Fresh lemon juice brightens the filling in ways bottled juice cannot, providing a clean acidity and lively aroma. Squeeze and strain to remove seeds and pulp for a smooth custard.
- Keep butter cold: Cold diced butter ensures a tender, short crust because the solid fat creates pockets that melt during baking, giving a flaky texture rather than a dense one.
- Room temperature eggs for the filling: Let the eggs sit at room temperature for easier incorporation, which helps you achieve a uniform, smooth filling and reduces the chance of lumps.
- Even press for the crust: Press the crust into the pan with an even hand or use the bottom of a measuring cup to create a consistent layer, so it bakes uniformly and supports the filling.
- Don’t overbake the filling: Remove when the center has a gentle jiggle, not when it is fully firm; carryover heat will continue to set the custard, preventing a dry texture.
- Chill before slicing: Cooling completely, and briefly chilling, firms the bars so you can slice cleanly and achieve neat, presentable pieces for serving.