Pizzelle
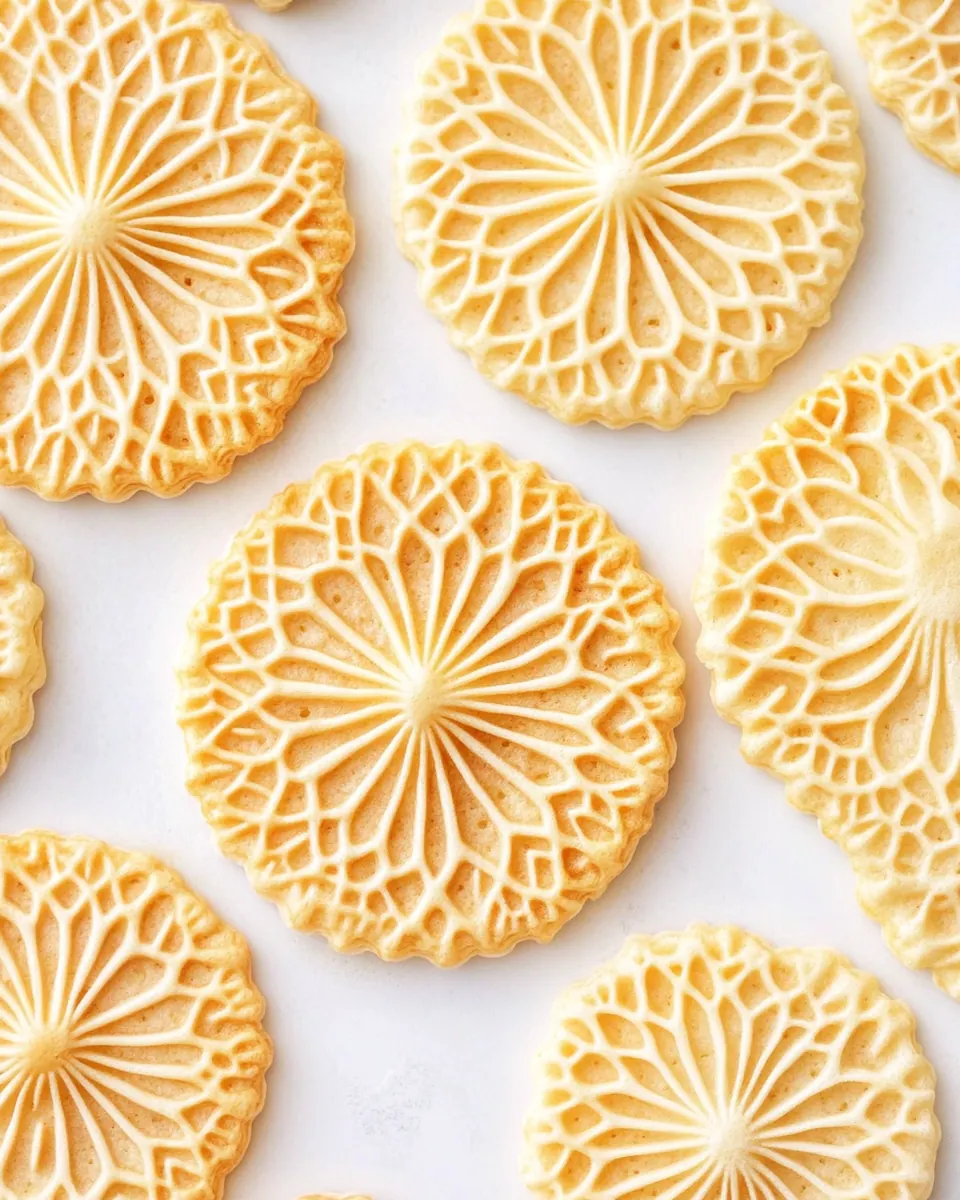
Pizzelle are one of those treats I fell for the first time at a family gathering, when my aunt passed around a tin of crisp, lace patterned cookies that shattered gently under the bite. I remember the warm anise perfume that seemed to hang in the air, and how the cookies felt both delicate and satisfyingly crunchy. Over the years I’ve made my own batches, tweaking technique, and learning how to coax the perfect texture from a simple batter.
When I make Pizzelle now, I think about rhythm and timing, the small rituals that turn basic flour and eggs into something festive. I often pull out the old iron, preheat it while I measure, and let the steady hiss of steam become part of the moment. Guests always comment on the aroma, and I love watching the familiar pattern imprint onto each cookie. It somehow makes a humble kitchen feel like a bakery for the afternoon.
Recipe Snapshot
35 mins
15 mins
20 mins
Easy
150 kcal
Italian
Gluten-Free, Low FODMAP
Desserts
Pizzelle Iron
Why This Pizzelle Shines
Classic Flavor That Feels Timeless
I adore how Pizzelle balance simplicity and character. With just a handful of ingredients, the anise and vanilla notes give a complex aroma that feels traditional yet approachable. I find that these cookies bring a sense of ritual to holidays or an ordinary tea, so they’re easy to love.
Fast to Make, Big on Reward
One of the reasons I keep returning to this recipe is speed. The batter comes together quickly, and the iron turns it into finished cookies in about a minute each. For busy afternoons when I want homemade without the marathon, Pizzelle deliver gratification fast, and I can adapt the flavor easily.
Textural Delight
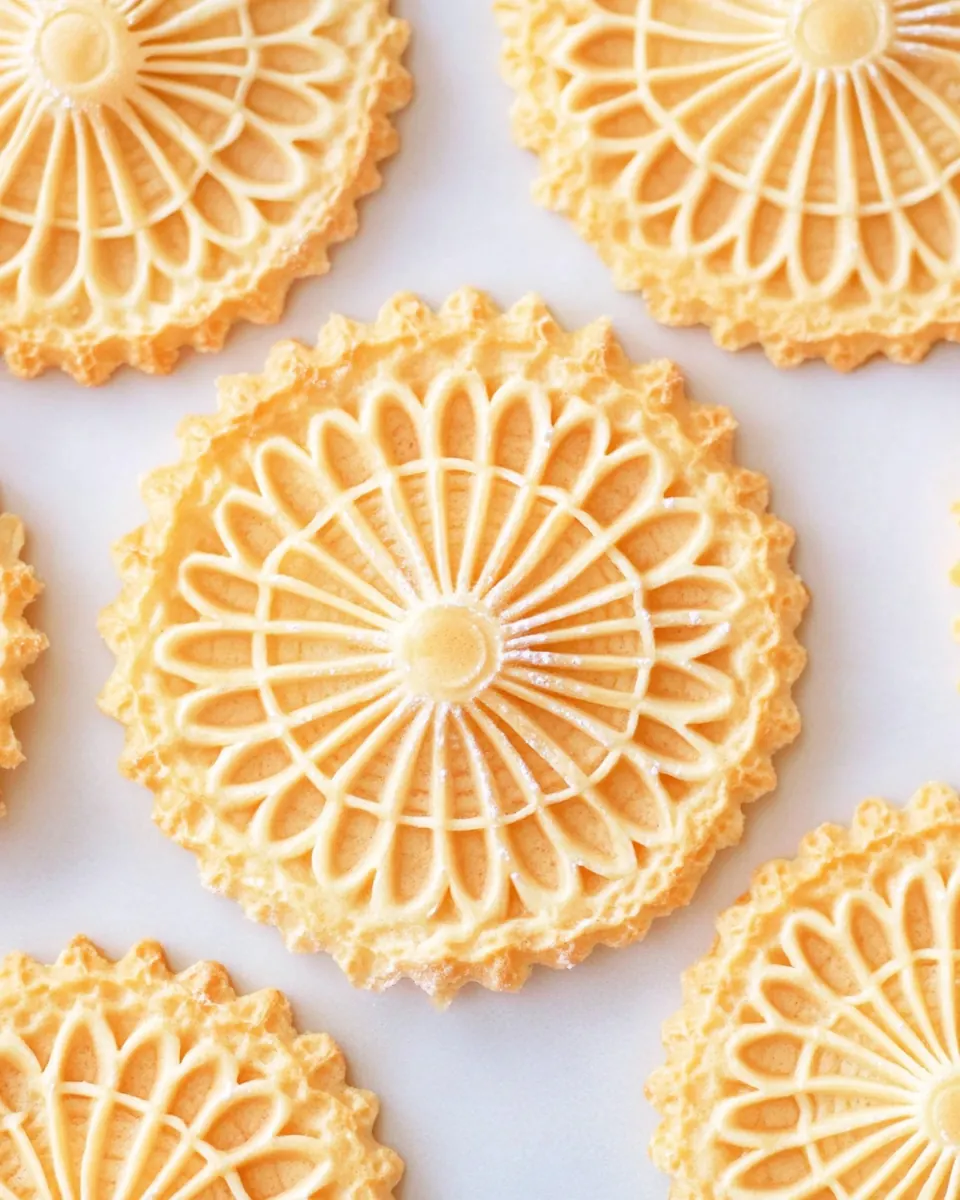
The contrast between crisp edges and a slightly tender center is what hooks me every time. When the iron stamps the batter, you get that delicate lace texture that snaps satisfyingly. I pay attention to cooling and dusting, because those finishing touches preserve the texture and elevate the presentation.
Flexible Flavoring
I often replace or reduce the anise with vanilla depending on who I am baking for. That flexibility means Pizzelle can pivot from traditional to crowd friendly without losing their identity. I love experimenting, but the baseline recipe rarely needs much fuss to shine.
Great for Gifting and Gatherings
Because they store well for a week and freeze beautifully, I make extra batches to share. The delicate look makes them feel special out of a simple tin, and presenting them with a dusting of powdered sugar always gets compliments. For me, these are the cookies that say I cared to make something by hand.
Everything You Need for Pizzelle

These ingredients form a harmonious, classic batter that relies on balance rather than complexity. The key players, eggs, flour, and fat, create structure and tenderness, while the aromatics give character. I focus on room temperature eggs and cooled melted butter so the batter blends evenly and the iron delivers even browning.
- 3 large eggs, at room temperature: Whisk together and aerate the batter, providing structure and lift while helping to emulsify fats; use at room temperature for better volume and even mixing. Beat until pale and slightly thickened to incorporate air that will aid in creating crisp pizzelle texture.
- 3/4 cup white sugar: Sweeten and tenderize the dough while promoting browning during cooking; dissolve thoroughly for even sweetness distribution. Adjust slightly for preferred sweetness, but maintain balance so the anise and vanilla remain noticeable.
- 1/2 cup salted butter, melted and cooled: Melt and cool to add richness and a tender crumb while contributing to a delicate, crisp finish; combine gently to avoid breaking emulsification. Use salted butter to lend subtle savory balance, or adjust saltiness if desired.
- 1/2 tablespoon anise extract, see note: Flavor intensely with a licorice-like note that defines traditional pizzelle; add sparingly and taste the batter before increasing. Pair with vanilla for complexity, and note that potency can vary between brands or extracts.
- 1/2 tablespoon vanilla: Enhance aroma and add warm, sweet vanilla notes that round out the flavor profile; stir in with extracts to evenly distribute flavor. Use a pure extract for best results, and avoid overmixing once added to maintain batter tenderness.
- 1 3/4 cups all-purpose flour: Provide bulk and structure as the primary dry ingredient, forming the matrix that holds the pizzelle together; sift to remove lumps and ensure a smooth batter. Measure accurately and fold gently to avoid overdevelopment of gluten that could toughen the cookies.
- 2 teaspoons baking powder: Leaven and lighten the pizzelle by releasing carbon dioxide when heated, helping achieve a tender, slightly airy interior; combine with the flour for even distribution. Ensure freshness for reliable rise and avoid direct contact with acids that could degrade effectiveness.
- powdered sugar, for dusting: Dust over finished pizzelle to add a delicate sweetness and an attractive, bakery-style finish; apply lightly for a subtle effect that highlights the pattern. Use a fine sieve for even coverage and serve shortly after dusting to preserve appearance.
The Process for Making Pizzelle
Making these cookies is a calm, measured process that rewards patience and attention. I like to set out my equipment, preheat the iron, and measure ingredients precisely before I start. Keep a tea towel and a cooling rack handy so the cookies can rest properly and retain their crisp edges.
- Preheat the Pizzelle iron.: You will notice a steady warmth and a faint metallic scent as the iron comes up to temperature, which signals it is ready to produce even browning, ensuring the classic lace pattern forms clearly; if the iron is too cool the batter will stick and the design will be faint, so always wait until the indicator or the manufacturer suggested preheat time is reached, and wipe any old crumbs away to prevent uneven marks on the cookies.
- In a large mixing bowl, beat 3 room temperature eggs and 3/4 cup sugar with an electric mixer until light and fluffy.: As you whip the eggs and sugar , watch for the mixture to turn paler and thicken, with ribbons forming from the whisk which means enough air has been incorporated to give the batter lift; you should sense a light sponge texture and a sweet aroma, and if the foam never develops the cookies can turn dense, which often happens when eggs are cold or the mixer speed is too low.
- Add the 1/2 cup melted butter and 1/2 tablespoon anise extract. Stir well.: Pouring the cooled butter and the aromatic extract in slowly helps the mixture remain cohesive and silky, creating a glossy batter that smells warmly of anise and butter; a common slip is adding hot butter which can curdle the beaten eggs , so ensure the butter is lukewarm and stir until evenly combined.
- Sift in the 1 3/4 cups flour and 2 teaspoons baking powder. Gently stir until incorporated.: As you sift and fold the dry ingredients, the batter will thicken and become smooth, with the dust of flour disappearing into the glossy mixture; the faint scent of raw flour will subside as it blends, and you want to stop mixing when streaks are gone to avoid overworking the gluten which would make the finished cookies tough.
- Using a cookie scoop, drop the Pizzelle batter onto the preheated iron. Close the iron and cook for about 1 1/2 minutes, or until the steam stops escaping. Remove from Pizzelle iron and cool. Dust with powdered sugar before serving.: The batter should spread slightly when dropped, and you will hear a soft sizzle as moisture hits the hot plates, signaling proper heat; place the scoop in the center to allow an even pattern to fill outward, and avoid overfilling which causes batter to overflow and create uneven cooking and messy edges.
- Remove from Pizzelle iron and cool. If desired, dust with powdered sugar before serving.: During cooking you will see faint wisps of steam at the edges, and when the steam nearly stops the surface will set and the edges will take on a golden hue, this is the cue to open the iron for crisp, fully cooked cookies; opening too early can tear the pattern and leaving them too long risks burning, so watch the steam rather than the clock.
- Remove from Pizzelle iron and cool: As you transfer the cookie to a cooling rack you will hear a delicate crack if it is perfectly crisp, the cookie should cool to room temperature, firming up and keeping its lace detail; if you stack them while warm they will lose crispness due to trapped steam, so always cool fully uncovered before storing.
- Dust with powdered sugar before serving: A light dusting of powdered sugar after cooling adds visual charm and a melt in the mouth sweetness, the fine dust clings to the pattern and highlights it; if you dust while warm the sugar can dissolve into a glaze, so wait until the cookies are completely cool to preserve the delicate appearance.
- Remove from Pizzelle iron and cool: Having this extra reminder in the sequence underlines the importance of careful handling, cooling develops the crisp texture and preserves the pattern, and you should listen for that faint snap as the cookie sets which assures you it cooled correctly; common mistakes include stacking before cooling which yields chewy rather than crisp cookies.
Ways to Adapt This Recipe

There are simple, effective ways to adapt Pizzelle for different tastes and occasions. Below are practical tips that preserve the core texture while offering variety. Each tip starts with a short highlighted phrase to make scanning easy.
- Swap flavorings Try replacing the anise with more vanilla or almond extract for a milder profile that still complements the buttery batter, this is handy when serving guests who prefer less licorice like notes.
- Adjust crispness For a slightly chewier center reduce cooking time by a few seconds and test the texture, just remember that cooling firms them up so undercooking by too much yields a fragile cookie.
- Freeze for later Layer cookies between parchment in an airtight container and freeze up to three months, thaw at room temperature to preserve pattern and crispness without condensation forming.
- Make ahead strategy Bake the cookies and store in an airtight tin for up to a week, this makes them ideal for gifting or for planning ahead of events and ensures you always have a fresh tasting treat.
- Presentation twist Dust lightly with powdered sugar just before serving to highlight the lace patterns, a small touch that makes the cookies look bakery ready.
What to Serve With Pizzelle
Pizzelle pair beautifully with simple, comforting accompaniments and can fit many occasions from casual tea to holiday spreads. Below are serving ideas, storage notes, and occasion suggestions laid out for easy reference.
- Afternoon tea or coffee Serve a small stack of Pizzelle alongside hot beverages, their crisp texture contrasts nicely with a warm cup and they make a light, elegant bite between sips.
- Holiday cookie platters Add Pizzelle to a mixed cookie tin for gatherings, the delicate patterns bring visual interest and they store well for a week making them ideal for event planning.
- Gift giving Layer cooled cookies between parchment in a decorative tin, they travel well and the intricate look makes them feel thoughtful and homemade for friends and family.
- Seasonal pairings In colder months, serve with spiced teas or light citrus marmalade to cut the richness; in warmer months they are lovely with fresh fruit and light whipped creams for a breezy dessert option.
- Storage tips Keep cooled Pizzelle in an airtight container to retain crispness, do not stack while warm or moisture will be trapped and cause chewiness, for longer storage freeze in layers with parchment up to three months.
FAQ
Conclusion
Pizzelle shine because they turn a few pantry staples into delicate, patterned cookies with a crisp, buttery bite. Give them a try and you will find the ritual of mixing, stamping, and cooling both calming and rewarding. They are forgiving, adaptable, and make a memorable addition to cookie tins, teatimes, and holiday spreads, so I encourage you to bake a batch and enjoy the little moments they create.
Pizzelle
Equipment
- Pizzelle Iron
Ingredients
- 3 large eggs, at room temperature Whisk together and aerate the batter, providing structure and lift while helping to emulsify fats; use at room temperature for better volume and even mixing. Beat until pale and slightly thickened to incorporate air that will aid in creating crisp pizzelle texture.
- 3/4 cup white sugar Sweeten and tenderize the dough while promoting browning during cooking; dissolve thoroughly for even sweetness distribution. Adjust slightly for preferred sweetness, but maintain balance so the anise and vanilla remain noticeable.
- 1/2 cup salted butter, melted and cooled Melt and cool to add richness and a tender crumb while contributing to a delicate, crisp finish; combine gently to avoid breaking emulsification. Use salted butter to lend subtle savory balance, or adjust saltiness if desired.
- 1/2 tablespoon anise extract, see note Flavor intensely with a licorice-like note that defines traditional pizzelle; add sparingly and taste the batter before increasing. Pair with vanilla for complexity, and note that potency can vary between brands or extracts.
- 1/2 tablespoon vanilla Enhance aroma and add warm, sweet vanilla notes that round out the flavor profile; stir in with extracts to evenly distribute flavor. Use a pure extract for best results, and avoid overmixing once added to maintain batter tenderness.
- 1 3/4 cups all-purpose flour Provide bulk and structure as the primary dry ingredient, forming the matrix that holds the pizzelle together; sift to remove lumps and ensure a smooth batter. Measure accurately and fold gently to avoid overdevelopment of gluten that could toughen the cookies.
- 2 teaspoons baking powder Leaven and lighten the pizzelle by releasing carbon dioxide when heated, helping achieve a tender, slightly airy interior; combine with the flour for even distribution. Ensure freshness for reliable rise and avoid direct contact with acids that could degrade effectiveness.
- powdered sugar, for dusting Dust over finished pizzelle to add a delicate sweetness and an attractive, bakery-style finish; apply lightly for a subtle effect that highlights the pattern. Use a fine sieve for even coverage and serve shortly after dusting to preserve appearance.
Instructions
- Preheat the Pizzelle iron.: You will notice a steady warmth and a faint metallic scent as the iron comes up to temperature, which signals it is ready to produce even browning, ensuring the classic lace pattern forms clearly; if the iron is too cool the batter will stick and the design will be faint, so always wait until the indicator or the manufacturer suggested preheat time is reached, and wipe any old crumbs away to prevent uneven marks on the cookies.
- In a large mixing bowl, beat 3 room temperature eggs and 3/4 cup sugar with an electric mixer until light and fluffy.: As you whip the eggs and sugar , watch for the mixture to turn paler and thicken, with ribbons forming from the whisk which means enough air has been incorporated to give the batter lift; you should sense a light sponge texture and a sweet aroma, and if the foam never develops the cookies can turn dense, which often happens when eggs are cold or the mixer speed is too low.
- Add the 1/2 cup melted butter and 1/2 tablespoon anise extract. Stir well.: Pouring the cooled butter and the aromatic extract in slowly helps the mixture remain cohesive and silky, creating a glossy batter that smells warmly of anise and butter; a common slip is adding hot butter which can curdle the beaten eggs , so ensure the butter is lukewarm and stir until evenly combined.
- Sift in the 1 3/4 cups flour and 2 teaspoons baking powder. Gently stir until incorporated.: As you sift and fold the dry ingredients, the batter will thicken and become smooth, with the dust of flour disappearing into the glossy mixture; the faint scent of raw flour will subside as it blends, and you want to stop mixing when streaks are gone to avoid overworking the gluten which would make the finished cookies tough.
- Using a cookie scoop, drop the Pizzelle batter onto the preheated iron. Close the iron and cook for about 1 1/2 minutes, or until the steam stops escaping. Remove from Pizzelle iron and cool. Dust with powdered sugar before serving.: The batter should spread slightly when dropped, and you will hear a soft sizzle as moisture hits the hot plates, signaling proper heat; place the scoop in the center to allow an even pattern to fill outward, and avoid overfilling which causes batter to overflow and create uneven cooking and messy edges.
- Remove from Pizzelle iron and cool. If desired, dust with powdered sugar before serving.: During cooking you will see faint wisps of steam at the edges, and when the steam nearly stops the surface will set and the edges will take on a golden hue, this is the cue to open the iron for crisp, fully cooked cookies; opening too early can tear the pattern and leaving them too long risks burning, so watch the steam rather than the clock.
- Remove from Pizzelle iron and cool: As you transfer the cookie to a cooling rack you will hear a delicate crack if it is perfectly crisp, the cookie should cool to room temperature, firming up and keeping its lace detail; if you stack them while warm they will lose crispness due to trapped steam, so always cool fully uncovered before storing.
- Dust with powdered sugar before serving: A light dusting of powdered sugar after cooling adds visual charm and a melt in the mouth sweetness, the fine dust clings to the pattern and highlights it; if you dust while warm the sugar can dissolve into a glaze, so wait until the cookies are completely cool to preserve the delicate appearance.
- Remove from Pizzelle iron and cool: Having this extra reminder in the sequence underlines the importance of careful handling, cooling develops the crisp texture and preserves the pattern, and you should listen for that faint snap as the cookie sets which assures you it cooled correctly; common mistakes include stacking before cooling which yields chewy rather than crisp cookies.
Notes
- Swap flavorings Try replacing the anise with more vanilla or almond extract for a milder profile that still complements the buttery batter, this is handy when serving guests who prefer less licorice like notes.
- Adjust crispness For a slightly chewier center reduce cooking time by a few seconds and test the texture, just remember that cooling firms them up so undercooking by too much yields a fragile cookie.
- Freeze for later Layer cookies between parchment in an airtight container and freeze up to three months, thaw at room temperature to preserve pattern and crispness without condensation forming.
- Make ahead strategy Bake the cookies and store in an airtight tin for up to a week, this makes them ideal for gifting or for planning ahead of events and ensures you always have a fresh tasting treat.
- Presentation twist Dust lightly with powdered sugar just before serving to highlight the lace patterns, a small touch that makes the cookies look bakery ready.