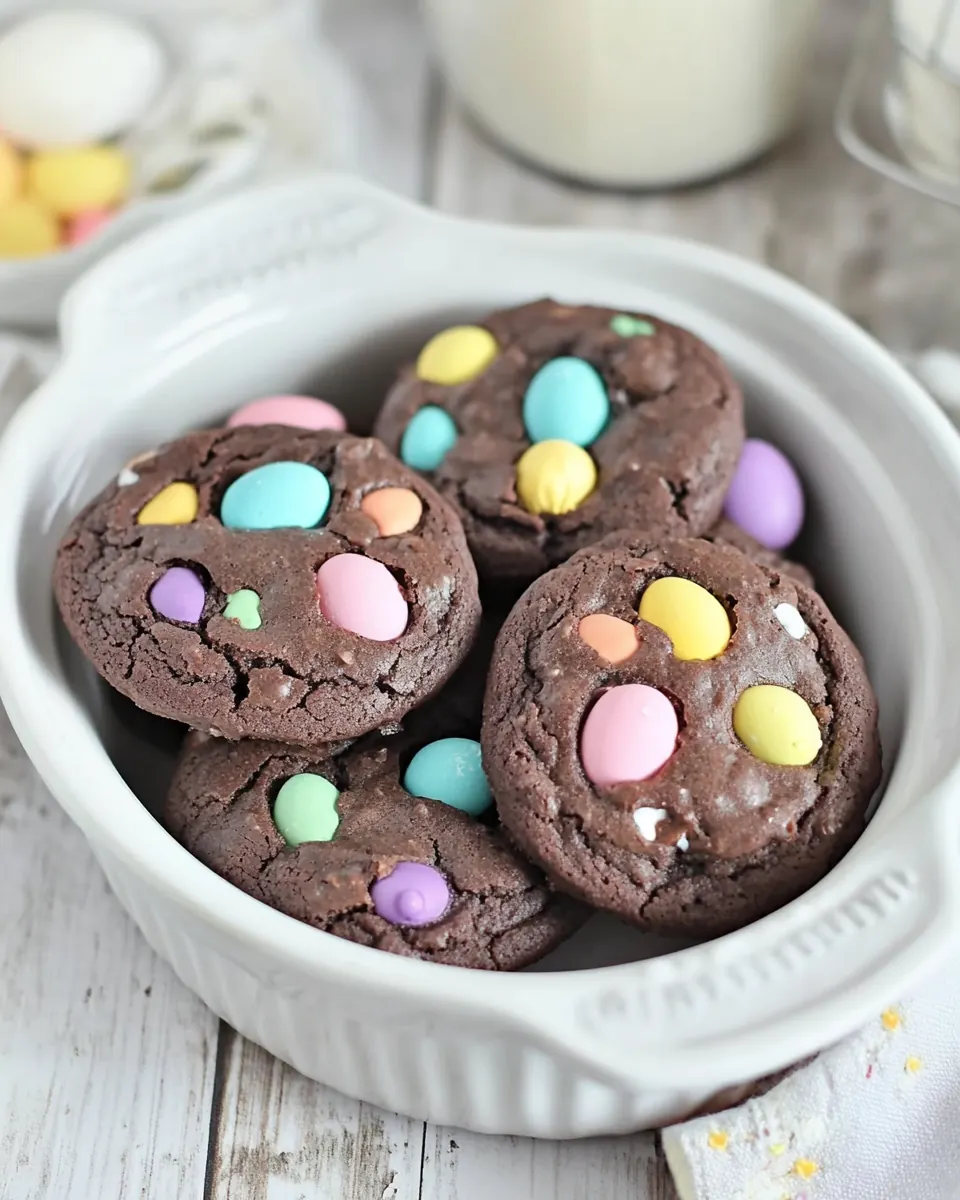
Easter Brownie Cookies
Easter Brownie Cookies are one of those treats that make holiday kitchens hum, and the first time I baked them I remember the smell of melted chocolate filling the house while my kids bounced around waiting for the first cool one.
I was standing at the counter with a bowl of warm, glossy chocolate and butter, thinking about how something so simple could feel so celebratory. I recall stirring in the sugar and eggs, the batter transforming under my spoon into something almost velvet, and the small ritual of dropping spoonfuls onto the sheet, each cookie like a tiny promise. By the time the oven door closed, everyone had claimed their spot, and the anticipation felt as important as the cookies themselves.
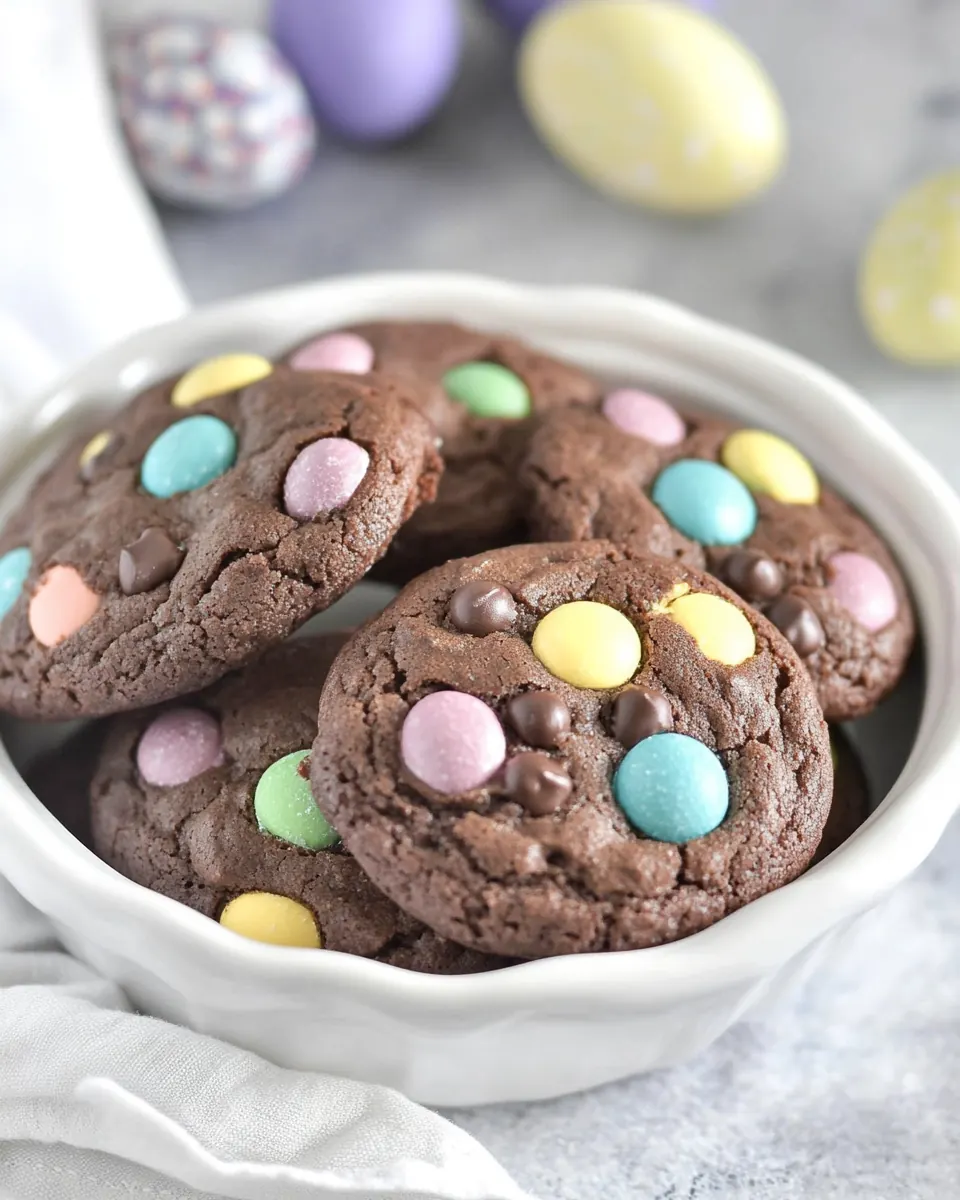
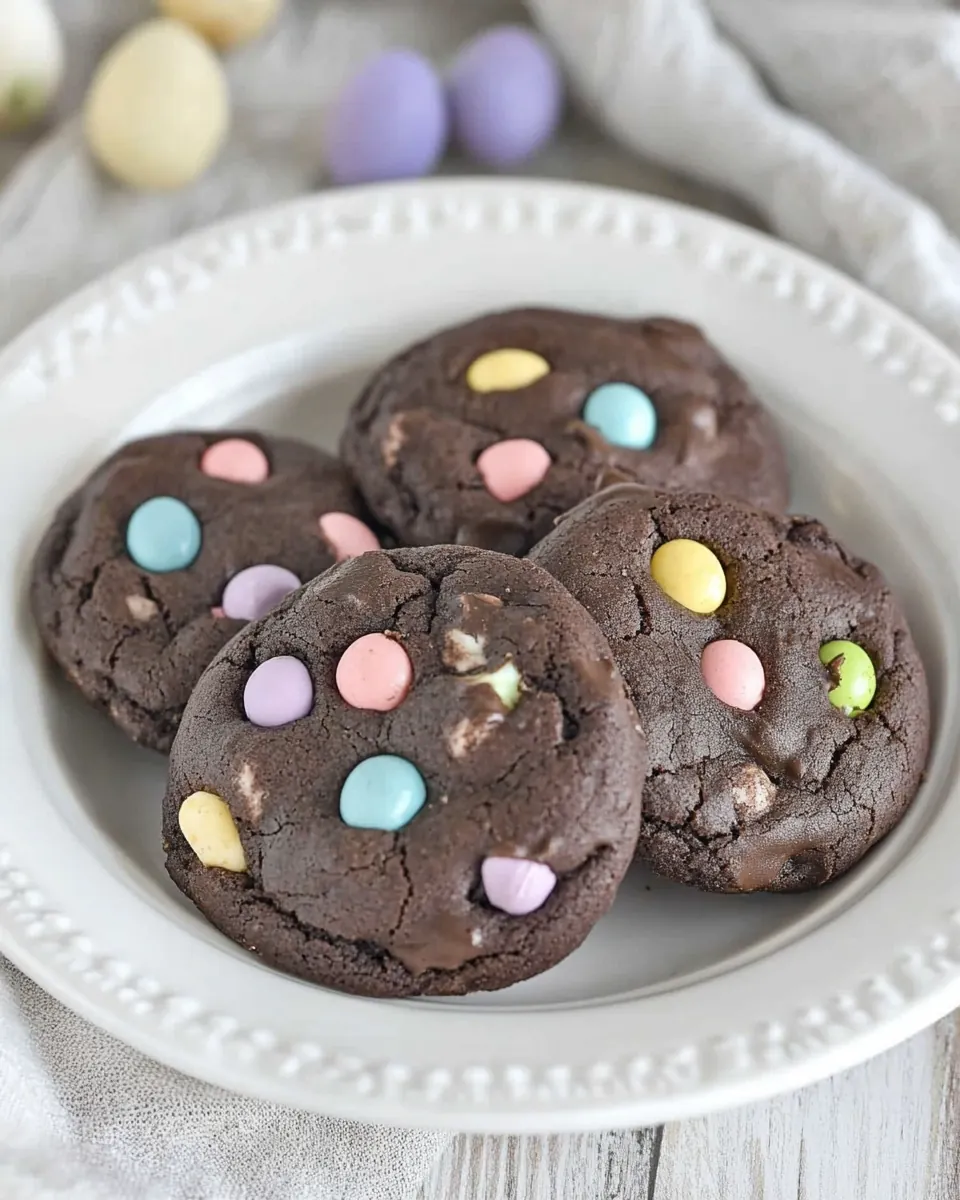
What I love is how these treats bridge brownies and cookies, giving you a fudgy center and a slightly crinkled top, with colorful little candies adding a playful crunch. When guests arrive, I always tuck a few extras on the platter, and the candies make them instantly festive. If you want a dessert that is both nostalgic and easy to pull off while you host, these are it.
Recipe Snapshot
25 mins
15 mins
10 mins
Medium
150 kcal
American
Gluten-Free, Low FODMAP
Desserts
Microwave safe bowl, Mixing spoon, Parchment lined cookie sheet, Cooling rack
Why This Easter Brownie Cookies Stands Out
Fudgy and Portable
I adore the way Easter Brownie Cookies capture that dense, fudgy quality of a brownie while being perfectly portioned for parties. You get rich unsweetened chocolate and soft centers that are easy to hand to guests, no cutting required.
Kid Friendly and Festive
We always include the Easter M&Ms because they make the cookies instantly playful. Kids love pressing the candies into the warm tops, and adults appreciate the nod to holiday nostalgia. It is a small detail with big emotional payoff.
Quick and Reliable
From measuring to pulling a tray of warm cookies, these come together fast. Because you melt the unsweetened chocolate and butter together, the batter is forgiving, and the method yields consistent fudgy results with minimal fuss.
Textural Contrast
The combination of semi sweet chocolate chips and the candy coating gives you both gooey pockets of chocolate and tiny crunchy bursts. That contrast keeps every bite interesting, and it makes the cookies feel more complex than their short ingredient list implies.
Perfect for Gathering
When I bring a batch to a gathering, they disappear quickly. They are easy to transport, and they look charming on a platter. For casual celebrations, these cookies hit the sweet spot between homemade warmth and festive presentation.
Everything You Need for Easter Brownie Cookies
I believe in simple, trustworthy ingredients that work together to create depth and texture. For Easter Brownie Cookies, the stars are the chocolate and eggs, which create a fudgy structure, while the flour and sugar balance moisture and sweetness. The chocolate chips and candy add pockets of sweetness and playful color, making these cookies both rich and celebratory.
- 6 ounces unsweetened chocolate, chopped: Melt and provide deep chocolate flavor and structure; chopped unsweetened chocolate brings intense cocoa richness and helps set the fudgy base when combined with butter and eggs. Add slowly over low heat or in a double boiler to avoid scorching and ensure a smooth consistency that disperses evenly through the batter.
- 1/2 cup butter: Cream to incorporate fat and create a tender crumb; butter contributes moisture, richness, and helps dissolve sugar for a glossy batter. Use softened or melted butter as directed to properly emulsify with the chocolate and eggs, improving mouthfeel and texture in the final cookies.
- 1 3/4 cup sugar: Sweeten and balance bitterness while aiding in structure; sugar caramelizes during baking to add color and a crisp edge while dissolving to help create a chewy center. Measure accurately and mix thoroughly to ensure even sweetness and proper interaction with eggs for lift and chewiness.
- 4 large eggs: Bind and leaven while adding moisture and richness; large eggs create emulsion with fats, trap air when beaten, and contribute to the dense, brownie-like texture of these cookies. Add eggs one at a time and beat until well combined to achieve a uniform batter and optimal rise.
- 1 teaspoon vanilla: Flavor and enhance sweetness without adding moisture; vanilla provides aromatic depth and rounds out the chocolate notes for a more complex taste profile. Use pure vanilla extract for best results and incorporate during mixing to distribute flavor evenly.
- 1 1/4 cup flour: Provide body and structure while controlling density; flour supplies the necessary starches and proteins that form the cookie matrix when hydrated and mixed with eggs and fat. Sift or lightly spoon to measure accurately, then fold gently to avoid overdeveloping gluten and keep the texture tender.
- 3/4 cup semi-sweet chocolate chips: Introduce pockets of melted chocolate and intensified chocolate bursts; semi–sweet chocolate chips add textural contrast and concentrated chocolate flavor throughout the cookies. Fold in near the end of mixing to preserve chip shape and ensure even distribution without overworking the batter.
- 1/2 cup Easter M&Ms: Add colorful crunch and festive sweetness as a topping and mix-in; Easter M&Ms contribute a crisp candy shell and bursts of milk-chocolate that enhance both appearance and bite. Sprinkle on top or gently fold in to maintain candy integrity and create visual appeal on each cookie.
The Process for Making Easter Brownie Cookies
These instructions take you from glossy melted chocolate to warm, fudgy cookies with candy sprinkled on top. I like to move confidently but calmly through each step so the batter stays silky and the cookies finish with that perfect soft center.
- Preheat oven to 350º.: The moment you turn on the oven you begin the transformation. You will notice a gentle hum as the oven warms, and setting it early ensures consistent heat when the cookies go in. This temperature encourages a set exterior while leaving the centers tender. A common mistake is not preheating long enough, which can cause uneven baking and underdeveloped texture.
- Melt the chocolate and butter in a microwave-safe bowl, starting with 60 seconds, stirring, then heating and stirring in 30-second increments until smooth.: As you heat, the butter and unsweetened chocolate will soften and then come together into a glossy, velvety mass. Stirring is key it promotes even melting and prevents scorching. You should smell deep chocolate notes and see the mixture become shiny and homogeneous. If you overheat, the chocolate can grain or seize, so short bursts and stirring prevent that. Avoid using high power or neglecting to stir, which are common pitfalls.
- Add sugar; mix well. Add the eggs and mix until combined. Add the vanilla.: Once the chocolate is warm, the sugar will begin to melt slightly and integrate, creating a satiny sheen. When you whisk in the eggs , the batter will loosen and take on a glossy texture, almost pudding like. The vanilla brightens the flavor, releasing a warm aroma. If the chocolate is too hot when eggs are added, they may scramble, so let the mixture cool a bit before combining. People sometimes rush and end up with curdled batter, which you can usually rescue by cooling the bowl slightly before continuing.
- Add the flour and mix until incorporated. Add chocolate chips and mix until well distributed.: As you fold in the flour , the batter will thicken and transform from silky to more cohesive, signaling it is ready to hold shape. The semi sweet chocolate chips will sink into and become partly enrobed in batter, promising molten pockets after baking. Mix gently to avoid developing gluten which can toughen the cookies. Overmixing is the typical error here, leading to denser, chewier results than intended.
- If the dough is too soft, let it sit at room temperature for a few minutes until it firms up.: Allowing the dough to rest gives the flour time to hydrate and the batter to become easier to scoop. You will feel a change as it firms slightly, making neat rounded drops feasible. This short pause often improves shape retention during baking. Be careful not to let it sit too long, which can cool it excessively and change baking time.
- Drop by rounded tablespoons onto parchment-lined cookie sheet. Bake for 10 minutes. The centers should still look underbaked.: As you scoop, the dough will hold a rounded form and the surface will develop small cracks in the oven. While baking, you will smell rich chocolate baking and see edges set while centers remain glossy and slightly soft, which is exactly what you want for that fudgy bite. Removing them while the centers look underbaked ensures they finish perfectly as they cool. Leaving them in too long leads to a firmer, less brownie like interior, which is the most common misstep.
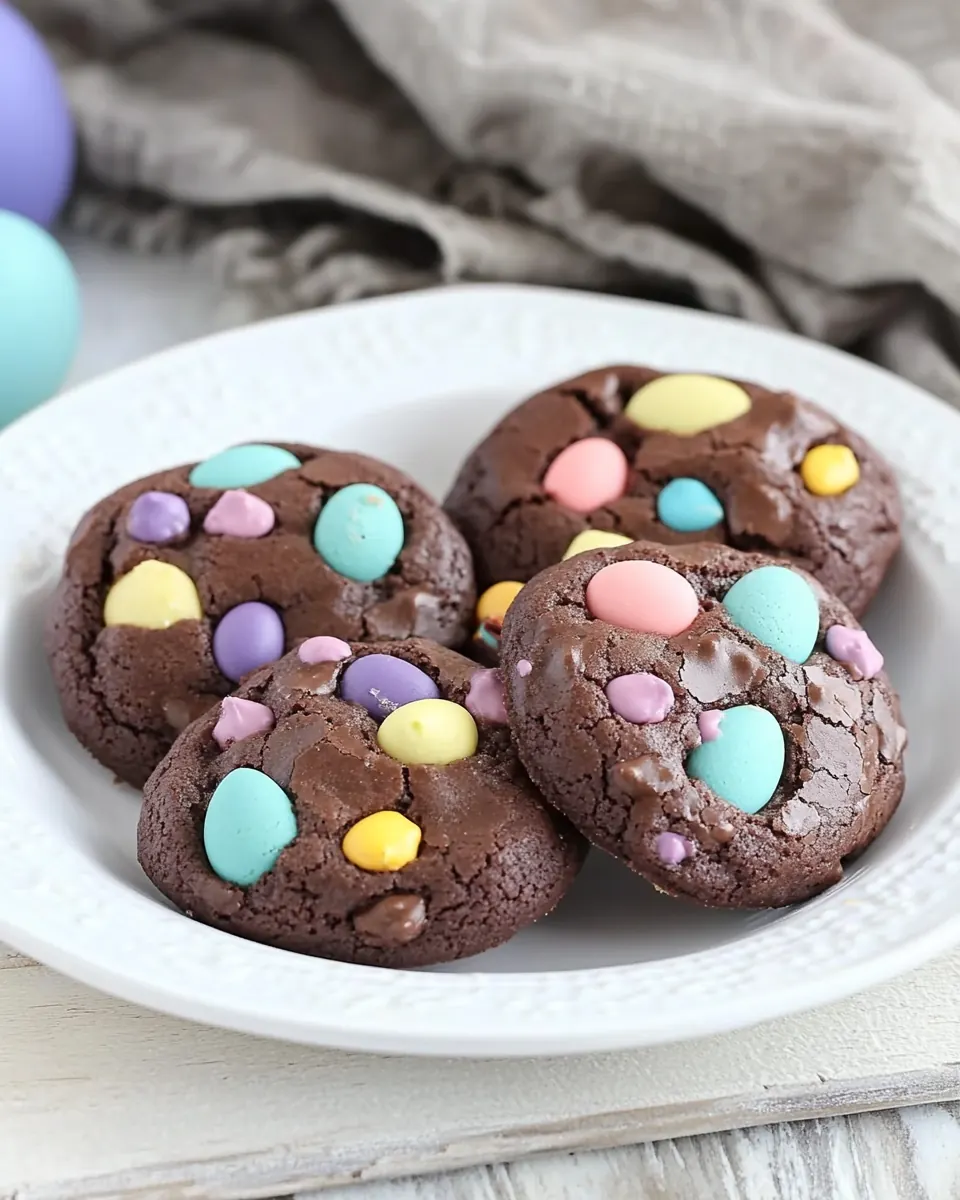
- Carefully press 4 or so M&Ms onto the top of the cookies to garnish, if desired, before the cookies are cool.: When the cookies come out, they will still be warm and a touch glossy, the ideal moment to press in the Easter M&Ms . The candies will adhere and keep their bright color, offering a satisfying snap. Doing this too late means the candies may not stick, while doing it too early can cause them to sink and melt slightly, so timing matters.
- Cool on the pan for 10 minutes before removing to a cooling rack.: The cookies continue to set as they cool on the pan, and you will notice the centers firming to a tender, sliceable texture. Ten minutes allows them to stabilize, making transfer safe without breaking. If moved too soon, they can fall apart, and if left too long on a hot pan, they can overcook from residual heat.
Variations to Try
Once you have the basic rhythm of melting, mixing, and dropping dough, small variations can make these cookies feel fresh. Below are thoughtful ways to tweak texture, sweetness, and presentation while keeping the core method intact.
- Swap the candy for other seasonal pieces Try different colorful candy coatings for other holidays to change the look while preserving the fudgy interior.
- Add a sprinkle of flaky salt A tiny pinch of salt on top brightens the chocolate and balances sweetness, enhancing the overall flavor profile.
- Try a double chocolate approach Fold in extra semi sweet chocolate chips for more gooey pockets if you like intense chocolate bursts in every bite.
- Chill slightly before scooping if your kitchen is warm A firmer dough helps keep the cookies from spreading too thin during baking.
- Use high quality chocolate Better chocolate delivers deeper, cleaner cocoa notes, which really elevates these simple cookies.
What to Pair With Easter Brownie Cookies
These cookies are versatile for different occasions, from casual snack tables to holiday dessert platters. They pair well with simple accompaniments and fit both relaxed gatherings and more festive celebrations.
- Serve on a dessert platter Arrange Easter Brownie Cookies with plain cookies for color contrast and variety, making a centerpiece that invites sampling.
- Offer warm beverages Pair with coffee or hot chocolate for a cozy pairing, the hot drink cutting through the fudgy richness and enhancing chocolate notes.
- Pack for picnics or school parties These cookies travel well at room temperature, making them ideal for outdoor spring events and classroom treats.
- Holiday presentation Use pastel napkins and small doilies for Easter gatherings to emphasize the festive candies and make the platter look extra special.
- Storage tips Store in an airtight container at room temperature for up to three days, or freeze in a single layer and transfer to a bag for longer keeping.
- Occasions Perfect for spring celebrations, family brunches, and casual dessert tables where easy, shareable sweets are welcome.
FAQ
Conclusion
These cookies stand out because they deliver rich, fudgy brownie texture in a perfectly portable cookie format, with cheerful candy accents that make them holiday ready. I hope this encourages you to pull out a bowl and give them a try, they are forgiving and quick enough to make even on a busy afternoon. Share them with friends or tuck a few into snack containers, and enjoy the way a simple batch can brighten a gathering and bring back sweet memories.

Easter Brownie Cookies
Equipment
- Microwave-safe Bowl
- Mixing Spoon
- Parchment-lined cookie sheet
- Cooling rack
Ingredients
- 6 ounces unsweetened chocolate, chopped Melt and provide deep chocolate flavor and structure; chopped unsweetened chocolate brings intense cocoa richness and helps set the fudgy base when combined with butter and eggs. Add slowly over low heat or in a double boiler to avoid scorching and ensure a smooth consistency that disperses evenly through the batter.
- 1/2 cup butter Cream to incorporate fat and create a tender crumb; butter contributes moisture, richness, and helps dissolve sugar for a glossy batter. Use softened or melted butter as directed to properly emulsify with the chocolate and eggs, improving mouthfeel and texture in the final cookies.
- 1 3/4 cup sugar Sweeten and balance bitterness while aiding in structure; sugar caramelizes during baking to add color and a crisp edge while dissolving to help create a chewy center. Measure accurately and mix thoroughly to ensure even sweetness and proper interaction with eggs for lift and chewiness.
- 4 large eggs Bind and leaven while adding moisture and richness; large eggs create emulsion with fats, trap air when beaten, and contribute to the dense, brownie-like texture of these cookies. Add eggs one at a time and beat until well combined to achieve a uniform batter and optimal rise.
- 1 teaspoon vanilla Flavor and enhance sweetness without adding moisture; vanilla provides aromatic depth and rounds out the chocolate notes for a more complex taste profile. Use pure vanilla extract for best results and incorporate during mixing to distribute flavor evenly.
- 1 1/4 cup flour Provide body and structure while controlling density; flour supplies the necessary starches and proteins that form the cookie matrix when hydrated and mixed with eggs and fat. Sift or lightly spoon to measure accurately, then fold gently to avoid overdeveloping gluten and keep the texture tender.
- 3/4 cup semi-sweet chocolate chips Introduce pockets of melted chocolate and intensified chocolate bursts; semi-sweet chocolate chips add textural contrast and concentrated chocolate flavor throughout the cookies. Fold in near the end of mixing to preserve chip shape and ensure even distribution without overworking the batter.
- 1/2 cup Easter M&Ms Add colorful crunch and festive sweetness as a topping and mix-in; Easter M&Ms contribute a crisp candy shell and bursts of milk-chocolate that enhance both appearance and bite. Sprinkle on top or gently fold in to maintain candy integrity and create visual appeal on each cookie.
Instructions
- Preheat oven to 350º.: The moment you turn on the oven you begin the transformation. You will notice a gentle hum as the oven warms, and setting it early ensures consistent heat when the cookies go in. This temperature encourages a set exterior while leaving the centers tender. A common mistake is not preheating long enough, which can cause uneven baking and underdeveloped texture.
- Melt the chocolate and butter in a microwave-safe bowl, starting with 60 seconds, stirring, then heating and stirring in 30-second increments until smooth.: As you heat, the butter and unsweetened chocolate will soften and then come together into a glossy, velvety mass. Stirring is key it promotes even melting and prevents scorching. You should smell deep chocolate notes and see the mixture become shiny and homogeneous. If you overheat, the chocolate can grain or seize, so short bursts and stirring prevent that. Avoid using high power or neglecting to stir, which are common pitfalls.
- Add sugar; mix well. Add the eggs and mix until combined. Add the vanilla.: Once the chocolate is warm, the sugar will begin to melt slightly and integrate, creating a satiny sheen. When you whisk in the eggs , the batter will loosen and take on a glossy texture, almost pudding like. The vanilla brightens the flavor, releasing a warm aroma. If the chocolate is too hot when eggs are added, they may scramble, so let the mixture cool a bit before combining. People sometimes rush and end up with curdled batter, which you can usually rescue by cooling the bowl slightly before continuing.
- Add the flour and mix until incorporated. Add chocolate chips and mix until well distributed.: As you fold in the flour , the batter will thicken and transform from silky to more cohesive, signaling it is ready to hold shape. The semi sweet chocolate chips will sink into and become partly enrobed in batter, promising molten pockets after baking. Mix gently to avoid developing gluten which can toughen the cookies. Overmixing is the typical error here, leading to denser, chewier results than intended.
- If the dough is too soft, let it sit at room temperature for a few minutes until it firms up.: Allowing the dough to rest gives the flour time to hydrate and the batter to become easier to scoop. You will feel a change as it firms slightly, making neat rounded drops feasible. This short pause often improves shape retention during baking. Be careful not to let it sit too long, which can cool it excessively and change baking time.
- Drop by rounded tablespoons onto parchment-lined cookie sheet. Bake for 10 minutes. The centers should still look underbaked.: As you scoop, the dough will hold a rounded form and the surface will develop small cracks in the oven. While baking, you will smell rich chocolate baking and see edges set while centers remain glossy and slightly soft, which is exactly what you want for that fudgy bite. Removing them while the centers look underbaked ensures they finish perfectly as they cool. Leaving them in too long leads to a firmer, less brownie like interior, which is the most common misstep.
- Carefully press 4 or so M&Ms onto the top of the cookies to garnish, if desired, before the cookies are cool.: When the cookies come out, they will still be warm and a touch glossy, the ideal moment to press in the Easter M&Ms . The candies will adhere and keep their bright color, offering a satisfying snap. Doing this too late means the candies may not stick, while doing it too early can cause them to sink and melt slightly, so timing matters.
- Cool on the pan for 10 minutes before removing to a cooling rack.: The cookies continue to set as they cool on the pan, and you will notice the centers firming to a tender, sliceable texture. Ten minutes allows them to stabilize, making transfer safe without breaking. If moved too soon, they can fall apart, and if left too long on a hot pan, they can overcook from residual heat.
Notes
- Swap the candy for other seasonal pieces Try different colorful candy coatings for other holidays to change the look while preserving the fudgy interior.
- Add a sprinkle of flaky salt A tiny pinch of salt on top brightens the chocolate and balances sweetness, enhancing the overall flavor profile.
- Try a double chocolate approach Fold in extra semi sweet chocolate chips for more gooey pockets if you like intense chocolate bursts in every bite.
- Chill slightly before scooping if your kitchen is warm A firmer dough helps keep the cookies from spreading too thin during baking.
- Use high quality chocolate Better chocolate delivers deeper, cleaner cocoa notes, which really elevates these simple cookies.