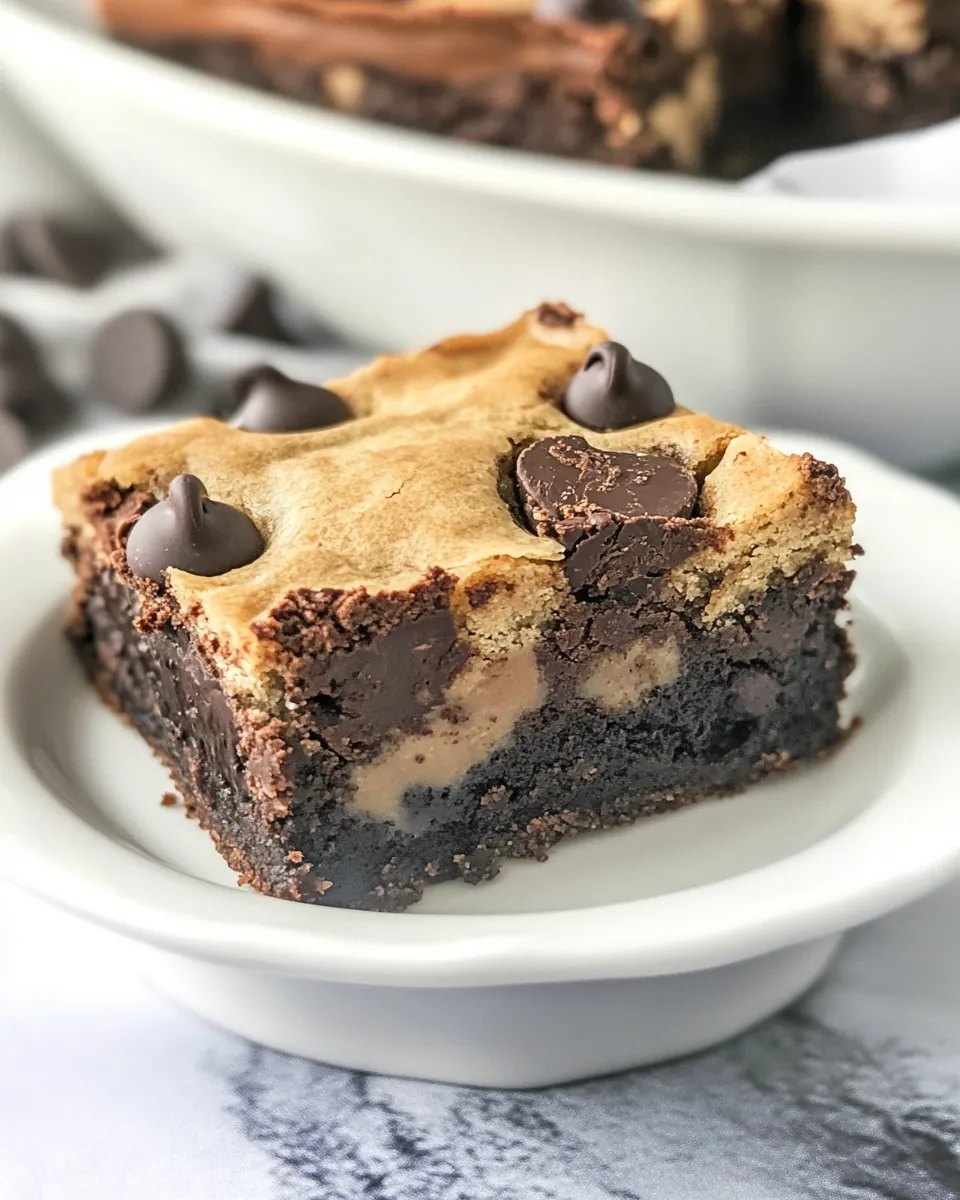
Brookie Bars
Brookie Bars are the kitchen equivalent of a warm hug, and I still remember the first time I tasted one fresh from the oven. I was elbow deep in flour and curiosity, experimenting with a brownie batter and cookie dough because I wanted something that felt indulgent but also shareable. That first batch was slightly messy, gleaming with molten chocolate and dotted with chewy cookie islands, and everyone at the table kept reaching for another piece.
Over the years I have tweaked the balance between fudgy cocoa powder and tender cookie flour so the two layers play nicely together, rather than competing. I like making them when I need a crowd pleaser for an informal gathering, or whenever I want to treat myself to something a little bit nostalgic. They are a reliable recipe that never asks for pomp, just good ingredients and a forgiving oven.
When I make Brookie Bars now, I think about texture first, then sweetness. Those chunks of cookie dough scattered on top create pockets of chewiness against the dense, chocolatey brownie base, and that contrast is what keeps me coming back. They are one of those recipes that reward small hands shaping dough, and that makes them perfect for casual afternoons with friends or family. Pull a pan from the oven, let it cool just enough to slice, and you have an instant crowd magnet.
Recipe Snapshot
55 mins
20 mins
35 mins
Medium
250 kcal
American
Gluten-Free, Low FODMAP
Desserts
9 x 13 inch pan, Wire rack, Mixing bowl, Wooden spoon
Why This Brookie Bars Works
They combine two classics into one
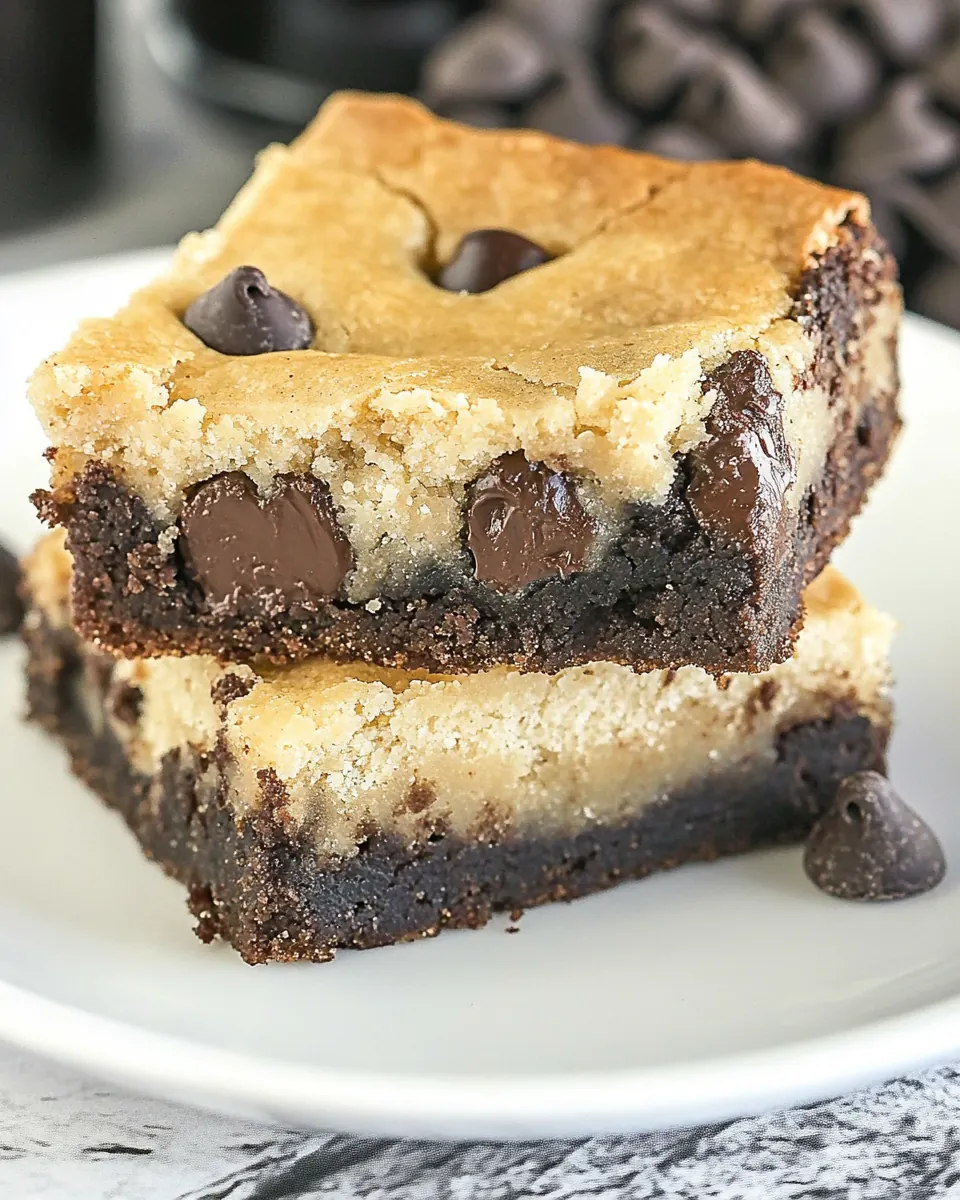
I love that Brookie Bars unite fudgy cocoa powder brownies and buttery cookie dough, so you get the best of both worlds in a single bite. Each forkful hits you with deep chocolate notes followed by a sweet, slightly crunchy cookie finish. For me, that duality is the main reason these bars are such a hit at gatherings.
Textural contrast that keeps people coming back
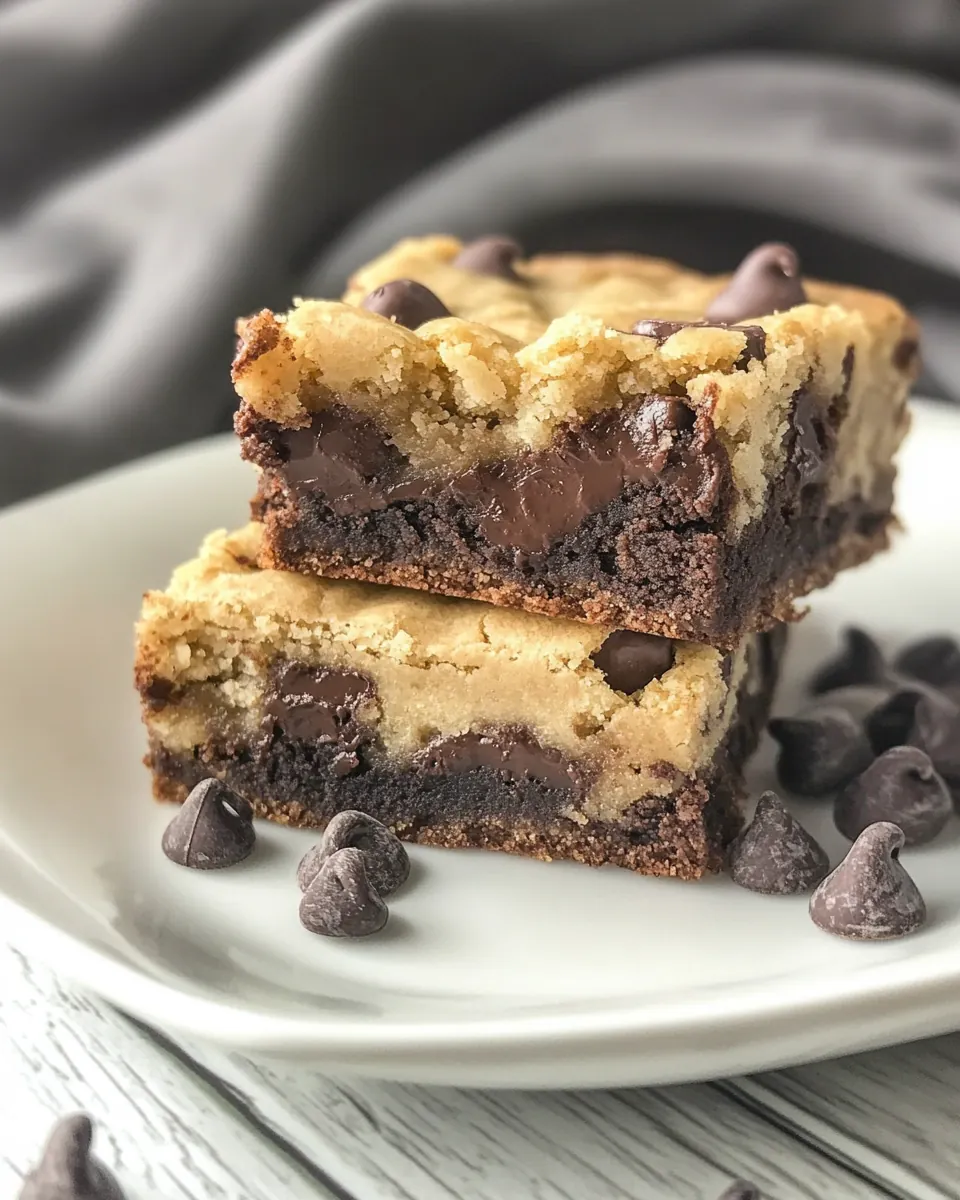
The contrast between a dense, slightly gooey brownie layer and tender, chewy cookie pieces on top makes every mouthful interesting. I often tell guests to expect pockets of warm, melty chocolate beside more structured cookie bites, which keeps everyone reaching for another piece. The interplay of textures is what elevates this from simply good to memorably addictive.
Simple pantry ingredients
You do not need fancy pantry items to pull this off. With basic staples like flour, sugar, eggs, and butter, you can make something that tastes like it came from a bakery. That approach makes these bars an easy go to when you want a quick, crowd pleasing dessert without complicated shopping.
Very forgiving to make
I often recommend Brookie Bars to newer bakers because the method is forgiving; slight overmixing or small timing shifts rarely ruin the overall result. You can tweak how fudgy or set you want the brownie layer by a few minutes in the oven, and the cookie pieces still hold together. That flexibility gives you room to experiment without fear.
Great for sharing and gifting
These bars cut into neat squares that travel well, which is why I bring them to potlucks and casual parties. They feel homemade and thoughtful, yet they slice and package like something more polished. I love giving a tin of these to friends, because they are universally enjoyed and speak the language of comfort food.
Main Ingredients for Brookie Bars
These ingredients are chosen to create a balanced, nostalgic bar where the brownie layer delivers rich chocolate intensity and the cookie pieces add buttery chew. I focus on a few reliable players that provide structure, moisture, and sweetness, so the finished bars have height without being cakey and pockets of cookie that stay tender.
- 2 cup s sugar: Provides sweetness and structure, dissolving into the batter to tenderize and caramelize during baking; helps balance cocoa bitterness and enhances overall flavor depth in the brookie bars.
- 2/3 cup cocoa powder: Adds rich chocolate flavor and contributes to a fudgy texture when combined with butter and sugar; can intensify bitterness if overused, so it should be properly measured and sifted to avoid lumps.
- 1 cup melted butter: Contributes fat for moisture, richness, and a smooth mouthfeel; melted form disperses evenly with cocoa and sugar to create a dense, brownie-like crumb in the bars.
- 4 eggs: Binds ingredients, adds moisture, and leavens slightly while creating structure through coagulated proteins; whisking eggs with sugar incorporates air that helps the bars set correctly.
- 2 teaspoon s vanilla: Imparts aromatic sweetness and rounds out flavors, enhancing both chocolate and vanilla notes; small amount elevates overall complexity without overpowering the brookie profile.
- 1 1/2 cup s flour: Provides the necessary bulk and structure, forming the framework that sets during baking; proper mixing avoids gluten overdevelopment to keep the bars tender rather than cakey.
- 1/2 teaspoon salt: Balances sweetness and enhances flavor perception while controlling dough chemistry; salt also strengthens gluten slightly and elevates other ingredients when used in moderation.
Cooking Method for Brookie Bars
These directions are straightforward, and the recipe unfolds in approachable stages so you can focus on texture and timing. I like to work from the brownie layer first, then build the cookie pieces, so you end up with clean layers and the right balance of fudginess and chew.
- Spray a 9 x 13 pan with non-stick baking spray or line the pan with non-stick foil. Preheat the oven to 350º.: As the oven warms, you will notice a faint metallic smell as the heat comes up, and the kitchen will start to feel toasty. Getting the pan prepared prevents sticking and helps you lift the bars out cleanly after baking, which makes slicing simpler. A common mistake is skipping the liner and then struggling to remove the bars, so take the minute to spray or line the pan. If your oven takes a bit longer to reach temperature, give it extra time so heat is consistent when the pan goes in.
- Stir together the butter, sugar, eggs, and vanilla.: Once combined, the mixture will be glossy and slightly airy, and you might hear gentle plopping sounds as the spatula cuts through. This step creates a smooth base for the brownie layer, with the butter dissolving the sugar so the batter becomes cohesive. If you overmix vigorously with a mixer, you can incorporate extra air, which can change the texture to be cakier, so use gentle strokes and stop when uniform.
- Add flour, cocoa, salt, and mix until combined. Spread in prepared pan.: The batter will darken and thicken as the flour and cocoa powder are incorporated, releasing a rich chocolate scent. Use a spatula to fold until no dry streaks remain, and scrape the bowl sides so everything is evenly mixed. Spread the batter evenly in the pan so the brownies bake uniformly; an uneven layer can cause thinner edges to overbake while the center remains too soft.
- To make the cookie dough layer, beat butter and sugars.: As you cream these together, you will notice the mixture lighten in color and become fluffy, with a soft, grainy sound from the sugar. This aeration gives the cookie pieces a tender crumb and a pleasant chew after baking. Avoid overcreaming to the point where it becomes overly pale, as that can change the texture of the cookie pieces and make them less cohesive when placed on the brownie layer.
- Add eggs and vanilla and mix until combined.: The mixture will loosen and take on a smoother sheen, and a vanilla aroma will lift the scent profile. These liquids help bind the dry elements of the cookie dough and provide structure. Under mixing here can leave pockets of dry ingredients, while overmixing can make the dough too soft for shaping, so mix until everything is evenly incorporated.
- Add dry ingredients and using a wooden spoon, mix until combined. Fold in chips.: The dough will thicken and become workable, and folding in chocolate chips creates bursts of melty texture in the finished bars. Using a wooden spoon gives you tactile feedback on the dough’s consistency, so you can stop when it holds together without being greasy. A common error is adding too much flour accidentally, which will stiffen the dough, so measure carefully.
- Flatten pieces of dough in your hands and lay across the brownie layer to cover.: Working by hand you will feel the dough tacky but manageable; shaping small pieces lets you distribute cookie islands across the brownie surface for even coverage. The tactile process helps you gauge size and spacing, which affects how much cookie per bite you get. If the dough becomes too soft from warm hands, chill briefly so it holds shape when placed on the batter.
- Sprinkle on a few more chips. Bake 30-35 mins.: During baking the kitchen will fill with a toasty, chocolatey aroma and you might hear tiny crackles as the top sets. The edges will start to pull slightly away from the pan and the surface will look set while the center retains a bit of jiggle. A common mistake is leaving them in too long, which dries the bars; aim for edges set and center just barely firm. Rotate the pan halfway if your oven has hot spots to ensure even color.
- Cool on a wire rack before cutting.: Cooling allows the center to finish setting and the bars to hold their shape, and you will notice steam fading and the scent softening as they rest. Cutting too soon can smear and lose those defined layers, so patience results in cleaner slices. If you need them faster, chill briefly but be aware the texture tightens when cold.
How to Switch It Up

These ideas keep the essence of Brookie Bars while letting you personalize texture and flavor. Small swaps can change the mood from richly chocolate to more buttery or nutty, and they still work with the same method below.
- Boost the chocolate: Fold extra chocolate chips into the brownie layer for pockets of molten chocolate that intensify each bite.
- Change the chips: Use dark or milk chips depending on your sweetness preference, which alters the balance between the brownie and cookie pieces.
- Mix in nuts: Add chopped nuts into the cookie dough for crunch, taking care not to overwhelm the texture contrast.
- Adjust sweetness: Reduce the sugar slightly if you prefer a less sweet bar, which will let the cocoa flavor shine more prominently.
- Chill before slicing: Refrigerate the cooled pan for cleaner cuts and firmer layers if you need to transport the bars.
Great Combinations for Brookie Bars
These serving ideas help you present Brookie Bars in ways that suit casual gatherings, dessert tables, or simple snacks. Think about temperature contrasts and presentation to make them feel special.
- Serve slightly warm: Warm squares highlight gooey chocolate pockets, ideal for cozy evenings or informal dessert service.
- Plate with coffee: Pair with a hot cup of coffee for a breakfast treat or afternoon break, the bitter notes balance the sweetness nicely.
- Pack for potlucks: Cut into small squares for bite sized portions that are easy to share at parties or office gatherings.
- Gift in tins: Arrange cooled bars in a decorative tin for a homemade present that travels well and feels thoughtful.
- Seasonal occasions: These bars work well year round, from casual picnics to holiday cookie trays, making them a versatile dessert option.
- Storage tips: Store in an airtight container at room temperature for up to three days, or refrigerate for firmer texture if you like clean slices.
FAQ
Conclusion
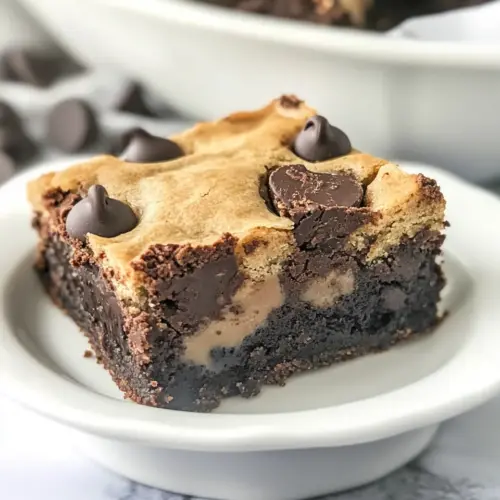
What makes this recipe special is the satisfying union of a fudgy brownie base and buttery cookie pieces that create a delightful contrast in every bite. I encourage you to give Brookie Bars a try the next time you want an easy yet memorable dessert, whether for a casual gathering or a cozy night in. These bars are forgiving, shareable, and endlessly adaptable, so have fun with small tweaks and enjoy the smiles they bring around the table.
Brookie Bars
Equipment
- 9 x 13-inch pan
- Wire Rack
- Mixing Bowl
- Wooden Spoon
Ingredients
- 2 cup s sugar Provides sweetness and structure, dissolving into the batter to tenderize and caramelize during baking; helps balance cocoa bitterness and enhances overall flavor depth in the brookie bars.
- 2/3 cup cocoa powder Adds rich chocolate flavor and contributes to a fudgy texture when combined with butter and sugar; can intensify bitterness if overused, so it should be properly measured and sifted to avoid lumps.
- 1 cup melted butter Contributes fat for moisture, richness, and a smooth mouthfeel; melted form disperses evenly with cocoa and sugar to create a dense, brownie-like crumb in the bars.
- 4 eggs Binds ingredients, adds moisture, and leavens slightly while creating structure through coagulated proteins; whisking eggs with sugar incorporates air that helps the bars set correctly.
- 2 teaspoon s vanilla Imparts aromatic sweetness and rounds out flavors, enhancing both chocolate and vanilla notes; small amount elevates overall complexity without overpowering the brookie profile.
- 1 1/2 cup s flour Provides the necessary bulk and structure, forming the framework that sets during baking; proper mixing avoids gluten overdevelopment to keep the bars tender rather than cakey.
- 1/2 teaspoon salt Balances sweetness and enhances flavor perception while controlling dough chemistry; salt also strengthens gluten slightly and elevates other ingredients when used in moderation.
Instructions
- Spray a 9 x 13 pan with non-stick baking spray or line the pan with non-stick foil. Preheat the oven to 350º.: As the oven warms, you will notice a faint metallic smell as the heat comes up, and the kitchen will start to feel toasty. Getting the pan prepared prevents sticking and helps you lift the bars out cleanly after baking, which makes slicing simpler. A common mistake is skipping the liner and then struggling to remove the bars, so take the minute to spray or line the pan. If your oven takes a bit longer to reach temperature, give it extra time so heat is consistent when the pan goes in.
- Stir together the butter, sugar, eggs, and vanilla.: Once combined, the mixture will be glossy and slightly airy, and you might hear gentle plopping sounds as the spatula cuts through. This step creates a smooth base for the brownie layer, with the butter dissolving the sugar so the batter becomes cohesive. If you overmix vigorously with a mixer, you can incorporate extra air, which can change the texture to be cakier, so use gentle strokes and stop when uniform.
- Add flour, cocoa, salt, and mix until combined. Spread in prepared pan.: The batter will darken and thicken as the flour and cocoa powder are incorporated, releasing a rich chocolate scent. Use a spatula to fold until no dry streaks remain, and scrape the bowl sides so everything is evenly mixed. Spread the batter evenly in the pan so the brownies bake uniformly; an uneven layer can cause thinner edges to overbake while the center remains too soft.
- To make the cookie dough layer, beat butter and sugars.: As you cream these together, you will notice the mixture lighten in color and become fluffy, with a soft, grainy sound from the sugar. This aeration gives the cookie pieces a tender crumb and a pleasant chew after baking. Avoid overcreaming to the point where it becomes overly pale, as that can change the texture of the cookie pieces and make them less cohesive when placed on the brownie layer.
- Add eggs and vanilla and mix until combined.: The mixture will loosen and take on a smoother sheen, and a vanilla aroma will lift the scent profile. These liquids help bind the dry elements of the cookie dough and provide structure. Under mixing here can leave pockets of dry ingredients, while overmixing can make the dough too soft for shaping, so mix until everything is evenly incorporated.
- Add dry ingredients and using a wooden spoon, mix until combined. Fold in chips.: The dough will thicken and become workable, and folding in chocolate chips creates bursts of melty texture in the finished bars. Using a wooden spoon gives you tactile feedback on the dough’s consistency, so you can stop when it holds together without being greasy. A common error is adding too much flour accidentally, which will stiffen the dough, so measure carefully.
- Flatten pieces of dough in your hands and lay across the brownie layer to cover.: Working by hand you will feel the dough tacky but manageable; shaping small pieces lets you distribute cookie islands across the brownie surface for even coverage. The tactile process helps you gauge size and spacing, which affects how much cookie per bite you get. If the dough becomes too soft from warm hands, chill briefly so it holds shape when placed on the batter.
- Sprinkle on a few more chips. Bake 30-35 mins.: During baking the kitchen will fill with a toasty, chocolatey aroma and you might hear tiny crackles as the top sets. The edges will start to pull slightly away from the pan and the surface will look set while the center retains a bit of jiggle. A common mistake is leaving them in too long, which dries the bars; aim for edges set and center just barely firm. Rotate the pan halfway if your oven has hot spots to ensure even color.
- Cool on a wire rack before cutting.: Cooling allows the center to finish setting and the bars to hold their shape, and you will notice steam fading and the scent softening as they rest. Cutting too soon can smear and lose those defined layers, so patience results in cleaner slices. If you need them faster, chill briefly but be aware the texture tightens when cold.
Notes
- Boost the chocolate: Fold extra chocolate chips into the brownie layer for pockets of molten chocolate that intensify each bite.
- Change the chips: Use dark or milk chips depending on your sweetness preference, which alters the balance between the brownie and cookie pieces.
- Mix in nuts: Add chopped nuts into the cookie dough for crunch, taking care not to overwhelm the texture contrast.
- Adjust sweetness: Reduce the sugar slightly if you prefer a less sweet bar, which will let the cocoa flavor shine more prominently.
- Chill before slicing: Refrigerate the cooled pan for cleaner cuts and firmer layers if you need to transport the bars.