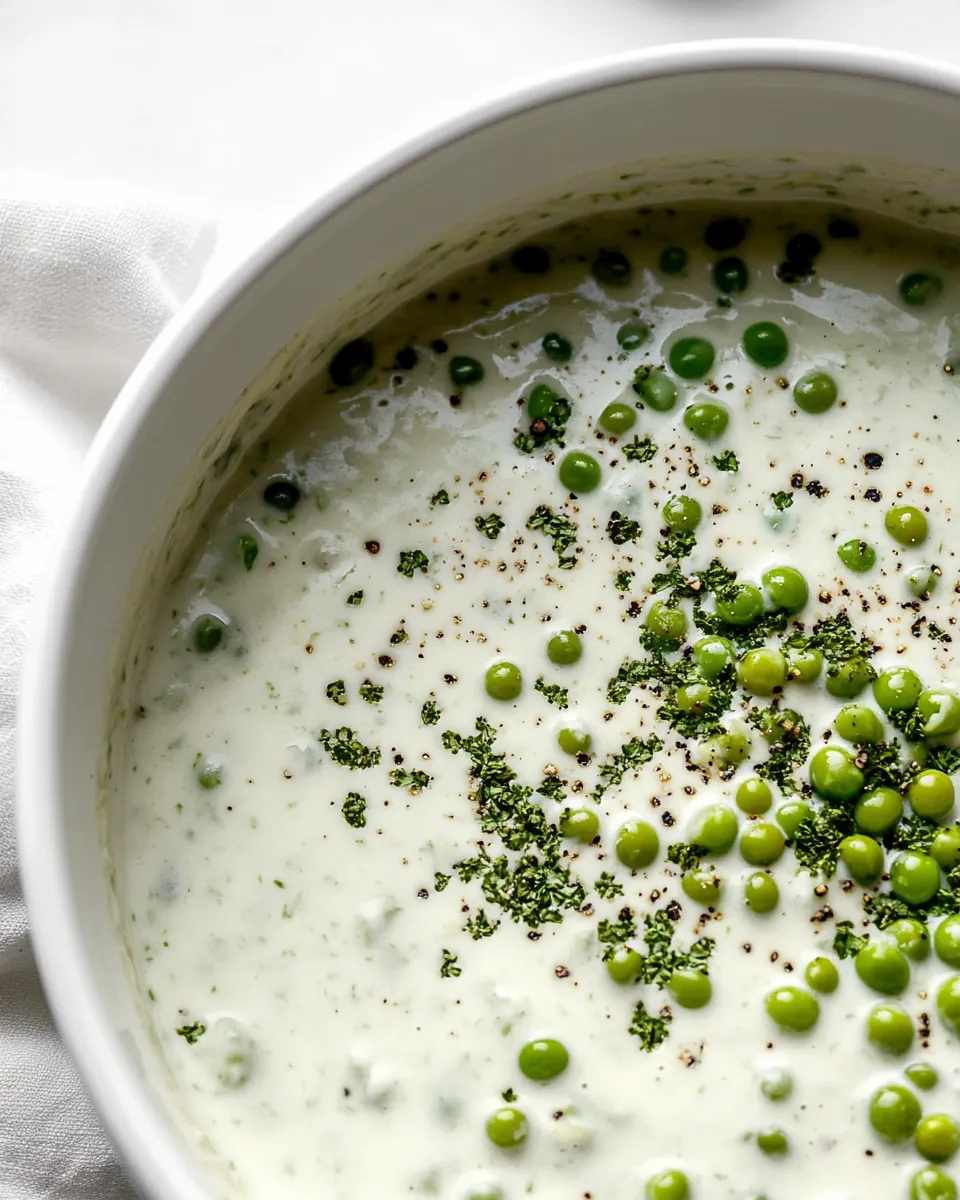
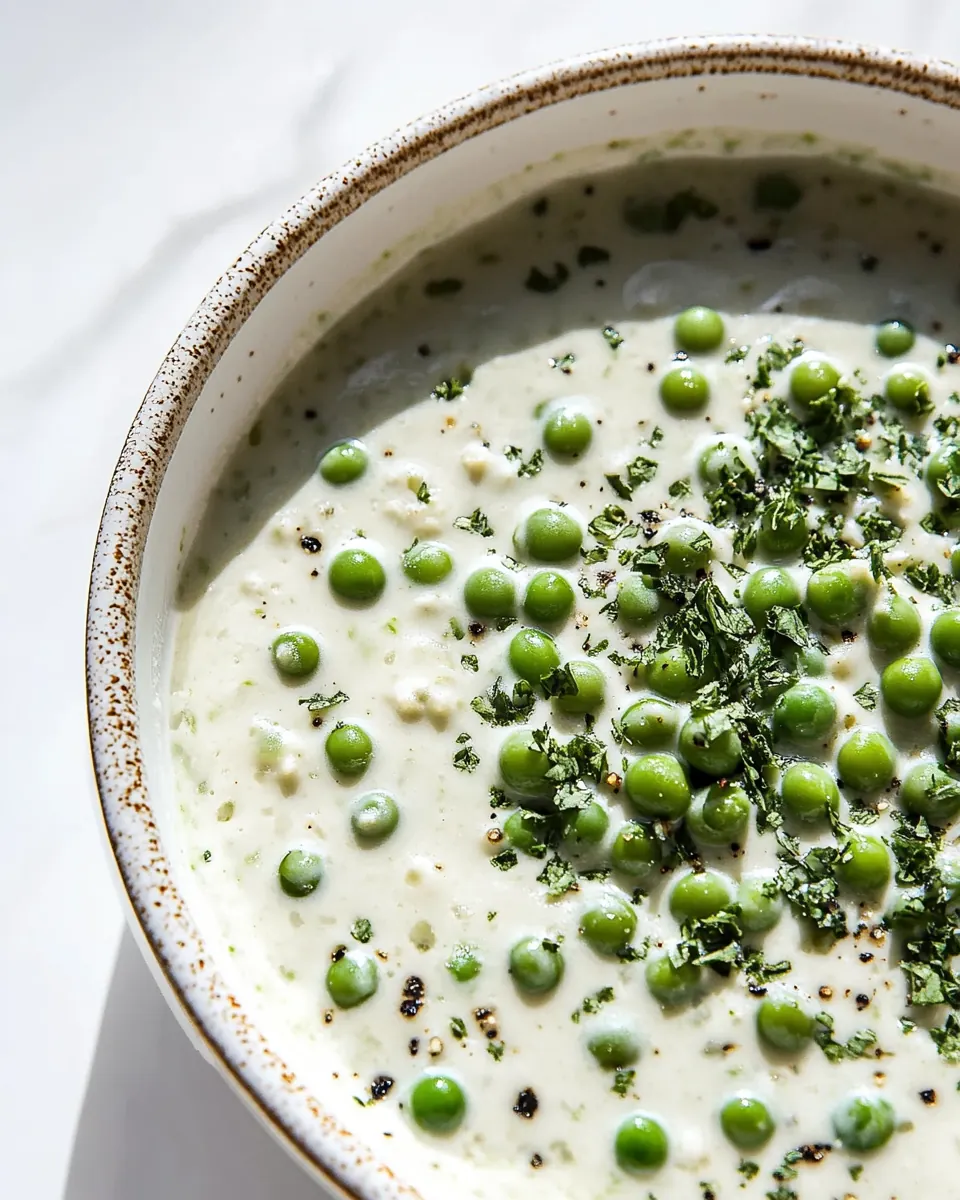
Creamed Peas
Creamed Peas holds the kind of comforting charm that makes me smile every time I stir a pot. I grew up with a simple wooden spoon and a steaming bowl on the table, and this is one of those recipes that brings back the kitchen voices of my family gatherings, where someone always asked for just one more scoop.
I remember the first time I made Creamed Peas for friends who came over after a long day of yard work. We chatted while the saucepan bubbled gently, and when they tasted it they kept commenting on how smooth and homey it was. That evening taught me that a few humble ingredients can feel luxurious when handled with care, and that a small side can transform a whole meal.
Recipe Snapshot
15 mins
5 mins
10 mins
Easy
220 kcal
American
Gluten-Free, Low FODMAP
Side Dishes
Medium saucepan, Whisk, Spoon
The Best Thing About This Creamed Peas
Comfort in a Bowl
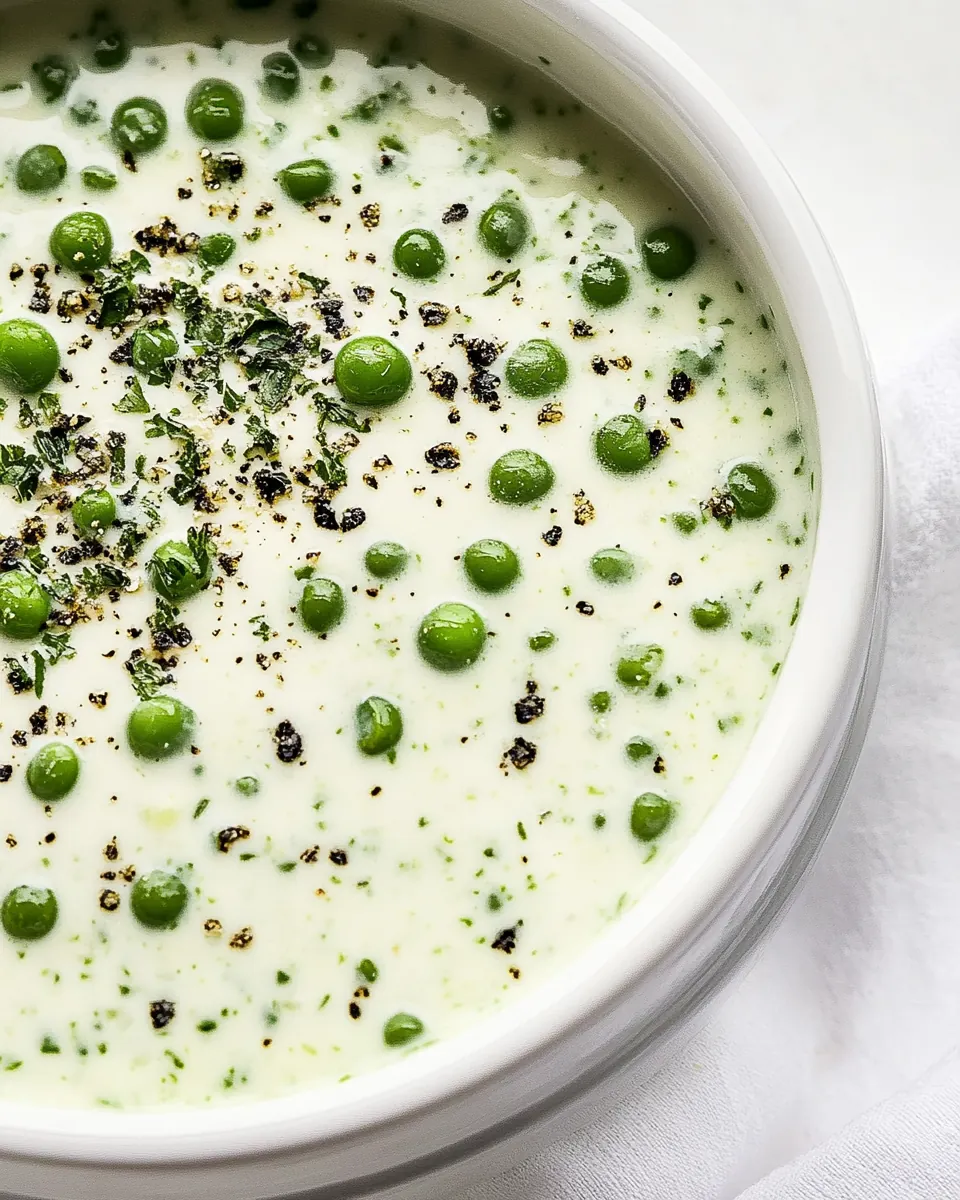
I love how Creamed Peas manages to be both nostalgic and modern. The creamy texture wraps around every bite, and it’s the kind of side dish that comforts without weighing you down. I often find myself making it when I want food that feels like a warm hug, but still pairs easily with lighter mains.
Speed and Simplicity
This recipe shines because it comes together quickly, which is a big reason I reach for it on busy nights. With only a handful of pantry staples and frozen peas, it reduces stress while delivering on flavor. I appreciate recipes that respect my time and still taste like effort was made, and this one does just that.
Ingredient Harmony
The way the unsalted butter, all-purpose flour, and half-and-half work together creates a velvety base that lifts the bright, sweet notes of the peas. I like how the small touches, like a sprinkle of salt and a pinch of ground black pepper, tune the overall flavor without stealing the show. It’s a gentle balance that rewards restraint.
Flexible and Friendly
I value recipes that adapt, and Creamed Peas does exactly that. Whether you want to thin it for a lighter sauce or make it richer, small adjustments keep the texture just right. I’ve also used different milks depending on what’s on hand, and it still tastes reliably good, which makes it a dependable option for last minute meals.
Great Crowd Pleaser
This dish is excellent for sharing, because it complements so many mains without competing. I’ve served it at potlucks and Sunday dinners, and it always disappears fast. People tend to go back for seconds because it’s both familiar and slightly indulgent, a combination that rarely fails.
Recipe Ingredients for Creamed Peas
I pick ingredients that speak to texture and brightness. In this dish the key players are the creamy base made from unsalted butter, all-purpose flour, and half-and-half, which creates a silky coating for the sweet pop of peas. The small seasonings lock everything into a harmonious whole.
- 2 tablespoons unsalted butter: Melted to create a rich base that provides flavor and fat for the sauce; helps prevent curdling and contributes a silky mouthfeel. Use unsalted butter to control overall seasoning and allow the kosher salt to be added separately for precise taste balance.
- 2 tablespoons all-purpose flour: Whisked in to form a roux that thickens the half-and-half into a creamy sauce; cooks briefly to remove raw flour taste. Maintain medium heat and stir constantly so the flour browns lightly without burning, ensuring a smooth, lump-free texture.
- 2 cups half-and-half: Heated and combined with the roux to create the sauce’s creamy body; provides dairy richness and smooth consistency. Pour gradually while whisking to avoid lumps, and simmer gently until the mixture thickens to coat the back of a spoon.
- 1/2 teaspoon kosher salt: Added to season the sauce and enhance the peas’ natural flavor; balances sweetness and creaminess in the dish. Measure carefully since kosher salt’s larger crystals can affect perceived saltiness differently than table salt.
- 1/4 teaspoon ground black pepper: Sprinkled to add mild heat and aromatic depth; enhances overall flavor without overwhelming the peas. Use freshly ground black pepper for best aroma and adjust to taste toward the end of cooking to preserve its bright spice.
- 1 tablespoon granulated sugar: Stirred in to brighten the peas’ natural sweetness and balance the savory cream sauce; helps accentuate fresh flavors in a frozen vegetable. Dissolve the sugar fully while simmering to integrate sweetness evenly without graininess.
- 20 ounces frozen peas: Cooked into the sauce to provide the primary vegetable component and bulk of the dish; frozen peas add color, texture, and sweetness. Thaw or add directly and simmer until heated through, allowing the sauce to cling to the peas for a cohesive creamed texture.
Making This Creamed Peas
Let me walk you through the stove steps with the sort of detail I wish someone had told me when I first learned to make creamy sauces. You will watch textures change, hear small sizzles, and smell the sweet, dairy aroma that signals you are on the right track. Keep an attentive whisk close at hand and taste as you go.
- In a medium saucepan, melt the butter over medium heat. Once melted, sprinkle over the flour and whisk to combine.: The moment the butter liquefies you will notice a gentle foaming sound and a nutty, dairy scent. This stage is about controlling temperature so it melts evenly without browning, which would add an unintended toasted flavor. If it starts to brown, lower the heat immediately, because burnt butter will make the sauce bitter. Use a saucepan with an even bottom to prevent hot spots.
- Slowly whisk in the half-and-half until combined. Whisk in the salt, pepper, and sugar.: As you sprinkle the all-purpose flour , the mixture will thicken and take on a satin appearance. Whisk continuously until the roux smells cooked but not toasted, this removes raw flour taste and builds the foundation for a smooth sauce. A common mistake is to rush and leave lumps, so whisk steadily and stop once it’s velvety and pale. If lumps form, remove from heat and whisk vigorously while adding a splash of liquid to smooth them out.
- Bring the mixture to a low simmer and cook until the mixture can coat the back of a spoon, about 2-3 minutes.: Pour the half-and-half gradually while whisking in circular motions to create an emulsion. You will see the sauce transform from thick paste to a creamy liquid without graininess. If you add the liquid too fast, it can shock the roux and create clumps, so patience here matters. The aroma will deepen into a warm dairy scent as it homogenizes.
- Stir in the peas and continue to cook until they are warmed through.: These small seasonings are the tune-up for the base, bringing out sweetness, savory depth, and a hint of warmth. Stir them in and taste a small spoonful; the sauce should be balanced yet slightly restrained, because the peas will add their own sweetness. Over-salting is easy, so season gradually and adjust at the end.
- Serve immediately.: As the sauce simmers, you will see gentle bubbles forming around the edges and feel a slight thickening when you drag a spoon through it. This coating test ensures the starch from the roux has activated and the sauce will cling to the peas . Avoid a vigorous boil which can break the emulsion and make the texture thin or grainy. Stir frequently to maintain even heat and prevent sticking.
- Stir in the peas and continue to cook until they are warmed through: When you add the peas , they should sizzle softly and release a bright vegetal aroma. Stir to distribute heat and watch their color pop to a vibrant green, which signals perfect doneness. Overcooking will make them mushy and dull the flavor, so aim for tender but still slightly firm. If they need longer, add short intervals of cooking and taste between checks.
- Serve immediately: The final dish should be glossy and cling to a spoon, with the peas evenly coated. Serve right away to enjoy the ideal texture and temperature, because cooling can thicken the sauce and change the mouthfeel. A common oversight is letting it sit too long, which results in a stiffer texture; gently rewarm with a splash of milk if needed before serving.
Make It Your Own
This section helps you personalize Creamed Peas in ways I use often. Small swaps or finishing touches can lift the dish while keeping the simple process intact. These suggestions expand on the notes and show how to adjust texture and richness for different tastes.
- Swap dairy carefully. Use whole milk or heavy cream in place of half-and-half depending on how rich you want the sauce to be. Heavy cream will yield a more luxurious mouthfeel, while whole milk keeps it lighter. If you choose milk, watch the simmer so it does not curdle at high heat.
- Adjust thickness gradually. If the sauce is too thick, stir in milk or chicken broth a tablespoon at a time until it loosens. If it is too thin, simmer gently to reduce, but stir frequently to prevent scorching. Small adjustments are kinder to texture than large ones.
- Use fresh tasting techniques. Finish with a tiny pinch of sugar or a squeeze of lemon if you want a brighter edge to the flavor, especially if your peas taste dull. Add these sparingly and taste after each addition to avoid overpowering the natural sweetness.
- Work with frozen peas. Do not thaw before adding, because direct heat helps them retain their shape and color. Stir them into the warm sauce until heated through, this keeps them vibrant and slightly crisp, which is a textural delight.
- Reheating guidance. Gently rewarm leftovers over low heat with a splash of milk, stirring often to restore the creamy texture. Avoid microwave blasts that can separate the sauce; slow, attentive reheating preserves the emulsion.
Serve This Creamed Peas With
Creamed Peas partners well with a variety of mains and occasions, from weeknight dinners to family gatherings. Think about balance, matching the dish with something that contrasts texture or adds a savory anchor on the plate. This guide outlines serving ideas, storage notes, and seasonal pairings to help you present it confidently.
- Classic dinner pairings. Serve alongside roasted chicken or grilled fish to balance creamy sweetness with savory protein. The bright green adds color to the plate and the sauce ties with starches like mashed potatoes.
- Holiday side dish. Bring it to a family meal for a comforting alternative to heavier sides. Its gentle flavors complement richer roasts and give a lighter note to a celebratory spread.
- Lunch suggestions. Spoon warm Creamed Peas over buttered toast or a baked potato for a quick, satisfying midday meal. It makes a simple plate feel special without extra fuss.
- Seasonal serving. It shines in spring when fresh peas are available, but frozen peas make it reliably good year round. For springtime gatherings, pair with bright salads and lemony mains to highlight freshness.
- Storage tips. Refrigerate in an airtight container for up to three days, and rewarm gently with a splash of milk. Freezing is not recommended because the dairy base can separate when thawed, altering texture.
FAQ
Conclusion
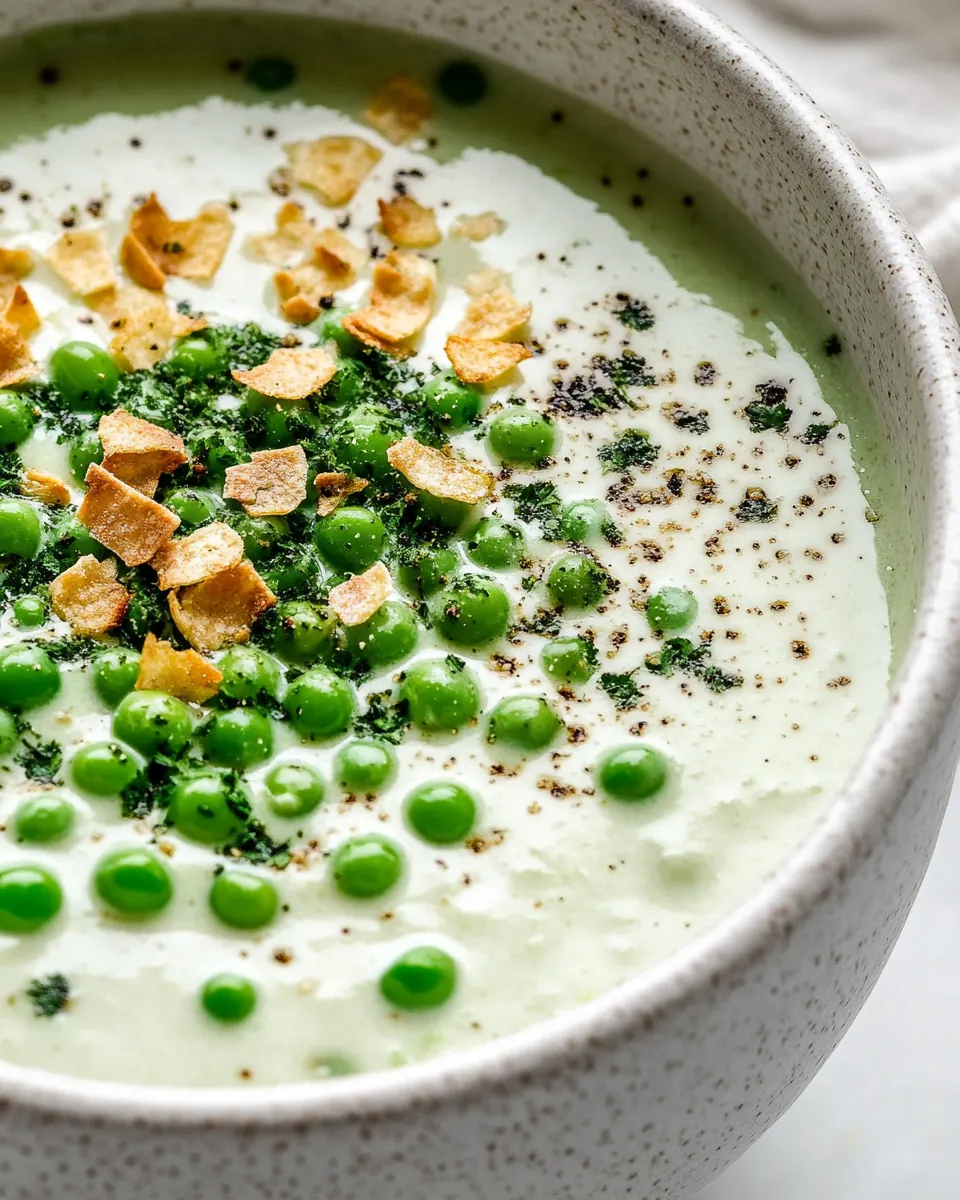
Creamed Peas is special because it pairs simple techniques with modest ingredients to create a creamy, comforting side that feels both nostalgic and refined. Try it to experience how a silky sauce and bright peas can elevate any meal without complicated steps. Serve it warm, enjoy the texture contrasts, and let this easy dish become a new staple for weeknight dinners and special occasions alike.
Creamed Peas
Equipment
- Medium Saucepan
- Whisk
- Spoon
Ingredients
- 2 tablespoons unsalted butter Melted to create a rich base that provides flavor and fat for the sauce; helps prevent curdling and contributes a silky mouthfeel. Use unsalted butter to control overall seasoning and allow the kosher salt to be added separately for precise taste balance.
- 2 tablespoons all-purpose flour Whisked in to form a roux that thickens the half-and-half into a creamy sauce; cooks briefly to remove raw flour taste. Maintain medium heat and stir constantly so the flour browns lightly without burning, ensuring a smooth, lump-free texture.
- 2 cups half-and-half Heated and combined with the roux to create the sauce’s creamy body; provides dairy richness and smooth consistency. Pour gradually while whisking to avoid lumps, and simmer gently until the mixture thickens to coat the back of a spoon.
- 1/2 teaspoon kosher salt Added to season the sauce and enhance the peas’ natural flavor; balances sweetness and creaminess in the dish. Measure carefully since kosher salt’s larger crystals can affect perceived saltiness differently than table salt.
- 1/4 teaspoon ground black pepper Sprinkled to add mild heat and aromatic depth; enhances overall flavor without overwhelming the peas. Use freshly ground black pepper for best aroma and adjust to taste toward the end of cooking to preserve its bright spice.
- 1 tablespoon granulated sugar Stirred in to brighten the peas’ natural sweetness and balance the savory cream sauce; helps accentuate fresh flavors in a frozen vegetable. Dissolve the sugar fully while simmering to integrate sweetness evenly without graininess.
- 20 ounces frozen peas Cooked into the sauce to provide the primary vegetable component and bulk of the dish; frozen peas add color, texture, and sweetness. Thaw or add directly and simmer until heated through, allowing the sauce to cling to the peas for a cohesive creamed texture.
Instructions
- In a medium saucepan, melt the butter over medium heat. Once melted, sprinkle over the flour and whisk to combine.: The moment the butter liquefies you will notice a gentle foaming sound and a nutty, dairy scent. This stage is about controlling temperature so it melts evenly without browning, which would add an unintended toasted flavor. If it starts to brown, lower the heat immediately, because burnt butter will make the sauce bitter. Use a saucepan with an even bottom to prevent hot spots.
- Slowly whisk in the half-and-half until combined. Whisk in the salt, pepper, and sugar.: As you sprinkle the all-purpose flour , the mixture will thicken and take on a satin appearance. Whisk continuously until the roux smells cooked but not toasted, this removes raw flour taste and builds the foundation for a smooth sauce. A common mistake is to rush and leave lumps, so whisk steadily and stop once it’s velvety and pale. If lumps form, remove from heat and whisk vigorously while adding a splash of liquid to smooth them out.
- Bring the mixture to a low simmer and cook until the mixture can coat the back of a spoon, about 2-3 minutes.: Pour the half-and-half gradually while whisking in circular motions to create an emulsion. You will see the sauce transform from thick paste to a creamy liquid without graininess. If you add the liquid too fast, it can shock the roux and create clumps, so patience here matters. The aroma will deepen into a warm dairy scent as it homogenizes.
- Stir in the peas and continue to cook until they are warmed through.: These small seasonings are the tune-up for the base, bringing out sweetness, savory depth, and a hint of warmth. Stir them in and taste a small spoonful; the sauce should be balanced yet slightly restrained, because the peas will add their own sweetness. Over-salting is easy, so season gradually and adjust at the end.
- Serve immediately.: As the sauce simmers, you will see gentle bubbles forming around the edges and feel a slight thickening when you drag a spoon through it. This coating test ensures the starch from the roux has activated and the sauce will cling to the peas . Avoid a vigorous boil which can break the emulsion and make the texture thin or grainy. Stir frequently to maintain even heat and prevent sticking.
- Stir in the peas and continue to cook until they are warmed through: When you add the peas , they should sizzle softly and release a bright vegetal aroma. Stir to distribute heat and watch their color pop to a vibrant green, which signals perfect doneness. Overcooking will make them mushy and dull the flavor, so aim for tender but still slightly firm. If they need longer, add short intervals of cooking and taste between checks.
- Serve immediately: The final dish should be glossy and cling to a spoon, with the peas evenly coated. Serve right away to enjoy the ideal texture and temperature, because cooling can thicken the sauce and change the mouthfeel. A common oversight is letting it sit too long, which results in a stiffer texture; gently rewarm with a splash of milk if needed before serving.
Notes
- Swap dairy carefully. Use whole milk or heavy cream in place of half-and-half depending on how rich you want the sauce to be. Heavy cream will yield a more luxurious mouthfeel, while whole milk keeps it lighter. If you choose milk, watch the simmer so it does not curdle at high heat.
- Adjust thickness gradually. If the sauce is too thick, stir in milk or chicken broth a tablespoon at a time until it loosens. If it is too thin, simmer gently to reduce, but stir frequently to prevent scorching. Small adjustments are kinder to texture than large ones.
- Use fresh tasting techniques. Finish with a tiny pinch of sugar or a squeeze of lemon if you want a brighter edge to the flavor, especially if your peas taste dull. Add these sparingly and taste after each addition to avoid overpowering the natural sweetness.
- Work with frozen peas. Do not thaw before adding, because direct heat helps them retain their shape and color. Stir them into the warm sauce until heated through, this keeps them vibrant and slightly crisp, which is a textural delight.
- Reheating guidance. Gently rewarm leftovers over low heat with a splash of milk, stirring often to restore the creamy texture. Avoid microwave blasts that can separate the sauce; slow, attentive reheating preserves the emulsion.