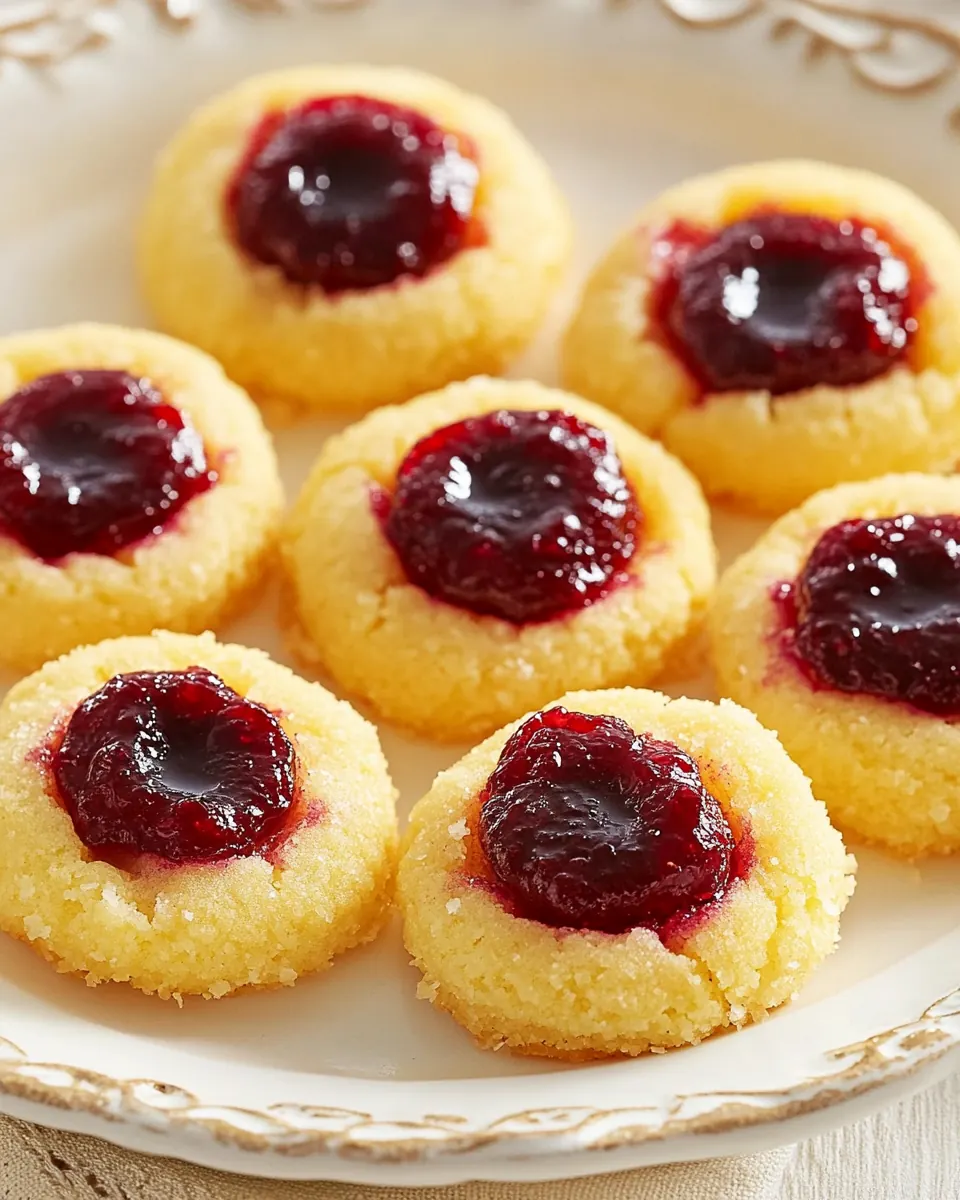
Cranberry Thumbprint Cookies
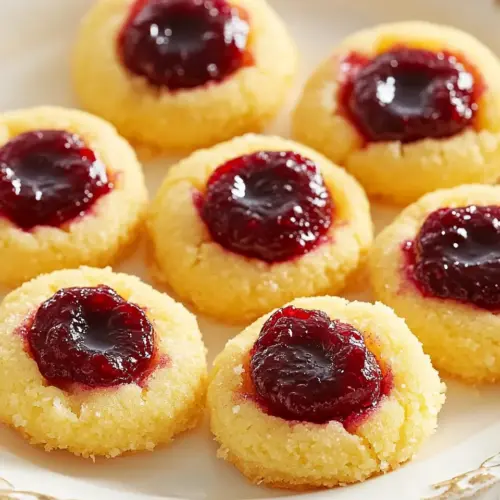
Cranberry Thumbprint Cookies have been a holiday cornerstone in my kitchen for years, a recipe I reach for whenever the air turns crisp and the calendar fills with cozy gatherings. The very first time I made these, flour dusted my counters and the scent of butter warmed the house, and I knew I had something special. I love how the tender cookie cradle meets the bright, slightly tart jam, every bite striking a friendly balance between buttery richness and fruit forward brightness.
Over time I adjusted little things, like the size of the indentation and the splash of orange zest on top, because those small choices changed the way people reacted at the table. Guests always pause, then smile, when they taste the crumb and notice the jam nestled in the center. I enjoy the ritual of rolling the dough into perfect spheres, pressing that neat thumbprint, and watching the cookies puff and then settle in the oven.
Recipe Snapshot
46 mins
30 mins
16 mins
Medium
150 kcal
American
Gluten-Free, Low FODMAP
Desserts
Stand mixer, Paddle attachment, Spring loaded scoop, Baking sheets, Parchment paper, Wire racks
Why This Cranberry Thumbprint Cookies Stands Out
Classic crowd pleaser with a nostalgic twist
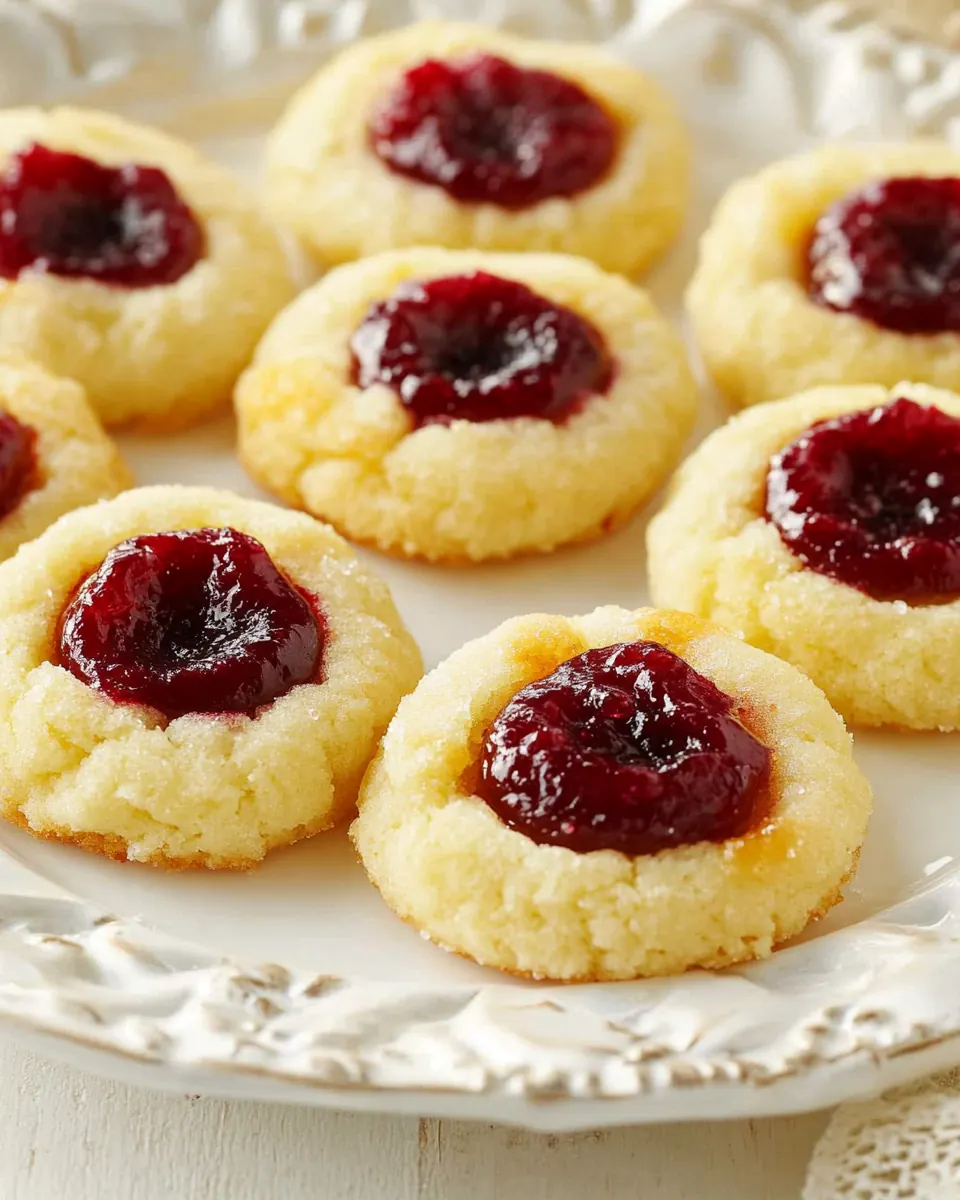
I find that Cranberry Thumbprint Cookies trigger memories faster than most holiday treats. They’re familiar, but the quick cranberry jam and the hint of orange zest lift them beyond ordinary. I love serving these at seasonal parties because people immediately recognize them, and they pair well with simple tea or coffee.
Textural harmony
One reason I keep coming back to this recipe is the contrast between the soft, buttery cookie and the glossy jam pocket. The texture is deliberate, not accidental. When baked correctly, the bottoms are lightly golden while the tops stay tender, so every bite has crunch at the edges and a melt in your mouth center. I pay attention to the chilling step because it controls spread, and that makes all the difference.
Speed without compromise
These cookies feel like a treat you invested in, yet they come together quickly. The dough mixes in minutes, and while some recipes call for long refrigeration, the brief freeze here is enough to hold the shape. I appreciate how efficient this is when I’m juggling multiple dishes before a gathering, and I often make the jam in advance to streamline the final assembly.
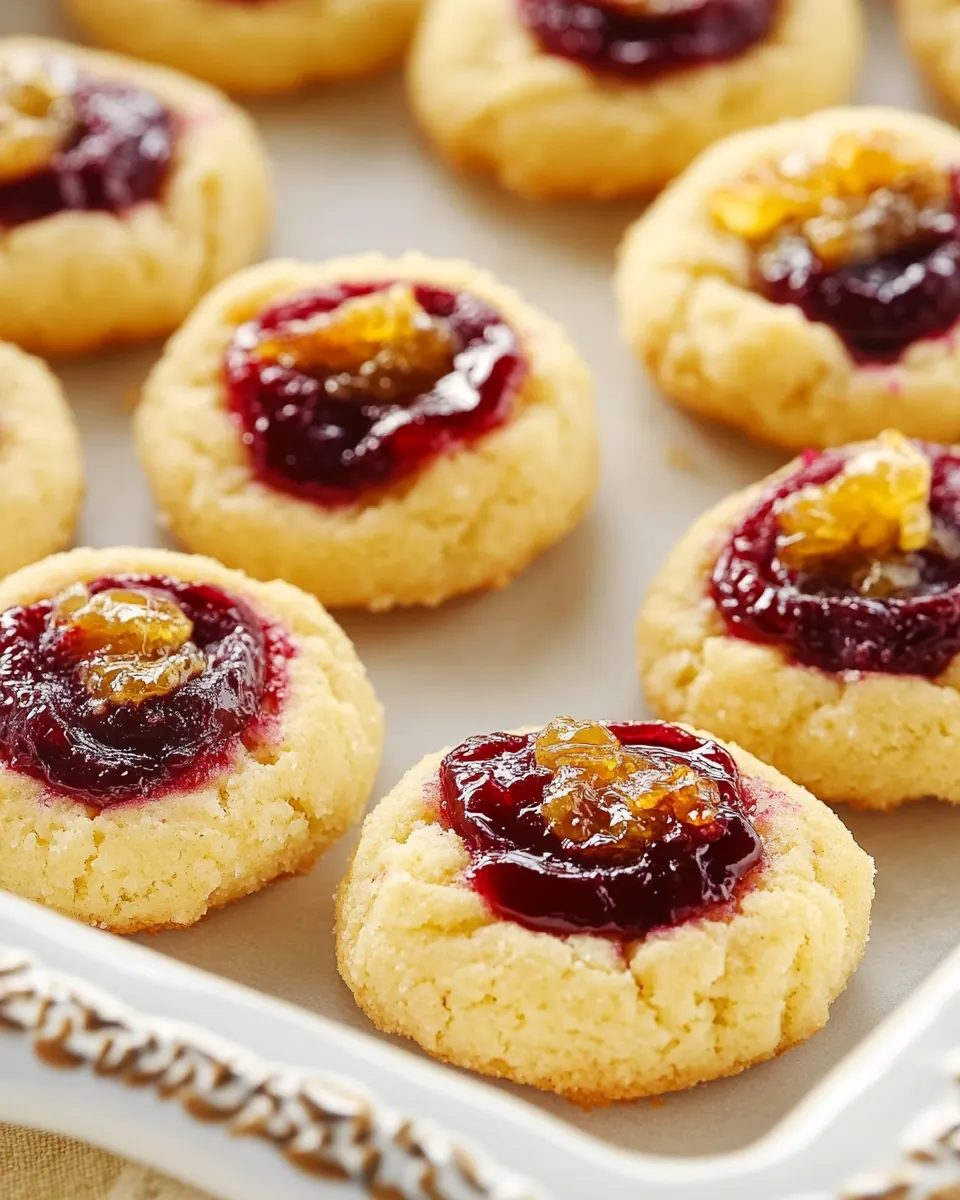
Customizable for presentation
I frequently change the garnish or jam type depending on the occasion. The recipe‘s structure welcomes small tweaks, like adding finely grated orange zest or using a decorative glaze. Because the base is simple, those finishing touches truly stand out, and guests always notice the care in the presentation.
Reliable and forgiving
Finally, this cookie is forgiving in the best way. Even if your measurements are slightly off or your dough is a touch warmer, the result is usually pleasant. There are clear visual cues to guide you, so you can correct course as you go. I recommend keeping a close eye on the bottom color and re pressing the centers after baking for a neat jam well.
Ingredients for Cranberry Thumbprint Cookies
These ingredients form a simple, harmonious cast where each player has a clear purpose. The butter and confectioners sugar create a tender, melt in your mouth texture, egg yolks add richness, and the flour provides structure. The almond extract offers a subtle aromatic lift, while the quick cranberry jam brings bright acidity and color. Together they make cookies that are both festive and balanced.
- 3/4 cup (170 grams) unsalted butter, softened: Creamy and softened to room temperature to ensure smooth creaming with sugar and to create tender cookie texture; brings richness and helps distribute fat-soluble flavors throughout the dough.
- 1 3/4 cup (210 grams) confectioners’ sugar, divided: Powdered and divided so part is creamed with butter for structure and the remainder dusted or folded in to control sweetness and maintain a delicate, melt-in-the-mouth crumb; contributes bulk and sweetness to the cookie matrix.
- 1 teaspoon (3 grams) kosher salt: Salty and finely measured to balance sweetness while enhancing overall flavor; also strengthens gluten slightly and helps control fermentation and browning in baked goods.
- 2 large egg yolks (37 grams), room temperature: Emulsified and room–temperature yolks included to add richness, color, and tenderizing fat while binding the dough; contributes to a soft, cohesive crumb and adds moisture without extra liquid whites.
- 1/2 teaspoon (2 grams) almond extract: Aromatic and used in small amount to contribute a subtle nutty, floral note that enhances the cookie’s overall complexity and complements the cranberry filling; brightens flavor without overpowering.
- 2 cups (250 grams) all-purpose flour: Starchy and measured to provide the bulk and structure of the cookie dough; develops just enough gluten when combined with fat and minimal liquid to yield a tender yet sliceable cookie.
- 1/4 teaspoon (1.25 grams) baking powder: Leavening and used sparingly to give a slight lift to the cookie for a soft, airy interior and a tender crumb without causing excessive spread; helps lighten dense dough.
- 1 tablespoon (15 grams) water: Hydrating and added in small quantity to adjust dough consistency and help ingredients come together into a cohesive mass; can also assist in dissolving sugar for a smooth texture.
- Quick Cranberry Jam (recipe follows): Fruity spread prepared separately to fill the thumbprint indentations, offering concentrated cranberry flavor, sweetness, and moisture that contrasts with the buttery cookie; provides vibrant color and a pleasant tart-sweet bite.
- Garnish: orange zest: Citrusy zest used as a finishing garnish to add bright aromatic oils and a fresh, fragrant punch that complements the cranberry filling and lifts the overall flavor profile.
Recipe Directions for Cranberry Thumbprint Cookies
These directions will guide you from soft butter to jam filled centers, with sensory cues and troubleshooting tips so you can bake with confidence. Read through once, then get your mise en place ready, because timing makes the difference in achieving that tender interior and neat jam well.
- Line baking sheets with parchment paper.: The subtle cling of parchment beneath the cookie dough prevents sticking and promotes even browning on the bottoms, giving you that gentle golden look to watch for. When parchment is used, you often hear a faint rustling as cookies shift on the sheet and the cleanup is much easier. A common mistake is skipping parchment and using butter directly on the pan, which can cause uneven browning and sticking; if that happens, let the cookies sit a few extra minutes before attempting removal so they firm up naturally.
- In the bowl of a stand mixer fitted with the paddle attachment, beat butter, 1 1/4 cups (150 grams) confectioners’ sugar, and salt at medium speed until fluffy, 2 to 3 minutes, stopping to scrape bottom and sides of bowl. Beat in egg yolks and almond extract. Add flour and baking powder, beating until combined.: You will notice the texture change from dull to satin as the butter and confectioners’ sugar whip together, and the aroma will become more pronounced, buttery and sweet. This aeration is important for a tender crumb because it traps tiny air pockets that expand in the oven. Scraping the bowl ensures even mixing; otherwise you might have pockets of unmixed butter that create greasy spots in the dough. Avoid over beating, which can make the dough too soft and lead to excess spread during baking.
- Using a 1-tablespoon spring-loaded scoop, scoop dough (about 17 grams each), and roll into 1-inch balls. Place 2 inches apart on prepared pans. Using your thumb or the back of a small spoon, press an indentation in center of each ball. Freeze until firm, about 20 minutes.: As you add the egg yolks and almond extract , the mixture will become glossy and more cohesive, signaling proper emulsion. These ingredients enrich the dough and provide subtle flavor lift. If the mixture appears to separate slightly, continue mixing briefly until it smooths out, but do not over mix. A frequent error is adding cold yolks that stiffen the butter; always bring eggs to room temperature to avoid that shock.
- Preheat oven to 350°F (180°C).: When the all-purpose flour and baking powder are incorporated, the dough will transform from loose cream to a pliable mass that holds its shape. You should see no streaks of flour. Mixing just until combined preserves tenderness; overworking develops gluten and yields a tougher cookie. If your dough feels dry, a touch of the reserved water can help, but add sparingly to maintain the intended texture.
- Bake until bottoms are golden brown, 14 to 16 minutes. Press down centers again. Let cool on pans for 5 minutes. Remove from pans, and let cool completely on wire racks.: Working with a scoop creates uniform cookies that bake evenly, and rolling them into smooth dough balls encourages even rise and a polished look. The tactile feel should be slightly firm but yielding. Uneven sizes will bake at different rates, so resist the urge to freehand scoop; consistent portions produce consistent results.
- In a small bowl, whisk together 1 tablespoon (15 grams) water and remaining 1/2 cup (60 grams) confectioners’ sugar until smooth.: Spacing the dough balls about 2 inches apart prevents them from merging as they spread, and it allows hot air to circulate for even browning. You'll notice the cookies puff and then settle during baking, so adequate spacing keeps the edges distinct. Crowding the pan is a common mistake that causes misshapen cookies and inconsistent textures.
- Just before serving, spoon 1/2 teaspoon (3 grams) Quick Cranberry Jam into center of each cooled cookie. Drizzle with glaze, and garnish with orange zest, if desired. Store in an airtight container for up to 3 days.: The tactile press should feel deliberate and gentle, forming a neat well without breaking the edges. The indentation is the visual cue for how much jam to use and ensures the cookie bakes into a cup rather than collapsing. If you press too hard, the wall may become thin and the jam can overflow; if too shallow, the jam will sit on top without settling into the cookie.
- Freeze until firm, about 20 minutes.: Chilling the shaped dough firms the butter and minimizes spread in the oven, preserving the thumbprint shape. You will feel the dough go from soft to solid under your fingers, and the surface may take on a slightly matte finish. Skipping this step often leads to flat cookies with shallow wells, so resist the temptation to bake immediately if you want neat, defined cups.
- Preheat oven to 350°F (180°C).: The oven needs to be hot and stable so the cookies set quickly and develop the correct texture; a fully preheated oven gives predictable rise and color. As it heats, you may notice an almost bread like warmth in the oven and a faint change in aroma from your kitchen. Putting cookies into an underheated oven can result in excessive spreading and a greasy finish, so always confirm the temperature before baking.
- Bake until bottoms are golden brown, 14 to 16 minutes.: During baking, watch for the bottoms to reach a soft golden hue while the tops remain pale, which signals the ideal tender yet set crumb. You may hear a faint crackle as moisture leaves and the edges set. After removing from the oven, pressing the centers again helps preserve the jam well because the dough can settle; failing to do so can close up the indentation as the cookie cools.
- Press down centers again.: The gentle press after baking ensures the jam will nestle into the cookie rather than sit perched on top. The centers will be warm and pliable, making it easy to shape them without cracking the cookie. If you wait too long and the cookies firm up, the indentation can be more difficult to reshape, so act while they are still slightly warm but not piping hot.
- Let cool on pans for 5 minutes.: Allowing the cookies to rest on the pans for a few minutes lets the structure set and reduces the risk of breaking when transferring. You will notice the cookie bottoms firm a touch and the aroma mellow slightly. Grab a cooling rack and prepare for removal; trying to move them too soon often causes tearing, while waiting too long makes them harder to transfer cleanly.
- Remove from pans, and let cool completely on wire racks.: Cooling on a wire rack ensures air circulates beneath the cookies so they do not steam and become soggy. Visually, the cookies will matte and firm, and the jam will hold its shape. Leaving them on the pan too long can create residual heat that softens the bottom, so transfer at the right time for the best texture.
- In a small bowl, whisk together 1 tablespoon (15 grams) water and remaining 1/2 cup (60 grams) confectioners’ sugar until smooth.: The glaze should be glossy and pourable, with a silk like texture that will produce elegant drizzles across the cookies. The sound of the whisk is subtle, and the mixture should be lump free; strain if necessary. If the glaze is too thick, add an extra drop of water , if too thin, add a pinch more confectioners’ sugar . A common misstep is over thinning which causes the glaze to run into the jam, so aim for ribbon like drips.
- Just before serving, spoon 1/2 teaspoon (3 grams) Quick Cranberry Jam into center of each cooled cookie.: Spoon the Quick Cranberry Jam with care so each well is neatly filled and the glossy jam sits proud but contained. The jam should be thick enough to hold shape yet soft enough to spread slightly when bitten, giving a burst of tartness against the buttery base. If jam is too runny, chill briefly until it firms; too thick, warm it gently to make it spoonable.
- Drizzle with glaze, and garnish with orange zest, if desired.: The final drizzle adds a sweet contrast and the orange zest brightens the aroma, making the cookies look and smell festive. Use a spoon or piping bag for controlled decoration. Over decorating can mask the clean lines of the thumbprint, so keep the garnish tasteful and light.
- Store in an airtight container for up to 3 days.: Proper storage preserves texture and flavor, keeping the cookies tender and preventing the jam from drying out. Stack them with parchment between layers if needed, and keep at room temperature. Refrigerating can dry them prematurely, so avoid if you want the best fresh like texture.
Tips and Tricks about Cranberry Thumbprint Cookies
These tips expand on technique and timing to help you achieve beautiful results every time. I include small adjustments that made a big difference for me, focusing on texture, presentation, and efficient prep.
- Soften butter properly Take the unsalted butter out of the fridge about 30 to 60 minutes before you start, depending on room temperature, so it becomes soft but not oily. Properly softened butter creams smoothly with the confectioners’ sugar, creating the aeration necessary for light cookies. If it is too cold, lumps remain; if too warm, the dough will be greasy and flatten during baking.
- Measure flour accurately Spoon the all-purpose flour into the measuring cup and level it off rather than scooping directly, which can compact the flour and lead to dry, dense cookies. Slight differences in flour can change the dough consistency, so aim for precision to keep the crumb tender and consistent.
- Use a spring loaded scoop A 1 tablespoon spring loaded scoop ensures uniform cookie sizes for even baking. Evenness means the entire batch finishes at the same time and looks cohesive on a platter. If you do not have a scoop, weigh portions to about 17 grams for each cookie to maintain consistency.
- Freeze shaped dough briefly Freezing the dough for about 20 minutes firms the butter and helps cookies keep their shape in the oven, producing tidy thumbprints. This step is quick but impactful, preventing over spread and ensuring neat wells for the jam. Try not to skip it when you want polished presentation.
- Watch for visual cues while baking Look for lightly golden bottoms and pale tops to know when to remove the cookies; they will continue to set as they cool. The difference between underbaked and perfectly tender is subtle, so rely on color and gentle touch rather than a strict timer alone. Overbaking dries them out, while underbaking leaves them doughy.
- Control the jam consistency Cool the Quick Cranberry Jam so it is thick but spoonable; it should hold its shape in the thumbprint without running. If it is too thin, the jam will spread and ruin the presentation. If it is too thick, warm very slightly to soften it just enough to spoon neatly.
- Garnish with restraint Use finely grated orange zest sparingly to add bright aroma without overpowering the cranberry note. A light sprinkle provides an elegant finish and avoids bitterness from the pith. Fresh zest is always preferable to dried for the best fragrance.
Great Combinations for Cranberry Thumbprint Cookies
These serving ideas and pairings will help you present the cookies beautifully for different occasions, and offer storage and seasonal suggestions so they stay lovely after baking.
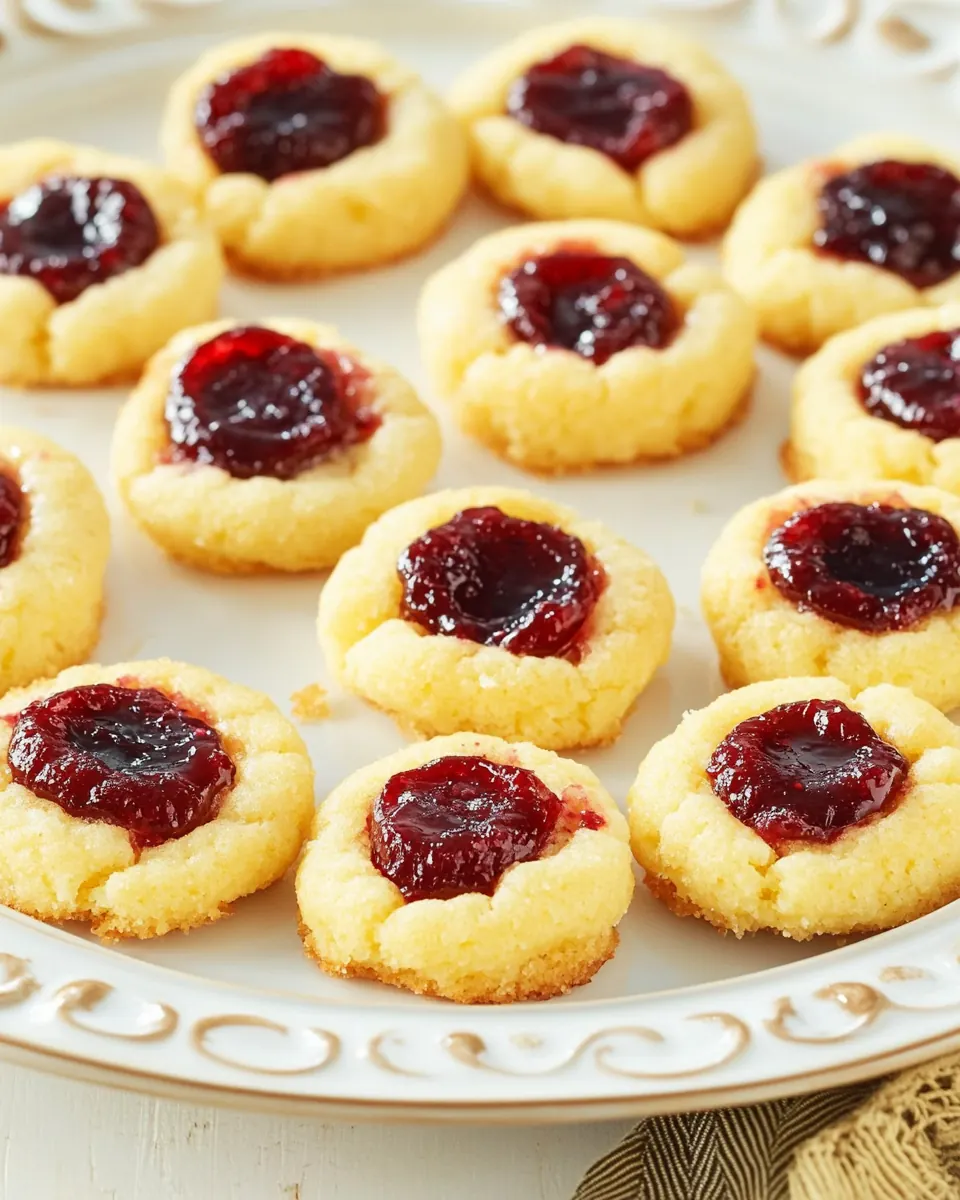
- Tea or coffee service Serve a platter of Cranberry Thumbprint Cookies alongside a selection of hot beverages for a cozy afternoon gathering. The buttery cookie pairs well with a bright black tea or a smooth medium roast coffee. Arrange on a tiered tray for a refined look and allow guests to pick their favorite flavor profile.
- Holiday dessert table Add these cookies to a holiday spread with other small bites for variety and visual contrast. Their jewel like jam centers brighten a plate of darker cookies and candies, making them an attractive focal point. Use fresh orange zest on top to echo citrus notes found elsewhere on the table.
- Gift boxes and tins Pack cooled cookies in parchment lined tins as thoughtful edible gifts. Layer with parchment to prevent sticking, and include a small label indicating they keep up to three days at room temperature. A ribbon and a sprig of dried orange peel can elevate presentation for gifting.
- Seasonal hosting These cookies are ideal for fall and winter gatherings such as holiday parties and family dinners because of their festive colors and bright cranberry flavor. Pair them with spiced beverages or a simple fruit compote to emphasize seasonal produce. Their make ahead friendly nature helps when you are prepping multiple dishes.
- Storage and make ahead You can prepare the dough and keep it frozen for several weeks, then bake as needed for fresh tasting cookies. Alternatively, make the jam ahead and refrigerate it; spoon into cooled cookies right before serving for best texture. For short term storage, keep cookies in an airtight container at room temperature for up to three days.
FAQ
Conclusion
These Cranberry Thumbprint Cookies shine because they balance buttery, tender cookies with a bright jam centered pocket that feels both festive and comforting. I encourage you to give them a try when you want a make ahead friendly treat that still looks special on a holiday platter. They are straightforward to prepare, forgiving to work with, and rewarding to serve, making them a reliable choice whenever you want a seasonal cookie that brings smiles.
Cranberry Thumbprint Cookies
Equipment
- Stand mixer
- Paddle attachment
- Spring loaded scoop
- Baking Sheets
- Parchment Paper
- Wire racks
Ingredients
- 3/4 cup (170 grams) unsalted butter, softened Creamy and softened to room temperature to ensure smooth creaming with sugar and to create tender cookie texture; brings richness and helps distribute fat-soluble flavors throughout the dough.
- 1 3/4 cup (210 grams) confectioners’ sugar, divided Powdered and divided so part is creamed with butter for structure and the remainder dusted or folded in to control sweetness and maintain a delicate, melt-in-the-mouth crumb; contributes bulk and sweetness to the cookie matrix.
- 1 teaspoon (3 grams) kosher salt Salty and finely measured to balance sweetness while enhancing overall flavor; also strengthens gluten slightly and helps control fermentation and browning in baked goods.
- 2 large egg yolks (37 grams), room temperature Emulsified and room-temperature yolks included to add richness, color, and tenderizing fat while binding the dough; contributes to a soft, cohesive crumb and adds moisture without extra liquid whites.
- 1/2 teaspoon (2 grams) almond extract Aromatic and used in small amount to contribute a subtle nutty, floral note that enhances the cookie’s overall complexity and complements the cranberry filling; brightens flavor without overpowering.
- 2 cups (250 grams) all-purpose flour Starchy and measured to provide the bulk and structure of the cookie dough; develops just enough gluten when combined with fat and minimal liquid to yield a tender yet sliceable cookie.
- 1/4 teaspoon (1.25 grams) baking powder Leavening and used sparingly to give a slight lift to the cookie for a soft, airy interior and a tender crumb without causing excessive spread; helps lighten dense dough.
- 1 tablespoon (15 grams) water Hydrating and added in small quantity to adjust dough consistency and help ingredients come together into a cohesive mass; can also assist in dissolving sugar for a smooth texture.
- Quick Cranberry Jam (recipe follows) Fruity spread prepared separately to fill the thumbprint indentations, offering concentrated cranberry flavor, sweetness, and moisture that contrasts with the buttery cookie; provides vibrant color and a pleasant tart-sweet bite.
- Garnish: orange zest Citrusy zest used as a finishing garnish to add bright aromatic oils and a fresh, fragrant punch that complements the cranberry filling and lifts the overall flavor profile.
Instructions
- Line baking sheets with parchment paper.: The subtle cling of parchment beneath the cookie dough prevents sticking and promotes even browning on the bottoms, giving you that gentle golden look to watch for. When parchment is used, you often hear a faint rustling as cookies shift on the sheet and the cleanup is much easier. A common mistake is skipping parchment and using butter directly on the pan, which can cause uneven browning and sticking; if that happens, let the cookies sit a few extra minutes before attempting removal so they firm up naturally.
- In the bowl of a stand mixer fitted with the paddle attachment, beat butter, 1 1/4 cups (150 grams) confectioners’ sugar, and salt at medium speed until fluffy, 2 to 3 minutes, stopping to scrape bottom and sides of bowl. Beat in egg yolks and almond extract. Add flour and baking powder, beating until combined.: You will notice the texture change from dull to satin as the butter and confectioners’ sugar whip together, and the aroma will become more pronounced, buttery and sweet. This aeration is important for a tender crumb because it traps tiny air pockets that expand in the oven. Scraping the bowl ensures even mixing; otherwise you might have pockets of unmixed butter that create greasy spots in the dough. Avoid over beating, which can make the dough too soft and lead to excess spread during baking.
- Using a 1-tablespoon spring-loaded scoop, scoop dough (about 17 grams each), and roll into 1-inch balls. Place 2 inches apart on prepared pans. Using your thumb or the back of a small spoon, press an indentation in center of each ball. Freeze until firm, about 20 minutes.: As you add the egg yolks and almond extract , the mixture will become glossy and more cohesive, signaling proper emulsion. These ingredients enrich the dough and provide subtle flavor lift. If the mixture appears to separate slightly, continue mixing briefly until it smooths out, but do not over mix. A frequent error is adding cold yolks that stiffen the butter; always bring eggs to room temperature to avoid that shock.
- Preheat oven to 350°F (180°C).: When the all-purpose flour and baking powder are incorporated, the dough will transform from loose cream to a pliable mass that holds its shape. You should see no streaks of flour. Mixing just until combined preserves tenderness; overworking develops gluten and yields a tougher cookie. If your dough feels dry, a touch of the reserved water can help, but add sparingly to maintain the intended texture.
- Bake until bottoms are golden brown, 14 to 16 minutes. Press down centers again. Let cool on pans for 5 minutes. Remove from pans, and let cool completely on wire racks.: Working with a scoop creates uniform cookies that bake evenly, and rolling them into smooth dough balls encourages even rise and a polished look. The tactile feel should be slightly firm but yielding. Uneven sizes will bake at different rates, so resist the urge to freehand scoop; consistent portions produce consistent results.
- In a small bowl, whisk together 1 tablespoon (15 grams) water and remaining 1/2 cup (60 grams) confectioners’ sugar until smooth.: Spacing the dough balls about 2 inches apart prevents them from merging as they spread, and it allows hot air to circulate for even browning. You'll notice the cookies puff and then settle during baking, so adequate spacing keeps the edges distinct. Crowding the pan is a common mistake that causes misshapen cookies and inconsistent textures.
- Just before serving, spoon 1/2 teaspoon (3 grams) Quick Cranberry Jam into center of each cooled cookie. Drizzle with glaze, and garnish with orange zest, if desired. Store in an airtight container for up to 3 days.: The tactile press should feel deliberate and gentle, forming a neat well without breaking the edges. The indentation is the visual cue for how much jam to use and ensures the cookie bakes into a cup rather than collapsing. If you press too hard, the wall may become thin and the jam can overflow; if too shallow, the jam will sit on top without settling into the cookie.
- Freeze until firm, about 20 minutes.: Chilling the shaped dough firms the butter and minimizes spread in the oven, preserving the thumbprint shape. You will feel the dough go from soft to solid under your fingers, and the surface may take on a slightly matte finish. Skipping this step often leads to flat cookies with shallow wells, so resist the temptation to bake immediately if you want neat, defined cups.
- Preheat oven to 350°F (180°C).: The oven needs to be hot and stable so the cookies set quickly and develop the correct texture; a fully preheated oven gives predictable rise and color. As it heats, you may notice an almost bread like warmth in the oven and a faint change in aroma from your kitchen. Putting cookies into an underheated oven can result in excessive spreading and a greasy finish, so always confirm the temperature before baking.
- Bake until bottoms are golden brown, 14 to 16 minutes.: During baking, watch for the bottoms to reach a soft golden hue while the tops remain pale, which signals the ideal tender yet set crumb. You may hear a faint crackle as moisture leaves and the edges set. After removing from the oven, pressing the centers again helps preserve the jam well because the dough can settle; failing to do so can close up the indentation as the cookie cools.
- Press down centers again.: The gentle press after baking ensures the jam will nestle into the cookie rather than sit perched on top. The centers will be warm and pliable, making it easy to shape them without cracking the cookie. If you wait too long and the cookies firm up, the indentation can be more difficult to reshape, so act while they are still slightly warm but not piping hot.
- Let cool on pans for 5 minutes.: Allowing the cookies to rest on the pans for a few minutes lets the structure set and reduces the risk of breaking when transferring. You will notice the cookie bottoms firm a touch and the aroma mellow slightly. Grab a cooling rack and prepare for removal; trying to move them too soon often causes tearing, while waiting too long makes them harder to transfer cleanly.
- Remove from pans, and let cool completely on wire racks.: Cooling on a wire rack ensures air circulates beneath the cookies so they do not steam and become soggy. Visually, the cookies will matte and firm, and the jam will hold its shape. Leaving them on the pan too long can create residual heat that softens the bottom, so transfer at the right time for the best texture.
- In a small bowl, whisk together 1 tablespoon (15 grams) water and remaining 1/2 cup (60 grams) confectioners’ sugar until smooth.: The glaze should be glossy and pourable, with a silk like texture that will produce elegant drizzles across the cookies. The sound of the whisk is subtle, and the mixture should be lump free; strain if necessary. If the glaze is too thick, add an extra drop of water , if too thin, add a pinch more confectioners’ sugar . A common misstep is over thinning which causes the glaze to run into the jam, so aim for ribbon like drips.
- Just before serving, spoon 1/2 teaspoon (3 grams) Quick Cranberry Jam into center of each cooled cookie.: Spoon the Quick Cranberry Jam with care so each well is neatly filled and the glossy jam sits proud but contained. The jam should be thick enough to hold shape yet soft enough to spread slightly when bitten, giving a burst of tartness against the buttery base. If jam is too runny, chill briefly until it firms; too thick, warm it gently to make it spoonable.
- Drizzle with glaze, and garnish with orange zest, if desired.: The final drizzle adds a sweet contrast and the orange zest brightens the aroma, making the cookies look and smell festive. Use a spoon or piping bag for controlled decoration. Over decorating can mask the clean lines of the thumbprint, so keep the garnish tasteful and light.
- Store in an airtight container for up to 3 days.: Proper storage preserves texture and flavor, keeping the cookies tender and preventing the jam from drying out. Stack them with parchment between layers if needed, and keep at room temperature. Refrigerating can dry them prematurely, so avoid if you want the best fresh like texture.
Notes
- Soften butter properly Take the unsalted butter out of the fridge about 30 to 60 minutes before you start, depending on room temperature, so it becomes soft but not oily. Properly softened butter creams smoothly with the confectioners’ sugar, creating the aeration necessary for light cookies. If it is too cold, lumps remain; if too warm, the dough will be greasy and flatten during baking.
- Measure flour accurately Spoon the all-purpose flour into the measuring cup and level it off rather than scooping directly, which can compact the flour and lead to dry, dense cookies. Slight differences in flour can change the dough consistency, so aim for precision to keep the crumb tender and consistent.
- Use a spring loaded scoop A 1 tablespoon spring loaded scoop ensures uniform cookie sizes for even baking. Evenness means the entire batch finishes at the same time and looks cohesive on a platter. If you do not have a scoop, weigh portions to about 17 grams for each cookie to maintain consistency.
- Freeze shaped dough briefly Freezing the dough for about 20 minutes firms the butter and helps cookies keep their shape in the oven, producing tidy thumbprints. This step is quick but impactful, preventing over spread and ensuring neat wells for the jam. Try not to skip it when you want polished presentation.
- Watch for visual cues while baking Look for lightly golden bottoms and pale tops to know when to remove the cookies; they will continue to set as they cool. The difference between underbaked and perfectly tender is subtle, so rely on color and gentle touch rather than a strict timer alone. Overbaking dries them out, while underbaking leaves them doughy.
- Control the jam consistency Cool the Quick Cranberry Jam so it is thick but spoonable; it should hold its shape in the thumbprint without running. If it is too thin, the jam will spread and ruin the presentation. If it is too thick, warm very slightly to soften it just enough to spoon neatly.
- Garnish with restraint Use finely grated orange zest sparingly to add bright aroma without overpowering the cranberry note. A light sprinkle provides an elegant finish and avoids bitterness from the pith. Fresh zest is always preferable to dried for the best fragrance.