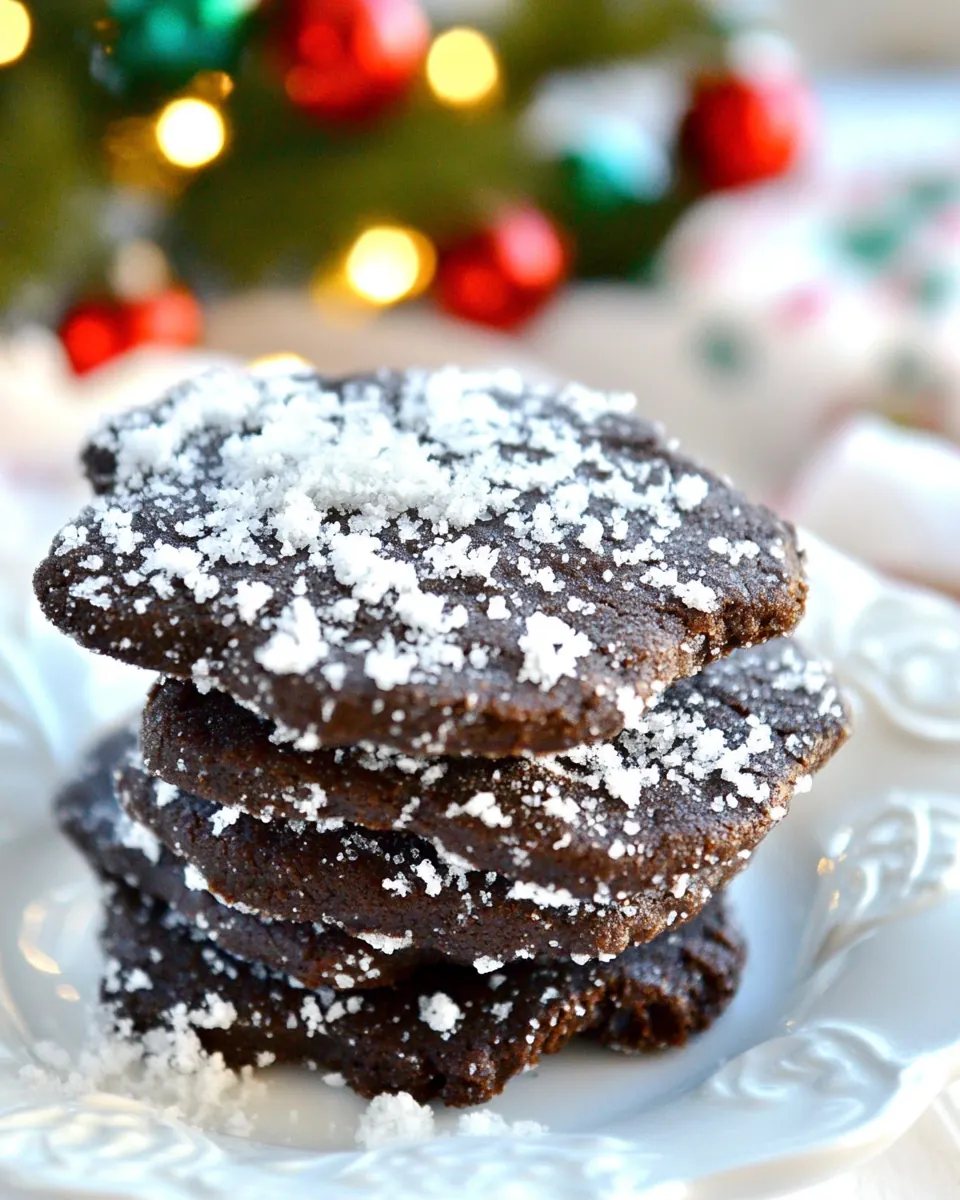
Chocolate Shortbread Snow Cookies
Chocolate Shortbread Snow Cookies were one of those recipes I reached for when the house needed a little hush and sweetness, a nudge toward cozy afternoons at the window watching snow drift down the street. I remember the first time I made them, how the kitchen filled with a gentle cocoa scent as I creamed the butter and sugar, and how the dough felt cool and silky under my palms. Those simple moments, folding flour into a chocolatey mix, turned into a ritual I return to every winter.
Every batch tells a small story, whether I’m shaping discs late in the evening or rolling sheets between waxed paper with a mug of tea on the counter. I love how these cookies hold their shape, giving me crisp edges and a tender, crumbly center that practically begs for a dusting of confectioners sugar. Making Chocolate Shortbread Snow Cookies has become my way to slow down and celebrate small traditions, and I enjoy sharing them with neighbors and friends when holidays arrive.
Recipe Snapshot
32 mins
20 mins
12 mins
Medium
150 kcal
American
Gluten-Free, Low FODMAP
Desserts
mixing bowl, sifter, mixer, plastic wrap, rolling pin, cookie cutter or pie crimper, baking sheet, parchment paper, wire rack
Why We Love This Chocolate Shortbread Snow Cookies
They are comfortingly simple
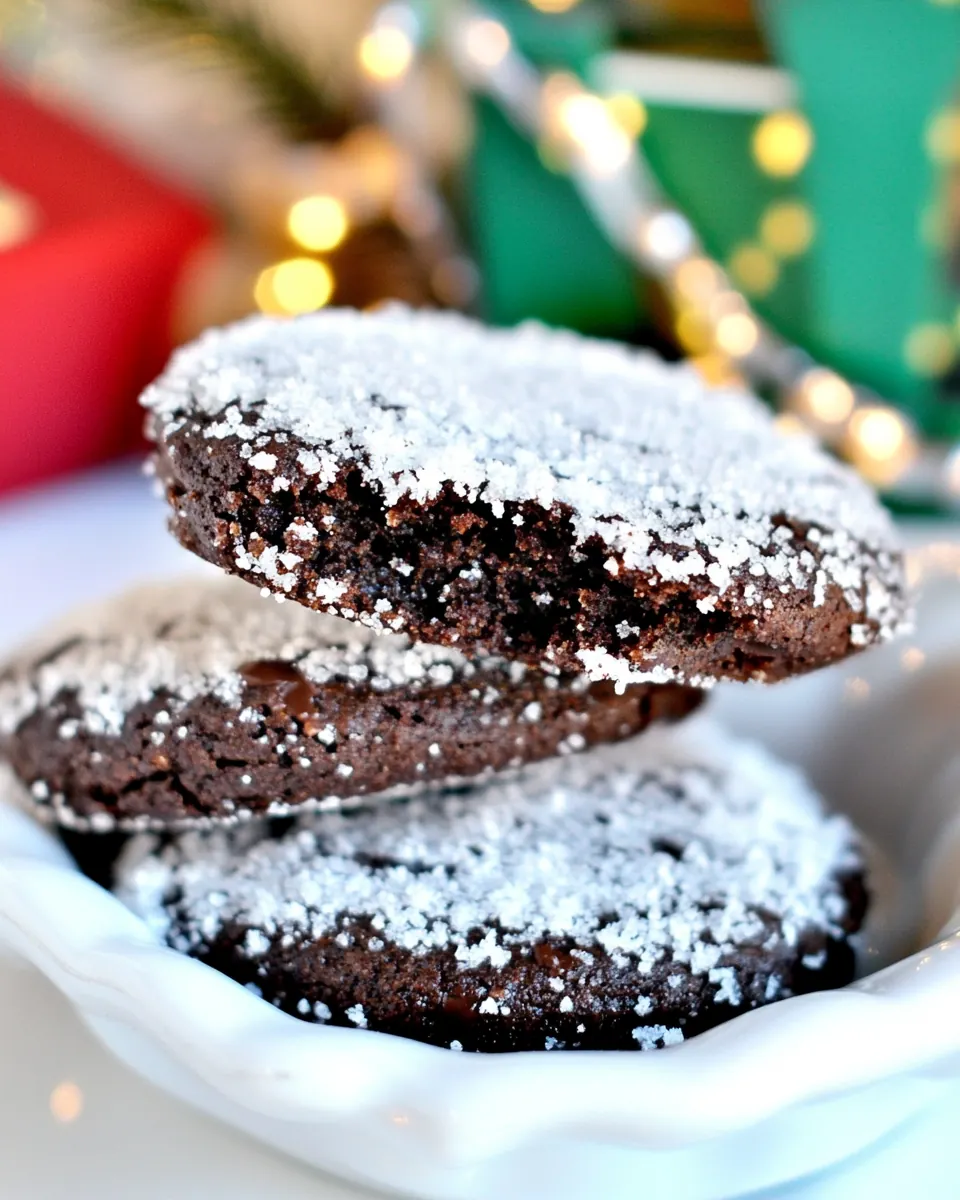
I adore how Chocolate Shortbread Snow Cookies rely on a handful of pantry staples, yet produce something that feels indulgent. The texture is a study in contrasts, with a tender, sandy crumb and a slightly firmer edge that gives each bite a satisfying snap. I find this simplicity makes the recipe approachable for bakers at any level, and I often nudge friends to try it because the results are reliably impressive.
Perfect for winter and celebrations
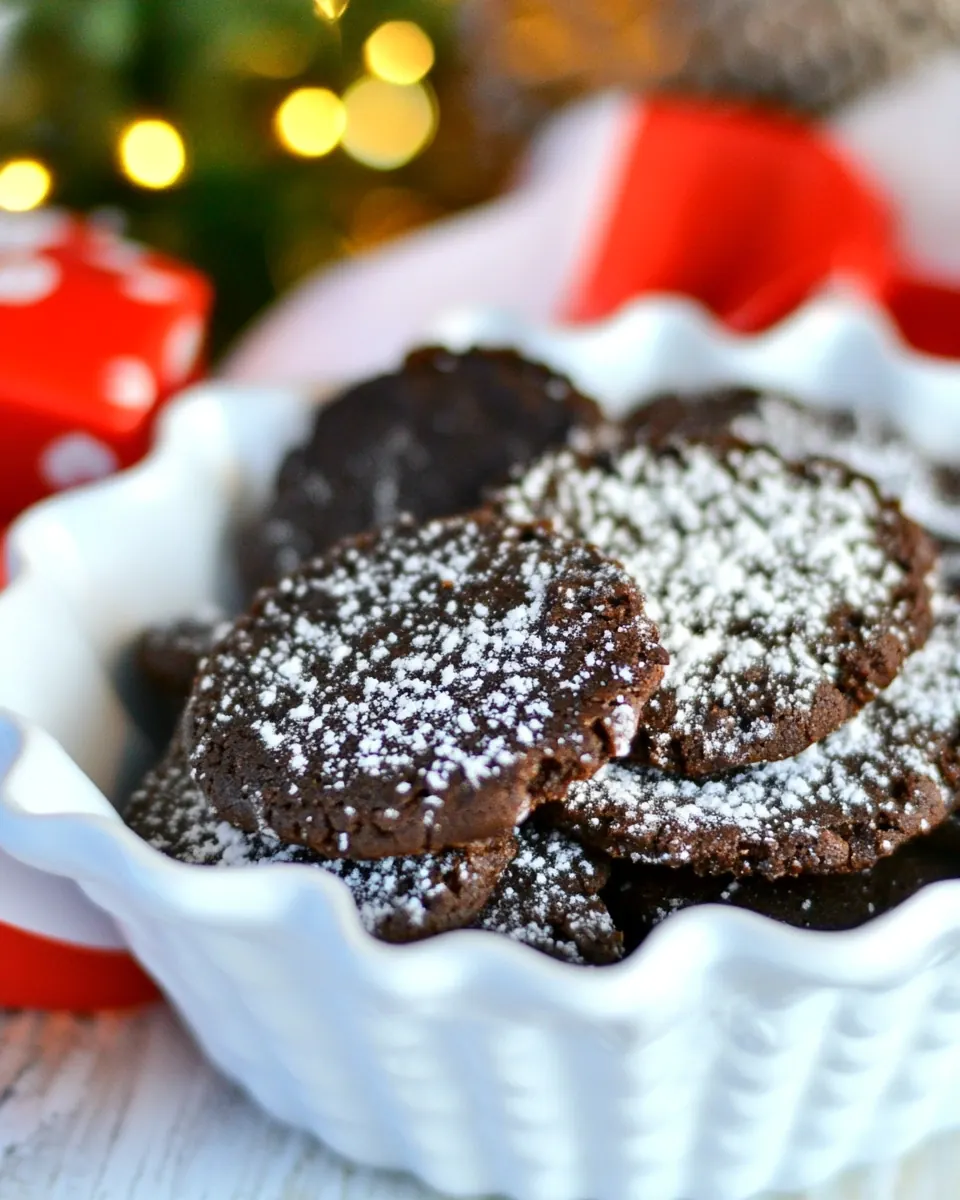
Since the recipe is labeled for winter and holiday gatherings, I make a lot of these around festive seasons. The dusting of confectioners sugar makes them look like tiny snowdrifts on a platter, which adds a bit of whimsy to cookie trays. I like serving them alongside warm drinks, and they always spark conversations about family traditions and favorite treats.
Flexible and forgiving dough
The dough itself is forgiving, which I appreciate when I have little time or when children help. You can chill it overnight for convenience, and the texture only improves with a little patience. I recommend keeping an eye on thickness and chilling time, because those two variables really guide the final bite, and they let you adapt the cookies to your preferred crispness.
Rich chocolate flavor without being overpowering
The cocoa gives these cookies a clear chocolate profile, while the shortbread base keeps the flavor balanced and buttery. I love that you can taste the cocoa without the cookie becoming heavy, which makes them a favorite for those who want chocolate that is refined rather than cloying. The finishing sprinkle of confectioners sugar brightens the flavor and adds a gentle contrast in texture.
Great for gifting and make ahead
Because the recipe scales well and the cookies store nicely, I often bake big batches for gifting. They refrigerate well as dough and the baked cookies keep their texture for several days in a covered tin. I’ve wrapped them in parchment and tied bundles with ribbon for neighbors, and they always feel like a thoughtful, homemade present.
Ingredient List for Chocolate Shortbread Snow Cookies
These ingredients form a concise, harmonious cast of characters. The dry elements create the structure and cocoa backbone, while the butter brings richness and the egg yolk binds the dough, creating that classic shortbread crumb. The finishing dust of confectioners sugar not only adds visual charm, it offers a soft, sweet contrast to the cocoa.
- 1 3/4 cup all purpose flour: Provide structure and bulk to the cookie dough, creating a tender crumb when combined with fat and proper mixing. Bind with the other dry ingredients to achieve the shortbread's characteristic crumbly texture while supporting the cocoa's flavor.
- 3/4 cup granulated sugar: Add sweetness and help tenderize the dough by interacting with fat and egg yolk, contributing to a delicate texture. Also assist in slight spreading and browning during baking for balanced sweetness.
- 1/2 cup cocoa powder: Impart rich chocolate flavor and a deep color while absorbing some moisture from the dough, intensifying the cookie's cocoa profile. Work with the flour and butter to produce a fudgy, bittersweet base typical of chocolate shortbread.
- 12 oz . butter softened: Provide fat that coats flour proteins to inhibit gluten development, resulting in tender, crumbly shortbread texture. Contribute flavor, richness, and help the dough hold together while promoting proper mouthfeel and bake characteristics.
- 2 tsp . vanilla: Contribute aromatic, sweet vanilla notes that enhance and round out the chocolate flavor. Provide subtle depth and complexity, elevating the overall taste profile of the cookies.
- 1 egg yolk: Help enrich the dough and add binding power without the full liquid of a whole egg, contributing to a firmer yet tender texture. Aid in emulsifying fats and providing a richer color and mouthfeel.
- 1/4 tsp . salt: Enhance overall flavor by balancing sweetness and intensifying other ingredients, while also slightly tightening the dough by affecting protein interactions. Improve the finished cookie's taste harmony with just a small amount.
- confectioners sugar for sprinkling snow: Create a snowy visual finish and add a touch of extra sweetness when dusted over the baked cookies. Provide a delicate contrast in texture and appearance, reinforcing the winter-themed presentation.
Cooking Instructions for Chocolate Shortbread Snow Cookies
These steps guide you from mixing to the final snowy finish. I like to move through the process deliberately, pausing to check dough texture and chill time. Follow each instruction patiently and your cookies will reward you with the perfect balance of crisp edge and tender center.
- In a medium bowl sift the flour, salt and cocoa powder. Set aside.: The first sensory cue to notice is the dry, cocoa aroma and the fine, powdery texture as you sift together the all purpose flour , salt , and cocoa powder . Sifting removes lumps and aerates the mixture, which helps produce an even crumb in the finished cookie. You should feel a light, almost dusty texture on your fingers and see a uniform chocolate tone across the bowl. This step matters because if the dry ingredients are not well combined, you may end up with pockets of salt or cocoa, causing uneven bites. A common mistake is skipping sifting; that can leave clumps that do not incorporate and create unpleasant gritty spots. Take your time to gently tap the sieve and use a spoon to encourage stubborn bits through, ensuring a smooth base for the dough.
- Beat the butter on low speed until creamy and whipped (about 1 minute).: As you start beating the butter , listen for a steady, quiet thrum from the mixer and watch the butter turn paler and softer, developing a satiny sheen. The goal here is not a glossy peak, but a light, whipped texture that helps the sugar dissolve and traps air for a delicate crumb. If the butter looks greasy or starts separating, it is too warm and you should chill it briefly. A common pitfall is using butter that is too cold, which will not cream properly, leaving a lumpy base; alternatively, overbeating can melt the butter, affecting dough structure. Keep the speed low and check after about a minute to ensure the texture is creamy but not oily.
- Add the sugar in 3 portions to the butter until well combined, about 2 minutes after each addition.: You will notice a gradual change in sound and texture as the granulated sugar dissolves into the butter. After each addition the mixture will lighten in color and feel smoother to the touch. Adding sugar in portions helps the crystals dissolve without leaving a grainy mix, which is important for a tender shortbread. If the mixture seems gritty after two minutes, scrape the bowl and continue mixing a bit longer. A common error is dumping all the sugar in at once, which can overwhelm the butter and leave a coarse, uneven texture that affects how the cookie bakes.
- Add in the egg yolk and vanilla and beat until well blended.: When you incorporate the egg yolk and vanilla , notice the mixture gaining a glossy, cohesive look, signaling proper emulsion. The scent of vanilla will lift the chocolate and the yolk will add a richer mouthfeel. Blend until the mixture looks uniform and there are no streaks of yolk. If you add the yolk to cold butter, it may not incorporate smoothly, so ensure the butter is at the correct softness. Avoid overmixing here, as it can add unnecessary air and change the texture of the dough later on.
- Add the flour mixture in, in stages until blended either low speed on a mixer or by hand.: As you fold in the sifted flour , cocoa , and salt in stages, you will see the batter transform from glossy and soft to a cohesive dough. Adding in stages prevents overworking the dough and helps maintain a tender crumb. The sound changes to a denser, quieter mix, and visually you will see pockets of dry ingredients disappear. Overmixing at this moment can develop gluten and make cookies tougher, so stop mixing once no streaks remain. If the mixture seems dry, a brief gentle knead by hand can rescue it without overworking.
- Gather the dough and place on plastic wrap forming three separate discs. Place the disks in the refrigerator for at least two hours. Overnight is best.: Forming the dough into discs chills it evenly and makes rolling easier. You should feel a cool, firm dough that holds shape yet yields slightly to pressure. Chilling solidifies the butter, which helps maintain cookie shape during baking and develops flavor. If you try to roll warm dough, it will be sticky and tear, so chilling is essential. A common mistake is skipping sufficient chill time, which can cause spreading in the oven and a denser texture. I like to wrap each disc tightly so they do not dry out in the fridge.
- Remove one disk of the dough from the refrigerator, rest to slightly soften. Place the dough between two sheets of waxed paper the size of the baking sheet (lightly sprinkle paper with flour) and roll to 1/8 – 1/4 inch thick.: When you take a disc from the fridge, allow it to sit for a few minutes so it softens just enough to roll without cracking. The tactile cue is a dough that moves under the rolling pin but springs back slightly. Rolling between waxed paper keeps the surface clean and reduces sticking, while a light dust of flour prevents tearing. Aim for a uniform thickness so cookies bake evenly; anything uneven will produce cookies with mixed textures. A typical error is rolling too thin, which yields overly crisp cookies, or too thick, which makes them underbaked in the center.
- Remove top layer and cut into squares with a pie crimper or use a cookie cutter. Place the cookies on a parchment paper lined baking sheet. They don’t spread so you can have them fairly close.: As you cut shapes, you will hear a clean, satisfying sound and see neat edges. Transfer the pieces gently to the lined sheet; they should hold their contours well because of the chilled butter. Because these cookies do not spread much, you can arrange them relatively close, which is efficient for baking. Watch for any dough that becomes warm and floppy during cutting, that will need a quick chill before baking. A frequent slip is crowding the pan too tightly if using thicker cuts, which can limit airflow and unevenly bake the cookies.
- Bake in a pre heated 350° oven for 10-12 minutes.: You will notice the oven scent change within minutes, a rich cocoa aroma filling the kitchen. Look for slightly set edges and a firm surface, the visual cue that they are done. The goal is not deep browning, but a light, even bake that preserves the tender interior. If you wait for deep color you risk drying them out. A common mistake is not preheating the oven, which leads to inconsistent baking and possible underdone centers. Keep the temperature steady and check the cookies around the ten minute mark.
- Let them rest for a few minutes on the cookie sheet then gently transfer them to a wire rack to cool.: As they rest, you will feel the residual warmth and smell the concentrated chocolate. Leaving them to cool briefly on the sheet lets them firm up, making transfer safer without breakage. Move them carefully to a wire rack so air can circulate and cool the bottoms, preserving crispness. If you try to move them while too warm, they can break or deform. A common oversight is stacking warm cookies which traps steam and softens texture; always cool completely before storing.
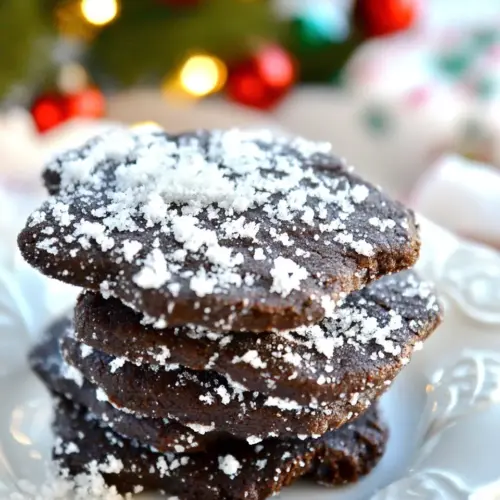
- Just before they are completely cooled, sprinkle with confectioner’s sugar.: The final dusting should be done when the cookies are mostly cooled to prevent the sugar from melting away. You will see a delicate white contrast against the chocolate surface, like a light snowfall. This finishing touch adds a soft sweetness and a visual flourish. If you sift the sugar too early, it will dissolve on the hot surface and lose the pretty snowy effect. Aim for a gentle, even dusting to maintain that classic look.
Recipe Notes about Chocolate Shortbread Snow Cookies

These notes expand on technique and storage to help ensure the best results. I include practical tips that Ive learned over repeated batches, and I explain why they help you achieve consistent texture and flavor.
- Chill time matters: Allow at least two hours of chilling, or preferably overnight, because chilling firms the butter which prevents spreading and deepens flavor. Overnight chilling lets the flour hydrate slightly, producing a more cohesive dough and a better shortbread texture.
- Use room temperature but not warm butter: Butter should yield with a gentle press but not be soft to the point of greasy. Properly softened butter creams smoothly with sugar to create an aerated base, whereas over softened butter can lead to a greasy, slack dough and under softened butter will not incorporate properly.
- Roll evenly: Aim for a uniform thickness of about 1/8 to 1/4 inch so cookies bake consistently. If parts of the dough are thinner, those cookies will be crispier and may overbake before larger pieces are done. Rotate the dough and check thickness visually as you roll.
- Keep a light hand with flour for dusting: A minimal dusting prevents sticking without drying the edges. Too much flour on the rolling surface can work into the dough, changing the texture and making cookies tougher. Use just enough to keep things moving smoothly.
- Store properly: Once cooled, keep cookies in an airtight tin at room temperature for up to five days for best texture. If you need longer storage, freeze baked cookies in a single layer on a tray, then transfer to a sealed container; they thaw quickly at room temperature.
How to Enjoy Chocolate Shortbread Snow Cookies
These cookies work beautifully across occasions and settings. I like serving them with warm beverages or packing them in little boxes for holiday gifting. Their texture and chocolate profile make them versatile, whether for an afternoon tea or a festive cookie plate.
- Holiday cookie trays: Arrange Chocolate Shortbread Snow Cookies with other small treats for a festive spread. The snowy dusting makes them visually appealing as a centerpiece among assorted cookies, and they pair well with spiced teas and hot cocoa.
- Gifting idea: Stack cooled cookies in parchment and tie with ribbon for a thoughtful, homemade present. They travel well and maintain texture if packed in a snug tin, making them ideal for neighbors and friends during Christmas or winter gatherings.
- Everyday snack: Serve a few cookies with a mug of coffee or tea for a quiet afternoon treat. Their buttery, chocolatey profile complements warm drinks and offers a pleasant contrast of textures with a tender interior and subtle crisp edge.
- Make ahead and store: Prepare dough ahead of time and keep chilled until you are ready to bake. Baked cookies keep in an airtight container for several days, and freezing baked cookies is a convenient way to preserve them for later celebrations.
- Presentation tips: Dust with confectioners sugar just before serving to preserve the snowy look. For a polished platter, arrange cookies in neat rows or circles and use small sprigs of evergreen or ribboned ties on serving trays for a seasonal touch.
FAQ
Conclusion
What makes these cookies special is their buttery shortbread texture combined with a clear chocolate note and a snowy finish that feels festive and elegant. They are forgiving, easy to prepare, and perfect for both everyday treats and holiday gifting, making them a reliable recipe to return to again and again. I encourage you to try them, chill the dough as recommended, and enjoy the simple pleasure of a cookie that looks as lovely as it tastes. Share a batch with friends or tuck some away for a quiet, chocolaty moment when you need it.
Chocolate Shortbread Snow Cookies
Equipment
- Mixing Bowl
- Sifter
- Mixer
- Plastic Wrap
- Rolling Pin
- cookie cutter or pie crimper
- Baking Sheet
- Parchment Paper
- Wire Rack
Ingredients
- 1 3/4 cup all purpose flour Provide structure and bulk to the cookie dough, creating a tender crumb when combined with fat and proper mixing. Bind with the other dry ingredients to achieve the shortbread's characteristic crumbly texture while supporting the cocoa's flavor.
- 3/4 cup granulated sugar Add sweetness and help tenderize the dough by interacting with fat and egg yolk, contributing to a delicate texture. Also assist in slight spreading and browning during baking for balanced sweetness.
- 1/2 cup cocoa powder Impart rich chocolate flavor and a deep color while absorbing some moisture from the dough, intensifying the cookie's cocoa profile. Work with the flour and butter to produce a fudgy, bittersweet base typical of chocolate shortbread.
- 12 oz . butter softened Provide fat that coats flour proteins to inhibit gluten development, resulting in tender, crumbly shortbread texture. Contribute flavor, richness, and help the dough hold together while promoting proper mouthfeel and bake characteristics.
- 2 tsp . vanilla Contribute aromatic, sweet vanilla notes that enhance and round out the chocolate flavor. Provide subtle depth and complexity, elevating the overall taste profile of the cookies.
- 1 egg yolk Help enrich the dough and add binding power without the full liquid of a whole egg, contributing to a firmer yet tender texture. Aid in emulsifying fats and providing a richer color and mouthfeel.
- 1/4 tsp . salt Enhance overall flavor by balancing sweetness and intensifying other ingredients, while also slightly tightening the dough by affecting protein interactions. Improve the finished cookie's taste harmony with just a small amount.
- confectioners sugar for sprinkling snow Create a snowy visual finish and add a touch of extra sweetness when dusted over the baked cookies. Provide a delicate contrast in texture and appearance, reinforcing the winter-themed presentation.
Instructions
- In a medium bowl sift the flour, salt and cocoa powder. Set aside.: The first sensory cue to notice is the dry, cocoa aroma and the fine, powdery texture as you sift together the all purpose flour , salt , and cocoa powder . Sifting removes lumps and aerates the mixture, which helps produce an even crumb in the finished cookie. You should feel a light, almost dusty texture on your fingers and see a uniform chocolate tone across the bowl. This step matters because if the dry ingredients are not well combined, you may end up with pockets of salt or cocoa, causing uneven bites. A common mistake is skipping sifting; that can leave clumps that do not incorporate and create unpleasant gritty spots. Take your time to gently tap the sieve and use a spoon to encourage stubborn bits through, ensuring a smooth base for the dough.
- Beat the butter on low speed until creamy and whipped (about 1 minute).: As you start beating the butter , listen for a steady, quiet thrum from the mixer and watch the butter turn paler and softer, developing a satiny sheen. The goal here is not a glossy peak, but a light, whipped texture that helps the sugar dissolve and traps air for a delicate crumb. If the butter looks greasy or starts separating, it is too warm and you should chill it briefly. A common pitfall is using butter that is too cold, which will not cream properly, leaving a lumpy base; alternatively, overbeating can melt the butter, affecting dough structure. Keep the speed low and check after about a minute to ensure the texture is creamy but not oily.
- Add the sugar in 3 portions to the butter until well combined, about 2 minutes after each addition.: You will notice a gradual change in sound and texture as the granulated sugar dissolves into the butter. After each addition the mixture will lighten in color and feel smoother to the touch. Adding sugar in portions helps the crystals dissolve without leaving a grainy mix, which is important for a tender shortbread. If the mixture seems gritty after two minutes, scrape the bowl and continue mixing a bit longer. A common error is dumping all the sugar in at once, which can overwhelm the butter and leave a coarse, uneven texture that affects how the cookie bakes.
- Add in the egg yolk and vanilla and beat until well blended.: When you incorporate the egg yolk and vanilla , notice the mixture gaining a glossy, cohesive look, signaling proper emulsion. The scent of vanilla will lift the chocolate and the yolk will add a richer mouthfeel. Blend until the mixture looks uniform and there are no streaks of yolk. If you add the yolk to cold butter, it may not incorporate smoothly, so ensure the butter is at the correct softness. Avoid overmixing here, as it can add unnecessary air and change the texture of the dough later on.
- Add the flour mixture in, in stages until blended either low speed on a mixer or by hand.: As you fold in the sifted flour , cocoa , and salt in stages, you will see the batter transform from glossy and soft to a cohesive dough. Adding in stages prevents overworking the dough and helps maintain a tender crumb. The sound changes to a denser, quieter mix, and visually you will see pockets of dry ingredients disappear. Overmixing at this moment can develop gluten and make cookies tougher, so stop mixing once no streaks remain. If the mixture seems dry, a brief gentle knead by hand can rescue it without overworking.
- Gather the dough and place on plastic wrap forming three separate discs. Place the disks in the refrigerator for at least two hours. Overnight is best.: Forming the dough into discs chills it evenly and makes rolling easier. You should feel a cool, firm dough that holds shape yet yields slightly to pressure. Chilling solidifies the butter, which helps maintain cookie shape during baking and develops flavor. If you try to roll warm dough, it will be sticky and tear, so chilling is essential. A common mistake is skipping sufficient chill time, which can cause spreading in the oven and a denser texture. I like to wrap each disc tightly so they do not dry out in the fridge.
- Remove one disk of the dough from the refrigerator, rest to slightly soften. Place the dough between two sheets of waxed paper the size of the baking sheet (lightly sprinkle paper with flour) and roll to 1/8 – 1/4 inch thick.: When you take a disc from the fridge, allow it to sit for a few minutes so it softens just enough to roll without cracking. The tactile cue is a dough that moves under the rolling pin but springs back slightly. Rolling between waxed paper keeps the surface clean and reduces sticking, while a light dust of flour prevents tearing. Aim for a uniform thickness so cookies bake evenly; anything uneven will produce cookies with mixed textures. A typical error is rolling too thin, which yields overly crisp cookies, or too thick, which makes them underbaked in the center.
- Remove top layer and cut into squares with a pie crimper or use a cookie cutter. Place the cookies on a parchment paper lined baking sheet. They don’t spread so you can have them fairly close.: As you cut shapes, you will hear a clean, satisfying sound and see neat edges. Transfer the pieces gently to the lined sheet; they should hold their contours well because of the chilled butter. Because these cookies do not spread much, you can arrange them relatively close, which is efficient for baking. Watch for any dough that becomes warm and floppy during cutting, that will need a quick chill before baking. A frequent slip is crowding the pan too tightly if using thicker cuts, which can limit airflow and unevenly bake the cookies.
- Bake in a pre heated 350° oven for 10-12 minutes.: You will notice the oven scent change within minutes, a rich cocoa aroma filling the kitchen. Look for slightly set edges and a firm surface, the visual cue that they are done. The goal is not deep browning, but a light, even bake that preserves the tender interior. If you wait for deep color you risk drying them out. A common mistake is not preheating the oven, which leads to inconsistent baking and possible underdone centers. Keep the temperature steady and check the cookies around the ten minute mark.
- Let them rest for a few minutes on the cookie sheet then gently transfer them to a wire rack to cool.: As they rest, you will feel the residual warmth and smell the concentrated chocolate. Leaving them to cool briefly on the sheet lets them firm up, making transfer safer without breakage. Move them carefully to a wire rack so air can circulate and cool the bottoms, preserving crispness. If you try to move them while too warm, they can break or deform. A common oversight is stacking warm cookies which traps steam and softens texture; always cool completely before storing.
- Just before they are completely cooled, sprinkle with confectioner’s sugar.: The final dusting should be done when the cookies are mostly cooled to prevent the sugar from melting away. You will see a delicate white contrast against the chocolate surface, like a light snowfall. This finishing touch adds a soft sweetness and a visual flourish. If you sift the sugar too early, it will dissolve on the hot surface and lose the pretty snowy effect. Aim for a gentle, even dusting to maintain that classic look.
Notes
- Chill time matters: Allow at least two hours of chilling, or preferably overnight, because chilling firms the butter which prevents spreading and deepens flavor. Overnight chilling lets the flour hydrate slightly, producing a more cohesive dough and a better shortbread texture.
- Use room temperature but not warm butter: Butter should yield with a gentle press but not be soft to the point of greasy. Properly softened butter creams smoothly with sugar to create an aerated base, whereas over softened butter can lead to a greasy, slack dough and under softened butter will not incorporate properly.
- Roll evenly: Aim for a uniform thickness of about 1/8 to 1/4 inch so cookies bake consistently. If parts of the dough are thinner, those cookies will be crispier and may overbake before larger pieces are done. Rotate the dough and check thickness visually as you roll.
- Keep a light hand with flour for dusting: A minimal dusting prevents sticking without drying the edges. Too much flour on the rolling surface can work into the dough, changing the texture and making cookies tougher. Use just enough to keep things moving smoothly.
- Store properly: Once cooled, keep cookies in an airtight tin at room temperature for up to five days for best texture. If you need longer storage, freeze baked cookies in a single layer on a tray, then transfer to a sealed container; they thaw quickly at room temperature.