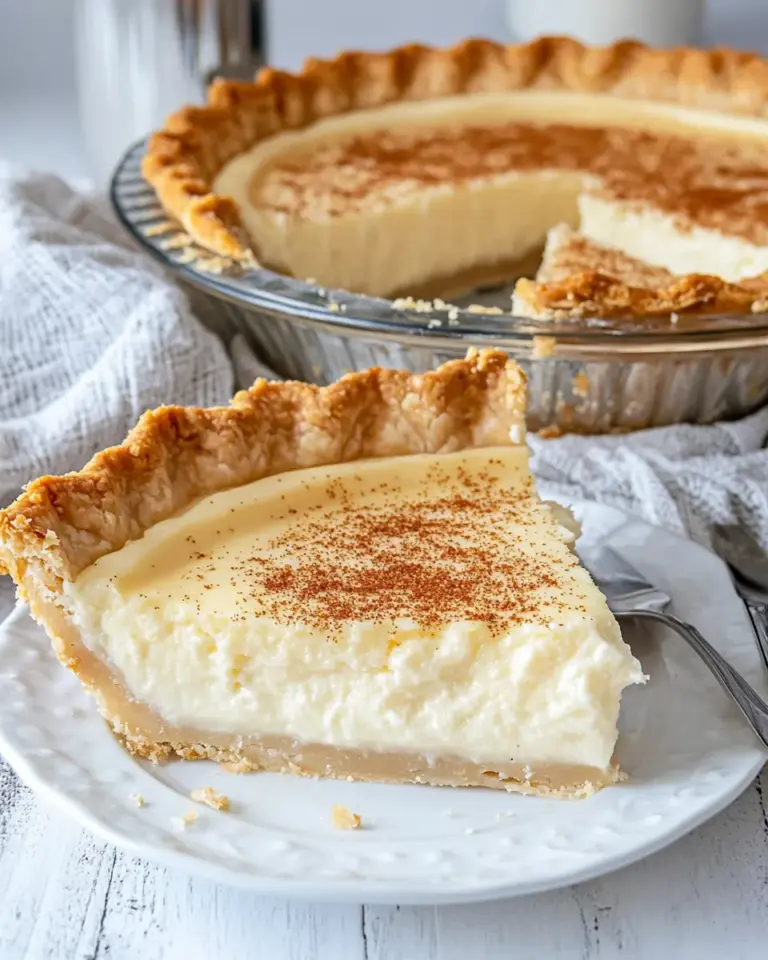
Chocolate Cobbler
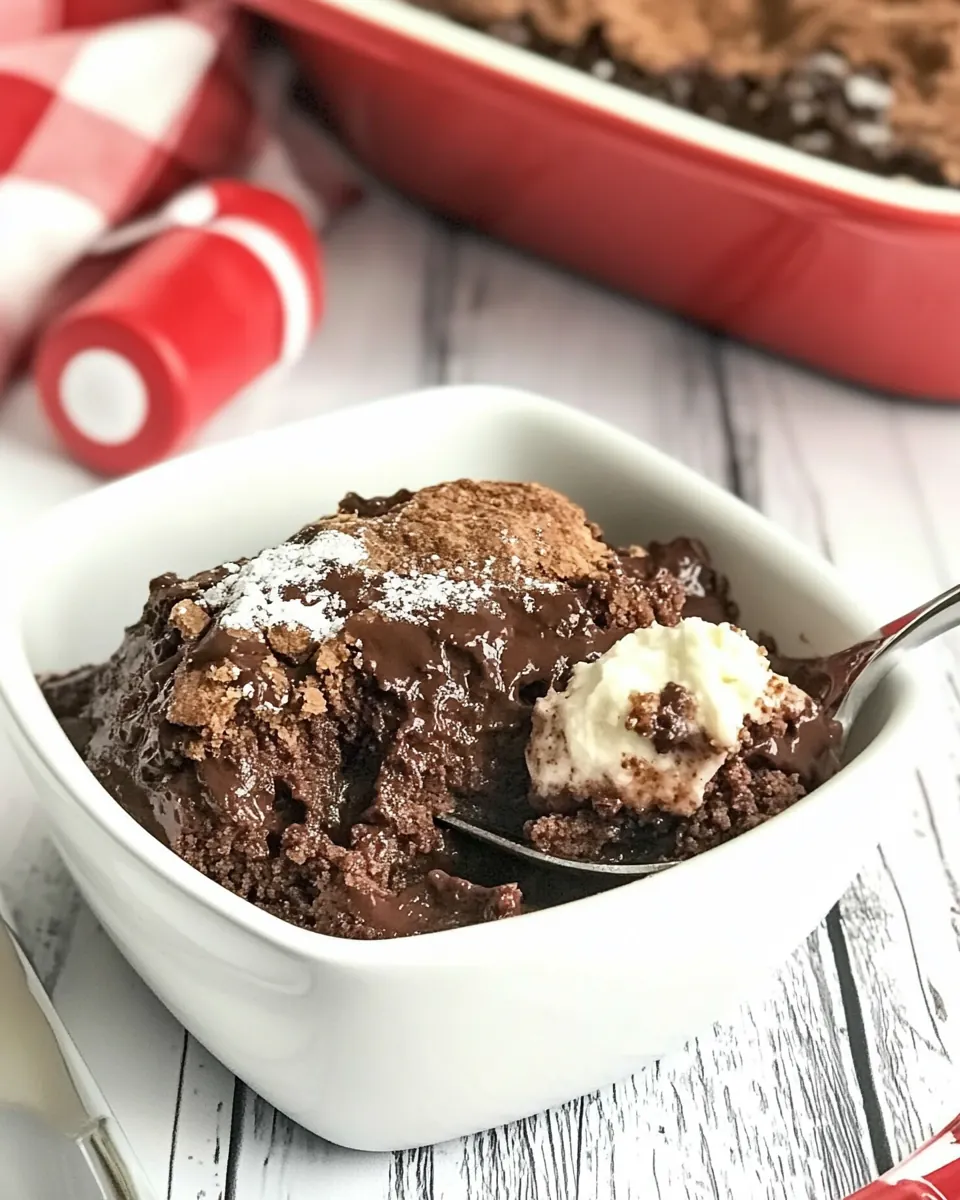
Chocolate Cobbler has a way of showing up at my table whenever I want comfort without fuss, and the first time I made it I remember the steam fogging up the kitchen window while the whole house filled with hot cacao scents.
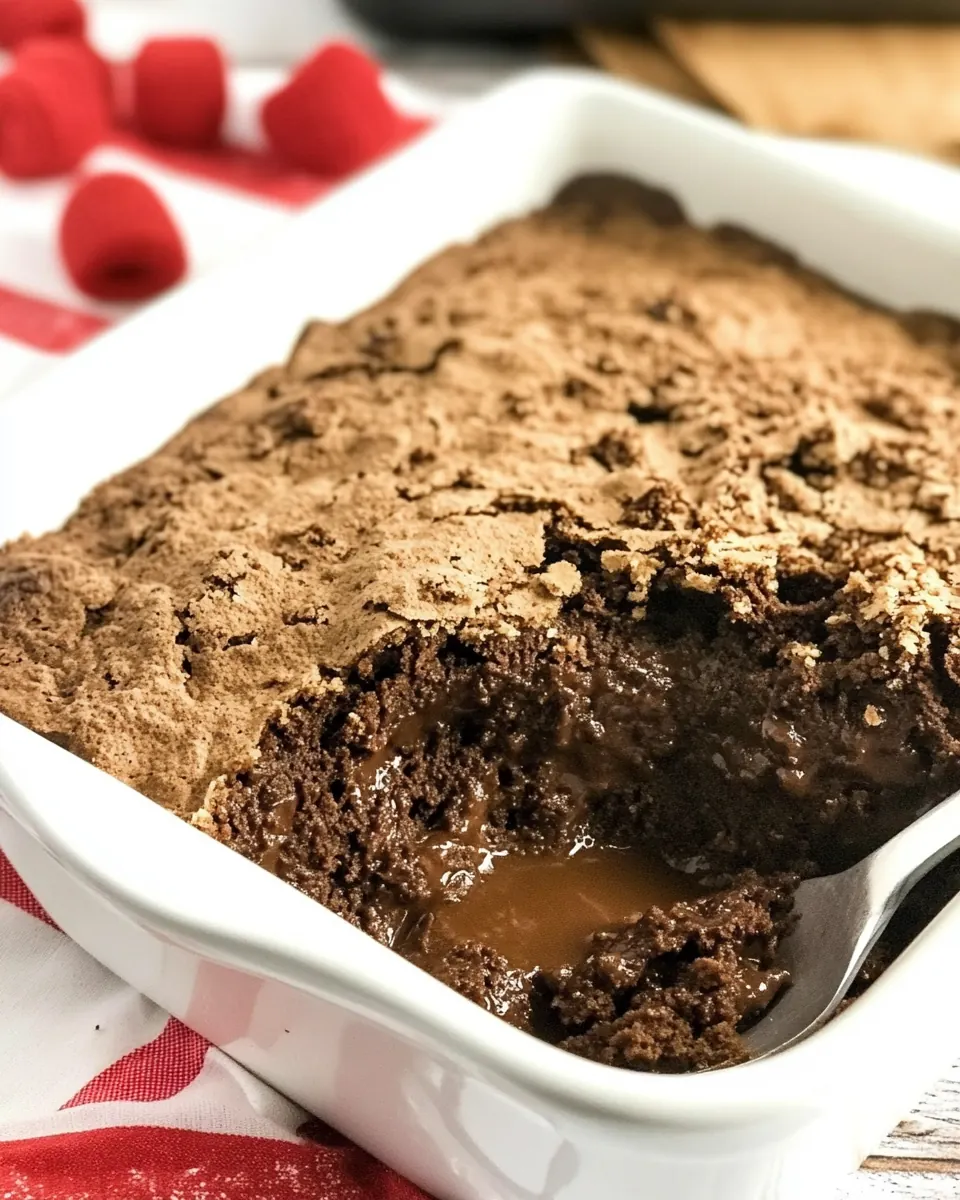
I grew up with desserts that required a lot of attention, but this version changed my approach to weeknight baking. The contrast between the cakey top and the bubbling chocolate sauce underneath felt like a small kitchen miracle, and I kept sneaking spoonfuls while it cooled. Each bite balances soft flour tender crumbs with molten chocolate pockets, and I love how the simple pantry staples transform into something cozy and a little indulgent. Over the years I adjusted tiny things, learning how the temperature of the boiling water and the order of assembly affect the final texture.
When guests come over I usually make two pans, because it disappears fast. You can serve it warm right from the oven, or let it rest so the sauce firms slightly. I also found that the mini chocolate chips add a luxurious jammy quality without overpowering the delicate cake layer. This is my go to when I want something that feels special, but takes very little time or fuss.
Recipe Snapshot
50 mins
10 mins
40 mins
Medium
300 kcal
American
Gluten-Free, Low FODMAP
Desserts
8-inch Square Cake Pan
What We Adore About This Chocolate Cobbler
Deep chocolate comfort in minutes
I adore this Chocolate Cobbler because it gives you an intensely chocolatey result using straightforward steps, no tempering required. The molten center is rich yet effortless, and I always feel rewarded by how dramatic the final dish looks and tastes without spending hours in the kitchen.
Simple pantry ingredients, big payoff
One of the reasons I keep coming back to this recipe is that it leans on everyday staples like flour, sugar, and butter. I love that you rarely need a special trip to the store, and the technique teases out complex flavors from humble components.
Textural contrast that wows
The magic here is the textural play between a tender cakey top and a glossy, pourable chocolate sauce below. I find that this contrast is exactly what makes guests ask for seconds, it feels like a layered dessert even though it bakes in one pan.
Flexible and forgiving
I’ve served Chocolate Cobbler for casual family nights and also at more formal gatherings. The recipe is forgiving if you slightly over or under mix, and small timing differences mostly change the sauce intensity rather than wreck the dish. That reliability makes it my go to when I want a dependable dessert.
Comfort food with a nostalgic pull
For me this cobbler has nostalgia woven in, it reminds me of rapid, cozy dinners followed by a warm sweet finish. It is easy to imagine serving it during winter evenings, because the warm chocolate sauce feels like an edible hug after a long day.
What to Gather for Chocolate Cobbler
These ingredients are intentionally straightforward, each playing a clear role. The flour forms the tender top layer, the butter adds richness and aids browning, and different amounts of sugar and unsweetened cocoa powder are divided to create both the cake and the molten sauce. The boiling water wakes up the cocoa and creates the luscious sauce, while the mini chocolate chips deepen chocolate flavor and add jammy pockets.
- 6 tbsp butter, melted: Melted and incorporated to provide rich fat that creates tenderness and helps bind the cobbler batter while adding a glossy finish when baked. Use fully melted butter for even distribution and to mix easily with the sugar and dry ingredients. Helps carry flavors and contributes to a soft, cakey texture beneath the chocolate topping.
- 1 3/4 cups sugar, divided: Sweetened and split between batter and topping to balance chocolate bitterness and add moistness; part integrates into the batter while part dissolves with boiling water to create a syrupy sauce. Use the divided amount to control sweetness level and ensure both the cake and the hot chocolate layer are properly sweetened. Dissolving sugar in hot liquid also helps produce a smooth, cohesive topping.
- 1 cup all-purpose flour: Leavened and structured to form the cake-like base; provides the bulk of dry ingredients and creates structure when combined with liquids and leavening. Sift or whisk to remove lumps and ensure even mixing with baking powder and salt for a uniform crumb. Contributes to the tender, slightly cakey interior that contrasts with the gooey chocolate topping.
- 1 1/2 tsp baking powder: Activated to produce lift and a light, tender crumb by releasing carbon dioxide during baking; balances the density of the batter. Measure carefully and mix with the flour to distribute evenly so the cobbler rises uniformly. Works with melted butter and milk to create small, consistent air pockets in the cake layer.
- 1/2 tsp salt: Seasoned to enhance overall flavor and balance sweetness, preventing the dessert from tasting flat; also strengthens gluten slightly for structure. Dissolve or whisk with dry ingredients to ensure even distribution and avoid concentrated salty spots. Small quantity emphasizes other flavors without making the cobbler noticeably salty.
- 1/2 cup whole milk: Added as the main liquid to hydrate the dry ingredients and form a smooth batter while contributing a slight richness from milk fat. Warm or room-temperature milk mixes more smoothly with melted butter and flour, promoting even texture. Helps create tenderness in the cake and aids in steam formation during baking for lift.
- 6 tbsp unsweetened cocoa powder, divided: Used in divided amounts to provide deep chocolate flavor and color; some is incorporated into the batter and some mixes with boiling water to form the molten chocolate topping. Sift or thoroughly whisk to dissolve clumps and ensure an even distribution of cocoa in both the cake and sauce layers. Unsweetened cocoa intensifies chocolate intensity without adding extra sugar.
- 1 tsp vanilla extract: Added for aromatic depth and to round out and enhance the chocolate flavors while bringing a subtle, warm vanilla note. Stir into the batter toward the end of mixing to preserve its delicate aroma. Small amount amplifies perceived sweetness and complements the cocoa and chocolate chips.
- 1 cup mini chocolate chips: Folded in to provide pockets of melted chocolate throughout the cobbler and add texture contrast between cakey batter and gooey topping. Sprinkle evenly into the batter or scatter on top as directed so chips melt into soft, chocolatey bursts. Mini chips melt more uniformly than larger pieces, creating consistent chocolate ribbons.
- 1 1/2 cups boiling water: Poured over the assembled batter to reactivate cocoa and sugar into a hot, molten sauce that sinks to the bottom during baking and creates a fudgy pool beneath the cake. Use boiling water to quickly dissolve the remaining cocoa and sugar, producing an immediate syrup that transforms into a sauce as the cobbler bakes. Steam from the hot water also helps finish cooking the cake while intensifying the chocolate topping.
How to Assemble Chocolate Cobbler
I like to think of assembly as a gentle choreography, each element laid in so the oven can do the final alchemy. Work steadily and keep your bowls and measuring cups close, and you will have a dramatic dessert with minimal fuss.
- Preheat oven to 350ºF.: As the oven warms, you will notice a dry, warming scent and the elements preparing to transform the batter into a golden top, which is essential because the steady initial heat promotes even rise. If you skip preheating, the batter can bake unevenly and produce a dense center, so always wait until the oven reaches a stable 350 degrees.
- In a medium bowl whisk together 3/4 cup sugar, flour, baking powder, salt, milk, 2 Tbsp cocoa powder and vanilla.: Right away you will feel the dry ingredients combine into a light, sandy texture before the wet ingredients bind them into a smooth batter; the aroma of cocoa and vanilla becomes noticeable and reassuring. The whisking develops small air pockets that encourage a tender crumb, so take time to mix until smooth but avoid over whisking which can toughen the cake. A frequent error is adding wet to dry too quickly, which can create lumps, so pour gradually and whisk gently.
- Pour melted butter into an 8×8-inch pan. Pour batter over melted butter.: When the melted butter hits the pan, you will hear a soft hiss and see it pool evenly; tilt the pan to coat the bottom so the batter will not stick and will bake with a rich edge. This film of butter also flavors the sauce that forms beneath the cake. If the butter is too hot it can start to cook the batter on contact, so allow it to cool until warm before pouring the batter over it.
- In a separate bowl, combine the remaining 1 cup of sugar, 4 Tbsp cocoa powder and chocolate chips; sprinkle evenly over the batter.: As you drop the batter into the pan, it will spread and flatten atop the warm butter , creating an interface where the cake will rise. Smooth it gently so there are no dry pockets, and notice the contrast as the pale batter meets the glossy butter. Avoid pressing the batter into the pan, which can compact it and hinder a light texture.
- Slowly pour boiling water over top of the cobbler.: The granulated sugar and extra cocoa powder form the basis of the sauce, and the mini chocolate chips will melt into little concentrated pockets, adding depth. Sprinkle evenly so the sugar will absorb the boiling water uniformly; clustering here causes uneven sauce distribution. A common slip is dumping everything to one side, which leads to inconsistent results.
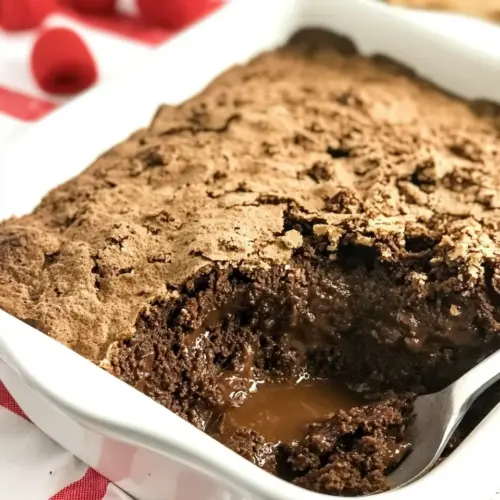
- Bake 40 to 45 minutes, until top of the cobbler looks set. Do not overcook or there won’t be any yummy chocolate sauce.: As the boiling water meets the sugar and cocoa, you will hear a soft simmer and see the chocolate begin to dissolve, creating a shiny, thin syrup that sinks beneath the batter and forms the signature sauce. Pour in a steady ribbon to avoid disturbing the batter layer too much, and watch the liquid seam across the surface to guarantee even coverage. If you pour too quickly you can displace the dry topping and end up with dry spots.
- Bake 40 to 45 minutes, until top of the cobbler looks set: During baking you will notice the top change from pale to a light, matte brown and the edges pulling away slightly from the pan, while steam escapes and the kitchen fills with rich cocoa aromas. The surface should look set and not jiggly; underbaking will leave the cake overly wet and overbaking eliminates the luscious sauce, so check at 40 minutes and rely on visual cues rather than the clock alone. A typical mistake is leaving it too long which dries out the sauce, so remove once the top looks firm.
Expert Tips about Chocolate Cobbler
This cobbler rewards small attentions. Below are tips I have learned over many bakes, each designed to improve texture, flavor, and reliability so you get that perfect gooey interior and tender top every time.
- Warm the butter slightly before pouring, but do not use boiling butter, so it coats the pan without cooking the batter on contact.
- Split the sugar and cocoa exactly as written to create both a balanced batter and a glossy sauce, otherwise the dessert can skew overly sweet or under flavored.
- Use boiling water straight from the kettle because the heat helps dissolve sugar and bloom the cocoa for that silky sauce.
- Distribute chocolate chips evenly across the top so melting creates pockets of intense chocolate rather than single molten clumps.
- Check at the lower end of the bake time to avoid overbaking which dries the sauce and makes the top tough.
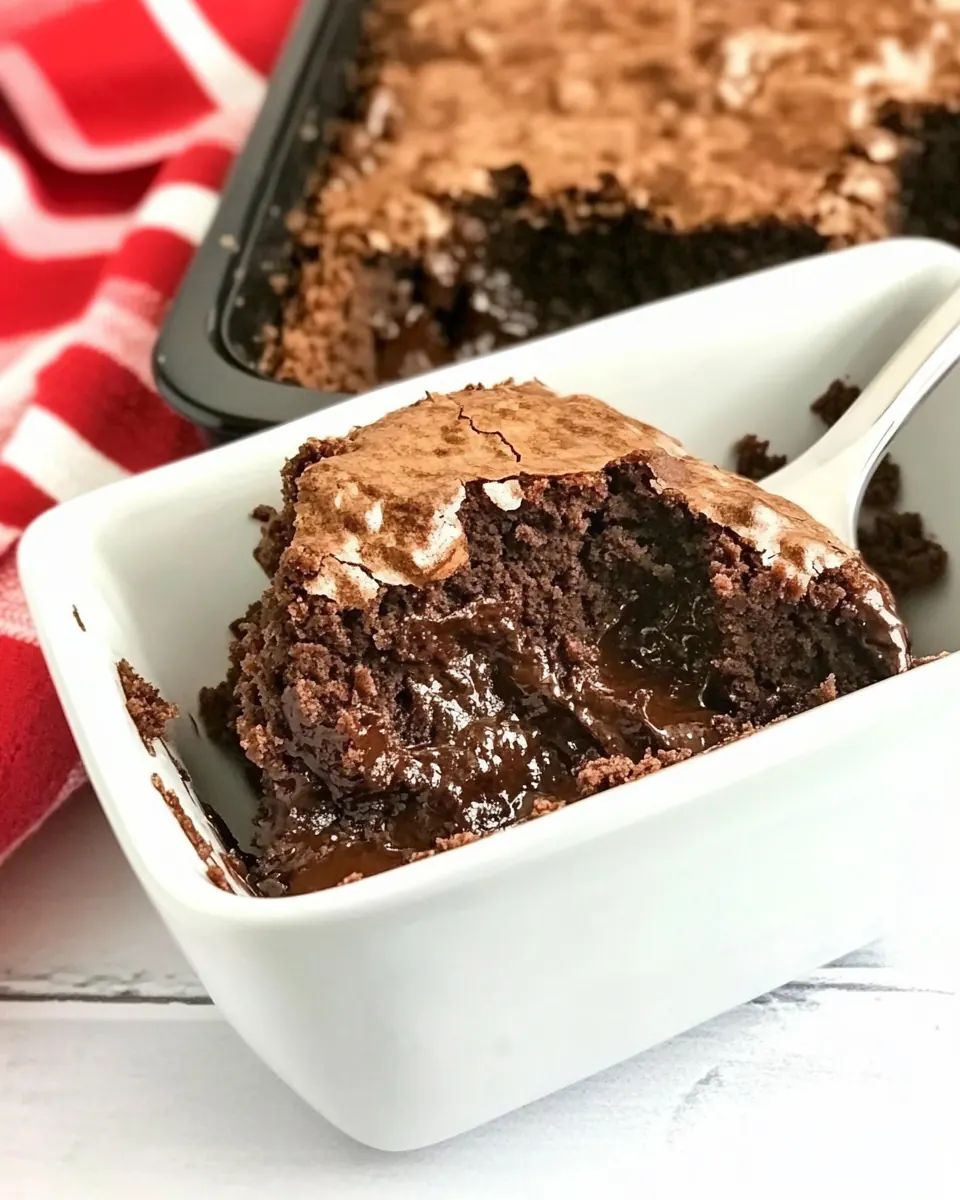
- Let the cobbler rest briefly before serving so the sauce thickens just enough for clean spoonfuls but still remains wonderfully saucy.
Perfect Pairings for Chocolate Cobbler
This cobbler is wonderfully adaptable, perfect for cozy family suppers or casual entertaining. Below are serving ideas, suitable occasions, and storage suggestions to help you plan when and how to enjoy it.
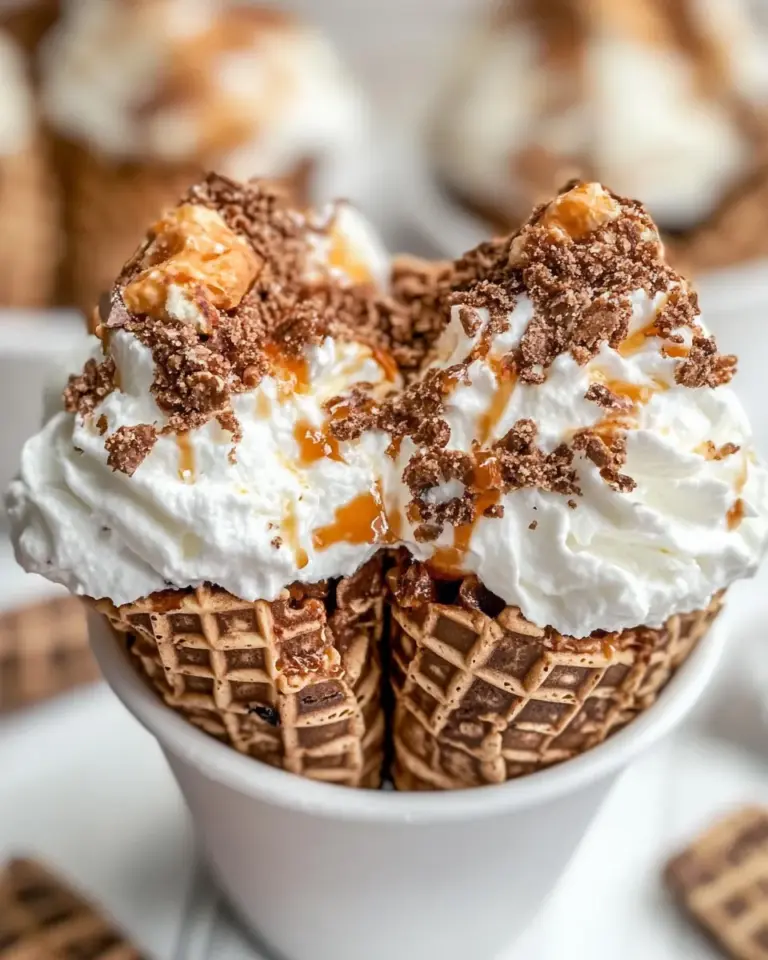
- Serve warm with a scoop of vanilla ice cream to contrast the hot chocolate sauce with cold creaminess, ideal for a relaxed dessert after dinner.
- Offer a drizzle of caramel as an optional finish to add a salted sweet layer, great for special occasions or holiday gatherings.
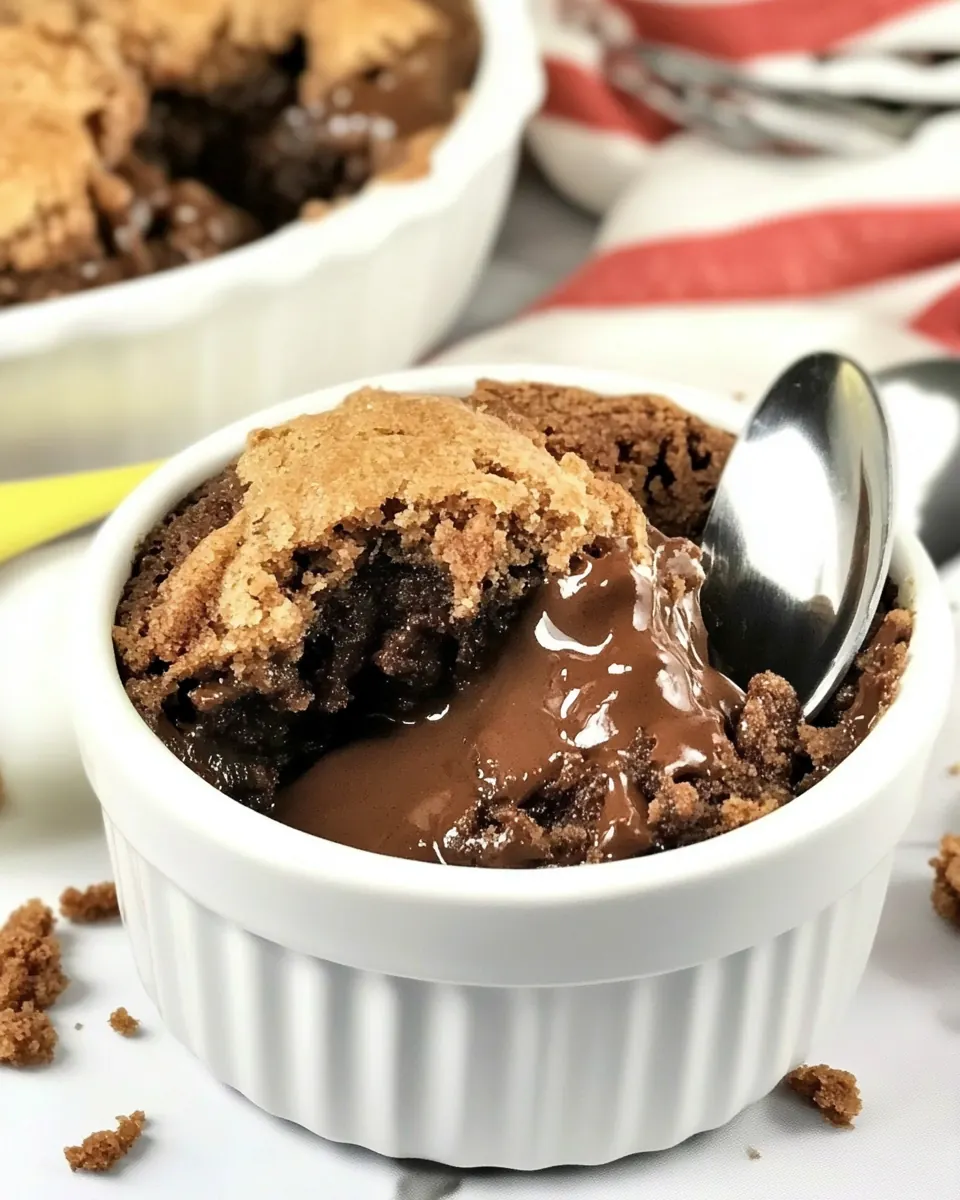
- Present in small ramekins for individual portions when hosting, which makes plating easy and feels a bit more polished.
- Pair with strong coffee for an afternoon treat where the bitterness of the coffee balances the sweet intensity of the cobbler.
- Store leftovers covered in the refrigerator for up to three days and reheat gently so the sauce loosens without drying the cake.
- Freeze slices wrapped well for longer storage, thaw in the fridge overnight and rewarm in a low oven to refresh the texture.
- Serve during cozy seasons like winter evenings when a warm, chocolatey dessert feels especially comforting and welcome.
FAQ
Conclusion
This Chocolate Cobbler stands out because it delivers a dramatic contrast of tender cake and molten chocolate sauce using simple pantry ingredients. I encourage you to try it on a chilly evening or whenever you need a fast but memorable dessert. It is forgiving, quick to assemble, and consistently comforting, making it one of those easy recipes that feels like a small celebration in a pan.
Chocolate Cobbler
Equipment
- 8-inch Square Cake Pan
Ingredients
- 6 tbsp butter, melted Melted and incorporated to provide rich fat that creates tenderness and helps bind the cobbler batter while adding a glossy finish when baked. Use fully melted butter for even distribution and to mix easily with the sugar and dry ingredients. Helps carry flavors and contributes to a soft, cakey texture beneath the chocolate topping.
- 1 3/4 cups sugar, divided Sweetened and split between batter and topping to balance chocolate bitterness and add moistness; part integrates into the batter while part dissolves with boiling water to create a syrupy sauce. Use the divided amount to control sweetness level and ensure both the cake and the hot chocolate layer are properly sweetened. Dissolving sugar in hot liquid also helps produce a smooth, cohesive topping.
- 1 cup all-purpose flour Leavened and structured to form the cake-like base; provides the bulk of dry ingredients and creates structure when combined with liquids and leavening. Sift or whisk to remove lumps and ensure even mixing with baking powder and salt for a uniform crumb. Contributes to the tender, slightly cakey interior that contrasts with the gooey chocolate topping.
- 1 1/2 tsp baking powder Activated to produce lift and a light, tender crumb by releasing carbon dioxide during baking; balances the density of the batter. Measure carefully and mix with the flour to distribute evenly so the cobbler rises uniformly. Works with melted butter and milk to create small, consistent air pockets in the cake layer.
- 1/2 tsp salt Seasoned to enhance overall flavor and balance sweetness, preventing the dessert from tasting flat; also strengthens gluten slightly for structure. Dissolve or whisk with dry ingredients to ensure even distribution and avoid concentrated salty spots. Small quantity emphasizes other flavors without making the cobbler noticeably salty.
- 1/2 cup whole milk Added as the main liquid to hydrate the dry ingredients and form a smooth batter while contributing a slight richness from milk fat. Warm or room-temperature milk mixes more smoothly with melted butter and flour, promoting even texture. Helps create tenderness in the cake and aids in steam formation during baking for lift.
- 6 tbsp unsweetened cocoa powder, divided Used in divided amounts to provide deep chocolate flavor and color; some is incorporated into the batter and some mixes with boiling water to form the molten chocolate topping. Sift or thoroughly whisk to dissolve clumps and ensure an even distribution of cocoa in both the cake and sauce layers. Unsweetened cocoa intensifies chocolate intensity without adding extra sugar.
- 1 tsp vanilla extract Added for aromatic depth and to round out and enhance the chocolate flavors while bringing a subtle, warm vanilla note. Stir into the batter toward the end of mixing to preserve its delicate aroma. Small amount amplifies perceived sweetness and complements the cocoa and chocolate chips.
- 1 cup mini chocolate chips Folded in to provide pockets of melted chocolate throughout the cobbler and add texture contrast between cakey batter and gooey topping. Sprinkle evenly into the batter or scatter on top as directed so chips melt into soft, chocolatey bursts. Mini chips melt more uniformly than larger pieces, creating consistent chocolate ribbons.
- 1 1/2 cups boiling water Poured over the assembled batter to reactivate cocoa and sugar into a hot, molten sauce that sinks to the bottom during baking and creates a fudgy pool beneath the cake. Use boiling water to quickly dissolve the remaining cocoa and sugar, producing an immediate syrup that transforms into a sauce as the cobbler bakes. Steam from the hot water also helps finish cooking the cake while intensifying the chocolate topping.
Instructions
- Preheat oven to 350ºF.: As the oven warms, you will notice a dry, warming scent and the elements preparing to transform the batter into a golden top, which is essential because the steady initial heat promotes even rise. If you skip preheating, the batter can bake unevenly and produce a dense center, so always wait until the oven reaches a stable 350 degrees.
- In a medium bowl whisk together 3/4 cup sugar, flour, baking powder, salt, milk, 2 Tbsp cocoa powder and vanilla.: Right away you will feel the dry ingredients combine into a light, sandy texture before the wet ingredients bind them into a smooth batter; the aroma of cocoa and vanilla becomes noticeable and reassuring. The whisking develops small air pockets that encourage a tender crumb, so take time to mix until smooth but avoid over whisking which can toughen the cake. A frequent error is adding wet to dry too quickly, which can create lumps, so pour gradually and whisk gently.
- Pour melted butter into an 8×8-inch pan. Pour batter over melted butter.: When the melted butter hits the pan, you will hear a soft hiss and see it pool evenly; tilt the pan to coat the bottom so the batter will not stick and will bake with a rich edge. This film of butter also flavors the sauce that forms beneath the cake. If the butter is too hot it can start to cook the batter on contact, so allow it to cool until warm before pouring the batter over it.
- In a separate bowl, combine the remaining 1 cup of sugar, 4 Tbsp cocoa powder and chocolate chips; sprinkle evenly over the batter.: As you drop the batter into the pan, it will spread and flatten atop the warm butter , creating an interface where the cake will rise. Smooth it gently so there are no dry pockets, and notice the contrast as the pale batter meets the glossy butter. Avoid pressing the batter into the pan, which can compact it and hinder a light texture.
- Slowly pour boiling water over top of the cobbler.: The granulated sugar and extra cocoa powder form the basis of the sauce, and the mini chocolate chips will melt into little concentrated pockets, adding depth. Sprinkle evenly so the sugar will absorb the boiling water uniformly; clustering here causes uneven sauce distribution. A common slip is dumping everything to one side, which leads to inconsistent results.
- Bake 40 to 45 minutes, until top of the cobbler looks set. Do not overcook or there won’t be any yummy chocolate sauce.: As the boiling water meets the sugar and cocoa, you will hear a soft simmer and see the chocolate begin to dissolve, creating a shiny, thin syrup that sinks beneath the batter and forms the signature sauce. Pour in a steady ribbon to avoid disturbing the batter layer too much, and watch the liquid seam across the surface to guarantee even coverage. If you pour too quickly you can displace the dry topping and end up with dry spots.
- Bake 40 to 45 minutes, until top of the cobbler looks set: During baking you will notice the top change from pale to a light, matte brown and the edges pulling away slightly from the pan, while steam escapes and the kitchen fills with rich cocoa aromas. The surface should look set and not jiggly; underbaking will leave the cake overly wet and overbaking eliminates the luscious sauce, so check at 40 minutes and rely on visual cues rather than the clock alone. A typical mistake is leaving it too long which dries out the sauce, so remove once the top looks firm.
Notes
- Warm the butter slightly before pouring, but do not use boiling butter, so it coats the pan without cooking the batter on contact.
- Split the sugar and cocoa exactly as written to create both a balanced batter and a glossy sauce, otherwise the dessert can skew overly sweet or under flavored.
- Use boiling water straight from the kettle because the heat helps dissolve sugar and bloom the cocoa for that silky sauce.
- Distribute chocolate chips evenly across the top so melting creates pockets of intense chocolate rather than single molten clumps.
- Check at the lower end of the bake time to avoid overbaking which dries the sauce and makes the top tough.
- Let the cobbler rest briefly before serving so the sauce thickens just enough for clean spoonfuls but still remains wonderfully saucy.