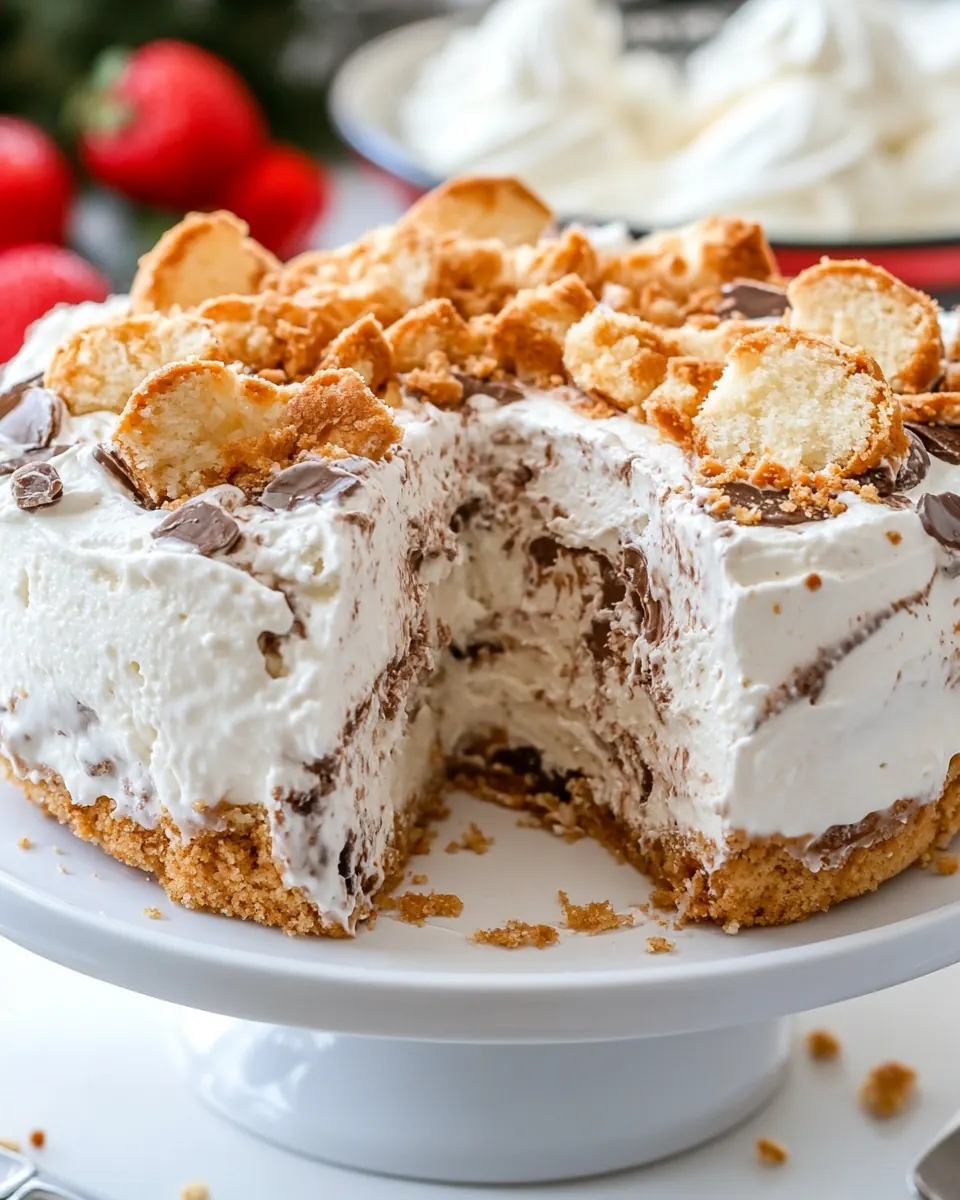
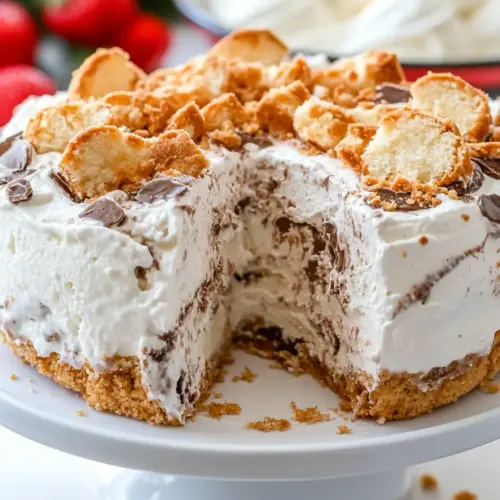
Angel Food Ice Cream Cake
Angel Food Ice Cream Cake has been my go to for summer gatherings ever since I first paired fluffy cake with melting cold ice cream on a sticky July afternoon. I remember pulling a warm, pillowy angel food cake from its pan and feeling the odd thrill of combining something airy and feather light with dense, creamy ice cream. That first bite, the soft cake giving way to cold, smooth swirls, felt like a celebration in miniature and taught me that contrasts make desserts sing.
Over the years I have tweaked the assembly, learned to balance texture and temperature, and gathered a few rituals that keep the cake simple and show stopping. At neighborhood potlucks I watch smiles spread as people discover the crunchy bits of cake against ribbons of melting ice cream. I love the way sprinkles and crushed candies add playful sound and extra sweetness, especially when kids are around and eager to help decorate.
Recipe Snapshot
1 hr 15 mins
45 mins
30 mins
Medium
250 kcal
American
Keto, Gluten-Free
Desserts
Angel food cake pan, Spatula, Large bowl, Plate
Why This Angel Food Ice Cream Cake Works
Textural Contrast That Charms
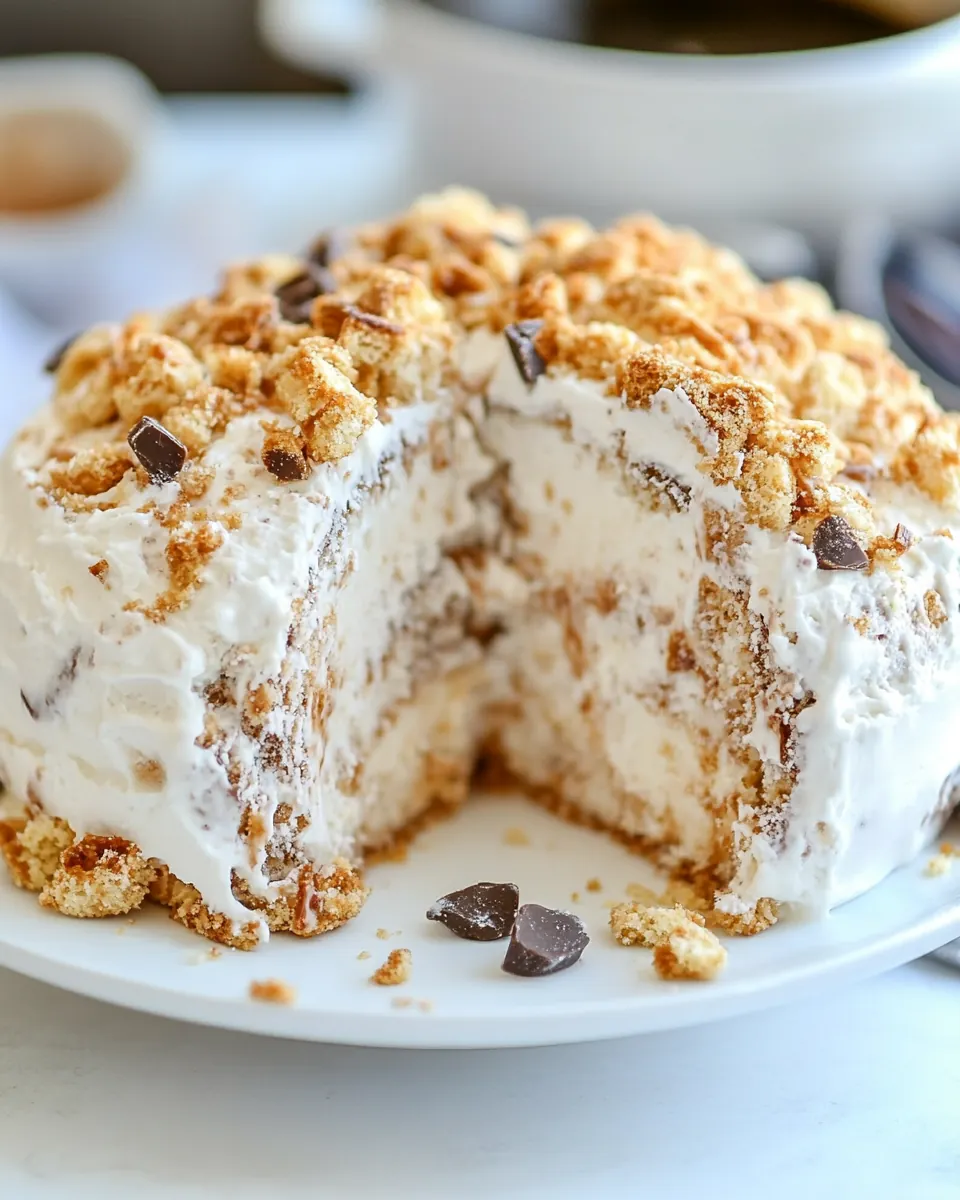
I adore how Angel Food Ice Cream Cake pairs feather light cake with rich ice cream. Each forkful offers a pillow soft crumb and a silky cold layer, which keeps every bite interesting. I often tell friends that the contrast is what makes this cake memorable, because the airy crumb prevents the dessert from feeling heavy while the ice cream brings indulgence.
Make Ahead Friendly
One of the reasons I reach for this recipe for gatherings is that it can be assembled ahead of time and kept frozen, freeing me to focus on other dishes. I usually layer it the day before, then let it firm up overnight. That flexibility means less last minute fuss and more time enjoying guests, which is a huge win when hosting.
Kid Approved and Customizable
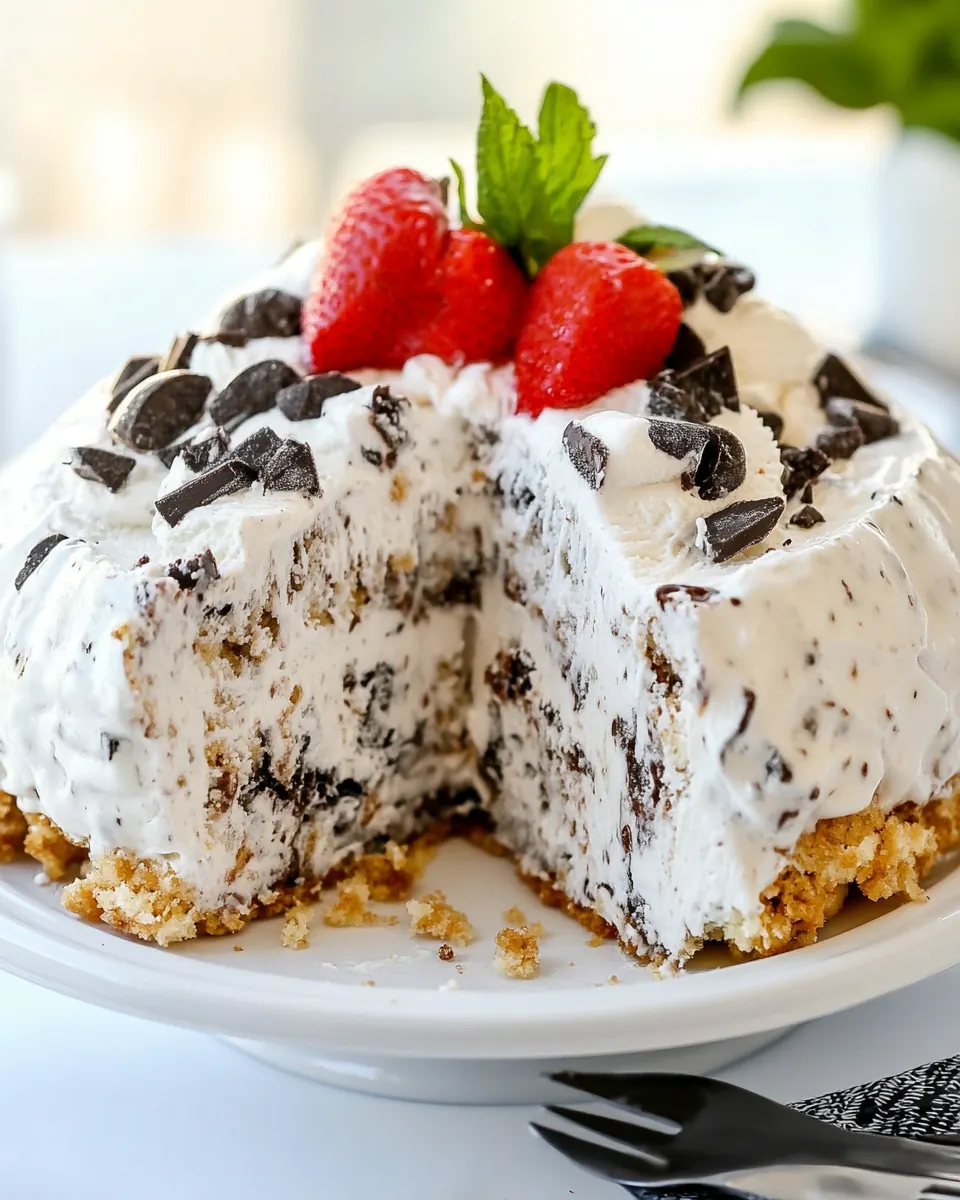
I love that Angel Food Ice Cream Cake invites creativity. Swapping two to three different ice cream flavors yields new combinations every time, and toppings like sprinkles or crushed cookies let kids join in the fun. I’ve seen shy eaters light up when they spot a favorite flavor, and the simple swap of one tub creates a whole new cake vibe.
Minimal Baking, Maximum Impact
The technique leans on a boxed angel food cake mix and ready made ice cream, which keeps the process approachable while delivering a dessert that looks and tastes special. I appreciate that you don’t need advanced pastry skills to produce something that feels celebratory. Little tricks, like dipping the pan rim in hot water to release the cake, make the finishing steps feel almost magical.
Great for Warm Weather
When the thermometer climbs, this cake shines because it keeps things cool and refreshing. I bring it to barbecues and pool parties, and it always offers a welcome cold contrast to smoky mains. The make ahead nature also means less time anchored to the kitchen during peak party hours.
What to Gather for Angel Food Ice Cream Cake
These ingredients are intentionally simple, built around two stars: airy angel food cake and creamy ice cream. The boxed cake mix supplies structure and sponge like lightness, while three to four quarts of ice cream provide the rich, cold layers that turn this into a cool summer centerpiece. Sprinkles or crushed candies are optional accents that add color, crunch, and personality.
- 1 (16-ounce) box angel food cake mix plus any ingredients listed on the box: Provides the light, airy cake base and structure when prepared according to the box directions; follow included instructions to whip and bake into a tender angel food layer that supports the ice cream without overpowering its texture. Adds subtle sweetness and vanilla notes that balance richer ice cream flavors, and creates a sponge-like contrast between creamy and cakey components. Can be baked ahead and cooled completely before assembling the cake to ensure clean layers and easier slicing.
- 4 quarts ice cream ideally 2–3 different flavors: Creates the creamy frozen filling and primary flavor components of the cake; choose 2–3 complementary flavors to layer for visual contrast and varied taste in each slice. Provides smooth texture and cold temperature that contrasts with the airy cake, and softens slightly when served to meld with the sponge. Can be softened briefly for spreading and refrozen to set layers firmly before decorating.
- sprinkles, candies, crushed cookies or chocolates () (optional): Adds visual appeal, texture, and extra flavor when used as optional toppings; use sprinkles, candies, crushed cookies, or chocolates to personalize the cake and provide crunch or chew. Enhances presentation with color and theme-appropriate adornment while also contributing small bursts of sweetness or saltiness depending on the choice. Should be applied after the assembled cake is frozen or just before serving so decorations adhere without melting the ice cream.
How to Make Angel Food Ice Cream Cake
This project is part baking and part frozen assembly, so take a relaxed approach and enjoy the process. Read through the steps before starting, and keep your ice cream just soft enough to spread. I find that having all toppings ready before you un-mold the cake keeps the final steps smooth.
- Make angel food cake as directed on the box and let cool completely.: When the cake is baking, your kitchen will smell faintly sweet and vanilla like; watch for a pale golden top that springs back lightly when pressed. Cooling fully is essential so the crumb firms and will break into pieces rather than smearing when you handle it. A common error is trying to assemble while the cake is still warm, which leads to melted ice cream and a soggy texture; be patient and allow the pan to reach room temperature before proceeding.
- While cake is cooling, remove ice cream tubs from the freezer to soften just enough to be able to spread.: As the ice cream softens, it will lose its immaculate scoop shape and become glossy and pliable, perfect for smoothing into the pan. The aroma of the flavors becomes more pronounced as they warm slightly, which helps you decide placement. Avoid letting tubs get too soft and oily, because that makes clean layers impossible and can cause the cake to slump when frozen again.
- Remove cake from the pan and tear it into small pieces.: The cake should come away from the pan walls cleanly; tearing it into small, bite sized pieces gives you a better distribution of sponge through the ice cream layers. The texture should be airy and springy, making it easy to break apart by hand. If you cut uniform slices instead of tearing, the pieces may slide in the assembly and create dense pockets rather than an even crumb distribution.
- To layer the cake: Spread about one-third of the softened ice cream in the bottom of an angel food cake pan, then add half the cake pieces from one of the bowls. Repeat layering, adding another layer of ice cream followed by the remaining half of the cake, and then finish with a final layer of ice cream. Freeze overnight.: Spread about one-third of the softened ice cream in the bottom of an angel food cake pan, then add half the cake pieces from one of the bowls : As you spread the first layer, you will hear soft spreading sounds and see the pale surface gain a glossy sheen, signaling the right consistency. The initial ice cream layer should act like glue, cradling cake pieces and creating strata of flavor. Pressing too hard when adding pieces compresses the airy crumb, so work gently to preserve lift and let the ice cream fill gaps.
- To remove the cake from the pan, fill a large bowl with hot water and dip the bottom of the pan into the hot water for a few seconds. Place a plate on the top of the pan, then flip it over. The cake should slide right out onto the plate. The outer layer of the cake will be a little melted. Add any desired toppings at this point, then place cake back into the freezer to firm it up.: Each subsequent layer should feel colder and firmer at the edges as the lower layers begin to set. Visually you want distinct bands of creamy color and sponge texture, which makes slices attractive. A common mistake is uneven spreading that creates bulges; smooth each layer with a spatula and rotate the pan to check for balance.
- Freeze for at least 2 hours before cutting and serving.: Overnight freezing allows the layers to knit together and reach a uniformly firm texture, resulting in cleaner slices. You will notice the final surface losing any sheen and becoming matte and hard to the touch, which indicates a properly frozen cake. Rushing this step by slicing too soon causes the cake to crumble and the ice cream to smear, so plan ahead and give it ample time.
- To remove the cake from the pan, fill a large bowl with hot water and dip the bottom of the pan into the hot water for a few seconds: The brief warmth loosens the outer rim, causing a slight steam and a softening of the pan edge, which helps the cake slide out cleanly. Place a plate on top and flip, supporting the base as the cake transfers; you may hear a soft gliding sound as the cake releases. Keep the dip quick, because too much heat will melt the outermost layer and create a wet ring around the cake, making it messy to decorate.
- Place a plate on the top of the pan, then flip it over: Once inverted, the cake should settle onto the plate with the smooth surface up, though the outer edge might show a hint of melting that will re firm in the freezer. This is the moment to add any decorative toppings while the outer layer is slightly tacky and they will adhere. Avoid waiting too long, since the cake can become fully solid and toppings won’t stick, but also avoid working while it is overly soft as that causes slipping.
- The cake should slide right out onto the plate: When the release works well you will see the whole form come free without tearing, leaving a clean, rounded silhouette. If you notice sticking, return the pan to a brief dip and try again gently. Forcing the cake free when the pan edge still clings can break the delicate cake structure and mar the presentation.
- The outer layer of the cake will be a little melted: That slight melting is helpful for attaching sprinkles or crushed candies, which will press into the tacky surface and stay in place once the cake refreezes. The outer sheen should quickly lose gloss as it returns to the freezer, becoming firm and sliceable. If the melt is excessive and pooling occurs, blot gently with a clean paper towel and re freeze until firm to avoid sogginess.
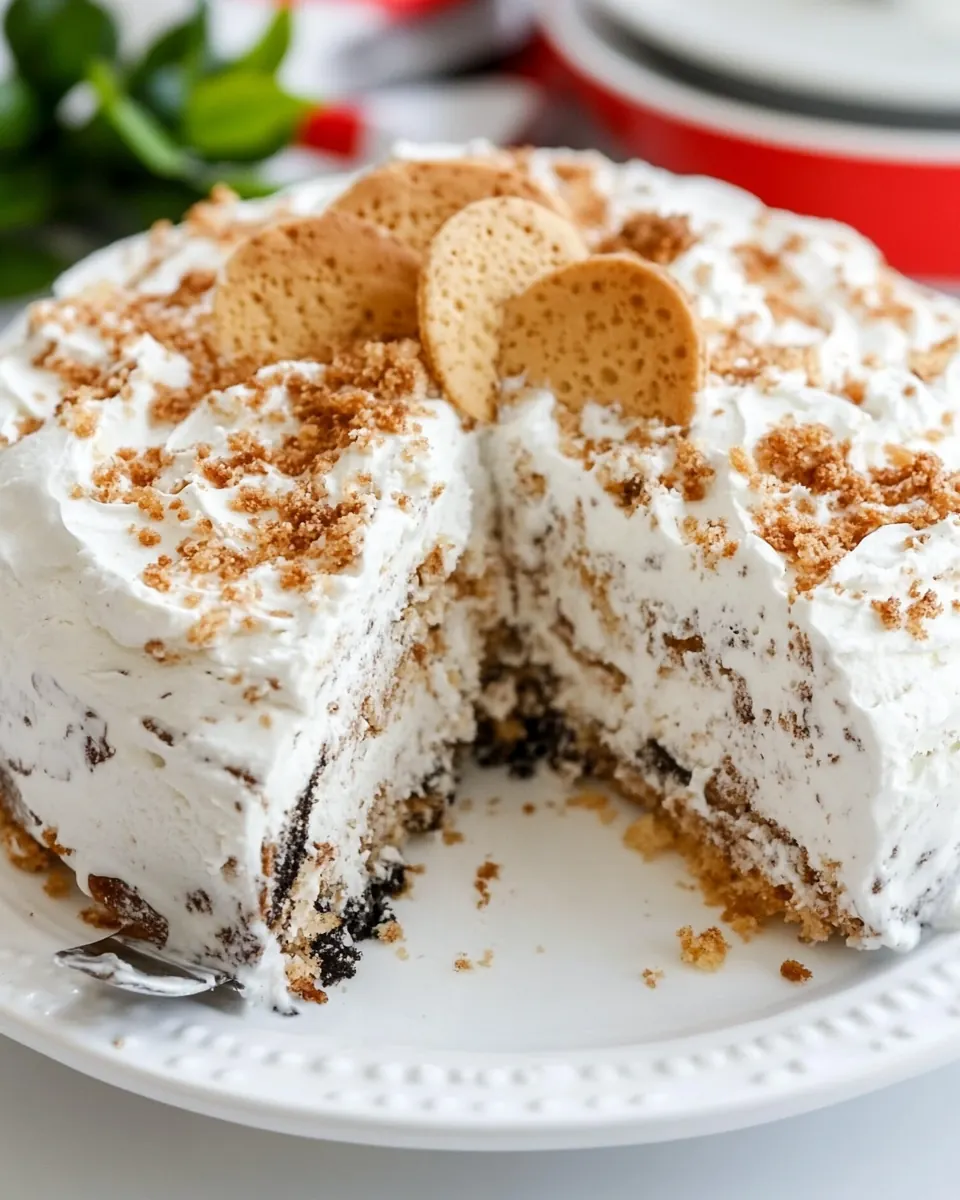
- Add any desired toppings at this point, then place cake back into the freezer to firm it up: Decorate while the edge is tacky for best adhesion, and keep the toppings balanced so they enhance without overwhelming the central flavors. After decorating, return the cake to the cold for at least two hours to ensure everything sets properly. A typical misstep is decorating too late when the cake is fully frozen, because toppings will not adhere and may slide off when served.
- Freeze for at least 2 hours before cutting and serving: The final chill firms the interior to the perfect scoopable texture and guarantees clean slices. You will hear a dull thud when pressing a knife through a well set cake, and the cut surfaces should appear neat with distinct layers. Cutting prematurely results in smudged layers and uneven portions, so allow the recommended rest time for best results.
Ways to Adapt This Recipe
This cake is a great canvas for flavor swaps and practical adjustments. Below are detailed, hands on tips to help you customize the dessert, keep it stable during transport, and make it kid friendly or elegant depending on your occasion.
- Use complementary ice cream pairings, like a vanilla based flavor with a fruit based choice, so the flavors do not compete; choose one flavor that is mildly sweet and another that is bold to create contrast and interest.
- Make it dairy free, by selecting non dairy frozen desserts that behave similarly when softened and refrozen, keeping in mind texture differences when slicing; test one tub first to ensure it firms appropriately in your freezer.
- Keep layers uniform, by measuring the amount of softened ice cream used in each layer to achieve even height and cleaner slices after freezing; uneven layering leads to lopsided servings and inconsistent texture.
- Transport with dry ice, placing the cake in a sturdy cooler with a block of dry ice to maintain a firm temperature during outdoor events, and allow partial thawing time before serving at the destination for best slicing.
- Let children decorate, by offering bowls of sprinkles and crushed cookies; give them a small window to add toppings while the cake is slightly melted so they can take pride in the final look without causing a mess.
What Goes Well With This Angel Food Ice Cream Cake
Serving this cake can be as simple or as curated as you like. It works beautifully after a light summer lunch and also shines at birthday parties or potlucks. Think about pairing it with small, complementary elements that enhance the cold and creamy nature of the dessert.
- Fresh berries or fruit compote provide bright acidity that balances the sweetness of the ice cream, making slices taste lighter and more refreshing for warm weather meals.
- Espresso or strong coffee served alongside offers a bitter contrast that adult guests will appreciate after a sweet, creamy dessert, and it pairs surprisingly well with the airy cake texture.
- Mini cones or spoons of extra ice cream let guests sample the flavors used inside the cake for a playful presentation at kids focused gatherings.
- Serve chilled plates when plating slices, as cold dishes prevent premature melting and help maintain neat portions for events where plates might sit out.
- Storage tips suggest wrapping leftover slices individually and returning them to the freezer to maintain texture, or using a cooler and dry ice for transport to outdoor celebrations to keep the cake solid until serving.
- Occasions such as summer parties, pool days, family reunions, and birthday celebrations benefit from this recipe because it travels well, can be made ahead, and is universally appealing to a range of ages.
FAQ
Conclusion
This recipe stands out for its playful mix of airy cake and creamy ice cream, delivering a dessert that feels both light and indulgent. Give it a try for your next warm weather gathering, because it travels well, can be customized easily, and lets you prepare ahead so you can enjoy company rather than fussing in the kitchen. I hope you love the way the contrasting textures and flavors come together, and that it earns a regular spot at your parties and family celebrations.
Angel Food Ice Cream Cake
Equipment
- Angel food cake pan
- Spatula
- Large Bowl
- Plate
Ingredients
- 1 (16-ounce) box angel food cake mix plus any ingredients listed on the box Provides the light, airy cake base and structure when prepared according to the box directions; follow included instructions to whip and bake into a tender angel food layer that supports the ice cream without overpowering its texture. Adds subtle sweetness and vanilla notes that balance richer ice cream flavors, and creates a sponge-like contrast between creamy and cakey components. Can be baked ahead and cooled completely before assembling the cake to ensure clean layers and easier slicing.
- 4 quarts ice cream ideally 2–3 different flavors Creates the creamy frozen filling and primary flavor components of the cake; choose 2–3 complementary flavors to layer for visual contrast and varied taste in each slice. Provides smooth texture and cold temperature that contrasts with the airy cake, and softens slightly when served to meld with the sponge. Can be softened briefly for spreading and refrozen to set layers firmly before decorating.
- sprinkles, candies, crushed cookies or chocolates (optional) Adds visual appeal, texture, and extra flavor when used as optional toppings; use sprinkles, candies, crushed cookies, or chocolates to personalize the cake and provide crunch or chew. Enhances presentation with color and theme-appropriate adornment while also contributing small bursts of sweetness or saltiness depending on the choice. Should be applied after the assembled cake is frozen or just before serving so decorations adhere without melting the ice cream.
Instructions
- Make angel food cake as directed on the box and let cool completely.: When the cake is baking, your kitchen will smell faintly sweet and vanilla like; watch for a pale golden top that springs back lightly when pressed. Cooling fully is essential so the crumb firms and will break into pieces rather than smearing when you handle it. A common error is trying to assemble while the cake is still warm, which leads to melted ice cream and a soggy texture; be patient and allow the pan to reach room temperature before proceeding.
- While cake is cooling, remove ice cream tubs from the freezer to soften just enough to be able to spread.: As the ice cream softens, it will lose its immaculate scoop shape and become glossy and pliable, perfect for smoothing into the pan. The aroma of the flavors becomes more pronounced as they warm slightly, which helps you decide placement. Avoid letting tubs get too soft and oily, because that makes clean layers impossible and can cause the cake to slump when frozen again.
- Remove cake from the pan and tear it into small pieces.: The cake should come away from the pan walls cleanly; tearing it into small, bite sized pieces gives you a better distribution of sponge through the ice cream layers. The texture should be airy and springy, making it easy to break apart by hand. If you cut uniform slices instead of tearing, the pieces may slide in the assembly and create dense pockets rather than an even crumb distribution.
- To layer the cake: Spread about one-third of the softened ice cream in the bottom of an angel food cake pan, then add half the cake pieces from one of the bowls. Repeat layering, adding another layer of ice cream followed by the remaining half of the cake, and then finish with a final layer of ice cream. Freeze overnight.: Spread about one-third of the softened ice cream in the bottom of an angel food cake pan, then add half the cake pieces from one of the bowls : As you spread the first layer, you will hear soft spreading sounds and see the pale surface gain a glossy sheen, signaling the right consistency. The initial ice cream layer should act like glue, cradling cake pieces and creating strata of flavor. Pressing too hard when adding pieces compresses the airy crumb, so work gently to preserve lift and let the ice cream fill gaps.
- To remove the cake from the pan, fill a large bowl with hot water and dip the bottom of the pan into the hot water for a few seconds. Place a plate on the top of the pan, then flip it over. The cake should slide right out onto the plate. The outer layer of the cake will be a little melted. Add any desired toppings at this point, then place cake back into the freezer to firm it up.: Each subsequent layer should feel colder and firmer at the edges as the lower layers begin to set. Visually you want distinct bands of creamy color and sponge texture, which makes slices attractive. A common mistake is uneven spreading that creates bulges; smooth each layer with a spatula and rotate the pan to check for balance.
- Freeze for at least 2 hours before cutting and serving.: Overnight freezing allows the layers to knit together and reach a uniformly firm texture, resulting in cleaner slices. You will notice the final surface losing any sheen and becoming matte and hard to the touch, which indicates a properly frozen cake. Rushing this step by slicing too soon causes the cake to crumble and the ice cream to smear, so plan ahead and give it ample time.
- To remove the cake from the pan, fill a large bowl with hot water and dip the bottom of the pan into the hot water for a few seconds: The brief warmth loosens the outer rim, causing a slight steam and a softening of the pan edge, which helps the cake slide out cleanly. Place a plate on top and flip, supporting the base as the cake transfers; you may hear a soft gliding sound as the cake releases. Keep the dip quick, because too much heat will melt the outermost layer and create a wet ring around the cake, making it messy to decorate.
- Place a plate on the top of the pan, then flip it over: Once inverted, the cake should settle onto the plate with the smooth surface up, though the outer edge might show a hint of melting that will re firm in the freezer. This is the moment to add any decorative toppings while the outer layer is slightly tacky and they will adhere. Avoid waiting too long, since the cake can become fully solid and toppings won’t stick, but also avoid working while it is overly soft as that causes slipping.
- The cake should slide right out onto the plate: When the release works well you will see the whole form come free without tearing, leaving a clean, rounded silhouette. If you notice sticking, return the pan to a brief dip and try again gently. Forcing the cake free when the pan edge still clings can break the delicate cake structure and mar the presentation.
- The outer layer of the cake will be a little melted: That slight melting is helpful for attaching sprinkles or crushed candies, which will press into the tacky surface and stay in place once the cake refreezes. The outer sheen should quickly lose gloss as it returns to the freezer, becoming firm and sliceable. If the melt is excessive and pooling occurs, blot gently with a clean paper towel and re freeze until firm to avoid sogginess.
- Add any desired toppings at this point, then place cake back into the freezer to firm it up: Decorate while the edge is tacky for best adhesion, and keep the toppings balanced so they enhance without overwhelming the central flavors. After decorating, return the cake to the cold for at least two hours to ensure everything sets properly. A typical misstep is decorating too late when the cake is fully frozen, because toppings will not adhere and may slide off when served.
- Freeze for at least 2 hours before cutting and serving: The final chill firms the interior to the perfect scoopable texture and guarantees clean slices. You will hear a dull thud when pressing a knife through a well set cake, and the cut surfaces should appear neat with distinct layers. Cutting prematurely results in smudged layers and uneven portions, so allow the recommended rest time for best results.
Notes
- Use complementary ice cream pairings, like a vanilla based flavor with a fruit based choice, so the flavors do not compete; choose one flavor that is mildly sweet and another that is bold to create contrast and interest.
- Make it dairy free, by selecting non dairy frozen desserts that behave similarly when softened and refrozen, keeping in mind texture differences when slicing; test one tub first to ensure it firms appropriately in your freezer.
- Keep layers uniform, by measuring the amount of softened ice cream used in each layer to achieve even height and cleaner slices after freezing; uneven layering leads to lopsided servings and inconsistent texture.
- Transport with dry ice, placing the cake in a sturdy cooler with a block of dry ice to maintain a firm temperature during outdoor events, and allow partial thawing time before serving at the destination for best slicing.
- Let children decorate, by offering bowls of sprinkles and crushed cookies; give them a small window to add toppings while the cake is slightly melted so they can take pride in the final look without causing a mess.