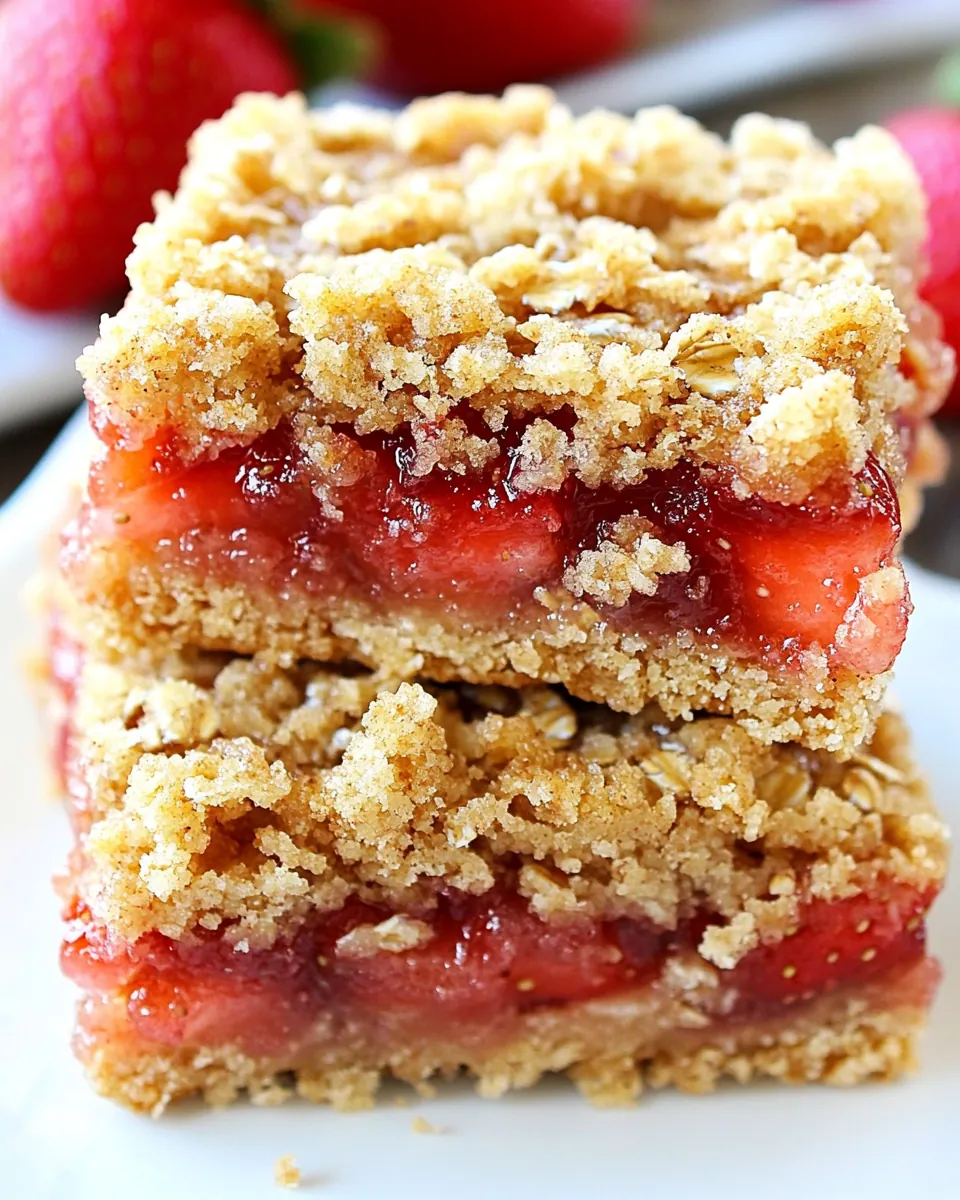
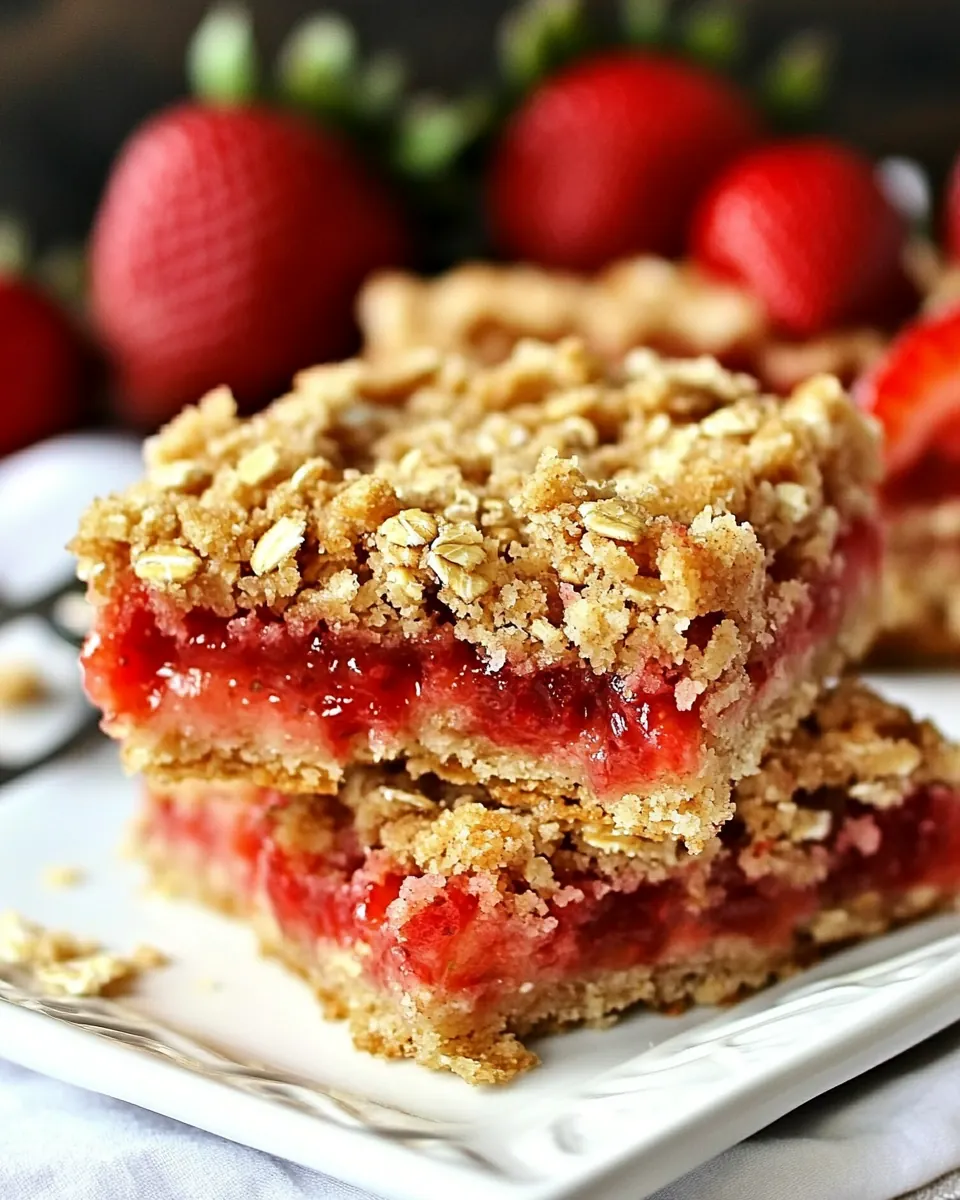
4 Ingredient Strawberry Oat Crumb Bars
4 Ingredient Strawberry Oat Crumb Bars have a way of taking me back to sunny afternoons when I was ten and my neighbor Mrs Rivera handed me a square warm from her oven, insisting I try it before it cooled. I remember the way the oats crunched beneath my teeth and the bright pop of strawberry jam, and I knew then that simple treats could hold whole worlds of comfort. That memory stuck with me, and when I recreate this bar now, I feel like I am passing along a small, joyful ritual.
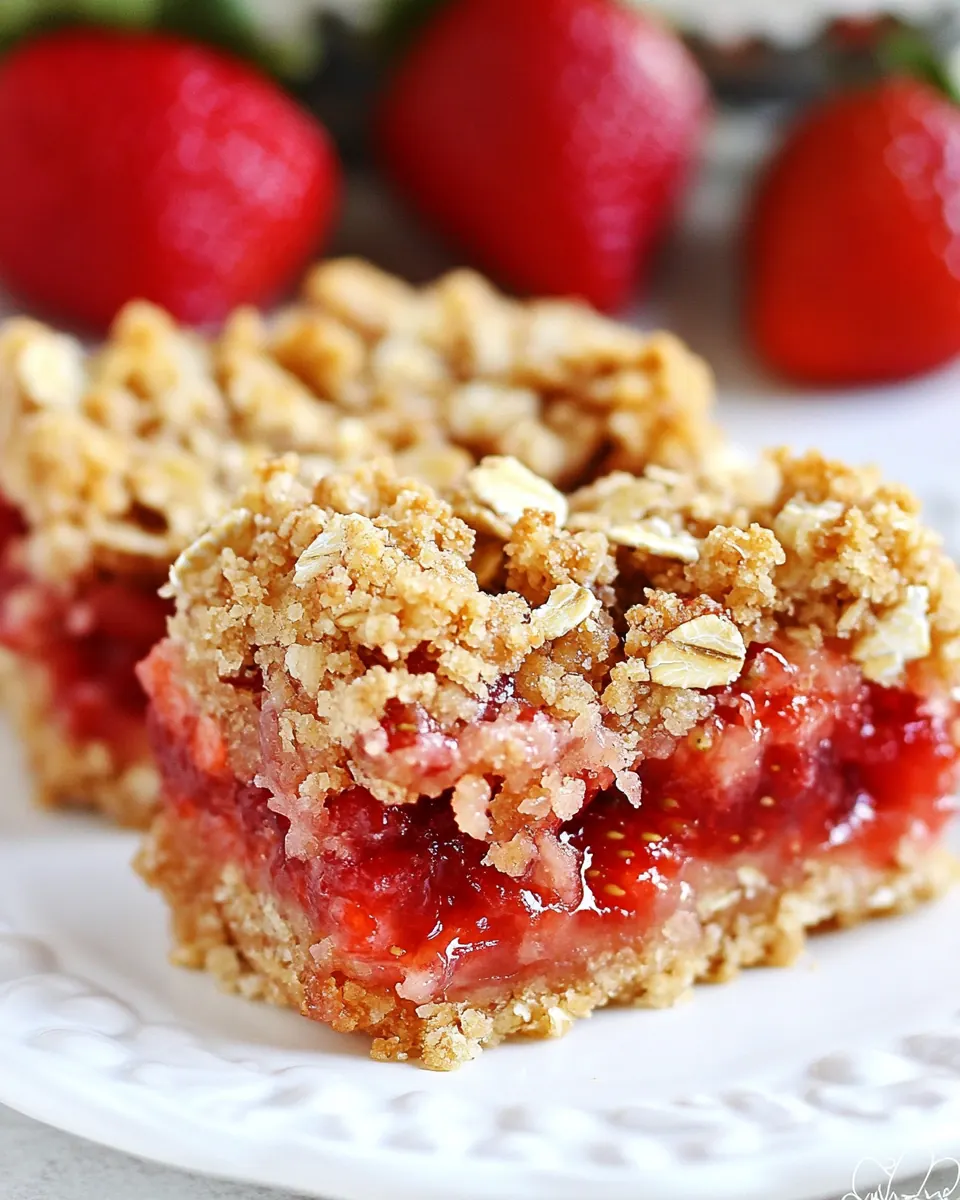
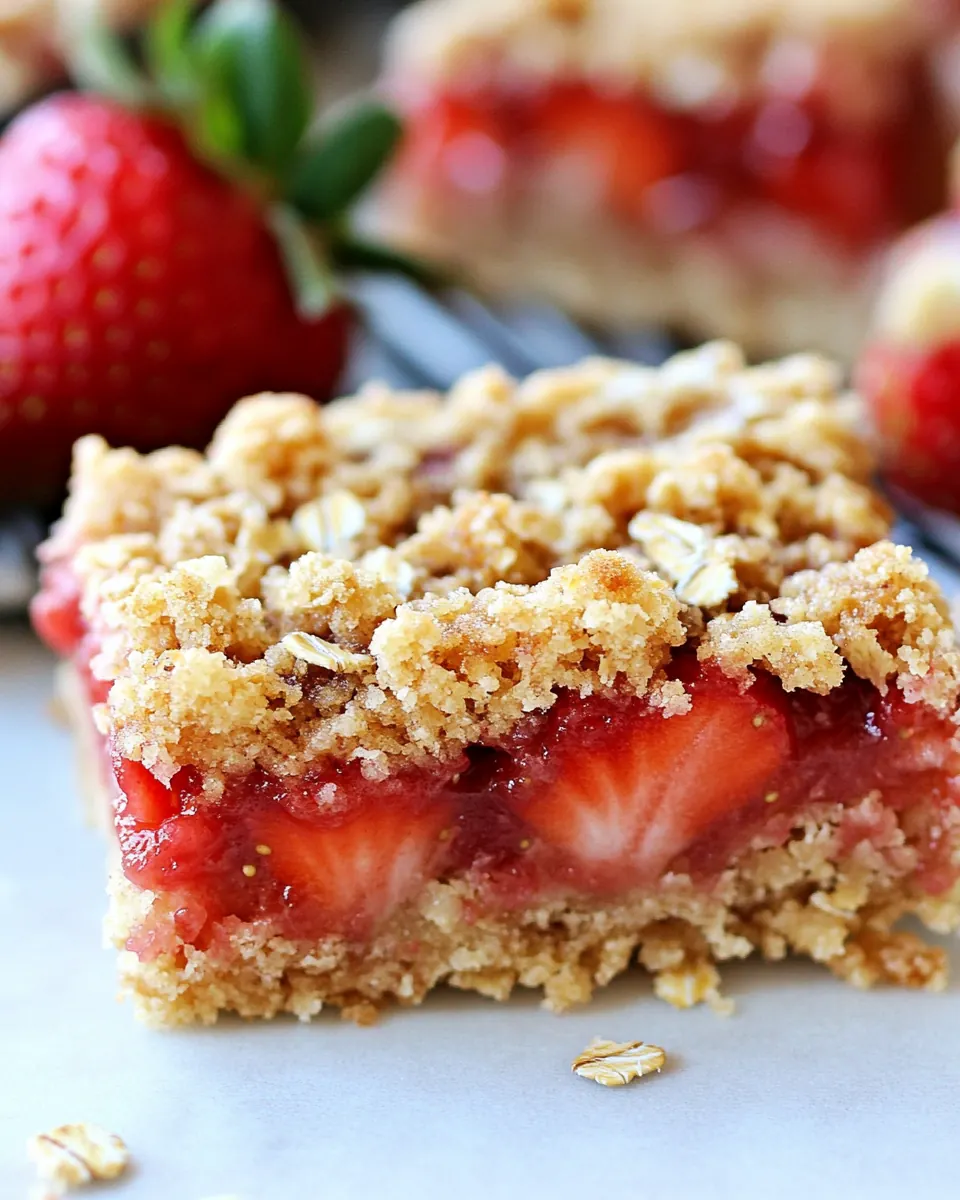
I often reach for this recipe when I want to bring something to a potluck, or when the week has been too long and I need a small, reliable reward. The first time I made these bars for friends, they vanished within an hour, and someone asked for the recipe by the second bite. I love how the texture balances between slightly chewy oats and tender crumb, with the preserves giving a sweet, fruity lift. Each time I bake them, the aroma of butter and strawberry fills the kitchen and draws everyone in.
There is also a pleasing honesty to the ingredient list. With only a handful of pantry staples, the recipe feels forgiving and approachable. I’ve tweaked my technique over seasons so the crumb stays crisp on top while the middle remains soft. When I serve them, I like to slice the bars while warm for a gooey center, or let them cool for tidy squares that travel well. Either way, they earn raves.
Recipe Snapshot
25 mins
5 mins
20 mins
Medium
150 kcal
American
Gluten-Free, Low FODMAP
Desserts
9 x 13 baking dish, Parchment paper, Large bowl, Small bowl, Spatula
Why Try This 4 Ingredient Strawberry Oat Crumb Bars
Simple but Satisfying
I love that 4 Ingredient Strawberry Oat Crumb Bars deliver big flavor with very little fuss. With only four core elements, this recipe strips baking down to essentials, and I can whip a pan together in a few minutes. I often reach for it on busy mornings when I still want something homemade, or when I need a last minute dessert that everyone will eat. The ease is intoxicating, and I appreciate a recipe that respects my time.
Reliable Texture
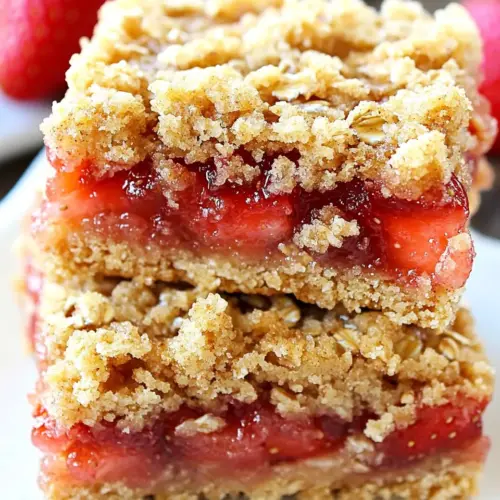
What makes these bars stand out is texture, and I appreciate how the combination of quick cooking oats and yellow cake mix creates a crumb that is both tender and crisp. I find that the melted butter binds the crumbs without making them dense, so each bite gives a pleasant chew. This contrast is what keeps me coming back, because it satisfies both cookie and bar cravings in one go.
Kid Friendly and Crowd Pleasing
I’ve brought these to school events and summer picnics, and they consistently disappear first. The bright strawberry preserves is an approachable flavor for kids, and adults appreciate the nostalgic, bakery style. Because they travel well, I can prepare them ahead and not worry about last minute baking theatrics, which has saved me more than once.
Budget Friendly and Pantry Based
These bars are wonderfully frugal. The components are shelf stable and often already in my pantry, which means I can make a whole pan without a special trip to the store. When I need to stretch ingredients but still want something homemade, this recipe feels like a small act of resourcefulness that still tastes indulgent.
Versatile Serving Options
I like that 4 Ingredient Strawberry Oat Crumb Bars can be served warm for melty preserves, or cool for tidy squares that pack into lunches. They pair with milk for kids, or a hot cup of coffee when I want a quiet moment. That kind of versatility makes this recipe a staple in my rotation.
Ingredients to Make 4 Ingredient Strawberry Oat Crumb Bars
This ingredient list is intentionally short, which is the point. The philosophy here is to use a few pantry friendly components that combine to give both structure and flavor. The yellow cake mix acts as a base and sweetening agent, the quick cooking oats contribute chew and rustic texture, the melted butter brings richness and helps form crumbs, and the strawberry preserves provide bright fruitiness. Each player has a clear job, so when they work together you get a simple, satisfying bar.
- 15 ounces yellow cake mix: Provides a fine, sweet base that helps bind and structure the crumb; contributes subtle vanilla and buttery notes depending on mix. Adds volume and helps create a tender, cake-like crumb when combined with oats and butter.
- 2 1/2 cups quick-cooking oats: Adds hearty texture and chewiness while balancing sweetness; contributes bulk and a wholesome oat flavor to the bars. Helps create a crumbly, rustic structure and soaks up butter for cohesive topping and crust.
- 3/4 cups melted butter: Contributes richness and moisture while melting into the dry ingredients to form a cohesive crumb; promotes browning and a tender bite. Helps bind the cake mix and oats together to produce a golden, slightly crisp crust and topping.
- 1 cup strawberry preserves: Offers concentrated fruit flavor and sweetness with a smooth, spreadable texture that creates the jammy layer between crusts. Provides moisture and flavor contrast, preventing the bars from becoming dry while delivering strawberry brightness.
- 1 tablespoon water: Adjusts the jam consistency slightly to make it easier to spread and to thin any overly thick preserves; helps the preserves meld with the crust during baking. Adds a small amount of moisture so the filling sets with a glossy finish.
Putting Together 4 Ingredient Strawberry Oat Crumb Bars
I like to approach assembly like a calm little ritual. The recipe moves quickly, so having the ingredients measured and tools ready makes the process relaxing rather than frantic. Below, each direction from the original recipe is expanded with sensory cues, troubleshooting, and why the technique matters for the final bar.
- Preheat oven to 375 degrees.: As the oven warms up, you will notice a steady rise in ambient heat and a faint mechanical hum, which signals readiness. Preheating ensures the butter in the crumbs begins to set immediately on contact, promoting crisp edges and an even bake. If you skip preheating, the bars may bake unevenly, resulting in a soggy middle. I always give my oven a few extra minutes once it clicks to temperature so the heat stabilizes.
- Line a 9 x 13 baking dish with parchment paper or grease with cooking spray.: The parchment should lie flat, creating a slick surface that lets you lift the bars out easily when done. If you choose spray, you will smell a faint oily note and the pan will look lightly glossy. This step is crucial for clean removal, and prevents sticking that tears the crumb. A common pitfall is using too small a pan, which will make the layer too thick and upset the bake time.
- Mix cake mix and oats in a large bowl.: When you stir the yellow cake mix with the quick cooking oats , you will see a uniform sandy texture form, and the aroma will be lightly sweet. Combining dry ingredients first promotes even distribution so the butter binds them consistently. If you notice clumps of cake mix, break them up with your fingertips so you don’t end up with dense pockets after baking.
- Add melted butter, stir until crumbly.: As you pour the warm melted butter , the mixture should begin to clump into coarse crumbs that hold their shape when pressed. The butter gives off a rich, warm scent and the mixture should feel slightly tacky but not wet. Stir just until crumbs form, overmixing can make the texture gluey. If the mixture seems dry, check your butter measurement, as too little will prevent the crumbs from adhering.
- Press down half the crumbs onto the bottom of the pan.: Gently press the crumb mixture into an even layer using the back of a spoon or a flat measuring cup, and you will feel a gentle resistance as it compacts. A firm, even base helps the preserves sit on top without sinking. If you press too hard you will compress the layer and create a dense bottom; press with even, moderate pressure for a tender base.
- Combine strawberry preserves and water in a small bowl and stir until combined.: Stirring these together yields a glossy, spreadable filling with a sweet, fruity perfume. The tiny addition of water loosens the preserves so they spread smoothly without breaking the crust. Be careful not to add too much water, which will thin the preserves excessively and make the filling run during baking.
- Carefully spread strawberry preserves over the crumb crust.: Use a small spatula to glide the filling into an even layer, and you will hear the faint scrape as the preserves smooth out. Aim for full coverage without dragging crumbs into the filling. If you press too forcefully, you may disturb the crust and create holes where filling leaks through, so spread with a light hand.
- Sprinkle remaining crumbs over the strawberry preserves and press down gently.: Scatter the leftover crumbs so they cover the preserves in an even blanket, then press lightly to adhere. The contrast between the soft filling and rugged crumb is key. If the top remains loose, it may bake into dry, separate bits; a gentle press helps them knit together without crushing the fruit layer.
- Bake for 18 to 23 minutes or until very lightly golden brown.: While baking, you will smell a warm, buttery aroma and see the edges take on a pale gold hue; the top should be set but not deeply browned. This timing yields a tender interior with crisp edges. Opening the oven too often will drop temperature and can lengthen baking time, and overbaking will darken the oats and dry the bars, so watch for that subtle golden cue.
- Eat warm or cool, cut into bars, and serve.: Warm bars will be gooey and fragrant, with the preserves slightly flowing, while cooled bars slice into neat squares with defined layers. Use a sharp knife for clean edges, and you might feel a pleasant resistance as you cut through the crumb. A common mistake is cutting too soon while piping hot, which can smear the filling; if you want tidy bars, cool fully before slicing.
Tips and Variations
These notes are designed to help you get consistent results and to adapt the recipe to different situations. Small adjustments in pressure, spread, and baking time influence the final texture, so these tips focus on techniques I use every time. Read through and pick the ones that match how you like your bars.
- Measure Carefully: Accurate measurements of the yellow cake mix and oats ensure the crumb has the right dry to fat ratio, preventing a greasy or dry outcome.
- Room Temperature Butter: Melted then slightly cooled butter mixes more predictably with dry ingredients, so you avoid partially cooking the preserves when assembling.
- Thinning the Filling: Add the tablespoon of water a little at a time to the strawberry preserves until it spreads smoothly without becoming runny, which helps with even layering.
- Even Pressing: Use a flat-bottomed cup to press the crust; it creates uniform density and prevents thin spots that lead to leaking.
- Cooling Choices: For neat bars, cool completely before slicing; for gooey squares, cut warm but be prepared for softer edges.
What to Pair With 4 Ingredient Strawberry Oat Crumb Bars
These bars are versatile and pair with simple accompaniments that highlight their homey flavor. I like to serve them based on the occasion, whether it is a quick snack, a picnic, or a dessert for a casual dinner. Below are detailed serving ideas and storage notes to help you get the most from each pan.
- Breakfast Plate: Pair a warm bar with a steaming cup of coffee and a bowl of fresh fruit for a quick morning treat that feels homemade but effortless.
- Snack Pack: Wrap cooled bars individually for school lunches or on the go, they travel well and offer a filling bite mid afternoon.
- Picnic Friendly: Place bars in a shallow container with parchment between layers, they withstand a short trip and are easy for outdoor gatherings.
- Dessert for Casual Dinners: Serve bars with a dollop of whipped cream or a scoop of vanilla ice cream for a simple, crowd pleasing finish to a meal.
- Storage Tips: Store cooled bars in an airtight container at room temperature for up to three days, or freeze individual squares for up to two months for quick thaw-and-serve snacks.
- Seasonal Pairings: These bars shine in spring and summer when berry flavors feel bright, and they also make a cozy treat for cooler weather when you want something nostalgic.
FAQ
Conclusion
These bars shine because they turn four simple pantry items into a comforting, crowd pleasing treat. Give them a try when you need a fast, homey dessert or snack that travels well and pleases both kids and grown ups. Baking them is quick and forgiving, and the result is a tray of sweet, slightly crunchy bars that carry the bright flavor of strawberry in every bite. I hope you enjoy making them as much as I do, and that they become one of your dependable go to recipes for gatherings and cozy afternoons.
4 Ingredient Strawberry Oat Crumb Bars
Equipment
- 9 X 13 baking dish
- Parchment Paper
- Large Bowl
- Small Bowl
- Spatula
Ingredients
- 15 ounces yellow cake mix Provides a fine, sweet base that helps bind and structure the crumb; contributes subtle vanilla and buttery notes depending on mix. Adds volume and helps create a tender, cake-like crumb when combined with oats and butter.
- 2 1/2 cups quick-cooking oats Adds hearty texture and chewiness while balancing sweetness; contributes bulk and a wholesome oat flavor to the bars. Helps create a crumbly, rustic structure and soaks up butter for cohesive topping and crust.
- 3/4 cups melted butter Contributes richness and moisture while melting into the dry ingredients to form a cohesive crumb; promotes browning and a tender bite. Helps bind the cake mix and oats together to produce a golden, slightly crisp crust and topping.
- 1 cup strawberry preserves Offers concentrated fruit flavor and sweetness with a smooth, spreadable texture that creates the jammy layer between crusts. Provides moisture and flavor contrast, preventing the bars from becoming dry while delivering strawberry brightness.
- 1 tablespoon water Adjusts the jam consistency slightly to make it easier to spread and to thin any overly thick preserves; helps the preserves meld with the crust during baking. Adds a small amount of moisture so the filling sets with a glossy finish.
Instructions
- Preheat oven to 375 degrees.: As the oven warms up, you will notice a steady rise in ambient heat and a faint mechanical hum, which signals readiness. Preheating ensures the butter in the crumbs begins to set immediately on contact, promoting crisp edges and an even bake. If you skip preheating, the bars may bake unevenly, resulting in a soggy middle. I always give my oven a few extra minutes once it clicks to temperature so the heat stabilizes.
- Line a 9 x 13 baking dish with parchment paper or grease with cooking spray.: The parchment should lie flat, creating a slick surface that lets you lift the bars out easily when done. If you choose spray, you will smell a faint oily note and the pan will look lightly glossy. This step is crucial for clean removal, and prevents sticking that tears the crumb. A common pitfall is using too small a pan, which will make the layer too thick and upset the bake time.
- Mix cake mix and oats in a large bowl.: When you stir the yellow cake mix with the quick cooking oats , you will see a uniform sandy texture form, and the aroma will be lightly sweet. Combining dry ingredients first promotes even distribution so the butter binds them consistently. If you notice clumps of cake mix, break them up with your fingertips so you don’t end up with dense pockets after baking.
- Add melted butter, stir until crumbly.: As you pour the warm melted butter , the mixture should begin to clump into coarse crumbs that hold their shape when pressed. The butter gives off a rich, warm scent and the mixture should feel slightly tacky but not wet. Stir just until crumbs form, overmixing can make the texture gluey. If the mixture seems dry, check your butter measurement, as too little will prevent the crumbs from adhering.
- Press down half the crumbs onto the bottom of the pan.: Gently press the crumb mixture into an even layer using the back of a spoon or a flat measuring cup, and you will feel a gentle resistance as it compacts. A firm, even base helps the preserves sit on top without sinking. If you press too hard you will compress the layer and create a dense bottom; press with even, moderate pressure for a tender base.
- Combine strawberry preserves and water in a small bowl and stir until combined.: Stirring these together yields a glossy, spreadable filling with a sweet, fruity perfume. The tiny addition of water loosens the preserves so they spread smoothly without breaking the crust. Be careful not to add too much water, which will thin the preserves excessively and make the filling run during baking.
- Carefully spread strawberry preserves over the crumb crust.: Use a small spatula to glide the filling into an even layer, and you will hear the faint scrape as the preserves smooth out. Aim for full coverage without dragging crumbs into the filling. If you press too forcefully, you may disturb the crust and create holes where filling leaks through, so spread with a light hand.
- Sprinkle remaining crumbs over the strawberry preserves and press down gently.: Scatter the leftover crumbs so they cover the preserves in an even blanket, then press lightly to adhere. The contrast between the soft filling and rugged crumb is key. If the top remains loose, it may bake into dry, separate bits; a gentle press helps them knit together without crushing the fruit layer.
- Bake for 18 to 23 minutes or until very lightly golden brown.: While baking, you will smell a warm, buttery aroma and see the edges take on a pale gold hue; the top should be set but not deeply browned. This timing yields a tender interior with crisp edges. Opening the oven too often will drop temperature and can lengthen baking time, and overbaking will darken the oats and dry the bars, so watch for that subtle golden cue.
- Eat warm or cool, cut into bars, and serve.: Warm bars will be gooey and fragrant, with the preserves slightly flowing, while cooled bars slice into neat squares with defined layers. Use a sharp knife for clean edges, and you might feel a pleasant resistance as you cut through the crumb. A common mistake is cutting too soon while piping hot, which can smear the filling; if you want tidy bars, cool fully before slicing.
Notes
- Measure Carefully: Accurate measurements of the yellow cake mix and oats ensure the crumb has the right dry to fat ratio, preventing a greasy or dry outcome.
- Room Temperature Butter: Melted then slightly cooled butter mixes more predictably with dry ingredients, so you avoid partially cooking the preserves when assembling.
- Thinning the Filling: Add the tablespoon of water a little at a time to the strawberry preserves until it spreads smoothly without becoming runny, which helps with even layering.
- Even Pressing: Use a flat-bottomed cup to press the crust; it creates uniform density and prevents thin spots that lead to leaking.
- Cooling Choices: For neat bars, cool completely before slicing; for gooey squares, cut warm but be prepared for softer edges.