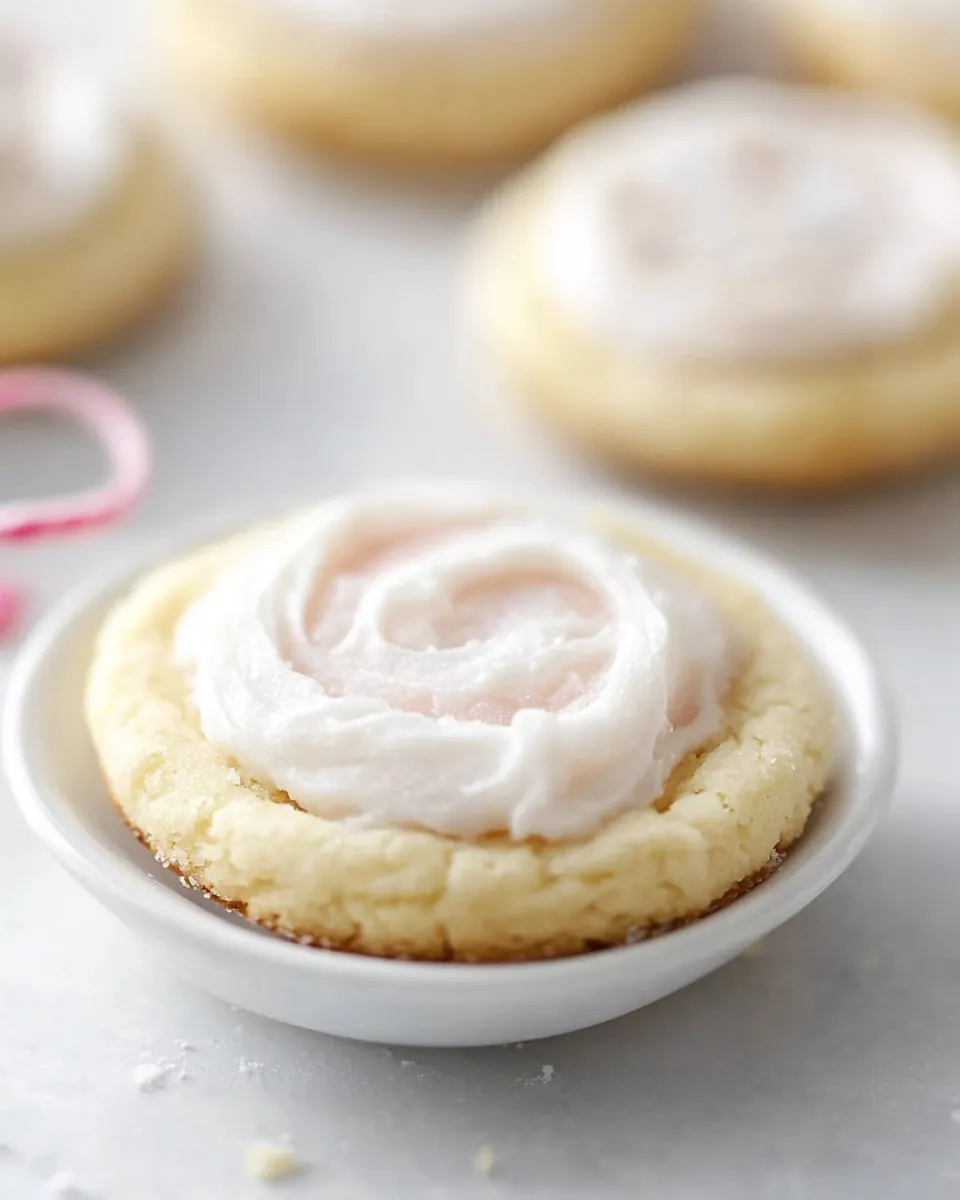
Swig Sugar Cookies
Swig Sugar Cookies have been my go to for celebrations where I want something that feels nostalgic but still a little extra. The first time I made these, a neighbor brought over a tin and I could not stop thinking about the soft, pillowy texture and that thick, creamy frosting. I started recreating them, learning small tricks from batch to batch until I had a version that matched what I remembered, but with my own little adjustments.
I don’t usually bake for huge crowds, but these cookies invite company. I love how the dough comes together quickly, and the smell of butter and vanilla filling the kitchen always pulls people into the room. The frosting is unapologetically rich, and spreading it on fully cooled cookies feels rewarding in a way that is almost ceremonial. Over the years I’ve experimented with chilling times, sugar coatings, and the perfect scoop size so every cookie bakes evenly.
Recipe Snapshot
49 mins
39 mins
10 mins
Medium
150 kcal
American
Gluten-Free, Low FODMAP
Desserts
Large sheet pan (15″ x 21″), Stand mixer with paddle attachment, Large bowl and hand mixer, Food scale, Silicone baking mat or parchment paper, Cooling rack
Why You’ll Love This Swig Sugar Cookies
They taste like a memory
When I take a bite of a Swig Sugar Cookies cookie, I get that soft, tender crumb and a whisper of vanilla that reminds me of childhood treats. The texture is what hooks me first, then the frosting finishes the story with creamy sweetness. I find the balance between the subtly salted dough and the sweet frosting comforting, and it’s a flavor profile people keep asking for.
Simple technique, reliable results
I love that the method stays approachable, even when you want bakery quality. Mixing the dough until it looks silky, rolling even balls, and keeping an eye on that almost underbaked look produces consistent cookies. I often tell friends that mastering the little cues, like when the cookie bottoms are just golden, is what separates good from great.
Flexible and forgiving
One reason I reach for this recipe is its forgiving nature. If the kitchen gets warm, popping the tray into the freezer helps, and the frosting can be firmed up in the fridge if needed. You can pause between steps without derailing the outcome, which makes it great for busy afternoons when you bake in stages.
Perfect for decorating and gifting
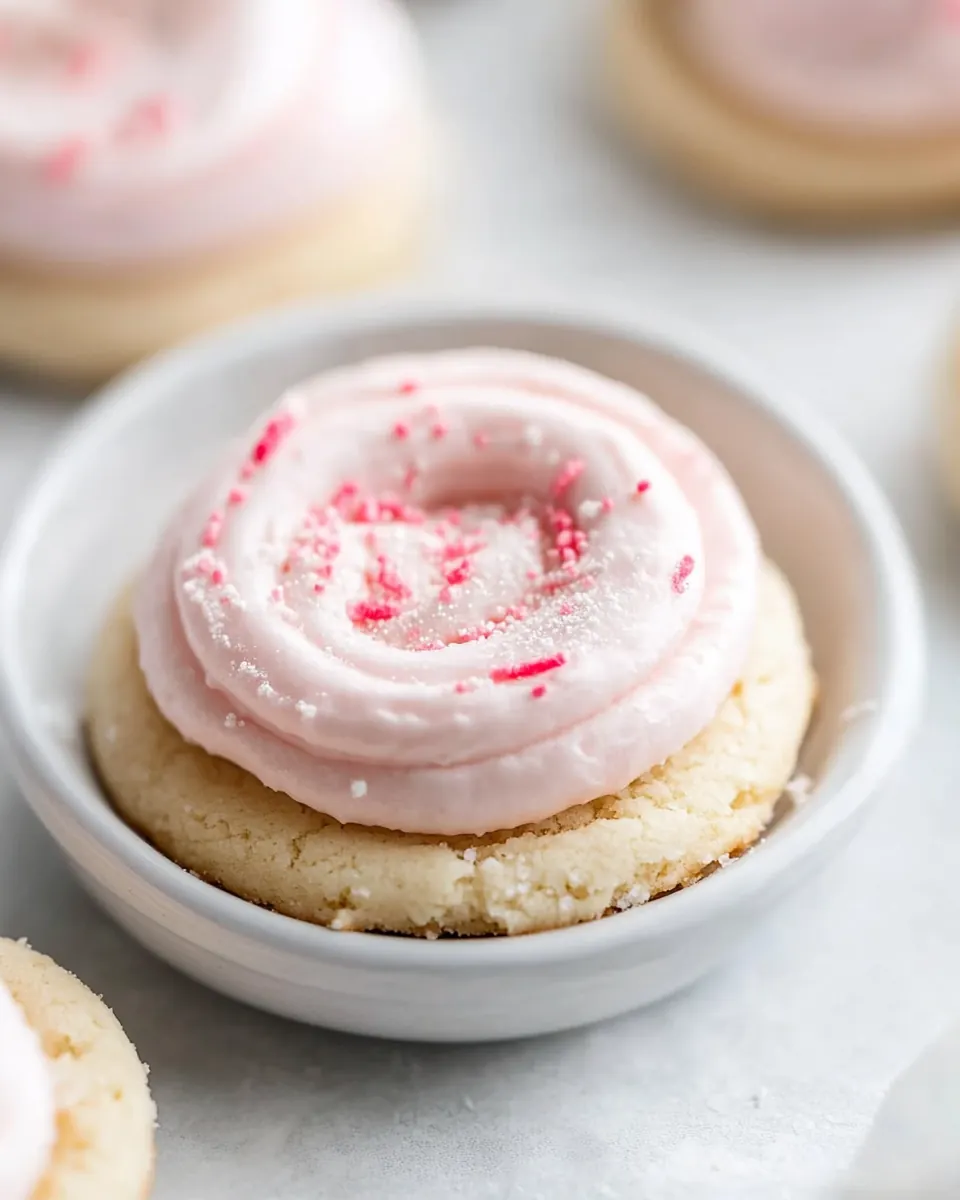
The cookies hold a thick layer of frosting beautifully, making them ideal for frosting by hand or piping for a polished look. I’ve wrapped them in cellophane and tied them with ribbon for neighbors, and they always disappear. The slightly crisp sugared exterior contrasts with the tender interior, giving each bite pleasing texture variety.
Huge crowd pleaser
I make these for holiday trays, school functions, and casual coffee catch ups, and they’re consistently requested. There’s something universally appealing about a soft sugar cookie with rich frosting, and these are designed to deliver that experience reliably, every single time.
What to Buy for Swig Sugar Cookies
These ingredients are the backbone of reliably soft, tender cookies and fluffy frosting. The list mixes dairy and pantry staples to create structure, flavor, and that silky finish I love. Key players like butter, all purpose flour, and powdered sugar shape texture, while vanilla and a touch of salt pull the sweetness into balance.
- 8 tablespoons unsalted butter at room temperature: Soften and cream to contribute richness and structure to the cookie dough; brings tender texture and helps distribute flavor evenly when beaten with sugars.
- 1 1/4 cups granulated sugar divided: Sweeten and aid in creaming to create lightness; divided use provides both bulk in the dough and a coating or finishing sweetness.
- 1/2 cup powdered sugar: Stabilize and lighten the frosting while adding a smooth, snowy texture; dissolves into creams and helps achieve pipeable consistency.
- 1 large egg: Bind ingredients and provide moisture and lift through trapped air when beaten; adds richness and helps set the crumb of the cookie.
- 1 1/2 teaspoons vanilla extract: Flavor and aromatize the dough with warm, familiar notes; enhances the overall flavor profile and complements vanilla-yielding ingredients.
- 1/4 teaspoon almond extract or coconut extract (optional): Enhance complexity with a delicate nutty or tropical note when used; optional splash adds subtle background aroma without overpowering.
- 1/3 cup vegetable oil or canola oil: Add tenderness and a slightly different fat profile for chewiness; helps keep cookies soft and prevents them from becoming overly crisp.
- 3/4 teaspoons salt: Season and balance sweetness while strengthening gluten slightly; small amount brings out other flavors and controls blandness.
- 1/2 teaspoon cream of tartar: Provide acidity to react with baking soda for leavening and to stabilize sugar structure; contributes slight tang and helps produce tender crumb.
- 1/2 teaspoon baking soda: React with cream of tartar to produce carbon dioxide for leavening; helps cookies spread and develop lightness and a delicate lift.
- 3 cups all-purpose flour: Build bulk and structure as the primary dry component; provides gluten and texture that determine cookie density and chew.
- 16 tablespoons unsalted butter at room temperature: Cream or use in frosting to add a rich, buttery flavor and silky mouthfeel; doubles the butter amount for a richer icing or layered application.
- 4 1/2 cups powdered sugar: Sweeten and stabilize the frosting while providing structure for piped decorations; large quantity ensures thick, spreadable consistency.
- 2 teaspoons vanilla extract or 1 teaspoon vanilla bean paste: Flavor and add aromatic complexity to the frosting; vanilla or paste deepens the profile and can include specks for visual appeal.
- 1/8 teaspoons salt: Enhance or balance sweetness in frosting and intensify flavors; tiny amount helps unify taste and reduce overly sweet perception.
- 4 tablespoons heavy cream plus extra to use as needed: Thin and loosen frosting to adjustable consistency; heavy cream adds richness while allowing smooth spreading or piping as needed.
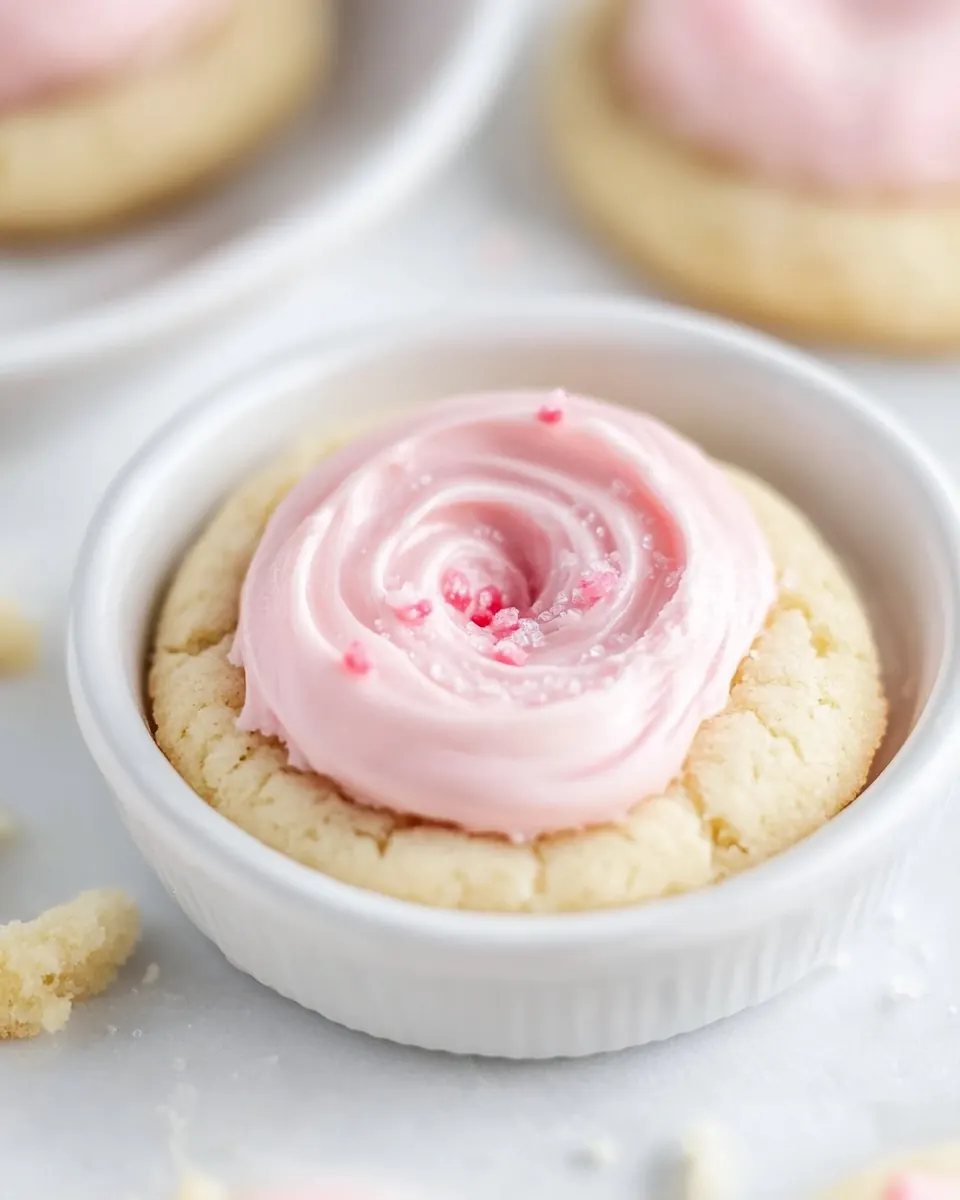
- Red food coloring , to make frosting pink (optional): Color and visually enhance the frosting with gentle hues; optional dye achieves a pink tint without altering flavor when used sparingly.
How to Cook Swig Sugar Cookies
These instructions walk you through from warming the butter to that final thick spread of frosting. I like to move methodically, tipping the balance toward technique and sensory cues so you know when a step is complete. Keep tools handy and work in stages for calm, confident baking.
- Preheat oven to 350°F. Line a large dark-colored sheet pan with parchment paper or a silicone liner. (If using a light-colored sheet pan, add 2–4 minutes to the baking time).: You should feel the warmth in the kitchen as the oven comes up to temperature, and the scent of residual oven heat signals readiness. Using a dark colored sheet pan usually promotes quicker browning on the bottom, which is why the note about adding 2 to 4 minutes for light pans matters. A common pitfall is rushing the preheat, which leads to uneven baking and underdeveloped bottoms; always wait until the oven fully reaches 350 F . When lining pans, the parchment will prevent sticking and make transfer simpler. If you notice your oven runs hot, consider an oven thermometer to confirm true temperature.
- Using a stand mixer fitted with a paddle attachment (or a large bowl and hand mixer), cream butter, 2/3 cup granulated sugar, and powdered sugar until smooth and creamy. Add egg, vanilla, almond extract (if using), and vegetable oil. Beat at medium speed, scraping sides as needed, until creamy and silky-smooth looking.: Right away you’ll notice the transformation as the mixture lightens in color and becomes glossy, meaning air has been incorporated to build structure. The texture should feel soft and spreadable, not separated or greasy. Scraping the bowl ensures all bits are evenly mixed, preventing streaks of unmixed butter or sugar. A typical error here is over beating, which can break down the emulsion and make the dough overly soft; stop when it’s visually smooth and silk like. If the mixture looks curdled, pause and scrape, then beat briefly to reincorporate. The aroma of vanilla will become more pronounced at this point, signaling proper flavor distribution.
- Add baking soda, cream of tartar, salt, and flour on top. Beat on low until integrated, then increase speed and beat until a smooth dough is formed. Don’t overmix.: After adding dry ingredients, the sound of the mixer will shift to a lower hum as the dough comes together, and the surface should look cohesive without streaks of flour. This step controls gluten development; mixing just until integrated produces tender cookies rather than tough ones. Overworking here is a common mistake and will tighten the dough, yielding denser cookies. If the dough feels too sticky, chill briefly to firm it up before scooping, which prevents excess spreading. Use your hands cautiously to test texture; the dough should hold shape yet be pliable.
- Roll even-sized dough balls (2 tightly packed tablespoons or 40 grams each). Add remaining 1/2 cup granulated sugar to a small bowl. Roll balls in the sugar and generously space apart on lined sheet pan (I only bake 6 at a time). Dip the bottom of a glass into the sugar, then press into the cookie until the edges crack a bit. (If dough is warm or feels overly soft/gooey, pop the tray of cookie dough in freezer for 15 minutes before baking—insurance from spreading in case the kitchen is overly warm or butter is too soft!): You’ll feel a satisfying weight as you portion each ball to 40 grams, which helps the cookies bake uniformly. Rolling in granulated sugar gives a slight exterior sparkle and a delicate crispness when baked. Pressing with a sugar coated glass creates the signature cracked top that’s visually pleasing and indicates even spreading. If you notice your balls flatten before baking, that’s a sign the dough is too warm; use the freezer trick to firm them. Crowding the pan is another common misstep, so leave ample space to allow for gentle spreading.
- Bake 8–10 minutes. The cookies won’t brown and should look almost undercooked, but if you use a metal spatula to gently lift a cookie, the bottom should be slightly golden and not look wet at all. Right out of the oven, you may need to gently press the cup into the tops of the cookies again if they puffed up too much. (Don’t press down too hard, though.) Let cookies stand on the sheet pan 5 minutes before carefully transferring to a cooling rack. Let cool completely before frosting—cookies are fragile! Repeat with remaining dough until all cookies are baked.: As the kitchen fills with a light, buttery aroma, watch for visual cues rather than relying solely on time. The tops remaining pale while the bottoms take on a hint of color is the sweet spot for tender interiors. Using a metal spatula to check the bottom helps you confirm doneness without disturbing the cookie’s shape. Pressing a sugared glass lightly after baking corrects puffing, but pressing too hard will compress the crumb and eliminate the airy texture. Allow the cookies to rest on the sheet pan so they set gently; transferring them too soon can lead to breakage.
- Prepare frosting while cookies are cooling: Using a stand mixer with a paddle attachment, beat butter on medium speed until creamy, about 2 minutes. Add 4-1/2 cups powdered sugar, vanilla, and salt. Mix on low speed. Gradually pour in 1 tablespoon cream at a time (start with 4 tablespoons), and mix on medium-high speed until ingredients are integrated. Scrape sides and bottom as needed. Once integrated, add food coloring (if using), and beat on medium-high speed 2 minutes until smooth and creamy. Taste and adjust as desired. (Add more cream if needed for consistency. If frosting is too soft, add more powdered sugar.) If frosting is soft, chill 10–15 minutes before frosting.: The frosting will take on a satiny sheen as the butter and powdered sugar combine, and the gradual addition of heavy cream lets you control viscosity. You should hear a light whir and see a creamy texture forming that holds peaks but spreads easily. A common misstep is adding too much cream too quickly, which can make the frosting runny; correct that by sifting in more powdered sugar . If you color the frosting, gel coloring provides rich hues without watering down the mix. Taste and adjust for sweetness and salt balance before chilling.
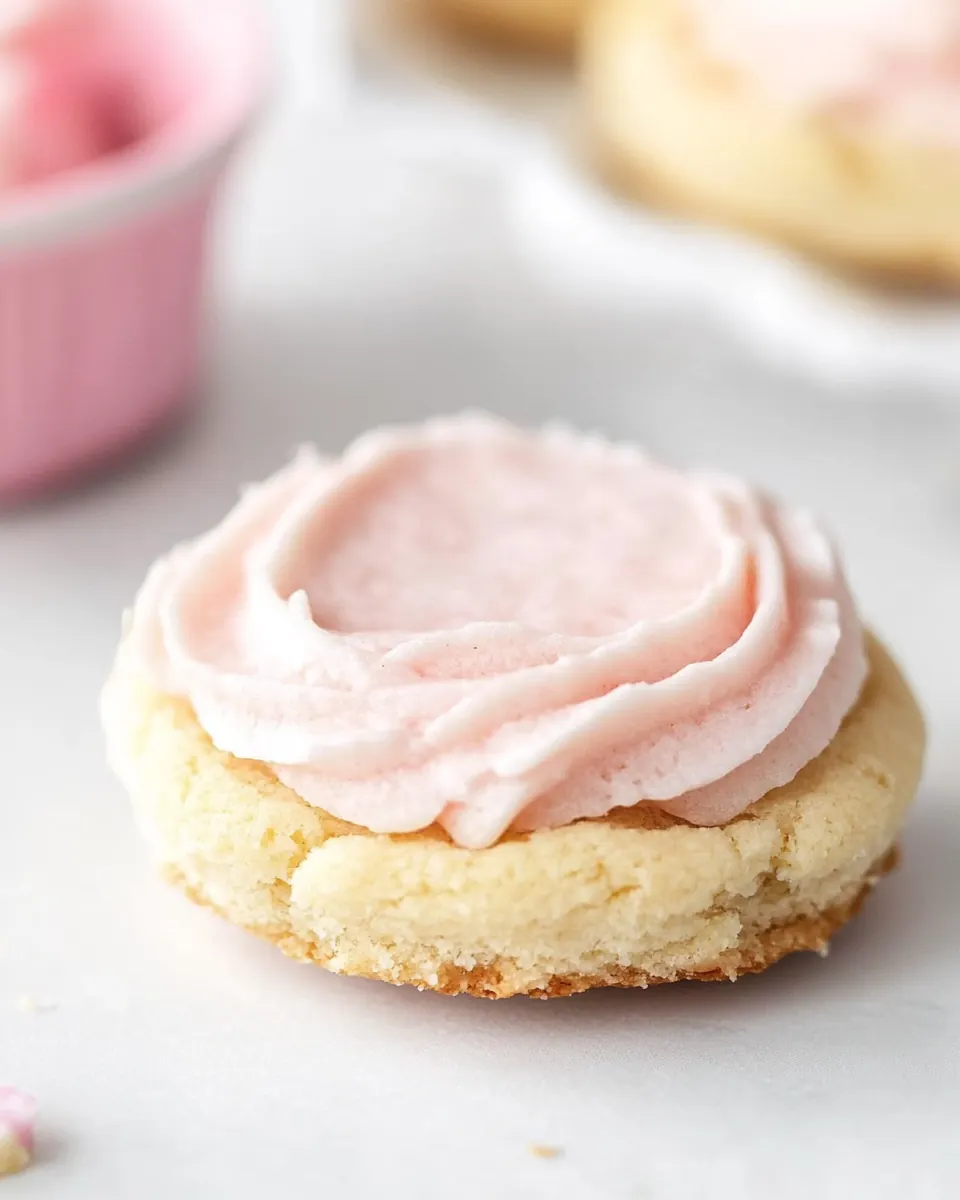
- Gently frost completely cooled cookies using a table knife or off-set spatula. The frosting layer should be nice and thick! You’ll likely have about 1 cup of extra frosting. You can use leftover frosting on pancakes/waffles, a small batch of cupcakes, etc.) Enjoy!: Spreading frosting on fully cooled cookies yields clean edges and prevents sliding; the texture should feel velvety under the spatula. A thick layer gives that luxurious bite everyone loves, and leftover frosting is great for other treats. Rushing and frosting warm cookies will cause the frosting to melt and smear, so be patient. If the frosting firms up too much during chilling, let it sit at room temperature a few minutes before working with it for easier spreading.
Make It Your Own
I like to tweak small details to tailor these cookies to the occasion, whether bright pink frosting for a party or a tiny splash of almond for a vintage vibe. Below are practical tips and notes expanded from the recipe notes to help you personalize and perfect every batch.
- Use a food scale: Weighing the dough to 40 grams per cookie ensures each cookie bakes in the same time and yields uniform results across batches.
- Room temperature butter matters: Properly softened butter creams smoothly with sugar, creating the right structure; too cold or too warm changes texture and spread.
- Adjust frosting consistency carefully: Add heavy cream one tablespoon at a time to reach pipeable or spreadable thickness without over thinning the frosting.
- Reserve some sugar for rolling: Rolling dough balls in granulated sugar gives a delicate crisp edge and signature sparkle, which is both decorative and textural.
- Store properly: Keep cookies covered at room temperature for 2 to 3 days for best texture; freeze dough balls if you want to bake fresh batches later.
Side Dish Ideas for Swig Sugar Cookies
These cookies are a sweet centerpiece, and pairing them thoughtfully makes the whole spread shine. Below I outline occasions, complementary items, and storage notes in list format so you can match context to presentation.
- Casual coffee gathering: Serve with a carafe of brewed coffee and a small bowl of fresh fruit to offer a bright counterpoint to the rich frosting.
- Birthday party: Arrange on a platter with other simple cookies and small cupcakes so guests can sample a variety without overwhelming sweets.
- Holiday cookie exchange: Package a half dozen in clear boxes with ribbon and a handwritten tag, keeping presentation simple and festive for gifting.
- Brunch addition: Offer alongside pancakes or waffles where leftover frosting can be used as a sweet spread, making the cookies feel like a complementary treat.
- Storage tip: Layer cookies in an airtight container with parchment between layers and keep at room temperature for 2 to 3 days; freeze unbaked dough balls for later baking.
- Seasonal pairings: For spring, tint frosting pastel shades; for winter, add deeper tones or simple sprinkles for a cozy feel that matches seasonal decor.
FAQ
Conclusion
Swig Sugar Cookies stand out because of their soft, tender crumb and thick, creamy frosting that together create a irresistible treat. The recipe is forgiving enough for weekday bakers yet yields bakery quality results that work for special occasions. Give the method a try, taking your time with the sensory cues like the slight golden bottom and the silky frosting texture. Once you taste the balance of buttery dough and fluffy frosting, you’ll understand why these cookies keep popping up on my dessert table and in my gift tins.
Swig Sugar Cookies
Equipment
- Large sheet pan (15" x 21")
- Stand mixer with paddle attachment
- Large bowl and hand mixer
- Food scale
- Silicone baking mat or parchment paper
- Cooling rack
Ingredients
- 8 tablespoons unsalted butter at room temperature Soften and cream to contribute richness and structure to the cookie dough; brings tender texture and helps distribute flavor evenly when beaten with sugars.
- 1 -1/4 cups granulated sugar divided Sweeten and aid in creaming to create lightness; divided use provides both bulk in the dough and a coating or finishing sweetness.
- 1/2 cup powdered sugar Stabilize and lighten the frosting while adding a smooth, snowy texture; dissolves into creams and helps achieve pipeable consistency.
- 1 large egg Bind ingredients and provide moisture and lift through trapped air when beaten; adds richness and helps set the crumb of the cookie.
- 1 -1/2 teaspoons vanilla extract Flavor and aromatize the dough with warm, familiar notes; enhances the overall flavor profile and complements vanilla-yielding ingredients.
- 1/4 teaspoon almond extract or coconut extract, optional Enhance complexity with a delicate nutty or tropical note when used; optional splash adds subtle background aroma without overpowering.
- 1/3 cup vegetable oil or canola oil Add tenderness and a slightly different fat profile for chewiness; helps keep cookies soft and prevents them from becoming overly crisp.
- 3/4 teaspoons salt Season and balance sweetness while strengthening gluten slightly; small amount brings out other flavors and controls blandness.
- 1/2 teaspoon cream of tartar Provide acidity to react with baking soda for leavening and to stabilize sugar structure; contributes slight tang and helps produce tender crumb.
- 1/2 teaspoon baking soda React with cream of tartar to produce carbon dioxide for leavening; helps cookies spread and develop lightness and a delicate lift.
- 3 cups all-purpose flour Build bulk and structure as the primary dry component; provides gluten and texture that determine cookie density and chew.
- 16 tablespoons unsalted butter at room temperature Cream or use in frosting to add a rich, buttery flavor and silky mouthfeel; doubles the butter amount for a richer icing or layered application.
- 4 -1/2 cups powdered sugar Sweeten and stabilize the frosting while providing structure for piped decorations; large quantity ensures thick, spreadable consistency.
- 2 teaspoons vanilla extract or 1 teaspoon vanilla bean paste Flavor and add aromatic complexity to the frosting; vanilla or paste deepens the profile and can include specks for visual appeal.
- 1/8 teaspoons salt Enhance or balance sweetness in frosting and intensify flavors; tiny amount helps unify taste and reduce overly sweet perception.
- 4 tablespoons heavy cream plus extra to use as needed Thin and loosen frosting to adjustable consistency; heavy cream adds richness while allowing smooth spreading or piping as needed.
- Red food coloring optional, to make frosting pink Color and visually enhance the frosting with gentle hues; optional dye achieves a pink tint without altering flavor when used sparingly.
Instructions
- Preheat oven to 350°F. Line a large dark-colored sheet pan with parchment paper or a silicone liner. (If using a light-colored sheet pan, add 2–4 minutes to the baking time).: You should feel the warmth in the kitchen as the oven comes up to temperature, and the scent of residual oven heat signals readiness. Using a dark colored sheet pan usually promotes quicker browning on the bottom, which is why the note about adding 2 to 4 minutes for light pans matters. A common pitfall is rushing the preheat, which leads to uneven baking and underdeveloped bottoms; always wait until the oven fully reaches 350 F . When lining pans, the parchment will prevent sticking and make transfer simpler. If you notice your oven runs hot, consider an oven thermometer to confirm true temperature.
- Using a stand mixer fitted with a paddle attachment (or a large bowl and hand mixer), cream butter, 2/3 cup granulated sugar, and powdered sugar until smooth and creamy. Add egg, vanilla, almond extract (if using), and vegetable oil. Beat at medium speed, scraping sides as needed, until creamy and silky-smooth looking.: Right away you’ll notice the transformation as the mixture lightens in color and becomes glossy, meaning air has been incorporated to build structure. The texture should feel soft and spreadable, not separated or greasy. Scraping the bowl ensures all bits are evenly mixed, preventing streaks of unmixed butter or sugar. A typical error here is over beating, which can break down the emulsion and make the dough overly soft; stop when it’s visually smooth and silk like. If the mixture looks curdled, pause and scrape, then beat briefly to reincorporate. The aroma of vanilla will become more pronounced at this point, signaling proper flavor distribution.
- Add baking soda, cream of tartar, salt, and flour on top. Beat on low until integrated, then increase speed and beat until a smooth dough is formed. Don’t overmix.: After adding dry ingredients, the sound of the mixer will shift to a lower hum as the dough comes together, and the surface should look cohesive without streaks of flour. This step controls gluten development; mixing just until integrated produces tender cookies rather than tough ones. Overworking here is a common mistake and will tighten the dough, yielding denser cookies. If the dough feels too sticky, chill briefly to firm it up before scooping, which prevents excess spreading. Use your hands cautiously to test texture; the dough should hold shape yet be pliable.
- Roll even-sized dough balls (2 tightly packed tablespoons or 40 grams each). Add remaining 1/2 cup granulated sugar to a small bowl. Roll balls in the sugar and generously space apart on lined sheet pan (I only bake 6 at a time). Dip the bottom of a glass into the sugar, then press into the cookie until the edges crack a bit. (If dough is warm or feels overly soft/gooey, pop the tray of cookie dough in freezer for 15 minutes before baking—insurance from spreading in case the kitchen is overly warm or butter is too soft!): You’ll feel a satisfying weight as you portion each ball to 40 grams, which helps the cookies bake uniformly. Rolling in granulated sugar gives a slight exterior sparkle and a delicate crispness when baked. Pressing with a sugar coated glass creates the signature cracked top that’s visually pleasing and indicates even spreading. If you notice your balls flatten before baking, that’s a sign the dough is too warm; use the freezer trick to firm them. Crowding the pan is another common misstep, so leave ample space to allow for gentle spreading.
- Bake 8–10 minutes. The cookies won’t brown and should look almost undercooked, but if you use a metal spatula to gently lift a cookie, the bottom should be slightly golden and not look wet at all. Right out of the oven, you may need to gently press the cup into the tops of the cookies again if they puffed up too much. (Don’t press down too hard, though.) Let cookies stand on the sheet pan 5 minutes before carefully transferring to a cooling rack. Let cool completely before frosting—cookies are fragile! Repeat with remaining dough until all cookies are baked.: As the kitchen fills with a light, buttery aroma, watch for visual cues rather than relying solely on time. The tops remaining pale while the bottoms take on a hint of color is the sweet spot for tender interiors. Using a metal spatula to check the bottom helps you confirm doneness without disturbing the cookie’s shape. Pressing a sugared glass lightly after baking corrects puffing, but pressing too hard will compress the crumb and eliminate the airy texture. Allow the cookies to rest on the sheet pan so they set gently; transferring them too soon can lead to breakage.
- Prepare frosting while cookies are cooling: Using a stand mixer with a paddle attachment, beat butter on medium speed until creamy, about 2 minutes. Add 4-1/2 cups powdered sugar, vanilla, and salt. Mix on low speed. Gradually pour in 1 tablespoon cream at a time (start with 4 tablespoons), and mix on medium-high speed until ingredients are integrated. Scrape sides and bottom as needed. Once integrated, add food coloring (if using), and beat on medium-high speed 2 minutes until smooth and creamy. Taste and adjust as desired. (Add more cream if needed for consistency. If frosting is too soft, add more powdered sugar.) If frosting is soft, chill 10–15 minutes before frosting.: The frosting will take on a satiny sheen as the butter and powdered sugar combine, and the gradual addition of heavy cream lets you control viscosity. You should hear a light whir and see a creamy texture forming that holds peaks but spreads easily. A common misstep is adding too much cream too quickly, which can make the frosting runny; correct that by sifting in more powdered sugar . If you color the frosting, gel coloring provides rich hues without watering down the mix. Taste and adjust for sweetness and salt balance before chilling.
- Gently frost completely cooled cookies using a table knife or off-set spatula. The frosting layer should be nice and thick! You’ll likely have about 1 cup of extra frosting. You can use leftover frosting on pancakes/waffles, a small batch of cupcakes, etc.) Enjoy!: Spreading frosting on fully cooled cookies yields clean edges and prevents sliding; the texture should feel velvety under the spatula. A thick layer gives that luxurious bite everyone loves, and leftover frosting is great for other treats. Rushing and frosting warm cookies will cause the frosting to melt and smear, so be patient. If the frosting firms up too much during chilling, let it sit at room temperature a few minutes before working with it for easier spreading.
Notes
- Use a food scale: Weighing the dough to 40 grams per cookie ensures each cookie bakes in the same time and yields uniform results across batches.
- Room temperature butter matters: Properly softened butter creams smoothly with sugar, creating the right structure; too cold or too warm changes texture and spread.
- Adjust frosting consistency carefully: Add heavy cream one tablespoon at a time to reach pipeable or spreadable thickness without over thinning the frosting.
- Reserve some sugar for rolling: Rolling dough balls in granulated sugar gives a delicate crisp edge and signature sparkle, which is both decorative and textural.
- Store properly: Keep cookies covered at room temperature for 2 to 3 days for best texture; freeze dough balls if you want to bake fresh batches later.