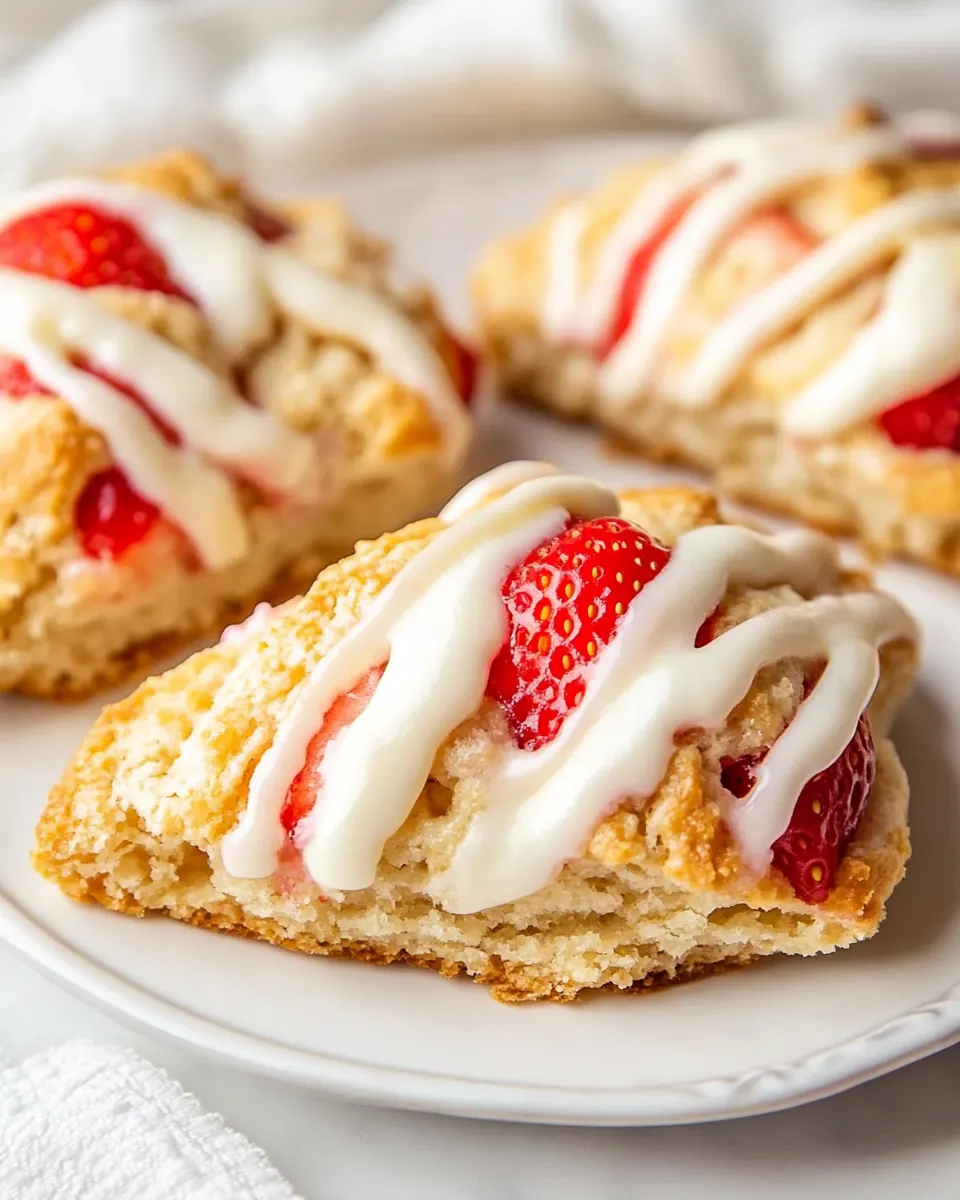
Strawberry Scones
Strawberry Scones are the kind of treat that takes me back to lazy spring mornings at my grandmother’s kitchen, where the windows fogged with the warmth of a fresh bake and the table hummed with quiet conversation. I still remember sneaking a warm wedge straight from the tray, the glaze cooling just enough to leave a sweet trail on my fingers, and that bright strawberry note cutting through the buttery crumb. That first bite taught me how simple ingredients can feel celebratory, and I keep this recipe in my rotation whenever I want something comforting yet a little special.
There is a warmth to making Strawberry Scones that goes beyond the oven. I like to put on a playlist, wash a bowl, and take a few deep breaths before I begin. Each step becomes a small ritual, from folding the cold butter into the dry flour until it looks like coarse crumbs to tucking in juicy chopped strawberries so they remain pockets of bright flavor. Sharing these scones with friends has led to some of my favorite conversations, and I often serve them with tea for impromptu visits.
Recipe Snapshot
42 mins
20 mins
22 mins
Medium
250 kcal
American
Gluten-Free, Low FODMAP
Breakfast
Mixing bowl, Pastry cutter, Baking tray, Parchment paper, Whisk
Why We Love This Strawberry Scones
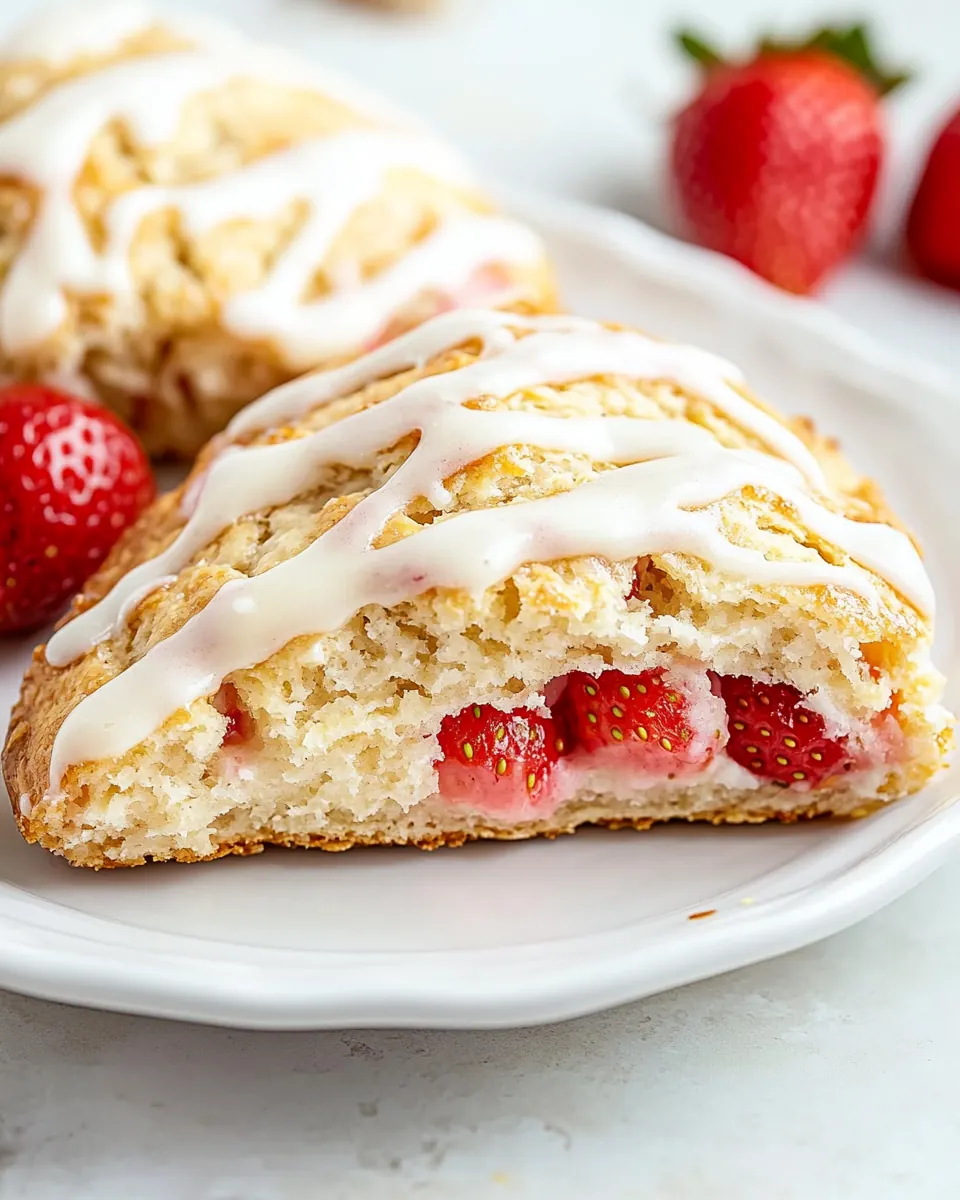
Buttery Flaky Texture
I love how the combination of cold butter and careful handling yields a tender, flaky crumb. When you keep the fat cold and work quickly, the scones develop layers that are soft inside and slightly crisp on the edges, which is exactly what I aim for every time.
Fresh Strawberry Brightness
Using fresh strawberries keeps these scones vibrant and seasonal. I prefer dicing them rather than pureeing so you get bursts of fruit in every bite. That contrast between fruity brightness and rich butter is what keeps people coming back for seconds.
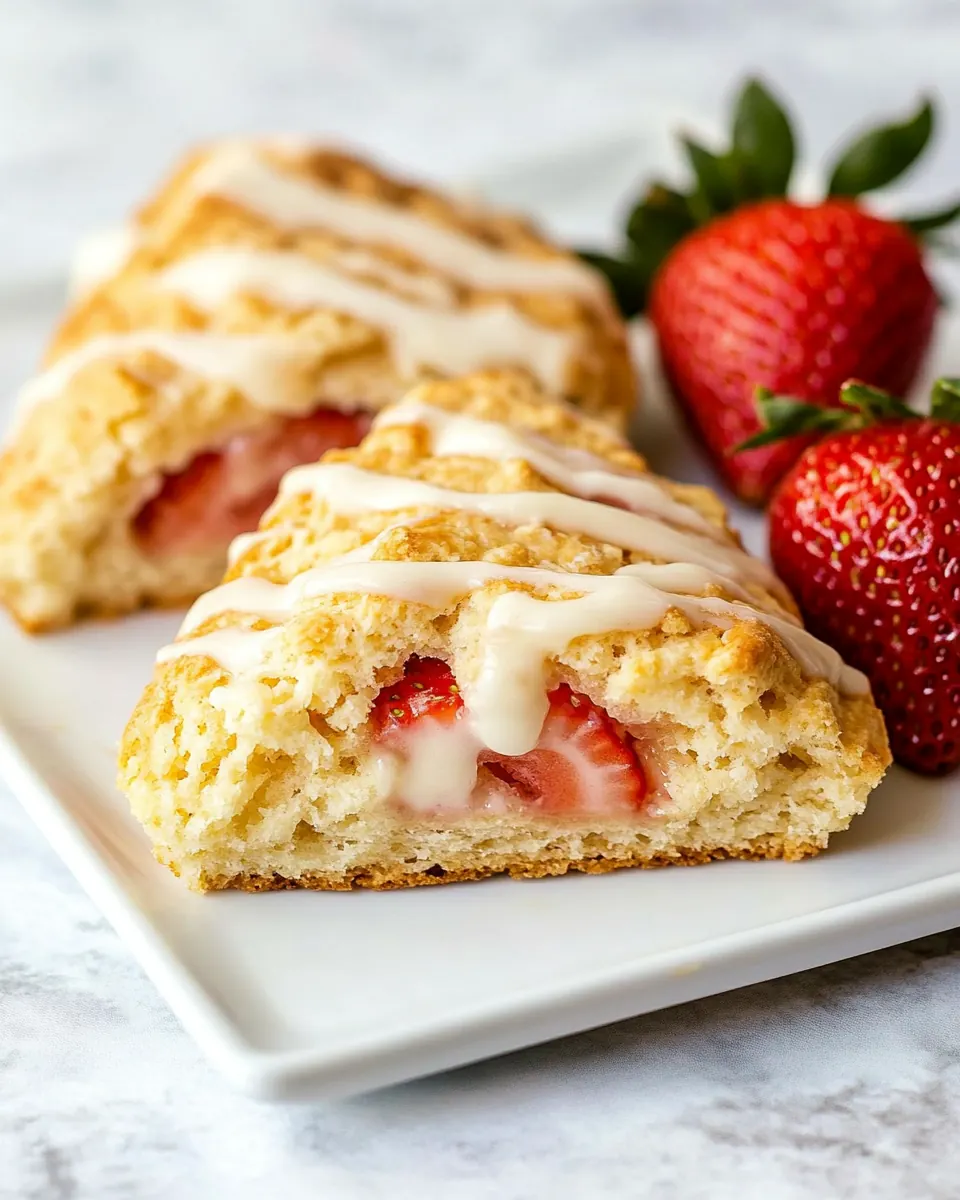
Versatile Sweet Drizzle
The simple glaze of powdered sugar, heavy cream, and vanilla extract adds a glossy finish without overpowering the scone. I like that you can thin or thicken it to suit your mood, and it elevates the look for guests without extra fuss.
Quick and Friendly Method
This is one of those recipes that feels fancy but comes together quickly, which I really appreciate on busy mornings. From mixing to the oven, it moves at a steady clip and rewards you with a bakery level result at home.
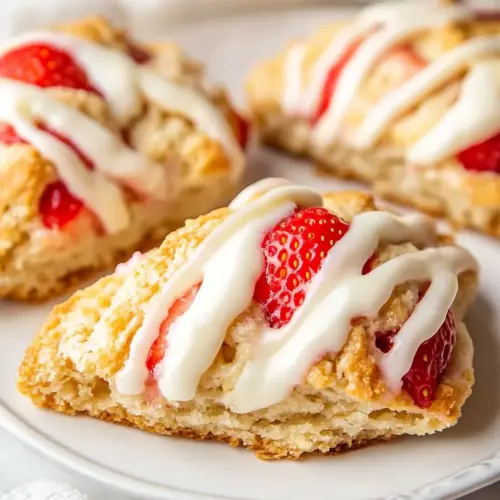
Great for Gatherings
Whether for a brunch, a picnic, or a dessert board, these Strawberry Scones travel well and pair with many drinks. I always find they disappear fastest when served warm, and they make any casual gathering feel intentional.
Ingredient List for Strawberry Scones
These ingredients are chosen to create a balance of tender crumb and fresh fruit brightness. The star players are the flour and cold butter which form the structure and the flaky layers, while the strawberries add a lively, seasonal note. The dairy elements, like buttermilk and heavy cream, bring moisture and richness, and the glaze components finish everything with a gentle sweetness and sheen.
- 1 cup fresh strawberries hulled and diced: Provide bright, juicy sweetness and a fresh fruity texture when hulled and diced; fold gently into dough to avoid breaking berries and releasing excess juice. Add visual appeal and natural flavor contrast that complements the rich scone base. Chill briefly after mixing if berries become too soft to maintain structure during baking.
- 2 1/4 cups all-purpose flour: Contribute structure and bulk as the primary dry component; combine with leavening and sugar for balanced crumb and proper gluten formation. Sift or whisk to ensure even distribution of dry ingredients and to avoid dense scones. Measure by spooning into a cup for accuracy to maintain intended texture.
- 1/4 cup granulated sugar: Add sweetness and help with browning when creamed briefly into the butter or mixed into dry ingredients; balances tartness from strawberries. Dissolve into the dough to prevent gritty texture and to enhance caramelized edges. Adjust slightly for personal sweetness preference while maintaining dough hydration.
- 2 teaspoons baking powder: Provide lift and lightness by producing gas when heated; crucial for tender, risen scones. Whisk with the flour and salt to ensure even rising and avoid dense pockets. Check freshness before use to guarantee reliable leavening action.
- 1/4 teaspoon salt: Enhance flavor and balance sweetness while strengthening gluten bonds slightly for structure; small amount prevents blandness. Dissolve evenly with dry ingredients to season the entire dough. Use fine measurements for consistent results.
- 6 tablespoons unsalted butter cold, cut into cubes: Introduce cold fat that creates flaky layers and tender crumb when cut into flour; keep cubes chilled to ensure small pockets of butter melt during baking. Work quickly to coat flour without warming the butter to maintain flakiness. Use a pastry cutter or fingertips to achieve pea-sized pieces.
- 1 egg at room temperature: Bind ingredients, provide richness, and contribute to structure and color when beaten into the wet mixture; room temperature egg mixes smoothly with other ingredients. Whisk lightly to combine yolk and white for even incorporation without overmixing. Use as directed to maintain proper dough consistency.
- 1/2 cup buttermilk at room temperature: Provide moisture, acidity, and tenderness while reacting with baking powder for slight lift; room temperature helps it blend without chilling the dough. Stir into the egg and butter mixture gently to avoid overworking the gluten. Substitute with milk plus vinegar only if buttermilk is unavailable, adjusting for acidity.
- 1 egg + 2 tablespoons milk for an egg wash: Create a glossy, golden finish when brushed on scone tops before baking; combine egg and milk for easy brushing consistency. Apply evenly with a pastry brush just before placing in the oven to promote appealing color and slight shine. Avoid heavy application that might drip onto baking surface.
- 1 cup powdered sugar: Offer a smooth, sweet glaze base that can be thinned to desired consistency for drizzling over cooled scones. Sift to remove lumps and whisk with vanilla and cream for a silky finish. Adjust thickness with small additional amounts of liquid for perfect coating.
- 1/2 teaspoon pure vanilla extract: Infuse fragrant, sweet aromatic notes into glazes or dough; small amount enhances overall flavor without overpowering. Mix into powdered sugar and cream to create a balanced glaze with subtle vanilla character. Use pure extract for the best natural flavor.
- 2 tablespoons heavy cream: Add richness and smoothness to glazes, lending a glossy finish and slight decadence; helps achieve a spreadable consistency when combined with powdered sugar. Whisk into glaze gradually to control thickness and sheen. Use chilled cream sparingly to avoid thinning glaze too much.
Step by Step Guide for Strawberry Scones

These directions move you through a reliable rhythm from mixing to baking, with pauses to chill and let flavors settle. Read each step fully before you begin so you have a smooth, calm process in the kitchen.
- Preheat your oven to 375 degrees fahrenheit, and line your baking tray with parchment paper.: The scent of warm air when an oven comes up to 375 degrees fahrenheit signals readiness, and you will notice a faint hum as the heating element cycles. Ensuring the oven is properly preheated prevents underbaked centers, and lining the tray with parchment helps the bottoms brown evenly while preventing sticking. A common mistake is placing scones in an oven that is still coming to temperature, which yields uneven rise, so always give the oven time to stabilize.
- In a large bowl combine the flour, sugar, baking powder, and salt.: When the dry ingredients are whisked together, you should see a uniform pale mixture with no sugar pockets. This even distribution ensures consistent leavening and flavor in each bite. The dry mix also develops the initial structure of the scone, so take a moment to break up any lumps in the flour . Avoid overmixing later, but at this stage thorough blending is important.
- Add the cold butter cubes into the flour mixture with a pastry cutter until it resembles coarse crumbs (you can use a food processor instead).: As you work, the butter will break into pea sized pieces, creating a texture that looks like coarse cornmeal. Those pieces are what steam and create tender pockets as the scones bake, so keep the butter cold and stop when you reach the coarse crumb stage. If you overwork it and it becomes mealy, the scones can be dense, so handle the mixture briskly but gently.
- Fold in your chopped strawberries until they are evenly distributed.: As you fold in the diced strawberries , aim for gentle, deliberate motion so the fruit does not release too much juice. The pieces should be visible throughout the dough, lending bright color and bursts of flavor. A common pitfall is adding fruit that is too wet, which can make the dough gummy, so pat the pieces lightly with a towel if they seem overly moist.
- In a separate bowl, combine the egg and buttermilk and mix well.: Whisking the room temperature egg and buttermilk until smooth creates a cohesive liquid that will hydrate the dry mix evenly. You should see a glossy, uniform mixture with no streaks. This step matters because cold or unevenly mixed liquids can cause spots of inconsistent texture in the final scone.
- Add your buttermilk and egg mixture into the flour mixture and combine until it becomes a dough.: At this stage, the mixture will come together into a shaggy dough that holds shape when pressed. Use a folding motion and stop when it just holds, since overmixing develops gluten and makes scones tough. You should feel a slightly sticky but manageable dough; if it is too dry, add a teaspoon of buttermilk at a time.
- Transfer your dough to a lightly floured, flat surface, and form a round disc that is about 1 inch thick.: Press the dough gently, and you will feel the layers compress while the fruit remains embedded. The disc should be even so the scones bake uniformly, and the 1 inch thickness yields the classic tender interior and golden top. A common error is rolling too thinly which produces dry, overly crisp scones.
- Using a sharp knife, divide the disc of dough into 8 equal portions.: Cutting into 8 wedges gives consistent sizing so each scone bakes at the same rate. Use a single sharp stroke to avoid compressing the dough too much. If you press down repeatedly, you can deflate the dough and reduce the flakiness, so do the cuts cleanly in one motion where possible.
- Whisk the egg and milk together in a small bowl.: The glossy egg and milk wash will add color and sheen to the tops. Once whisked, the mixture should be smooth and slightly frothy. Brush lightly for an even finish; too much wash can pool at the base and create a sticky bottom.
- Place the scones on your prepared baking sheet and brush them with the egg and milk mixture.: As you brush, the tops will pick up a soft sheen that turns golden in the oven. This step also helps the glaze adhere later. Work carefully so the wash does not drip down the sides, which can darken the edges excessively.
- Place the scones in the freezer for 20 minutes.: Chilling them firms the butter and helps maintain the layered texture when they hit the hot oven. You will feel the dough cool and tighten, and this pause improves rise and flakiness. Skipping this rest is a frequent mistake that can lead to flatter scones.
- After 20 minutes, bake the scones in the oven for 20 to 22 minutes until the top is a nice golden brown.: During baking, you will notice a comforting bakery aroma and a gentle cracking sound as the exterior sets. The tops should reach a warm golden color and a toothpick inserted near the center comes out clean. If the scones brown too quickly, tent them loosely with foil to prevent overbrowning while the center finishes cooking.
- While the scones are baking, combine the confectioners sugar, heavy cream, and vanilla extract in a bowl to make the drizzle.: Whisk until silky smooth and glossy, adjusting the consistency with a splash more heavy cream if needed. The glaze should be thick enough to cling but thin enough to drizzle, and the aroma of vanilla extract will lift the whole tray. If the glaze is lumpy, sift the powdered sugar to smooth it out.
- Allow the scones to cool for about 20 minutes. Drizzle the scones and serve.: As they cool, the crumb firms and the glaze sets into a delicate sheen. Once the scones are warm rather than hot, drizzle with the glaze so it forms ribbons rather than melting away. A common misstep is glazing while still piping hot, which causes the drizzle to run off and lose its pretty effect.
Tips and Variations
I like to think of tips as friendly nudges that help you reproduce the best version of these scones at home. Below are practical suggestions and small swaps that keep the core recipe intact while offering some flexibility for texture and sweetness.
- Chill the butter: Keep the butter in the freezer until the moment you cut it in, this maximizes flakiness and prevents a greasy dough.
- Pat your strawberries: Gently blot the strawberries with paper towels before folding them in to reduce extra moisture that can weigh down the dough.
- Measure flour properly: Spoon all purpose flour into the measuring cup and level it off instead of scooping directly, which can compact the flour and produce dense scones.
- Room temperature wet ingredients: Bring the egg and buttermilk to room temperature so they incorporate smoothly and promote even texture.
- Freeze briefly for lift: Popping the shaped scones into the freezer firms the butter and encourages a taller rise; don’t skip the chill if you want flaky layers.
What Complements This Strawberry Scones
These scones work well in many settings, from a casual morning to a small celebration. Below are ideas for pairing, storage, and seasonal serving suggestions to help you present them beautifully and keep them tasting fresh.
- Serve warm with tea: A simple tea service highlights the scones sweetness and fruit notes, making them ideal for a cozy brunch.
- Brunch centerpiece: Arrange warmed scones on a platter with small bowls of jam and soft butter for an inviting brunch spread.
- Picnic friendly: Pack cooled scones in an airtight container with parchment between layers for a spring picnic, they travel well when cooled.
- Storage tip: Store leftovers in an airtight container in the refrigerator for up to 5 to 7 days, or freeze for 2 to 3 months; reheat gently to restore freshness.
- Seasonal pairing: In spring, serve with a bowl of mixed berries or a light fruit salad to echo the fresh strawberries in the scones.
FAQ
Conclusion
Strawberry Scones stand out for their balance of flaky, buttery texture and bright fresh fruit notes. I find they bring a cozy, celebratory feeling to simple mornings and small gatherings alike. Give these scones a try when you want an approachable bake that still feels special, and enjoy the little rituals from chopping berries to the first warm bite. Share them with friends or savor one with your favorite cup, and you may find this becomes a springtime staple in your rotation.
Strawberry Scones
Equipment
- Mixing Bowl
- Pastry Cutter
- Baking Tray
- Parchment Paper
- Whisk
Ingredients
- 1 cup fresh strawberries hulled and diced Provide bright, juicy sweetness and a fresh fruity texture when hulled and diced; fold gently into dough to avoid breaking berries and releasing excess juice. Add visual appeal and natural flavor contrast that complements the rich scone base. Chill briefly after mixing if berries become too soft to maintain structure during baking.
- 2 1/4 cups all-purpose flour Contribute structure and bulk as the primary dry component; combine with leavening and sugar for balanced crumb and proper gluten formation. Sift or whisk to ensure even distribution of dry ingredients and to avoid dense scones. Measure by spooning into a cup for accuracy to maintain intended texture.
- 1/4 cup granulated sugar Add sweetness and help with browning when creamed briefly into the butter or mixed into dry ingredients; balances tartness from strawberries. Dissolve into the dough to prevent gritty texture and to enhance caramelized edges. Adjust slightly for personal sweetness preference while maintaining dough hydration.
- 2 teaspoons baking powder Provide lift and lightness by producing gas when heated; crucial for tender, risen scones. Whisk with the flour and salt to ensure even rising and avoid dense pockets. Check freshness before use to guarantee reliable leavening action.
- 1/4 teaspoon salt Enhance flavor and balance sweetness while strengthening gluten bonds slightly for structure; small amount prevents blandness. Dissolve evenly with dry ingredients to season the entire dough. Use fine measurements for consistent results.
- 6 tablespoons unsalted butter cold, cut into cubes Introduce cold fat that creates flaky layers and tender crumb when cut into flour; keep cubes chilled to ensure small pockets of butter melt during baking. Work quickly to coat flour without warming the butter to maintain flakiness. Use a pastry cutter or fingertips to achieve pea-sized pieces.
- 1 egg at room temperature Bind ingredients, provide richness, and contribute to structure and color when beaten into the wet mixture; room temperature egg mixes smoothly with other ingredients. Whisk lightly to combine yolk and white for even incorporation without overmixing. Use as directed to maintain proper dough consistency.
- 1/2 cup buttermilk at room temperature Provide moisture, acidity, and tenderness while reacting with baking powder for slight lift; room temperature helps it blend without chilling the dough. Stir into the egg and butter mixture gently to avoid overworking the gluten. Substitute with milk plus vinegar only if buttermilk is unavailable, adjusting for acidity.
- 1 egg + 2 tablespoons milk for an egg wash Create a glossy, golden finish when brushed on scone tops before baking; combine egg and milk for easy brushing consistency. Apply evenly with a pastry brush just before placing in the oven to promote appealing color and slight shine. Avoid heavy application that might drip onto baking surface.
- 1 cup powdered sugar Offer a smooth, sweet glaze base that can be thinned to desired consistency for drizzling over cooled scones. Sift to remove lumps and whisk with vanilla and cream for a silky finish. Adjust thickness with small additional amounts of liquid for perfect coating.
- 1/2 teaspoon pure vanilla extract Infuse fragrant, sweet aromatic notes into glazes or dough; small amount enhances overall flavor without overpowering. Mix into powdered sugar and cream to create a balanced glaze with subtle vanilla character. Use pure extract for the best natural flavor.
- 2 tablespoons heavy cream Add richness and smoothness to glazes, lending a glossy finish and slight decadence; helps achieve a spreadable consistency when combined with powdered sugar. Whisk into glaze gradually to control thickness and sheen. Use chilled cream sparingly to avoid thinning glaze too much.
Instructions
- Preheat your oven to 375 degrees fahrenheit, and line your baking tray with parchment paper.: The scent of warm air when an oven comes up to 375 degrees fahrenheit signals readiness, and you will notice a faint hum as the heating element cycles. Ensuring the oven is properly preheated prevents underbaked centers, and lining the tray with parchment helps the bottoms brown evenly while preventing sticking. A common mistake is placing scones in an oven that is still coming to temperature, which yields uneven rise, so always give the oven time to stabilize.
- In a large bowl combine the flour, sugar, baking powder, and salt.: When the dry ingredients are whisked together, you should see a uniform pale mixture with no sugar pockets. This even distribution ensures consistent leavening and flavor in each bite. The dry mix also develops the initial structure of the scone, so take a moment to break up any lumps in the flour . Avoid overmixing later, but at this stage thorough blending is important.
- Add the cold butter cubes into the flour mixture with a pastry cutter until it resembles coarse crumbs (you can use a food processor instead).: As you work, the butter will break into pea sized pieces, creating a texture that looks like coarse cornmeal. Those pieces are what steam and create tender pockets as the scones bake, so keep the butter cold and stop when you reach the coarse crumb stage. If you overwork it and it becomes mealy, the scones can be dense, so handle the mixture briskly but gently.
- Fold in your chopped strawberries until they are evenly distributed.: As you fold in the diced strawberries , aim for gentle, deliberate motion so the fruit does not release too much juice. The pieces should be visible throughout the dough, lending bright color and bursts of flavor. A common pitfall is adding fruit that is too wet, which can make the dough gummy, so pat the pieces lightly with a towel if they seem overly moist.
- In a separate bowl, combine the egg and buttermilk and mix well.: Whisking the room temperature egg and buttermilk until smooth creates a cohesive liquid that will hydrate the dry mix evenly. You should see a glossy, uniform mixture with no streaks. This step matters because cold or unevenly mixed liquids can cause spots of inconsistent texture in the final scone.
- Add your buttermilk and egg mixture into the flour mixture and combine until it becomes a dough.: At this stage, the mixture will come together into a shaggy dough that holds shape when pressed. Use a folding motion and stop when it just holds, since overmixing develops gluten and makes scones tough. You should feel a slightly sticky but manageable dough; if it is too dry, add a teaspoon of buttermilk at a time.
- Transfer your dough to a lightly floured, flat surface, and form a round disc that is about 1 inch thick.: Press the dough gently, and you will feel the layers compress while the fruit remains embedded. The disc should be even so the scones bake uniformly, and the 1 inch thickness yields the classic tender interior and golden top. A common error is rolling too thinly which produces dry, overly crisp scones.
- Using a sharp knife, divide the disc of dough into 8 equal portions.: Cutting into 8 wedges gives consistent sizing so each scone bakes at the same rate. Use a single sharp stroke to avoid compressing the dough too much. If you press down repeatedly, you can deflate the dough and reduce the flakiness, so do the cuts cleanly in one motion where possible.
- Whisk the egg and milk together in a small bowl.: The glossy egg and milk wash will add color and sheen to the tops. Once whisked, the mixture should be smooth and slightly frothy. Brush lightly for an even finish; too much wash can pool at the base and create a sticky bottom.
- Place the scones on your prepared baking sheet and brush them with the egg and milk mixture.: As you brush, the tops will pick up a soft sheen that turns golden in the oven. This step also helps the glaze adhere later. Work carefully so the wash does not drip down the sides, which can darken the edges excessively.
- Place the scones in the freezer for 20 minutes.: Chilling them firms the butter and helps maintain the layered texture when they hit the hot oven. You will feel the dough cool and tighten, and this pause improves rise and flakiness. Skipping this rest is a frequent mistake that can lead to flatter scones.
- After 20 minutes, bake the scones in the oven for 20 to 22 minutes until the top is a nice golden brown.: During baking, you will notice a comforting bakery aroma and a gentle cracking sound as the exterior sets. The tops should reach a warm golden color and a toothpick inserted near the center comes out clean. If the scones brown too quickly, tent them loosely with foil to prevent overbrowning while the center finishes cooking.
- While the scones are baking, combine the confectioners sugar, heavy cream, and vanilla extract in a bowl to make the drizzle.: Whisk until silky smooth and glossy, adjusting the consistency with a splash more heavy cream if needed. The glaze should be thick enough to cling but thin enough to drizzle, and the aroma of vanilla extract will lift the whole tray. If the glaze is lumpy, sift the powdered sugar to smooth it out.
- Allow the scones to cool for about 20 minutes. Drizzle the scones and serve.: As they cool, the crumb firms and the glaze sets into a delicate sheen. Once the scones are warm rather than hot, drizzle with the glaze so it forms ribbons rather than melting away. A common misstep is glazing while still piping hot, which causes the drizzle to run off and lose its pretty effect.
Notes
- Chill the butter: Keep the butter in the freezer until the moment you cut it in, this maximizes flakiness and prevents a greasy dough.
- Pat your strawberries: Gently blot the strawberries with paper towels before folding them in to reduce extra moisture that can weigh down the dough.
- Measure flour properly: Spoon all purpose flour into the measuring cup and level it off instead of scooping directly, which can compact the flour and produce dense scones.
- Room temperature wet ingredients: Bring the egg and buttermilk to room temperature so they incorporate smoothly and promote even texture.
- Freeze briefly for lift: Popping the shaped scones into the freezer firms the butter and encourages a taller rise; don’t skip the chill if you want flaky layers.