S’mores Cookies
S’mores Cookies started as a backyard experiment that turned into my go to for spring gatherings. I remember the first batch, when I dragged out an old cookie recipe and decided to pair it with melted chocolate and gooey marshmallow for a handheld treat that felt both nostalgic and fresh. I was covered in chocolate by the end, and my neighbor asked for the recipe before I could even wash my hands.
That crunchy edge with a soft, pillowy center, and the way the chocolate sets into a glossy shell, makes S’mores Cookies impossible to resist. I often bring these to potlucks, because they travel well and everyone recognizes that classic campfire flavor. One time I swapped out a step and learned how small tweaks change texture, so now I always follow the rhythm I developed over those first dozen tries.
I love how making S’mores Cookies turns simple ingredients into something playful. Each bite combines familiar elements into a cookie that feels celebratory for spring and perfect for Easter brunch spreads. I hope my notes and photos guide you toward the version you love, whether you want crisp edges, melty centers, or a glossy chocolate finish.
Recipe Snapshot
20 mins
5 mins
15 mins
Easy
150 kcal
American
Paleo, Gluten-Free
Desserts
Baking sheet, Wire rack, Parchment paper, Spatula
What We Adore About This S’mores Cookies
Campfire nostalgia in cookie form
I adore how S’mores Cookies bring that smoky sweet memory without needing a campfire. When I bite into one, I get flashbacks of toasted marshmallows and chocolate oozing between graham crackers. Translating that into a cookie keeps the fun but makes it kid friendly and portable.
Textural contrast that sings
The interplay between a slightly crunchy edge and a soft, tender center is what hooks me. The melted chocolate and marshmallow add a silky, chewy layer that complements the cookie base, so each mouthful feels complete. I fine tune timing to get the texture I want, and it really shows.
Simple enough for last minute baking
One reason I lean on this recipe is how forgiving it is. I can bake the base cookies ahead, then assemble just before serving. That flexibility makes S’mores Cookies my go to when plans change, and I like that I can scale it for a crowd without stress.
Great for seasonal celebrations
Because these cookies are playful and sweet, they slot perfectly into spring festivities, especially Easter. I love arranging them on a platter with pastel liners, and they always feel celebratory without being fussy. They work as a dessert or a sweet snack between brunch courses.
Room to personalize
I appreciate recipes that invite experimentation, and these do just that. You can tweak how much chocolate or marshmallow you use, or choose to spread instead of dip for a neater finish. Every time I try a small change, I learn something useful about balance and timing.
Ingredients You’ll Need for S’mores Cookies
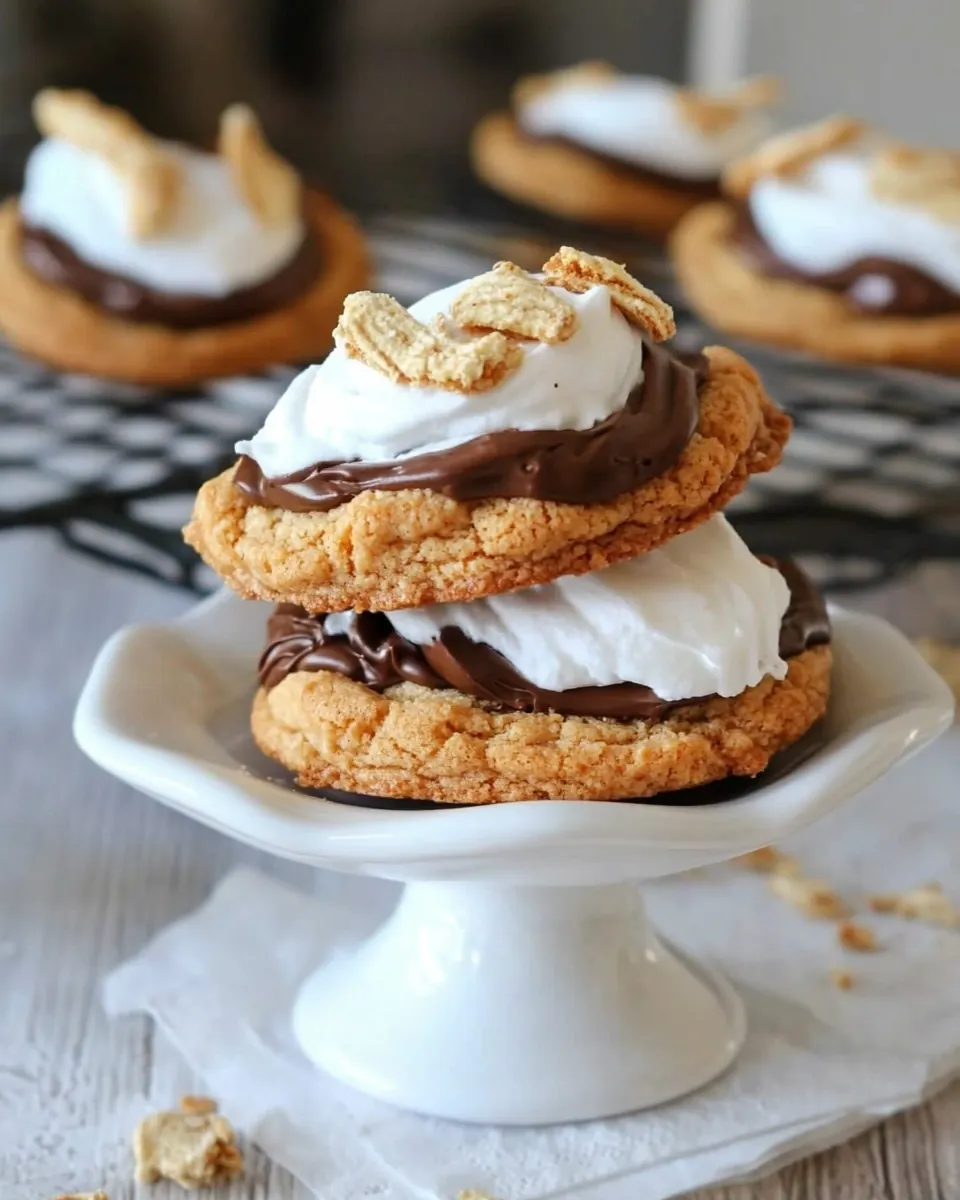
These ingredients are deliberately minimal and nostalgic. The recipe leans on a sturdy cookie base, then layers two hallmarks of s’mores: melted chocolate and melted marshmallows. The cookie base provides structure and bite, while the melted layers bring shine, chew, and sweetness. Together they recreate that campfire spirit in a hand held treat perfect for spring gatherings.
- 1 recipe Honey Cinnamon Cookies: Prepared as the cookie base, providing structure and flavor while carrying the s'mores components; use a chilled or fully baked Honey Cinnamon Cookies recipe to ensure sturdiness. Enhance chewiness and cinnamon–honey notes that complement the sweet chocolate and marshmallow layers. Serve as handheld vessels for melting toppings during final assembly or broiling.
- 8 ounce s (224 g) chocolate, melted: Melted to create a rich, gooey chocolate layer that soaks into the cookie surface and binds other elements together. Add smoothness and deep cocoa flavor that contrasts the honey–cinnamon base and the sweet marshmallow. Temper the temperature to avoid burning and to achieve an even spreadable consistency.
- 8 ounce s (224 g) marshmallows, melted: Melted to produce a soft, sticky, aerated topping that mimics toasted marshmallow texture and provides light sweetness and chew. Combine with melted chocolate for classic s'mores contrast and to create layers that set slightly when cooled. Whisk gently if needed to maintain fluffiness while spreading over warm cookies.
How to Assemble S’mores Cookies
Assembling these cookies is a fun, tactile process that rewards patience. I like to set up a little assembly line with the cooled cookies, melted chocolate, and warm melted marshmallows. Work in batches so the toppings stay at the right texture for spreading and setting.
- Bake Honey Cinnamon Cookies and allow to cool completely.: The moment you start working with toppings, the surface temperature matters, so let the cookies cool fully at room temperature until they no longer feel warm. You will notice the aroma of baked cinnamon and honey lingering, and the edges will feel firmer to the touch. Proper cooling prevents melted chocolate and marshmallows from melting into the cookie, which would make the finish messy. One common error is rushing this step while the cookies are still warm, causing sagging and excess absorption of toppings, so be patient and use a wire rack to cool evenly.
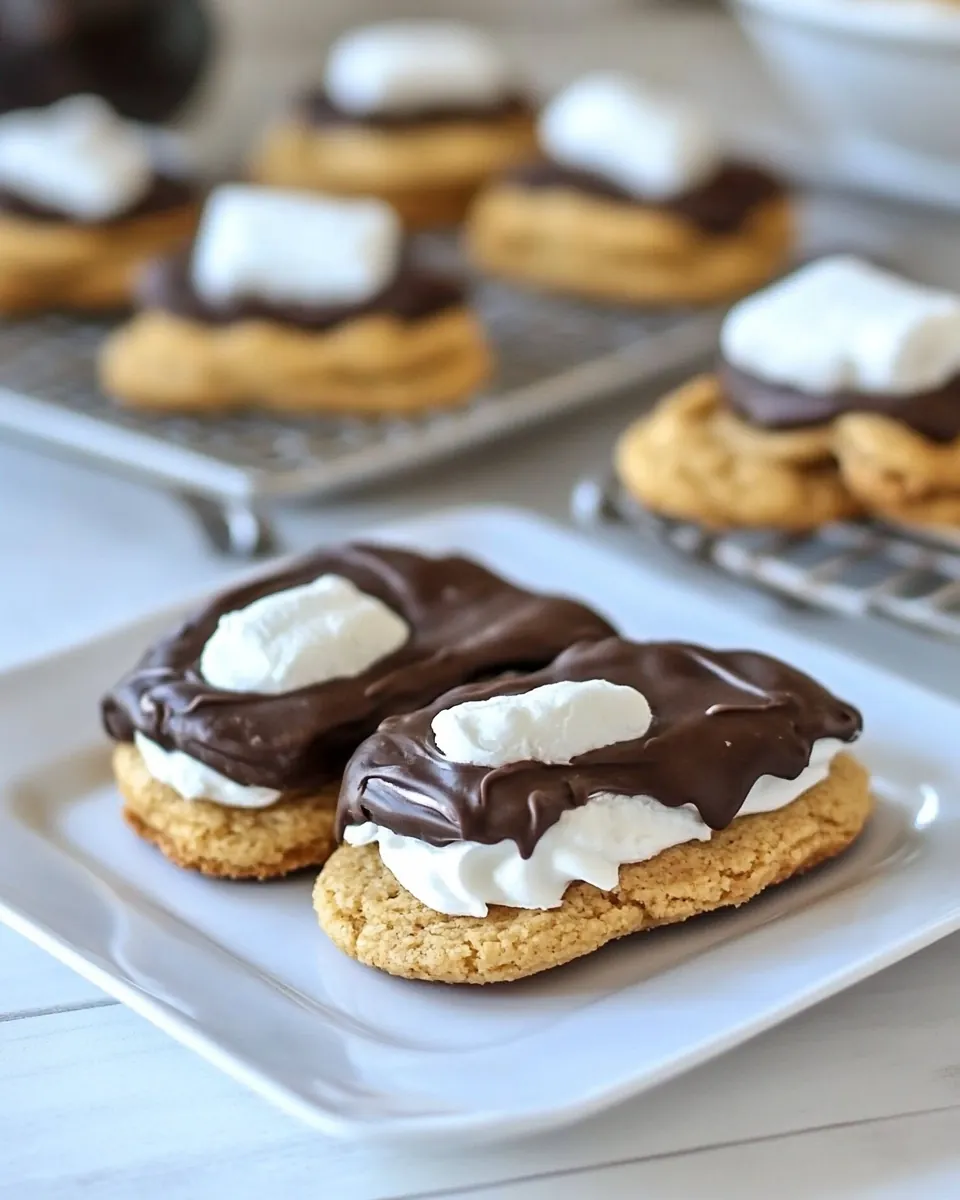
- Dip cookies in melted chocolate and allow to dry.: When you dip the cooled cookies into the warm, glossy chocolate , you should hear a quiet sheen as the coating slides on, and the chocolate will have a silky, reflective surface. Set the dipped cookies on parchment and let them rest until the chocolate firms to a matte or glossy finish depending on chocolate and temperature. This step seals in moisture and creates a satisfying snap. Avoid overheating the chocolate , which can dull the shine and cause bloom later.
- Melt marshmallows and spread on one side of cookie.: The melted marshmallows should be glossy and slightly elastic, with an inviting sweet smell. Use a spatula to spread a thick ribbon on the flat side of a cookie, leaving a small border so the marshmallow does not overflow when you sandwich. The marshmallow adds chew and lift, so apply enough to get that gooey pull in each bite. A frequent mistake is overheating, which makes the marshmallow stringy and hard to spread, so heat gently and stir constantly.
- Top with another cookie.: Press a second cooled, dipped cookie gently onto the marshmallow layer until you see the marshmallow spread slightly to the edges. You should hear a soft compression and see a neat seam where the two cookies meet. This sandwiching step locks the filling in and builds height and structure. If you press too hard, you will squeeze out the marshmallow, creating sticky edges, so moderate your pressure for a tidy finish.
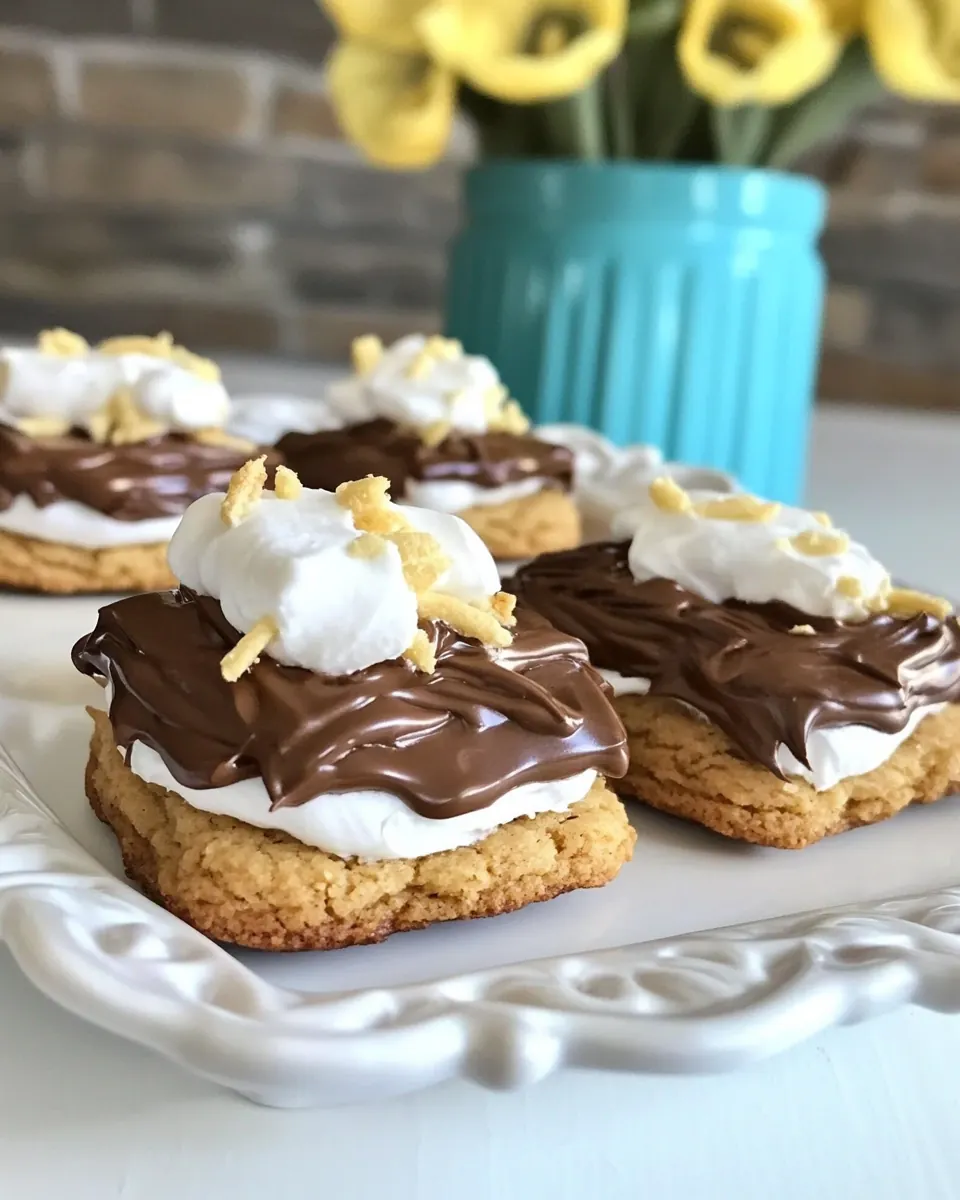
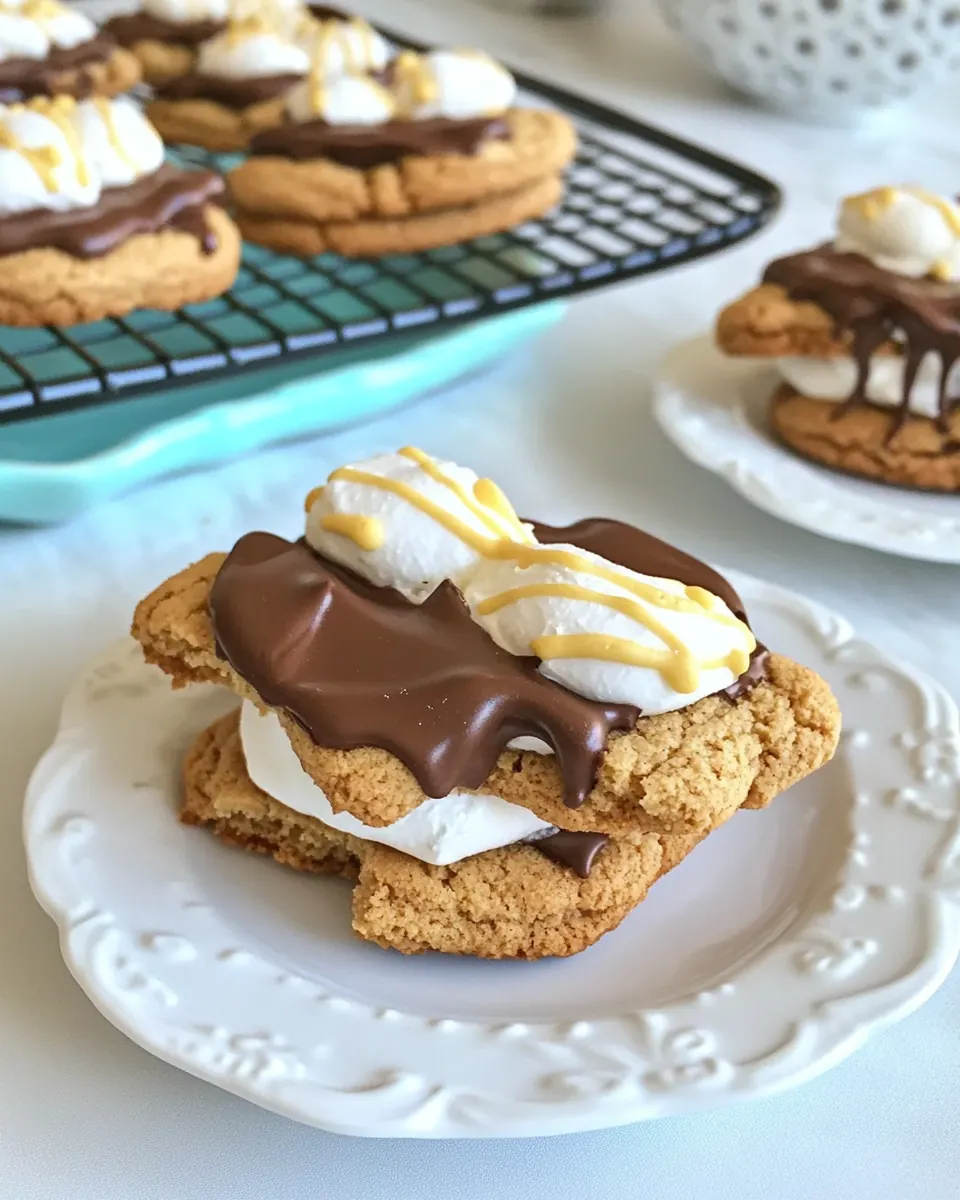
- Spread chocolate rather than dipping (as shown in photograph). Use marshmallow fluff in place of melted marshmallows.: For a cleaner look, spread melted chocolate on the exposed top of the assembled sandwich with an offset spatula instead of dipping. The chocolate should glide on, forming a thin, even layer that sets with a glossy sheen. This method gives more control and reduces drips, which is helpful for gift platters. A common oversight is spreading while the chocolate is too cool, which creates streaks, so work while it is fluid but not hot.
- Use marshmallow fluff in place of melted marshmallows: If you prefer a smoother, easier to spread filling, use marshmallow fluff at room temperature. It will provide a stable, creamy center that does not require heating, and it keeps the assembly tidy. You'll notice less steam and a more uniform texture with fluff, and it is more forgiving when making large batches. Beware that using cold fluff will be firmer, so bring it to room temperature before spreading to avoid tearing the cookies .
Change It Up
If you want to vary texture or presentation, these ideas will help you customize S’mores Cookies. I like to experiment with assembly methods and small swaps to make these cookies suit the occasion. Below are options I have used and tested, each with practical notes.
- Swap to marshmallow fluff: Use at room temperature for an easier to spread, stable center that is less messy when assembling multiple sandwiches.
- Spread chocolate instead of dipping: Apply with an offset spatula for a cleaner look and fewer drips, ideal for gifting or display.
- Prepare cookies ahead: Bake the base cookies a day ahead and store airtight, then assemble the day of for maximum freshness and convenience.
- Chill briefly after assembly: Pop assembled sandwiches in the fridge for about 10 to 15 minutes to help the chocolate set more quickly without bloom.
- Use a piping bag for marshmallow: Transfer warm melted marshmallows to a wide piping bag to control placement and keep edges tidy when sandwiching.
How to Enjoy S’mores Cookies
These cookies are versatile and fun to serve for spring gatherings, especially around Easter. I like presenting them on a decorative platter with pastel liners for seasonal charm. They work well as a dessert or sweet snack between courses. Below are ideas on serving, pairings, and storage written as practical options you can mix and match.
- Serve at brunch: Arrange S’mores Cookies alongside fresh fruit and tea for a sweet contrast to savory brunch dishes, making them approachable for guests of all ages.
- Pack for picnics: Wrap sandwiches individually in parchment for easy transport, keeping them cool to maintain the integrity of the chocolate coating.
- Party platter: Layer cookies on a tiered tray with pastel accents for an Easter dessert table that looks festive and inviting, and place a bowl of extra marshmallow fluff nearby for guests to add.
- Storage short term: Store in an airtight container at room temperature for up to two days, keeping layers separated by parchment to avoid sticking.
- Storage long term: Freeze assembled cookies on a tray, then transfer to a sealed container for up to one month; thaw in the fridge to minimize condensation on the chocolate.
- Pairing ideas: Serve with warm milk or a mild tea to balance sweetness, or offer fresh berries for a bright counterpoint to the rich layers.
FAQ
Conclusion
What makes this recipe special is how it marries a cozy, familiar flavor with a crisp cookie form, delivering a portable, festive treat that everyone recognizes and loves. Try assembling a small batch for an Easter gathering or a casual afternoon snack, and you will likely find the ritual of spreading and sandwiching almost as fun as eating them. These cookies are forgiving, adaptable, and perfect for sharing, so give them a go and see which assembly method becomes your favorite.

S'mores Cookies
Equipment
- Baking Sheet
- Wire Rack
- Parchment Paper
- Spatula
Ingredients
- 1 recipe Honey Cinnamon Cookies Prepared as the cookie base, providing structure and flavor while carrying the s'mores components; use a chilled or fully baked Honey Cinnamon Cookies recipe to ensure sturdiness. Enhance chewiness and cinnamon-honey notes that complement the sweet chocolate and marshmallow layers. Serve as handheld vessels for melting toppings during final assembly or broiling.
- 8 ounce s (224 g) chocolate, melted Melted to create a rich, gooey chocolate layer that soaks into the cookie surface and binds other elements together. Add smoothness and deep cocoa flavor that contrasts the honey-cinnamon base and the sweet marshmallow. Temper the temperature to avoid burning and to achieve an even spreadable consistency.
- 8 ounce s (224 g) marshmallows, melted Melted to produce a soft, sticky, aerated topping that mimics toasted marshmallow texture and provides light sweetness and chew. Combine with melted chocolate for classic s'mores contrast and to create layers that set slightly when cooled. Whisk gently if needed to maintain fluffiness while spreading over warm cookies.
Instructions
- Bake Honey Cinnamon Cookies and allow to cool completely.: The moment you start working with toppings, the surface temperature matters, so let the cookies cool fully at room temperature until they no longer feel warm. You will notice the aroma of baked cinnamon and honey lingering, and the edges will feel firmer to the touch. Proper cooling prevents melted chocolate and marshmallows from melting into the cookie, which would make the finish messy. One common error is rushing this step while the cookies are still warm, causing sagging and excess absorption of toppings, so be patient and use a wire rack to cool evenly.
- Dip cookies in melted chocolate and allow to dry.: When you dip the cooled cookies into the warm, glossy chocolate , you should hear a quiet sheen as the coating slides on, and the chocolate will have a silky, reflective surface. Set the dipped cookies on parchment and let them rest until the chocolate firms to a matte or glossy finish depending on chocolate and temperature. This step seals in moisture and creates a satisfying snap. Avoid overheating the chocolate , which can dull the shine and cause bloom later.
- Melt marshmallows and spread on one side of cookie.: The melted marshmallows should be glossy and slightly elastic, with an inviting sweet smell. Use a spatula to spread a thick ribbon on the flat side of a cookie, leaving a small border so the marshmallow does not overflow when you sandwich. The marshmallow adds chew and lift, so apply enough to get that gooey pull in each bite. A frequent mistake is overheating, which makes the marshmallow stringy and hard to spread, so heat gently and stir constantly.
- Top with another cookie.: Press a second cooled, dipped cookie gently onto the marshmallow layer until you see the marshmallow spread slightly to the edges. You should hear a soft compression and see a neat seam where the two cookies meet. This sandwiching step locks the filling in and builds height and structure. If you press too hard, you will squeeze out the marshmallow, creating sticky edges, so moderate your pressure for a tidy finish.
- Spread chocolate rather than dipping (as shown in photograph). Use marshmallow fluff in place of melted marshmallows.: For a cleaner look, spread melted chocolate on the exposed top of the assembled sandwich with an offset spatula instead of dipping. The chocolate should glide on, forming a thin, even layer that sets with a glossy sheen. This method gives more control and reduces drips, which is helpful for gift platters. A common oversight is spreading while the chocolate is too cool, which creates streaks, so work while it is fluid but not hot.
- Use marshmallow fluff in place of melted marshmallows: If you prefer a smoother, easier to spread filling, use marshmallow fluff at room temperature. It will provide a stable, creamy center that does not require heating, and it keeps the assembly tidy. You'll notice less steam and a more uniform texture with fluff, and it is more forgiving when making large batches. Beware that using cold fluff will be firmer, so bring it to room temperature before spreading to avoid tearing the cookies .
Notes
- Swap to marshmallow fluff: Use at room temperature for an easier to spread, stable center that is less messy when assembling multiple sandwiches.
- Spread chocolate instead of dipping: Apply with an offset spatula for a cleaner look and fewer drips, ideal for gifting or display.
- Prepare cookies ahead: Bake the base cookies a day ahead and store airtight, then assemble the day of for maximum freshness and convenience.
- Chill briefly after assembly: Pop assembled sandwiches in the fridge for about 10 to 15 minutes to help the chocolate set more quickly without bloom.
- Use a piping bag for marshmallow: Transfer warm melted marshmallows to a wide piping bag to control placement and keep edges tidy when sandwiching.