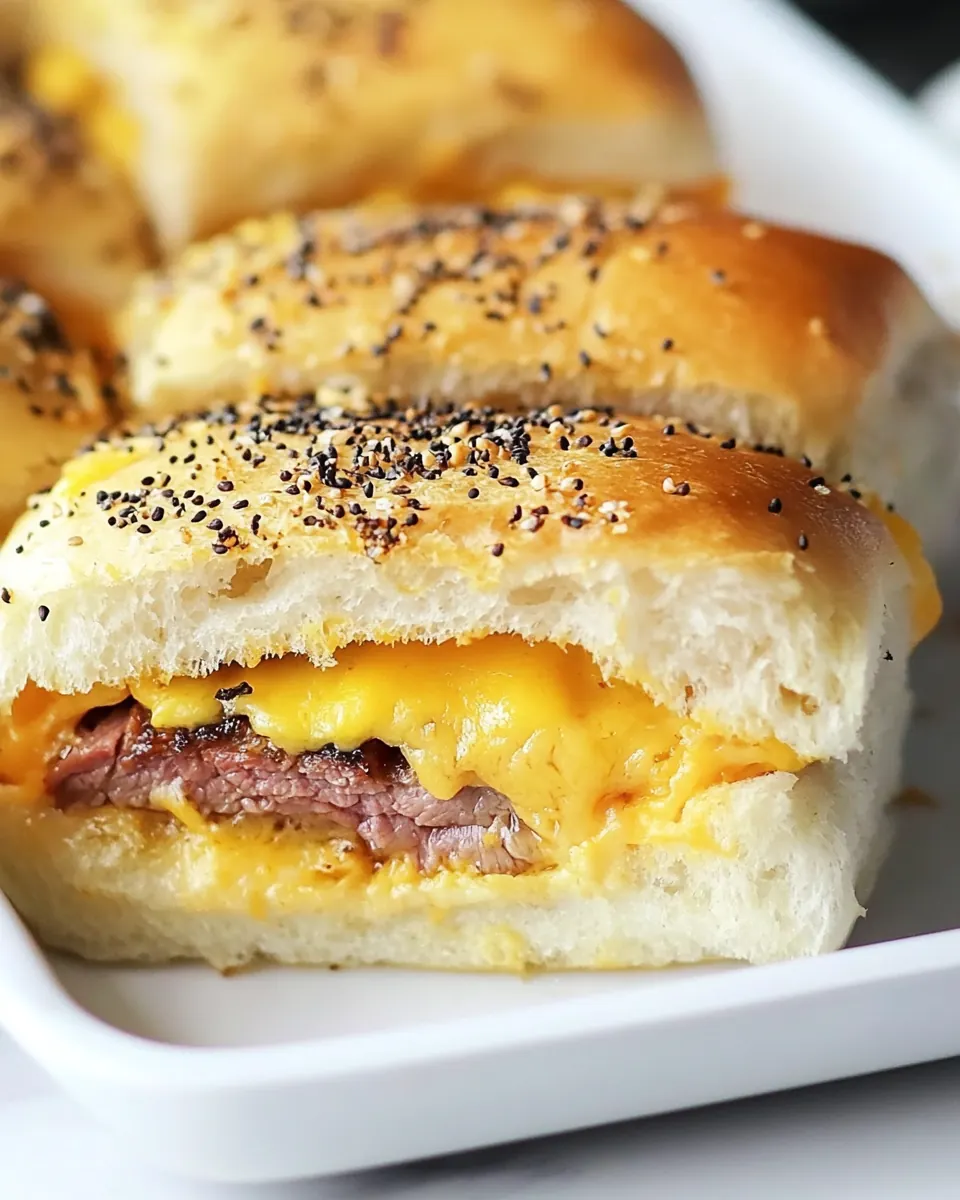
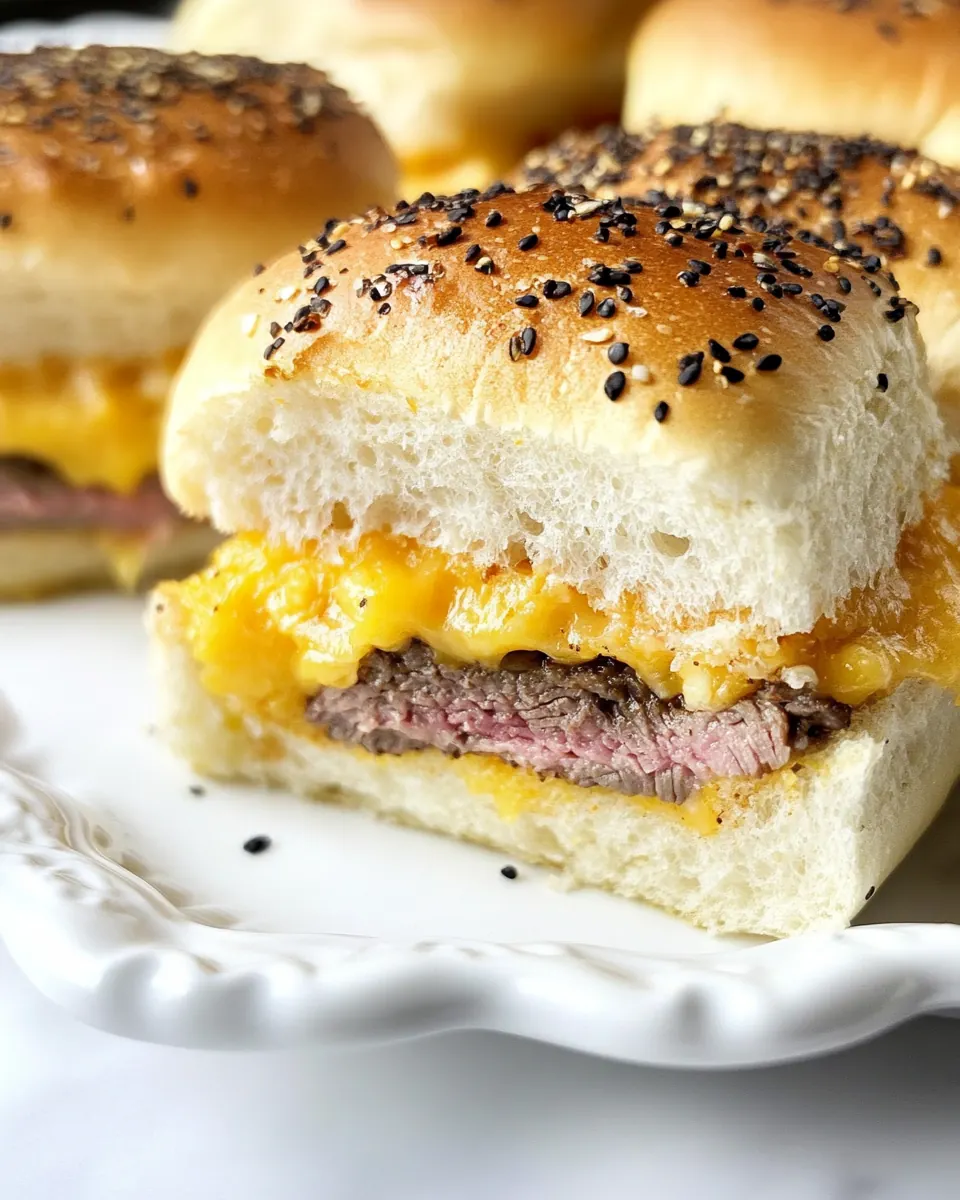
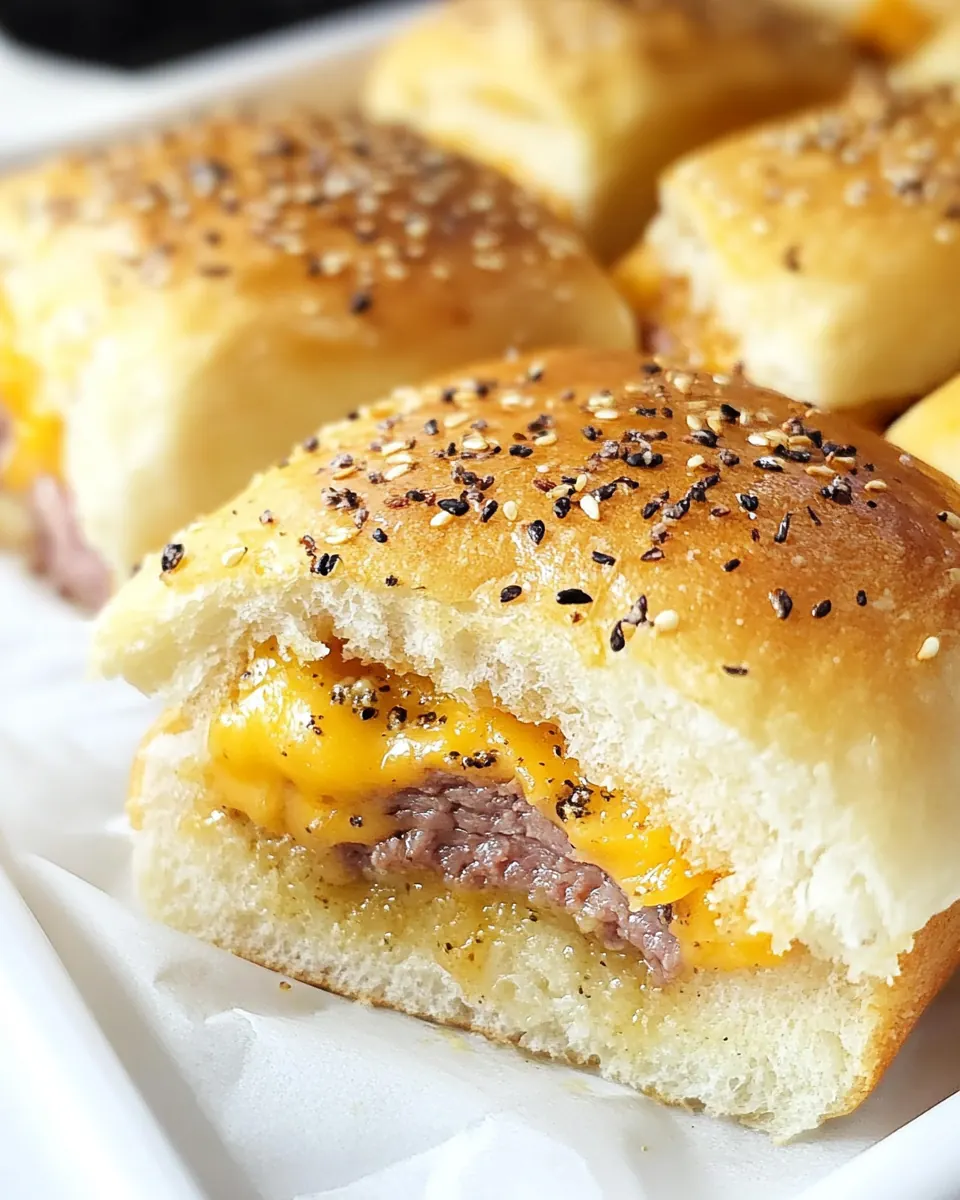
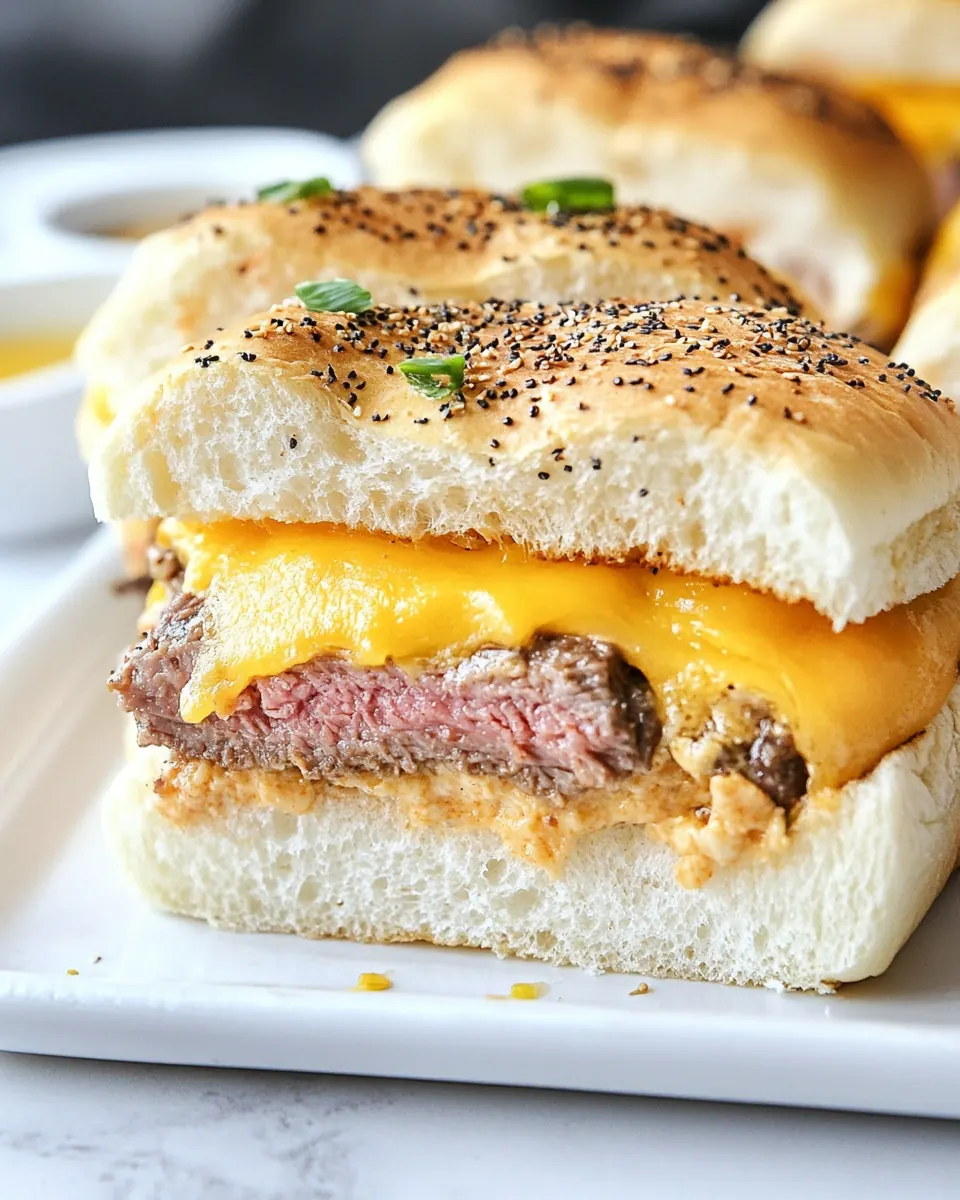
Roast Beef and Cheddar Sliders
Roast Beef and Cheddar Sliders are one of those recipes I reach for when the crowd is casual but my standards are high. The first time I made these, I was hosting a small game night and wanted something that felt indulgent without a lot of fuss. I remember the kitchen filling with the warm buttery scent of toasted rolls while the sharp tang of cheddar cheese started to melt into the tender ribbons of roast beef. Guests drifted in, drawn by that irresistible aroma, and before I knew it the pan was half empty.
Over the years I have tweaked the balance of flavors so the sliders hit savory, tangy, and slightly crunchy notes all at once. The creamy bite of the horseradish pairs with the browned butter brushed on the tops, and the finishing sprinkle of everything bagel seasoning adds texture and salty hits. I like to make a double batch for parties, but they are just as satisfying for a cozy weeknight when you want something special without elaborate prep. When I pull them from the oven, I listen for that soft sizzle and watch the cheese bubble, knowing everyone is about to dig in.
Recipe Snapshot
28 mins
10 mins
18 mins
Easy
320 kcal
American
Keto, Gluten-Free
Dinner
11 x 7 baking pan
Why Try This Roast Beef and Cheddar Sliders
Comfort in every bite
I adore how Roast Beef and Cheddar Sliders turn simple pantry ingredients into a comforting, slightly elevated snack. The combination of warm Hawaiian rolls and melty cheddar cheese gives you immediate nostalgia while the thinly sliced roast beef keeps the experience hearty. For me, this is the kind of food that brings people together without demanding all night in the kitchen.
Fast to pull together
One of the reasons I recommend these sliders is speed. From assembly to oven you are moving quickly, which makes them perfect for impromptu gatherings. I love recipes that respect my schedule, and this one rewards minimal hands on time with a maximum crowd pleasing payoff.
Layered textures and flavors
The magic is in contrasts. Soft, pillowy Hawaiian rolls meet sharp, gooey cheddar cheese, then a bright smear of horseradish cuts through the richness. That final brush of melted butter and the crunchy pop from everything bagel seasoning give a textural finish that makes each bite moreish. I often find myself reaching back for another slider because the layers keep revealing themselves.
Adaptable for taste buds
I like that this recipe can bend to preferences. If someone is timid about spice, the horseradish can be used more sparingly, or swapped for something milder. When I host, I always have a small bowl of extra horseradish or au jus for dipping, so guests can adjust the intensity. The assembly is forgiving, which means you can focus on hospitality rather than perfect technique.
Built for sharing
These sliders are inherently social. I appreciate how they encourage communal eating, whether served at family dinners, casual parties, or game nights. They are easy to slice and share, and the aroma alone creates anticipation. Every time I serve them I watch people pause, take in the scent, and then dig in together, which is exactly the kind of moment I cook for.
What to Buy for Roast Beef and Cheddar Sliders
When I shop for these sliders I focus on balance and quality. The ingredients are straightforward, but each one plays an important role. The soft Hawaiian rolls provide a sweet counterpoint to the savory layers. Horseradish offers a bright, peppery lift that keeps the richness from becoming one note. Layering thin slices of roast beef with cheddar cheese creates the indulgent center, while a brush of butter and a sprinkle of everything bagel seasoning finish the top with crispness and texture. Together these elements deliver a snack that feels both comforting and refined.
- 12 oz . Hawaiian rolls sliced in half: Sliced in half to create soft, slightly sweet slider buns that hold fillings together and provide a tender base for assembly. Hawaiian rolls contribute a subtle buttery flavor and pillowy texture that complements savory roast beef and melted cheese. Easily separated for individual servings and ideal for crowd-pleasing appetizer portions.
- 2/3 cup horseradish: Creamy and pungent, providing a sharp, sinus-clearing kick that brightens the rich flavors of beef and cheese. Horseradish adds moisture and zesty contrast to the sliders, helping balance the buttery rolls and melted cheddar. Can be spread thinly to control heat while still offering noticeable pungency.
- 10 slices cheddar cheese: Sharp and melty, delivering a rich, tangy cheese layer that binds the slider components when warmed. Cheddar contributes a bold savory note and gooey texture that complements the roast beef and enhances overall mouthfeel. Slices provide even coverage across each roll for consistent flavor in every bite.
- 12 ounces thinly sliced roast beef: Thinly sliced to ensure tender, easily biteable portions that layer well within the sliders without overpowering other flavors. Roast beef supplies the primary savory, umami-rich protein component and pairs naturally with horseradish and cheddar. Thin slices allow the meat to warm quickly and meld with melted cheese for cohesive texture.
- 2 tablespoons butter melted: Melted to brush over the tops or between layers to add richness, shine, and a lightly crisped exterior when baked. Butter enhances mouthfeel and carries flavors like everything bagel seasoning into the bread, promoting browning and an appealing finish. Provides a subtle savory fat that ties the components together.
- everything bagel seasoning: Savory and crunchy seasoning used to finish the tops, providing aromatic seeds and onion-garlic notes that elevate simple rolls. Everything bagel seasoning adds textural contrast and a savory, toasted flavor profile that complements butter and roast beef. Sprinkled before baking to adhere and toast for maximum impact.
Step by Step Instructions for Roast Beef and Cheddar Sliders
These directions are straightforward, but I like to walk you through the sensory cues so you can nail the result. Follow the sequence and pay attention to visual and aromatic signs as you go. The goal is warm, melty cheese, hot roast beef, and crisped tops that invite conversation around the table.
- Preheat your oven to 350°F and lightly grease an 11"x 7" baking pan with nonstick spray. Place the bottom halves of the Hawaiian rolls in the prepared pan.: As the oven warms, you will smell the dry, warm air beginning to circulate, which primes the pan for even baking. A well greased pan prevents the bottom rolls from sticking and helps transfer heat evenly to the rolls and filling. If the pan is not prepared, the sliders can stick and tear when you try to remove portions, so take a moment here. Common mistake to avoid, do not skip greasing the pan even if it looks nonstick, surfaces vary and the rolls can adhere.
- Spread a thin layer of horseradish sauce on the rolls. If you’re not a fan of horseradish, substitute with mayonnaise or mustard for a milder option.: The soft texture of the cut side of the rolls will show slight indentations when arranged snugly in the pan. Press them gently so they form a uniform base, which helps ensure even heating and consistent portion sizes. If you crowd the pieces unevenly, some sections may heat faster or compress, so arrange with care. Avoid pressing too hard or you will lose the fluffy structure that makes the sliders pillowy.
- Lay down 5 slices of cheddar cheese on top of the rolls, cutting the slices to fit if needed. Evenly layer the roast beef pieces over the cheese. Add the remaining 5 slices of cheddar cheese on top of the roast beef. Place the top halves of the rolls over the filling.: Smell the sharp, peppery aroma as you spread; that signal means the horseradish is fresh and will cut through the rich elements. A thin application lets the flavor come through without overwhelming the sandwich. One common slip is overdoing this step, which can dominate the other flavors; less is often more, especially the first time you serve these to guests who may be sensitive to heat.
- Brush the tops of the rolls with melted butter and generously sprinkle everything bagel seasoning for extra flavor and texture.: As you place the cheddar cheese , you will feel the cool, slightly tacky surface of the slices. Cut or overlap pieces so they form an even sheet that will melt into a cohesive layer. Even coverage ensures every slider benefits from cheesy stretch. A frequent oversight is leaving gaps that produce inconsistent melting and bites without cheese, so distribute thoughtfully.
- Bake for 16-18 minutes, or until the cheese is melted and the sliders are hot all the way through.: The thin slices of roast beef should lay flat and overlap slightly for a uniform meat layer. As the meat warms, you will notice its aroma brighten, signaling it is integrating with the cheese below. Proper layering avoids pockets of cold meat and guarantees an even temperature after baking. Avoid piling too much in one spot which can prevent adequate heating and lead to an uneven sandwich experience.
- Remove from the oven, slice into individual sliders, and serve immediately. These sliders pair perfectly with horseradish, Arby’s sauce, or au jus for dipping.: The top layer of cheddar cheese will start to soften as it nears room temperature, and when baked it should meld with the roast beef so each bite has gooey texture. This sandwich in the pan becomes a pleasing strata of flavors, and that top cheese is key to holding everything together after baking. Common mistake, neglecting to center the cheese can leave edges dry and reduce the overall gooeyness.
- Place the top halves of the rolls over the filling: Gently set the tops so they align with the bottoms, creating a snug lid. You should feel the slight give as the layers meet, and visually the assembled sliders will look compact and ready for finishing. Alignment matters for presentation and even browning during baking. Avoid shifting the layers once placed, as sliding can make the filling ooze out during baking.
- Brush the tops of the rolls with melted butter and generously sprinkle everything bagel seasoning: The melted butter will shine on the surface and carry the aroma of browned butter as it toasts. The everything bagel seasoning will stick to the butter, offering a savory crunch when baked. This step is responsible for the appetizing golden top and added texture. A common error is using too much butter which soggifies the top, instead use a thin, even brush stroke to achieve crispness.
- Bake for 16 to 18 minutes, or until the cheese is melted and the sliders are hot all the way through: As they bake you will hear a low sizzle and smell the butter toasting, the cheese will bubble and the rolls will take on a pale golden hue. The internal temperature should be uniformly warm, and visually the cheese should appear fully melted across the edges. If you underbake, the cheese may remain firm, and if you overbake, the rolls may dry out. Keep an eye during the last few minutes for the ideal balance of melted cheese and browned tops.
- Remove from the oven, slice into individual sliders, and serve immediately: When you open the oven, a warm, savory perfume will flood the kitchen and steam will rise from the pan. Use a sharp knife to separate the sliders so each portion retains its layers. Serve them right away to enjoy the melty texture and crisped top, and offer dipping condiments if desired. A frequent slip is letting them sit too long, which diminishes the contrast between warm filling and crisp top, so slice and serve promptly.
Recipe Tips about Roast Beef and Cheddar Sliders
I like to treat these sliders as a canvas for flavor and texture. The tips below focus on assembly, timing, and finishing touches that ensure consistently great results. Follow them and you will be rewarded with warm, melty sandwiches that everyone wants seconds of.
- Keep the slices thin for the best texture, thinly sliced roast beef warms quickly and layers without making the slider bulky.
- Moderate the horseradish by starting with a thin spread, you can always offer extra at the table for those who want more bite.
- Even coverage of cheddar matters, overlap or trim slices so cheese forms a continuous layer and melts uniformly.
- Brush sparingly with butter to crisp the tops, too much will make the bread soggy instead of golden and crunchy.
- Sprinkle seasoning last so the everything bagel seasoning toasts on top and provides maximum crunch and aroma.
- Serve immediately to enjoy the contrast between gooey center and crisped top, these sliders lose their textural magic if left too long.
- Make ahead tip wait to brush with butter and add seasoning until just before baking to preserve crispness when reheating.
How to Serve Roast Beef and Cheddar Sliders
These sliders are wonderfully versatile and easy to dress up for various occasions. Whether passing plates at a game night or plating for a casual dinner, think about contrast, dips, and sides that complement the savory, buttery profile. I often pair them with a tangy condiment and a crisp side to balance the richness.
- Casual gatherings: Serve them on a large tray with toothpicks, and place small bowls of horseradish and au jus so guests can customize each bite.
- Game night: Offer crunchy sides like fries or chips and a bright salad to cut through the richness, making the meal feel balanced and satisfying.
- Weeknight dinner: Pair with a simple green salad dressed in a light vinaigrette, which provides freshness and a palate cleanser between savory bites.
- Entertaining: Plate on a warm wooden board and garnish with a small jar of extra everything bagel seasoning for visual appeal and added texture.
- Storage tips: If you have leftovers, keep them in an airtight container in the refrigerator for up to two days. Reheat in a moderate oven to restore crispness rather than using a microwave which can make the rolls soggy.
- Occasions: These sliders are great for lunch, casual dinner, or holiday party appetizers, and their approachable flavor makes them suitable for family friendly menus.
- Seasonal pairing during fall I like to serve them with roasted root vegetables or a warm bowl of soup to create a comforting spread.
FAQ
Conclusion
These Roast Beef and Cheddar Sliders shine because they balance melty cheese, tender roast beef, and a bright punch of horseradish, all finished with a buttery, crunchy top. Give them a try when you want something that feels special without a lot of fuss, and watch how quickly they disappear at the table. They are an easy crowd pleaser that rewards simple techniques with delicious, comforting results.

Roast Beef and Cheddar Sliders
Equipment
- 11 x 7 baking pan
Ingredients
- 12 oz . Hawaiian rolls sliced in half Sliced in half to create soft, slightly sweet slider buns that hold fillings together and provide a tender base for assembly. Hawaiian rolls contribute a subtle buttery flavor and pillowy texture that complements savory roast beef and melted cheese. Easily separated for individual servings and ideal for crowd-pleasing appetizer portions.
- 2/3 cup horseradish Creamy and pungent, providing a sharp, sinus-clearing kick that brightens the rich flavors of beef and cheese. Horseradish adds moisture and zesty contrast to the sliders, helping balance the buttery rolls and melted cheddar. Can be spread thinly to control heat while still offering noticeable pungency.
- 10 slices cheddar cheese Sharp and melty, delivering a rich, tangy cheese layer that binds the slider components when warmed. Cheddar contributes a bold savory note and gooey texture that complements the roast beef and enhances overall mouthfeel. Slices provide even coverage across each roll for consistent flavor in every bite.
- 12 ounces thinly sliced roast beef Thinly sliced to ensure tender, easily biteable portions that layer well within the sliders without overpowering other flavors. Roast beef supplies the primary savory, umami-rich protein component and pairs naturally with horseradish and cheddar. Thin slices allow the meat to warm quickly and meld with melted cheese for cohesive texture.
- 2 tablespoons butter melted Melted to brush over the tops or between layers to add richness, shine, and a lightly crisped exterior when baked. Butter enhances mouthfeel and carries flavors like everything bagel seasoning into the bread, promoting browning and an appealing finish. Provides a subtle savory fat that ties the components together.
- everything bagel seasoning Savory and crunchy seasoning used to finish the tops, providing aromatic seeds and onion-garlic notes that elevate simple rolls. Everything bagel seasoning adds textural contrast and a savory, toasted flavor profile that complements butter and roast beef. Sprinkled before baking to adhere and toast for maximum impact.
Instructions
- Preheat your oven to 350°F and lightly grease an 11"x 7" baking pan with nonstick spray. Place the bottom halves of the Hawaiian rolls in the prepared pan.: As the oven warms, you will smell the dry, warm air beginning to circulate, which primes the pan for even baking. A well greased pan prevents the bottom rolls from sticking and helps transfer heat evenly to the rolls and filling. If the pan is not prepared, the sliders can stick and tear when you try to remove portions, so take a moment here. Common mistake to avoid, do not skip greasing the pan even if it looks nonstick, surfaces vary and the rolls can adhere.
- Spread a thin layer of horseradish sauce on the rolls. If you’re not a fan of horseradish, substitute with mayonnaise or mustard for a milder option.: The soft texture of the cut side of the rolls will show slight indentations when arranged snugly in the pan. Press them gently so they form a uniform base, which helps ensure even heating and consistent portion sizes. If you crowd the pieces unevenly, some sections may heat faster or compress, so arrange with care. Avoid pressing too hard or you will lose the fluffy structure that makes the sliders pillowy.
- Lay down 5 slices of cheddar cheese on top of the rolls, cutting the slices to fit if needed. Evenly layer the roast beef pieces over the cheese. Add the remaining 5 slices of cheddar cheese on top of the roast beef. Place the top halves of the rolls over the filling.: Smell the sharp, peppery aroma as you spread; that signal means the horseradish is fresh and will cut through the rich elements. A thin application lets the flavor come through without overwhelming the sandwich. One common slip is overdoing this step, which can dominate the other flavors; less is often more, especially the first time you serve these to guests who may be sensitive to heat.
- Brush the tops of the rolls with melted butter and generously sprinkle everything bagel seasoning for extra flavor and texture.: As you place the cheddar cheese , you will feel the cool, slightly tacky surface of the slices. Cut or overlap pieces so they form an even sheet that will melt into a cohesive layer. Even coverage ensures every slider benefits from cheesy stretch. A frequent oversight is leaving gaps that produce inconsistent melting and bites without cheese, so distribute thoughtfully.
- Bake for 16-18 minutes, or until the cheese is melted and the sliders are hot all the way through.: The thin slices of roast beef should lay flat and overlap slightly for a uniform meat layer. As the meat warms, you will notice its aroma brighten, signaling it is integrating with the cheese below. Proper layering avoids pockets of cold meat and guarantees an even temperature after baking. Avoid piling too much in one spot which can prevent adequate heating and lead to an uneven sandwich experience.
- Remove from the oven, slice into individual sliders, and serve immediately. These sliders pair perfectly with horseradish, Arby’s sauce, or au jus for dipping.: The top layer of cheddar cheese will start to soften as it nears room temperature, and when baked it should meld with the roast beef so each bite has gooey texture. This sandwich in the pan becomes a pleasing strata of flavors, and that top cheese is key to holding everything together after baking. Common mistake, neglecting to center the cheese can leave edges dry and reduce the overall gooeyness.
- Place the top halves of the rolls over the filling: Gently set the tops so they align with the bottoms, creating a snug lid. You should feel the slight give as the layers meet, and visually the assembled sliders will look compact and ready for finishing. Alignment matters for presentation and even browning during baking. Avoid shifting the layers once placed, as sliding can make the filling ooze out during baking.
- Brush the tops of the rolls with melted butter and generously sprinkle everything bagel seasoning: The melted butter will shine on the surface and carry the aroma of browned butter as it toasts. The everything bagel seasoning will stick to the butter, offering a savory crunch when baked. This step is responsible for the appetizing golden top and added texture. A common error is using too much butter which soggifies the top, instead use a thin, even brush stroke to achieve crispness.
- Bake for 16 to 18 minutes, or until the cheese is melted and the sliders are hot all the way through: As they bake you will hear a low sizzle and smell the butter toasting, the cheese will bubble and the rolls will take on a pale golden hue. The internal temperature should be uniformly warm, and visually the cheese should appear fully melted across the edges. If you underbake, the cheese may remain firm, and if you overbake, the rolls may dry out. Keep an eye during the last few minutes for the ideal balance of melted cheese and browned tops.
- Remove from the oven, slice into individual sliders, and serve immediately: When you open the oven, a warm, savory perfume will flood the kitchen and steam will rise from the pan. Use a sharp knife to separate the sliders so each portion retains its layers. Serve them right away to enjoy the melty texture and crisped top, and offer dipping condiments if desired. A frequent slip is letting them sit too long, which diminishes the contrast between warm filling and crisp top, so slice and serve promptly.
Notes
- Keep the slices thin for the best texture, thinly sliced roast beef warms quickly and layers without making the slider bulky.
- Moderate the horseradish by starting with a thin spread, you can always offer extra at the table for those who want more bite.
- Even coverage of cheddar matters, overlap or trim slices so cheese forms a continuous layer and melts uniformly.
- Brush sparingly with butter to crisp the tops, too much will make the bread soggy instead of golden and crunchy.
- Sprinkle seasoning last so the everything bagel seasoning toasts on top and provides maximum crunch and aroma.
- Serve immediately to enjoy the contrast between gooey center and crisped top, these sliders lose their textural magic if left too long.
- Make ahead tip wait to brush with butter and add seasoning until just before baking to preserve crispness when reheating.