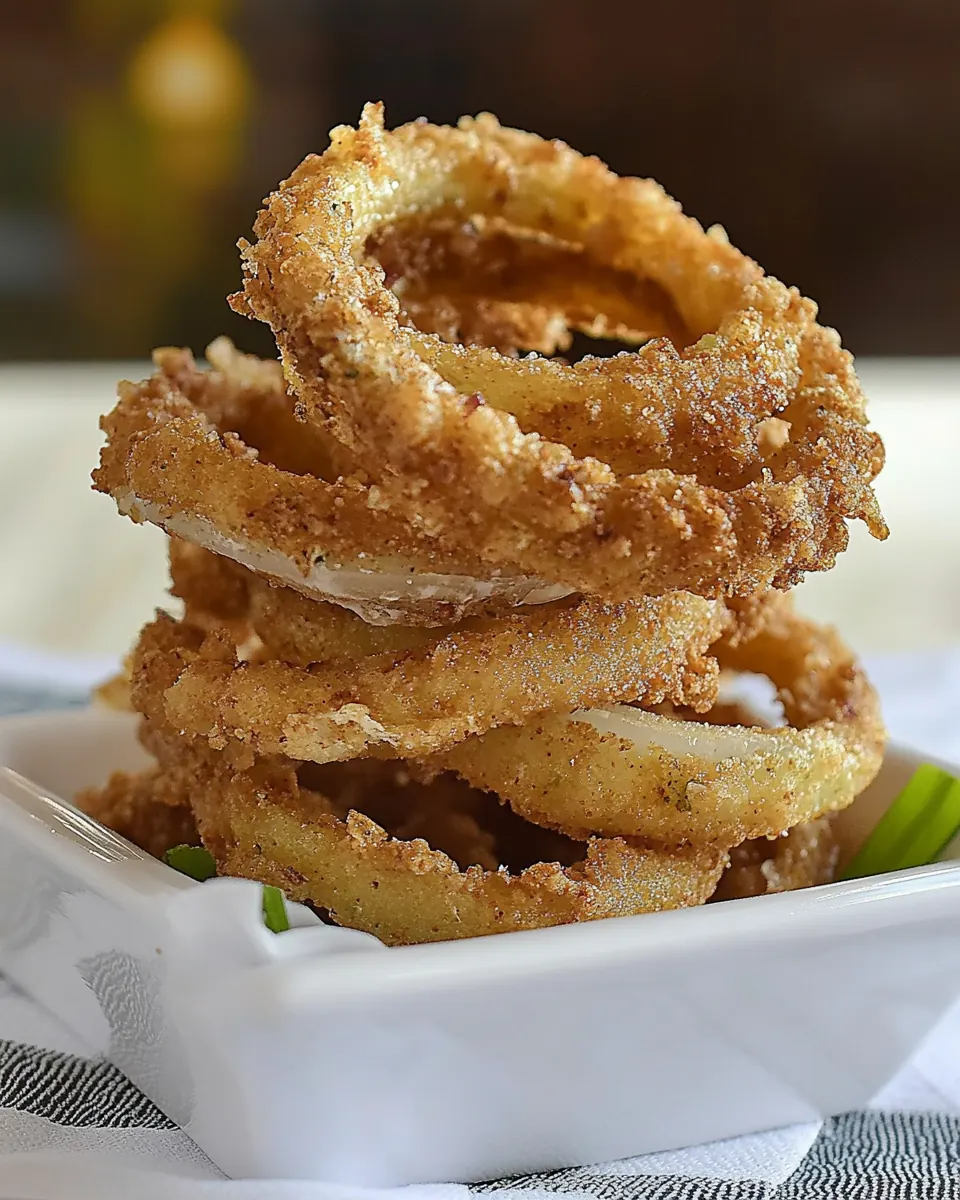
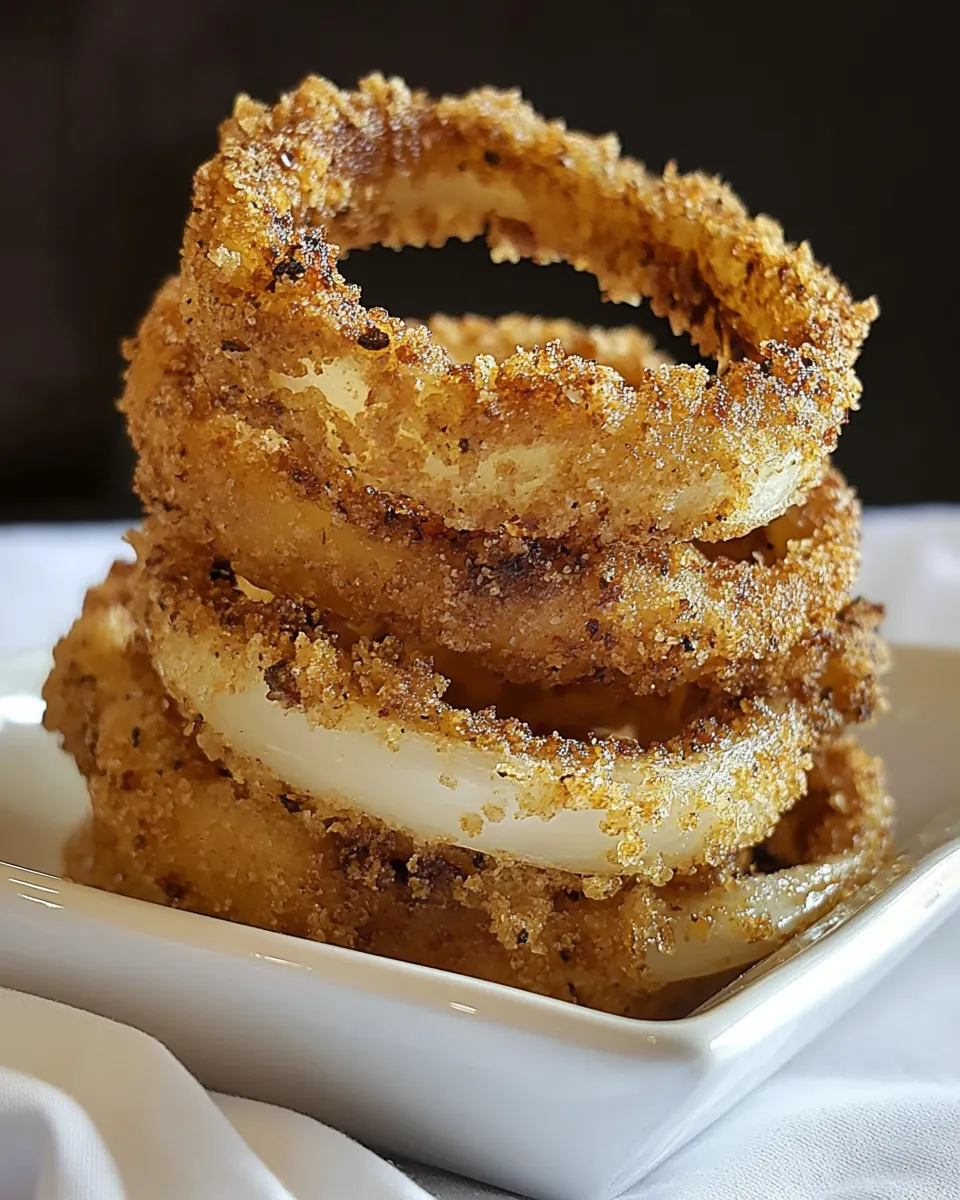
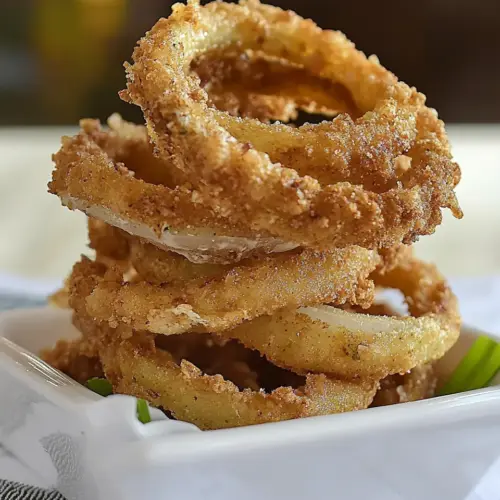
Red Robin Towering Onion Rings
Red Robin Towering Onion Rings have been a guilty pleasure of mine since I first tasted that impossibly crisp, golden stack at a neighborhood restaurant years ago. I still remember the moment I dismantled that towering pile, the way each onion ring snapped with a satisfying crunch and released a warm, sweet aroma that curled around the table. Ever since, I have chased that perfect balance of fluffy panko breadcrumbs crust and tender, sweet onion inside, cooking them for game nights, rainy afternoons, and lazy weekend snacks.
Over time I discovered small tricks that turn good frying into great frying, and those adjustments are what I want to pass along. This version of Red Robin Towering Onion Rings feels indulgent but approachable, and it makes me grin when friends reach for one more ring. I like to prep the breading station so everything moves smoothly, and I always save the smaller center rings for another use, because nothing goes to waste in my kitchen. When the oil is just right and the rings bubble to a deep golden color, the house fills with that irresistible scent that signals success.
Recipe Snapshot
15 mins
5 mins
10 mins
Easy
250 kcal
American
Gluten-Free, Keto
Appetizers
Deep Fryer or Heavy Pan, Wire Rack, Thermometer, Three Shallow Bowls
Why You’ll Love This Red Robin Towering Onion Rings
Crunch that keeps you coming back
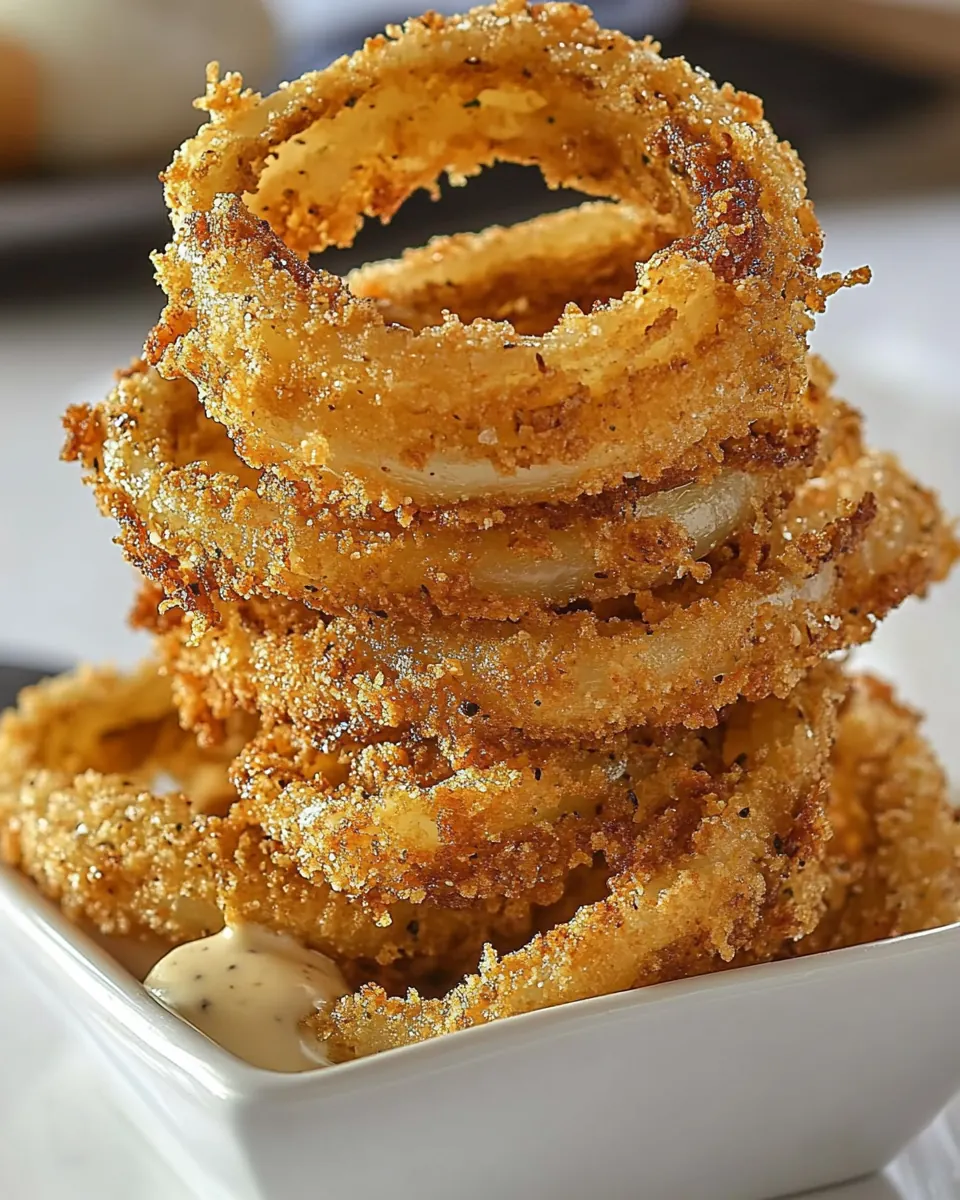
I love how these Red Robin Towering Onion Rings deliver a textural contrast you really notice, the moment you bite. The panko breadcrumbs give a crunch that is light and shattering, not dense, so each ring feels airy rather than greasy. I often tell guests that the crisp is the point where technique matters most, and it always earns surprised compliments.
Sweet, caramelized onion flavor
The key player here is the onion, and using sweet varieties makes a difference. I enjoy how the mild sweetness holds up against the seasoned coating, creating a layered flavor, with a soft interior that practically melts against the crust. When you cook them right, the scent alone announces the treat before anyone takes a bite.
Simple pantry ingredients, big payoff
I appreciate that this recipe leans on familiar staples like flour, eggs, and whole milk. They come together into an egg wash and flour dredge that helps the panko breadcrumbs hug the onion surface. That simplicity means you can achieve restaurant style results without obscure shopping runs.
Kid friendly and shareable
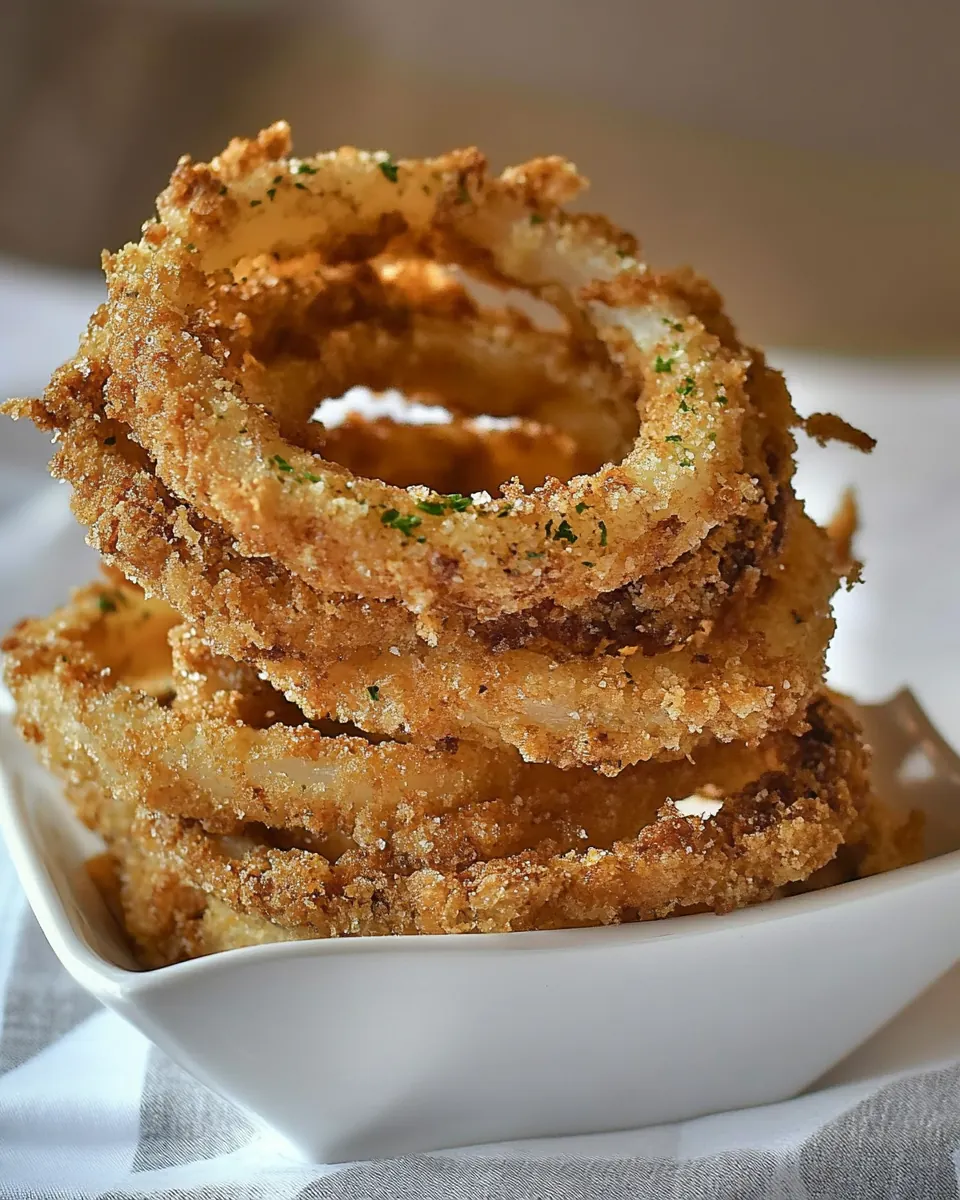
I often make a double batch because these rings vanish fast, whether it is a family movie night or friends dropping by. The presentation as a towering stack invites communal sharing, and the crispy texture makes them a crowd pleaser. I find people appreciate a plate that looks impressive but is truly easy to make.
Flexible technique for home cooks
You can fry in a deep fryer or a heavy pan with oil, and both work if you mind the temperature. I teach home cooks to trust visual cues more than panic at slight temperature swings, because watching for a consistent golden color and even bubbling is what ensures success. After a few tries, you will be able to judge readiness by sight and sound.
Ingredients You’ll Need for Red Robin Towering Onion Rings
These ingredients form a straightforward but carefully balanced lineup. The sweet onion is the centerpiece, while the trio of flour, egg, and panko breadcrumbs create a layered coating that crisps beautifully. The seasoned salt and ground black pepper are subtle enhancers, and the whole milk smooths the egg wash so the crumbs adhere evenly. Finally, the right amount of vegetable oil produces an even fry without overwhelming greasiness.
- 2 large sweet onions: Peel and slice into thick rings to form the base of the tower; provides sweetness and structure when fried. Retains moisture and caramelizes slightly, contributing both texture contrast and flavor depth to the final dish.
- 1 cup flour: Whisk into a smooth batter to create a light coating that helps other layers adhere to the onion. Adds body and a neutral backdrop to highlight the onions and seasonings while promoting crispness when fried.
- 1/2 teaspoons seasoned salt: Sprinkle into the dry mix or batter to impart a savory, slightly spicy flavor that enhances overall taste. Balances sweetness of the onions and complements saltiness from other components for a well-rounded profile.
- 1/4 teaspoon ground black pepper: Grind into the flour or batter blend to introduce subtle heat and aromatic complexity; enhances savory notes. Helps lift other flavors without overwhelming, contributing to a balanced seasoning of the fried rings.
- 1 cup whole milk: Combine with eggs to form a wet dredge that helps coatings stick uniformly to each ring. Adds richness and moisture, ensuring a cohesive bond between flour and breadcrumbs while lightening the final crust.
- 2 eggs: Beat and mix with milk to create an emulsified wash that binds dry coatings to the onion; contributes fat and protein for browning. Enhances coating adhesion and promotes a tender, richly colored crust during frying.
- 2 cups panko breadcrumbs: Press onto the wet-coated rings to produce a crunchy outer layer that contrasts the soft onion interior. Contributes a toasted, airy crispness and absorbs seasonings well for a pronounced textured bite.
- vegetable oil for frying: Heat to an appropriate frying temperature to submerge and crisp the coated rings evenly; acts as the cooking medium. Transfers high, consistent heat for rapid browning and creates the characteristic golden, crunchy exterior.
Putting Together Red Robin Towering Onion Rings
I like to think of this process as an assembly line of texture, where each station contributes to the final crunch. Take time to set up your breading stations and a wire rack for draining, because pacing and rhythm make frying feel effortless. Below I expand each direction into detailed guidance so you can smell, see, and hear what success looks like.
- Preheat vegetable oil to 350 degrees. Add enough oil to fill the cooking container to 3 inches deep.: The oil should shimmer but not smoke, producing a gentle ripple on the surface that signals ideal frying temperature. You will hear a light sizzle when the first onion ring touches the oil and the sound will intensify briefly before settling. This temperature helps the coating set quickly to create a crisp exterior while preventing the onion from overcooking inside, which keeps it tender and slightly sweet. A common mistake is starting with oil that is too cool, which causes rings to absorb oil and become greasy instead of crunchy, so use a thermometer to verify 350 degrees and adjust the heat slowly to maintain it.
- Peel onions, and cut into 1/2 to 3/4 inch rings. Separate onions into rings. Take the center rings and save for another recipe. You can chop those small rings for chopped onions in another recipe.: When you slice the onion into thicker rings, you get a satisfying bite and a soft interior that contrasts with the crisp crust. As you separate the rings, you will notice the layers naturally fall apart; keep the larger outer rings for frying and set the smaller center rings aside for another use. Thick rings will release a sweet aroma as they cook, whereas thin rings will brown too quickly and risk drying out. Avoid cutting rings unevenly, because inconsistent thickness leads to some rings scorching while others remain underdone.
- Set up a breading station by placing three small bowls or dishes into a row. In the first shallow container add flour, seasoned salt, and black pepper, stir to combine. In the second dish combine the eggs with 1 cup of milk. Whisk the eggs and the milk together until they are well-combined. Finally, in the third container, add the panko breadcrumbs.: Lay three shallow bowls in a row, mixing 1 cup flour with the seasoned salt and ground black pepper in the first. In the second, whisk together the 2 eggs and 1 cup whole milk until silky and slightly frothy. Put the 2 cups of panko breadcrumbs in the third. Organizing this way keeps your hands clean and speeds up the coating process. The flour creates a dry base that the egg wash can mount to, and the panko adheres more uniformly when the egg wash is smooth. A common error is skipping the rest on the wire rack after flouring, which can make the egg wash slide off and leave thinly coated spots.
- First, dip the rings into the flour, and allow them to rest a couple of minutes on a wire rack. Then dip the floured onion ring into the egg wash mixture. Shake the onion ring gently to remove the excess egg wash, then place into the panko breadcrumbs. Coat the panko breadcrumbs over the onion ring well. Place the onion ring back onto a wire rack and allow it to rest a minute or two before cooking. This will help keep the coating in place.: After dredging each ring in the seasoned flour, place it on a wire rack and let it rest for a couple of minutes so the flour dries slightly on the surface. This dryness helps the next layer, the egg wash, to adhere evenly rather than bead up, which would cause patchy crumbs. During this brief pause you will notice a muted powdery smell that vanishes once the egg wash is applied. If you skip resting, the coating may slip off during breading or frying, so be patient for better adherence.
- Make sure you heat the oil to 350 degrees. You can use a deep fryer, or you can simply use a frying pan with 2 or 3 inches of oil in the frying pan. Cook for two to three minutes filling flipping half way through cooking. Remove onion ring and drain on a wire rack before serving.: Submerge the floured ring into the egg and whole milk mixture, then lift and gently shake to remove excess liquid so the panko breadcrumbs do not clump. You should see a moist sheen on the ring without drips falling off. This step seals the flour and creates a tacky surface for the crumbs to cling to, ensuring a thicker, more uniform crust. A frequent problem is leaving too much egg wash, which creates a gummy interior or causes the crumb layer to slide off mid fry.
- Coat ring with panko breadcrumbs: Press the egg washed ring into the panko breadcrumbs , turning to cover the entire surface, and ensure larger flakes nest into the wash for maximum crispness. A good coat looks even and textured, with visible flakes that will brown attractively. Place the fully coated ring back on the wire rack and let it rest for a minute or two so the crumbs set, which reduces shedding in the oil. If the panko is not pressed on gently, it may fall away during frying resulting in uneven crispness.
- Heat oil to 350 degrees and use 2 to 3 inches of oil: Whether you use a deep fryer or a heavy skillet, use enough oil to allow rings to float and cook evenly. The visual cue to watch for is a steady, active sizzle when a ring enters the oil and small bubbles that cling to the edges before releasing. Maintain about 350 degrees; if the oil spikes hotter it will brown the crust too fast, leaving a raw interior, and if it is cooler the rings will absorb oil and become soggy. Avoid overcrowding the pan because that drops the temperature and ruins texture.
- Cook for two to three minutes flipping halfway through: Listen for a consistent medium sizzle and watch for a deep golden brown color developing on both sides. Flip gently midway to ensure even browning and to prevent one side from scorching. The aroma will become nutty and inviting as sugars in the onion caramelize slightly and the panko browns. A key troubleshooting tip is to remove a ring early if it darkens too quickly, which suggests your oil is too hot; lower the heat and let the next batch cook a bit longer at a steadier temperature.
- Remove and drain on a wire rack before serving: After frying, transfer rings to a wire rack rather than paper towels to keep them crisp; paper tends to trap steam and soften the crust. You will notice the sizzling taper off and the rings settle into a lighter crunch as they rest briefly. Drained this way, the exterior stays snappy while the inside remains tender. A common mistake is stacking rings immediately, which steams the layers and ruins the texture, so give them space to breathe before serving.
Variations to Try
There are a few easy tweaks that let you personalize Red Robin Towering Onion Rings while keeping the core technique intact. Below are practical variations and helpful notes you can test one at a time to see how they change texture and flavor.
- Make the crumbs uniform gently press panko in a sealed bag to break oversized flakes so each ring has consistent coverage and browns evenly.
- Use a deeper oil pool maintain 2 to 3 inches of oil in the pan so rings float and cook on all sides without pressing against the bottom.
- Adjust seasoned salt if you want a milder profile, reduce the seasoned salt slightly and taste a small fried sample before serving the whole batch.
- Swap the onion size try medium sweet onions if you prefer smaller, bite sized rings that are easier to manage for kids and casual snacking.
- Check panko texture if crumbs are too large, roll them lightly to create better adhesion and a more delicate crisp when fried.
What to Serve With Red Robin Towering Onion Rings
These rings pair well with many dipping sauces and mains, and they are versatile across occasions. Whether you are hosting a casual dinner, a weekend barbecue, or a festive gathering, plan small plates and sauces that complement the crunchy texture and sweet onion inside. Below are serving ideas and practical tips for storage and presentation.
- Classic dipping trio serve with ketchup, a creamy mayonnaise based sauce, and a tangy mustard dip so guests can choose their favorite contrast to the sweet onion.
- Casual burger night present the rings as a shareable starter alongside burgers, lettuce, and tomato for a fun, communal meal.
- Game day platter arrange the rings on a large board with pickles and fresh veggie sticks for a crunchy multitextural snack selection.
- Seasonal pairings during cooler months, pair with heartier mains such as roasted proteins or rich sandwiches, while in warmer weather serve with lighter salads to balance the indulgence.
- Storage tips cool the rings completely, then store in a single layer in the fridge and re crisp in a hot oven to restore crunch; avoid microwaves which steam the coating.
FAQ
Conclusion
What makes these Red Robin Towering Onion Rings special is the marriage of sweet, tender onion and a feathery, shattering panko crust that keeps its crunch. This recipe invites you to slow down at the breading station and focus on texture, and the payoff is a stack of rings that disappear fast at any gathering. Give them a try the next time you want something shareable and nostalgic; with a little organization and attention to oil temperature, you will create that irresistible golden pile that wins smiles every time.
Red Robin Towering Onion Rings
Equipment
- Deep Fryer or Heavy Pan
- Wire Rack
- Thermometer
- Three shallow bowls
Ingredients
- 2 large sweet onions Peel and slice into thick rings to form the base of the tower; provides sweetness and structure when fried. Retains moisture and caramelizes slightly, contributing both texture contrast and flavor depth to the final dish.
- 1 cup flour Whisk into a smooth batter to create a light coating that helps other layers adhere to the onion. Adds body and a neutral backdrop to highlight the onions and seasonings while promoting crispness when fried.
- 1/2 teaspoons seasoned salt Sprinkle into the dry mix or batter to impart a savory, slightly spicy flavor that enhances overall taste. Balances sweetness of the onions and complements saltiness from other components for a well-rounded profile.
- 1/4 teaspoon ground black pepper Grind into the flour or batter blend to introduce subtle heat and aromatic complexity; enhances savory notes. Helps lift other flavors without overwhelming, contributing to a balanced seasoning of the fried rings.
- 1 cup whole milk Combine with eggs to form a wet dredge that helps coatings stick uniformly to each ring. Adds richness and moisture, ensuring a cohesive bond between flour and breadcrumbs while lightening the final crust.
- 2 eggs Beat and mix with milk to create an emulsified wash that binds dry coatings to the onion; contributes fat and protein for browning. Enhances coating adhesion and promotes a tender, richly colored crust during frying.
- 2 cups panko breadcrumbs Press onto the wet-coated rings to produce a crunchy outer layer that contrasts the soft onion interior. Contributes a toasted, airy crispness and absorbs seasonings well for a pronounced textured bite.
- vegetable oil for frying Heat to an appropriate frying temperature to submerge and crisp the coated rings evenly; acts as the cooking medium. Transfers high, consistent heat for rapid browning and creates the characteristic golden, crunchy exterior.
Instructions
- Preheat vegetable oil to 350 degrees. Add enough oil to fill the cooking container to 3 inches deep.: The oil should shimmer but not smoke, producing a gentle ripple on the surface that signals ideal frying temperature. You will hear a light sizzle when the first onion ring touches the oil and the sound will intensify briefly before settling. This temperature helps the coating set quickly to create a crisp exterior while preventing the onion from overcooking inside, which keeps it tender and slightly sweet. A common mistake is starting with oil that is too cool, which causes rings to absorb oil and become greasy instead of crunchy, so use a thermometer to verify 350 degrees and adjust the heat slowly to maintain it.
- Peel onions, and cut into 1/2 to 3/4 inch rings. Separate onions into rings. Take the center rings and save for another recipe. You can chop those small rings for chopped onions in another recipe.: When you slice the onion into thicker rings, you get a satisfying bite and a soft interior that contrasts with the crisp crust. As you separate the rings, you will notice the layers naturally fall apart; keep the larger outer rings for frying and set the smaller center rings aside for another use. Thick rings will release a sweet aroma as they cook, whereas thin rings will brown too quickly and risk drying out. Avoid cutting rings unevenly, because inconsistent thickness leads to some rings scorching while others remain underdone.
- Set up a breading station by placing three small bowls or dishes into a row. In the first shallow container add flour, seasoned salt, and black pepper, stir to combine. In the second dish combine the eggs with 1 cup of milk. Whisk the eggs and the milk together until they are well-combined. Finally, in the third container, add the panko breadcrumbs.: Lay three shallow bowls in a row, mixing 1 cup flour with the seasoned salt and ground black pepper in the first. In the second, whisk together the 2 eggs and 1 cup whole milk until silky and slightly frothy. Put the 2 cups of panko breadcrumbs in the third. Organizing this way keeps your hands clean and speeds up the coating process. The flour creates a dry base that the egg wash can mount to, and the panko adheres more uniformly when the egg wash is smooth. A common error is skipping the rest on the wire rack after flouring, which can make the egg wash slide off and leave thinly coated spots.
- First, dip the rings into the flour, and allow them to rest a couple of minutes on a wire rack. Then dip the floured onion ring into the egg wash mixture. Shake the onion ring gently to remove the excess egg wash, then place into the panko breadcrumbs. Coat the panko breadcrumbs over the onion ring well. Place the onion ring back onto a wire rack and allow it to rest a minute or two before cooking. This will help keep the coating in place.: After dredging each ring in the seasoned flour, place it on a wire rack and let it rest for a couple of minutes so the flour dries slightly on the surface. This dryness helps the next layer, the egg wash, to adhere evenly rather than bead up, which would cause patchy crumbs. During this brief pause you will notice a muted powdery smell that vanishes once the egg wash is applied. If you skip resting, the coating may slip off during breading or frying, so be patient for better adherence.
- Make sure you heat the oil to 350 degrees. You can use a deep fryer, or you can simply use a frying pan with 2 or 3 inches of oil in the frying pan. Cook for two to three minutes filling flipping half way through cooking. Remove onion ring and drain on a wire rack before serving.: Submerge the floured ring into the egg and whole milk mixture, then lift and gently shake to remove excess liquid so the panko breadcrumbs do not clump. You should see a moist sheen on the ring without drips falling off. This step seals the flour and creates a tacky surface for the crumbs to cling to, ensuring a thicker, more uniform crust. A frequent problem is leaving too much egg wash, which creates a gummy interior or causes the crumb layer to slide off mid fry.
- Coat ring with panko breadcrumbs: Press the egg washed ring into the panko breadcrumbs , turning to cover the entire surface, and ensure larger flakes nest into the wash for maximum crispness. A good coat looks even and textured, with visible flakes that will brown attractively. Place the fully coated ring back on the wire rack and let it rest for a minute or two so the crumbs set, which reduces shedding in the oil. If the panko is not pressed on gently, it may fall away during frying resulting in uneven crispness.
- Heat oil to 350 degrees and use 2 to 3 inches of oil: Whether you use a deep fryer or a heavy skillet, use enough oil to allow rings to float and cook evenly. The visual cue to watch for is a steady, active sizzle when a ring enters the oil and small bubbles that cling to the edges before releasing. Maintain about 350 degrees; if the oil spikes hotter it will brown the crust too fast, leaving a raw interior, and if it is cooler the rings will absorb oil and become soggy. Avoid overcrowding the pan because that drops the temperature and ruins texture.
- Cook for two to three minutes flipping halfway through: Listen for a consistent medium sizzle and watch for a deep golden brown color developing on both sides. Flip gently midway to ensure even browning and to prevent one side from scorching. The aroma will become nutty and inviting as sugars in the onion caramelize slightly and the panko browns. A key troubleshooting tip is to remove a ring early if it darkens too quickly, which suggests your oil is too hot; lower the heat and let the next batch cook a bit longer at a steadier temperature.
- Remove and drain on a wire rack before serving: After frying, transfer rings to a wire rack rather than paper towels to keep them crisp; paper tends to trap steam and soften the crust. You will notice the sizzling taper off and the rings settle into a lighter crunch as they rest briefly. Drained this way, the exterior stays snappy while the inside remains tender. A common mistake is stacking rings immediately, which steams the layers and ruins the texture, so give them space to breathe before serving.
Notes
- Make the crumbs uniform gently press panko in a sealed bag to break oversized flakes so each ring has consistent coverage and browns evenly.
- Use a deeper oil pool maintain 2 to 3 inches of oil in the pan so rings float and cook on all sides without pressing against the bottom.
- Adjust seasoned salt if you want a milder profile, reduce the seasoned salt slightly and taste a small fried sample before serving the whole batch.
- Swap the onion size try medium sweet onions if you prefer smaller, bite sized rings that are easier to manage for kids and casual snacking.
- Check panko texture if crumbs are too large, roll them lightly to create better adhesion and a more delicate crisp when fried.