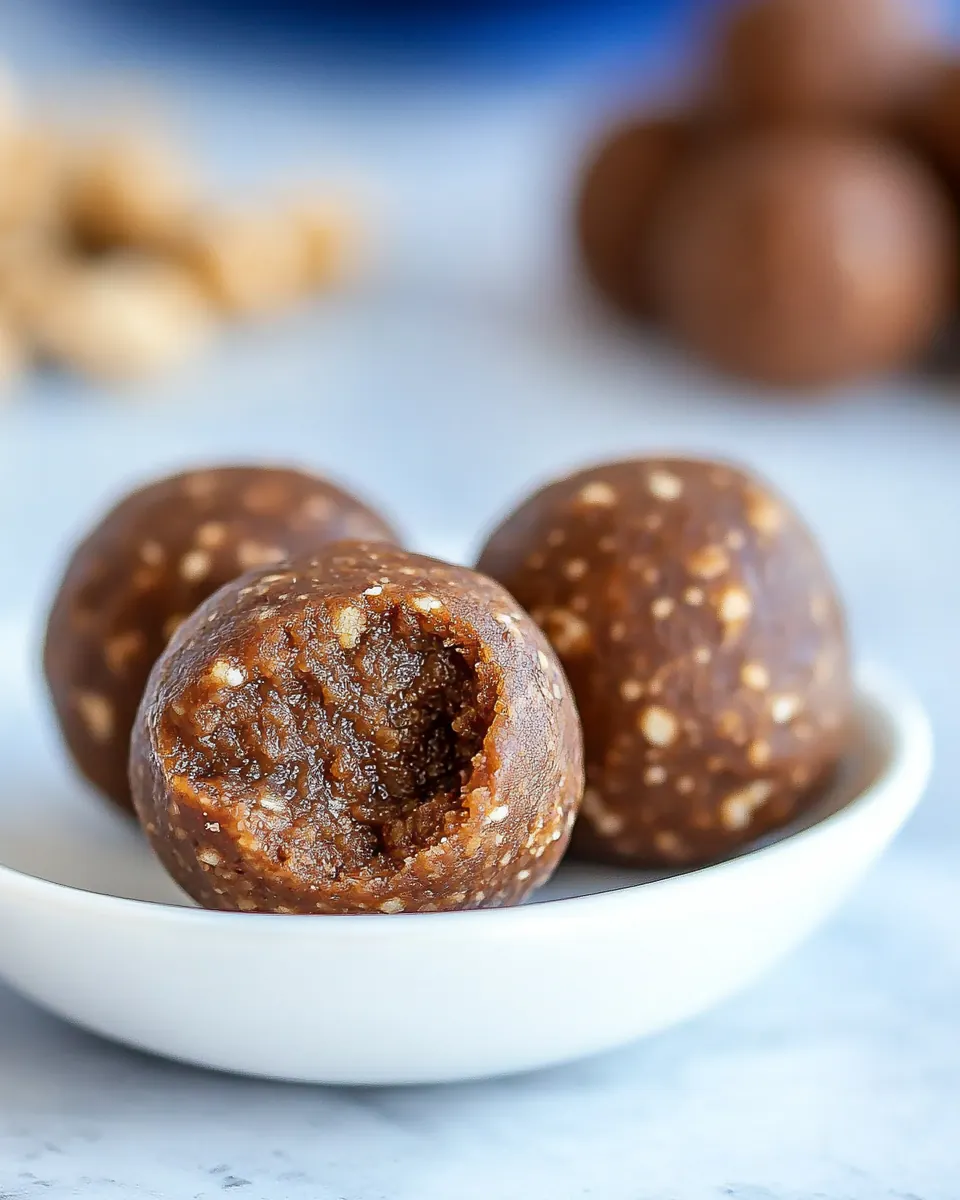
Peanut Butter Fudge Protein Energy Balls
Peanut Butter Fudge Protein Energy Balls came into my kitchen on a hectic Tuesday when I needed something that felt like a treat but behaved like fuel. I had a drawer full of open jars, a bag of Medjool dates that were begging for purpose, and a stubborn sweet tooth that wanted something chocolatey yet wholesome. I started tinkering, and within an hour I had a batch of little bites that disappeared faster than I expected, which told me I was on to something.
Later that week I packed a few of these into my bag before a long meeting. By mid afternoon I noticed how steady my energy stayed, without the slump I usually get from sugary snacks. I shared them with a friend who remarked on how fudgy and satisfying they felt in the mouth, even though they are made from simple pantry ingredients. That exchange convinced me these were worthy of sharing on the blog, because they are as practical as they are pleasing.
Recipe Snapshot
10 mins
10 mins
Easy
180 kcal
American
Gluten-Free, Vegan
Desserts
Food processor, Mixing bowl
Why This Peanut Butter Fudge Protein Energy Balls Works
Real ingredients, real satisfaction
I love how Peanut Butter Fudge Protein Energy Balls use pantry staples to create a dense, fudgy bite. There’s no processed junk hiding here, and that matters to me because I want snacks that actually nourish. The marriage of dates and peanut butter gives a natural sweetness and creamy texture that feels indulgent, while oats and sunflower seeds add body and a gentle chew.
Quick and forgiving
One of the reasons I keep coming back to this recipe is how forgiving it is. You can pulse the mixture until it reaches the texture you like, and it still holds together. That flexibility makes it ideal for busy afternoons when you want something made in a single bowl, and I appreciate that a lot when my time is scarce.
Balanced energy for on the go
I make these when I need portable energy that won’t spike and crash my blood sugar. The combination of fiber from dates and oats, along with protein and healthy fats from peanut butter and sunflower seeds, creates a steady release of energy. I often stash a few in the freezer so I can grab them between errands or before a workout.
Chocolatey indulgence without guilt
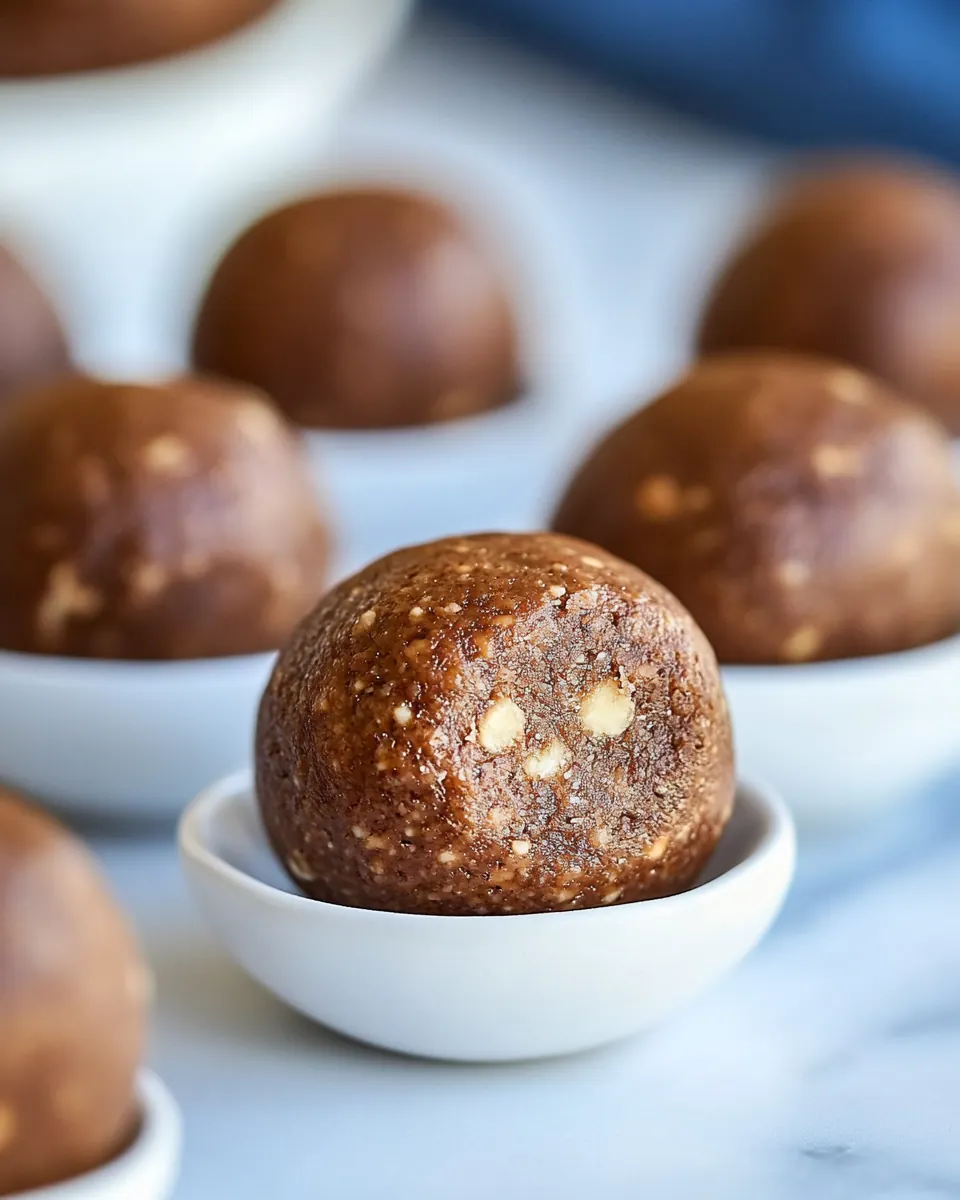
The unsweetened cocoa powder and a few mini chocolate chips deliver that fudgy, slightly bitter chocolate hit that makes these feel like dessert. Yet they avoid cloying sweetness, which I prefer. It’s a balance I personally look for, one that keeps these balls satisfying after a meal or as an afternoon pick me up.
Versatile and shareable
What thrills me most is how easy these are to scale and adapt. I’ve doubled the recipe for potlucks and reduced it to make a small stash for myself. The texture and flavor travel well, and people rarely guess how simple the ingredients are. That combination of convenience and crowd pleasing charm is why these keep showing up in my snack rotation.
Everything You Need for Peanut Butter Fudge Protein Energy Balls
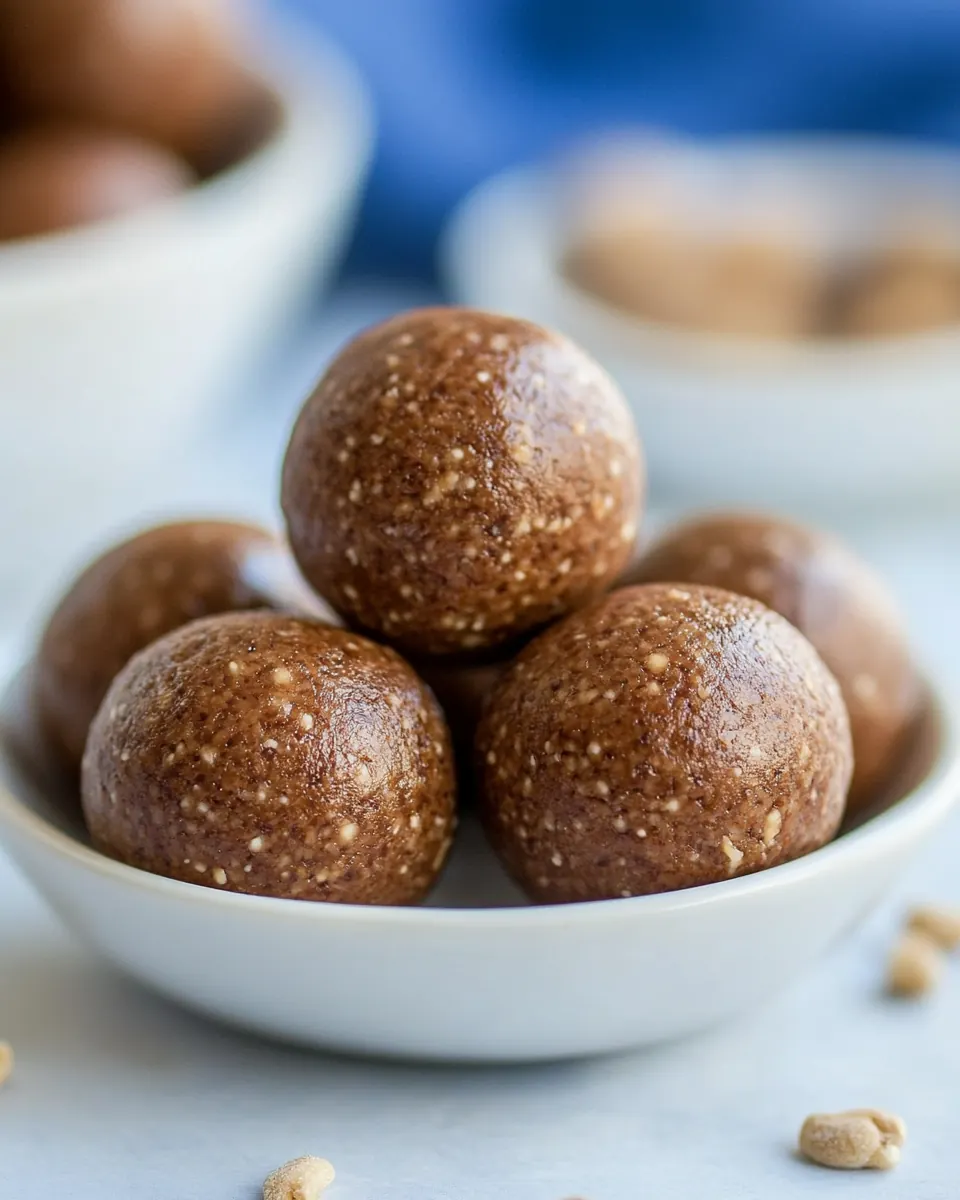
These ingredients come together with a clear philosophy: keep it simple, hearty, and focused on texture. The key players are the sticky dates that bind, the creamy peanut butter that adds richness, and the dry oats and sunflower seeds that create structure. Small additions like cocoa powder, vanilla extract, and mini chocolate chips layer in depth and that lovable fudge quality.
- 9 each dates, Medjool: Soak and sweeten to provide natural binding and caramel-like sweetness while adding chewiness to the energy balls; pit removal is assumed and blending creates a sticky base that helps hold the mixture together.
- 1/3 cup oats, dry: Add texture and bulk while absorbing moisture from the dates; grinding or pulsing gives a hearty body, slight nuttiness, and helps form a pliable dough for rolling.
- 1/2 cup sunflower seeds: Contribute mild, creamy nuttiness and healthy fats; when processed they help thicken the mixture, improve mouthfeel, and add protein and a subtle crunch.
- 3 tablespoon cocoa powder, unsweetened: Provide deep chocolate flavor and slight bitterness to balance sweetness; incorporate evenly to distribute cocoa taste without adding sugar, enhancing the dessert-like profile.
- 1/2 cup peanut butter, all-natural: Bind ingredients together while imparting rich, savory nuttiness and healthy fats; choose creamy, all-natural style for smoother texture and better cohesion in the balls.
- 4 tablespoon mini chocolate chips: Sprinkle small bursts of chocolate sweetness and texture contrast; fold in gently so chips remain intact and create occasional pockets of melty chocolate.
- 1/2 teaspoon vanilla extract: Add aromatic sweetness and round out flavors with a hint of floral warmth; a small amount enhances overall flavor complexity without overpowering the other components.
The Process for Making Peanut Butter Fudge Protein Energy Balls
This is a straightforward, hands on process that focuses on texture and timing to get a fudgy, cohesive dough. I like to move deliberately through the pulsing and mixing stages so the consistency is just right. Keep your food processor handy, and expect to use your hands at the end to form the balls.
- Place the oats and sunflower seeds in a food processor, and blend until you get a fine flour-like consistency (it may take a few minutes.) Transfer to a mixing bowl.: The moment you pulse the oats and sunflower seeds you will notice a toasty, nutty aroma rising from the bowl, and the texture will shift from flaky to powdery under the blade. This step creates a flour like base that helps absorb moisture and gives structure, so aim for an even, sandy texture with tiny specks of seed remaining. If you stop too early you may end up with a lumpy dough that does not bind well. One common mistake is running the processor continuously on high without pausing, which can heat the seeds and release oils, making the mixture clump. Pulse in short bursts, scrape the sides occasionally, and watch the color change to a slightly deeper tan which signals progress.
- Place the dates (without pits) into the food processor and blend until a sticky paste forms. Add the sticky ball of date paste to the mixing bowl.: Once the mix resembles a fine meal the scent becomes more pronounced and the particles move like soft sand when stirred. Transferring to a bowl prevents over processing and provides a workspace to combine wetter elements. Use a wide bowl so you can fold ingredients easily with your hands. A frequent error here is leaving every crumb in the processor which can lead to uneven distribution when you add the sticky components, so scrape thoroughly to collect the flour like base.
- Add cocoa powder, peanut butter, vanilla, and mini chocolate chips to the mixing bowl. Use your hands to combine all the ingredients thoroughly.: As you process the dates , the machine will turn them into a glossy, tacky paste that smells intensely caramelized and sweet. That paste is essential because it acts as the glue for the balls, binding the dry base and the peanut butter . If your dates are firm, let them sit in warm water for a few minutes then drain to soften, but be careful not to leave excess water. A typical slip up is adding liquid directly to the processor which risks creating a soggy mixture that will not form; instead, rehydrate dates separately and drain well before processing.
- Gently shape the dough into balls, using about two tablespoons of dough per ball.: When the paste hits the dry base you will immediately notice the mixture begin to consolidate, clinging together in glossy clumps. This is the visual cue that binding is starting to happen. Use a spoon or clean hands to combine thoroughly so pockets of dry flour are eliminated. If you rush this and do not fully incorporate the paste, the dough will crumble when you try to form balls. A slow, patient folding motion ensures the paste coats each particle and creates a consistent matrix.
- Enjoy. Store leftovers in the fridge or freezer.: Once those additions are folded in, the bowl fills with a deeper, chocolatey scent from the cocoa powder and a warm nuttiness from the peanut butter . The texture should be pliable and slightly sticky, not wet. The mini chocolate chips add visual pops and small melty pockets when bitten, so fold them in gently at the end to maintain their shape. If the dough feels dry, it usually means the dates were not processed enough; if it’s too wet, add a touch more processed oats . Avoid overmixing which can make the dough oily as the peanut butter separates.
- Use your hands to combine all the ingredients thoroughly: Working with your hands lets you feel the dough and judge its readiness. The mixture should press together smoothly and hold its shape. Your hands will warm the dough slightly, making it more malleable and revealing whether it needs a smidge more oats or a few extra pulses of sunflower seeds . A common oversight is using utensils exclusively and missing small dry pockets; fingers help detect and eliminate those inconsistencies. Wash your hands first and consider lightly dampening them to reduce sticking while rolling.
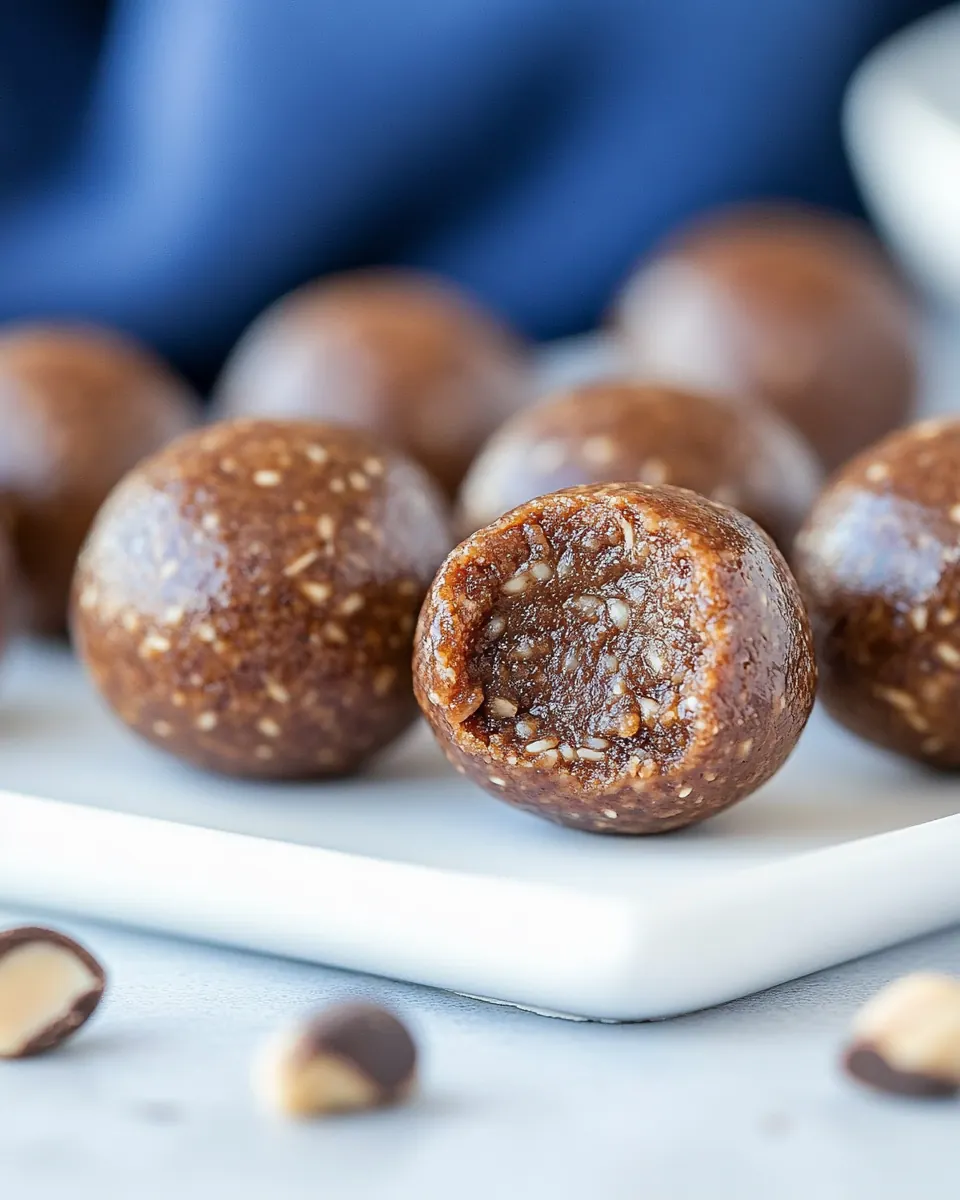
- Gently shape the dough into balls using about two tablespoons of dough per ball: When you roll the balls you will see the surface compact and take on a matte finish, and the interior will remain fudgy. Rolling with consistent pressure produces uniform bites that set evenly in the fridge. If the dough sticks to your palms excessively, chill it briefly to firm up the fats and make rolling cleaner. A mistake here is compressing too hard which yields dense, rock like balls instead of tender, fudgy ones. Aim for gentle, confident rolls that create smooth spheres.
- Enjoy. Store leftovers in the fridge or freezer: Fresh from the roll they have a pleasantly firm exterior and a tender, fudgy center that yields slightly when bitten. Refrigeration firms them further and melds the flavors overnight, while freezing offers long term storage and a firmer texture for grab and go snacks. Beware storing at room temperature for extended periods, which can soften the peanut butter and cause the balls to lose shape. Place them in an airtight container with parchment between layers to prevent sticking.
Recipe Notes about Peanut Butter Fudge Protein Energy Balls
I like to keep a batch in the fridge and a backup in the freezer so I’m always ready for a quick snack. Below are detailed notes that expand on texture, storage, and small swaps I’ve tested over time.
- Keep the texture fudgy: Chill the dough for 10 to 15 minutes if it feels too sticky to handle, this firms the mixture and makes rolling cleaner without changing flavor.
- Revive dry dates: If your dates are tough, soak them in warm water for 10 minutes then drain thoroughly to restore pliability before pulsing in the food processor.
- Watch your processor: Pulse the oats and sunflower seeds in short bursts to avoid heating and releasing oils which can alter the texture and taste of the base.
- Chocolate chips last: Fold in the mini chocolate chips at the end by hand to keep them intact, they add tiny melty pockets rather than blending away into the dough.
- Storage strategy: Store in an airtight container in the fridge for up to two weeks, or freeze for up to three months. Separate layers with parchment to prevent sticking.
Perfect Matches for Peanut Butter Fudge Protein Energy Balls
These bites work across many occasions, from quick snacks to post workout fuel. Below I list thoughtful pairings, serving tips, and situation ideas so you can make the most of them.
- On the go snack: Pack a few in a small container or bag for busy mornings, errands, or travel when you need steady energy without turning to processed bars.
- Pre workout fuel: Eat one or two about 30 to 45 minutes before exercising to get gentle, sustained energy from the mix of dates, oats, and peanut butter.
- Lunchbox addition: Slip a couple into a lunchbox as a sweet but nourishing finish to a meal, they pair well with fruit and a small yogurt if you want a fuller offering.
- Make ahead for gatherings: Double the recipe and arrange them on a platter for casual gatherings, they travel well and are easy to pick at while socializing.
- Seasonal gifts: Package a dozen in a small tin with parchment for a homemade, thoughtful gift during holidays and celebrations, they keep well in the fridge for up to two weeks.
- Storage tips: Keep refrigerated for everyday use, freeze extras flat on a tray then transfer to a bag to preserve shape and texture; thaw a few minutes at room temperature before serving.
FAQ
Conclusion
These Peanut Butter Fudge Protein Energy Balls are special because they deliver a fudgy, chocolate forward bite using simple, nourishing pantry ingredients. They are quick to make, portable, and offer steady energy without refined sugars, which makes them a dependable snack for busy days. Give them a try this week and see how a small homemade treat can replace packaged bars while tasting richer and fresher. I hope you enjoy making and sharing them as much as I do.
Peanut Butter Fudge Protein Energy Balls
Equipment
- Food Processor
- Mixing Bowl
Ingredients
- 9 each dates, Medjool Soak and sweeten to provide natural binding and caramel-like sweetness while adding chewiness to the energy balls; pit removal is assumed and blending creates a sticky base that helps hold the mixture together.
- 1/3 cup oats, dry Add texture and bulk while absorbing moisture from the dates; grinding or pulsing gives a hearty body, slight nuttiness, and helps form a pliable dough for rolling.
- 1/2 cup sunflower seeds Contribute mild, creamy nuttiness and healthy fats; when processed they help thicken the mixture, improve mouthfeel, and add protein and a subtle crunch.
- 3 tablespoon cocoa powder, unsweetened Provide deep chocolate flavor and slight bitterness to balance sweetness; incorporate evenly to distribute cocoa taste without adding sugar, enhancing the dessert-like profile.
- 1/2 cup peanut butter, all-natural Bind ingredients together while imparting rich, savory nuttiness and healthy fats; choose creamy, all-natural style for smoother texture and better cohesion in the balls.
- 4 tablespoon mini chocolate chips Sprinkle small bursts of chocolate sweetness and texture contrast; fold in gently so chips remain intact and create occasional pockets of melty chocolate.
- 1/2 teaspoon vanilla extract Add aromatic sweetness and round out flavors with a hint of floral warmth; a small amount enhances overall flavor complexity without overpowering the other components.
Instructions
- Place the oats and sunflower seeds in a food processor, and blend until you get a fine flour-like consistency (it may take a few minutes.) Transfer to a mixing bowl.: The moment you pulse the oats and sunflower seeds you will notice a toasty, nutty aroma rising from the bowl, and the texture will shift from flaky to powdery under the blade. This step creates a flour like base that helps absorb moisture and gives structure, so aim for an even, sandy texture with tiny specks of seed remaining. If you stop too early you may end up with a lumpy dough that does not bind well. One common mistake is running the processor continuously on high without pausing, which can heat the seeds and release oils, making the mixture clump. Pulse in short bursts, scrape the sides occasionally, and watch the color change to a slightly deeper tan which signals progress.
- Place the dates (without pits) into the food processor and blend until a sticky paste forms. Add the sticky ball of date paste to the mixing bowl.: Once the mix resembles a fine meal the scent becomes more pronounced and the particles move like soft sand when stirred. Transferring to a bowl prevents over processing and provides a workspace to combine wetter elements. Use a wide bowl so you can fold ingredients easily with your hands. A frequent error here is leaving every crumb in the processor which can lead to uneven distribution when you add the sticky components, so scrape thoroughly to collect the flour like base.
- Add cocoa powder, peanut butter, vanilla, and mini chocolate chips to the mixing bowl. Use your hands to combine all the ingredients thoroughly.: As you process the dates , the machine will turn them into a glossy, tacky paste that smells intensely caramelized and sweet. That paste is essential because it acts as the glue for the balls, binding the dry base and the peanut butter . If your dates are firm, let them sit in warm water for a few minutes then drain to soften, but be careful not to leave excess water. A typical slip up is adding liquid directly to the processor which risks creating a soggy mixture that will not form; instead, rehydrate dates separately and drain well before processing.
- Gently shape the dough into balls, using about two tablespoons of dough per ball.: When the paste hits the dry base you will immediately notice the mixture begin to consolidate, clinging together in glossy clumps. This is the visual cue that binding is starting to happen. Use a spoon or clean hands to combine thoroughly so pockets of dry flour are eliminated. If you rush this and do not fully incorporate the paste, the dough will crumble when you try to form balls. A slow, patient folding motion ensures the paste coats each particle and creates a consistent matrix.
- Enjoy. Store leftovers in the fridge or freezer.: Once those additions are folded in, the bowl fills with a deeper, chocolatey scent from the cocoa powder and a warm nuttiness from the peanut butter . The texture should be pliable and slightly sticky, not wet. The mini chocolate chips add visual pops and small melty pockets when bitten, so fold them in gently at the end to maintain their shape. If the dough feels dry, it usually means the dates were not processed enough; if it’s too wet, add a touch more processed oats . Avoid overmixing which can make the dough oily as the peanut butter separates.
- Use your hands to combine all the ingredients thoroughly: Working with your hands lets you feel the dough and judge its readiness. The mixture should press together smoothly and hold its shape. Your hands will warm the dough slightly, making it more malleable and revealing whether it needs a smidge more oats or a few extra pulses of sunflower seeds . A common oversight is using utensils exclusively and missing small dry pockets; fingers help detect and eliminate those inconsistencies. Wash your hands first and consider lightly dampening them to reduce sticking while rolling.
- Gently shape the dough into balls using about two tablespoons of dough per ball: When you roll the balls you will see the surface compact and take on a matte finish, and the interior will remain fudgy. Rolling with consistent pressure produces uniform bites that set evenly in the fridge. If the dough sticks to your palms excessively, chill it briefly to firm up the fats and make rolling cleaner. A mistake here is compressing too hard which yields dense, rock like balls instead of tender, fudgy ones. Aim for gentle, confident rolls that create smooth spheres.
- Enjoy. Store leftovers in the fridge or freezer: Fresh from the roll they have a pleasantly firm exterior and a tender, fudgy center that yields slightly when bitten. Refrigeration firms them further and melds the flavors overnight, while freezing offers long term storage and a firmer texture for grab and go snacks. Beware storing at room temperature for extended periods, which can soften the peanut butter and cause the balls to lose shape. Place them in an airtight container with parchment between layers to prevent sticking.
Notes
- Keep the texture fudgy: Chill the dough for 10 to 15 minutes if it feels too sticky to handle, this firms the mixture and makes rolling cleaner without changing flavor.
- Revive dry dates: If your dates are tough, soak them in warm water for 10 minutes then drain thoroughly to restore pliability before pulsing in the food processor.
- Watch your processor: Pulse the oats and sunflower seeds in short bursts to avoid heating and releasing oils which can alter the texture and taste of the base.
- Chocolate chips last: Fold in the mini chocolate chips at the end by hand to keep them intact, they add tiny melty pockets rather than blending away into the dough.
- Storage strategy: Store in an airtight container in the fridge for up to two weeks, or freeze for up to three months. Separate layers with parchment to prevent sticking.