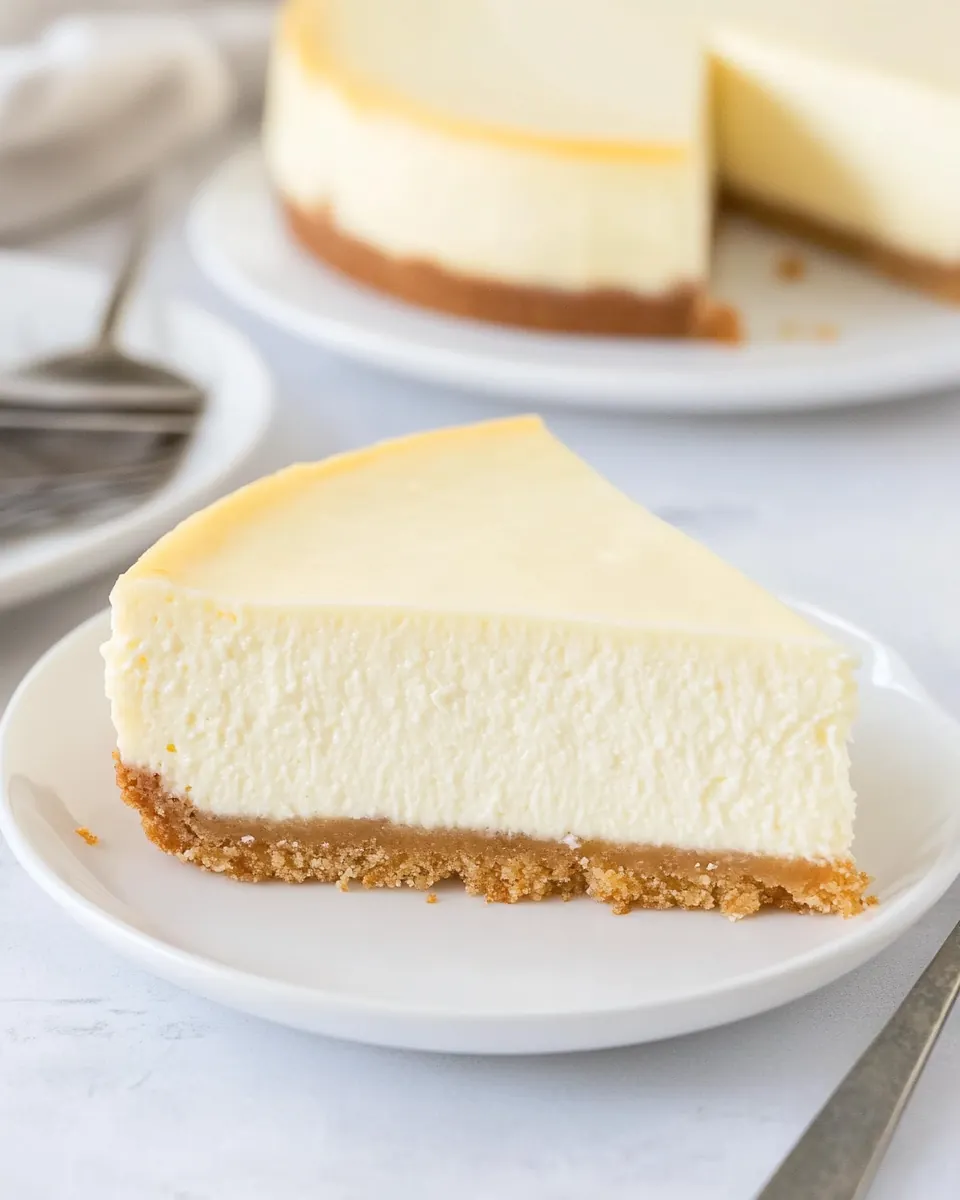
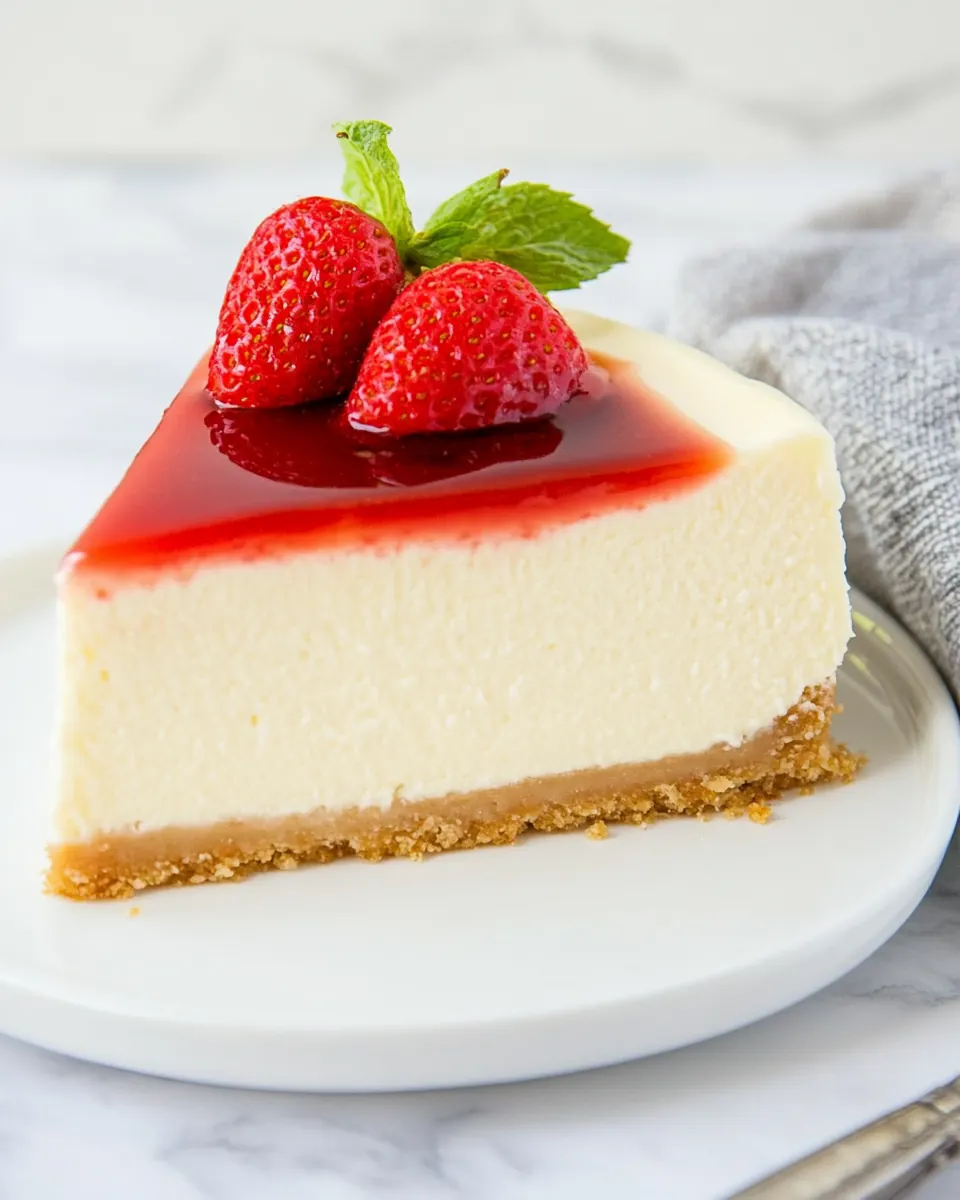
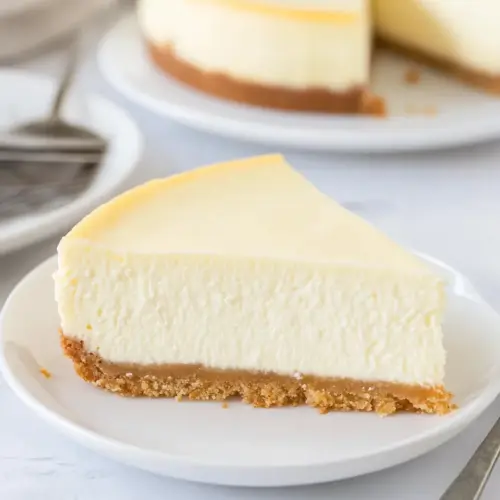
New York Style Cheesecake
New York Style Cheesecake entered my life the day I tried a slice at a tiny bakery hidden between a florist and a hardware shop, and it changed how I think about dessert forever.
I still remember the first forkful, the way the dense, creamy center yielded with a gentle give, and the faint crunch of the crust under the smooth filling. Ever since then, I have chased that silky balance at home, tweaking proportions and techniques until my version felt like a hug after a long day. I love how cream cheese and sour cream team up to create that signature tang, while a simple graham crackers crust grounds the whole thing. Friends often ask how I get the top to stay uncracked and the center perfectly set, and those questions are the reason I treat every step like a small ritual.
Baking this New York Style Cheesecake has become my go to for celebrations and quiet Sunday treats alike. I tend to make it the night before company arrives so it can rest, firm, and build flavor in the fridge. Over the years I learned to respect room temperature ingredients, the calming method of a water bath, and the art of gentle mixing. These little choices are what separate a good cheesecake from a spectacular one, and I love sharing that knowing with you.
Recipe Snapshot
1 hr 20 mins
20 mins
60 mins
Medium
320 kcal
American
Gluten-Free, Low FODMAP
Desserts
9 inch springform pan, Hand mixer, Mixing Bowl
What We Adore About This New York Style Cheesecake
Classic, unapologetic texture
I adore this recipe because it gives you the dense, creamy mouthfeel that defines the best cheesecakes. Using full fat cream cheese and a touch of heavy cream makes the filling velvety and rich, while eggs provide structure so each slice holds its shape beautifully.
Reliable technique for stress free baking
We rely on a water bath and gentle mixing to prevent cracks, and those steps really work. I like that this recipe teaches patience, with an initial oven hold and a long chill, which helps the flavors meld and the texture set up perfectly.
Simple ingredients, big payoff
This dish uses pantry friendly items like granulated sugar, graham crackers, and butter, yet it delivers an upscale dessert moment. I often tell guests they are getting a bakery level treat without fancy shopping or complicated techniques.
Versatile for serving
You can dress this cheesecake up with tart fruit sauces or keep it pristine and plain. I love the flexibility, it works for birthdays, dinner parties, and holiday spreads with minimal extra effort.
Make ahead friendly
One of the best reasons to make this recipe is how well it stores. Chill it overnight and the texture improves; slices cut cleaner and the flavors become more cohesive. That makes it my go to when I need something impressive that I can prepare ahead.
Ingredients Overview for New York Style Cheesecake
These ingredients are all about balance and texture. The filling needs rich dairy to achieve that dense, creamy body, while the crust provides contrast and a hint of sweetness. Each component plays an essential role: the crust forms a crunchy base, the cream cheese is the star for creaminess, and the eggs and sour cream give structure and tang.
- 10 sheets graham crackers or 1 1/2 cups graham cracker crumbs. see note 1: Crush into fine crumbs to form the cheesecake crust; provides structure and a toasty, slightly sweet base when combined with butter. Use full sheets crushed or measured crumbs for consistent texture and press firmly into the pan to ensure an even foundation for the filling.
- 2 tablespoons granulated sugar: Sprinkle into the crust mixture to add sweetness and help balance the buttery graham flavor; also aids in caramelization and subtle textural contrast. Measure precisely to avoid an overly sweet base that can overpower the cream cheese filling.
- 5 tablespoons (70 g) melted butter: Melt and fold into the graham crumbs to bind them together and create a cohesive, sliceable crust; contributes rich mouthfeel and helps the crust set when chilled or baked. Use fully melted butter for even distribution and press the mixture firmly into the pan for best results.
- 48 ounce packages (900 g) full fat cream cheese softened to room temperature, see note 2: Soften to room temperature and beat until smooth to create the rich, creamy body of the cheesecake; offers fat and structure that set during baking or chilling. Use full-fat blocks for optimal texture and flavor, ensuring no lumps by fully softening before mixing with sugar and eggs.
- 1 1/4 cups (250 g) granulated sugar: Blend into the cream cheese to sweeten and assist in creating a smooth, stable filling; helps control sweetness and contributes to the dessert's tender crumb. Gradually add while mixing to achieve an even, lump-free batter and avoid overbeating which can incorporate excess air.
- 4 large eggs at room temperature: Bring to room temperature and add one at a time to the cream cheese mixture to emulsify and provide structure when baked; eggs help set the filling and create a custard-like texture. Use large eggs and incorporate gently to minimize air incorporation that can cause cracking.
- 1/4 cup (60 g) sour cream: Fold in to add subtle tang and moisture, brightening the richness of the cream cheese while improving texture; contributes to a silkier, more balanced filling. Measure accurately and stir in gently to keep the batter smooth and prevent curdling.
- 1/4 cup (60 ml) heavy cream: Stir in to thin the batter slightly and add creaminess, enhancing mouthfeel and richness without overpowering the tangy notes; also helps produce a smoother, more luxurious cheesecake. Use heavy cream for its higher fat content which yields a silkier, more stable filling.
- 2 teaspoons pure vanilla extract: Add for aromatic flavor and to round out the sweetness with warm, floral vanilla notes; helps elevate the overall flavor profile of the cheesecake. Use pure extract and measure carefully to avoid an overpowering taste.
Recipe Steps for New York Style Cheesecake
These steps will guide you through building a reliable, bakery style cheesecake. I like to prepare ingredients first, follow a steady rhythm while mixing, and respect the water bath and resting periods, because those slow moments create the texture we crave.
- Adjust the oven rack to the lower-middle position. And preheat the oven to 350°F (180°C,) or 160°C for a fan oven.: The aroma of preheating is the first signal that we are starting something special. You should notice the oven warming evenly, and setting the rack lower helps the crust bake fully without over browning the top. Preheating ensures even rise and stable temperatures, which matters for a delicate cheesecake. A common misstep is not waiting for a full preheat, which can cause inconsistent baking and a center that never sets properly.
- Lightly grease a 9-inch (23 cm) springform pan with butter, then line it with parchment paper (bottom and sides).: The light sheen of butter prevents sticking, and parchment provides a clean release. Press the parchment snugly into the bottom and sides so the batter sits evenly. The visual cue you want is a smooth, wrinkle free lining, which helps when releasing the cake. If you skip greasing, the parchment may slip and ruin your crust when you slice.
- Make the graham cracker crust by crushing up the graham crackers in a food processor, then in a bowl combine crumbs with melted butter and sugar. Stir and let the butter moisten the crumbs.: As you pulse the graham crackers , you will smell toasted notes appearing, and the crumbs should look uniform and sandy. When you mix in warm melted butter and granulated sugar , the mixture should clump slightly when pinched, indicating it will bind well. If the crumbs stay dry and powdery, add a touch more butter a teaspoon at a time, because a dry crust will crumble when serving.
- Press the mixture onto the bottom of the pan, and make it flat. I like to use a measuring cup or a glass to help flatten and press the crust.: Pressing firmly creates a compact base that will hold slices together. Use the bottom of a measuring cup to apply even pressure, creating a smooth surface. You should see a consistent, dense layer with no gaps, which signals proper compaction. If the crust is uneven, the cheesecake may settle irregularly, so take your time here.
- Bake in the oven for 8 minutes then remove from the oven and allow to cool completely.: During this brief bake the crust will toast and take on a deeper color, releasing a warm, nutty aroma. Cooling is important so the filling does not melt the crust when poured on. If you skip cooling, the butter in the crust can become soft and the base may sink or shift as the cheesecake bakes.
- Lower the temperature of the oven to 325°F/160°C. (275°F/140°C fan oven): Lowering temperature prevents the cheesecake from baking too quickly on the edges while leaving the center underdone. You will notice the oven settling into a gentler heat, which is kinder to the custard like filling. A common mistake is forgetting to adjust the temperature, which can lead to overcooked edges and a dry texture.
- Wrap two large pieces of foil around the outside of the springform pan to protect it, taking care to cover the seams.: The foil barrier keeps water from seeping into the pan during the water bath, and you should see a snug wrap that covers the pan entirely. This step prevents soggy sides and maintains the integrity of the crust. If the foil is loosely wrapped or has gaps, water may enter and ruin the texture.
- In a bowl of a stand mixer fitted with a paddle attachment, beat the cream cheese and sugar on high speed until creamy. Then add the eggs one by one mixing in between until just incorporated. Add sour cream, heavy cream, and vanilla and mix until smooth but make sure not overmix the batter (if you overmix, the cheesecake will crack as it bakes).: As you beat the cream cheese and granulated sugar , you will notice a glossy, lump free mixture forming. Adding eggs one at a time produces a cohesive emulsion, and the final addition of sour cream , heavy cream , and vanilla creates a silky batter that flows slowly off the spatula. The sound changes from a heavy thump to a smoother whir, and the surface becomes glossy. Avoid whipping at high speed after eggs are added, because trapping air leads to cracks and a less stable structure.
- Pour the mixture onto the prepared graham cracker crust.: When you pour the filling, watch how it settles into the pan, filling hollows and leveling itself. The batter should be thick and pale, not runny, and it will smooth out naturally. If you see lumps or streaks of unmixed cream cheese , stop and gently fold them in with a spatula; those pockets would bake unevenly and create texture issues.
- Prepare a water bath. Choose a roasting pan that fits in the 9-inch springform pan. Place the roasting pan in the oven, then place the cheesecake pan in the middle of it. Carefully pour boiling water into the space around the cheesecake until the water level is 1 inch deep.: The steam and gentle heat from the water bath produce a humid environment that prevents the cheesecake surface from drying out and cracking. You should hear a faint hiss as the hot water meets the oven heat, and the sides of the roasting pan will shimmer with steam. Be careful pouring boiling water to avoid splashing, and ensure the foil seal is intact, because water leaks can ruin the crust.
- Bake for 55-60 minutes. If the cheesecake starts to brown too much at the top, just tent it with foil to protect it from browning. It’s done when the edges are completely set but the center is still jiggly. Switch off the oven.: Near the end of baking you will see the edges firm up and possibly a slight wiggle in the center when nudged, which is the perfect cue. The top should be pale and not deeply browned; tenting with foil will guard the color. Overbaking results in a dry, crumbly texture, while underbaking leaves the center too loose, so watch for that tender jiggle.
- Slightly open the oven door, and allow the cheesecake to cool down in the oven for 1 hour. Then remove from the oven and let it cool down uncovered until it’s completely cooled. Chill in the fridge for at least 6 hours or overnight before serving.: Cooling slowly helps the custard settle without sudden temperature shifts that cause cracks. You will see the cheesecake contract slightly as it cools, and chilling overnight gives it time to firm to the ideal dense yet creamy sliceable texture. Skipping the slow cool or shorting the chill time often yields messy slices and a runny center.
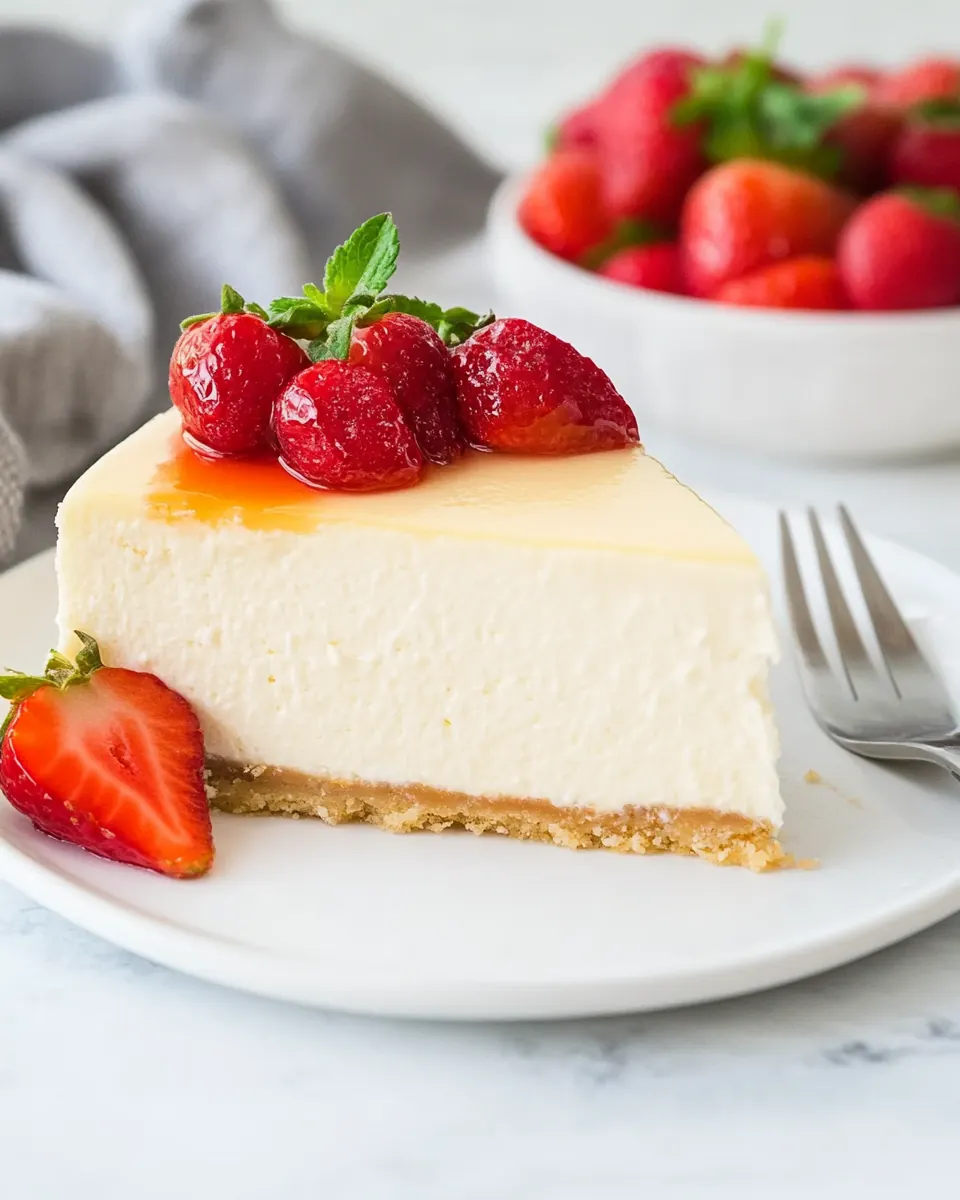
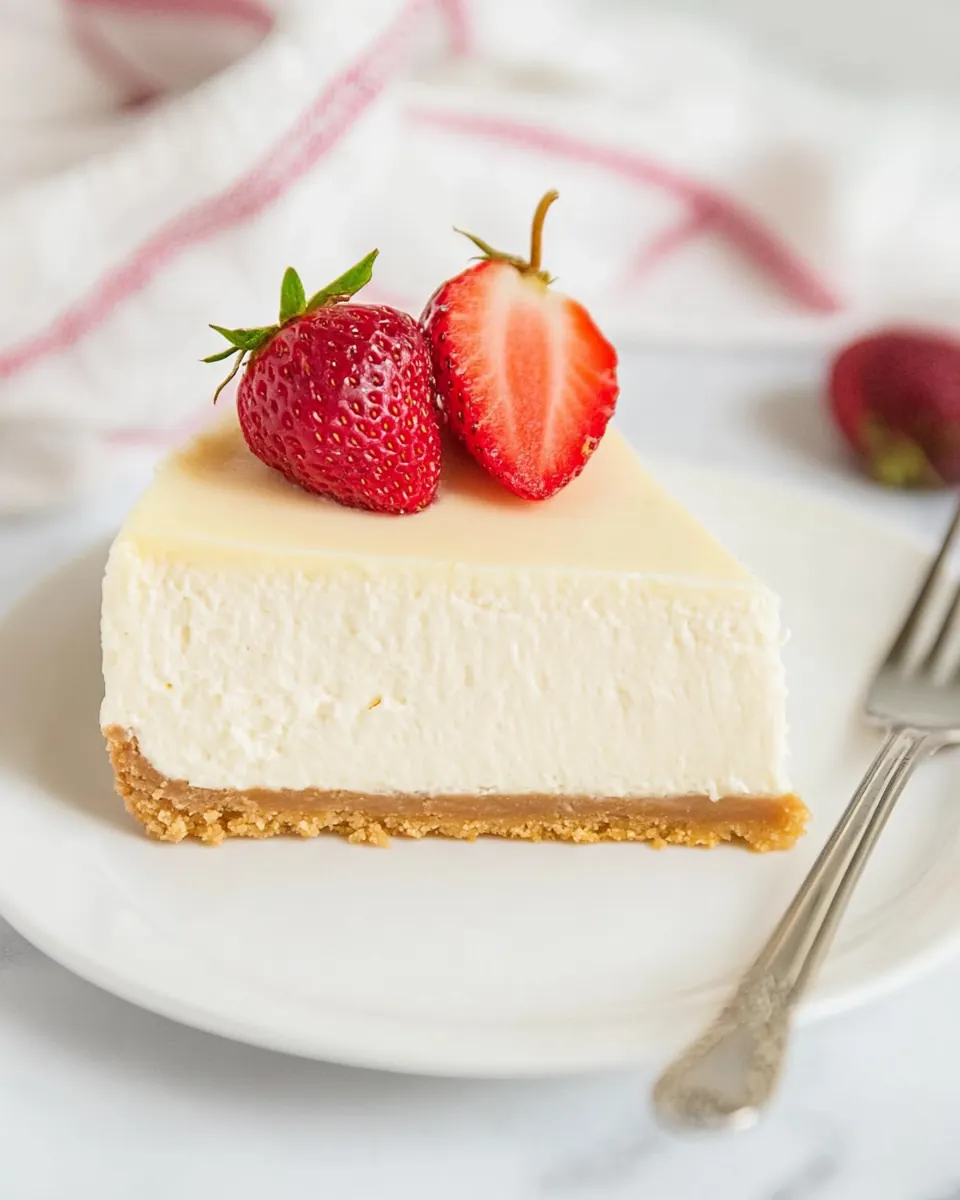
- To serve, loosen up the edges of the cheesecake from the pan with a knife, and then remove from pan and slice with a knife (run it under warm water and dry it, this will help you get neat slices). If you like, serve topped with homemade strawberry sauce.: Warm the knife under hot water and wipe it dry between cuts for clean, glossy slices. The contrast of the firm edge and silky center should be evident on each plate. If slices tear or crumble, try a longer chill and make sure the knife is warmed and wiped between cuts for the cleanest presentation.
Tips and Tricks about New York Style Cheesecake
This recipe rewards patience and a few thoughtful techniques. Below are practical tips that I use every time I bake a cheesecake to make sure the texture is perfect and the slices are clean and beautiful.
- Room temperature rule: Make sure your cream cheese and eggs are at room temperature to ensure a smooth, lump free batter that bakes evenly.
- Gentle mixing: After adding eggs, mix on low or stir by hand to avoid whipping air into the batter which can cause cracks during baking.
- Foil protection: Wrap the springform pan securely in two layers of aluminum foil to keep water out of the crust while using a water bath.
- Warm knife slices: Dip your knife in hot water and dry it between cuts for polished, neat slices without tearing the filling.
- Chill time matters: Refrigerate the cheesecake for at least six hours or overnight so the texture firms and flavors meld, yielding cleaner slices and better mouthfeel.
- Alternative crumbs: If you cannot find graham crackers, use a similar plain biscuit or digestive cookie crushed to make the crust; adjust sugar in the crust if the biscuit is sweetened.
What to Pair With New York Style Cheesecake
A properly made New York Style Cheesecake is a showstopper and deserves thoughtful pairings. Consider both flavor contrasts and textural companions to elevate each slice to a memorable dessert course.
- Fresh berries and compotes: Bright, slightly tart berries like strawberries or raspberries cut through the richness, adding a lively note and beautiful color contrast.
- Fruit sauces: A warm or chilled fruit sauce with a touch of acidity complements the creamy filling and adds moisture to each bite, ideal for festive occasions and dinner parties.
- Coffee or tea service: A robust cup of coffee or a fragrant tea pairs well, balancing the richness and helping to cleanse the palate between bites.
- Occasion suggestions: This cheesecake fits birthdays, dinner parties, holiday gatherings, and I often include it for a Ramadan iftar dessert when families want an elegant sweet to share.
- Storage tips: Store tightly covered in the refrigerator for up to five days, or freeze wrapped well for up to two months; thaw in the refrigerator overnight for best texture.
- Seasonal variations: In summer, serve with bright fruit toppings; in winter, consider a spiced compote or a drizzle of reduced jam for cozy flavors.
FAQ
Conclusion
This New York Style Cheesecake stands out for its rich, dense texture and reliably smooth filling that comes from simple, well executed techniques. Try it because the ritual of gentle mixing, a water bath, and patient chilling rewards you with bakery quality slices that impress guests and comfort at home alike. I hope you enjoy baking this as much as I do, and that it becomes a go to dessert for your celebrations and quiet evenings.
New York Style Cheesecake
Equipment
- 9-inch Springform Pan
- Hand Mixer
- Mixing Bowl
Ingredients
- 10 sheets graham crackers or 1 1/2 cups graham cracker crumbs. see note 1 Crush into fine crumbs to form the cheesecake crust; provides structure and a toasty, slightly sweet base when combined with butter. Use full sheets crushed or measured crumbs for consistent texture and press firmly into the pan to ensure an even foundation for the filling.
- 2 tablespoons granulated sugar Sprinkle into the crust mixture to add sweetness and help balance the buttery graham flavor; also aids in caramelization and subtle textural contrast. Measure precisely to avoid an overly sweet base that can overpower the cream cheese filling.
- 5 tablespoons (70 g) melted butter Melt and fold into the graham crumbs to bind them together and create a cohesive, sliceable crust; contributes rich mouthfeel and helps the crust set when chilled or baked. Use fully melted butter for even distribution and press the mixture firmly into the pan for best results.
- 48 -ounce packages (900 g) full fat cream cheese softened to room temperature, see note 2 Soften to room temperature and beat until smooth to create the rich, creamy body of the cheesecake; offers fat and structure that set during baking or chilling. Use full-fat blocks for optimal texture and flavor, ensuring no lumps by fully softening before mixing with sugar and eggs.
- 1 1/4 cups (250 g) granulated sugar Blend into the cream cheese to sweeten and assist in creating a smooth, stable filling; helps control sweetness and contributes to the dessert's tender crumb. Gradually add while mixing to achieve an even, lump-free batter and avoid overbeating which can incorporate excess air.
- 4 large eggs at room temperature Bring to room temperature and add one at a time to the cream cheese mixture to emulsify and provide structure when baked; eggs help set the filling and create a custard-like texture. Use large eggs and incorporate gently to minimize air incorporation that can cause cracking.
- 1/4 cup (60 g) sour cream Fold in to add subtle tang and moisture, brightening the richness of the cream cheese while improving texture; contributes to a silkier, more balanced filling. Measure accurately and stir in gently to keep the batter smooth and prevent curdling.
- 1/4 cup (60 ml) heavy cream Stir in to thin the batter slightly and add creaminess, enhancing mouthfeel and richness without overpowering the tangy notes; also helps produce a smoother, more luxurious cheesecake. Use heavy cream for its higher fat content which yields a silkier, more stable filling.
- 2 teaspoons pure vanilla extract Add for aromatic flavor and to round out the sweetness with warm, floral vanilla notes; helps elevate the overall flavor profile of the cheesecake. Use pure extract and measure carefully to avoid an overpowering taste.
Instructions
- Adjust the oven rack to the lower-middle position. And preheat the oven to 350°F (180°C,) or 160°C for a fan oven.: The aroma of preheating is the first signal that we are starting something special. You should notice the oven warming evenly, and setting the rack lower helps the crust bake fully without over browning the top. Preheating ensures even rise and stable temperatures, which matters for a delicate cheesecake. A common misstep is not waiting for a full preheat, which can cause inconsistent baking and a center that never sets properly.
- Lightly grease a 9-inch (23 cm) springform pan with butter, then line it with parchment paper (bottom and sides).: The light sheen of butter prevents sticking, and parchment provides a clean release. Press the parchment snugly into the bottom and sides so the batter sits evenly. The visual cue you want is a smooth, wrinkle free lining, which helps when releasing the cake. If you skip greasing, the parchment may slip and ruin your crust when you slice.
- Make the graham cracker crust by crushing up the graham crackers in a food processor, then in a bowl combine crumbs with melted butter and sugar. Stir and let the butter moisten the crumbs.: As you pulse the graham crackers , you will smell toasted notes appearing, and the crumbs should look uniform and sandy. When you mix in warm melted butter and granulated sugar , the mixture should clump slightly when pinched, indicating it will bind well. If the crumbs stay dry and powdery, add a touch more butter a teaspoon at a time, because a dry crust will crumble when serving.
- Press the mixture onto the bottom of the pan, and make it flat. I like to use a measuring cup or a glass to help flatten and press the crust.: Pressing firmly creates a compact base that will hold slices together. Use the bottom of a measuring cup to apply even pressure, creating a smooth surface. You should see a consistent, dense layer with no gaps, which signals proper compaction. If the crust is uneven, the cheesecake may settle irregularly, so take your time here.
- Bake in the oven for 8 minutes then remove from the oven and allow to cool completely.: During this brief bake the crust will toast and take on a deeper color, releasing a warm, nutty aroma. Cooling is important so the filling does not melt the crust when poured on. If you skip cooling, the butter in the crust can become soft and the base may sink or shift as the cheesecake bakes.
- Lower the temperature of the oven to 325°F/160°C. (275°F/140°C fan oven): Lowering temperature prevents the cheesecake from baking too quickly on the edges while leaving the center underdone. You will notice the oven settling into a gentler heat, which is kinder to the custard like filling. A common mistake is forgetting to adjust the temperature, which can lead to overcooked edges and a dry texture.
- Wrap two large pieces of foil around the outside of the springform pan to protect it, taking care to cover the seams.: The foil barrier keeps water from seeping into the pan during the water bath, and you should see a snug wrap that covers the pan entirely. This step prevents soggy sides and maintains the integrity of the crust. If the foil is loosely wrapped or has gaps, water may enter and ruin the texture.
- In a bowl of a stand mixer fitted with a paddle attachment, beat the cream cheese and sugar on high speed until creamy. Then add the eggs one by one mixing in between until just incorporated. Add sour cream, heavy cream, and vanilla and mix until smooth but make sure not overmix the batter (if you overmix, the cheesecake will crack as it bakes).: As you beat the cream cheese and granulated sugar , you will notice a glossy, lump free mixture forming. Adding eggs one at a time produces a cohesive emulsion, and the final addition of sour cream , heavy cream , and vanilla creates a silky batter that flows slowly off the spatula. The sound changes from a heavy thump to a smoother whir, and the surface becomes glossy. Avoid whipping at high speed after eggs are added, because trapping air leads to cracks and a less stable structure.
- Pour the mixture onto the prepared graham cracker crust.: When you pour the filling, watch how it settles into the pan, filling hollows and leveling itself. The batter should be thick and pale, not runny, and it will smooth out naturally. If you see lumps or streaks of unmixed cream cheese , stop and gently fold them in with a spatula; those pockets would bake unevenly and create texture issues.
- Prepare a water bath. Choose a roasting pan that fits in the 9-inch springform pan. Place the roasting pan in the oven, then place the cheesecake pan in the middle of it. Carefully pour boiling water into the space around the cheesecake until the water level is 1 inch deep.: The steam and gentle heat from the water bath produce a humid environment that prevents the cheesecake surface from drying out and cracking. You should hear a faint hiss as the hot water meets the oven heat, and the sides of the roasting pan will shimmer with steam. Be careful pouring boiling water to avoid splashing, and ensure the foil seal is intact, because water leaks can ruin the crust.
- Bake for 55-60 minutes. If the cheesecake starts to brown too much at the top, just tent it with foil to protect it from browning. It’s done when the edges are completely set but the center is still jiggly. Switch off the oven.: Near the end of baking you will see the edges firm up and possibly a slight wiggle in the center when nudged, which is the perfect cue. The top should be pale and not deeply browned; tenting with foil will guard the color. Overbaking results in a dry, crumbly texture, while underbaking leaves the center too loose, so watch for that tender jiggle.
- Slightly open the oven door, and allow the cheesecake to cool down in the oven for 1 hour. Then remove from the oven and let it cool down uncovered until it’s completely cooled. Chill in the fridge for at least 6 hours or overnight before serving.: Cooling slowly helps the custard settle without sudden temperature shifts that cause cracks. You will see the cheesecake contract slightly as it cools, and chilling overnight gives it time to firm to the ideal dense yet creamy sliceable texture. Skipping the slow cool or shorting the chill time often yields messy slices and a runny center.
- To serve, loosen up the edges of the cheesecake from the pan with a knife, and then remove from pan and slice with a knife (run it under warm water and dry it, this will help you get neat slices). If you like, serve topped with homemade strawberry sauce.: Warm the knife under hot water and wipe it dry between cuts for clean, glossy slices. The contrast of the firm edge and silky center should be evident on each plate. If slices tear or crumble, try a longer chill and make sure the knife is warmed and wiped between cuts for the cleanest presentation.
Notes
- Room temperature rule: Make sure your cream cheese and eggs are at room temperature to ensure a smooth, lump free batter that bakes evenly.
- Gentle mixing: After adding eggs, mix on low or stir by hand to avoid whipping air into the batter which can cause cracks during baking.
- Foil protection: Wrap the springform pan securely in two layers of aluminum foil to keep water out of the crust while using a water bath.
- Warm knife slices: Dip your knife in hot water and dry it between cuts for polished, neat slices without tearing the filling.
- Chill time matters: Refrigerate the cheesecake for at least six hours or overnight so the texture firms and flavors meld, yielding cleaner slices and better mouthfeel.
- Alternative crumbs: If you cannot find graham crackers, use a similar plain biscuit or digestive cookie crushed to make the crust; adjust sugar in the crust if the biscuit is sweetened.