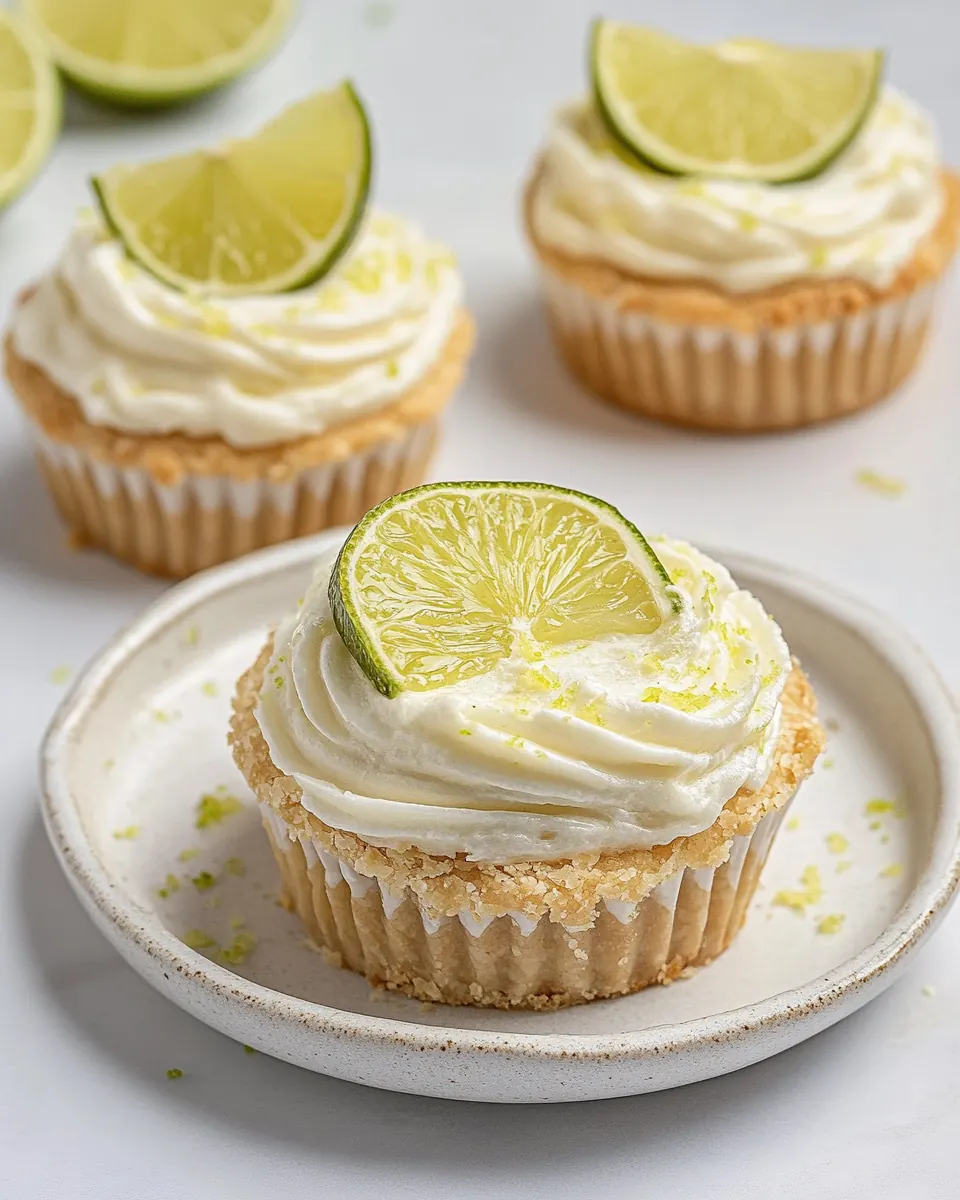
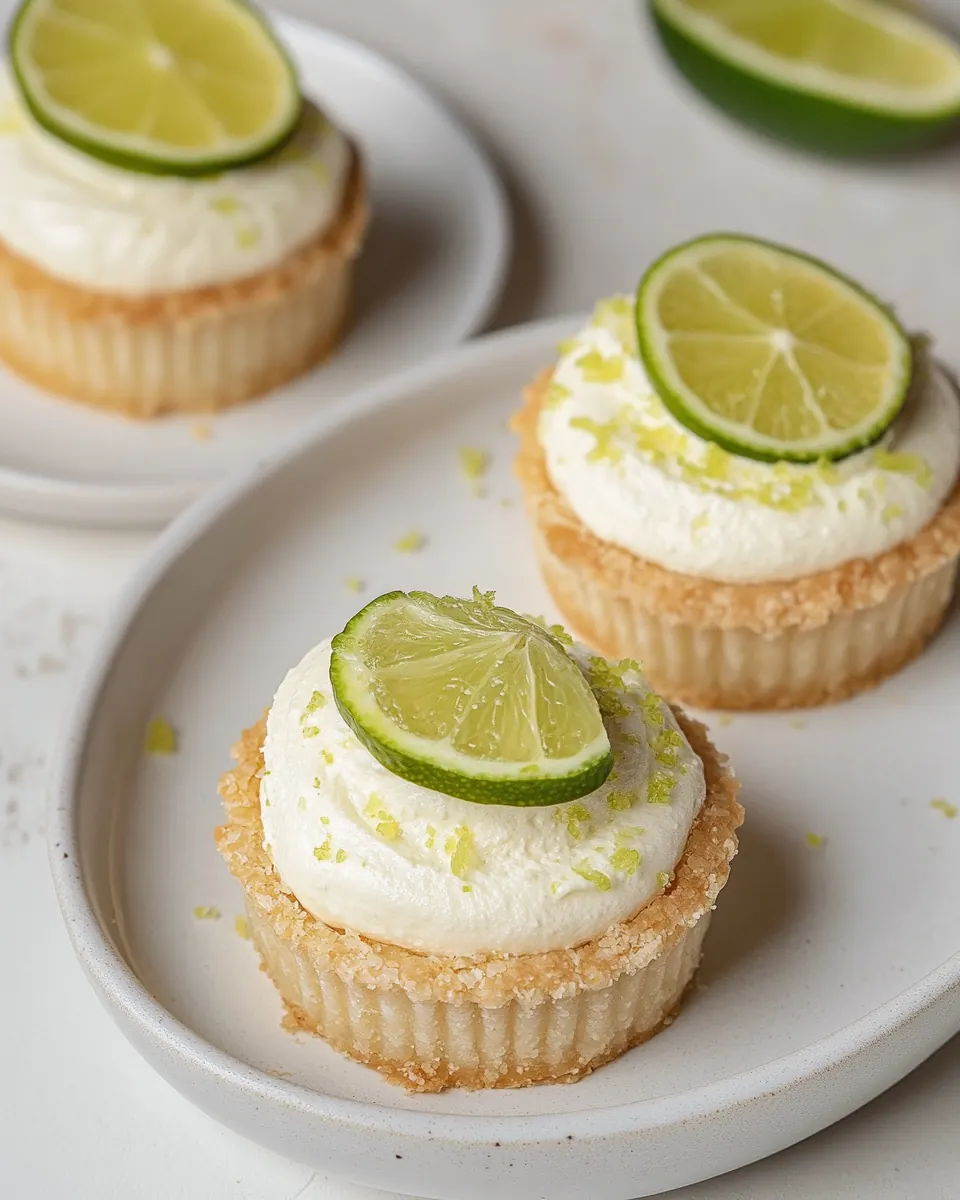
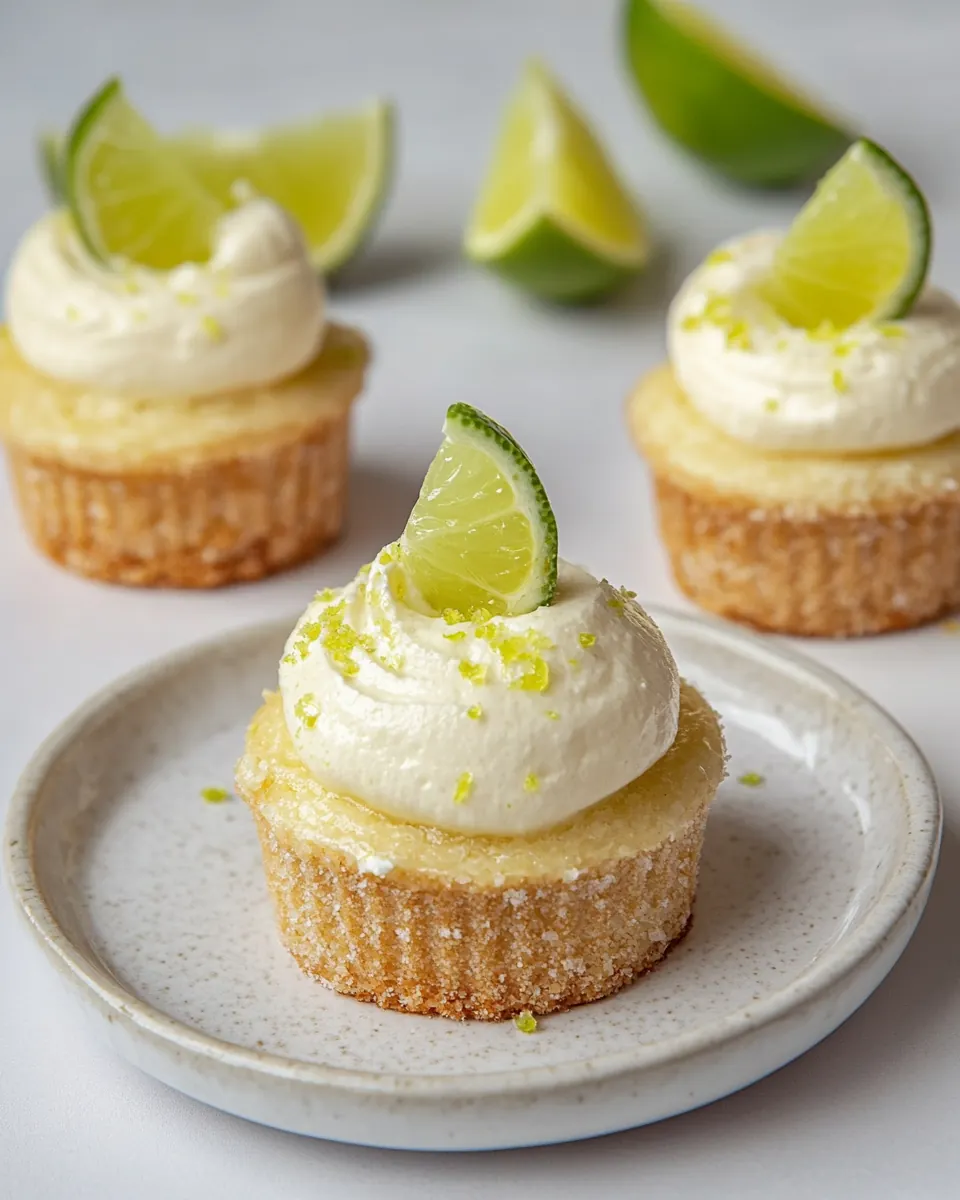
Mini Key Lime Pies
Mini Key Lime Pies are a tiny, bright ticket to summer afternoons, and they stole my heart the first time I baked a tray for a neighborhood block party. I remember juggling a dozen things that day, yet the moment I sliced into a chilled little pie and tasted that perfect blend of tang and cream, everything else faded. The contrast between the crisp graham cracker crumbs crust and the velvety filling felt like a small miracle I could share with friends.
That afternoon taught me that small desserts can carry big memories. I started making these Mini Key Lime Pies whenever a gathering needed a cheerful finish, and people kept asking for the recipe. They love how portable and forgiving the pies are, and I love that they let me prep ahead, refrigerate, and still present something that looks intentional and fresh. Over time I tweaked the balance of sweetened condensed milk and key lime juice to land a bright but creamy flavor that never overwhelms.
There is also a ritual to serving these little gems. I like to let them chill long enough that the centers tremble slightly when nudged, a hint that the texture will be silky rather than rubbery. When guests bite into one, the initial zesty lift of key lime juice gives way to a rich, smooth mouthfeel from the cream cheese and sweetened condensed milk. It is one of those desserts that invites a slow, satisfied smile.
Recipe Snapshot
50 mins
30 mins
20 mins
Medium
180 kcal
American
Gluten-Free, Low FODMAP
Desserts
Muffin pan, Muffin liners, Electric mixer, Medium bowl, Measuring cups
Why Try This Mini Key Lime Pies
Perfect portion control
I adore how Mini Key Lime Pies offer individual servings that feel indulgent but stop short of overdoing it. They are ideal for parties when guests want to sample a dessert without committing to a large slice, and they make plating effortless. I often bring them to potlucks because they are easy to transport and everyone gets the same delightful experience.
Bright but balanced flavor
These pies hit that rare sweet tart balance. The tartness from key lime juice cuts through the richness of the cream cheese and sweetened condensed milk, so each bite tastes lively rather than cloying. I tuned the lime zest addition so the citrus aroma greets you first, and then the filling wraps it in a creamy roundness.
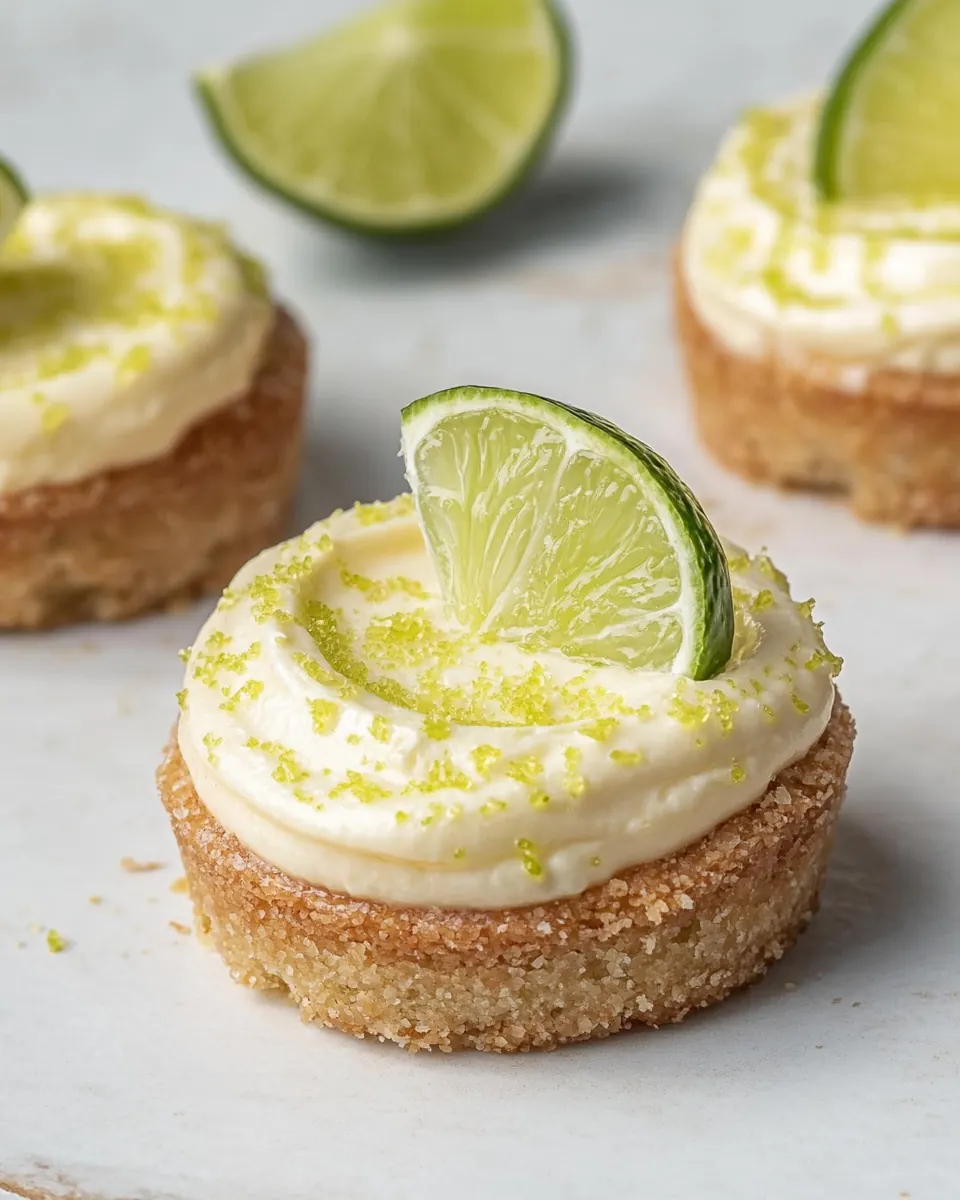
Textural contrast
The combination of crunchy graham cracker crumbs and the silky filling is everything. I press the crust firmly so it holds together when you lift a pie out of the liner, but not so hard that it becomes bricklike. That crispness next to a slightly wobbly center is what makes these pies truly memorable.
Make ahead friendly
I rely on these pies for celebrations because they improve with a little rest time in the refrigerator. Chilling helps the filling set to the ideal texture, and you can assemble them a few hours or up to a day before serving. This flexibility makes entertaining less stressful, and it gives me time to focus on other dishes.
Kid approved and crowd pleasing
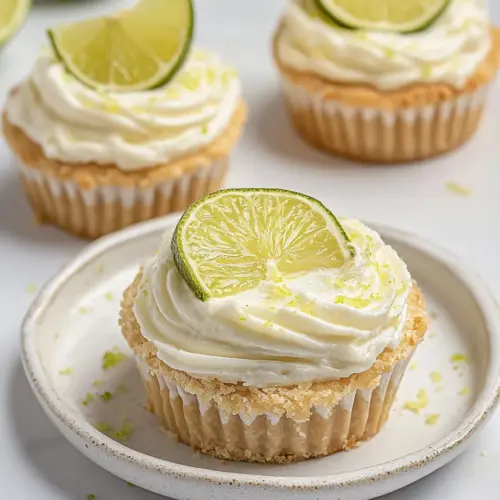
People of all ages respond to the sweet tang and fun size of these pies. I have given them to picky eaters and dessert enthusiasts alike, and they always vanish quickly. Because they are individually portioned and lightly garnished with whipped cream and lime zest, they look festive without a lot of fuss.
Main Ingredients for Mini Key Lime Pies
These ingredients are chosen to create a classic small tart where texture and flavor are in harmony. The crust gives a toasty, crunchy base, while the filling is a study in creamy, tangy balance. Each element plays a clear role, from the citrus brightness to the structural fat that helps the filling set. Together they produce a dessert that is both simple and refined.
- 1 1/2 cups graham cracker crumbs: Provide a crunchy, buttery base component that binds together when mixed with melted butter, creating a crisp crust for the mini pies. Offer a neutral, slightly sweet flavor that complements the tart lime filling and holds shape when pressed into tins. Allow easy customization with texture variations if desired for finer or coarser crumb.
- 1/2 cup unsalted butter, melted: Add rich, velvety fat that melts to bind crumbs and set the crust firmly when chilled or baked. Impart a soft butter flavor that balances the sweetness and acidity of the filling while improving mouthfeel. Ensure thorough melting for even distribution and easy pressing into the mini pie shells.
- 5 tablespoons granulated sugar: Contribute direct sweetness to the crust or filling to balance tartness and enhance overall flavor complexity. Help with slight caramelization during baking if the crust is baked briefly, forming subtle depth. Allow precise measuring to control final dessert sweetness.
- 4 ounces cream cheese, softened: Provide a creamy, slightly tangy base that adds richness and stability to the lime filling, improving texture and body. Soften to room temperature to incorporate smoothly for a velvety, lump-free filling consistency. Complement sweetness with mild acidity that enhances the lime flavor profile.
- 4 large egg yolks: Thicken and enrich the filling by adding concentrated fat and protein, which create a smooth, custard-like texture when combined and cooked. Increase silkiness and help set the filling gently as it cools, contributing to a rich mouthfeel. Separate carefully and use only yolks as required for proper structure and color.
- 1 can 14 ounces sweetened condensed milk: Supply concentrated sweetness and creamy texture while acting as a custard binder when mixed with yolks and heated slightly. Add dense milky caramel notes that mellow lime acidity and contribute to a stable, set filling. Ensure full incorporation for homogeneous smoothness in each mini pie.
- 1/2 teaspoon lime zest, plus more for garnish: Provide intense citrus aroma and a concentrated lime flavor boost without additional liquid, enhancing brightness and complexity of the filling. Use finely grated zest to distribute fragrant oils evenly and garnish for visual and aromatic appeal. Add cautiously to avoid overpowering the mixture.
- Pinch of kosher salt: Enhance and balance flavors by subtly elevating sweetness perception and rounding sharp edges, improving overall taste depth. Stabilize and bring out other flavors when used sparingly, preventing the filling from tasting flat. Use a pinch to avoid noticeable saltiness while highlighting the lime.
- 1/2 cup key lime juice: Deliver the primary acidic, tart component that defines the classic key lime profile and helps chemically set the custard when combined with yolks and sweetened condensed milk. Provide fresh, bright acidity that cuts richness and creates the signature tangy finish. Measure accurately for consistent acidity and proper texture.
- Whipped cream for garnish: Top and finish each mini pie with airy, lightly sweet cream that adds contrast in texture and temperature to the dense filling. Offer a decorative, cooling element that can be piped or dolloped for presentation and a creamy counterpoint to tart lime. Apply just before serving to maintain whipped structure.
Cooking Method for Mini Key Lime Pies
These instructions will guide you through building sturdy crusts and a silky, well balanced filling. The baking is gentle so the centers set without overcooking, and chilling time is essential to achieve the classic texture. Take your time with mixing and pressing so each small pie comes out looking and tasting professional.
- Preheat the oven to 350°F (177°C). Line a standard muffin pan with 16 liners.: The air should smell faintly warm and ready, a clean oven scent that signals even heat. This step ensures your crusts and filling bake uniformly, preventing uneven edges. If the oven is cooler than expected, crusts can bake too slowly and become overly dry, so use an oven thermometer if you doubt the calibration. A common pitfall is lining the pan after preheating, which wastes heat, so prepare your liners ahead and pop the pan in quickly. Listening for the quiet hum of the oven gives you confidence the temperature is stable.
- Combine graham cracker crumbs, melted butter, and granulated sugar in a medium bowl until the mixture is coarse and resembles wet sand. Add more butter if needed to reach consistency.: As you stir, the crumbs should take on a glistening sheen, and the aroma of toasted crumbs and butter becomes more pronounced. Achieving a 'wet sand' texture helps the crust bind without becoming greasy, which is why adding butter gradually is important. If the mixture seems oily, you likely added too much butter, which will make the crust overly dense after baking. I often rub a pinch in my fingers to test the texture and add a teaspoon of crumbs if it feels too loose.
- Press about 1 tablespoon of the mixture into each liner, making sure it is compact. Pre-bake the crusts for 6 minutes.: When pressing, you should feel the crumbs compact under firm but gentle pressure, creating a thin, even base. Pre-baking develops a faint toasty scent, and the edges will start to firm up, signaling they are ready for filling. If you press unevenly, some crusts will be too thin and crumble when served, so take a moment to check the thickness with your fingertip. Avoid overbaking in this short step, or the crust can brown too much and taste bitter rather than buttery.
- Using an electric mixer with a paddle attachment, beat the cream cheese until smooth. Add egg yolks, then gradually mix in sweetened condensed milk, lime zest, salt, and key lime juice until combined.: The bowl will fill with a glossy, pale mixture that has a bright citrus perfume from the zest and juice. Smooth cream cheese ensures a lump free filling, and adding the egg yolks one at a time helps them incorporate without scrambling. Gradual addition of the sweetened condensed milk maintains a silky texture. If the mixture splits or becomes curdled, it may be from cold cream cheese or overly vigorous mixing; temper ingredients to room temperature and mix gently to recover. The tang of the key lime juice should smell lively but not harsh, indicating a balanced acidity.
- Pour the filling evenly into each crust. Bake for 15 minutes or until the pies are mostly set but the centers slightly jiggle.: As they bake, a soft custard steam rises, and the edges will appear just firmer than the centers. That delicate jiggle means the texture will be silky after chilling, rather than rubbery. Overbaking will yield a stiff, chalky filling, so watch the pies closely around the 12 to 15 minute mark. If the centers wobble excessively after 15 minutes, your oven may be cool, and a few extra minutes will help, but check every minute to avoid overcooking.
- After removing from the oven, cool at room temperature, then refrigerate for at least 2 hours. Decorate with whipped cream and additional lime zest for garnish.: The filling will emit a gentle citrus aroma as it cools, and condensation on the liners will disappear as the pies cool down. Chilling firms the custard and deepens the flavor, giving a clean lift of lime on the palate. Rushing this step results in loose fillings that do not slice or hold when served, so be patient. When garnishing, add whipped cream just before serving to keep it fresh and airy.
Ways to Adapt This Recipe
These adaptation ideas help you tailor Mini Key Lime Pies to different tastes and occasions. Small tweaks can change texture, sweetness, or presentation, and each tip below starts with a practical action you can take. Try one or combine a few to make the recipe your own.
- Swap crust texture – If you prefer a sturdier base, press the crumb mixture a touch thicker and bake an extra minute. This yields a firmer bite that holds up well if you top each pie generously with whipped cream. Be cautious not to overbake, which can darken the flavor.
- Adjust lime intensity – Increase or decrease the amount of key lime juice by a tablespoon to fine tune the tartness. Small changes dramatically affect the perceived sweetness, so taste the filling batter sparingly before baking to get it just right.
- Make travel friendly – To transport safely, chill the pies completely and place them in a single layer in a shallow box with parchment between layers. This minimizes movement and preserves the neat garnish of whipped cream.
- Prep ahead – Assemble crusts and filling the day before, bake, and then store covered in the fridge. This saves time on the day of serving and often improves texture as the flavors meld.
- Change garnish style – Instead of a simple dollop, pipe the whipped cream into a pretty swirl and finish with extra lime zest for a polished presentation that still feels easy.
What to Pair With Mini Key Lime Pies
These pairing suggestions help you serve Mini Key Lime Pies in a variety of settings, from casual picnics to holiday tables. The list focuses on complementary textures and flavors, and includes serving styles and storage tips that keep the pies tasting their best. Use these ideas to build a cohesive dessert course that highlights the pies’ bright citrus profile.
- Light fruit salad – A small bowl of mixed berries or tropical fruit pairs well to echo the citrus notes and keep the dessert course fresh and seasonal.
- Cold coffee or iced tea – A chilled beverage balances the sweet acidity of the pies and makes for a refreshing contrast on warm afternoons.
- Party platter – Arrange the pies alongside other small bites like cookies or mini tarts for variety, keeping the flavors complementary rather than competing.
- Picnic friendly – Pack the pies in a shallow container and keep them chilled with ice packs for an easy outdoor dessert option.
- Holiday table – Use the pies as a light finish to heavier holiday meals, offering a palate cleansing citrus note after rich mains.
- Storage tips – Refrigerate in an airtight container for up to three days to maintain texture, and add garnish just before serving to keep whipped cream fresh.
FAQ
Conclusion
Mini Key Lime Pies stand out because they pack intense citrus flavor into a delicate, creamy bite that is both fun and elegant. They are a dependable choice when you want an easy to serve dessert that still feels special. Give them a try the next time you need a make ahead sweet for a gathering, and enjoy the way the bright lime and rich filling win smiles. These small pies are a lovely reminder that simple ingredients, handled with care, can deliver memorable results.
Mini Key Lime Pies
Equipment
- Muffin Pan
- Muffin liners
- Electric Mixer
- Medium Bowl
- Measuring Cups
Ingredients
- 1 1/2 cups graham cracker crumbs Provide a crunchy, buttery base component that binds together when mixed with melted butter, creating a crisp crust for the mini pies. Offer a neutral, slightly sweet flavor that complements the tart lime filling and holds shape when pressed into tins. Allow easy customization with texture variations if desired for finer or coarser crumb.
- 1/2 cup unsalted butter, melted Add rich, velvety fat that melts to bind crumbs and set the crust firmly when chilled or baked. Impart a soft butter flavor that balances the sweetness and acidity of the filling while improving mouthfeel. Ensure thorough melting for even distribution and easy pressing into the mini pie shells.
- 5 tablespoons granulated sugar Contribute direct sweetness to the crust or filling to balance tartness and enhance overall flavor complexity. Help with slight caramelization during baking if the crust is baked briefly, forming subtle depth. Allow precise measuring to control final dessert sweetness.
- 4 ounces cream cheese, softened Provide a creamy, slightly tangy base that adds richness and stability to the lime filling, improving texture and body. Soften to room temperature to incorporate smoothly for a velvety, lump-free filling consistency. Complement sweetness with mild acidity that enhances the lime flavor profile.
- 4 large egg yolks Thicken and enrich the filling by adding concentrated fat and protein, which create a smooth, custard-like texture when combined and cooked. Increase silkiness and help set the filling gently as it cools, contributing to a rich mouthfeel. Separate carefully and use only yolks as required for proper structure and color.
- 1 can 14 ounces sweetened condensed milk Supply concentrated sweetness and creamy texture while acting as a custard binder when mixed with yolks and heated slightly. Add dense milky caramel notes that mellow lime acidity and contribute to a stable, set filling. Ensure full incorporation for homogeneous smoothness in each mini pie.
- 1/2 teaspoon lime zest, plus more for garnish Provide intense citrus aroma and a concentrated lime flavor boost without additional liquid, enhancing brightness and complexity of the filling. Use finely grated zest to distribute fragrant oils evenly and garnish for visual and aromatic appeal. Add cautiously to avoid overpowering the mixture.
- Pinch of kosher salt Enhance and balance flavors by subtly elevating sweetness perception and rounding sharp edges, improving overall taste depth. Stabilize and bring out other flavors when used sparingly, preventing the filling from tasting flat. Use a pinch to avoid noticeable saltiness while highlighting the lime.
- 1/2 cup key lime juice Deliver the primary acidic, tart component that defines the classic key lime profile and helps chemically set the custard when combined with yolks and sweetened condensed milk. Provide fresh, bright acidity that cuts richness and creates the signature tangy finish. Measure accurately for consistent acidity and proper texture.
- Whipped cream for garnish Top and finish each mini pie with airy, lightly sweet cream that adds contrast in texture and temperature to the dense filling. Offer a decorative, cooling element that can be piped or dolloped for presentation and a creamy counterpoint to tart lime. Apply just before serving to maintain whipped structure.
Instructions
- Preheat the oven to 350°F (177°C). Line a standard muffin pan with 16 liners.: The air should smell faintly warm and ready, a clean oven scent that signals even heat. This step ensures your crusts and filling bake uniformly, preventing uneven edges. If the oven is cooler than expected, crusts can bake too slowly and become overly dry, so use an oven thermometer if you doubt the calibration. A common pitfall is lining the pan after preheating, which wastes heat, so prepare your liners ahead and pop the pan in quickly. Listening for the quiet hum of the oven gives you confidence the temperature is stable.
- Combine graham cracker crumbs, melted butter, and granulated sugar in a medium bowl until the mixture is coarse and resembles wet sand. Add more butter if needed to reach consistency.: As you stir, the crumbs should take on a glistening sheen, and the aroma of toasted crumbs and butter becomes more pronounced. Achieving a 'wet sand' texture helps the crust bind without becoming greasy, which is why adding butter gradually is important. If the mixture seems oily, you likely added too much butter, which will make the crust overly dense after baking. I often rub a pinch in my fingers to test the texture and add a teaspoon of crumbs if it feels too loose.
- Press about 1 tablespoon of the mixture into each liner, making sure it is compact. Pre-bake the crusts for 6 minutes.: When pressing, you should feel the crumbs compact under firm but gentle pressure, creating a thin, even base. Pre-baking develops a faint toasty scent, and the edges will start to firm up, signaling they are ready for filling. If you press unevenly, some crusts will be too thin and crumble when served, so take a moment to check the thickness with your fingertip. Avoid overbaking in this short step, or the crust can brown too much and taste bitter rather than buttery.
- Using an electric mixer with a paddle attachment, beat the cream cheese until smooth. Add egg yolks, then gradually mix in sweetened condensed milk, lime zest, salt, and key lime juice until combined.: The bowl will fill with a glossy, pale mixture that has a bright citrus perfume from the zest and juice. Smooth cream cheese ensures a lump free filling, and adding the egg yolks one at a time helps them incorporate without scrambling. Gradual addition of the sweetened condensed milk maintains a silky texture. If the mixture splits or becomes curdled, it may be from cold cream cheese or overly vigorous mixing; temper ingredients to room temperature and mix gently to recover. The tang of the key lime juice should smell lively but not harsh, indicating a balanced acidity.
- Pour the filling evenly into each crust. Bake for 15 minutes or until the pies are mostly set but the centers slightly jiggle.: As they bake, a soft custard steam rises, and the edges will appear just firmer than the centers. That delicate jiggle means the texture will be silky after chilling, rather than rubbery. Overbaking will yield a stiff, chalky filling, so watch the pies closely around the 12 to 15 minute mark. If the centers wobble excessively after 15 minutes, your oven may be cool, and a few extra minutes will help, but check every minute to avoid overcooking.
- After removing from the oven, cool at room temperature, then refrigerate for at least 2 hours. Decorate with whipped cream and additional lime zest for garnish.: The filling will emit a gentle citrus aroma as it cools, and condensation on the liners will disappear as the pies cool down. Chilling firms the custard and deepens the flavor, giving a clean lift of lime on the palate. Rushing this step results in loose fillings that do not slice or hold when served, so be patient. When garnishing, add whipped cream just before serving to keep it fresh and airy.
Notes
- Swap crust texture - If you prefer a sturdier base, press the crumb mixture a touch thicker and bake an extra minute. This yields a firmer bite that holds up well if you top each pie generously with whipped cream. Be cautious not to overbake, which can darken the flavor.
- Adjust lime intensity - Increase or decrease the amount of key lime juice by a tablespoon to fine tune the tartness. Small changes dramatically affect the perceived sweetness, so taste the filling batter sparingly before baking to get it just right.
- Make travel friendly - To transport safely, chill the pies completely and place them in a single layer in a shallow box with parchment between layers. This minimizes movement and preserves the neat garnish of whipped cream.
- Prep ahead - Assemble crusts and filling the day before, bake, and then store covered in the fridge. This saves time on the day of serving and often improves texture as the flavors meld.
- Change garnish style - Instead of a simple dollop, pipe the whipped cream into a pretty swirl and finish with extra lime zest for a polished presentation that still feels easy.