Lemon Pudding Cake
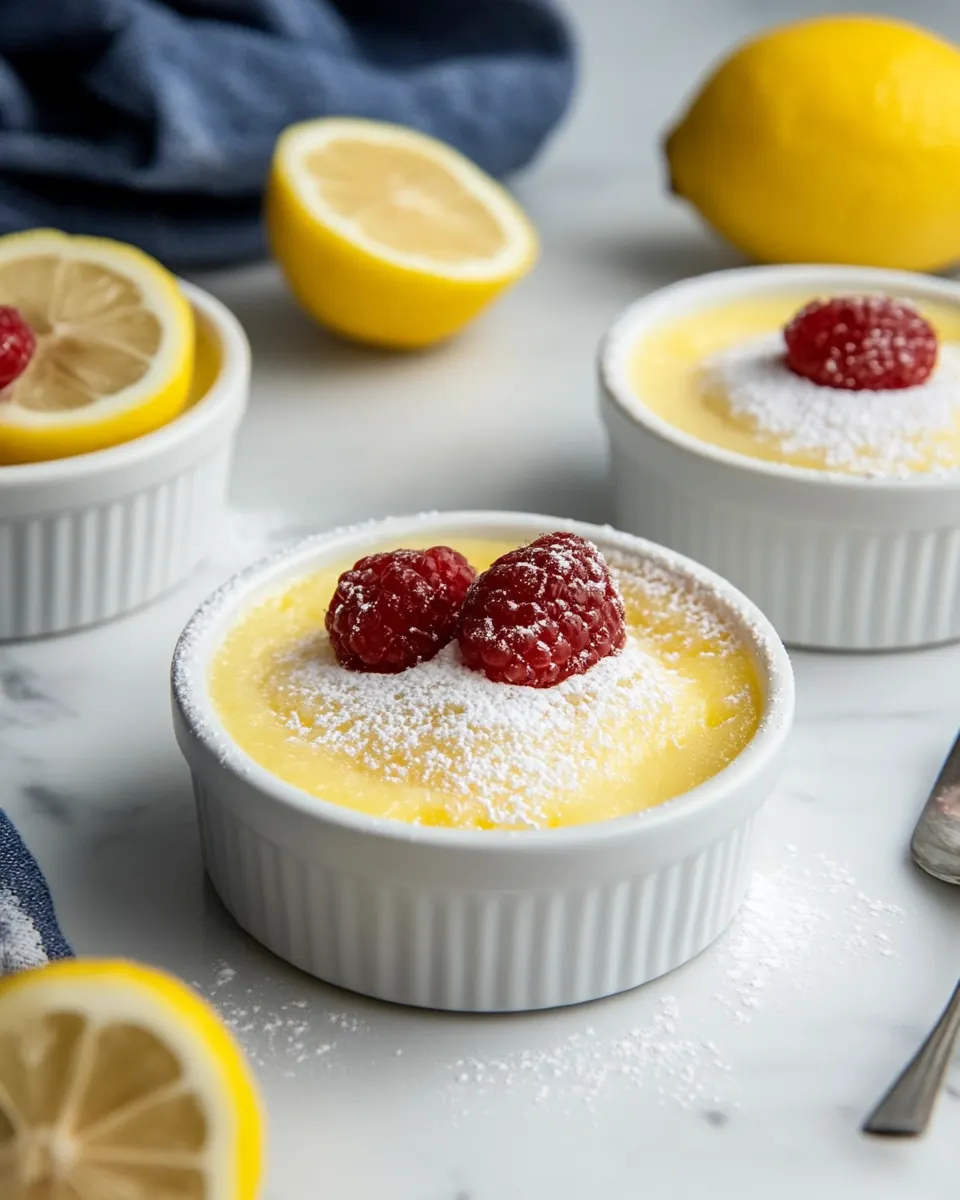
Lemon Pudding Cake is one of those recipes I return to when I want something that feels celebratory yet somehow effortless. The first time I made it I was nervous about folding egg whites, but when I slipped a ramekin from the water bath and saw the soft, cloudlike top, I laughed out loud. I adore how the bright, tart punch of lemon juice and the gentle creaminess from whole milk balance each other, making every spoonful feel light but indulgent.
Over the years I have learned tiny habits that make this dessert reliably lovely. I now always zest the lemon last so the oils stay vibrant, and I use room temperature eggs because they incorporate more smoothly. I love serving this when friends drop by unannounced, since the batter whips up quickly and the oven does most of the work, leaving me time to chat and pour coffee. It has become my go to when I want something sweet that does not overwhelm after a big meal, and guests often ask for the recipe before the plates are empty.
Recipe Snapshot
1 hr 5 mins
20 mins
45 mins
Medium
200 kcal
American
Gluten-Free, Low FODMAP
Desserts
Oven, Ramekins, 9×13 baking dish, Mixing bowls, Whisk, Hand mixer or stand mixer, Spatula, Cooling rack
Why This Lemon Pudding Cake Is So Good
Light but Luxurious Texture
I love how Lemon Pudding Cake gives you a delicate, souffle like top with a pudding like base. The contrast between the airy crown and the silkier bottom keeps every bite interesting. When I eat it warm, the top feels billowy while the base tastes velvety, which is a rare combo in a single dessert.
Bright Citrus Flavor That Does Not Overpower
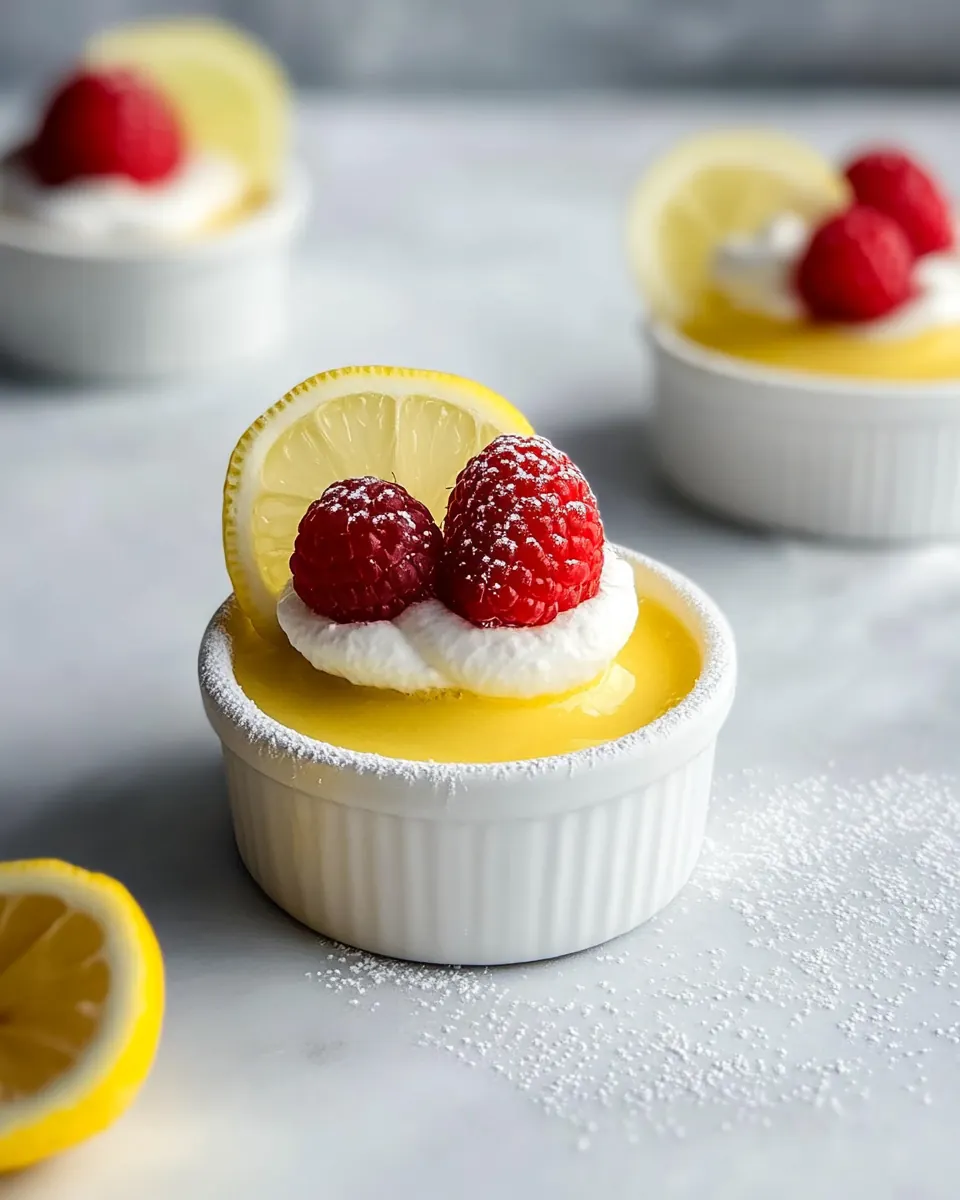
The balance of lemon zest and lemon juice is key. I aim for lively citrus notes without bitterness, so the cake tastes fresh rather than sour. That bright lemon clarity pairs beautifully with a dusting of powdered sugar or a handful of berries.
Simple Pantry Ingredients
This recipe uses straightforward staples like all purpose flour, granulated sugar, and unsalted butter. I appreciate recipes that rely on what I usually have on hand, so I can pull it together without a special store run. Because the components are familiar, the technique becomes the fun part rather than a scavenger hunt for unusual items.
Shows Off Classic Technique
I adore the folding of whipped egg whites, it elevates the texture and gives you a real sense of accomplishment. Learning to fold gently is a small skill that yields impressive results. Every time I teach someone else this trick, they leave more confident in the kitchen.
Fits Many Occasions
Lemon Pudding Cake is flexible. Serve it at a casual weekend brunch or present it after a dinner party for a light finish. I especially value recipes that adapt to different settings, since they become staples in my repertoire.
What Goes Into Lemon Pudding Cake
These ingredients are simple, yet each plays a distinct role in creating the cake’s airy top and custardy base. The eggs are the stars, providing structure and lift when the whites are whipped. The flour and sugar stabilize the batter and give body, while the milk and melted butter add smoothness and richness. The lemon components deliver bright flavor, and just a pinch of salt rounds everything out.
- 3 large eggs separated and room temperature: Separate and use the eggs to create structure and lightness; whisk the whites into stiff peaks for an airy pudding layer while the yolks enrich the custard base with fat and flavor.
- 1 cup whole milk: Heat and incorporate the whole milk to form the custard, providing creaminess and moisture; gently warm it when combining with eggs to prevent curdling and ensure a smooth texture.
- 1 tablespoon lemon zest: Zest the lemon to contribute concentrated citrus aroma and bright essential oils; sprinkle the finely grated peel into the batter to lift flavor without adding acidity.
- 7 tablespoons lemon juice: Juice the lemons to supply bright acidity and tartness that balances sweetness; fold into the custard mixture to create the characteristic lemon tang and help set the pudding.
- 2 tablespoons unsalted butter melted: Melt and add the unsalted butter to bring silkiness and a subtle richness; stir into the batter to improve mouthfeel and aid in browning without introducing extra salt.
- 1/4 teaspoons salt: Measure and include the salt to enhance and balance flavors; a small amount rounds out sweetness and elevates the lemon notes without making the dessert salty.
- 6 tablespoons all-purpose flour: Whisk in the all-purpose flour to thicken and stabilize the custard and pudding layers; it provides structure so the cake firms up while still allowing a tender crumb.
- 3/4 cup granulated sugar: Dissolve and fold the granulated sugar to sweeten and help create a tender texture; sugar also aids in caramelization and helps the egg proteins set properly.
Making This Lemon Pudding Cake

These instructions walk you through warming the oven, combining yolks with the dairy and lemon, and folding in whipped whites so the cake rises beautifully in a water bath. I find a calm, patient approach yields the best texture, and sensory cues guide you toward success.
- Preheat the oven to 350 degrees Fahrenheit and place a rack in the center position of the oven. Grease six 6-ounce ramekins and place them in a 9×13 baking dish with at least 2-inch high sides. Set aside.: As the oven comes up to temperature you will notice a gentle warming scent, and the consistent heat is essential for even rising. A center rack placement ensures balanced heat exposure so the tops brown lightly while the custard sets underneath. If your oven runs hot in spots, rotate the baking dish halfway through the bake, watching for even color. A common mistake is rushing preheat, which can lead to uneven rise and undercooked centers.
- In a large bowl, whisk together the egg yolks, milk, lemon zest, lemon juice, melted butter, and salt. Add the flour and sugar and mix until combined.: When you grease the ramekins, use a thin film of butter so the cakes release cleanly and maintain their shape. Arrange them snugly in a deep baking dish to allow room for water to surround the ramekins without sloshing over. The tactile feel of a well greased ramekin helps later when unmolding, and the contrast between smooth metal or ceramic and the batter is satisfying. Avoid over greasing which can cause the outer edge to become oily and interfere with the delicate top setting.
- In a medium bowl, beat the egg whites until medium-soft peaks form. Gently fold 1/3 of the egg whites into the lemon batter. When no white from the egg whites remains, gently fold in the remaining egg whites.: As you whisk, the mixture will thin and smell vividly of citrus, the lemon oils mingling with warm dairy notes. This step builds the flavored custard base so you want a smooth, homogeneous texture with no streaks of yolk. The whisking also helps incorporate air gently, creating a base that will support folding. One pitfall is whisking too briefly, leaving small pockets of unmixed flour later; take the few extra seconds to ensure uniformity.
- Evenly separate the batter between the prepared ramekins. Place the baking dish on the center rack of the oven and carefully fill the dish with water until it is halfway up the sides of the ramekins.: When you add the all purpose flour and granulated sugar , stir until the batter is seamless and slightly glossy. The sugar should dissolve enough to lose individual graininess, and the flour must be fully hydrated to avoid lumps that produce pockets of dry flour in the finished cake. You will notice the batter thicken slightly compared to the milk mixture, and it should coat the back of a spoon. Avoid vigorous mixing which can develop gluten and toughen the final texture.
- Bake for 40-45 minutes, until the cakes rise and are lightly golden on top. Carefully remove each ramekin from the baking dish, being sure not to drip water onto the other cakes.: The egg whites will transform from clear and fluid to opaque and cloudlike, and when you lift the whisk you should see peaks that curl over slightly. This stage captures the air that lifts the cake, creating that souffle like top. Use a clean, dry bowl and beaters, as any fat or residue can prevent proper foaming. A frequent error is over beating to stiff peaks, which makes folding difficult and can cause the final texture to become dry.
- Let the cakes cool on a cooling rack for 15-20 minutes before serving. Dust with powdered sugar and serve with berries, if desired.: As you fold the first portion of whipped whites in, you will notice the batter lighten visibly and gain volume. The technique is delicate, using a broad spatula to sweep down the center and fold edges in, turning the bowl as you go. This initial incorporation loosens the batter and makes it easier to fold in the remainder without deflating the foam. Rushing or cutting through the mixture aggressively will collapse air and yield a denser cake.
- When no white from the egg whites remains, gently fold in the remaining egg whites: At this stage the batter should be uniform in color, and you will still see soft, pillowy air pockets. Continue folding with slow, deliberate motions to preserve volume, aiming for a batter that moves like thick cream. The smell remains bright from the lemon zest , and the texture should be airy but cohesive. Avoid over folding which can eliminate the trapped air, resulting in a lackluster rise.
- Evenly separate the batter between the prepared ramekins: Spoon or ladle the batter so each ramekin fills to an even level, which ensures consistent bake times and uniform tops. The batter will sit glossy and slightly bubbled, hinting at the lift to come. Filling uniformly prevents some ramekins from being overcooked while others remain underdone. A common slip up is uneven distribution, which leads to varied textures across the batch.
- Place the baking dish on the center rack of the oven and carefully fill the dish with water until it is halfway up the sides of the ramekins: Pouring hot tap water around the ramekins creates a gentle steam environment that helps set the custard without drying out the tops. Be cautious to avoid splashing water into the batter. The water bath stabilizes temperature, producing a silky base and ensuring the top rises slowly to a delicate golden color. If you skip the water bath, the edges can become rubbery and the center may not set evenly.
- Bake for 40 to 45 minutes, until the cakes rise and are lightly golden on top: During baking you will hear subtle oven sounds and see the tops puff upward and take on a pale golden hue. A toothpick inserted near the center should come out mostly clean with a few moist crumbs, confirming a set but tender interior. The timing window accounts for small oven variances, so trust the visual cues more than the clock. Over baking will dry the pudding like base, so remove promptly when set.
- Carefully remove each ramekin from the baking dish, being sure not to drip water onto the other cakes: Lift ramekins with oven mitts to a cooling rack, taking care not to spill the hot water which can mar other cakes. You will notice a faint steam release and a warm, lemon scented breath as each is uncovered. Handling gently preserves the fragile tops, and transferring promptly reduces residual cooking from the hot water. A common mistake is tilting ramekins during removal, which can drip water into the pastries and affect texture.
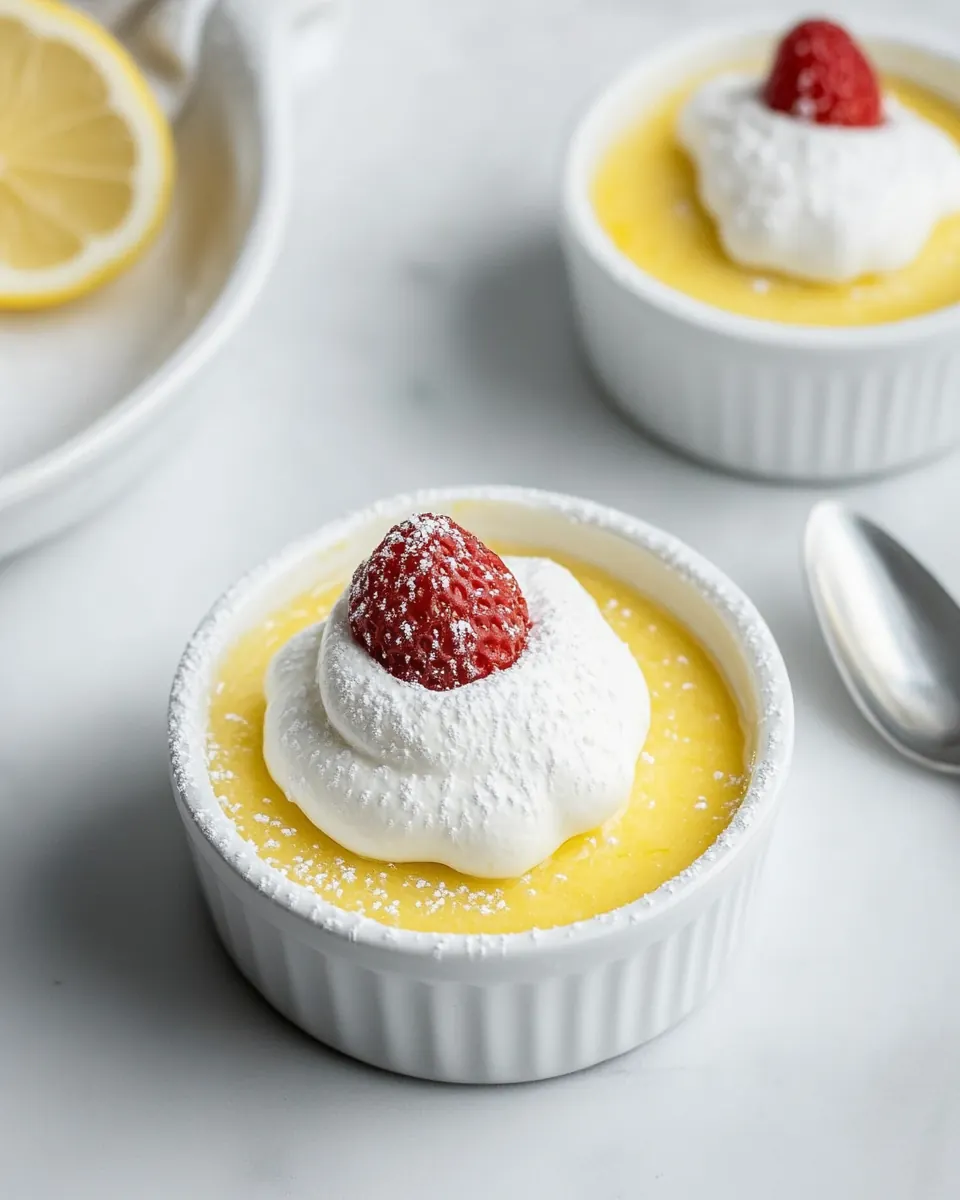
- Let the cakes cool on a cooling rack for 15 to 20 minutes before serving: As they cool the custardy base sets further and the top softens slightly to a tender, spoonable state. The aroma of lemon becomes more pronounced once the steam diminishes, and the contrast between warm pudding and airy top is most pleasing at this temperature. Finish with a light dusting of powdered sugar and berries if desired, adding visual brightness and a hint of extra sweetness. Resist serving piping hot, which can mask the nuanced textures.
Tips for Success
A few targeted tips will elevate your results, keeping textures light and flavors bright. These suggestions address common pitfalls and help you get consistent, beautiful Lemon Pudding Cake every time.
- Room temperature eggs: Let the eggs sit out for about 20 minutes before separating, because yolks and whites integrate more smoothly at room temperature, producing a more cohesive batter and stronger whipped whites.
- Clean bowls: Make sure the bowl used for whipping egg whites is spotless and free of grease, as any fat residue will prevent the whites from reaching the proper medium soft peaks needed for lift.
- Gentle folding: Fold using a light hand and broad strokes, turning the bowl as you go to preserve air and create that signature airy top without over mixing.
- Even ramekin fill: Use a ladle or measuring cup to distribute batter evenly among the six ramekins, which ensures uniform baking and consistent texture across servings.
- Water bath care: Pour water slowly around the ramekins so it does not splash into the batter, and fill to about halfway up the sides to provide gentle, even heat.
- Watch doneness: Start checking at the lower end of the bake window and look for a lightly golden top with a mostly set center, because over baking dries the custardy base.
Accompaniments for Lemon Pudding Cake
This section outlines complementary pairings, occasions for serving, and storage notes so your Lemon Pudding Cake shines at the table.
- Fresh berries for brightness: Serve with a spoonful of raspberries or blueberries which provide a tart counterpoint and add visual color contrast when presented at brunch.
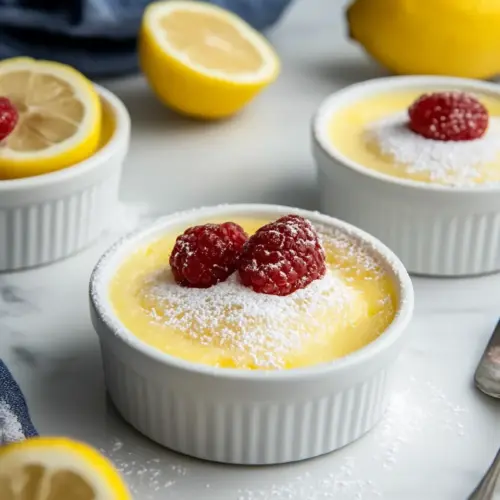
- Light dusting for presentation: A fine dusting of powdered sugar creates an elegant finish that highlights the cake’s golden peaks and is great for dinner party plating.
- Serve warm for best texture: Offer the cakes warm to accentuate the contrast between the airy top and the pudding like base, perfect after a heavier meal when guests appreciate a lighter dessert.
- Occasions: These are ideal for spring gatherings and intimate dinners, and they fit well on menus for casual brunches or special celebrations where a delicate dessert is desired.
- Storage: Keep leftovers covered in the refrigerator for up to two days; gently rewarm in a low oven to restore the warm, tender quality before serving again.
- Seasonal pairings: Pair with a simple fruit compote in warmer months, while a spoonful of stewed stone fruit complements the lemon flavors in cooler months.
FAQ
Conclusion
This Lemon Pudding Cake stands out for its bright citrus flavor and the beautiful contrast between a light, airy top and a creamy, pudding like base. It is a deceptively simple dessert that rewards careful technique and offers a refined finish without fuss. Try it when you want a dessert that feels special but does not demand complicated ingredients or equipment, and invite someone to share a ramekin with you. It’s the kind of recipe that becomes a comforting favorite because it is forgiving, elegant, and reliably delicious.
Lemon Pudding Cake
Equipment
- Oven
- Ramekins
- 9×13 baking dish
- Mixing Bowls
- Whisk
- Hand mixer or stand mixer
- Spatula
- Cooling rack
Ingredients
- 3 large eggs separated and room temperature Separate and use the eggs to create structure and lightness; whisk the whites into stiff peaks for an airy pudding layer while the yolks enrich the custard base with fat and flavor.
- 1 cup whole milk Heat and incorporate the whole milk to form the custard, providing creaminess and moisture; gently warm it when combining with eggs to prevent curdling and ensure a smooth texture.
- 1 tablespoon lemon zest Zest the lemon to contribute concentrated citrus aroma and bright essential oils; sprinkle the finely grated peel into the batter to lift flavor without adding acidity.
- 7 tablespoons lemon juice Juice the lemons to supply bright acidity and tartness that balances sweetness; fold into the custard mixture to create the characteristic lemon tang and help set the pudding.
- 2 tablespoons unsalted butter melted Melt and add the unsalted butter to bring silkiness and a subtle richness; stir into the batter to improve mouthfeel and aid in browning without introducing extra salt.
- 1/4 teaspoons salt Measure and include the salt to enhance and balance flavors; a small amount rounds out sweetness and elevates the lemon notes without making the dessert salty.
- 6 tablespoons all-purpose flour Whisk in the all-purpose flour to thicken and stabilize the custard and pudding layers; it provides structure so the cake firms up while still allowing a tender crumb.
- 3/4 cup granulated sugar Dissolve and fold the granulated sugar to sweeten and help create a tender texture; sugar also aids in caramelization and helps the egg proteins set properly.
Instructions
- Preheat the oven to 350 degrees Fahrenheit and place a rack in the center position of the oven. Grease six 6-ounce ramekins and place them in a 9×13 baking dish with at least 2-inch high sides. Set aside.: As the oven comes up to temperature you will notice a gentle warming scent, and the consistent heat is essential for even rising. A center rack placement ensures balanced heat exposure so the tops brown lightly while the custard sets underneath. If your oven runs hot in spots, rotate the baking dish halfway through the bake, watching for even color. A common mistake is rushing preheat, which can lead to uneven rise and undercooked centers.
- In a large bowl, whisk together the egg yolks, milk, lemon zest, lemon juice, melted butter, and salt. Add the flour and sugar and mix until combined.: When you grease the ramekins, use a thin film of butter so the cakes release cleanly and maintain their shape. Arrange them snugly in a deep baking dish to allow room for water to surround the ramekins without sloshing over. The tactile feel of a well greased ramekin helps later when unmolding, and the contrast between smooth metal or ceramic and the batter is satisfying. Avoid over greasing which can cause the outer edge to become oily and interfere with the delicate top setting.
- In a medium bowl, beat the egg whites until medium-soft peaks form. Gently fold 1/3 of the egg whites into the lemon batter. When no white from the egg whites remains, gently fold in the remaining egg whites.: As you whisk, the mixture will thin and smell vividly of citrus, the lemon oils mingling with warm dairy notes. This step builds the flavored custard base so you want a smooth, homogeneous texture with no streaks of yolk. The whisking also helps incorporate air gently, creating a base that will support folding. One pitfall is whisking too briefly, leaving small pockets of unmixed flour later; take the few extra seconds to ensure uniformity.
- Evenly separate the batter between the prepared ramekins. Place the baking dish on the center rack of the oven and carefully fill the dish with water until it is halfway up the sides of the ramekins.: When you add the all purpose flour and granulated sugar , stir until the batter is seamless and slightly glossy. The sugar should dissolve enough to lose individual graininess, and the flour must be fully hydrated to avoid lumps that produce pockets of dry flour in the finished cake. You will notice the batter thicken slightly compared to the milk mixture, and it should coat the back of a spoon. Avoid vigorous mixing which can develop gluten and toughen the final texture.
- Bake for 40-45 minutes, until the cakes rise and are lightly golden on top. Carefully remove each ramekin from the baking dish, being sure not to drip water onto the other cakes.: The egg whites will transform from clear and fluid to opaque and cloudlike, and when you lift the whisk you should see peaks that curl over slightly. This stage captures the air that lifts the cake, creating that souffle like top. Use a clean, dry bowl and beaters, as any fat or residue can prevent proper foaming. A frequent error is over beating to stiff peaks, which makes folding difficult and can cause the final texture to become dry.
- Let the cakes cool on a cooling rack for 15-20 minutes before serving. Dust with powdered sugar and serve with berries, if desired.: As you fold the first portion of whipped whites in, you will notice the batter lighten visibly and gain volume. The technique is delicate, using a broad spatula to sweep down the center and fold edges in, turning the bowl as you go. This initial incorporation loosens the batter and makes it easier to fold in the remainder without deflating the foam. Rushing or cutting through the mixture aggressively will collapse air and yield a denser cake.
- When no white from the egg whites remains, gently fold in the remaining egg whites: At this stage the batter should be uniform in color, and you will still see soft, pillowy air pockets. Continue folding with slow, deliberate motions to preserve volume, aiming for a batter that moves like thick cream. The smell remains bright from the lemon zest , and the texture should be airy but cohesive. Avoid over folding which can eliminate the trapped air, resulting in a lackluster rise.
- Evenly separate the batter between the prepared ramekins: Spoon or ladle the batter so each ramekin fills to an even level, which ensures consistent bake times and uniform tops. The batter will sit glossy and slightly bubbled, hinting at the lift to come. Filling uniformly prevents some ramekins from being overcooked while others remain underdone. A common slip up is uneven distribution, which leads to varied textures across the batch.
- Place the baking dish on the center rack of the oven and carefully fill the dish with water until it is halfway up the sides of the ramekins: Pouring hot tap water around the ramekins creates a gentle steam environment that helps set the custard without drying out the tops. Be cautious to avoid splashing water into the batter. The water bath stabilizes temperature, producing a silky base and ensuring the top rises slowly to a delicate golden color. If you skip the water bath, the edges can become rubbery and the center may not set evenly.
- Bake for 40 to 45 minutes, until the cakes rise and are lightly golden on top: During baking you will hear subtle oven sounds and see the tops puff upward and take on a pale golden hue. A toothpick inserted near the center should come out mostly clean with a few moist crumbs, confirming a set but tender interior. The timing window accounts for small oven variances, so trust the visual cues more than the clock. Over baking will dry the pudding like base, so remove promptly when set.
- Carefully remove each ramekin from the baking dish, being sure not to drip water onto the other cakes: Lift ramekins with oven mitts to a cooling rack, taking care not to spill the hot water which can mar other cakes. You will notice a faint steam release and a warm, lemon scented breath as each is uncovered. Handling gently preserves the fragile tops, and transferring promptly reduces residual cooking from the hot water. A common mistake is tilting ramekins during removal, which can drip water into the pastries and affect texture.
- Let the cakes cool on a cooling rack for 15 to 20 minutes before serving: As they cool the custardy base sets further and the top softens slightly to a tender, spoonable state. The aroma of lemon becomes more pronounced once the steam diminishes, and the contrast between warm pudding and airy top is most pleasing at this temperature. Finish with a light dusting of powdered sugar and berries if desired, adding visual brightness and a hint of extra sweetness. Resist serving piping hot, which can mask the nuanced textures.
Notes
- Room temperature eggs: Let the eggs sit out for about 20 minutes before separating, because yolks and whites integrate more smoothly at room temperature, producing a more cohesive batter and stronger whipped whites.
- Clean bowls: Make sure the bowl used for whipping egg whites is spotless and free of grease, as any fat residue will prevent the whites from reaching the proper medium soft peaks needed for lift.
- Gentle folding: Fold using a light hand and broad strokes, turning the bowl as you go to preserve air and create that signature airy top without over mixing.
- Even ramekin fill: Use a ladle or measuring cup to distribute batter evenly among the six ramekins, which ensures uniform baking and consistent texture across servings.
- Water bath care: Pour water slowly around the ramekins so it does not splash into the batter, and fill to about halfway up the sides to provide gentle, even heat.
- Watch doneness: Start checking at the lower end of the bake window and look for a lightly golden top with a mostly set center, because over baking dries the custardy base.