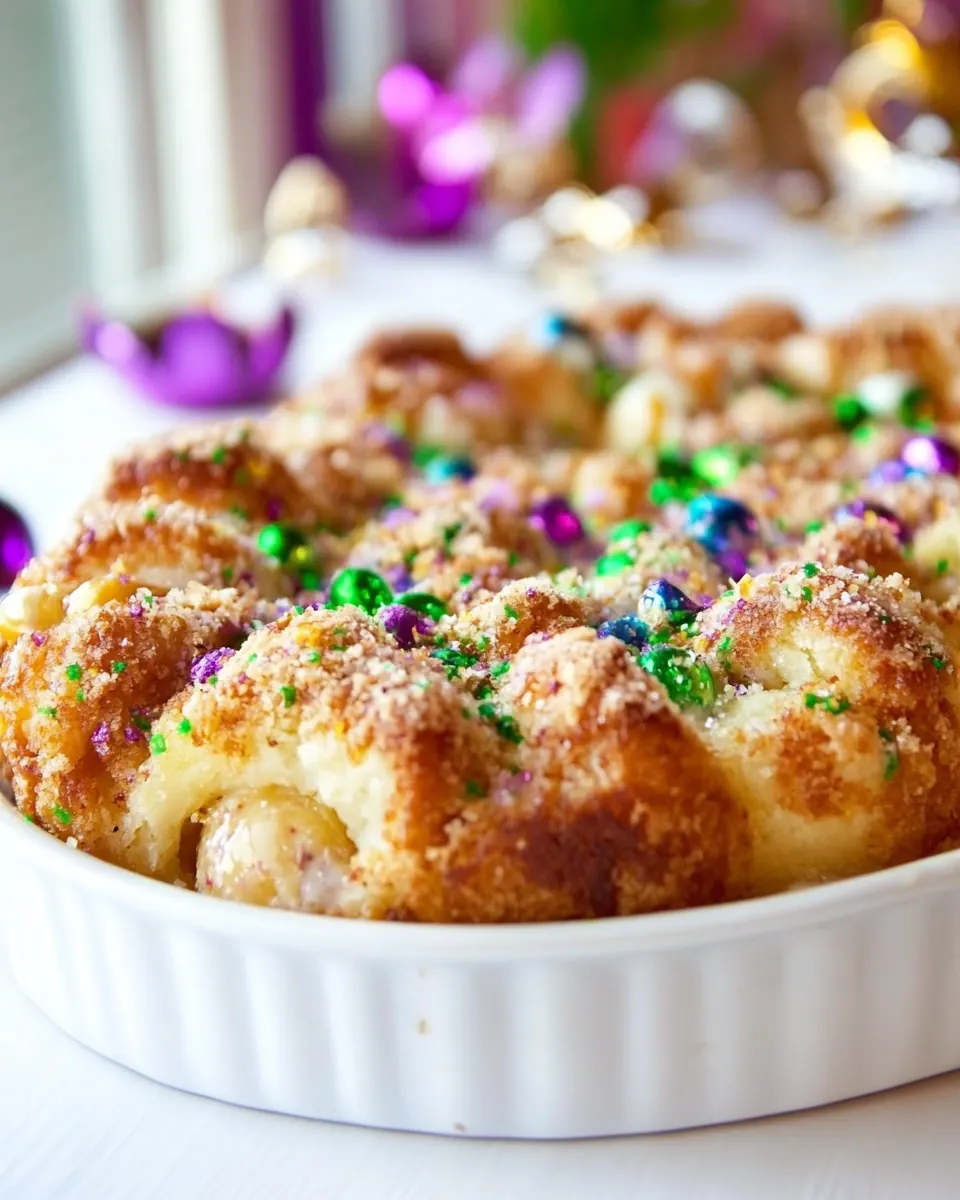
King Cake Bubble Up
King Cake Bubble Up is one of those recipes that feels like celebration in a pan, and the first time I made it I learned how a simple batch can lift an ordinary morning into something memorable.
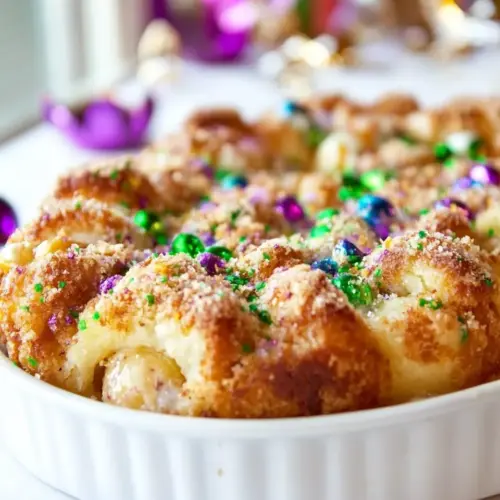
Years ago I brought this dessert style brunch casserole to a neighborhood potluck, and people kept asking for the recipe between bites. I remember the warm, yeasty aroma of the chopped cinnamon rolls mingling with the tang of soft cream cheese, and the playful sparkle of purple, yellow, and green sugar as guests sprinkled it on. That day I realized this dish works both as a festive centerpiece and a comforting treat when you want something fuss free yet showy.
I like how forgiving the technique is. You do a little chopping, whisk up a creamy custard, pour it over the dough pieces, then bake until puffed and golden. It feels hands on but not precious, which is my favorite kind of recipe to make for friends when time is short but the desire to impress is high. The leftover slices warmed in the oven the next morning tasted just as good, and that ongoing discovery made me fall in love with it all over again.
Recipe Snapshot
45 mins
10 mins
35 mins
Medium
300 kcal
American
Gluten-Free, Low FODMAP
Desserts
Hand Mixer, Mixing Bowls, 9×13-inch Baking Dish, Chef Knives, Cutting Board
The Beauty of This King Cake Bubble Up
Comforting crowd pleaser
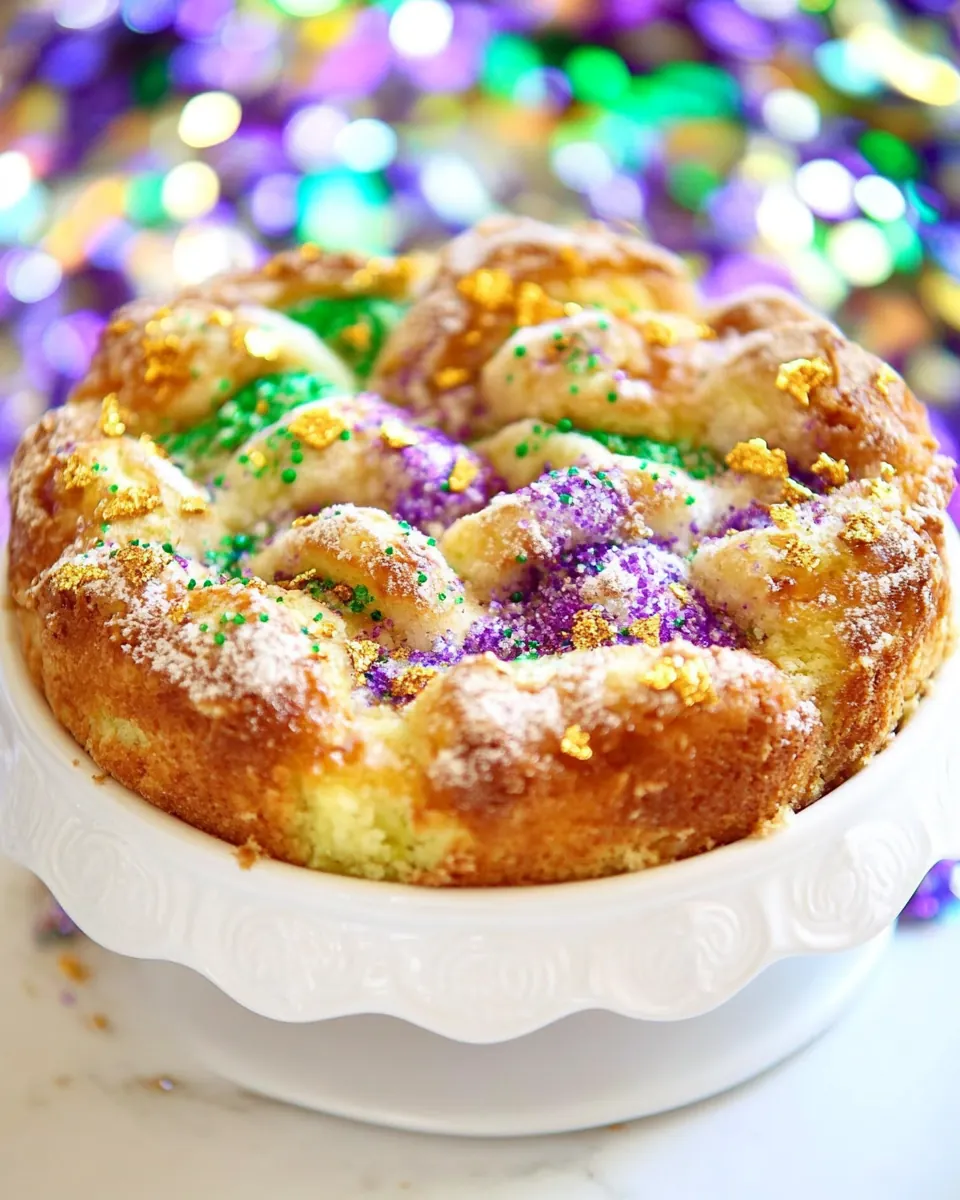
One reason I always reach for King Cake Bubble Up is its ability to serve a group with minimal fuss. The texture is soft and slightly custardy inside, with edges that toast up and provide contrast, so everyone gets a satisfying bite. I’ve watched this disappear at brunches, and it reliably becomes the talk of the table, which is why I keep the recipe in heavy rotation.
Fast to assemble
I appreciate how quickly it comes together. With a few simple moves you go from raw ingredients to the oven in under 15 minutes. That speed makes it ideal for last minute gatherings, when I want something impressive without a lengthy prep. It also lets you focus on other dishes or conversation instead of hovering in the kitchen.
Playful, festive presentation
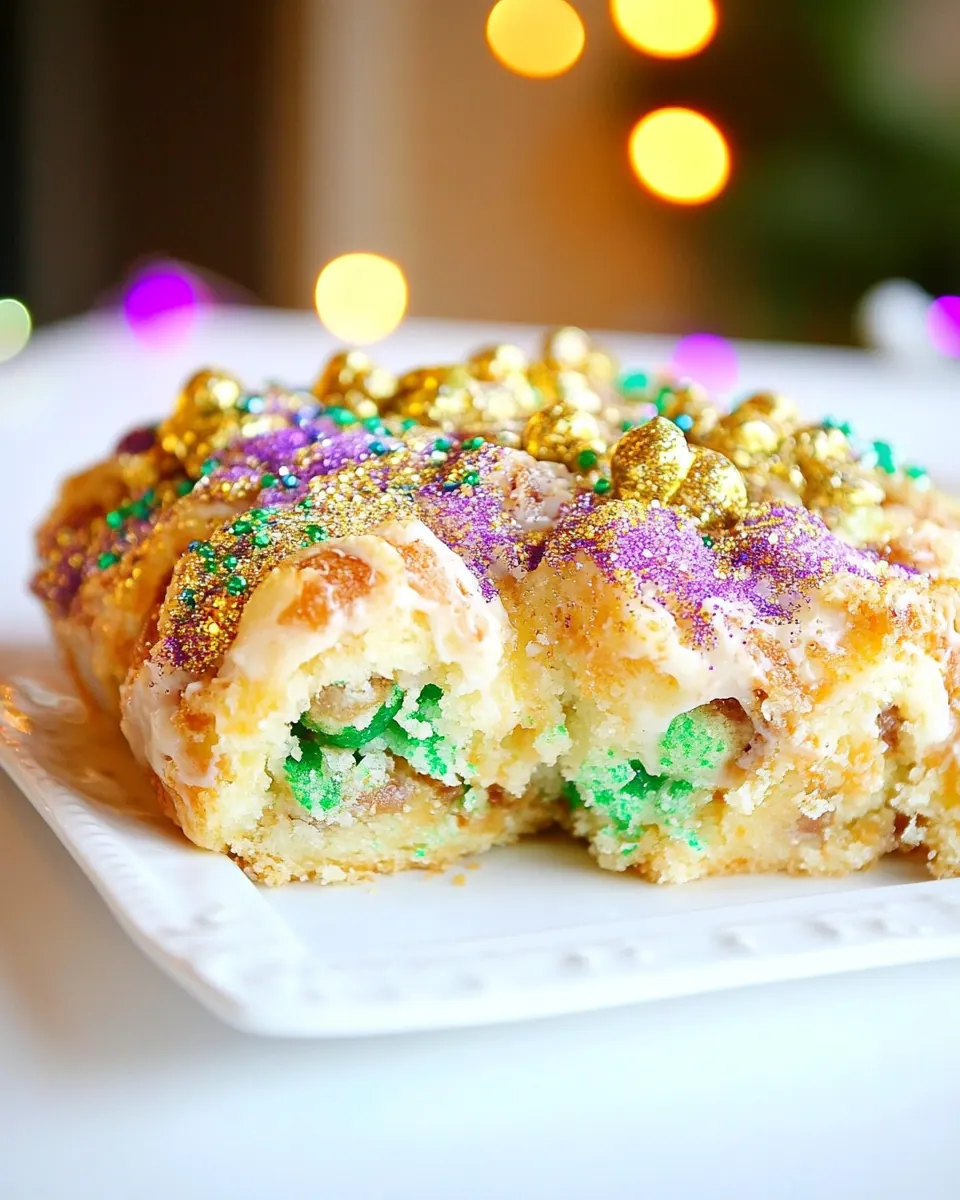
The colored sugar topping gives the dish instant personality. I enjoy letting guests sprinkle the purple, yellow, and green themselves, which turns serving into part of the experience. For Mardi Gras style gatherings or any celebration, the visual pop adds joy before the first bite. It’s an easy flourish that signals festivity without extra effort.
Flexible and forgiving
This recipe tolerates small timing variances and ingredient swaps in texture while keeping its character. If the bake time runs a touch long the edges crisp more, and if it comes out a touch underdone the interior remains luscious. That margin for error makes it great for home cooks who want reliability and a delicious result even on busy days.
Kid friendly and nostalgic
There is something almost nostalgic about tearing into bits of sticky cinnamon rolls warmed and dressed with icing. Kids gravitate to the sweet ease of it, and I love watching familiar faces light up at that first warm forkful. It’s comfort food that also feels special, which is a rare and winning combination.
Key Ingredients for King Cake Bubble Up
These ingredients work together to create a texture that is both tender and slightly gooey, while offering a sweet, spiced backbone. The canned cinnamon rolls provide the doughy base and swirls of cinnamon, while the cream cheese enriched custard adds richness and a subtle tang. The eggs and milk bind everything into a custard that bakes into pockets of softness and help the pieces puff and set. Finally, the colored sugar gives that signature festive finish.
- 2 (12.4-oz) cans refrigerated Pillsbury cinnamon rolls: Provide ready-to-use sweet dough pieces that form the base and layers of the bubble up; open and separate rolls before arranging to create pockets that bake into pull-apart pieces. Add the spiraled cinnamon flavor and contribute to the cake’s overall structure and volume during baking.
- 1 (8-oz) package cream cheese, softened: Soften to a spreadable texture and create a creamy, tangy filling that complements the cinnamon sweetness; beat until smooth to help bind sugars and eggs for a richer interior. Add moisture and a slight tang that contrasts the sweet dough, improving mouthfeel and sliceability.
- 2/3 cups sugar: Sweeten and balance flavors by adding caramelized notes when mixed into the cream cheese layer or sprinkled between dough pieces; dissolve into fillings to provide even sweetness. Help caramelize lightly during baking for added depth and to cut the richness of dairy components.
- 2 eggs: Enrich the mixture by providing structure, moisture, and emulsification; whisk into the cream cheese filling and milk to create a cohesive custard-like texture. Aid in setting the filling as it bakes, giving the finished dessert a tender, cake-like crumb.
- 1 tsp vanilla: Enhance and deepen overall flavor with warm, familiar vanilla notes; stir into wet mixtures so the aroma infuses the dough and fillings. Support and round out the sweetness, making other flavors taste more harmonious and developed.
- 1 cup milk: Add liquid to create the correct batter or custard consistency when combined with eggs and cream cheese; whisk in to loosen fillings and help ingredients blend smoothly. Contribute to steam during baking, which aids in leavening and creates a tender interior.
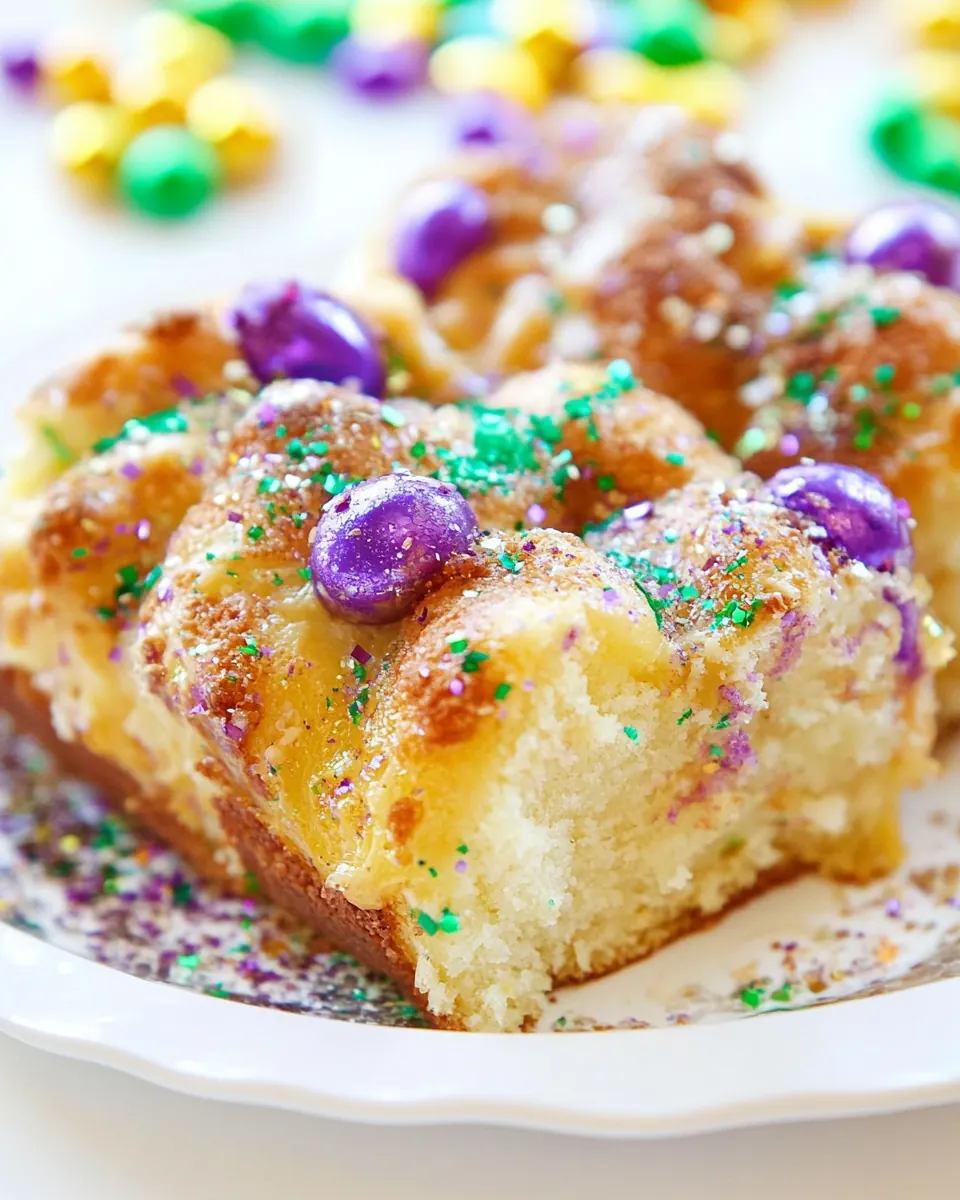
- purple, yellow, green sugar: Provide vibrant, festive decoration and a hint of crystalline texture when sprinkled over glaze or dough; apply in traditional Mardi Gras colors after baking for visual authenticity. Reinforce celebratory appearance and add a subtle crunchy contrast to the soft baked elements.
Making This King Cake Bubble Up
Let me walk you through the rhythm of making this recipe. The steps are straightforward, but I like to point out sensory cues and small adjustments that help you get the best result. With a little attention to texture and timing you will end up with a golden, tender bubble up that smells irresistible.
- Preheat oven to 375ºF. Lightly spray a 9×13-inch pan with cooking spray.: As the oven warms, you will notice a gentle hum and the faint scent of heating metal, which signals the environment that will puff and set the custard. Preheating ensures the cinnamon rolls begin baking immediately on contact, promoting even rise and a golden color. If you skip thorough preheating the bake time will be longer and the inside may remain too soft, so always wait until the oven reaches the full 375ºF reading.
- Separate cinnamon rolls, save icing to use after the bubble up is baked. Cut each cinnamon roll into 4 pieces. Place in bottom of prepared pan.: When you coat the pan, the thin oily sheen prevents sticking and helps the edges brown cleanly. A well prepared pan releases the casserole easily and keeps the presentation tidy. Avoid heavy oiling which pools and causes greasy spots; a light, even spray is all you need.
- Using a hand held electric mixer, beat together cream cheese and sugar. Add eggs and vanilla, mixing well. Add milk and mix until combined. Pour over chopped cinnamon rolls.: As you pull apart each can, you will hear small tearing sounds and see the tight spirals loosen; reserving the icing preserves its glossy sweetness for the finish. Saving the icing lets you add a smooth, sweet layer once the casserole cools slightly. A common error is mixing the icing in too soon which makes it runny during baking, so keep it aside until after cooling.
- Bake for 30 to 35 minutes. Remove from oven and cool for 5 to 10 minutes. Spread cinnamon roll icing over top of casserole. Sprinkle with colored sugar.: Cutting into quarters creates bite sized chunks that will soak up the custard evenly and develop toasted edges in the oven. Aim for consistent piece sizes to ensure uniform texture throughout the pan. If the pieces are wildly uneven some will burn while others remain doughy, so take a moment to make tidy cuts.
- Place in bottom of prepared pan: As you arrange the pieces, you will notice shifting shapes and little gaps where custard can pool; this is desirable because the liquid will nestle into every crevice. Distribute the pieces so no one area is overloaded, which helps the custard penetrate evenly. Pressing down is unnecessary, as light placement allows the dough to puff naturally.
- Using a hand held electric mixer, beat together cream cheese and sugar: When you blend cream cheese and sugar , the mixture becomes smooth and slightly glossy, losing any lumps and gaining a uniform texture. Properly creamed ingredients dissolve better into the custard, preventing graininess. If the cream cheese is still cold you will see small clumps, so let it warm to room temperature to avoid uneven mixing.
- Add eggs and vanilla, mixing well: Adding the eggs and vanilla introduces structure and aromatic lift; the mixture will lighten slightly and smell faintly floral from the vanilla. Proper incorporation keeps pockets of egg from cooking in the oven, ensuring a consistent custard. Overmixing can introduce excess air, which may alter the final texture, so combine until homogeneous but not frothy.
- Add milk and mix until combined: When you pour in the milk , the batter loosens into a pourable custard; its surface will gleam and flow smoothly. This step is crucial because the milk determines how much the dough will soak and how creamy the interior becomes. If the milk is cold it can momentarily stiffen the mixture, so stirring until fully integrated avoids lumps and ensures even texture.
- Pour over chopped cinnamon rolls: As you pour, the custard will settle into gaps and begin to sink around the dough pieces, a satisfying visual cue that the dessert will knit together in the oven. The custard should coat surfaces and pool in low spots, promising pockets of creaminess when baked. If you see dry islands, tilt the pan slightly or use a spoon to encourage coverage so each piece soaks properly.
- Bake for 30 to 35 minutes: During baking you will observe gentle puffing, a light golden sheen, and a fragrant swirl of cinnamon and baked dairy. The edges will darken first, offering a crisp contrast to the soft center, and a toothpick inserted into the middle should come out with moist crumbs rather than raw batter. Avoid opening the oven frequently, which can drop the temperature and prolong baking; trust the time and watch for those golden cues.
- Remove from oven and cool for 5 to 10 minutes: Cooling allows the custard to settle so slices hold shape, and the aroma shifts from hot dairy to a slightly caramelized sweet scent. A short rest helps the icing adhere rather than slide off, ensuring a neat glaze layer. Cutting too soon risks a runny center, so be patient for the ideal fork friendly texture.
- Spread cinnamon roll icing over top of casserole: When you spread the reserved icing, it will soften from contact with the warm surface and create a glossy, sweet coat that complements the tangy custard. Use a spatula to create an even layer, leaving little peaks that pick up colored sugar well. If the casserole is too hot the icing can melt away, so aim for a warm but not steaming surface to maintain texture.
- Sprinkle with colored sugar: The final dusting of purple, yellow, and green sugar adds crunch and festive color, catching the light and signaling celebration. Sprinkle evenly so every portion gets a bright accent and slight textural contrast. Add the sugar just before serving, as early application can dissolve into the glaze and lose its sparkle.
Making Adjustments
This section helps you adapt the recipe to different needs while preserving the core character of King Cake Bubble Up. Below are practical ideas and small tweaks I use depending on occasion and ingredients on hand.
- Soften dairy first If your cream cheese is cold, let it sit at room temperature for 30 minutes to avoid lumps when mixing, which makes for a silkier custard.
- Even cuts matter Try to cut each cinnamon roll into similarly sized pieces so they brown and soak evenly, preventing underdone pockets.
- Bake time adjustments If your oven runs hot, check five minutes early for doneness via toothpick to avoid overbrowning the edges.
- Milk choice Use whole milk for a richer custard, or lower fat milk for a slightly lighter texture, understanding richness will vary.
- Serving timing Allow a 5 to 10 minute cool down so the casserole sets and the icing adheres rather than sliding off.
- Storage Store leftovers covered in the refrigerator and rewarm briefly in a low oven to refresh the crust without drying the inside.
Pairing Suggestions for King Cake Bubble Up
This dish is versatile at the table. Whether you are serving a festive brunch or an indulgent weekend breakfast, these pairings and serving tips help you build a memorable spread and store leftovers thoughtfully. I include ideas for occasions and practical serving styles to make hosting simpler.
- Serve with coffee Pair slices with strong brewed coffee to balance the sweetness, and offer both regular and decaf to please different guests.
- Fresh fruit on the side A bowl of sliced oranges or berries adds acidity and freshness, cutting through the richness and brightening each bite.
- Brunch buffet style Place the casserole on a warm serving trivet and let guests help themselves, adding the colored sugar individually for fun presentation.
- Occasions This is perfect for celebratory brunches, holiday mornings, or any gathering where a sweet centerpiece creates atmosphere.
- Storage tips Cover and refrigerate leftovers for up to three days, and reheat in a 300ºF oven for 10 to 15 minutes to revive the texture.
- Seasonal pairing In spring, pair with citrus fruit or mint sprigs for a lighter contrast to the creamy casserole.
FAQ
Conclusion
King Cake Bubble Up stands out because it transforms simple pantry items into a festive, crowd friendly casserole that smells like celebration and tastes like comfort. Give it a try when you want a showy brunch centerpiece without a lot of fuss, and you will likely find it becoming a repeat request at your gatherings. I hope you enjoy how easy it is to assemble and how delightful it is to serve, from the warm custard pockets to the sparkling colored sugar on top.
King Cake Bubble Up
Equipment
- Hand Mixer
- Mixing Bowls
- 9x13-inch Baking Dish
- Chef Knives
- Cutting Board
Ingredients
- 2 (12.4-oz) cans refrigerated Pillsbury cinnamon rolls Provide ready-to-use sweet dough pieces that form the base and layers of the bubble up; open and separate rolls before arranging to create pockets that bake into pull-apart pieces. Add the spiraled cinnamon flavor and contribute to the cake’s overall structure and volume during baking.
- 1 (8-oz) package cream cheese, softened Soften to a spreadable texture and create a creamy, tangy filling that complements the cinnamon sweetness; beat until smooth to help bind sugars and eggs for a richer interior. Add moisture and a slight tang that contrasts the sweet dough, improving mouthfeel and sliceability.
- 2/3 cups sugar Sweeten and balance flavors by adding caramelized notes when mixed into the cream cheese layer or sprinkled between dough pieces; dissolve into fillings to provide even sweetness. Help caramelize lightly during baking for added depth and to cut the richness of dairy components.
- 2 eggs Enrich the mixture by providing structure, moisture, and emulsification; whisk into the cream cheese filling and milk to create a cohesive custard-like texture. Aid in setting the filling as it bakes, giving the finished dessert a tender, cake-like crumb.
- 1 tsp vanilla Enhance and deepen overall flavor with warm, familiar vanilla notes; stir into wet mixtures so the aroma infuses the dough and fillings. Support and round out the sweetness, making other flavors taste more harmonious and developed.
- 1 cup milk Add liquid to create the correct batter or custard consistency when combined with eggs and cream cheese; whisk in to loosen fillings and help ingredients blend smoothly. Contribute to steam during baking, which aids in leavening and creates a tender interior.
- purple, yellow, green sugar Provide vibrant, festive decoration and a hint of crystalline texture when sprinkled over glaze or dough; apply in traditional Mardi Gras colors after baking for visual authenticity. Reinforce celebratory appearance and add a subtle crunchy contrast to the soft baked elements.
Instructions
- Preheat oven to 375ºF. Lightly spray a 9×13-inch pan with cooking spray.: As the oven warms, you will notice a gentle hum and the faint scent of heating metal, which signals the environment that will puff and set the custard. Preheating ensures the cinnamon rolls begin baking immediately on contact, promoting even rise and a golden color. If you skip thorough preheating the bake time will be longer and the inside may remain too soft, so always wait until the oven reaches the full 375ºF reading.
- Separate cinnamon rolls, save icing to use after the bubble up is baked. Cut each cinnamon roll into 4 pieces. Place in bottom of prepared pan.: When you coat the pan, the thin oily sheen prevents sticking and helps the edges brown cleanly. A well prepared pan releases the casserole easily and keeps the presentation tidy. Avoid heavy oiling which pools and causes greasy spots; a light, even spray is all you need.
- Using a hand held electric mixer, beat together cream cheese and sugar. Add eggs and vanilla, mixing well. Add milk and mix until combined. Pour over chopped cinnamon rolls.: As you pull apart each can, you will hear small tearing sounds and see the tight spirals loosen; reserving the icing preserves its glossy sweetness for the finish. Saving the icing lets you add a smooth, sweet layer once the casserole cools slightly. A common error is mixing the icing in too soon which makes it runny during baking, so keep it aside until after cooling.
- Bake for 30 to 35 minutes. Remove from oven and cool for 5 to 10 minutes. Spread cinnamon roll icing over top of casserole. Sprinkle with colored sugar.: Cutting into quarters creates bite sized chunks that will soak up the custard evenly and develop toasted edges in the oven. Aim for consistent piece sizes to ensure uniform texture throughout the pan. If the pieces are wildly uneven some will burn while others remain doughy, so take a moment to make tidy cuts.
- Place in bottom of prepared pan: As you arrange the pieces, you will notice shifting shapes and little gaps where custard can pool; this is desirable because the liquid will nestle into every crevice. Distribute the pieces so no one area is overloaded, which helps the custard penetrate evenly. Pressing down is unnecessary, as light placement allows the dough to puff naturally.
- Using a hand held electric mixer, beat together cream cheese and sugar: When you blend cream cheese and sugar , the mixture becomes smooth and slightly glossy, losing any lumps and gaining a uniform texture. Properly creamed ingredients dissolve better into the custard, preventing graininess. If the cream cheese is still cold you will see small clumps, so let it warm to room temperature to avoid uneven mixing.
- Add eggs and vanilla, mixing well: Adding the eggs and vanilla introduces structure and aromatic lift; the mixture will lighten slightly and smell faintly floral from the vanilla. Proper incorporation keeps pockets of egg from cooking in the oven, ensuring a consistent custard. Overmixing can introduce excess air, which may alter the final texture, so combine until homogeneous but not frothy.
- Add milk and mix until combined: When you pour in the milk , the batter loosens into a pourable custard; its surface will gleam and flow smoothly. This step is crucial because the milk determines how much the dough will soak and how creamy the interior becomes. If the milk is cold it can momentarily stiffen the mixture, so stirring until fully integrated avoids lumps and ensures even texture.
- Pour over chopped cinnamon rolls: As you pour, the custard will settle into gaps and begin to sink around the dough pieces, a satisfying visual cue that the dessert will knit together in the oven. The custard should coat surfaces and pool in low spots, promising pockets of creaminess when baked. If you see dry islands, tilt the pan slightly or use a spoon to encourage coverage so each piece soaks properly.
- Bake for 30 to 35 minutes: During baking you will observe gentle puffing, a light golden sheen, and a fragrant swirl of cinnamon and baked dairy. The edges will darken first, offering a crisp contrast to the soft center, and a toothpick inserted into the middle should come out with moist crumbs rather than raw batter. Avoid opening the oven frequently, which can drop the temperature and prolong baking; trust the time and watch for those golden cues.
- Remove from oven and cool for 5 to 10 minutes: Cooling allows the custard to settle so slices hold shape, and the aroma shifts from hot dairy to a slightly caramelized sweet scent. A short rest helps the icing adhere rather than slide off, ensuring a neat glaze layer. Cutting too soon risks a runny center, so be patient for the ideal fork friendly texture.
- Spread cinnamon roll icing over top of casserole: When you spread the reserved icing, it will soften from contact with the warm surface and create a glossy, sweet coat that complements the tangy custard. Use a spatula to create an even layer, leaving little peaks that pick up colored sugar well. If the casserole is too hot the icing can melt away, so aim for a warm but not steaming surface to maintain texture.
- Sprinkle with colored sugar: The final dusting of purple, yellow, and green sugar adds crunch and festive color, catching the light and signaling celebration. Sprinkle evenly so every portion gets a bright accent and slight textural contrast. Add the sugar just before serving, as early application can dissolve into the glaze and lose its sparkle.
Notes
- Soften dairy first If your cream cheese is cold, let it sit at room temperature for 30 minutes to avoid lumps when mixing, which makes for a silkier custard.
- Even cuts matter Try to cut each cinnamon roll into similarly sized pieces so they brown and soak evenly, preventing underdone pockets.
- Bake time adjustments If your oven runs hot, check five minutes early for doneness via toothpick to avoid overbrowning the edges.
- Milk choice Use whole milk for a richer custard, or lower fat milk for a slightly lighter texture, understanding richness will vary.
- Serving timing Allow a 5 to 10 minute cool down so the casserole sets and the icing adheres rather than sliding off.
- Storage Store leftovers covered in the refrigerator and rewarm briefly in a low oven to refresh the crust without drying the inside.