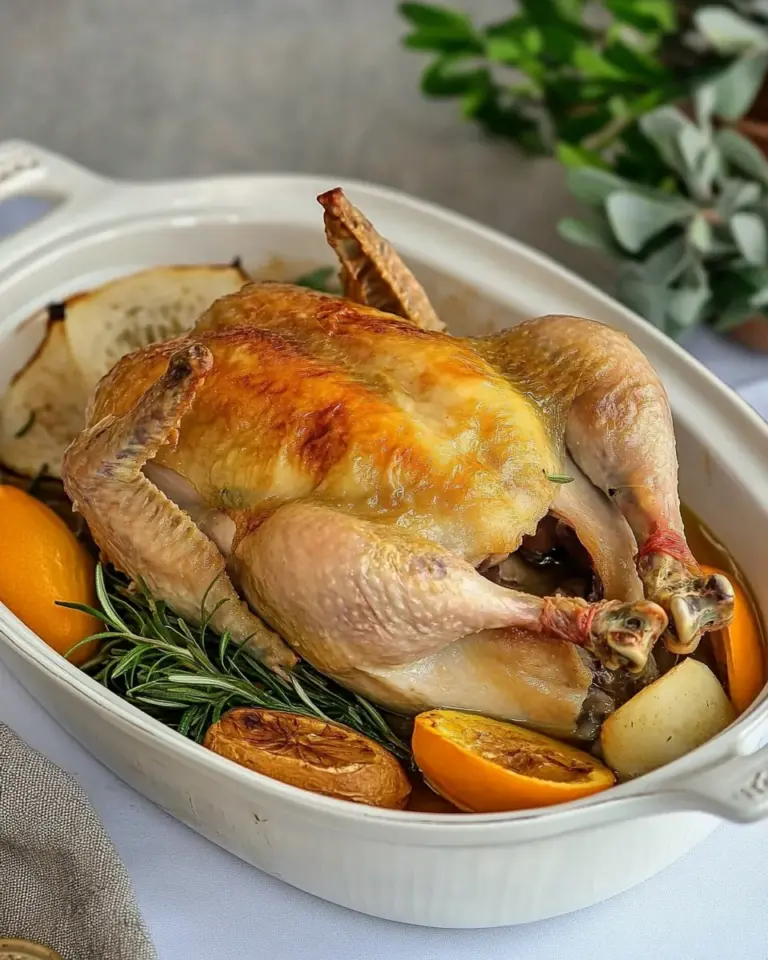
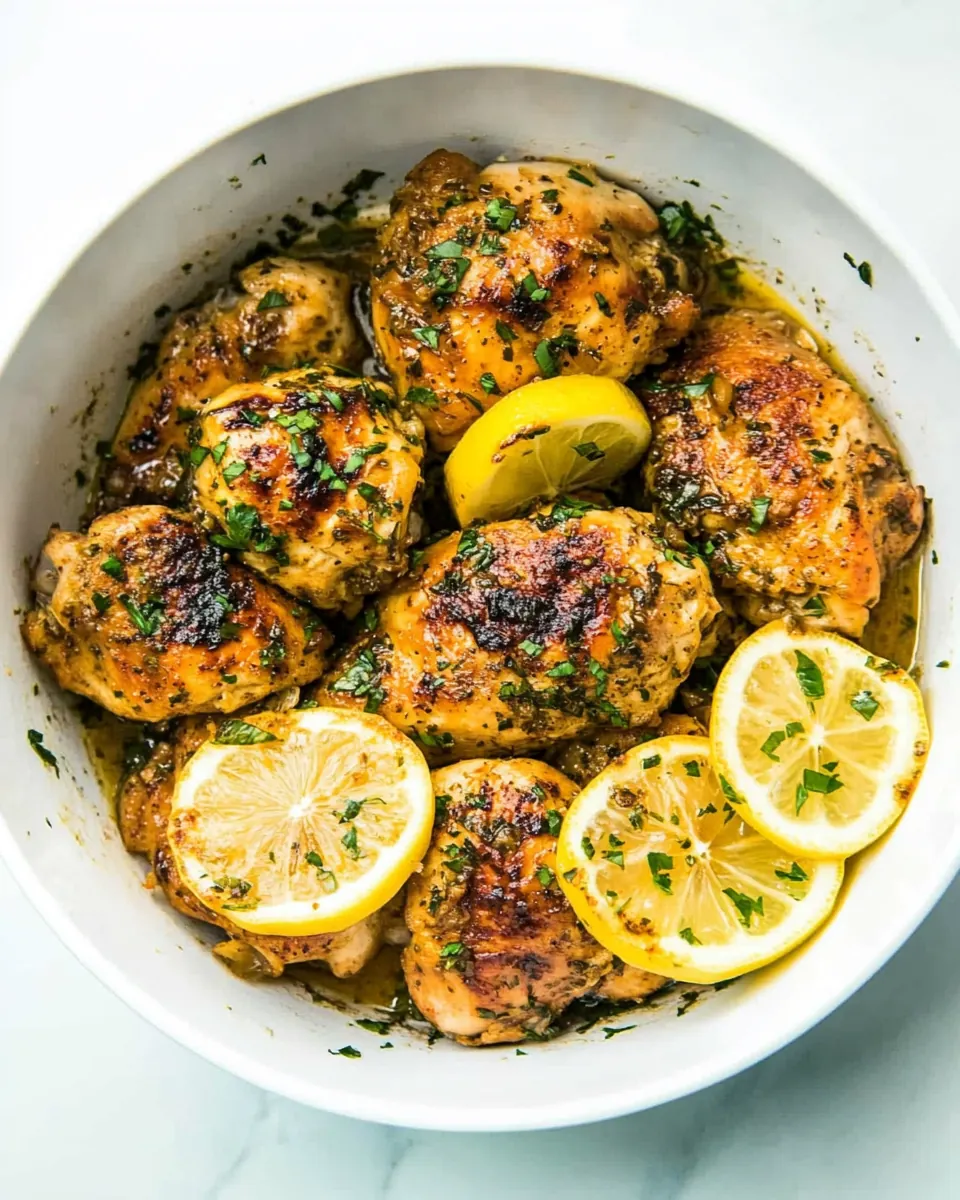
Instant Pot Lemon Garlic Chicken
Instant Pot Lemon Garlic Chicken is the kind of weeknight savior I reach for when I need big flavor with almost no fuss. The first time I made it I was running late after work and had a fridge full of ingredients but not much patience. I browned the chicken quickly, and the kitchen filled with bright lemon and toasted garlic aromas that somehow made the whole evening feel a little special. It became an instant favorite for hectic evenings when I wanted comfort without complicated steps.
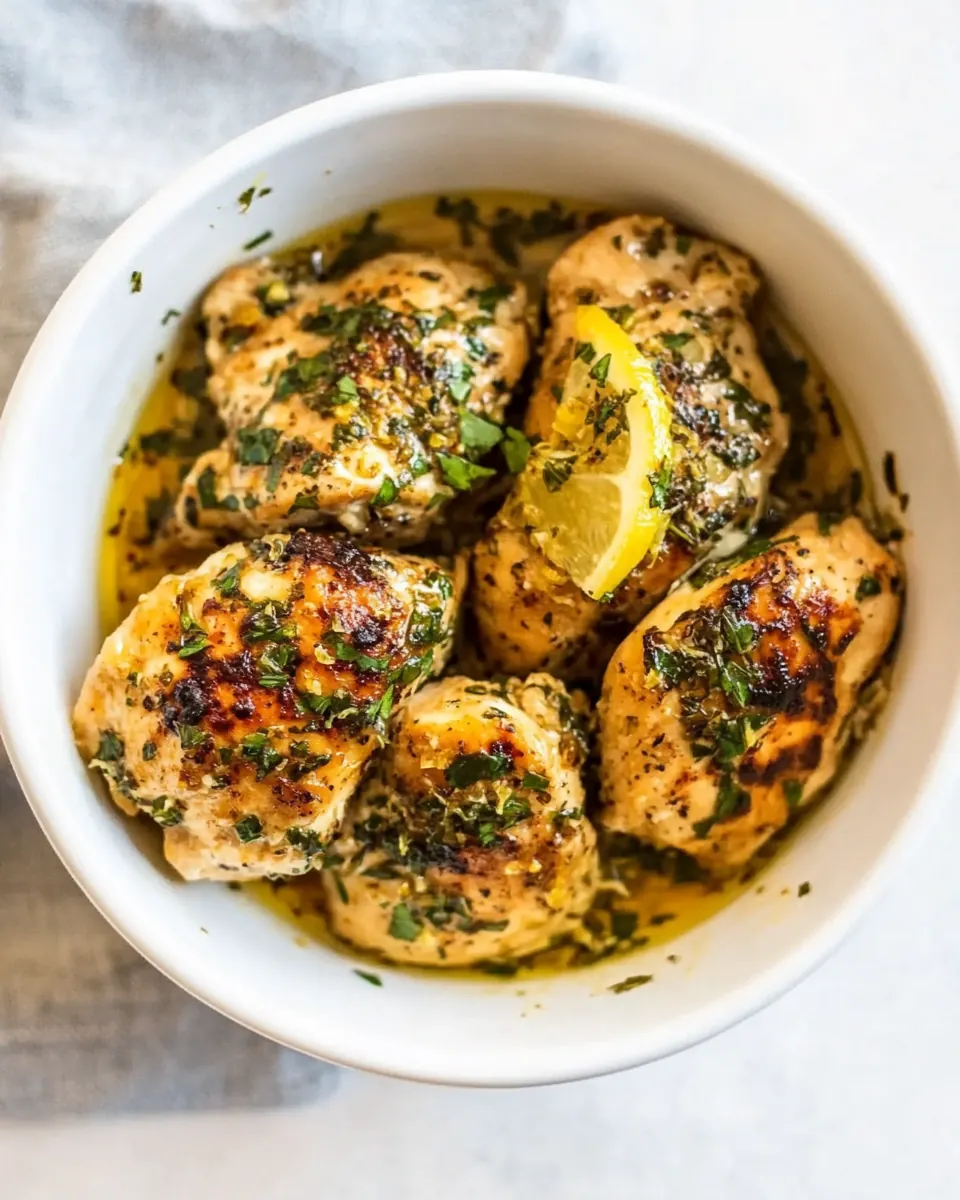
I remember sitting down that night with a fork and a glass of water, savoring the juicy chicken and the silky pan sauce spooned over it. The lemon added lift, while the butter and olive oil gave a rich mouthfeel that felt indulgent but still homey. Ever since then, this recipe has shown up in my rotation for casual dinners, when guests pop over, or when I want leftovers that still sing on day two.
Recipe Snapshot
20 mins
5 mins
15 mins
Medium
350 kcal
American
Keto, Gluten-Free
Dinner
Instant Pot, Wooden spoon
Why This Instant Pot Lemon Garlic Chicken Hits Different
Bright, balanced flavor that sings
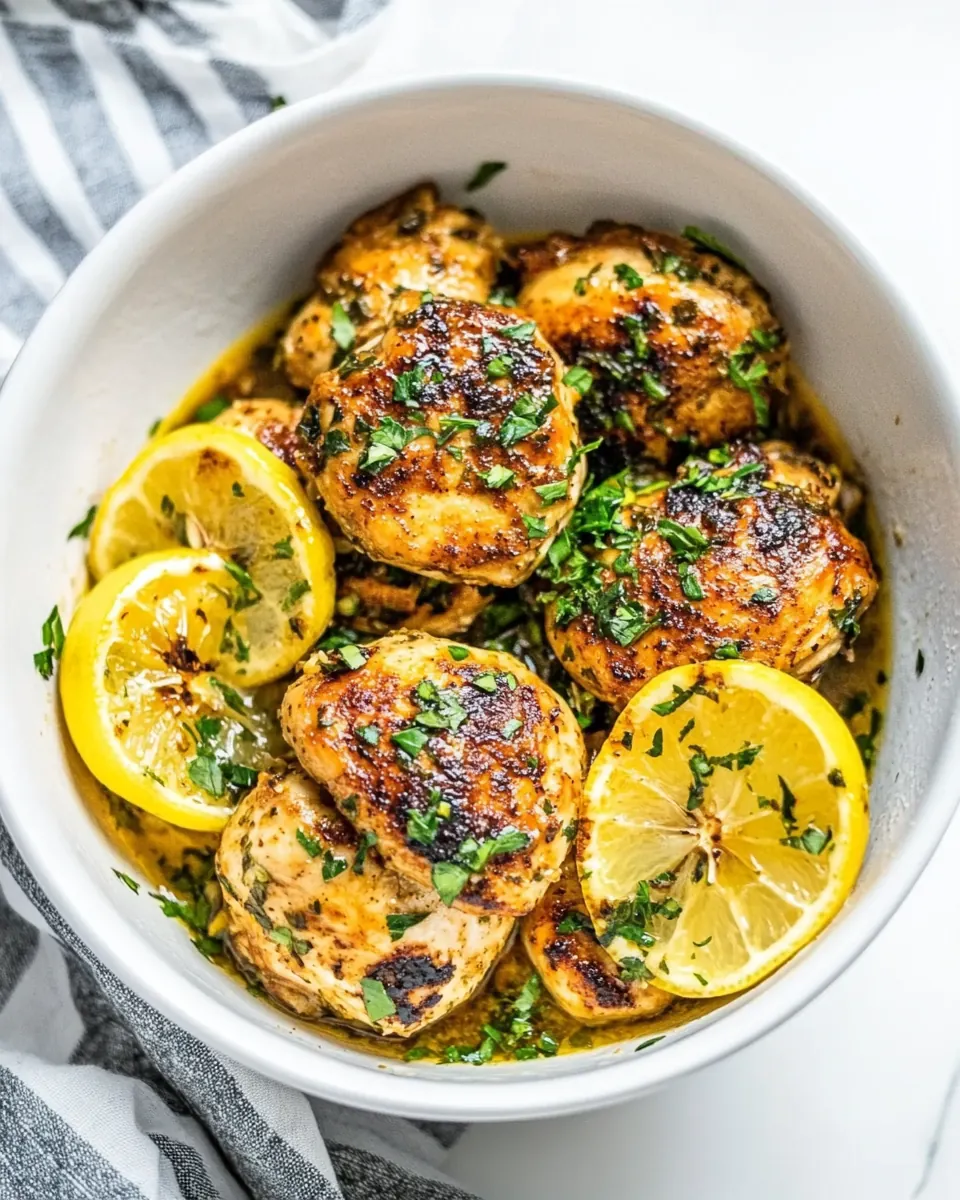
I love how Instant Pot Lemon Garlic Chicken combines tangy lemon with savory garlic, creating a bright, balanced flavor profile. The lemon juice and zest cut through the richness of the butter and olive oil, so every bite feels lively rather than heavy. When I taste it, I notice an immediate citrus brightness followed by buttery depth, which keeps you coming back for another forkful.
Quick weeknight friendly
I often need dinner fast, and the Instant Pot delivers. This method reduces hands on time, while still producing juicy chicken. The pressure cooking step locks in moisture, so the meat stays tender even when you need a quick meal. I appreciate recipes that respect a busy schedule but refuse to compromise on taste.
Comforting sauce with flexible finish
The pan sauce is simple yet comforting. After searing, the sauté stage builds fond, then lemon and chicken broth deglaze the pot into a glossy sauce. I like that you can thicken it if you prefer a clingier finish, or leave it lighter to spoon over grains. That flexibility makes the dish adaptable to whatever you are serving alongside.
Minimal, pantry friendly ingredients
I can usually pull everything from the pantry and fridge, which makes this recipe a reliable option. With garlic, Italian seasoning, and basic aromatics like onion, it uses familiar flavors that pair well with many sides. That simplicity is one reason I keep this one in my go to list.
Great for leftovers and meal prep
I appreciate recipes that improve the next day, and this one does. The sauce keeps the chicken moist in the fridge, and reheating gently on low preserves texture. It’s a top choice when I want a make ahead protein that performs well across several meals.
Shopping List for Instant Pot Lemon Garlic Chicken
These ingredients work in concert to build a simple, aromatic dish with bright citrus notes and garlic depth. I focus on balance, so the rich elements like butter and olive oil are balanced by the acid of lemon, while the chicken anchors the plate. The aromatics create a savory backbone, and finishing herbs lift the whole dish.
- 6 8 boneless chicken thighs skinless or with skin sea salt and pepper, to taste divided: Season generously to enhance overall flavor and help tenderize the chicken; use salt and pepper divided to season both before searing and after cooking for balanced taste. Adjust amounts to personal preference and dietary needs, and remember that skin-on pieces may need slightly more seasoning to penetrate through the skin.
- 1/2 teaspoon garlic powder: Add subtly to boost underlying garlic flavor without overpowering; garlic powder disperses evenly and helps build savory depth when used alongside fresh garlic. Sprinkle during prep or into the seasoning mix to complement other aromatics and herbs.
- 2 tablespoon olive oil: Heat briefly to create a searing surface and develop golden color and caramelized flavor on the chicken; olive oil also prevents sticking and carries heat evenly in the Instant Pot's sauté mode. Choose extra-virgin for flavor or regular olive oil for a neutral profile depending on taste.
- 3 tablespoon butter divided: Melt to enrich the sauce with silky texture and a rich mouthfeel; dividing butter allows for browning during searing and finishing the sauce for gloss and flavor. Use toward the end to round out acidity from lemon and add a luxurious finish to the dish.
- 1/2 small onion, chopped: Sauté to provide a mild sweet and savory base that complements garlic and herbs; chopped onion softens and releases sugars that deepen the sauce's complexity. Cook until translucent to avoid raw bite and to blend smoothly with the other aromatics.
- 4 garlic cloves, sliced or minced: Infuse robust pungency and aromatic lift; sliced or minced garlic releases essential oils when sautéed and pairs with garlic powder for layered garlic presence. Add at the right time to prevent burning and to maximize fragrant contribution to the sauce.
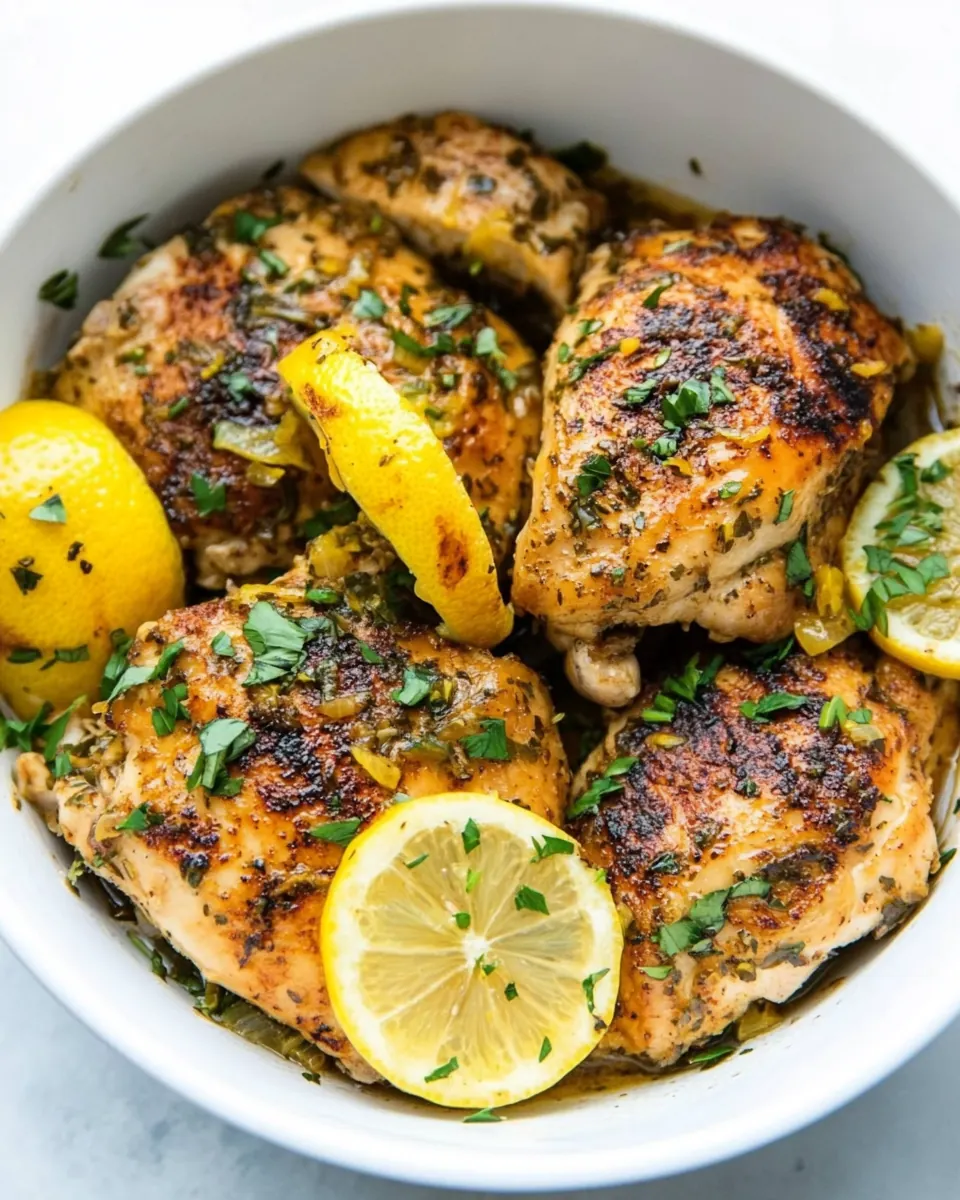
- 1 1/2 tablespoons Italian seasoning: Season generously to contribute herbal complexity and Mediterranean character; Italian seasoning blends oregano, basil, thyme, and other herbs that marry well with lemon and garlic. Use during seasoning and in the cooking liquid to permeate the chicken with balanced herb flavors.
- Juice and zest of one lemon: Brighten sharply to provide acidity and fresh citrus aroma; juice brings tang to the sauce while zest offers concentrated lemon oils for aromatic intensity. Combine both for layered lemon presence that cuts through richness and balances the dish.
- 1/3 cup homemade or low sodium chicken broth: Deglaze gently to lift fond and concentrate savory flavors while providing cooking liquid for pressure cooking; low sodium or homemade broth adds umami without excessive salt. Measure carefully to ensure sufficient moisture for the Instant Pot to reach pressure safely.
- Chopped fresh parsley and lemon slices for garnish, if desired: Garnish freshly to add color, brightness, and a pop of freshness; chopped parsley offers herbaceous contrast while lemon slices enhance visual appeal and allow extra citrus for serving. Scatter just before serving to preserve vibrant color and fresh aroma.
How to Make Instant Pot Lemon Garlic Chicken
This recipe moves quickly once you begin, but small touches make a huge difference. I like to prep the ingredients and have a clear sequence: season, sear, sauté aromatics, pressure cook, and finish the sauce. Follow the sensory cues and you will get reliably juicy chicken.
- Season chicken with salt, pepper and garlic powder.: The first aromas you should notice are salt drawing out the meat juices and the faint scent of garlic powder sitting on the surface, which helps the crust form when searing. Seasoning deeply at the start ensures layers of flavor throughout, not just on the outside. Common mistake to avoid here is under seasoning, which results in flat tasting meat; be generous but measured, and pat the seasoning gently into the surface so it adheres.
- Press the Sauté function (Normal setting) on the Instant Pot (I used a 6 Quart DUO) and add the olive oil to the pot.: As the pot warms you will hear a soft hum and then a light shimmer from the oil, indicating it is ready for searing. Warming the oil properly prevents sticking and allows immediate browning. A pitfall is adding meat to oil that is not hot enough, which causes sticking instead of a golden sear.
- Place chicken in the Instant Pot and allow to sear on each side for 2 minutes, or until golden brown. This helps to seal in the juices and keep it tender. (You may have to work in batches depending on the size and amount of chicken you are using). Once browned, remove from Instant Pot and set aside.: You should notice a satisfying sizzle as the chicken hits the hot oil, and small brown bits forming on the surface. The visual cue is a golden brown crust, not blackness, which indicates you are building flavor without burning. If you crowd the pot, the meat will steam rather than sear, so work in batches when necessary.
- Melt butter in Instant Pot and stir in the onions and garlic. Add lemon juice to deglaze pan. Cook for 1 minute then add Italian seasoning, lemon zest, and chicken broth.: When you lift the pieces, they should release easily and show even browning. Setting them aside keeps them from overcooking while you build the sauce. A common error is leaving the meat in the pot which can over cook it during the sauce stage, drying it out.
- Place the chicken back into the Instant Pot, lock the lid, and turn the valve to SEAL.: The butter will foam and then settle, releasing a nutty aroma, and the onion will soften and become translucent. The garlic should turn fragrant quickly but not brown; watch closely as it burns easily. Stirring helps distribute the flavors and lift the browned bits from the pot bottom, which are crucial for depth.
- Select the Manual (older model) or Pressure Cook (newer model) button and adjust the timer to 7 minutes.: As you pour the lemon juice you will hear a hissing sound as it hits the hot surface, and the fond will begin to dissolve into the liquid. This step captures concentrated flavor and ensures none of the browned bits go to waste. Failing to deglaze can trigger a burn notice on some Instant Pot models and leave bitter stuck bits.
- It will take about 5-10 minutes to come to pressure and start counting down.: After a minute the aromatics will smell melded, and adding the Italian seasoning and zest intensifies the herbal and citrus notes. The broth softens the intensity and forms the base of your sauce. If you add the liquid too cold it can temporarily lower the pot temperature; that is okay, but give it a moment to come back up before proceeding.
- When done, allow to naturally release for 2-3 minutes then using a long spoon push the valve to RELEASE, then remove your Instant Pot lid.: When you nestle the chicken back into the cooking liquid you will see the sauce come up around the pieces. Locking the lid and sealing traps steam which tenderizes the meat. Make sure the valve is fully set to SEAL, as an incomplete seal can prevent proper pressure build up and undercook the meat.
- (If you want to thicken the sauce – make a cornstarch slurry using 1 teaspoon of cornstarch whisked with 2 teaspoons cold water and stir in the Instant Pot. Press SAUTE and allow to bubble and thicken up.): During this stage the pot will begin building pressure, compressing heat so the meat cooks evenly and quickly. The specified time is calibrated for boneless thighs; if your pieces are larger or bone in, adjust accordingly. Overcooking at this stage will make the chicken dry, so stick to the recommended time for tender results.
- Sprinkle with chopped parsley and serve hot with your favorite sides. Spoon sauce over chicken and garnish with lemon slices, if desired.: You will notice the float valve pop up and a soft increase in steam noise as the pot seals. This is normal and part of the pressure build up. Avoid opening the lid during this period, as releasing pressure prematurely will interrupt the even cooking process and can affect texture.
- When done, allow to naturally release for 2 to 3 minutes then using a long spoon push the valve to RELEASE, then remove your Instant Pot lid.: The aroma intensifies as pressure releases, and the meat will relax slightly, which helps juiciness. A short natural release helps finish the cooking gently, while a quick release prevents overcooking. Be cautious of hot steam when you move the valve, keep hands and face clear.
- If you want to thicken the sauce – make a cornstarch slurry using 1 teaspoon of cornstarch whisked with 2 teaspoons cold water and stir in the Instant Pot. Press SAUTE and allow to bubble and thicken up.: When you stir the slurry in, you will see the sauce change from thin to glossy and slightly cling to the spoon, a visual signal it is ready. Thickening concentrates flavor and gives a pleasing coating on the chicken . Add slurry gradually, as too much can make the sauce pasty and overly thick.
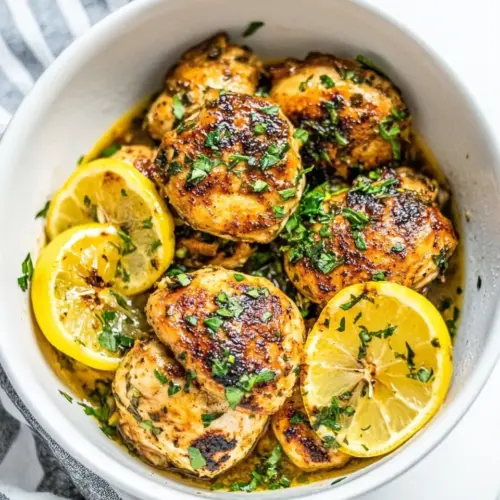
- Sprinkle with chopped parsley and serve hot with your favorite sides.: Fresh parsley brightens both aroma and color, and spooning the sauce over warm chicken ties everything together. Serve immediately for the best texture. A common mistake is letting the dish sit too long before serving, which cools the sauce and dulls the aromatic lift.
Expert Tips about Instant Pot Lemon Garlic Chicken
This set of tips will help you get the best texture and flavor from your Instant Pot Lemon Garlic Chicken. I wrote these from real trials, so you can avoid common pitfalls and elevate a simple recipe with small adjustments. Keep them handy next time you cook.
- Temper the chicken: Bringing chicken to near room temperature before searing reduces shock in the pot and helps achieve even doneness, which means juicier meat.
- Hot oil for proper sear: Wait until the olive oil shimmers; adding meat too early causes sticking and prevents the flavorful crust from forming.
- Work in batches: Crowding the pot lowers surface temperature and leads to steaming rather than browning, which reduces flavor complexity.
- Deglaze thoroughly: After searing, pour the lemon juice and broth and scrape the brown bits; this dissolves concentrated flavors into the sauce and prevents burn notices.
- Mind salt levels: If using store bought broth, choose low sodium and adjust seasoning at the end to avoid over salting, especially after reduction.
- Finish with fresh herbs: Adding chopped parsley right before serving lifts aromas and adds a fresh contrast to the buttery sauce.
Best Served With
This section describes how to present and pair your Instant Pot Lemon Garlic Chicken. These serving ideas cover weeknight dinners, special occasions, and storage suggestions to make the most of the dish.
- Simple starch sides: Serve over rice or creamy polenta to soak up the sauce, the starch balances the citrus and provides a comforting base.
- Light vegetable sides: Steamed or roasted green vegetables complement the brightness of the lemon and add texture contrast to the tender chicken.
- Occasions: Great for a casual weeknight dinner or an easy entertaining main when friends drop by, it feels special without heavy effort.
- Meal prep ideas: Store in airtight containers with sauce on the side for up to four days, reheat gently to preserve texture and prevent drying out.
- Seasonal pairing: The citrus freshness works well in spring and summer, while the buttery sauce provides comfort in cooler months, making it versatile across seasons.
- Presentation tips: Garnish with chopped parsley and lemon slices for color contrast and an extra pop of citrus aroma when served.
FAQ
Conclusion
What makes this recipe special is its balance of bright lemon and savory garlic with buttery richness, all delivered quickly in the Instant Pot. It’s an approachable dish that performs well on a busy night yet feels polished enough for guests. Give it a try this week, you might find it becomes a dependable favorite that simplifies dinner without sacrificing flavor.
Instant Pot Lemon Garlic Chicken
Equipment
- Instant Pot
- Wooden Spoon
Ingredients
- 6 -8 boneless chicken thighs skinless or with skin sea salt and pepper, to taste divided Season generously to enhance overall flavor and help tenderize the chicken; use salt and pepper divided to season both before searing and after cooking for balanced taste. Adjust amounts to personal preference and dietary needs, and remember that skin-on pieces may need slightly more seasoning to penetrate through the skin.
- 1/2 teaspoon garlic powder Add subtly to boost underlying garlic flavor without overpowering; garlic powder disperses evenly and helps build savory depth when used alongside fresh garlic. Sprinkle during prep or into the seasoning mix to complement other aromatics and herbs.
- 2 tablespoon olive oil Heat briefly to create a searing surface and develop golden color and caramelized flavor on the chicken; olive oil also prevents sticking and carries heat evenly in the Instant Pot's sauté mode. Choose extra-virgin for flavor or regular olive oil for a neutral profile depending on taste.
- 3 tablespoon butter divided Melt to enrich the sauce with silky texture and a rich mouthfeel; dividing butter allows for browning during searing and finishing the sauce for gloss and flavor. Use toward the end to round out acidity from lemon and add a luxurious finish to the dish.
- 1/2 small onion, chopped Sauté to provide a mild sweet and savory base that complements garlic and herbs; chopped onion softens and releases sugars that deepen the sauce's complexity. Cook until translucent to avoid raw bite and to blend smoothly with the other aromatics.
- 4 garlic cloves, sliced or minced Infuse robust pungency and aromatic lift; sliced or minced garlic releases essential oils when sautéed and pairs with garlic powder for layered garlic presence. Add at the right time to prevent burning and to maximize fragrant contribution to the sauce.
- 1 1/2 tablespoons Italian seasoning Season generously to contribute herbal complexity and Mediterranean character; Italian seasoning blends oregano, basil, thyme, and other herbs that marry well with lemon and garlic. Use during seasoning and in the cooking liquid to permeate the chicken with balanced herb flavors.
- Juice and zest of one lemon Brighten sharply to provide acidity and fresh citrus aroma; juice brings tang to the sauce while zest offers concentrated lemon oils for aromatic intensity. Combine both for layered lemon presence that cuts through richness and balances the dish.
- 1/3 cup homemade or low sodium chicken broth Deglaze gently to lift fond and concentrate savory flavors while providing cooking liquid for pressure cooking; low sodium or homemade broth adds umami without excessive salt. Measure carefully to ensure sufficient moisture for the Instant Pot to reach pressure safely.
- Chopped fresh parsley and lemon slices for garnish, if desired Garnish freshly to add color, brightness, and a pop of freshness; chopped parsley offers herbaceous contrast while lemon slices enhance visual appeal and allow extra citrus for serving. Scatter just before serving to preserve vibrant color and fresh aroma.
Instructions
- Season chicken with salt, pepper and garlic powder.: The first aromas you should notice are salt drawing out the meat juices and the faint scent of garlic powder sitting on the surface, which helps the crust form when searing. Seasoning deeply at the start ensures layers of flavor throughout, not just on the outside. Common mistake to avoid here is under seasoning, which results in flat tasting meat; be generous but measured, and pat the seasoning gently into the surface so it adheres.
- Press the Sauté function (Normal setting) on the Instant Pot (I used a 6 Quart DUO) and add the olive oil to the pot.: As the pot warms you will hear a soft hum and then a light shimmer from the oil, indicating it is ready for searing. Warming the oil properly prevents sticking and allows immediate browning. A pitfall is adding meat to oil that is not hot enough, which causes sticking instead of a golden sear.
- Place chicken in the Instant Pot and allow to sear on each side for 2 minutes, or until golden brown. This helps to seal in the juices and keep it tender. (You may have to work in batches depending on the size and amount of chicken you are using). Once browned, remove from Instant Pot and set aside.: You should notice a satisfying sizzle as the chicken hits the hot oil, and small brown bits forming on the surface. The visual cue is a golden brown crust, not blackness, which indicates you are building flavor without burning. If you crowd the pot, the meat will steam rather than sear, so work in batches when necessary.
- Melt butter in Instant Pot and stir in the onions and garlic. Add lemon juice to deglaze pan. Cook for 1 minute then add Italian seasoning, lemon zest, and chicken broth.: When you lift the pieces, they should release easily and show even browning. Setting them aside keeps them from overcooking while you build the sauce. A common error is leaving the meat in the pot which can over cook it during the sauce stage, drying it out.
- Place the chicken back into the Instant Pot, lock the lid, and turn the valve to SEAL.: The butter will foam and then settle, releasing a nutty aroma, and the onion will soften and become translucent. The garlic should turn fragrant quickly but not brown; watch closely as it burns easily. Stirring helps distribute the flavors and lift the browned bits from the pot bottom, which are crucial for depth.
- Select the Manual (older model) or Pressure Cook (newer model) button and adjust the timer to 7 minutes.: As you pour the lemon juice you will hear a hissing sound as it hits the hot surface, and the fond will begin to dissolve into the liquid. This step captures concentrated flavor and ensures none of the browned bits go to waste. Failing to deglaze can trigger a burn notice on some Instant Pot models and leave bitter stuck bits.
- It will take about 5-10 minutes to come to pressure and start counting down.: After a minute the aromatics will smell melded, and adding the Italian seasoning and zest intensifies the herbal and citrus notes. The broth softens the intensity and forms the base of your sauce. If you add the liquid too cold it can temporarily lower the pot temperature; that is okay, but give it a moment to come back up before proceeding.
- When done, allow to naturally release for 2-3 minutes then using a long spoon push the valve to RELEASE, then remove your Instant Pot lid.: When you nestle the chicken back into the cooking liquid you will see the sauce come up around the pieces. Locking the lid and sealing traps steam which tenderizes the meat. Make sure the valve is fully set to SEAL, as an incomplete seal can prevent proper pressure build up and undercook the meat.
- (If you want to thicken the sauce - make a cornstarch slurry using 1 teaspoon of cornstarch whisked with 2 teaspoons cold water and stir in the Instant Pot. Press SAUTE and allow to bubble and thicken up.): During this stage the pot will begin building pressure, compressing heat so the meat cooks evenly and quickly. The specified time is calibrated for boneless thighs; if your pieces are larger or bone in, adjust accordingly. Overcooking at this stage will make the chicken dry, so stick to the recommended time for tender results.
- Sprinkle with chopped parsley and serve hot with your favorite sides. Spoon sauce over chicken and garnish with lemon slices, if desired.: You will notice the float valve pop up and a soft increase in steam noise as the pot seals. This is normal and part of the pressure build up. Avoid opening the lid during this period, as releasing pressure prematurely will interrupt the even cooking process and can affect texture.
- When done, allow to naturally release for 2 to 3 minutes then using a long spoon push the valve to RELEASE, then remove your Instant Pot lid.: The aroma intensifies as pressure releases, and the meat will relax slightly, which helps juiciness. A short natural release helps finish the cooking gently, while a quick release prevents overcooking. Be cautious of hot steam when you move the valve, keep hands and face clear.
- If you want to thicken the sauce - make a cornstarch slurry using 1 teaspoon of cornstarch whisked with 2 teaspoons cold water and stir in the Instant Pot. Press SAUTE and allow to bubble and thicken up.: When you stir the slurry in, you will see the sauce change from thin to glossy and slightly cling to the spoon, a visual signal it is ready. Thickening concentrates flavor and gives a pleasing coating on the chicken . Add slurry gradually, as too much can make the sauce pasty and overly thick.
- Sprinkle with chopped parsley and serve hot with your favorite sides.: Fresh parsley brightens both aroma and color, and spooning the sauce over warm chicken ties everything together. Serve immediately for the best texture. A common mistake is letting the dish sit too long before serving, which cools the sauce and dulls the aromatic lift.
Notes
- Temper the chicken: Bringing chicken to near room temperature before searing reduces shock in the pot and helps achieve even doneness, which means juicier meat.
- Hot oil for proper sear: Wait until the olive oil shimmers; adding meat too early causes sticking and prevents the flavorful crust from forming.
- Work in batches: Crowding the pot lowers surface temperature and leads to steaming rather than browning, which reduces flavor complexity.
- Deglaze thoroughly: After searing, pour the lemon juice and broth and scrape the brown bits; this dissolves concentrated flavors into the sauce and prevents burn notices.
- Mind salt levels: If using store bought broth, choose low sodium and adjust seasoning at the end to avoid over salting, especially after reduction.
- Finish with fresh herbs: Adding chopped parsley right before serving lifts aromas and adds a fresh contrast to the buttery sauce.