Ice Cream Sandwich Cake
Ice Cream Sandwich Cake is one of those nostalgic desserts I reach for when I want something playful, festive, and almost embarrassingly simple to assemble.
Growing up, parties meant frantic adults and a cooler full of frozen novelties. I loved how the plain pleasure of an ice cream sandwich could become an event when stacked and dressed up. Years later, I still make this same dessert for backyard gatherings when I want to spend my energy on friends, not frosting. The layers of cold, creamy filling, fudgy sauce, and crunchy cookie pieces bring back a thousand little memories, and assembling it always feels like a tiny celebration.
When I make Ice Cream Sandwich Cake now, I think about timing and texture more than anything else. You want the cake to be frozen solid but still scoopable, with a balanced bite of cookie, sauce, and whipped cream. I also love that it travels well, which makes it perfect for potlucks, pool days, or a simple family dessert after a busy week. It looks impressive without demanding pastry skills, and that kind of magic never gets old to me.
Recipe Snapshot
10 mins
10 mins
Easy
300 kcal
American
Keto, Gluten-Free
Desserts
9×9-inch Cake Pan, Pre-Cut Parchment Paper Baking Sheets
Why This Ice Cream Sandwich Cake Stands Out
Easy assembly that looks celebratory
I adore how Ice Cream Sandwich Cake turns minimal steps into a crowd pleasing centerpiece. You do not need to pipe or chill layers for hours before you begin, and that simplicity keeps the process joyful rather than stressful.
Playful texture contrast
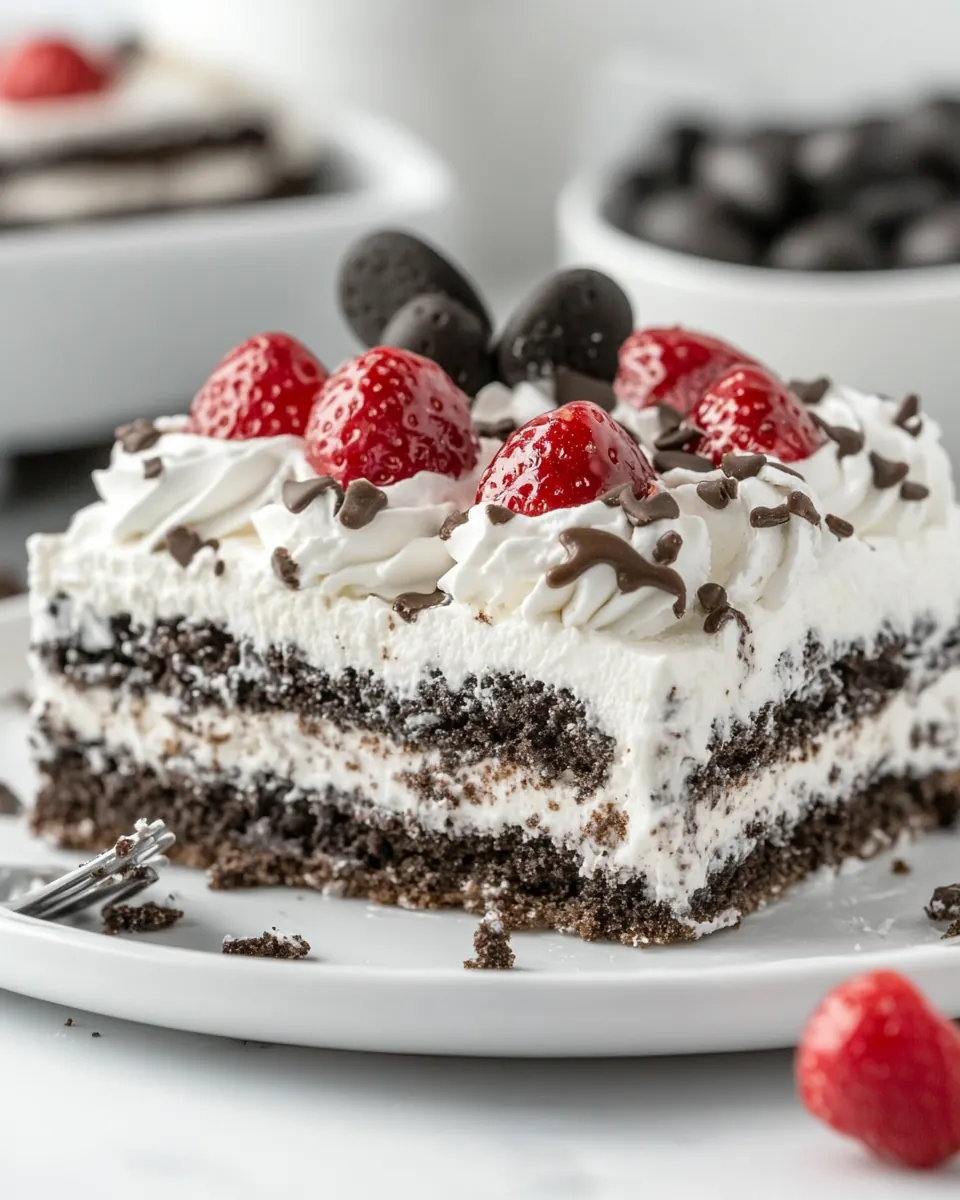
The interplay of creamy whipped topping, soft frozen ice cream sandwiches, sticky hot fudge sauce, and crunchy chopped Oreo cookies creates a multi texture bite. Each forkful gives you cold creaminess, chewy sauce, and crisp cookie, which keeps every mouthful interesting.
Great for feeding a group
This is one of my go to desserts when I have nine or more guests. It scales easily, and because it stays frozen, you can assemble ahead of time and focus on guests. That kind of flexibility is why I reach for this cake for pool parties and summer dinners.
Minimal equipment, maximal impact
You only need a simple baking pan and parchment to produce an impressive layered dessert. That pared down approach is a lifesaver when my kitchen is crowded or I am packing a cooler for an outdoor gathering.
Kid friendly and customizable
Kids love the familiar flavors and the visual layers. I often let little helpers sprinkle the chopped cookies on top, which adds to the fun. It also adapts to what you have on hand, making it easy to personalize without losing the core appeal.
Ingredient List for Ice Cream Sandwich Cake
These ingredients come together in a balance of textures and temperature. The key players are the creamy whipped topping for lightness, the icy ice cream sandwiches for structure and flavor, the hot fudge sauce for richness, and the chopped Oreo cookies for crunch. Each one has a clear job, and together they make a dessert that tastes layered and intentional even though it is assembled quickly.
- 14 Oreo cookies chopped into small pieces: Chopped into small pieces to add crunchy texture and deep chocolate flavor scattered throughout the cake; helps contrast the creamy layers and provides bites of cookie in every slice.
- 8 ounces frozen whipped topping Cool Whip or TruWhip, thawed: Thawed and folded to create a light, airy layer that binds components and adds sweetness without melting; supplies stable creaminess and helps maintain the cake’s structure when sliced.
- 14 full-size ice cream sandwiches: Layered whole to serve as the cake’s primary structure and frozen filling, providing uniform size and creamy vanilla-chocolate centers; forms neat, stackable layers that define the dessert.
- 1 jar hot fudge sauce 11-ounces: Poured warm or at room temperature to create rich, gooey ribbons that add intense chocolate sauce and moisture; acts as a finishing sauce and decadent flavor enhancer between layers.
Directions for Ice Cream Sandwich Cake
These directions are straightforward, but taking a moment to notice temperature and texture will make your finished cake much better. Read through once and then assemble confidently, working quickly so the layers stay cold.
- Line a 9 x 9 x 3-inch baking pan with parchment paper.: When you press your fingers on the parchment it should sit smoothly against the sides and bottom, creating a crisp neat edge for the cake after freezing. The cold metal or glass of the pan will help set the layers quickly. Make sure the parchment overhangs a bit on two sides so you can lift the frozen cake out like a little tray, that makes slicing tidy. A common misstep is not securing the parchment, which can slide when you add layers, so press it firmly into the corners.
- In a medium bowl, combine about 2/3 of the chopped Oreos with the whipped topping until just combined. Set aside. Reserve the remaining Oreos.: As you fold the Oreo cookies into the whipped topping , you should see ribbons of cookie throughout the cream, creating a marbled look. The cool scent of the topping will mingle with the cocoa aroma of the cookies, and the mixture should feel airy and slightly textured rather than dense. Stop folding when streaks remain, to avoid deflating the topping. Overmixing will flatten the cream and give you a denser layer that does not freeze as pleasantly.
- Place half of the ice cream sandwiches in an even layer in the baking dish. You will need to cut a couple of the ice cream sandwiches to fit them snugly into the dish.: As you lay the ice cream sandwiches down, listen for a faint scrape as they touch the pan, and feel for firm, cold blocks that line up neatly. Cut only what you need to fill gaps so the layer remains compact and uniform. Keeping them close together helps the cake hold its shape when sliced. A common error is forcing whole sandwiches into small spaces, which creates uneven thickness and unstable layers.
- Evenly spread half of the fudge sauce onto the ice cream sandwiches. Follow with a layer of Oreo whipped topping. Repeat layers. Sprinkle the top of the cake with the remaining chopped Oreos. Cover and freeze for at least 3 hours.: The hot fudge sauce should be slightly warm and glossy, so it spreads in an even, viscous sheet without running. Use the back of a spoon to gently coax the sauce across the frozen surface, performing quick, light strokes so you do not melt the ice cream below. You want a shiny coating that will set as it chills. Avoid using sauce that is too hot, as it will cause pockets of melted ice cream and a soggy texture.
- Follow with a layer of Oreo whipped topping: This layer should sit like a soft blanket, offering visual contrast and a forgiving surface for the next ice cream layer. Smooth it with a spatula but avoid aggressive strokes that would compress the air out of the whipped topping . You want to see peeks of cookie throughout the cream. Pressing too hard will produce a thin compressed layer that freezes rock solid rather than pleasantly scoopable.
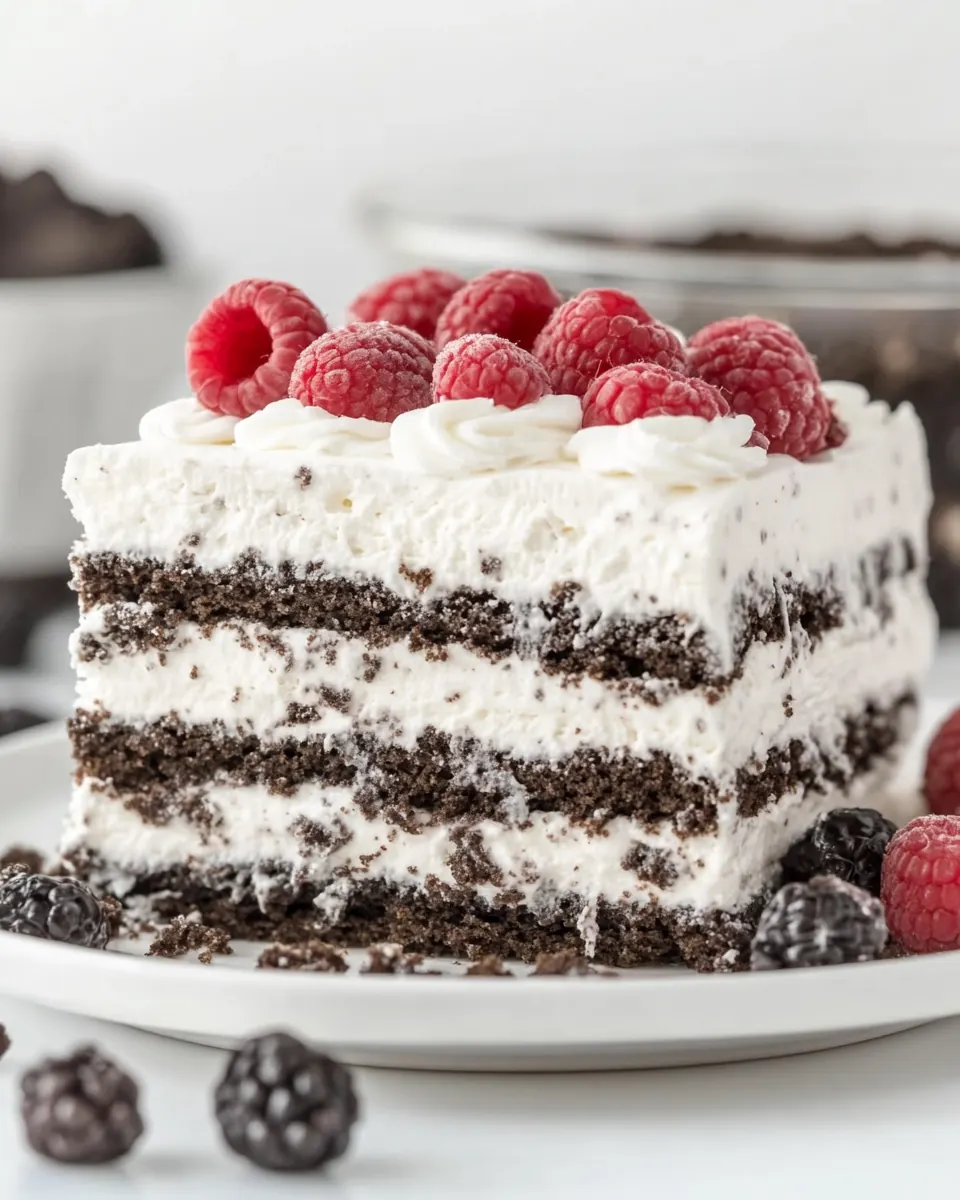
- Repeat layers: Repeating the layers creates the cake's signature effect, alternating cold, creamy, and fudgy elements. As you add each level, glance at the sides to ensure even distribution and avoid high spots. The smell of warm fudge with cold cream is an inviting contrast, and seeing consistent layers guarantees tidy slices. Rushing this step can produce lopsided layers, so take a breath and align pieces carefully.
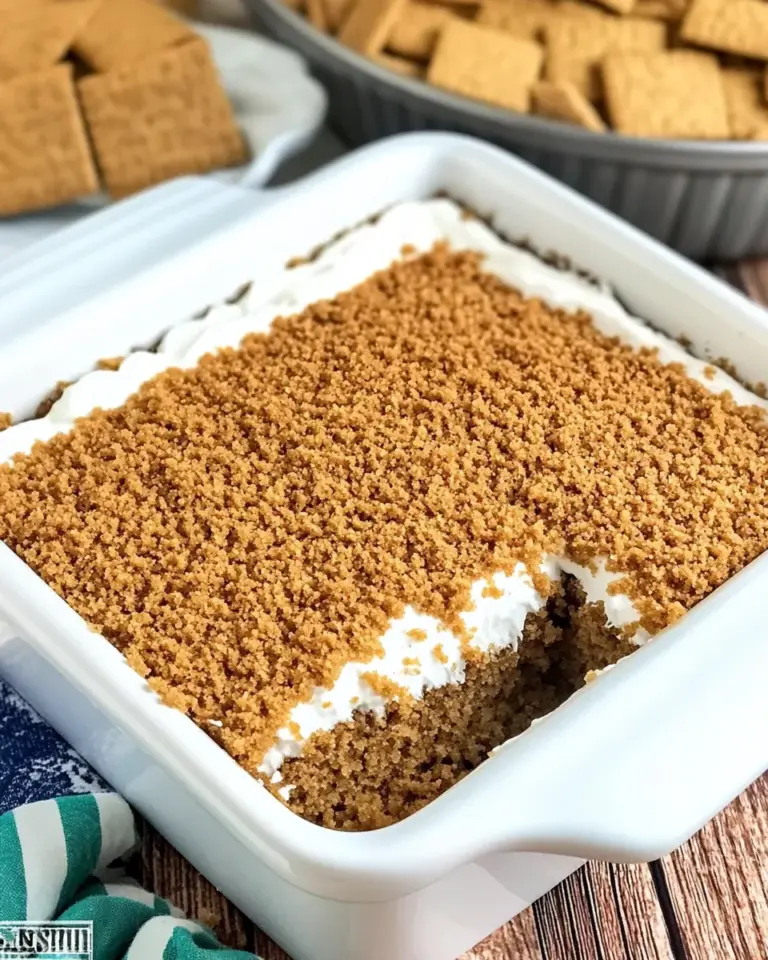
- Sprinkle the top of the cake with the remaining chopped Oreos: The final sprinkle provides crunchy texture and a decorative finish. Scatter pieces evenly and press lightly so they adhere to the top layer without sinking. The visual cue of dark cookie against white cream signals when the cake is ready to serve. Avoid dumping them in one place, which looks messy and gives some bites too much cookie.
- Cover and freeze for at least 3 hours: Freezing solid is essential so the cake slices cleanly and stays firm on warm days. The ice cream sandwiches will knit with the whipped topping and fudge as they chill, and the aroma will fade a bit as the cake sets. Plan ahead so you do not try to slice it too soon, because a partially frozen cake will smear and lose shape. A common pitfall is under freezing, which leads to sloppy slices and a melty presentation.
Variations to Try
If you like to tinker, there are a few easy ways to adapt this cake while keeping the same straightforward assembly. Below are ideas to personalize texture, flavor, and presentation without complicating the process.
- Swap cookie style: Try different sandwich cookies to adjust sweetness and crunch, but keep the same quantity so layering remains balanced.
- Change the sauce: Use a thicker brand of hot fudge sauce warmed just enough to spread smoothly, which affects the chew and chocolate intensity of each bite.
- Whipped topping choice: If you prefer a lighter finish, choose a stabilized whipped topping brand that holds peaks after freezing for a slightly firmer texture.
- Make it portable: Freeze in a disposable pan with parchment overhang for easy transport to picnics or parties; just keep it frozen until serving time.
- Decorate creatively: Add extra chopped Oreo cookies or a drizzle of remaining warm sauce just before serving for dramatic visual contrast and shine.
Side Dish Ideas for Ice Cream Sandwich Cake
This dessert is a stand alone treat, but pairing it thoughtfully enhances the occasion. Below are serving ideas, occasions, and storage tips presented in list form to help you plan the full experience.
- Pool party dessert: Serve slices straight from the freezer on sturdy plates, and keep extras in a cooler to maintain temperature during outdoor gatherings.
- Summer barbecue finish: Pair with fresh fruit skewers for a refreshing contrast, offering a lighter bite between rich slices of cake.
- Kid friendly celebration: Offer small bowls of sprinkles or extra chopped Oreo cookies so guests can personalize each plate, which makes serving interactive.
- Indoor dinner party: Slice using a hot knife wiped between cuts for neat portions, and present on chilled plates to slow melting.
- Storage tips: Wrap the frozen cake tightly in plastic wrap and then foil, storing in the coldest part of the freezer for up to two weeks to preserve texture and flavor.
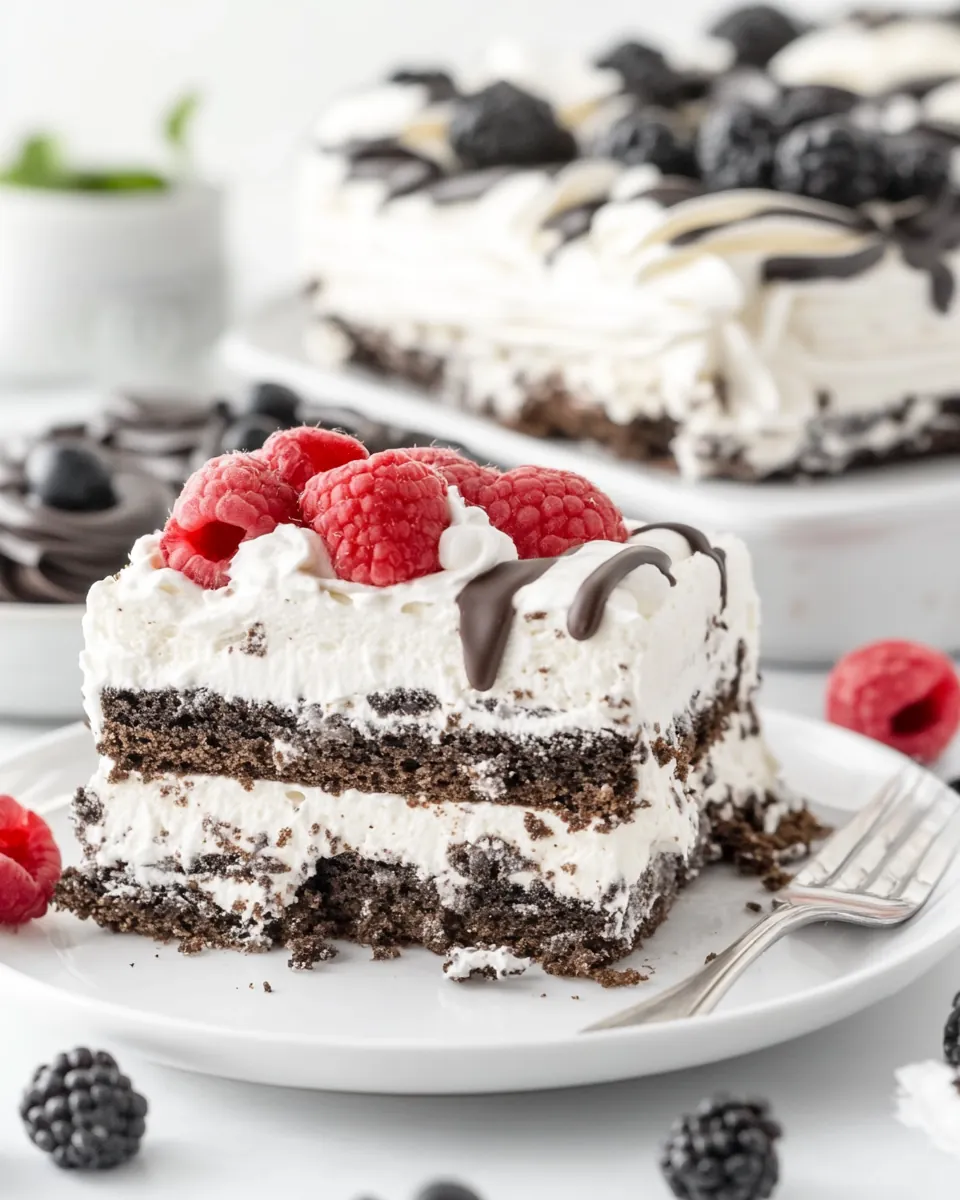
- Seasonal pairings: In summer, serve with bright fruit like berries; in cooler months, offer coffee or hot chocolate on the side to balance the ice cold dessert.
FAQ
Conclusion
This Ice Cream Sandwich Cake stands out because it combines effortless assembly with playful texture and impressive presentation. Give it a try next time you want a low stress dessert that still feels festive, especially for summer gatherings or casual celebrations. I hope you enjoy the satisfying crunch of cookies, the lush ribbon of fudge, and the cold creaminess that makes every slice feel special.

Ice Cream Sandwich Cake
Equipment
- 9×9-inch Cake Pan
- Pre-Cut Parchment Paper Baking Sheets
Ingredients
- 14 Oreo cookies chopped into small pieces Chopped into small pieces to add crunchy texture and deep chocolate flavor scattered throughout the cake; helps contrast the creamy layers and provides bites of cookie in every slice.
- 8 ounces frozen whipped topping Cool Whip or TruWhip, thawed Thawed and folded to create a light, airy layer that binds components and adds sweetness without melting; supplies stable creaminess and helps maintain the cake’s structure when sliced.
- 14 full-size ice cream sandwiches Layered whole to serve as the cake’s primary structure and frozen filling, providing uniform size and creamy vanilla-chocolate centers; forms neat, stackable layers that define the dessert.
- 1 jar hot fudge sauce 11-ounces Poured warm or at room temperature to create rich, gooey ribbons that add intense chocolate sauce and moisture; acts as a finishing sauce and decadent flavor enhancer between layers.
Instructions
- Line a 9 x 9 x 3-inch baking pan with parchment paper.: When you press your fingers on the parchment it should sit smoothly against the sides and bottom, creating a crisp neat edge for the cake after freezing. The cold metal or glass of the pan will help set the layers quickly. Make sure the parchment overhangs a bit on two sides so you can lift the frozen cake out like a little tray, that makes slicing tidy. A common misstep is not securing the parchment, which can slide when you add layers, so press it firmly into the corners.
- In a medium bowl, combine about 2/3 of the chopped Oreos with the whipped topping until just combined. Set aside. Reserve the remaining Oreos.: As you fold the Oreo cookies into the whipped topping , you should see ribbons of cookie throughout the cream, creating a marbled look. The cool scent of the topping will mingle with the cocoa aroma of the cookies, and the mixture should feel airy and slightly textured rather than dense. Stop folding when streaks remain, to avoid deflating the topping. Overmixing will flatten the cream and give you a denser layer that does not freeze as pleasantly.
- Place half of the ice cream sandwiches in an even layer in the baking dish. You will need to cut a couple of the ice cream sandwiches to fit them snugly into the dish.: As you lay the ice cream sandwiches down, listen for a faint scrape as they touch the pan, and feel for firm, cold blocks that line up neatly. Cut only what you need to fill gaps so the layer remains compact and uniform. Keeping them close together helps the cake hold its shape when sliced. A common error is forcing whole sandwiches into small spaces, which creates uneven thickness and unstable layers.
- Evenly spread half of the fudge sauce onto the ice cream sandwiches. Follow with a layer of Oreo whipped topping. Repeat layers. Sprinkle the top of the cake with the remaining chopped Oreos. Cover and freeze for at least 3 hours.: The hot fudge sauce should be slightly warm and glossy, so it spreads in an even, viscous sheet without running. Use the back of a spoon to gently coax the sauce across the frozen surface, performing quick, light strokes so you do not melt the ice cream below. You want a shiny coating that will set as it chills. Avoid using sauce that is too hot, as it will cause pockets of melted ice cream and a soggy texture.
- Follow with a layer of Oreo whipped topping: This layer should sit like a soft blanket, offering visual contrast and a forgiving surface for the next ice cream layer. Smooth it with a spatula but avoid aggressive strokes that would compress the air out of the whipped topping . You want to see peeks of cookie throughout the cream. Pressing too hard will produce a thin compressed layer that freezes rock solid rather than pleasantly scoopable.
- Repeat layers: Repeating the layers creates the cake's signature effect, alternating cold, creamy, and fudgy elements. As you add each level, glance at the sides to ensure even distribution and avoid high spots. The smell of warm fudge with cold cream is an inviting contrast, and seeing consistent layers guarantees tidy slices. Rushing this step can produce lopsided layers, so take a breath and align pieces carefully.
- Sprinkle the top of the cake with the remaining chopped Oreos: The final sprinkle provides crunchy texture and a decorative finish. Scatter pieces evenly and press lightly so they adhere to the top layer without sinking. The visual cue of dark cookie against white cream signals when the cake is ready to serve. Avoid dumping them in one place, which looks messy and gives some bites too much cookie.
- Cover and freeze for at least 3 hours: Freezing solid is essential so the cake slices cleanly and stays firm on warm days. The ice cream sandwiches will knit with the whipped topping and fudge as they chill, and the aroma will fade a bit as the cake sets. Plan ahead so you do not try to slice it too soon, because a partially frozen cake will smear and lose shape. A common pitfall is under freezing, which leads to sloppy slices and a melty presentation.
Notes
- Swap cookie style: Try different sandwich cookies to adjust sweetness and crunch, but keep the same quantity so layering remains balanced.
- Change the sauce: Use a thicker brand of hot fudge sauce warmed just enough to spread smoothly, which affects the chew and chocolate intensity of each bite.
- Whipped topping choice: If you prefer a lighter finish, choose a stabilized whipped topping brand that holds peaks after freezing for a slightly firmer texture.
- Make it portable: Freeze in a disposable pan with parchment overhang for easy transport to picnics or parties; just keep it frozen until serving time.
- Decorate creatively: Add extra chopped Oreo cookies or a drizzle of remaining warm sauce just before serving for dramatic visual contrast and shine.