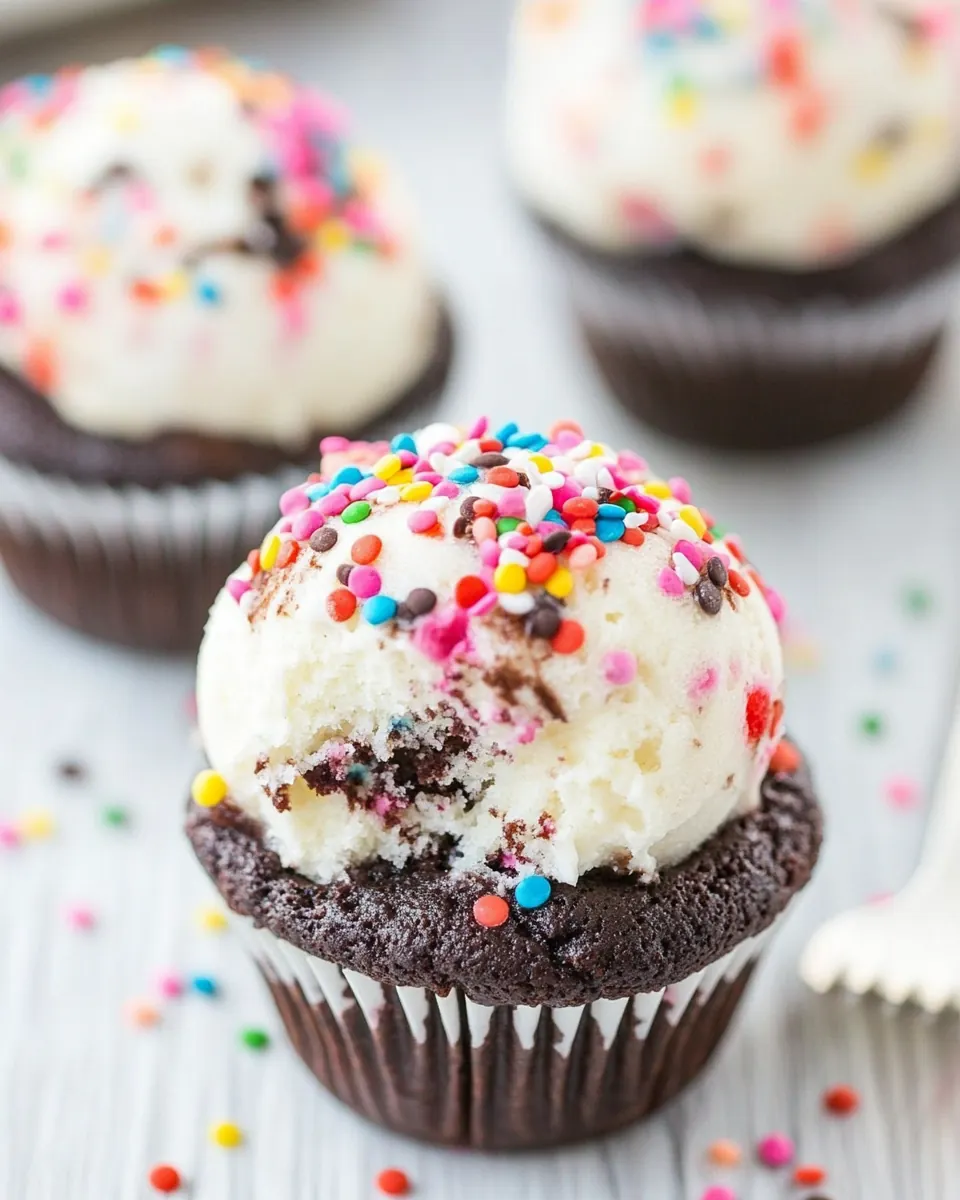
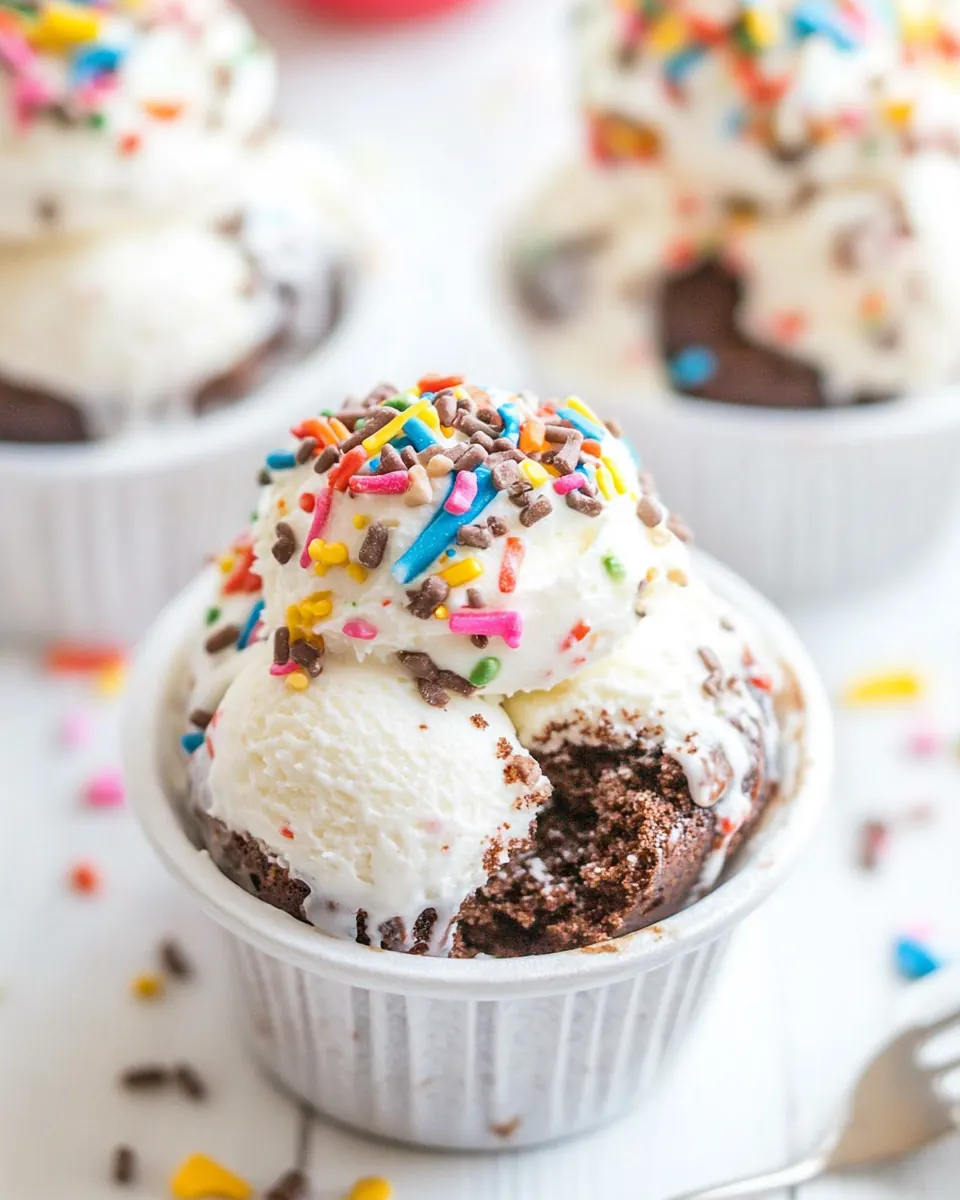
Ice Cream Cupcakes
Ice Cream Cupcakes started as a sunny afternoon experiment when I wanted to combine two of my favorite comforts into one playful bite. I remember pulling a box of cupcakes from the oven years ago and thinking that the little wells on top were begging for something cold and creamy. Over time I refined the method so the assembly is tidy, the texture contrasts sing, and the whole idea feels celebratory but easy enough for a weekday treat.
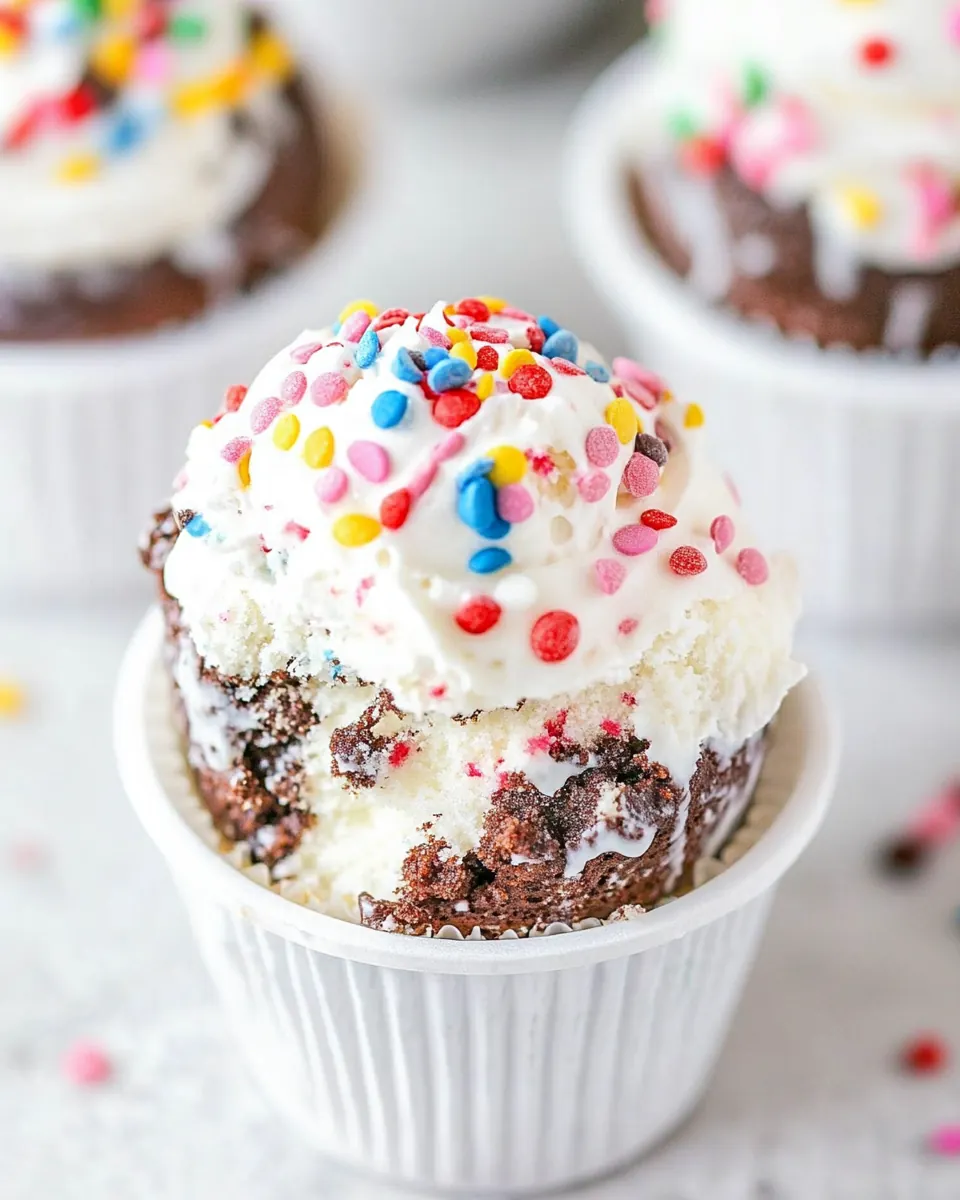
One summer I made a double batch for a neighborhood block party, and the kids went wild while the adults kept coming back for more because the frozen center stayed perfectly scoopable but did not drip away. The trick I learned was to work in small groups, keep a chilled sheet in the freezer, and use slightly softened ice cream so it molds into the cake without melting the edge. Those small decisions changed a messy assembly into something you can serve with confidence.
There is something satisfying about the assembly line, folding in sprinkles, and then topping each cupcake with a pillow of frosting or whipped cream. I always tell friends that the charm of Ice Cream Cupcakes is their versatility, you can go bright with sprinkles or sleek with a chocolate frosting, and they become an instant party favorite. They store well for a few weeks in the freezer, and pulling one out feels like gifting yourself a mini celebration.
Recipe Snapshot
45 mins
30 mins
15 mins
Medium
200 kcal
American
Keto, Gluten-Free
Desserts
Paring Knife, Cookie Sheet, Wax Paper, Mixing Bowl, Freezer
Why This Ice Cream Cupcakes Stands Out
They are fun and nostalgic
I have yet to meet an adult who does not soften a little when they bite into one. The combination of a familiar cupcake exterior and a chilled center brings back childhood moments but with grown up technique. When I serve Ice Cream Cupcakes, I watch faces light up, and that never gets old.
Flexible and forgiving
One of the reasons I love making these is that they adapt to whatever you have on hand. Use boxed cupcakes or a scratch recipe, any flavor of ice cream, and even add extras like sprinkles for texture. This recipe is forgiving because you can tweak filling amounts and still end up with a well balanced treat.
Perfect for gatherings
I rely on this dessert for parties because I can prepare most of it in advance. Freeze the filled cupcakes for hours, then frost them right before guests arrive. That way you serve something that looks made to order, while the heavy lifting was done earlier.
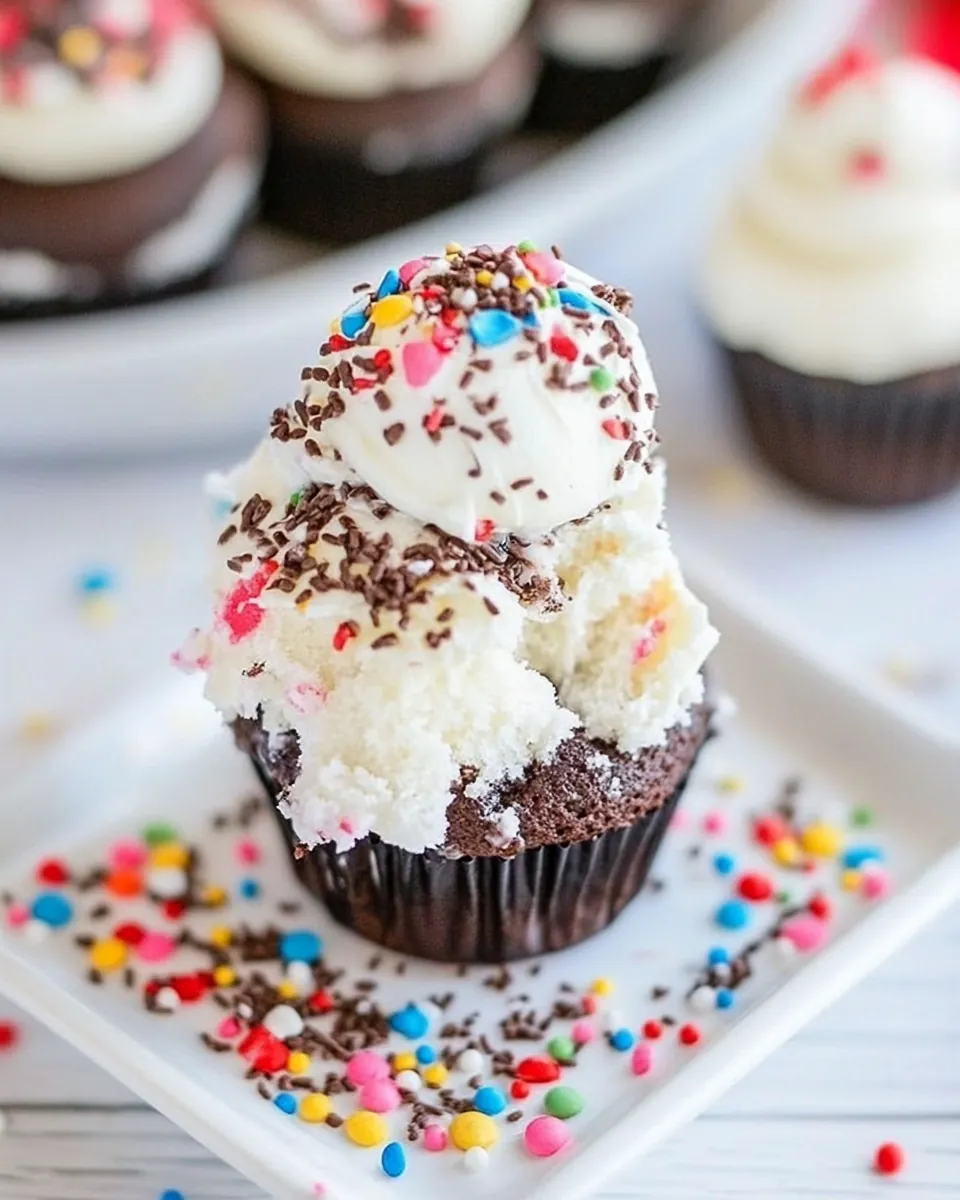
Textural contrast that matters
What makes these special is the contrast between the soft cake crumb and the cold, creamy ice cream. I pay attention to how much cake I remove so the bite remains balanced and not all filling. That textural interplay is what keeps people reaching for seconds.
Kid friendly and customizable
Kids especially love the process of choosing the ice cream and decorating with sprinkles or frosting. I like recipes that include a little hands on creativity, and Ice Cream Cupcakes fits that bill perfectly. Plus you can easily portion control by adjusting the scoop size.
What’s In This Ice Cream Cupcakes
The philosophy behind these ingredients is simple, we pair a soft, structured cake with a cold creamy center and a finishing frosting or whipped topping. Each element plays a role: the cupcake acts as the vessel, the ice cream provides the temperature contrast, and the frosting or whipped topping gives a pleasing finish and holds any decoration in place. These players create a multi textural bite that is both comforting and celebratory.
- 24 cupcakes baked and cooled (see note for links): Baked and cooled to provide a sturdy base that holds ice cream without collapsing; ensures cupcakes are room temperature so ice cream spreads smoothly and assembly remains tidy. Allow cooling completely to prevent melting of ice cream during topping and serving.
- 1 quart ice cream you'll likely have leftover: Ready-to-scoop for filling cupcake wells and creating the ice cream center; offers flavor and texture and may leave some leftover for another use. Keep slightly softened for easier scooping but not melted to maintain shape.
- 1/4 cup sprinkles (optional): Optional for adding color, crunch, and a festive look to finished cupcakes; sprinkles create contrast and make treats more appealing for parties or celebrations. Use sparingly to avoid overwhelming flavors or causing excessive sweetness.
- 8 ounces Cool Whip fresh whipped cream, or your favorite frosting (chocolate or vanilla): Fresh whipped or store-bought frosting to add creaminess, stabilize the ice cream topping, and help hold sprinkles in place; can be piped or spread for decorative finishes. Choose chocolate or vanilla to complement the ice cream flavor and chill briefly before serving to set.
Cooking Method for Ice Cream Cupcakes
These directions are about assembly and timing more than cooking. Working cold and in small batches keeps the process tidy and prevents melting. Read through the steps first, then gather chilled sheets and tools to make the flow smooth.
- Start with 24 cupcakes that have been baked and completely cooled. You can use your favorite flavor box mix, or your favorite from scratch recipe. (Consider using my chocolate cupcakes or vanilla cupcakes if you want a from scratch cupcake.) Place the cupcakes on a cookie sheet lined with wax paper. Make room for a second cookie sheet lined with wax paper in your freezer.: The aroma of fresh cake will be tempting, but a cool cake is essential so the frozen filling does not melt on contact. You should notice the cupcake surface is firm to the touch and there is no steam rising. If you try to hollow warm cupcakes, the crumbs will break away and the filling will turn watery, so always let them cool on a rack. One common mistake is rushing this step, which results in soggy edges and a messy assembly.
- For sprinkle filled ice cream: scoop half of a 1.5 Q container of ice cream into a bowl and let it soften for a few minutes. Stir in 1/4 cup sprinkles, then place the bowl back in the freezer to firm up while you prepare the cupcakes. Otherwise, just have your favorite flavor ice cream in the freezer and ready to go.: The softened ice cream will surrender its icy rigidity just enough to stir without becoming liquid. You will see it lose its sharp edges and become scoopable, and the smell will become more aromatic. Stir in the sprinkles quickly, then refreeze the bowl so the mixture firms. If you skip refreezing, the filling will slump inside the cupcake and leak out. Avoid letting the ice cream sit too long at room temperature or it will melt beyond rescue.
- To prep the cupcakes: use a pairing knife to cut a large circle (about the size of a half dollar) in the top of the cupcake. Cut down almost to the bottom of the cupcake, then lift out the cut part. You should end up with a cone shaped chunk of cake. Slice the cone off of each of the cupcake pieces. (You need to make the piece of cake smaller, because the cupcake will be filled with ice cream.): As you cut you should hear a soft tearing of crumb rather than a clean slice, and you will see the carved piece form a cone. The goal is to remove a cone shaped chunk so the cavity can hold the ice cream . Slice the cone off so the lid is flat and can be pressed back on. A frequent error is cutting too deep which risks puncturing the base, so stop just shy of the bottom to maintain a stable cup.
- I suggest you prepare all the cupcakes for the ice cream, then place your second cookie sheet in the freezer. Work in batches of 3-4 cupcakes, filling with ice cream, then placing on the cookie sheet that’s in the freezer. That way the ice cream won’t melt out of the cupcakes.: Lining a cookie sheet with wax paper and chilling it creates a cold staging area. As you work in batches of three to four, transfer filled cupcakes to that frozen sheet so the filling sets quickly. Sensory cues include seeing condensation form if items are too warm, which signals the need to pause and refreeze. Not using a chilled sheet will cause the ice cream to melt into a puddle, which creates an uneven finish.
- Scoop about 1-2 tablespoons of ice cream into the center of each cupcake. Place the top back on and press gently. Put the cupcake on the cookie sheet in the freezer. Continue until all the cupcakes are filled and in the freezer.: The softened filling should be dense but malleable, and when you press the top back on you will feel a modest resistance as the filling nests inside. Work quickly so the filling maintains its coldness, and gently press the removed top back in place to seal the cavity. You might notice a faint coldness on your fingertips, that is normal. One mistake is overfilling which forces the top off and creates an uneven surface that is hard to frost.
- Cover the cupcakes with plastic wrap (leaving them on the cookie sheet) and freeze for at least 4 hours before serving. You can place them (frozen) in a single layer in large: As the cupcakes chill you will observe the filling firm and the cupcake surface stabilize. The frozen sheet also makes it easy to transfer them to storage containers later. Avoid stacking the cupcakes while they are still soft, as they will stick together and distort. If you try to rush this step the frosting stage will be messy and the decorations will slide off.
- Ziploc bags and freeze for up to 1 month before serving.: During this time the ice cream refreezes into a scoopable, stable center. You will know they are ready when the filling no longer gives under gentle pressure and the cupcake feels uniformly cold. A common mistake is opening the freezer frequently which causes thawing and refreezing, leading to grainy texture in the filling.
- When ready to serve, have your frosting or a thawed carton of Cool Whip ready. Remove a cupcake from the freezer, frost as desired, and serve immediately. (For an amazing chocolate frosting recipe try this one or for vanilla, this is my favorite.: Proper packaging prevents freezer burn and keeps the cupcakes tasting fresh. Press out excess air and label the bag with the date to track freshness. If moisture migrates in, you may notice icy crystals on the surface, which indicates imperfect storage. Avoid stacking without protection because the decorations or frosting can flatten under pressure.
- When ready to serve have your frosting or a thawed carton of Cool Whip ready: Remove a cupcake from the freezer and frost immediately, the cold center will keep the topping from sliding. The frosting provides both visual appeal and an insulating layer that slows melting as you serve. If the frosting is too stiff it will crack on the frozen surface, so bring it to a pliable spreadable consistency before using. One mistake is letting the cupcake sit at room temperature too long before frosting which softens the cake and causes collapse.
- Frost as desired and serve immediately: The moment you spread frosting you will notice the contrast of textures and temperatures, and the aroma of frosting will complement the frozen center. Serve right away so guests experience the intended creaminess and chill. If you let them sit, the filling can soften and the balance will be lost, which is the biggest serving pitfall to avoid.
Variations to Try
These variations let you play with flavor and presentation while keeping the basic method the same. I find that small tweaks transform the experience and let you personalize the treat for occasions.
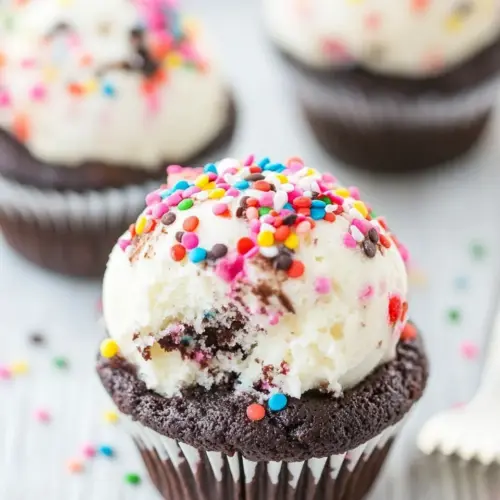
- Sprinkle Swirl: Fold sprinkles into softened ice cream for confetti centers that look festive and add little pops of crunch when you bite in.
- Chocolate Topper: Use a rich chocolate frosting to create contrast with lighter ice cream flavors, it adds depth and a glossy finish that reads elegant.
- Whipped Finish: Opt for Cool Whip or whipped cream for a lighter topping that lets the frozen center shine and keeps the overall dessert airy.
- Mini Party Packs: Make a variety tray with different ice cream flavors so guests can choose, this is my go to for gatherings where tastes vary.
- Decorative Piping: Pipe frosting into swirls and add a single sprinkle on top for a polished look that is still simple to execute.
What to Serve Alongside Ice Cream Cupcakes
Serving these calls for a few complementary elements that enhance the eating experience. Keep beverages cold and light, offer a simple coffee or chilled soda for balance, and present the cupcakes on a plate that allows room for napkins because they are best enjoyed right away. Think about the occasion and match your toppings to the season.
- Cold beverages: Pair with iced tea or chilled lemonade to refresh the palate between bites especially during summer gatherings.
- Simple forks or dessert spoons: Provide small utensils so guests can enjoy each layered bite without getting sticky fingers.
- Platter presentation: Arrange on a single layer tray with space between cupcakes to prevent frosting from smudging, perfect for parties and potlucks.
- Storage advice: Keep extras in a single layer in airtight bags in the freezer; label with the date and consume within one month for best texture.
- Occasion pairings: These are excellent for birthday parties, casual get togethers, or as a playful dessert after a summer barbecue.
FAQ
Conclusion
This recipe shines because it pairs soft cupcake crumb with a frozen creamy center for a playful contrast that everyone loves. Give these a try, and you will find they are easy to prepare ahead and endlessly customizable for parties or a special treat. I hope you enjoy assembling and sharing them as much as I do; they bring a bit of joy to any table.
Ice Cream Cupcakes
Equipment
- Paring knife
- Cookie Sheet
- Wax paper
- Mixing Bowl
- Freezer
Ingredients
- 24 cupcakes baked and cooled (see note for links) Baked and cooled to provide a sturdy base that holds ice cream without collapsing; ensures cupcakes are room temperature so ice cream spreads smoothly and assembly remains tidy. Allow cooling completely to prevent melting of ice cream during topping and serving.
- 1 quart ice cream you'll likely have leftover Ready-to-scoop for filling cupcake wells and creating the ice cream center; offers flavor and texture and may leave some leftover for another use. Keep slightly softened for easier scooping but not melted to maintain shape.
- 1/4 cup sprinkles optional Optional for adding color, crunch, and a festive look to finished cupcakes; sprinkles create contrast and make treats more appealing for parties or celebrations. Use sparingly to avoid overwhelming flavors or causing excessive sweetness.
- 8 ounces Cool Whip fresh whipped cream, or your favorite frosting (chocolate or vanilla) Fresh whipped or store-bought frosting to add creaminess, stabilize the ice cream topping, and help hold sprinkles in place; can be piped or spread for decorative finishes. Choose chocolate or vanilla to complement the ice cream flavor and chill briefly before serving to set.
Instructions
- Start with 24 cupcakes that have been baked and completely cooled. You can use your favorite flavor box mix, or your favorite from scratch recipe. (Consider using my chocolate cupcakes or vanilla cupcakes if you want a from scratch cupcake.) Place the cupcakes on a cookie sheet lined with wax paper. Make room for a second cookie sheet lined with wax paper in your freezer.: The aroma of fresh cake will be tempting, but a cool cake is essential so the frozen filling does not melt on contact. You should notice the cupcake surface is firm to the touch and there is no steam rising. If you try to hollow warm cupcakes, the crumbs will break away and the filling will turn watery, so always let them cool on a rack. One common mistake is rushing this step, which results in soggy edges and a messy assembly.
- For sprinkle filled ice cream: scoop half of a 1.5 Q container of ice cream into a bowl and let it soften for a few minutes. Stir in 1/4 cup sprinkles, then place the bowl back in the freezer to firm up while you prepare the cupcakes. Otherwise, just have your favorite flavor ice cream in the freezer and ready to go.: The softened ice cream will surrender its icy rigidity just enough to stir without becoming liquid. You will see it lose its sharp edges and become scoopable, and the smell will become more aromatic. Stir in the sprinkles quickly, then refreeze the bowl so the mixture firms. If you skip refreezing, the filling will slump inside the cupcake and leak out. Avoid letting the ice cream sit too long at room temperature or it will melt beyond rescue.
- To prep the cupcakes: use a pairing knife to cut a large circle (about the size of a half dollar) in the top of the cupcake. Cut down almost to the bottom of the cupcake, then lift out the cut part. You should end up with a cone shaped chunk of cake. Slice the cone off of each of the cupcake pieces. (You need to make the piece of cake smaller, because the cupcake will be filled with ice cream.): As you cut you should hear a soft tearing of crumb rather than a clean slice, and you will see the carved piece form a cone. The goal is to remove a cone shaped chunk so the cavity can hold the ice cream . Slice the cone off so the lid is flat and can be pressed back on. A frequent error is cutting too deep which risks puncturing the base, so stop just shy of the bottom to maintain a stable cup.
- I suggest you prepare all the cupcakes for the ice cream, then place your second cookie sheet in the freezer. Work in batches of 3-4 cupcakes, filling with ice cream, then placing on the cookie sheet that’s in the freezer. That way the ice cream won’t melt out of the cupcakes.: Lining a cookie sheet with wax paper and chilling it creates a cold staging area. As you work in batches of three to four, transfer filled cupcakes to that frozen sheet so the filling sets quickly. Sensory cues include seeing condensation form if items are too warm, which signals the need to pause and refreeze. Not using a chilled sheet will cause the ice cream to melt into a puddle, which creates an uneven finish.
- Scoop about 1-2 tablespoons of ice cream into the center of each cupcake. Place the top back on and press gently. Put the cupcake on the cookie sheet in the freezer. Continue until all the cupcakes are filled and in the freezer.: The softened filling should be dense but malleable, and when you press the top back on you will feel a modest resistance as the filling nests inside. Work quickly so the filling maintains its coldness, and gently press the removed top back in place to seal the cavity. You might notice a faint coldness on your fingertips, that is normal. One mistake is overfilling which forces the top off and creates an uneven surface that is hard to frost.
- Cover the cupcakes with plastic wrap (leaving them on the cookie sheet) and freeze for at least 4 hours before serving. You can place them (frozen) in a single layer in large: As the cupcakes chill you will observe the filling firm and the cupcake surface stabilize. The frozen sheet also makes it easy to transfer them to storage containers later. Avoid stacking the cupcakes while they are still soft, as they will stick together and distort. If you try to rush this step the frosting stage will be messy and the decorations will slide off.
- Ziploc bags and freeze for up to 1 month before serving.: During this time the ice cream refreezes into a scoopable, stable center. You will know they are ready when the filling no longer gives under gentle pressure and the cupcake feels uniformly cold. A common mistake is opening the freezer frequently which causes thawing and refreezing, leading to grainy texture in the filling.
- When ready to serve, have your frosting or a thawed carton of Cool Whip ready. Remove a cupcake from the freezer, frost as desired, and serve immediately. (For an amazing chocolate frosting recipe try this one or for vanilla, this is my favorite.: Proper packaging prevents freezer burn and keeps the cupcakes tasting fresh. Press out excess air and label the bag with the date to track freshness. If moisture migrates in, you may notice icy crystals on the surface, which indicates imperfect storage. Avoid stacking without protection because the decorations or frosting can flatten under pressure.
- When ready to serve have your frosting or a thawed carton of Cool Whip ready: Remove a cupcake from the freezer and frost immediately, the cold center will keep the topping from sliding. The frosting provides both visual appeal and an insulating layer that slows melting as you serve. If the frosting is too stiff it will crack on the frozen surface, so bring it to a pliable spreadable consistency before using. One mistake is letting the cupcake sit at room temperature too long before frosting which softens the cake and causes collapse.
- Frost as desired and serve immediately: The moment you spread frosting you will notice the contrast of textures and temperatures, and the aroma of frosting will complement the frozen center. Serve right away so guests experience the intended creaminess and chill. If you let them sit, the filling can soften and the balance will be lost, which is the biggest serving pitfall to avoid.
Notes
- Sprinkle Swirl: Fold sprinkles into softened ice cream for confetti centers that look festive and add little pops of crunch when you bite in.
- Chocolate Topper: Use a rich chocolate frosting to create contrast with lighter ice cream flavors, it adds depth and a glossy finish that reads elegant.
- Whipped Finish: Opt for Cool Whip or whipped cream for a lighter topping that lets the frozen center shine and keeps the overall dessert airy.
- Mini Party Packs: Make a variety tray with different ice cream flavors so guests can choose, this is my go to for gatherings where tastes vary.
- Decorative Piping: Pipe frosting into swirls and add a single sprinkle on top for a polished look that is still simple to execute.