How to Blanch Broccoli
How to Blanch Broccoli is one of those simple kitchen skills I come back to again and again when I want vegetables that look lively and taste bright. The first time I learned to do this I was trying to get school-lunch style broccoli for a family dinner, and the oddly satisfying pop of color when the florets hit the ice bath convinced me this was worth practicing. I still remember the little victory of serving broccoli that was vivid green and tender crisp, rather than limp and dull.
Over the years I’ve adapted the small routine around my cooking rhythm, so now blanching is something I do while a pot of soup simmers or while I’m prepping other parts of a meal. I find it calming to stand over a big stockpot of rolling water, watching steam billow and the broccoli transform. It feels like a tiny, precise ritual that rewards you immediately. When guests arrive and you plate bright green florets next to roasted mains, they always ask how you got them to look so fresh.
Recipe Snapshot
15 mins
10 mins
5 mins
Easy
55 kcal
American
Vegan, Gluten-Free
Side Dishes
Large stockpot, Large bowl, Slotted spoon, Paper towels
The Charm of This How to Blanch Broccoli
1. Color and Texture That Pop
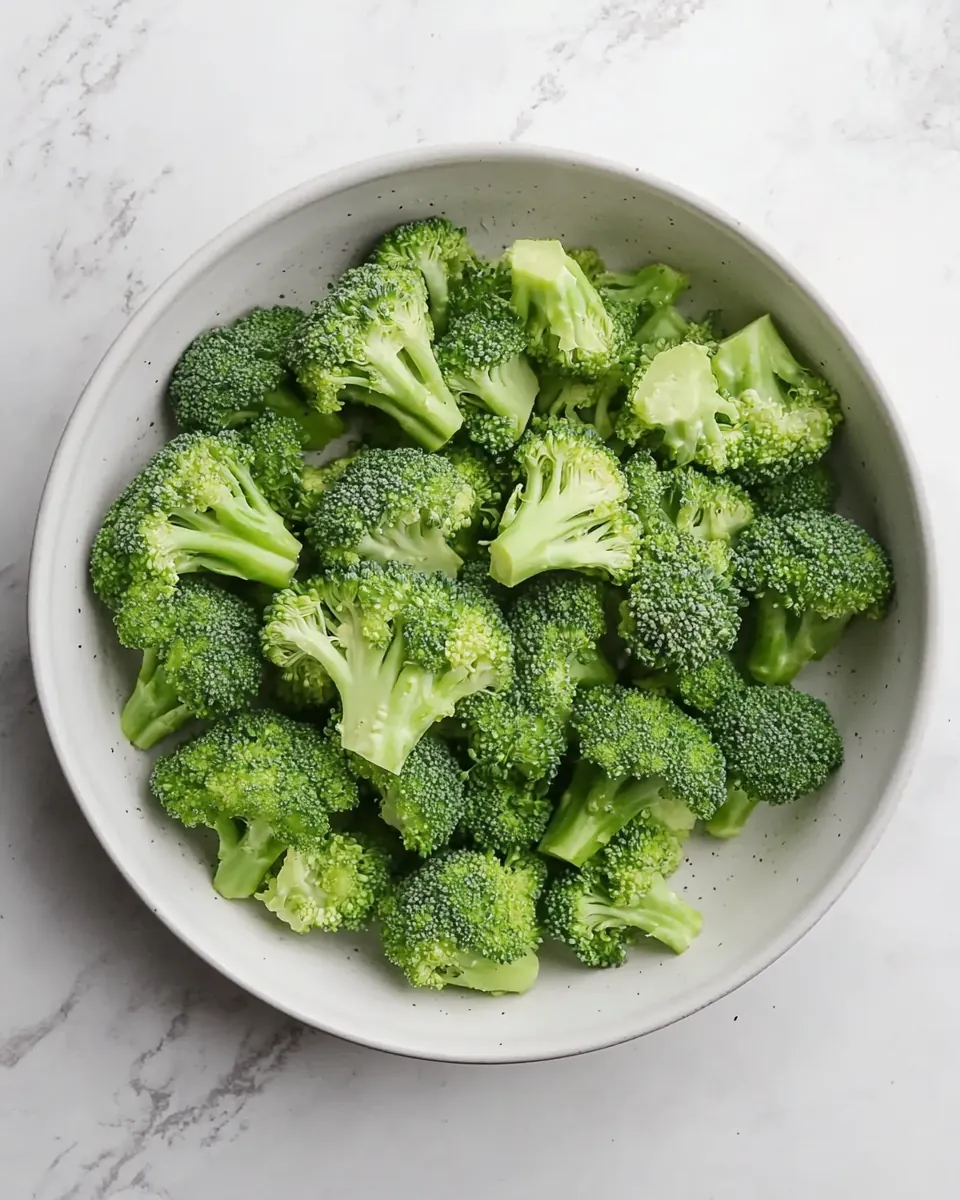
I love how How to Blanch Broccoli delivers broccoli that looks and feels vibrant. The quick cook in hot water and the immediate ice bath lock in that bright green color and create a tender crisp bite, which is so much more appealing than overcooked, mushy broccoli. You can see the difference on the plate, which makes a simple vegetable feel elevated.
2. Fast and Reliable
I often reach for this method on busy nights because it is fast. With just boiling water and a little ice, you can transform raw broccoli into a ready to eat component in under ten minutes. It plays nicely with other things you are doing in the kitchen, and the minimal equipment means it’s a low friction technique I recommend to anyone.
3. Versatile Finishing Options
I appreciate that once broccoli is blanched, you can dress it however you like. Toss it with olive oil and lemon, steam it briefly with garlic, or fold it into salads and pastas. The neutral, bright flavor is like a blank canvas, which is why I sometimes make a double batch to have on hand for quick salads or simple sides.
4. Keeps Nutrients and Freshness
One reason I prefer this approach is that blanching preserves both texture and the vegetable’s nutrients better than prolonged cooking. Because the cooking time is short, vitamins that are sensitive to heat are less likely to leach away. I also find the ice bath preserves the fresh popped appearance, which matters when you want an attractive serving bowl.
5. Beginner Friendly, High Impact
I recommend How to Blanch Broccoli to cooks at every level. It’s an easy technique to learn, yet the payoff is immediate and dramatic, especially for family meals or weeknight sides. Once you master the timing and the ice bath step, you’ll be surprised how often you reach for this quick trick.
What to Gather for How to Blanch Broccoli
These ingredients are intentionally few and focused. The goal is to coax the best texture and color from the vegetable with minimal interference. The key players are the broccoli itself and a touch of salt, which seasons the water and the florets. Together they create the straightforward foundation you need to get perfectly blanched results every time.
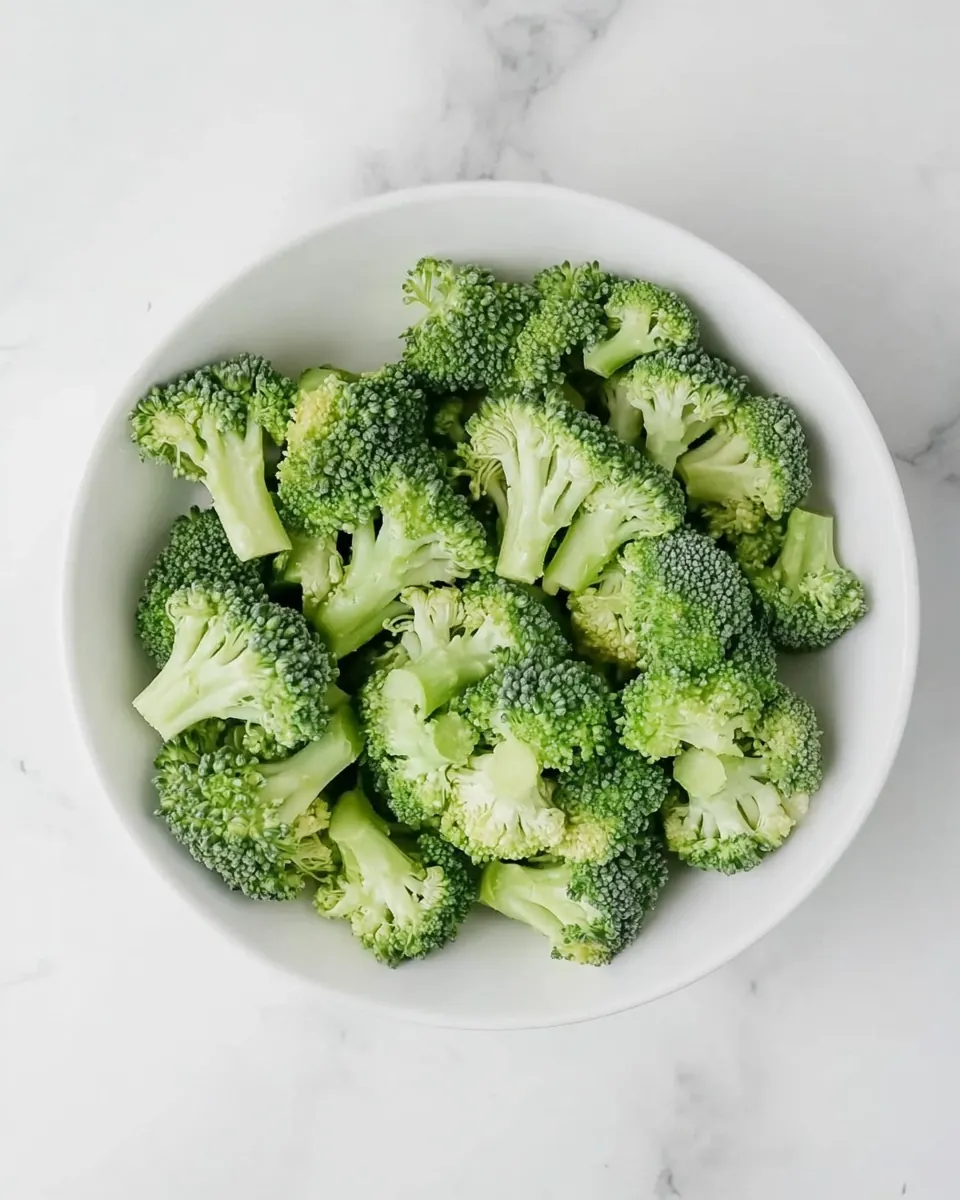
- 2 pounds broccoli florets: Trimmed and separated into bite-sized florets, provide the primary vegetable body and texture for blanching; cook briefly in boiling water to brighten color while preserving crisp-tender bite, then shock in ice water to halt cooking and set vibrant green. Add to salads, stir-fries, or freeze after drying; adjust blanch time based on floret size to avoid overcooking and mushiness.
- 2 teaspoons salt () (optional): Dissolved into the blanching water as an optional seasoning, enhance the water's boiling point slightly and contribute subtle seasoning to the broccoli; use a measured amount so the flavor is present but not overpowering. Choose kosher or sea salt for even distribution and adjust to taste when serving, remembering that some dietary needs may call for omitting it.
Making How to Blanch Broccoli
Blanching is a short, precise sequence that rewards attention to timing and sensation. Below you’ll find the cleaned directions expanded into a detailed, personal guide that emphasizes what to watch for and how to troubleshoot common pitfalls.
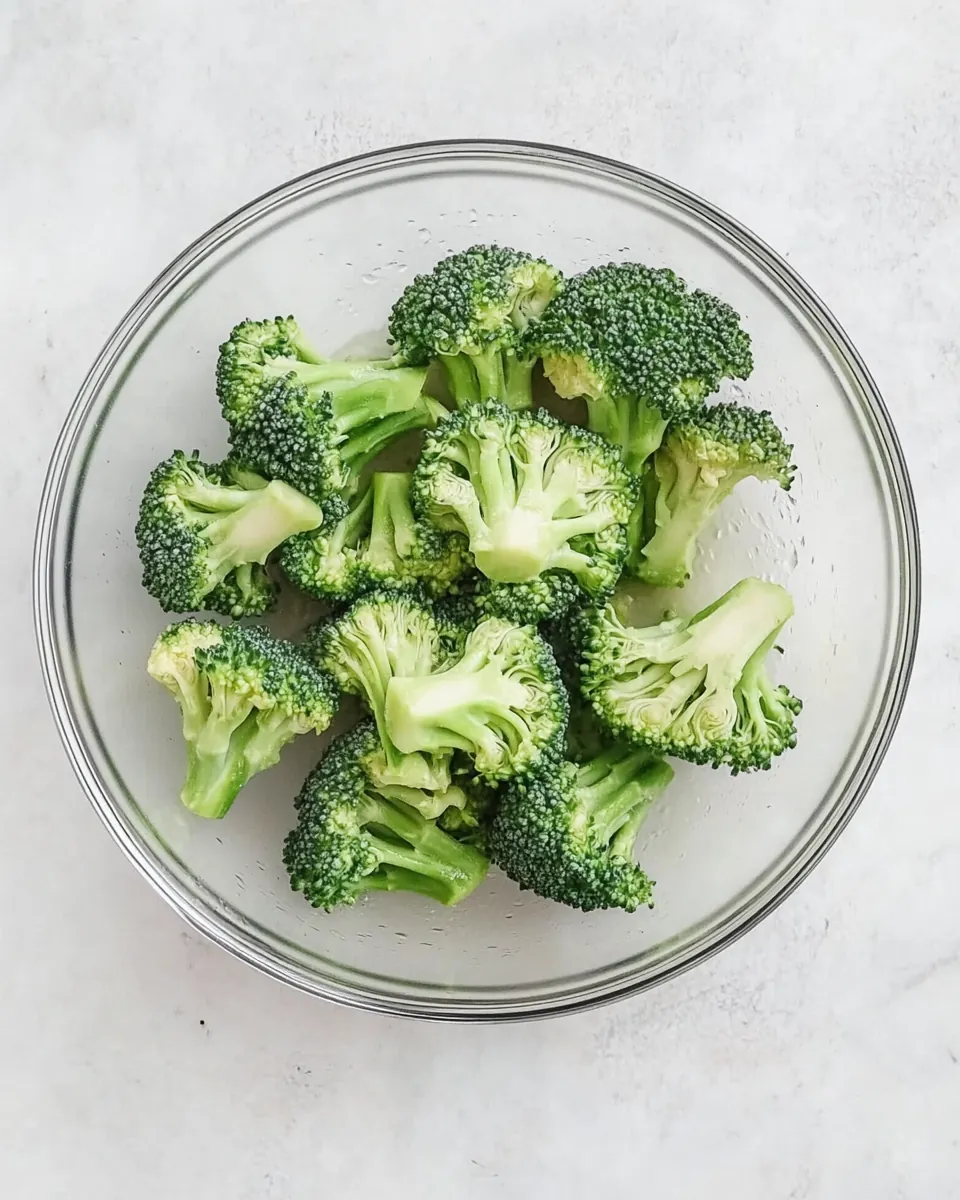
- Bring 4 quarts water and 2 teaspoons salt to a rapid boil. Fill a large bowl with cold water and ice.: The water should be at a vigorous, rolling boil so that the broccoli cooks evenly and quickly. You'll hear a loud, steady bubbling sound, and steam will rise consistently from the pot. The reason for a rapid boil is that it minimizes the time the florets are in contact with water, preserving texture and color. A frequent error is using too little water, which cools rapidly when you add the broccoli , lengthening cook time and risking sogginess. Make sure the pot is large enough to let the water circulate around the pieces; otherwise the florets can clump and cook unevenly. Smell wise, the water should remain neutral; if it smells metallic or off, refresh it. If you are sensitive to salt, you can reduce the amount slightly, but be aware that the seasoning impact will be reduced.
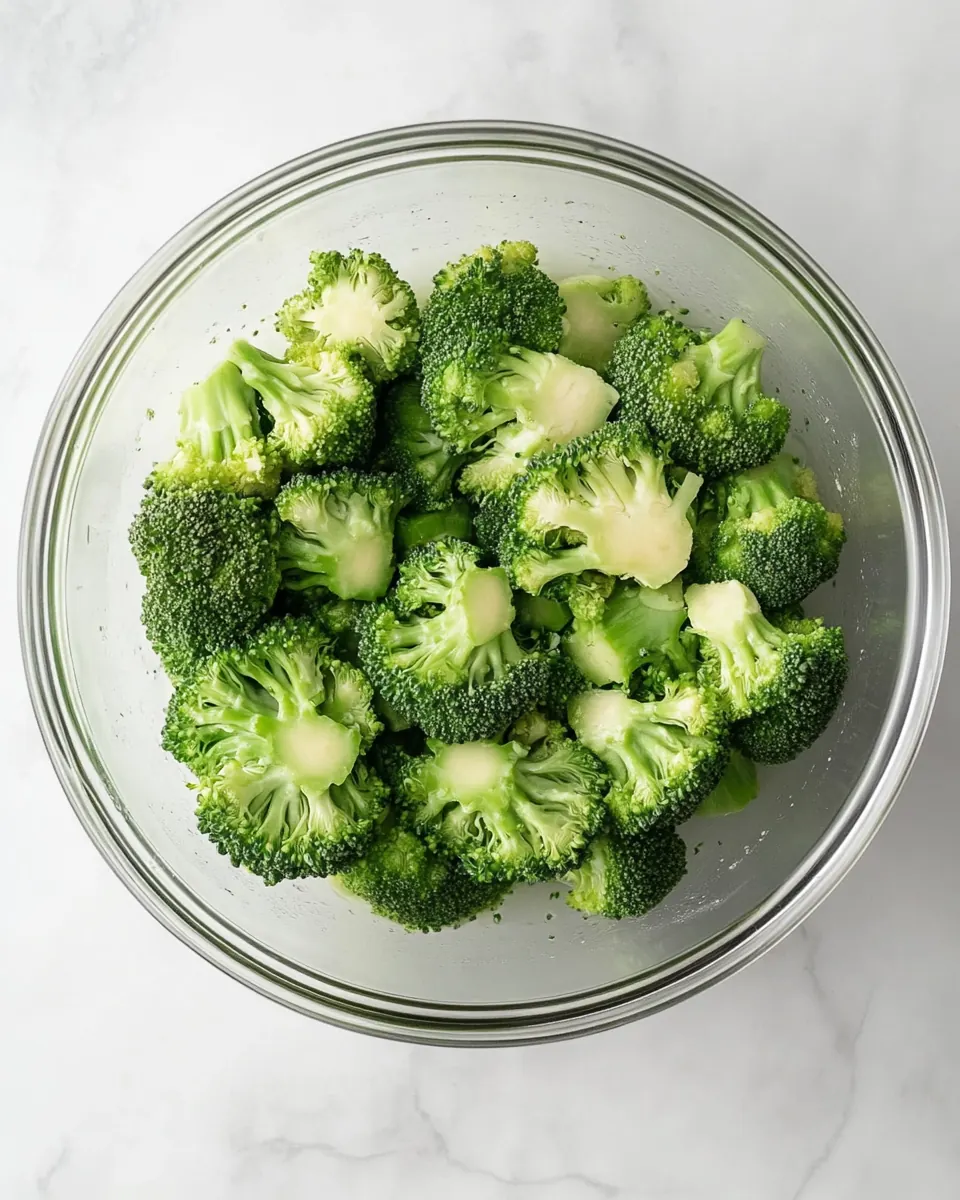
- Carefully lower the broccoli florets into the boiling water and cook for 2 to 3 minutes. The broccoli should be bright green and just barely tender.: Prepare the ice bath ahead of time so you can immediately stop the cooking process. The tactile cue here is the shock of cold when the broccoli hits the water, which halts cooking and locks in color and crunch. You want enough ice to keep the water near freezing for at least several minutes; lukewarm water won't stop residual heat and can lead to overcooking. A typical mistake is setting up the ice bath too late, which results in softer florets. When the ice bath is ready, it should look frosty and feel noticeably cold to the touch. This step also helps set the stage for cooling if you plan to store the blanched broccoli .
- With a slotted spoon, remove the broccoli and immediately plunge into the ice water.: As the broccoli hits the water you will see an immediate brightening of color, almost like a visual pop. Listen for the water to continue boiling steadily; if it slows, the pot may be too small or the burner too low. The recommended time range produces florets that are tender yet still crisp. The sensory test is to pierce a floret with the tip of a knife or fork; you want a slight resistance, not a soft fall apart. One common mistake is leaving them too long, which yields a dull color and limp texture. If pieces vary in size, check larger ones sooner and consider removing smaller ones earlier to avoid overcooking.
- When the broccoli is completely cool, drain it from the ice water and pat dry with a paper towel.: The sound of the slotted spoon scraping the pot and the quick dunk into the ice bath are key moments. You should hear a sharp hiss as a hot floret meets cold water. This immediate cooling stops the cooking and prevents the nice green from fading. A typical slip up is letting the broccoli sit on a colander or in a bowl of plain water where it continues to cook. Move the florets promptly into the ice water and stir gently so that all pieces are chilled evenly. Keep an eye on the ice level, and add more if the water becomes tepid.
- When the broccoli is completely cool, drain it from the ice water and pat dry with a paper towel: The final sensory check is firmness and temperature. The broccoli should feel cold and retain a slight snap when you bite it. Drain thoroughly so excess water does not dilute dressings or sauces later. Patting dry removes surface moisture that can make a salad soggy or prevent quick sautéing from browning. A common mistake is skipping the drying step, which leads to watery texture and poor searing. Use a clean towel or paper towel and press gently; rough handling can bruise the florets. Once dry, you can serve immediately or store in the fridge in a covered container for several days.
Variations to Try
Once you have the basics down, there are small tweaks that personalize the result. Below are practical, kitchen tested ideas that keep the core technique intact while offering different flavor directions.
- Steam finish: After blanching and drying, quickly toss the broccoli in a hot skillet with a splash of olive oil for a minute to add a light sear and to warm it through before serving.
- Lemon and pepper: Right after drying, squeeze fresh lemon over the broccoli and sprinkle cracked black pepper for a bright, zesty finish that complements the vegetable’s natural flavor.
- Garlic toss: Heat a little oil, add minced garlic for just a few seconds until fragrant, then toss with the blanched broccoli to give it a savory lift without overpowering the fresh quality.
- Chilled salad: After blanching and drying, cool the broccoli completely and combine with a vinaigrette and crunchy toppings for an easy side salad that travels well.
- Batch prep: Blanch and dry large amounts, then freeze on a tray before transferring to bags; this keeps the texture better when you reheat small portions later.
What Complements This How to Blanch Broccoli
Blanched broccoli is extremely versatile, and it pairs well with many dishes and occasions. Below are thoughtful serving ideas, storage guidance, and suggestions for seasonal or occasion based uses, all presented in list form so you can pick what suits your meal plan.
- Simple weeknight side: Serve the blanched broccoli tossed with olive oil and lemon alongside roasted chicken or a grain bowl for an easy weeknight dinner.
- Salads and bowls: Use chilled blanched florets in composed salads or power bowls; they add texture and color without dominating the other ingredients.
- Holiday plates: When you need a bright vegetable on a holiday spread, the vibrant color of blanched broccoli looks elegant next to heavier mains, providing contrast on the plate.
- Meal prep: Store cooled, dried florets in an airtight container in the fridge for up to four days to speed up lunches and dinners during the week.
- Sauté option: After drying, briefly sauté with garlic or a nut topping to make a warm side that can stand up to richer entrées at dinner parties.
- Seasonal pairing: In spring and summer, pair blanched broccoli with fresh peas and herbs; in fall, tuck it alongside roasted root vegetables for color contrast.
FAQ
Conclusion
This technique makes How to Blanch Broccoli a reliable go to for bright, tender crisp florets that elevate simple meals. Give it a try on your next meal prep or as a quick side at dinner, and notice how the color and texture change with just a few intentional steps. It’s a small skill with a big payoff, and once you get the timing down you’ll find yourself using it regularly for salads, sides, and quick reheats.

How to Blanch Broccoli
Equipment
- Large Stockpot
- Large Bowl
- Slotted Spoon
- Paper towels
Ingredients
- 2 pounds broccoli florets Trimmed and separated into bite-sized florets, provide the primary vegetable body and texture for blanching; cook briefly in boiling water to brighten color while preserving crisp-tender bite, then shock in ice water to halt cooking and set vibrant green. Add to salads, stir-fries, or freeze after drying; adjust blanch time based on floret size to avoid overcooking and mushiness.
- 2 teaspoons salt (optional) Dissolved into the blanching water as an optional seasoning, enhance the water's boiling point slightly and contribute subtle seasoning to the broccoli; use a measured amount so the flavor is present but not overpowering. Choose kosher or sea salt for even distribution and adjust to taste when serving, remembering that some dietary needs may call for omitting it.
Instructions
- Bring 4 quarts water and 2 teaspoons salt to a rapid boil. Fill a large bowl with cold water and ice.: The water should be at a vigorous, rolling boil so that the broccoli cooks evenly and quickly. You'll hear a loud, steady bubbling sound, and steam will rise consistently from the pot. The reason for a rapid boil is that it minimizes the time the florets are in contact with water, preserving texture and color. A frequent error is using too little water, which cools rapidly when you add the broccoli , lengthening cook time and risking sogginess. Make sure the pot is large enough to let the water circulate around the pieces; otherwise the florets can clump and cook unevenly. Smell wise, the water should remain neutral; if it smells metallic or off, refresh it. If you are sensitive to salt, you can reduce the amount slightly, but be aware that the seasoning impact will be reduced.
- Carefully lower the broccoli florets into the boiling water and cook for 2 to 3 minutes. The broccoli should be bright green and just barely tender.: Prepare the ice bath ahead of time so you can immediately stop the cooking process. The tactile cue here is the shock of cold when the broccoli hits the water, which halts cooking and locks in color and crunch. You want enough ice to keep the water near freezing for at least several minutes; lukewarm water won't stop residual heat and can lead to overcooking. A typical mistake is setting up the ice bath too late, which results in softer florets. When the ice bath is ready, it should look frosty and feel noticeably cold to the touch. This step also helps set the stage for cooling if you plan to store the blanched broccoli .
- With a slotted spoon, remove the broccoli and immediately plunge into the ice water.: As the broccoli hits the water you will see an immediate brightening of color, almost like a visual pop. Listen for the water to continue boiling steadily; if it slows, the pot may be too small or the burner too low. The recommended time range produces florets that are tender yet still crisp. The sensory test is to pierce a floret with the tip of a knife or fork; you want a slight resistance, not a soft fall apart. One common mistake is leaving them too long, which yields a dull color and limp texture. If pieces vary in size, check larger ones sooner and consider removing smaller ones earlier to avoid overcooking.
- When the broccoli is completely cool, drain it from the ice water and pat dry with a paper towel.: The sound of the slotted spoon scraping the pot and the quick dunk into the ice bath are key moments. You should hear a sharp hiss as a hot floret meets cold water. This immediate cooling stops the cooking and prevents the nice green from fading. A typical slip up is letting the broccoli sit on a colander or in a bowl of plain water where it continues to cook. Move the florets promptly into the ice water and stir gently so that all pieces are chilled evenly. Keep an eye on the ice level, and add more if the water becomes tepid.
- When the broccoli is completely cool, drain it from the ice water and pat dry with a paper towel: The final sensory check is firmness and temperature. The broccoli should feel cold and retain a slight snap when you bite it. Drain thoroughly so excess water does not dilute dressings or sauces later. Patting dry removes surface moisture that can make a salad soggy or prevent quick sautéing from browning. A common mistake is skipping the drying step, which leads to watery texture and poor searing. Use a clean towel or paper towel and press gently; rough handling can bruise the florets. Once dry, you can serve immediately or store in the fridge in a covered container for several days.
Notes
- Steam finish: After blanching and drying, quickly toss the broccoli in a hot skillet with a splash of olive oil for a minute to add a light sear and to warm it through before serving.
- Lemon and pepper: Right after drying, squeeze fresh lemon over the broccoli and sprinkle cracked black pepper for a bright, zesty finish that complements the vegetable's natural flavor.
- Garlic toss: Heat a little oil, add minced garlic for just a few seconds until fragrant, then toss with the blanched broccoli to give it a savory lift without overpowering the fresh quality.
- Chilled salad: After blanching and drying, cool the broccoli completely and combine with a vinaigrette and crunchy toppings for an easy side salad that travels well.
- Batch prep: Blanch and dry large amounts, then freeze on a tray before transferring to bags; this keeps the texture better when you reheat small portions later.