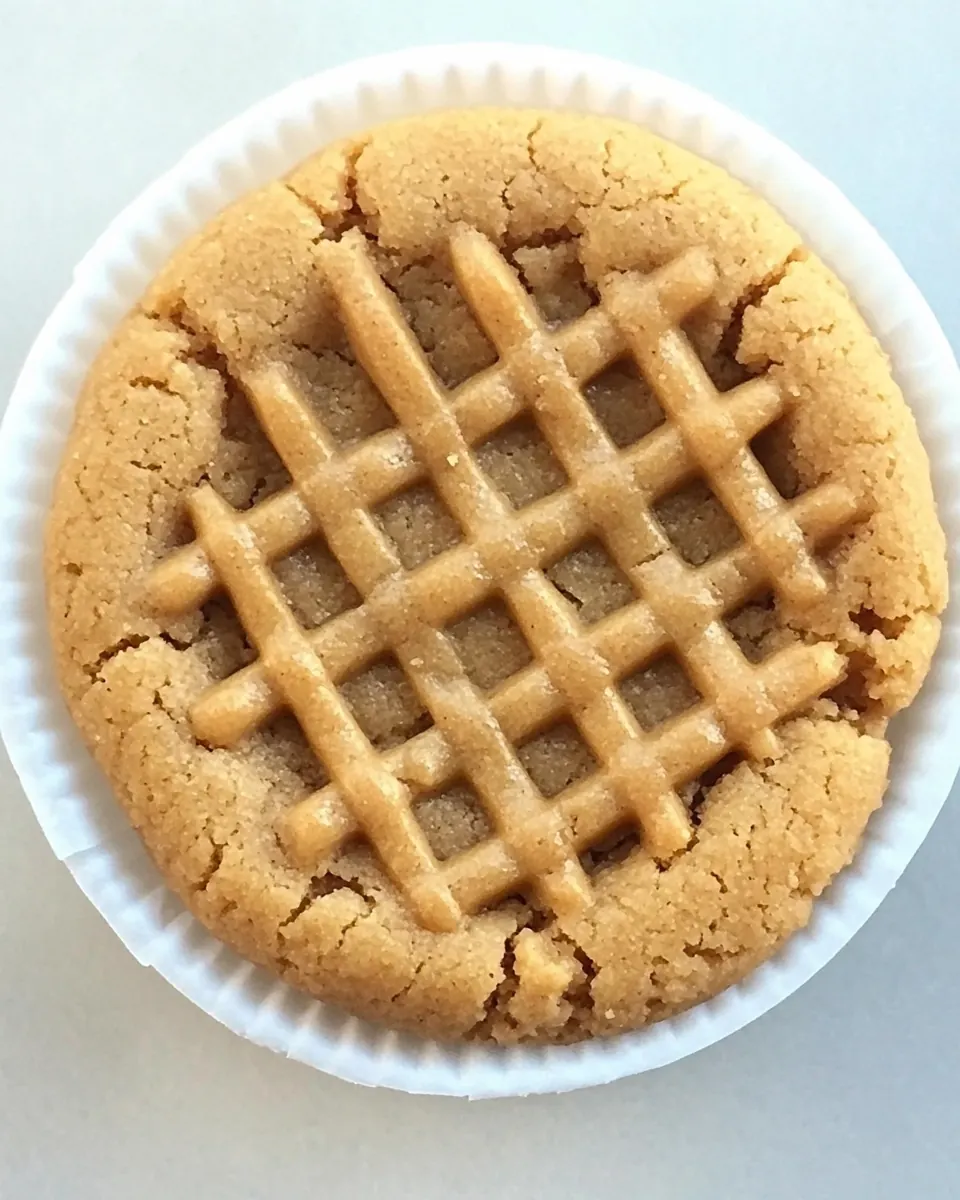
Flourless Peanut Butter Cookie
Flourless Peanut Butter Cookie is the little, honest recipe I reach for when I want something quick, nostalgic, and totally satisfying with minimal fuss. I remember the first time I made this cookie on a rainy afternoon, with a single bowl on the counter and a tiny playlist humming in the background. The simplicity of peanut butter and a whisper of powdered sugar felt almost like comfort therapy, and the resulting cookie had that perfect balance of tender middle and slightly crisp edge that stopped me from making anything else that day.
Over time I learned small, meaningful tweaks that improved texture and flavor without complicating the method. I like to whisk the egg first, measure out exactly one tablespoon so the dough holds together, and press the fork pattern gently so the edges bake evenly. These little rituals make the recipe feel deliberate, and they give me something calm to do in an otherwise busy kitchen.
Recipe Snapshot
20 mins
5 mins
15 mins
Easy
120 kcal
American
Gluten-Free, Low FODMAP
Desserts
Mixing bowl, Fork, Baking sheet, Parchment paper
What You’ll Enjoy About This Flourless Peanut Butter Cookie
1. Effortless simplicity
I love this recipe because it is wonderfully straightforward. With only three ingredients, the focus is on technique rather than a long ingredient list, so you can really taste the peanut butter. There is something satisfying about turning pantry staples into an impressive cookie in minutes, and I often reach for this when I want a fast treat without sacrificing flavor.
2. Texture that surprises
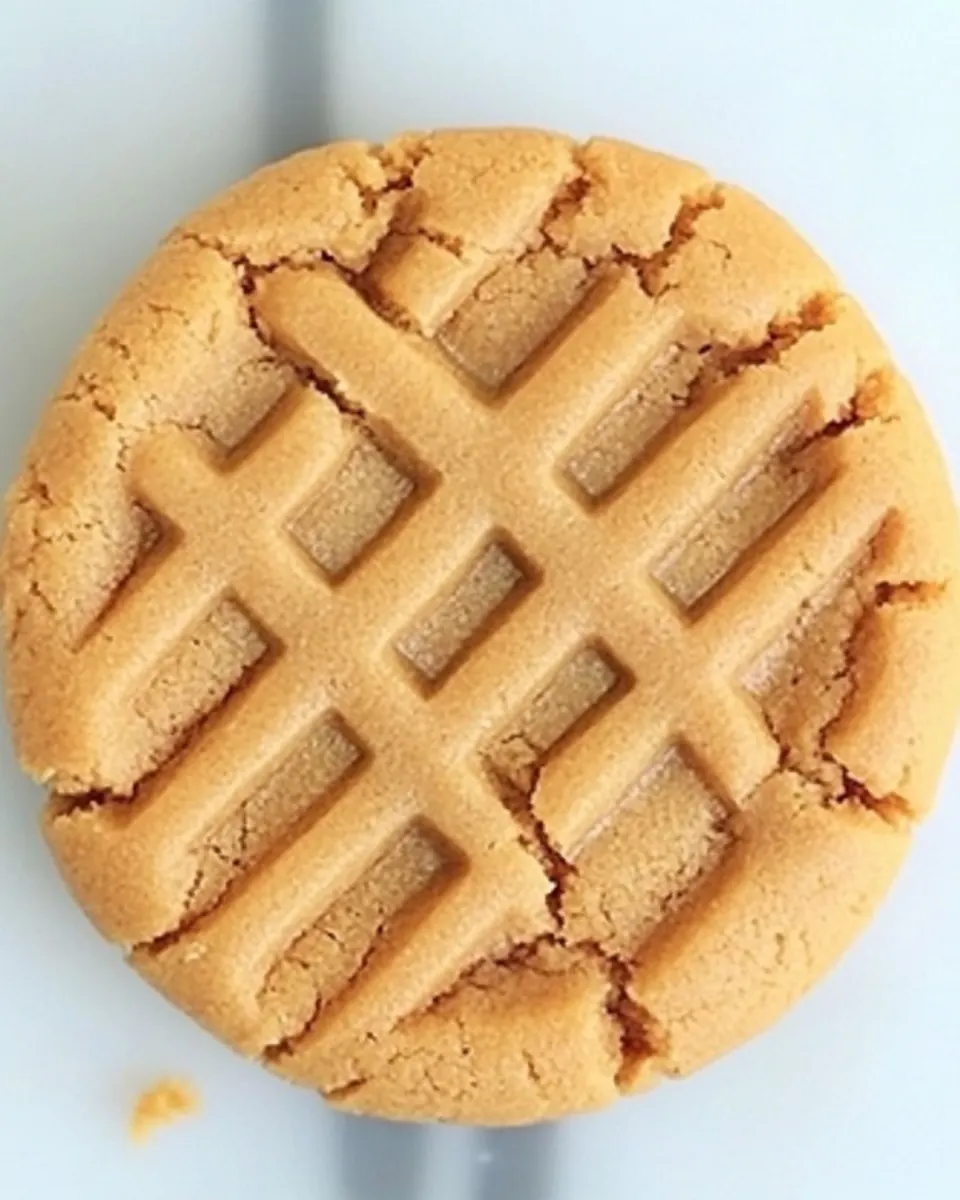
The way this cookie transforms in the oven is delightful. The exterior crisps just enough while the interior remains tender and slightly chewy. I appreciate that the cookie is flourless, which concentrates the nutty taste of the peanut butter and creates a pleasant mouthfeel. When done right you get a contrast between a lightly crisp edge and a soft center, which keeps me coming back.
3. Perfect for small batches
I often do not want a whole tray of cookies, and this recipe is built for small scale baking. It is ideal for two servings, so it reduces waste and lets you enjoy fresh-baked warmth without committing to a big batch. I rely on it when I need just a couple of cookies to pair with coffee or to share with a neighbor, because it bakes quickly and tastes like a treat made with intention.
4. Great pantry-friendly snack
This cookie is forgiving and uses shelf-stable ingredients, which makes it a dependable last-minute snack. If you keep peanut butter and powdered sugar in your pantry, you can whip these up anytime. I find the recipe reassuring on busy days, since it delivers a consistently good result without specialized tools or time consuming steps.
5. Kid friendly and adaptable
Kids love pressing the fork pattern and making each cookie look like a little sunburst, and I love watching them enjoy a baking task that is simple and safe. Because the technique is so straightforward, I often get my nieces involved, and the cookies become a shared memory as much as a snack.
Ingredients Overview for Flourless Peanut Butter Cookie
This tiny ingredient list reflects a philosophy of minimalism and focus. Each item plays a clear role: the peanut butter brings fat, structure, and rich nutty flavor; the powdered sugar sweetens and helps create a tender crumb; the whisked egg binds everything and adds a bit of lift. Together they produce a cookie that feels indulgent yet simple, and the balance between fat and sugar creates both texture and stability.
- 1/4 cup creamy peanut butter (not natural or homemade): Provides creamy texture and rich peanut flavor while binding the dough together; choose commercial creamy peanut butter for consistent fat and sugar content. Adds moisture so the cookie remains tender despite being flourless, and contributes to browning during baking for depth of flavor. Avoid natural or homemade varieties with separated oil, as they can make the dough too oily and change texture.
- 1/4 cup powdered sugar: Sweetens and stabilizes the dough while dissolving into a fine, smooth crumb that gives a delicate melt-in-the-mouth quality. Helps control overall sweetness without adding grainy texture, since powdered sugar combines readily with the peanut butter. Also contributes a slight structural dryness that balances the fat for a proper cookie crumb.
- 1 tbsp whisked egg: Lightens and slightly binds the mixture while adding richness and a hint of savory depth; whisking incorporates air for a more tender bite. Provides minimal but important structural protein to help the cookies hold together without traditional flour. Use just enough to avoid making the dough runny while improving cohesion.
Making Flourless Peanut Butter Cookie
These directions are concise but rewarding, and they invite a focused, sensory baking session. Read them through once, then gather the ingredients. The process is forgiving, but attention to texture and small visual cues will help you finish with consistently pleasant cookies.
- Preheat oven to 350 degrees. In a bowl, using a fork, stir together all ingredients until well blended and batter begins to dry slightly (the more you stir the drier it will become, you just want it dry enough to be able to hold a shape and form a ball).: The oven warming creates a steady environment so the cookies bake evenly, producing slightly crisp edges while preserving a soft center. You should feel a gentle warmth when you open the oven and see a stable glowing rack, which means the heat is distributed. If the oven is not fully preheated your cookies may spread unevenly, or the center might stay too soft, so always wait until the temperature is steady.
- Shape into a ball then transfer to a Silpat or parchment paper lined baking sheet.: The mixture will smell intensely of roasted peanut butter as the sugar incorporates, and the sound of the fork scraping the bowl is oddly satisfying. You want the dough to pull away from the sides slightly and feel tacky but not sticky. This drying is how the sugar and egg integrate with the peanut butter , giving the final cookie structure. A common mistake here is overmixing to the point of making the dough crumbly, so stop when the dough holds together without oozing.
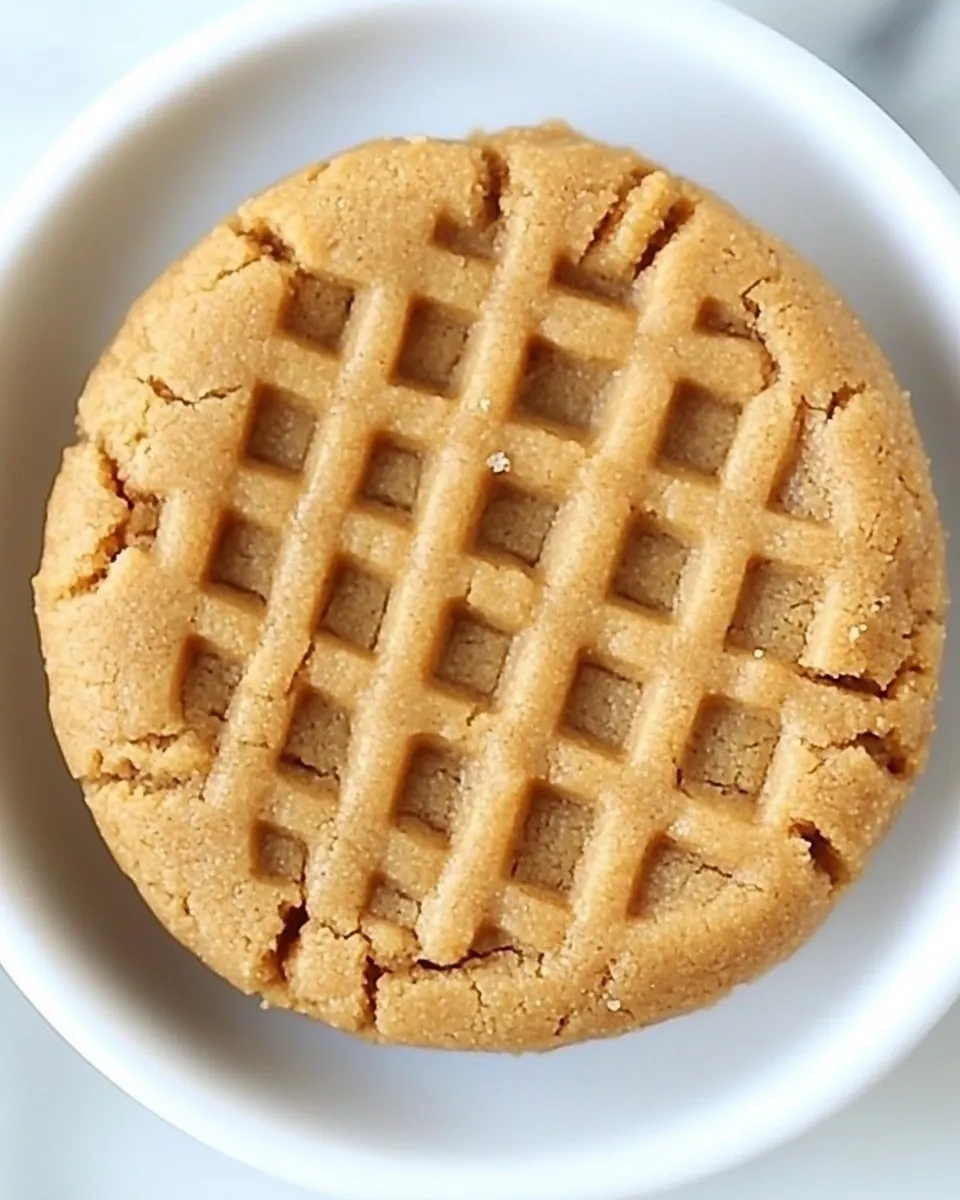
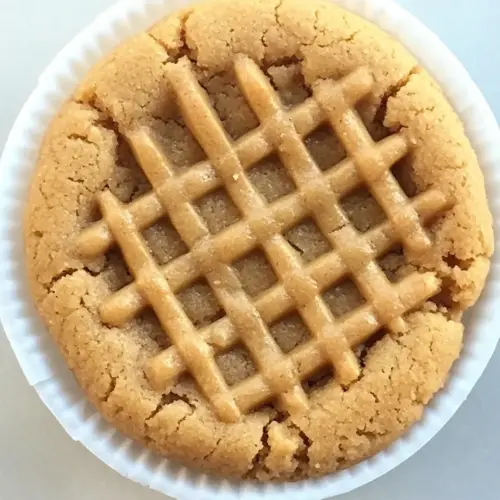
- Using the palm of your hand, flatten ball slightly, then using the fork gently press downward to make criss cross patterns over entire cookie (it should be about 3 1/2-inches across).: Rolling into a ball compresses the dough and creates surface tension, which helps even spread during baking. When you place the balls on the lined sheet you should hear a faint thud, and the surface will look smooth. Leave space between cookies because they will flatten a bit as they bake. Avoid packing the dough too tight, which can prevent even baking and produce dense centers.
- Bake in preheated oven 12 – 15 minutes. Cool slightly then enjoy.: The pressing step creates the classic look and increases surface area, encouraging browned edges and a pleasing crisp. The fork marks also allow steam to escape, helping the whole cookie bake through without a gummy center. You should feel the dough give under the palm and hear a soft press; the fork marks should be visible but not cut through. Press lightly, because pressing too hard can make the cookies thin and brittle.
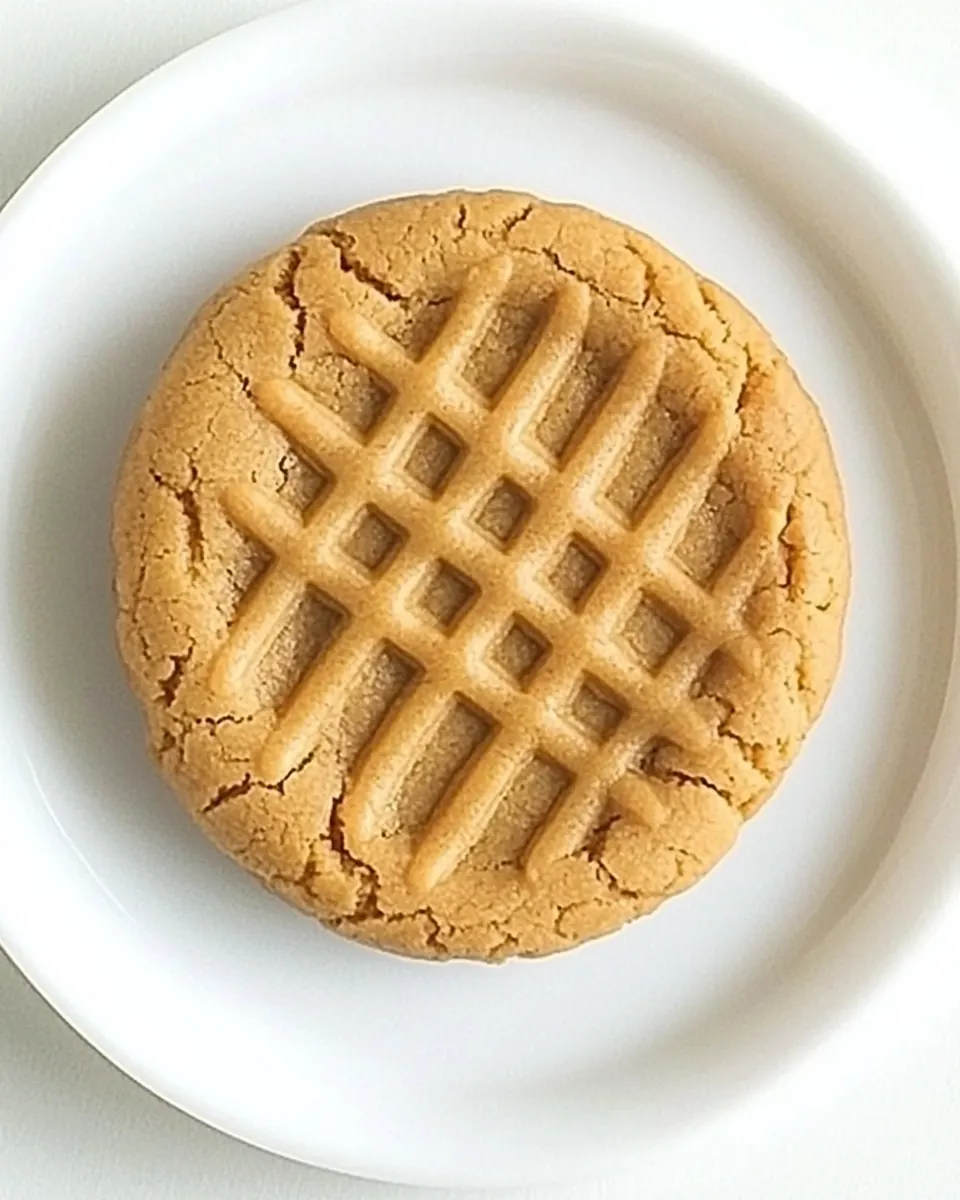
- Bake in preheated oven 12 to 15 minutes: During baking the scent of toasted peanut butter will fill the kitchen and the edges will take on a light golden tone while the centers remain slightly pale. The small crackle around the fork marks signals doneness, and the cookie will firm as it cools on the tray. If you bake too long you risk drying them out, and if you remove them too early they may sink and be underdone, so aim for that faint golden edge and a slightly soft middle.
- Cool slightly then enjoy: As the cookies rest, they finish setting and the internal steam redistributes, which firms the texture without making them hard. Place them on a wire rack if you can, and savor the warm aroma as they cool. A common mistake is handling them immediately off the tray, which can cause them to break, so give them a few minutes to settle before plating.
Making Adjustments
These tips help you tailor the recipe to different textures and occasions while keeping the spirit of the original. I expand on small choices that make a big difference, and I highlight simple swaps that preserve the cookie’s character.
- Adjust sweetness If you prefer a less sweet cookie, reduce the powdered sugar slightly, but be mindful that this will affect structure and may make the dough looser.
- Texture control For a chewier center, press the cookies a bit less firmly before baking so they remain thicker and retain more moisture during the bake.
- Even spread Chill the shaped balls for five to ten minutes if you notice the cookies are spreading too thin in your oven, this helps them hold shape better.
- Measure egg precisely Whisk the egg first and then measure one tablespoon to ensure consistent results, as too much egg can make the dough runny and thin the final cookie.
- Baking sheet choice Use a light colored baking sheet to avoid overbrowning the bottoms, a dark sheet will accelerate browning and may shorten bake time.
What to Pair With Flourless Peanut Butter Cookie
These cookies are versatile and pair well with beverages and small accompaniments, making them suitable for snack time, a coffee break, or a simple dessert offering. They travel well and are easy to include on a small tray for guests or a casual get together.
- Classic pair Serve warm with a cup of coffee or tea for a cozy, everyday treat that highlights the nutty flavor of the peanut butter.
- Casual snack Pack one or two in a small box or container for a portable afternoon bite that keeps well for a day.
- Sweet tooth option Offer alongside fresh fruit for balance, the bright acidity of fruit complements the rich, creamy texture.
- Occasion suggestions These are great for small gatherings and informal events where you want a homemade element without too much prep time.
- Storage tips Keep leftovers in an airtight container at room temperature for up to three days, or freeze for longer storage and thaw at room temperature before serving.
FAQ
Conclusion
This small batch Flourless Peanut Butter Cookie stands out for its simplicity and reliably delicious results. The recipe is ideal when you want a quick, comforting treat with minimal ingredients and fuss. Give it a try on a busy afternoon or when you need a warm cookie in minutes; the straightforward method and concentrated peanut butter flavor make it hard to resist. I hope you enjoy making this as much as I do, and that it becomes a tiny, dependable ritual whenever you need a fast and satisfying bake.
Flourless Peanut Butter Cookie
Equipment
- Mixing Bowl
- Fork
- Baking Sheet
- Parchment Paper
Ingredients
- 1/4 cup creamy peanut butter (not natural or homemade) Provides creamy texture and rich peanut flavor while binding the dough together; choose commercial creamy peanut butter for consistent fat and sugar content. Adds moisture so the cookie remains tender despite being flourless, and contributes to browning during baking for depth of flavor. Avoid natural or homemade varieties with separated oil, as they can make the dough too oily and change texture.
- 1/4 cup powdered sugar Sweetens and stabilizes the dough while dissolving into a fine, smooth crumb that gives a delicate melt-in-the-mouth quality. Helps control overall sweetness without adding grainy texture, since powdered sugar combines readily with the peanut butter. Also contributes a slight structural dryness that balances the fat for a proper cookie crumb.
- 1 tbsp whisked egg Lightens and slightly binds the mixture while adding richness and a hint of savory depth; whisking incorporates air for a more tender bite. Provides minimal but important structural protein to help the cookies hold together without traditional flour. Use just enough to avoid making the dough runny while improving cohesion.
Instructions
- Preheat oven to 350 degrees. In a bowl, using a fork, stir together all ingredients until well blended and batter begins to dry slightly (the more you stir the drier it will become, you just want it dry enough to be able to hold a shape and form a ball).: The oven warming creates a steady environment so the cookies bake evenly, producing slightly crisp edges while preserving a soft center. You should feel a gentle warmth when you open the oven and see a stable glowing rack, which means the heat is distributed. If the oven is not fully preheated your cookies may spread unevenly, or the center might stay too soft, so always wait until the temperature is steady.
- Shape into a ball then transfer to a Silpat or parchment paper lined baking sheet.: The mixture will smell intensely of roasted peanut butter as the sugar incorporates, and the sound of the fork scraping the bowl is oddly satisfying. You want the dough to pull away from the sides slightly and feel tacky but not sticky. This drying is how the sugar and egg integrate with the peanut butter , giving the final cookie structure. A common mistake here is overmixing to the point of making the dough crumbly, so stop when the dough holds together without oozing.
- Using the palm of your hand, flatten ball slightly, then using the fork gently press downward to make criss cross patterns over entire cookie (it should be about 3 1/2-inches across).: Rolling into a ball compresses the dough and creates surface tension, which helps even spread during baking. When you place the balls on the lined sheet you should hear a faint thud, and the surface will look smooth. Leave space between cookies because they will flatten a bit as they bake. Avoid packing the dough too tight, which can prevent even baking and produce dense centers.
- Bake in preheated oven 12 - 15 minutes. Cool slightly then enjoy.: The pressing step creates the classic look and increases surface area, encouraging browned edges and a pleasing crisp. The fork marks also allow steam to escape, helping the whole cookie bake through without a gummy center. You should feel the dough give under the palm and hear a soft press; the fork marks should be visible but not cut through. Press lightly, because pressing too hard can make the cookies thin and brittle.
- Bake in preheated oven 12 to 15 minutes: During baking the scent of toasted peanut butter will fill the kitchen and the edges will take on a light golden tone while the centers remain slightly pale. The small crackle around the fork marks signals doneness, and the cookie will firm as it cools on the tray. If you bake too long you risk drying them out, and if you remove them too early they may sink and be underdone, so aim for that faint golden edge and a slightly soft middle.
- Cool slightly then enjoy: As the cookies rest, they finish setting and the internal steam redistributes, which firms the texture without making them hard. Place them on a wire rack if you can, and savor the warm aroma as they cool. A common mistake is handling them immediately off the tray, which can cause them to break, so give them a few minutes to settle before plating.
Notes
- Adjust sweetness If you prefer a less sweet cookie, reduce the powdered sugar slightly, but be mindful that this will affect structure and may make the dough looser.
- Texture control For a chewier center, press the cookies a bit less firmly before baking so they remain thicker and retain more moisture during the bake.
- Even spread Chill the shaped balls for five to ten minutes if you notice the cookies are spreading too thin in your oven, this helps them hold shape better.
- Measure egg precisely Whisk the egg first and then measure one tablespoon to ensure consistent results, as too much egg can make the dough runny and thin the final cookie.
- Baking sheet choice Use a light colored baking sheet to avoid overbrowning the bottoms, a dark sheet will accelerate browning and may shorten bake time.