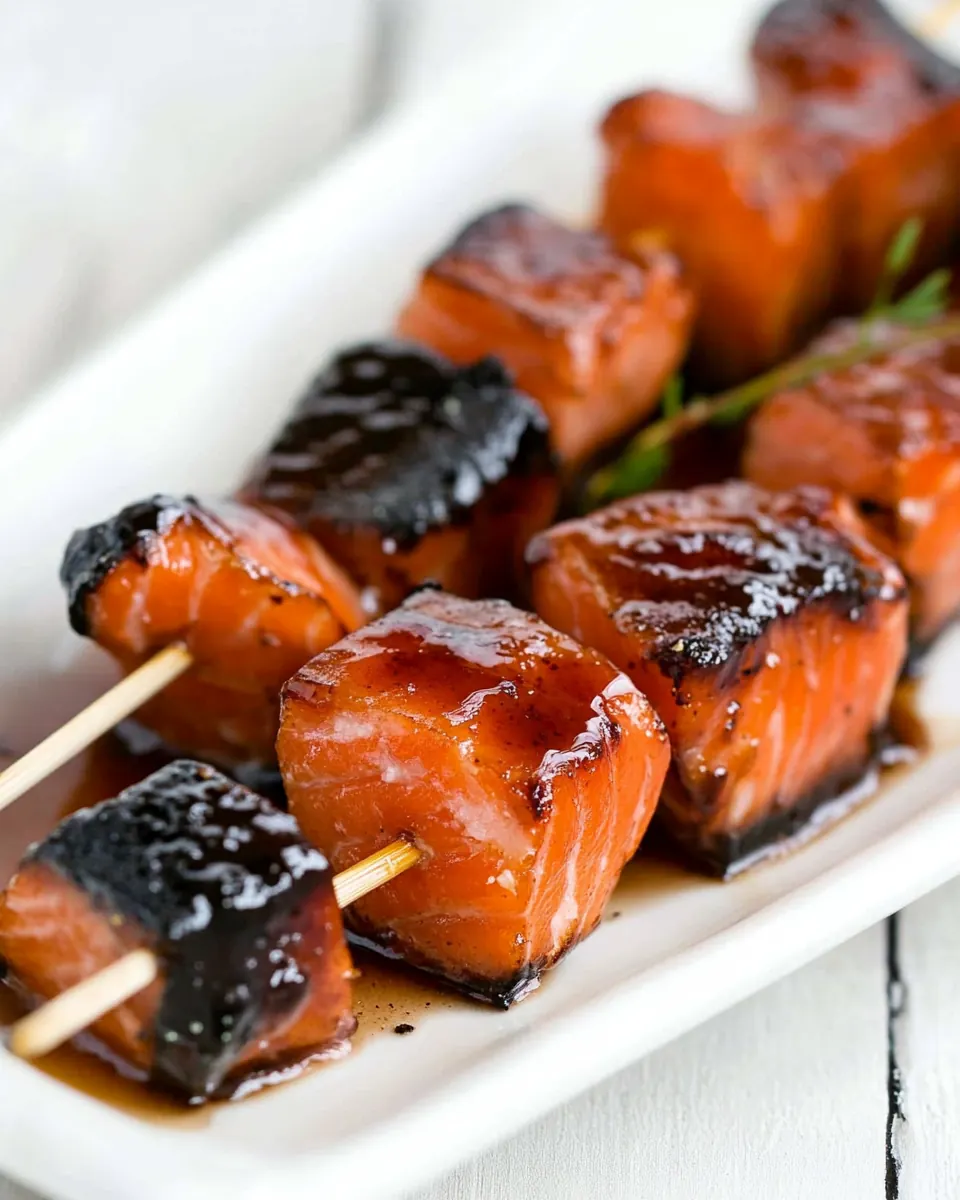
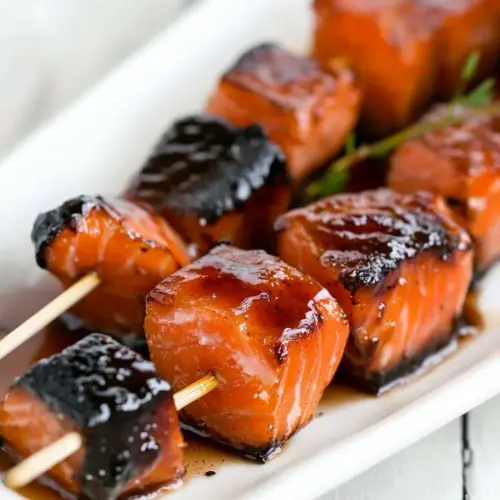
Cured Brown Sugar Salmon Skewers
Cured Brown Sugar Salmon Skewers began for me as a tiny experiment on a hot summer evening when I wanted something simple, bright, and just a little bit indulgent. I had a slab of sashimi quality salmon and a stubborn craving for sweet and savory contrast, so I pulled out a bag of dark brown sugar and a jar of rock salt and set up a makeshift curing station on my kitchen counter. The first time I made them I remember the kitchen filling with a clean sweet scent as the cure worked its magic, and I could hardly wait to cut into the flesh the next day.
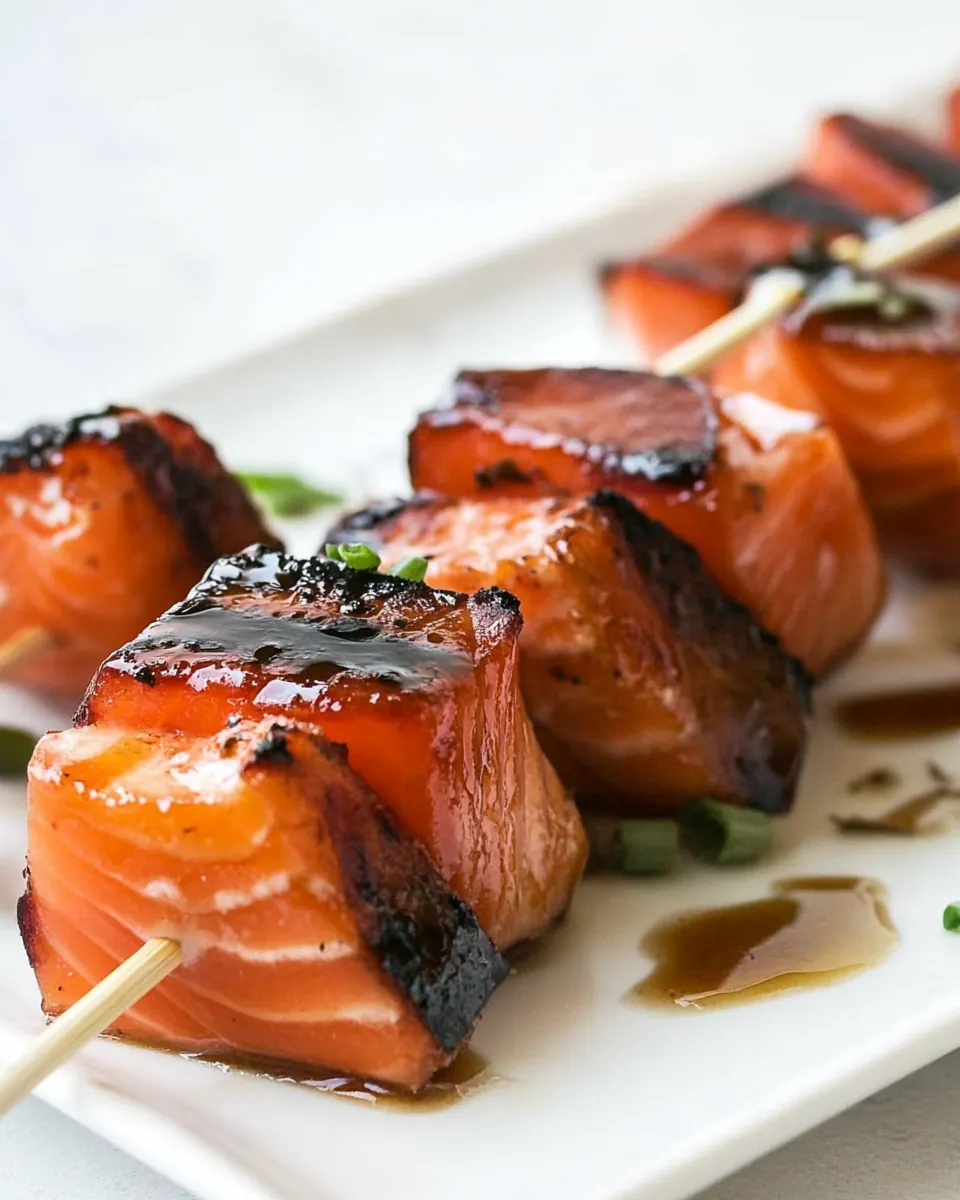
Over the years I have adapted the routine into a dinner party trick that feels fancy without fuss. Guests love the ritual of unwrapping the cured salmon, the glossy texture, and the moment I sear the skewers until their edges sing. I often serve them with a simple soy dipping sauce and something crisp on the side, and it always earns compliments. This dish is one of those simple techniques that elevates everyday ingredients into something memorable.
What I appreciate most about Cured Brown Sugar Salmon Skewers is how forgiving the method is. You do need patience for the curing time, yet the active work is brief and tactile, so it feels like cooking without marathon commitment. I’ll walk you through the why behind each step, and share a few tips I learned from trial and error, from pressing the fish properly to getting that perfect brief sear. If you like bold but refined flavors, this will probably become a favorite in your rotation too.
Recipe Snapshot
15 mins
10 mins
5 mins
Medium
250 kcal
American
Vegan, Gluten-Free
Appetizers
Clingfilm, Large non-metal dish, Small chopping board or plate, Cocktail sticks, Flat grill pan
Why This Cured Brown Sugar Salmon Skewers Works
Sweet and Savory Balance
I adore how Cured Brown Sugar Salmon Skewers marry the deep molasses notes of brown sugar with the bright mineral bite of rock salt. The cure draws moisture out gently, concentrating flavor and creating a silky texture that feels luxurious without heavy sauces.
Elegant Yet Simple Technique
We get a restaurant quality result with a home cook friendly method. The steps are straightforward, and the most demanding part is patience while the cure does its work. That makes this ideal for planning ahead for a relaxed gathering.
Versatile Serving Options
I love serving these skewers hot off a quick sear or thinly sliced for a salad topping. The cured salmon holds up beautifully whether you serve it warm or chilled, which gives you flexibility for casual lunches, summer dinners, or festive buffets.
Textural Delight
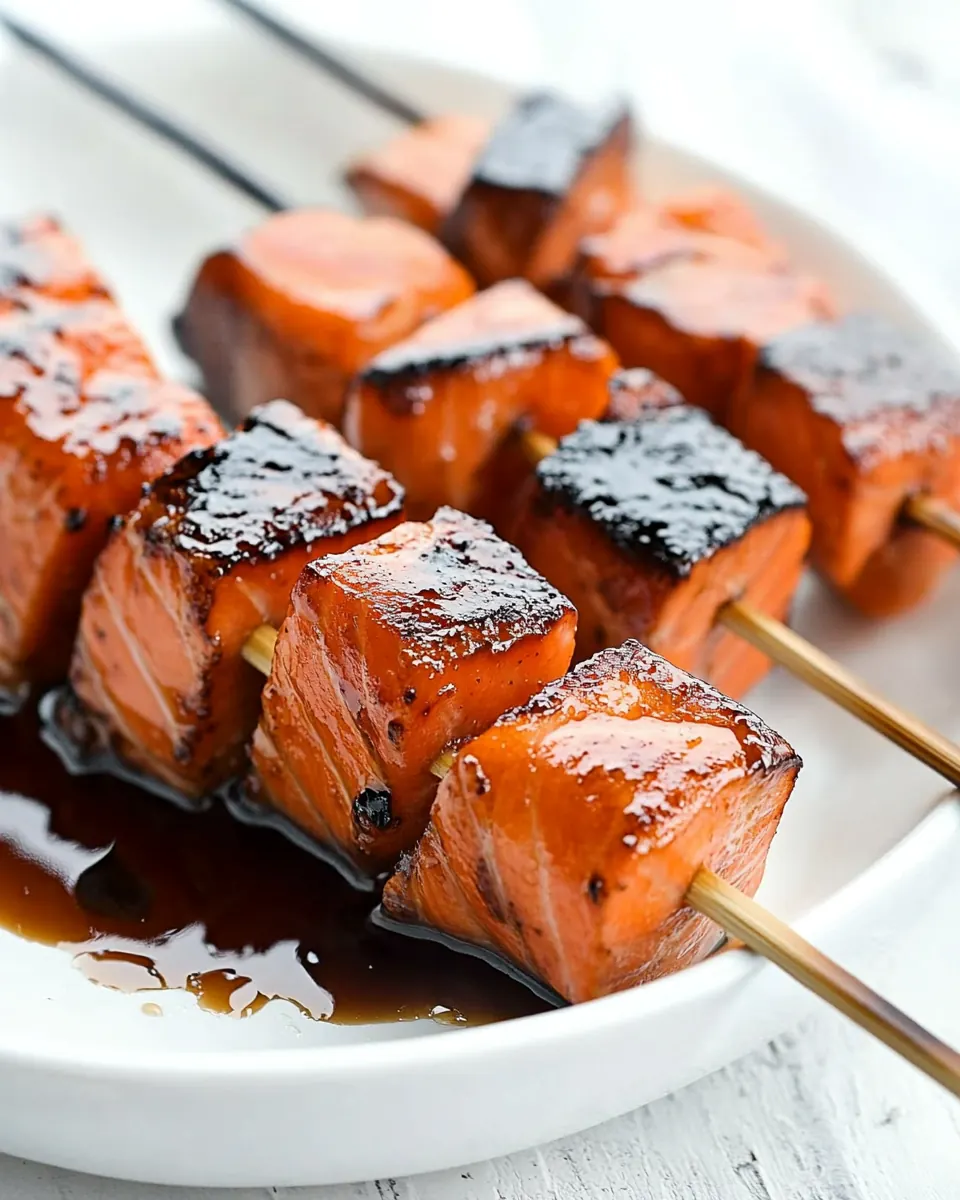
The exterior takes on a subtly firmer texture while the interior remains tender. When you sear the skewers briefly, you get a whisper of char and a pleasing contrast between the glossy cured center and the seared edge.
Impressive but Accessible
People often assume complex technique when they taste cured fish, but this recipe proves that a few pantry items and careful timing can deliver an impressive result. I’ve served these many times and they consistently steal the spotlight.
Ingredients Overview for Cured Brown Sugar Salmon Skewers
These ingredients are built around a simple curing philosophy: salt and sugar work together to pull moisture from the salmon, concentrating flavor while the brown sugar gently sweetens and adds depth. The rock salt is coarse enough to extract moisture evenly, and the granulated sugar helps balance texture. Together they create a bright, silky cured fish that responds beautifully to a brief sear.
- 1/2 cup rock salt (see notes): Provide an abrasive curing base that draws moisture from the fish and helps firm its texture; combine with sugars to balance preservation and flavor, then rinse before cooking to remove excess saltiness.
- 1/2 cup granulated sugar: Add sweetness and help regulate the curing intensity while contributing to a milder crystalline texture; dissolve evenly into the cure to ensure consistent flavor distribution throughout the salmon.
- 2/3 cup dark brown sugar: Contribute deep, molasses-rich sweetness and a sticky texture that enhances caramelization and flavor complexity; meld with granulated sugar and salt to create a well-balanced cure that promotes a glossy finish when grilled.
- 1 lb salmon (sashimi-grade, bones removed and skin off): Offer high-quality fatty flesh that absorbs the cure, yielding tender, flavorful skewers when sliced and threaded; ensure bones and skin are removed for even curing and safe, pleasant eating.
The Process for Making Cured Brown Sugar Salmon Skewers
These directions will guide you step by step through the cure and quick sear. Take your time with the curing window, and when you sear the skewers, use a very hot pan so the cook is swift and the texture remains silky. I find that focusing on sensory cues helps you know when each stage is right.
- Mix the rock salt, granulated sugar and brown sugar together in a bowl.: As you stir the mixture you will notice a warm sweet aroma from the brown sugar and a faint minerality from the rock salt , this signals the cure is ready. Mixing evenly ensures every part of the salmon will experience the same contact, which creates uniform curing. Why this matters, uneven mixing causes parts of the fish to over cure or under cure leading to inconsistent texture. Troubleshooting tip, if the blend feels clumpy, break it up with the back of a spoon so the crystals distribute evenly.
- Place a large piece of clingfilm on a work surface.: The feel of the clingfilm under your hands is important, it should lay flat and taut which makes wrapping easier later. The clingfilm protects the fish from direct contact with the dish and keeps the cure in place. Why this matters, using film prevents cross contamination and locks the curing environment around the salmon . Common mistake, using a small piece can lead to leaks and messy refrigeration, so always use a generously sized sheet.
- Spoon half of the sugar mixture into a salmon shaped mound on the cling film.: When you form the mound the aroma will intensify and you can shape it to roughly match the fish; this helps ensure close contact during curing. The mound acts as a curing bed, so the shape matters for even contact. If the mound is too sparse some areas of the salmon may not cure properly. Troubleshooting, if you see gaps, add a little more mixture to fill them.
- Place the salmon on the sugar mixture. Top with the remaining sugar mixture.: As you set the salmon onto the bed you will feel coolness from the fish; pressing the top layer will guarantee full surface contact. The sandwich of cure around the flesh is what draws moisture out evenly. Why this matters, incomplete coverage results in patchy curing and inconsistent texture. Avoid pressing too hard, excessive pressure can over squeeze moisture from the fish.
- Wrap the clingfilm tightly around the salmon and place in a large (non-metal) dish.: Wrapping keeps the cure pressed into the flesh and the dish contains any moisture released during the first stage. Non metallic dishes are safer because metal can react with salt over long periods. Why this matters, a tight wrap ensures the cure stays in place and the fish cures uniformly. Troubleshooting, if the wrap is loose, rewrap to eliminate air pockets which can hinder even curing.
- Top with a small chopping board or plate and add some weights (I like to use a couple of cans of tomatoes).: The weight improves contact between the cure and the flesh and encourages even extraction of moisture. You should feel a gentle compression when you lift the board, that’s the sign it is working. Why this matters, without weight the cure may not press uniformly, which leads to an uneven texture. Avoid using too heavy weights, excessive pressure can squeeze out too much moisture and make the fish dry.
- Refrigerate for 12 hours.: During these hours the kitchen will be quiet but the cure will be actively drawing out moisture; you may notice a faintly sweet, briny scent when you open the fridge. Timing is important because it determines how pronounced the cured texture becomes. Why this matters, under curing leaves the fish too soft, while over curing can make it overly firm and salty. Troubleshooting, set a timer, forgetfulness is the most common source of uneven results.
- After this time turn the salmon over, then replace the board and weights and refrigerate for a further 12 hours.: When you flip the fish you will see a glossy surface where the cure has already started to act, reversing ensures both sides cure equally. Replacing the weights maintains steady pressure. Why this matters, flipping prevents one side from becoming more cured than the other which preserves balanced texture. Common mistake, skipping the flip causes asymmetry in flavor and mouthfeel.
- Unwrap salmon, scrape off any sugar mixture.: As you unwrap the salmon , the surface will appear compact and slightly tacky, use a spoon or the back of a knife to remove excess cure without gouging the flesh. This scraping is about moderation, you want to keep the flavor without leaving crystals that will burn during searing. Why this matters, residual sugar can caramelize too aggressively when searing, creating bitter spots. Troubleshooting, if the surface still seems very saline, scrape a bit more gently to balance flavor.
- Rinse the salmon well and dry the salmon flesh with paper towel.: You will feel the coolness of the rinsed flesh and notice the cure scent softens dramatically; patting dry is essential so the surface sears instead of steaming. Why this matters, moisture on the surface prevents a clean sear and dulls texture. Avoid vigorous rubbing which can damage the cured surface; instead gently blot until the fish feels dry to the touch.
- Cut the salmon into thick fingers and skewer each with a cocktail stick.: As you slice you will see the firm, glossy interior that signals a proper cure, and the fingers should hold shape when skewered. Thick pieces keep the interior silky after searing. Why this matters, thin pieces can overcook quickly and lose the silky texture. Troubleshooting, use a sharp knife for clean cuts to avoid shredding the flesh.
- Place a flat grill pan over a high heat and once it is smoking sear one side of the cured salmon skewers.: When the pan begins to smoke slightly you will hear a bright sizzle as you press the skewers down, and the aroma of caramelized sugars will lift. Searing one side quickly creates an enticing contrast of textures, leaving the interior cool and silky. Why this matters, a rapid sear preserves the cured center while adding flavor and color. Common mistake, searing too long will cook through and diminish the cured texture, so be decisive and fast.
- Serve with a soy dipping sauce.: The soy brings saltiness and umami that complements the sweet cured salmon , and a light dip keeps each bite balanced. When you dip, the sauce brightens the flavors and ties the elements together. Why this matters, pairing with a simple acidic or salty sauce elevates the cured fish without overwhelming it. Troubleshooting, avoid heavy sauces which mask the delicate cure flavors.
Change It Up
If you want to vary the presentation or flavor of Cured Brown Sugar Salmon Skewers, small swaps and serving ideas go a long way. Below are focused suggestions to adapt texture, saltiness, and complementary flavors while keeping the core technique intact.
- Adjust the curing time to control texture, reducing by a few hours for softer, sashimi like flesh or extending slightly for a firmer, denser bite.
- Try different sugars for subtle changes, light brown will be milder while dark brown gives deeper molasses notes, which changes the caramelized aroma when searing.
- Change the sear method by using a grill or hot cast iron for a smokier char, just keep the searing time short to protect the cured interior.
- Serve chilled by slicing thin and arranging on a platter with a citrusy soy dip, which highlights the cure and works well for buffets or summer lunches.
- Swap weights use a flat heavy book wrapped in clingfilm if you prefer not to use cans, ensuring even pressure across the fish during curing.
Pairing Suggestions for Cured Brown Sugar Salmon Skewers
Cured Brown Sugar Salmon Skewers are wonderfully adaptable to casual meals and more formal occasions. Their bright and slightly sweet profile pairs nicely with crisp textures and light acidic elements. Below I outline ideas for sides, occasions, storage, and seasonal pairings to help you serve them memorably.
- Light salad accompaniment Pair with a crisp green salad dressed in a light vinaigrette to add fresh acidity and contrast the cured richness.
- Crisp vegetables Serve with blanched asparagus or cucumber ribbons for a refreshing counterpoint that highlights the silky salmon texture.
- Rice or grain base Offer steamed rice or a simple herbed quinoa for a more substantial plate, the grains provide a neutral canvas that lets the cured flavors shine.
- Occasion ideas Perfect for summer dinners, Ramadan if served at Iftar, or as an impressive starter for dinner parties where you want a refined but low effort dish.
- Storage tips Keep cured but unseared salmon wrapped tightly in the fridge for up to three days. After searing, consume within one to two days for best texture and flavor.
- Seasonal pairings In summer, emphasize bright accompaniments like citrus salads or chilled vegetables; in cooler months, serve with warm grains and root vegetable sides to add comfort.
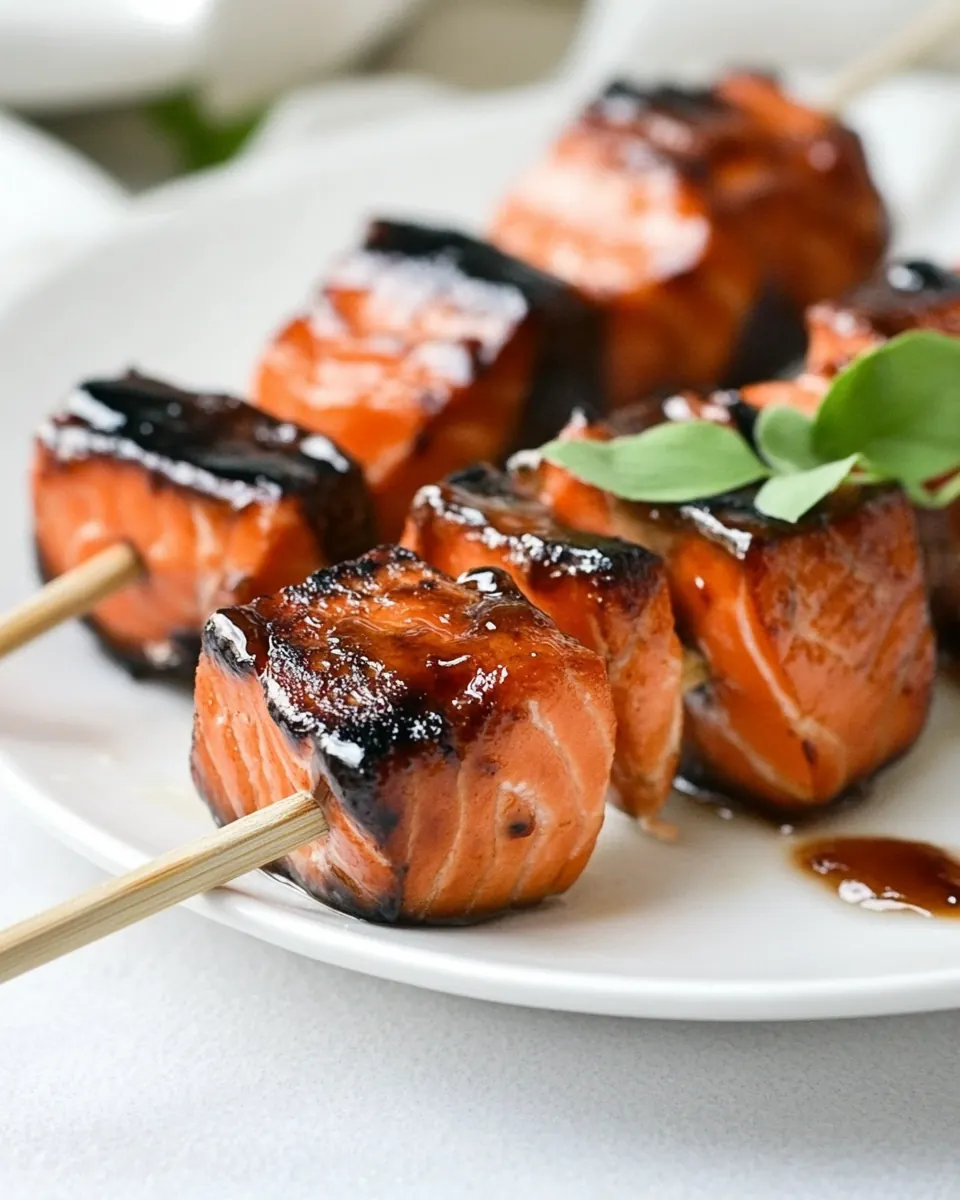
- Presentation Serve skewers standing upright in a shallow bowl or laid across a wooden board with dipping sauce in the center to create an inviting communal platter.
FAQ
Conclusion
Cured Brown Sugar Salmon Skewers stand out because they transform a few pantry staples into a dish that feels elegant and thoughtful. The combination of rock salt and dark brown sugar produces a glossy, flavorful cured salmon that benefits from a quick, high heat sear for contrast. I encourage you to try this method the next time you want a make ahead appetizer or a special weeknight meal, the hands on time is brief and the payoff is delightful. Enjoy sharing it with friends or savoring a quiet solo plate, either way the results are reliably impressive.
Cured Brown Sugar Salmon Skewers
Equipment
- Clingfilm
- Large non-metal dish
- Small chopping board or plate
- Cocktail sticks
- Flat grill pan
Ingredients
- 1/2 cup rock salt (see notes) Provide an abrasive curing base that draws moisture from the fish and helps firm its texture; combine with sugars to balance preservation and flavor, then rinse before cooking to remove excess saltiness.
- 1/2 cup granulated sugar Add sweetness and help regulate the curing intensity while contributing to a milder crystalline texture; dissolve evenly into the cure to ensure consistent flavor distribution throughout the salmon.
- 2/3 cup dark brown sugar Contribute deep, molasses-rich sweetness and a sticky texture that enhances caramelization and flavor complexity; meld with granulated sugar and salt to create a well-balanced cure that promotes a glossy finish when grilled.
- 1 lb salmon (sashimi-grade, bones removed and skin off) Offer high-quality fatty flesh that absorbs the cure, yielding tender, flavorful skewers when sliced and threaded; ensure bones and skin are removed for even curing and safe, pleasant eating.
Instructions
- Mix the rock salt, granulated sugar and brown sugar together in a bowl.: As you stir the mixture you will notice a warm sweet aroma from the brown sugar and a faint minerality from the rock salt , this signals the cure is ready. Mixing evenly ensures every part of the salmon will experience the same contact, which creates uniform curing. Why this matters, uneven mixing causes parts of the fish to over cure or under cure leading to inconsistent texture. Troubleshooting tip, if the blend feels clumpy, break it up with the back of a spoon so the crystals distribute evenly.
- Place a large piece of clingfilm on a work surface.: The feel of the clingfilm under your hands is important, it should lay flat and taut which makes wrapping easier later. The clingfilm protects the fish from direct contact with the dish and keeps the cure in place. Why this matters, using film prevents cross contamination and locks the curing environment around the salmon . Common mistake, using a small piece can lead to leaks and messy refrigeration, so always use a generously sized sheet.
- Spoon half of the sugar mixture into a salmon shaped mound on the cling film.: When you form the mound the aroma will intensify and you can shape it to roughly match the fish; this helps ensure close contact during curing. The mound acts as a curing bed, so the shape matters for even contact. If the mound is too sparse some areas of the salmon may not cure properly. Troubleshooting, if you see gaps, add a little more mixture to fill them.
- Place the salmon on the sugar mixture. Top with the remaining sugar mixture.: As you set the salmon onto the bed you will feel coolness from the fish; pressing the top layer will guarantee full surface contact. The sandwich of cure around the flesh is what draws moisture out evenly. Why this matters, incomplete coverage results in patchy curing and inconsistent texture. Avoid pressing too hard, excessive pressure can over squeeze moisture from the fish.
- Wrap the clingfilm tightly around the salmon and place in a large (non-metal) dish.: Wrapping keeps the cure pressed into the flesh and the dish contains any moisture released during the first stage. Non metallic dishes are safer because metal can react with salt over long periods. Why this matters, a tight wrap ensures the cure stays in place and the fish cures uniformly. Troubleshooting, if the wrap is loose, rewrap to eliminate air pockets which can hinder even curing.
- Top with a small chopping board or plate and add some weights (I like to use a couple of cans of tomatoes).: The weight improves contact between the cure and the flesh and encourages even extraction of moisture. You should feel a gentle compression when you lift the board, that’s the sign it is working. Why this matters, without weight the cure may not press uniformly, which leads to an uneven texture. Avoid using too heavy weights, excessive pressure can squeeze out too much moisture and make the fish dry.
- Refrigerate for 12 hours.: During these hours the kitchen will be quiet but the cure will be actively drawing out moisture; you may notice a faintly sweet, briny scent when you open the fridge. Timing is important because it determines how pronounced the cured texture becomes. Why this matters, under curing leaves the fish too soft, while over curing can make it overly firm and salty. Troubleshooting, set a timer, forgetfulness is the most common source of uneven results.
- After this time turn the salmon over, then replace the board and weights and refrigerate for a further 12 hours.: When you flip the fish you will see a glossy surface where the cure has already started to act, reversing ensures both sides cure equally. Replacing the weights maintains steady pressure. Why this matters, flipping prevents one side from becoming more cured than the other which preserves balanced texture. Common mistake, skipping the flip causes asymmetry in flavor and mouthfeel.
- Unwrap salmon, scrape off any sugar mixture.: As you unwrap the salmon , the surface will appear compact and slightly tacky, use a spoon or the back of a knife to remove excess cure without gouging the flesh. This scraping is about moderation, you want to keep the flavor without leaving crystals that will burn during searing. Why this matters, residual sugar can caramelize too aggressively when searing, creating bitter spots. Troubleshooting, if the surface still seems very saline, scrape a bit more gently to balance flavor.
- Rinse the salmon well and dry the salmon flesh with paper towel.: You will feel the coolness of the rinsed flesh and notice the cure scent softens dramatically; patting dry is essential so the surface sears instead of steaming. Why this matters, moisture on the surface prevents a clean sear and dulls texture. Avoid vigorous rubbing which can damage the cured surface; instead gently blot until the fish feels dry to the touch.
- Cut the salmon into thick fingers and skewer each with a cocktail stick.: As you slice you will see the firm, glossy interior that signals a proper cure, and the fingers should hold shape when skewered. Thick pieces keep the interior silky after searing. Why this matters, thin pieces can overcook quickly and lose the silky texture. Troubleshooting, use a sharp knife for clean cuts to avoid shredding the flesh.
- Place a flat grill pan over a high heat and once it is smoking sear one side of the cured salmon skewers.: When the pan begins to smoke slightly you will hear a bright sizzle as you press the skewers down, and the aroma of caramelized sugars will lift. Searing one side quickly creates an enticing contrast of textures, leaving the interior cool and silky. Why this matters, a rapid sear preserves the cured center while adding flavor and color. Common mistake, searing too long will cook through and diminish the cured texture, so be decisive and fast.
- Serve with a soy dipping sauce.: The soy brings saltiness and umami that complements the sweet cured salmon , and a light dip keeps each bite balanced. When you dip, the sauce brightens the flavors and ties the elements together. Why this matters, pairing with a simple acidic or salty sauce elevates the cured fish without overwhelming it. Troubleshooting, avoid heavy sauces which mask the delicate cure flavors.
Notes
- Adjust the curing time to control texture, reducing by a few hours for softer, sashimi like flesh or extending slightly for a firmer, denser bite.
- Try different sugars for subtle changes, light brown will be milder while dark brown gives deeper molasses notes, which changes the caramelized aroma when searing.
- Change the sear method by using a grill or hot cast iron for a smokier char, just keep the searing time short to protect the cured interior.
- Serve chilled by slicing thin and arranging on a platter with a citrusy soy dip, which highlights the cure and works well for buffets or summer lunches.
- Swap weights use a flat heavy book wrapped in clingfilm if you prefer not to use cans, ensuring even pressure across the fish during curing.