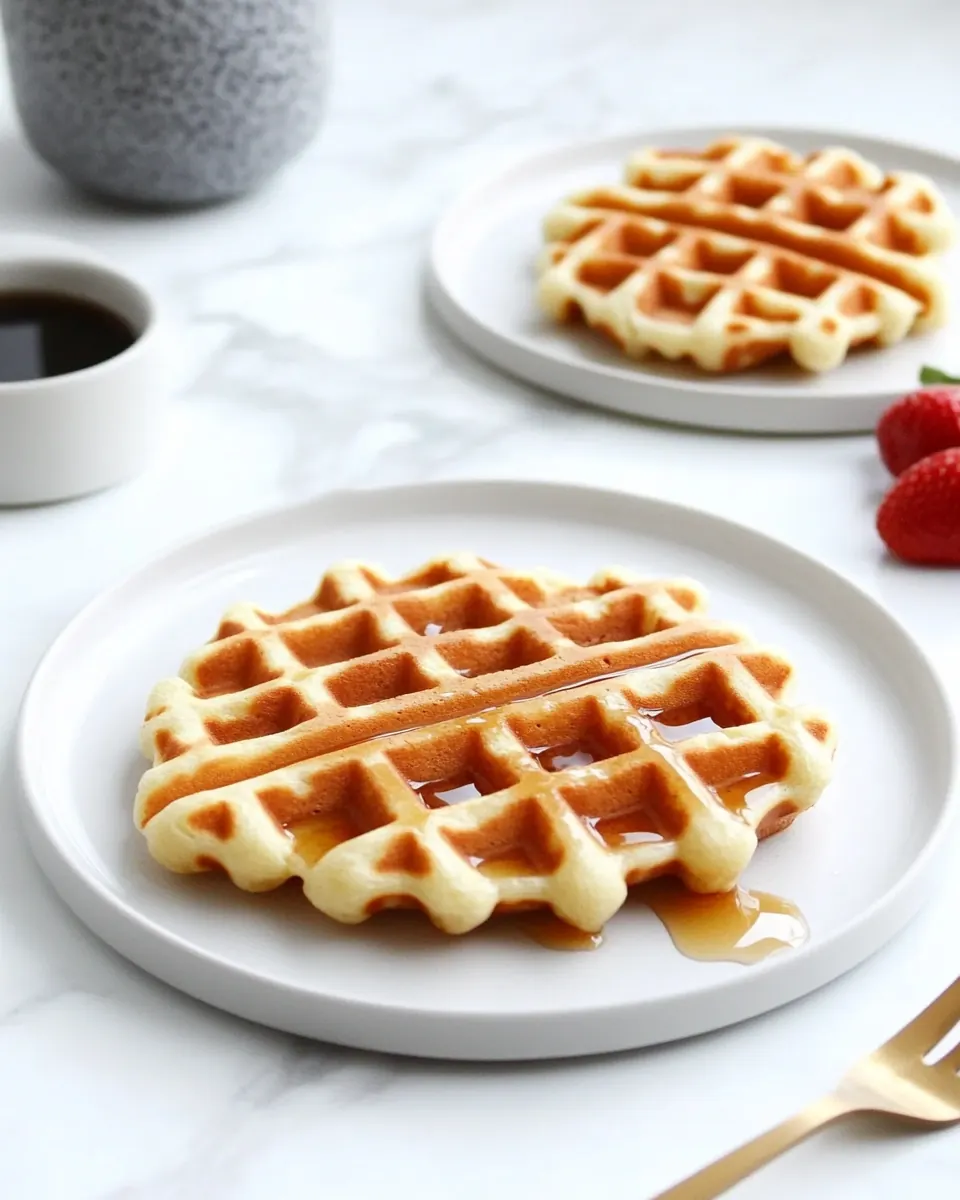
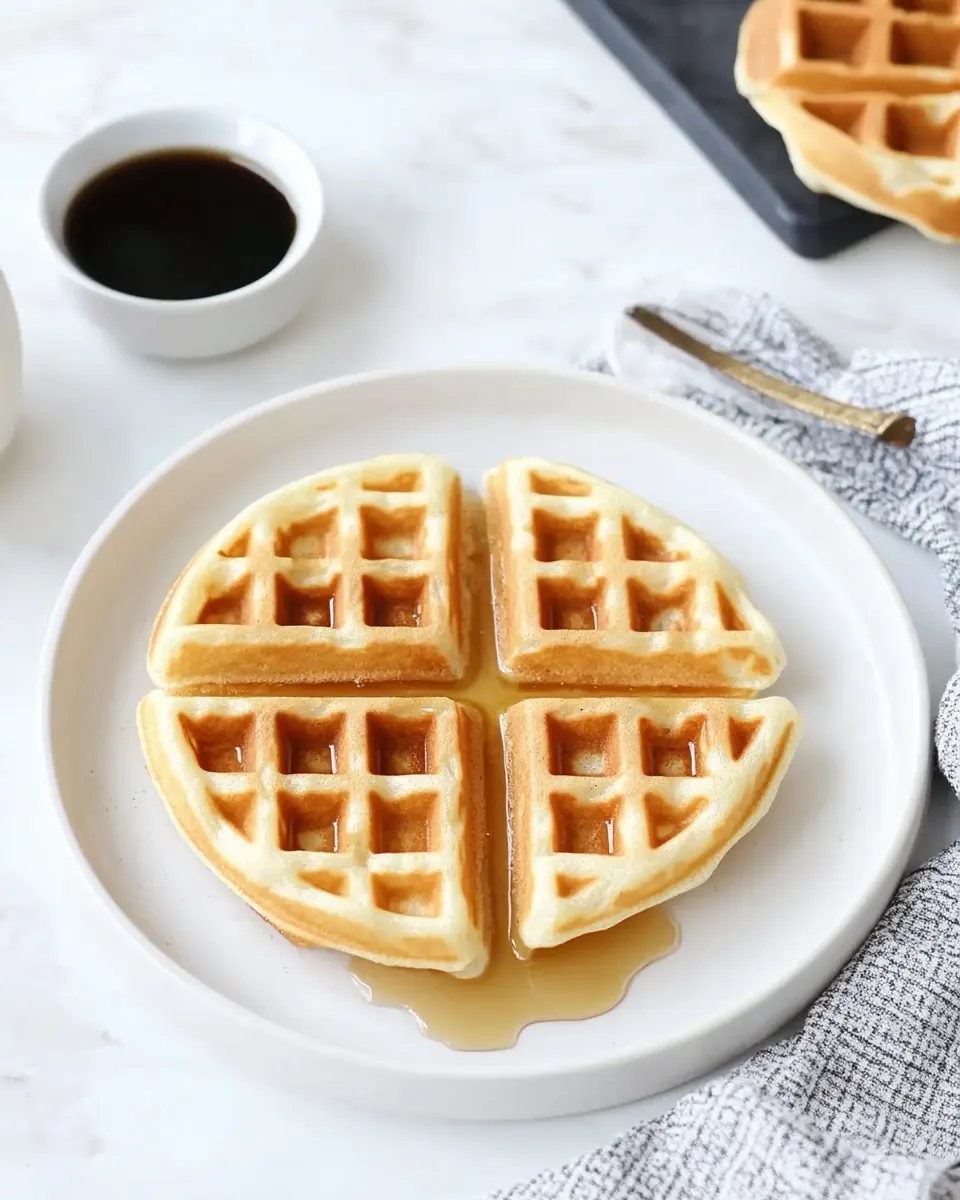
Crispy Almond Flour Waffles
Crispy Almond Flour Waffles have been a weekday morning lifesaver in my kitchen ever since I learned how few ingredients it takes to make a waffle that is both light and satisfyingly crunchy. The first time I made them, I was racing to get everyone fed before school and decided to swap regular flour for almond flour out of pantry necessity. What surprised me was how the aroma filled the house, warm and toasty, while the batter came together in under ten minutes.
Over the months I’ve adjusted small things, like adding a touch more maple syrup when I wanted a sweeter breakfast, or swapping the oil when I ran low. These little experiments taught me the balance that makes Crispy Almond Flour Waffles so dependable. They crisp up on the outside while staying tender inside, and they reheat beautifully in the toaster for a quick second breakfast. Family members have strong opinions on toppings, and that debate has become part of our weekend ritual.
Recipe Snapshot
25 mins
10 mins
15 mins
Medium
200 kcal
American
Paleo, Gluten-Free
Breakfast
Waffle Iron, Mixing Bowl, Whisk, Measuring Cup, Spatula or Fork
What Makes This Crispy Almond Flour Waffles Special
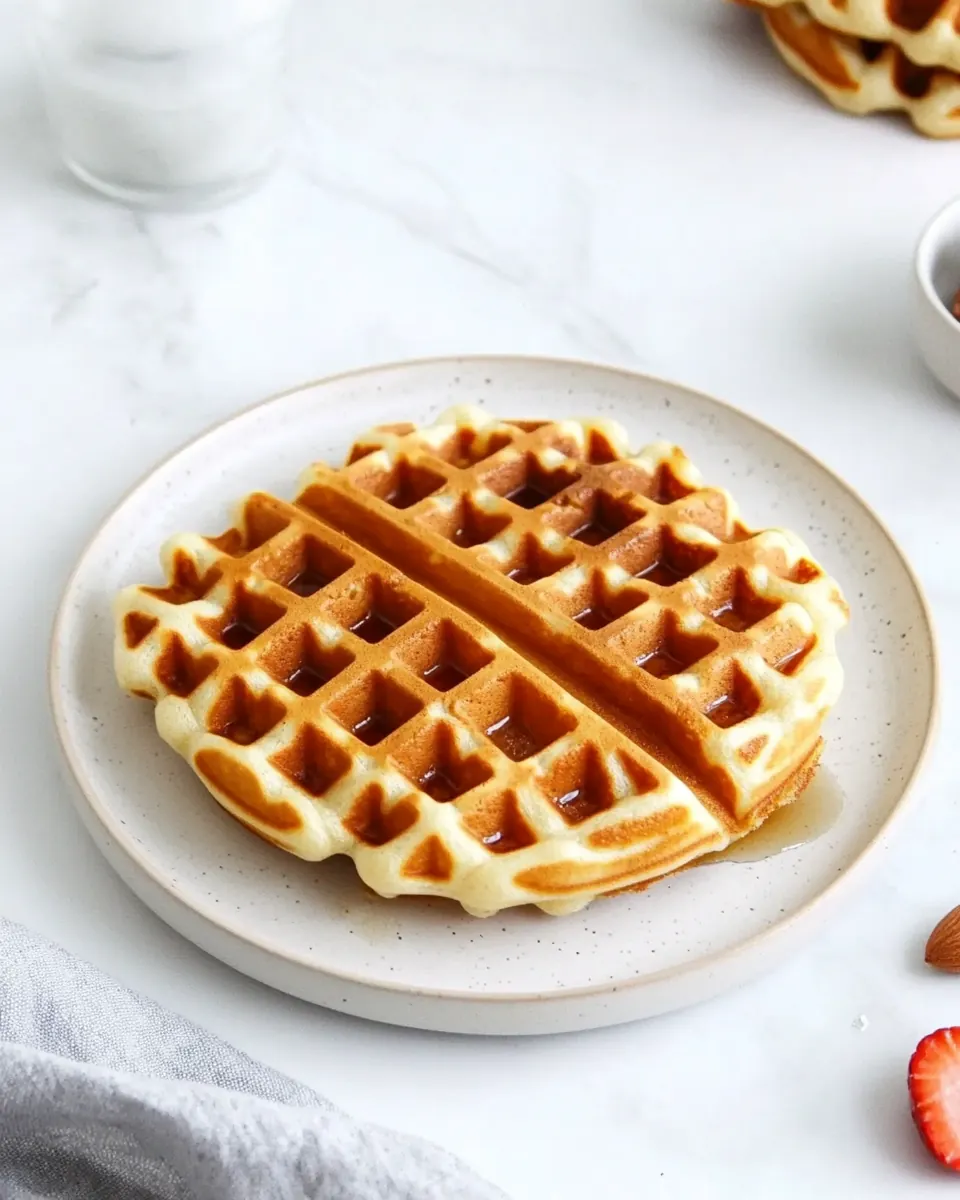
They crisp without gluten
I love that Crispy Almond Flour Waffles deliver an unmistakable crunch without any traditional wheat flour. The nutty perfume from almond flour toasting on the griddle makes each bite interesting, and I often find myself savoring the contrast between the crisp exterior and the slightly tender center. For anyone avoiding gluten, this recipe feels intentional, not like a compromise.
Simple pantry ingredients
What grabbed me first was how few items I needed. With staples like eggs, maple syrup, and a little arrowroot starch, the batter comes together quickly. I keep these ingredients on hand, so it’s easy to turn a busy morning into something special without a long grocery run.
Fast and forgiving
I’ve dropped the batter into a hot waffle iron between kid activities, and it responds well to variations in heat and timing. That forgiving nature means you can adapt to different waffle irons and still end up with edible, delicious results. If you prefer a vegan route, small swaps work, and the recipe still produces a pleasant texture with the right adjustments.
Great for make ahead feeding
I often double the batch and freeze extras. When mornings get chaotic, pulling a frozen waffle from the freezer and popping it in the toaster is a small victory. The texture holds up well, and you still get a crisp finish after reheating.
Customizable toppings and uses
These waffles are a great canvas. Whether you spread peanut butter, a drizzle of extra maple syrup, or layer fruit, the neutral nutty base pairs with both sweet and savory options. I enjoy changing toppings to match the mood, and they work equally well for a relaxed brunch or a quick solo breakfast.
Ingredients You’ll Need for Crispy Almond Flour Waffles
These ingredients are intentionally simple, each playing a clear role in texture and flavor. The star almond flour provides a tender, nutty base while arrowroot starch brings structure and crispness. The binding comes from the egg, with a little olive oil adding moisture and a touch of richness. Small additions like baking powder and vanilla extract lift the batter so the waffles are airy rather than dense.
- 1 cup blanched almond flour: Provides a tender, nutty base and primary structure for the batter; contributes natural oils that keep the waffles moist and add rich almond flavor. Offers a gluten-free alternative to wheat flour while delivering a slightly coarse texture that crisps nicely when cooked. Balances the liquid ingredients and helps create the characteristic waffle crumb when combined with leavening.
- 1 large egg (see notes for egg-free version): Binds ingredients together and adds lift through protein coagulation when cooked; contributes to a light, airy interior and helps hold the waffle shape. Can be substituted with an egg replacer for egg-free versions, which may slightly alter texture and browning. Enhances moisture and aids in browning for a golden finish.
- 1 tablespoon arrowroot starch (see notes): Lightens the batter and improves texture by adding a small amount of starch that promotes tenderness and crisping. Helps absorb some moisture and creates a slightly crisper exterior on the cooked waffles. Works especially well in gluten-free recipes to mimic the properties of wheat starch.
- 1 tablespoon extra-virgin olive oil (see notes): Adds a subtle savory-fruity richness and helps tenderize the batter by contributing fat, which promotes a crisp exterior and moist interior. Provides a healthier monounsaturated fat option and slightly enhances browning during cooking. Can be swapped for neutral oil if a less pronounced flavor is desired.
- 2 tablespoons maple syrup: Sweetens the batter and contributes to browning and caramelization during cooking, enhancing both flavor and color. Adds a natural sweetness that balances the nuttiness of the almond flour without overpowering, and helps with moisture retention. Can be adjusted to taste or omitted for lower sweetness.
- 1/3 cup water: Adjusts batter consistency to achieve the proper pourable thickness for waffles; hydrates dry ingredients and allows the batter to spread in the waffle iron. Controls final texture by influencing tenderness and steam generation during cooking. Can be varied slightly to reach desired batter viscosity.
- 1 teaspoon baking powder: Provides chemical leavening to create lift and a lighter texture by releasing carbon dioxide when heated; helps produce airy pockets and a fluffier interior. Works in concert with the egg and starch to ensure the waffles rise properly and avoid dense results. Use fresh baking powder for reliable leavening.
- 1/2 teaspoon vanilla extract: Contributes aromatic sweetness and depth to the batter; enhances overall flavor profile with warm, familiar notes. Helps round out the flavors of almond and maple without adding additional sweetness. A small amount is sufficient to elevate the waffle aroma.
- 1/4 teaspoon salt: Enhances and balances flavors by providing a subtle contrast to sweetness and richness; helps bring out the nuttiness of the almond flour and the maple syrup. A pinch also strengthens gluten-free batter structure perception and rounds the palate. Use measured amounts to avoid overly salty taste.
Step by Step Guide for Crispy Almond Flour Waffles
Making these waffles is quick, and the steps are designed to guide you through temperature, texture, and timing so you get a reliably crisp result. Read each step fully before you begin, and have your waffle iron and a small measuring cup ready for batter portioning.
- Preheat your waffle iron, as this batter will come together quickly.: The moment you set the batter, the heat is doing the heavy lifting to form that crisp exterior. You should hear a gentle hum or faint clicking from your iron as it reaches temperature, and when you open it, the plates should feel hot to the touch though not scalding. This initial high heat is crucial because a cold iron will cause the batter to stick and create an undercooked interior. A common mistake is rushing this step, which results in pale, limp waffles, so wait until the iron indicates it is ready.
- In a large mixing bowl, combine the almond flour, egg, arrowroot, olive oil, maple syrup, water, baking powder, vanilla, and salt. Use a whisk to stir well, making sure to break up any clumps.: As you mix, notice the batter’s texture shifting from grainy to smooth, and smell the soft nutty aroma of the almond flour mingling with the sweet sharpness of maple syrup . The egg and olive oil will lend a glossy sheen, showing the ingredients are well emulsified. If you still see lumps, take an extra moment with the whisk to prevent pockets of dry ingredients that can bake into floury bits. Avoid overmixing, which can change moisture distribution and leave you with waffles that are too dense.
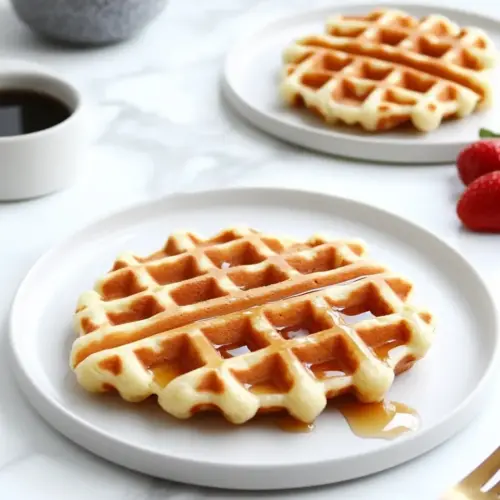
- When the waffle iron is hot, grease it with spray oil, then pour 1/4 cup of the batter into the center of the waffle iron. (It's okay if it doesn't spread all the way to the edge of your waffle iron– this amount makes waffles that will fit in your toaster.): Dropping the 1/4 cup measure into the center lets the batter begin to spread from the hottest point outward, creating even browning. You should see the edges of the batter set quickly, and small bubbles forming on the surface as steam escapes. If you pour too much, the batter may overflow and create a mess, while too little will make waffles that are too small and fragile. A light spray of oil on the plates prevents sticking without making the waffle greasy.
- Cook until your waffle iron lets you know that the waffles are done, roughly 4 to 5 minutes. (This will vary based on your waffle iron– I used a classic one; not a Belgium one for testing. If you use a thicker waffle iron, your waffles may need 6 minutes to cook.): During cooking, watch for visual cues like a deepening golden brown color and a crisp edge that pulls away slightly from the iron. You may hear a softened sizzling as moisture evaporates, and the smell should shift to toasty and slightly caramelized from the maple syrup . If your iron signals completion early, do a quick visual check because timing varies widely across models. A common error is opening the iron too soon which collapses the waffle, so trust the indicator and only peek if necessary.
- Use a fork to carefully remove the cooked waffle, then repeat with the remaining batter, making 5 waffles in total. Be sure to spray the griddle with oil between each waffle, to prevent sticking. Keep in mind that the waffles may look flimsy right when you remove them from the waffle iron, but they will crisp up quickly– within 60 seconds– when you transfer them to a plate.: As you lift each waffle, feel its weight and listen for the faint crack as it releases from the iron, which signals good crisping. Transfer them to a wire rack or a plate where air can circulate; stacking hot waffles traps steam and makes them soggy. If you notice any sticking, increase the thin coat of oil next time or let the iron heat a bit longer between batches. Resist the urge to press down on the waffle when removing it, as that can compress the interior and ruin the texture.
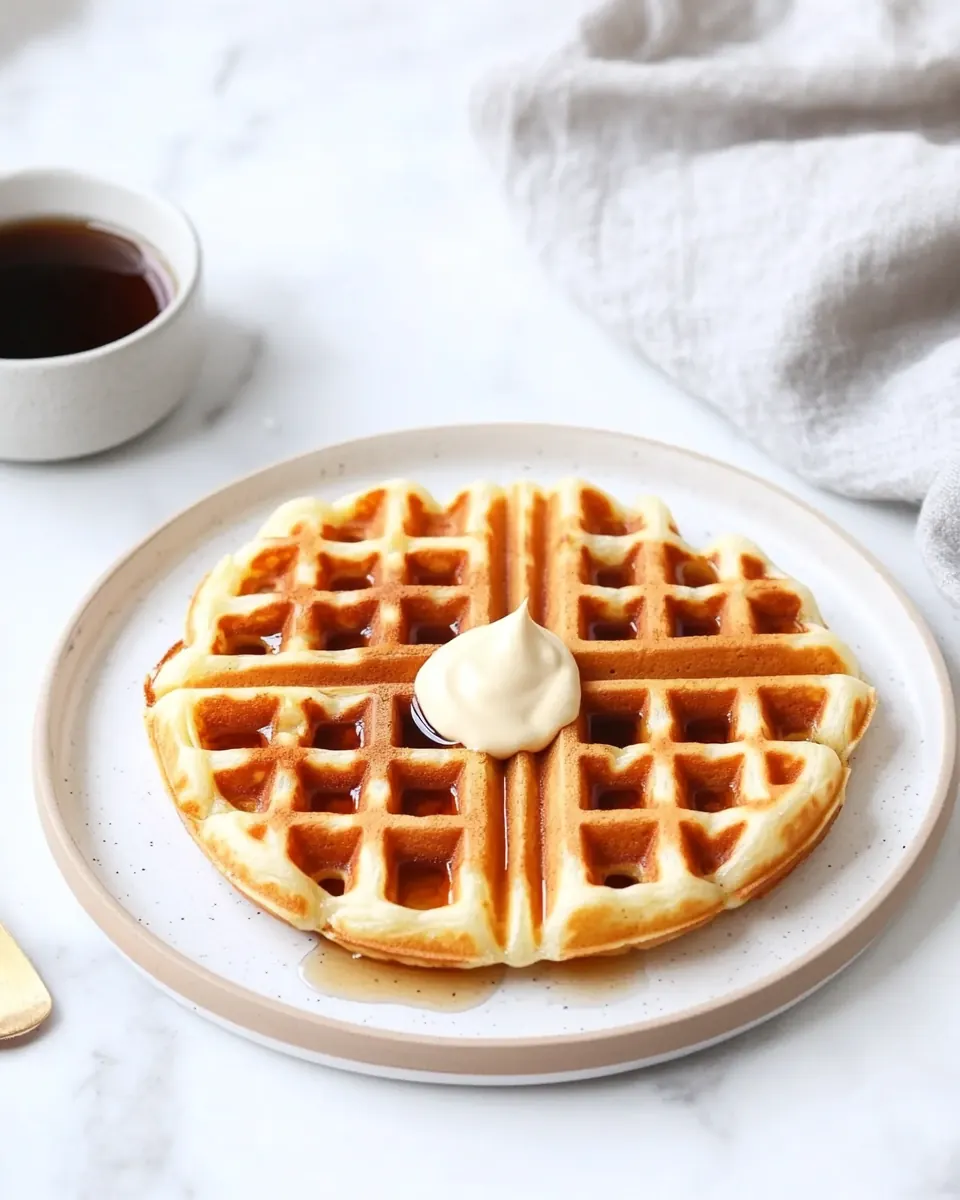
- Serve warm with your favorite toppings. (My family likes topping them with peanut butter most mornings, instead of syrup.): Serving hot reveals the textural contrast at its best, and the aroma is most inviting when the waffles are freshly cooked. Toppings should be chosen to complement the nutty base, whether it's a smear of peanut butter or a drizzle of maple syrup . If you leave them too long before serving, they'll cool and lose crispness, so time your toppings to go on just before plating. A frequent misstep is overloading with heavy toppings which can mask the delicate internal texture.
- Leftover waffles can be stored in an airtight container in the fridge for up to 4 days, or in the freezer for up to 3 months. Pop them in the toaster to reheat!: Proper storage preserves structure and flavor. When frozen, wrapping individually prevents freezer burn and makes it easy to toast a single waffle. Reheating in a toaster or toaster oven restores crispness quicker than a microwave, which tends to make them limp. Avoid wrapping hot waffles tightly, because trapped steam will soften them and encourage sogginess.
Change It Up
These ideas will help you vary the basic batter and adjust texture or flavor without changing the integrity of the recipe. Pick one or two to experiment with and see which version your household prefers.
- Swap oils carefully Use a mild flavored oil when you want neutral results, olive oil works well because it stays liquid and blends smoothly with the batter.
- Make them vegan Omit the egg and increase arrowroot starch to three tablespoons total for better binding and structure.
- Adjust sweetness Reduce the maple syrup by half if you prefer a less sweet base, and add sweet toppings instead as desired.
- Portion size Use a 1/4 cup measure for toaster friendly waffles or a slightly larger portion for full sized, adjusting cook time as needed.
- Freeze for convenience Cool completely on a rack, then freeze individually wrapped to maintain texture and make reheating fast and consistent.
- Texture tweak If waffles turn out dry, try slightly less arrowroot starch or a touch more water next batch to keep the interior tender.
What to Pair With Crispy Almond Flour Waffles
These waffles are versatile enough to suit many meals and occasions. Think about balance when choosing sides, and aim for contrasting textures so the crisp waffle stands out. Below are pairing ideas and serving notes to help you plan a meal.
- Simple sweet breakfast Serve warm with a drizzle of maple syrup and a dusting of fresh fruit for a quick, satisfying morning plate.
- Protein boost Add a smear of peanut butter or a side of yogurt to introduce creamy, protein rich contrast that pairs well with the nutty base.
- Brunch spread Arrange waffles alongside sliced fruit, a small bowl of nut butter, and optional savory elements for a build your own station suitable for guests.
- Make ahead for busy weeks Double the batch and freeze extras, then toast from frozen for weekday breakfasts that still taste freshly made.
- Seasonal touches In cooler months, serve with warm compote or stewed fruit, while in summer keep it bright with fresh berries and a light yogurt drizzle.
- Storage tips Refrigerate for up to four days in an airtight container, or freeze for up to three months; reheat in a toaster to restore crispness.
FAQ
Conclusion
What makes this recipe special is its ability to produce crisp, flavorful waffles with very simple ingredients and minimal fuss. Give the method a try even on a busy morning, and you might find it becomes a reliable standby that still feels a little special. I hope you enjoy the satisfying crunch and nutty warmth these waffles bring to your table.
Crispy Almond Flour Waffles
Equipment
- Waffle Iron
- Mixing Bowl
- Whisk
- Measuring Cup
- Spatula or Fork
Ingredients
- 1 cup blanched almond flour Provides a tender, nutty base and primary structure for the batter; contributes natural oils that keep the waffles moist and add rich almond flavor. Offers a gluten-free alternative to wheat flour while delivering a slightly coarse texture that crisps nicely when cooked. Balances the liquid ingredients and helps create the characteristic waffle crumb when combined with leavening.
- 1 large egg (see notes for egg-free version) Binds ingredients together and adds lift through protein coagulation when cooked; contributes to a light, airy interior and helps hold the waffle shape. Can be substituted with an egg replacer for egg-free versions, which may slightly alter texture and browning. Enhances moisture and aids in browning for a golden finish.
- 1 tablespoon arrowroot starch (see notes) Lightens the batter and improves texture by adding a small amount of starch that promotes tenderness and crisping. Helps absorb some moisture and creates a slightly crisper exterior on the cooked waffles. Works especially well in gluten-free recipes to mimic the properties of wheat starch.
- 1 tablespoon extra-virgin olive oil (see notes) Adds a subtle savory-fruity richness and helps tenderize the batter by contributing fat, which promotes a crisp exterior and moist interior. Provides a healthier monounsaturated fat option and slightly enhances browning during cooking. Can be swapped for neutral oil if a less pronounced flavor is desired.
- 2 tablespoons maple syrup Sweetens the batter and contributes to browning and caramelization during cooking, enhancing both flavor and color. Adds a natural sweetness that balances the nuttiness of the almond flour without overpowering, and helps with moisture retention. Can be adjusted to taste or omitted for lower sweetness.
- 1/3 cup water Adjusts batter consistency to achieve the proper pourable thickness for waffles; hydrates dry ingredients and allows the batter to spread in the waffle iron. Controls final texture by influencing tenderness and steam generation during cooking. Can be varied slightly to reach desired batter viscosity.
- 1 teaspoon baking powder Provides chemical leavening to create lift and a lighter texture by releasing carbon dioxide when heated; helps produce airy pockets and a fluffier interior. Works in concert with the egg and starch to ensure the waffles rise properly and avoid dense results. Use fresh baking powder for reliable leavening.
- 1/2 teaspoon vanilla extract Contributes aromatic sweetness and depth to the batter; enhances overall flavor profile with warm, familiar notes. Helps round out the flavors of almond and maple without adding additional sweetness. A small amount is sufficient to elevate the waffle aroma.
- 1/4 teaspoon salt Enhances and balances flavors by providing a subtle contrast to sweetness and richness; helps bring out the nuttiness of the almond flour and the maple syrup. A pinch also strengthens gluten-free batter structure perception and rounds the palate. Use measured amounts to avoid overly salty taste.
Instructions
- Preheat your waffle iron, as this batter will come together quickly.: The moment you set the batter, the heat is doing the heavy lifting to form that crisp exterior. You should hear a gentle hum or faint clicking from your iron as it reaches temperature, and when you open it, the plates should feel hot to the touch though not scalding. This initial high heat is crucial because a cold iron will cause the batter to stick and create an undercooked interior. A common mistake is rushing this step, which results in pale, limp waffles, so wait until the iron indicates it is ready.
- In a large mixing bowl, combine the almond flour, egg, arrowroot, olive oil, maple syrup, water, baking powder, vanilla, and salt. Use a whisk to stir well, making sure to break up any clumps.: As you mix, notice the batter’s texture shifting from grainy to smooth, and smell the soft nutty aroma of the almond flour mingling with the sweet sharpness of maple syrup . The egg and olive oil will lend a glossy sheen, showing the ingredients are well emulsified. If you still see lumps, take an extra moment with the whisk to prevent pockets of dry ingredients that can bake into floury bits. Avoid overmixing, which can change moisture distribution and leave you with waffles that are too dense.
- When the waffle iron is hot, grease it with spray oil, then pour 1/4 cup of the batter into the center of the waffle iron. (It's okay if it doesn't spread all the way to the edge of your waffle iron-- this amount makes waffles that will fit in your toaster.): Dropping the 1/4 cup measure into the center lets the batter begin to spread from the hottest point outward, creating even browning. You should see the edges of the batter set quickly, and small bubbles forming on the surface as steam escapes. If you pour too much, the batter may overflow and create a mess, while too little will make waffles that are too small and fragile. A light spray of oil on the plates prevents sticking without making the waffle greasy.
- Cook until your waffle iron lets you know that the waffles are done, roughly 4 to 5 minutes. (This will vary based on your waffle iron-- I used a classic one; not a Belgium one for testing. If you use a thicker waffle iron, your waffles may need 6 minutes to cook.): During cooking, watch for visual cues like a deepening golden brown color and a crisp edge that pulls away slightly from the iron. You may hear a softened sizzling as moisture evaporates, and the smell should shift to toasty and slightly caramelized from the maple syrup . If your iron signals completion early, do a quick visual check because timing varies widely across models. A common error is opening the iron too soon which collapses the waffle, so trust the indicator and only peek if necessary.
- Use a fork to carefully remove the cooked waffle, then repeat with the remaining batter, making 5 waffles in total. Be sure to spray the griddle with oil between each waffle, to prevent sticking. Keep in mind that the waffles may look flimsy right when you remove them from the waffle iron, but they will crisp up quickly-- within 60 seconds-- when you transfer them to a plate.: As you lift each waffle, feel its weight and listen for the faint crack as it releases from the iron, which signals good crisping. Transfer them to a wire rack or a plate where air can circulate; stacking hot waffles traps steam and makes them soggy. If you notice any sticking, increase the thin coat of oil next time or let the iron heat a bit longer between batches. Resist the urge to press down on the waffle when removing it, as that can compress the interior and ruin the texture.
- Serve warm with your favorite toppings. (My family likes topping them with peanut butter most mornings, instead of syrup.): Serving hot reveals the textural contrast at its best, and the aroma is most inviting when the waffles are freshly cooked. Toppings should be chosen to complement the nutty base, whether it's a smear of peanut butter or a drizzle of maple syrup . If you leave them too long before serving, they'll cool and lose crispness, so time your toppings to go on just before plating. A frequent misstep is overloading with heavy toppings which can mask the delicate internal texture.
- Leftover waffles can be stored in an airtight container in the fridge for up to 4 days, or in the freezer for up to 3 months. Pop them in the toaster to reheat!: Proper storage preserves structure and flavor. When frozen, wrapping individually prevents freezer burn and makes it easy to toast a single waffle. Reheating in a toaster or toaster oven restores crispness quicker than a microwave, which tends to make them limp. Avoid wrapping hot waffles tightly, because trapped steam will soften them and encourage sogginess.
Notes
- Swap oils carefully Use a mild flavored oil when you want neutral results, olive oil works well because it stays liquid and blends smoothly with the batter.
- Make them vegan Omit the egg and increase arrowroot starch to three tablespoons total for better binding and structure.
- Adjust sweetness Reduce the maple syrup by half if you prefer a less sweet base, and add sweet toppings instead as desired.
- Portion size Use a 1/4 cup measure for toaster friendly waffles or a slightly larger portion for full sized, adjusting cook time as needed.
- Freeze for convenience Cool completely on a rack, then freeze individually wrapped to maintain texture and make reheating fast and consistent.
- Texture tweak If waffles turn out dry, try slightly less arrowroot starch or a touch more water next batch to keep the interior tender.