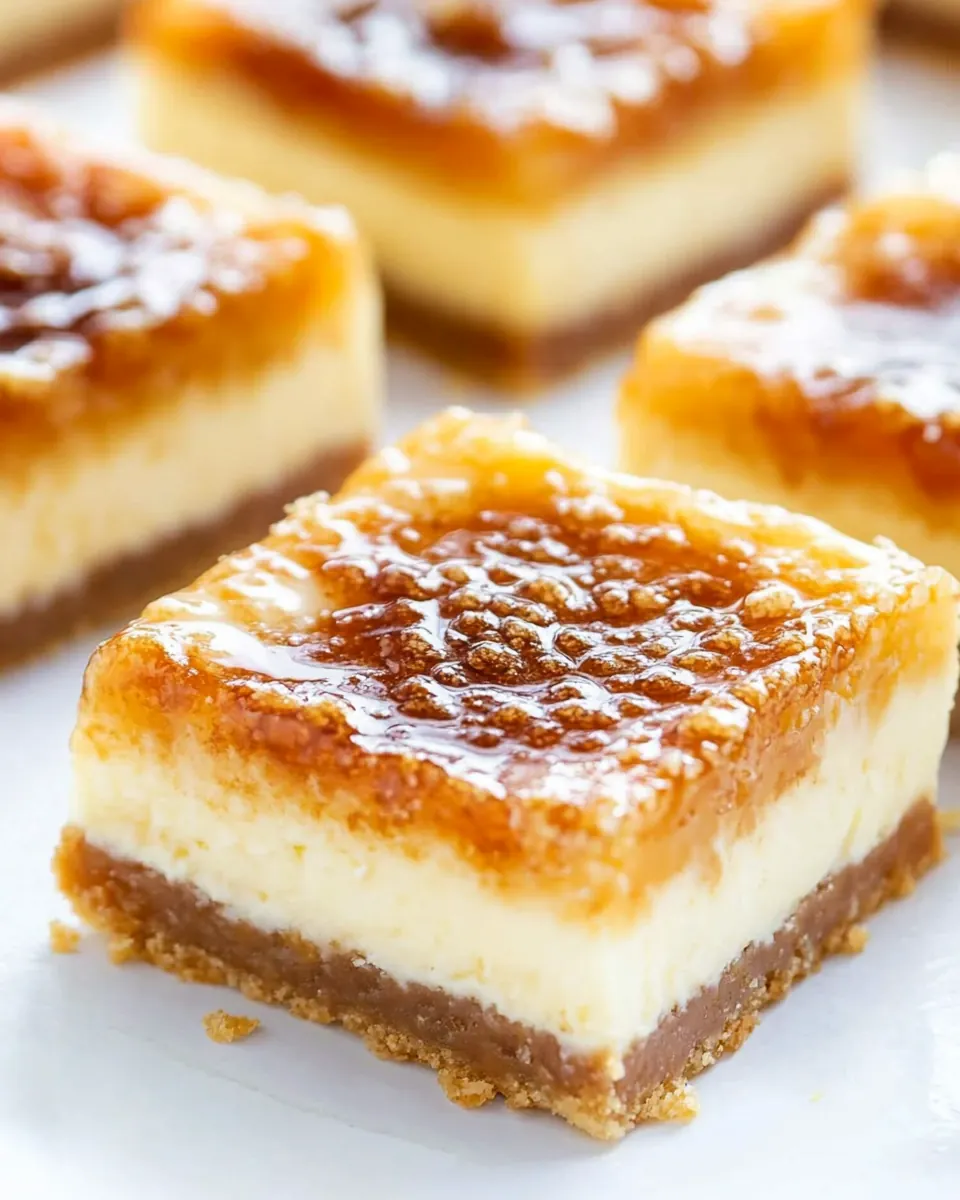
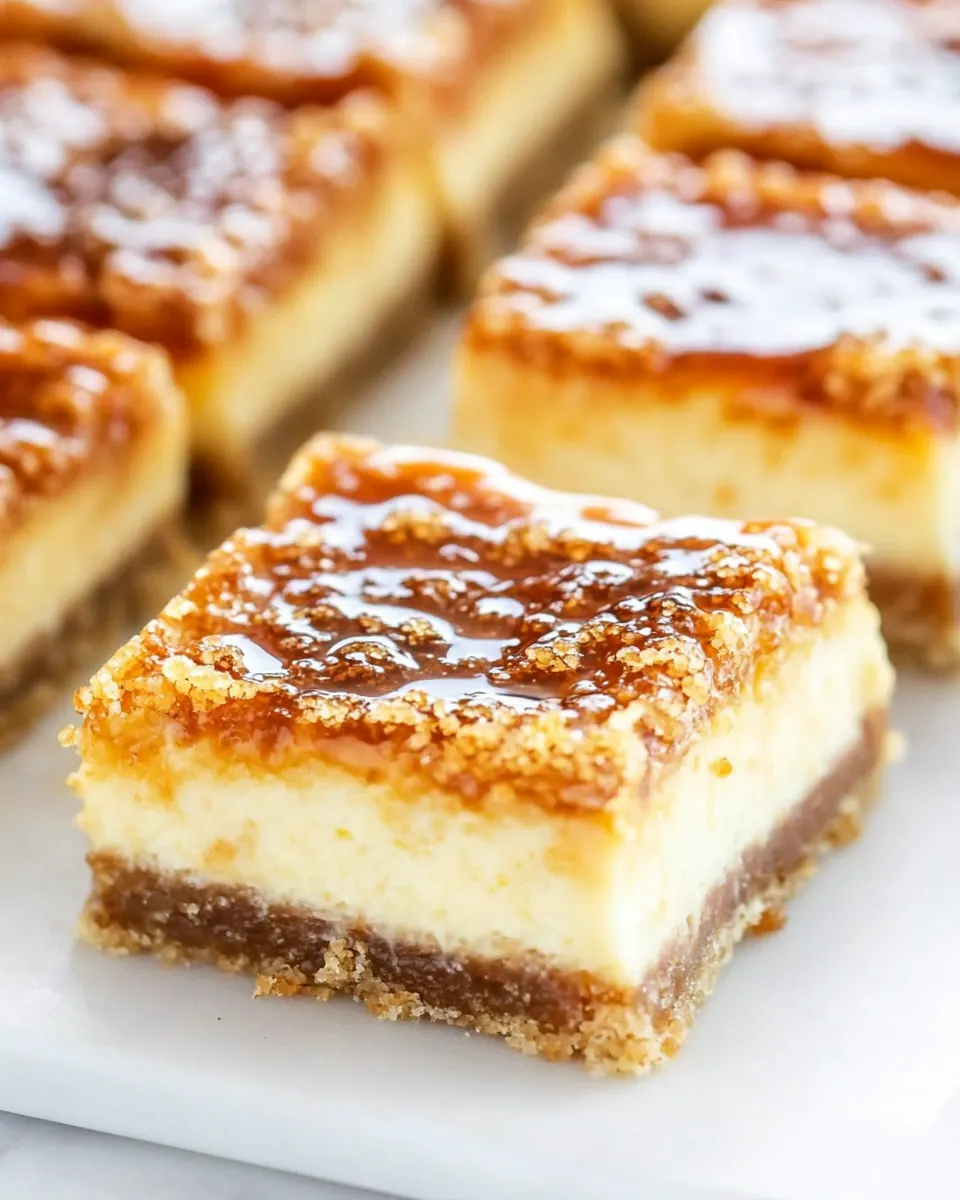
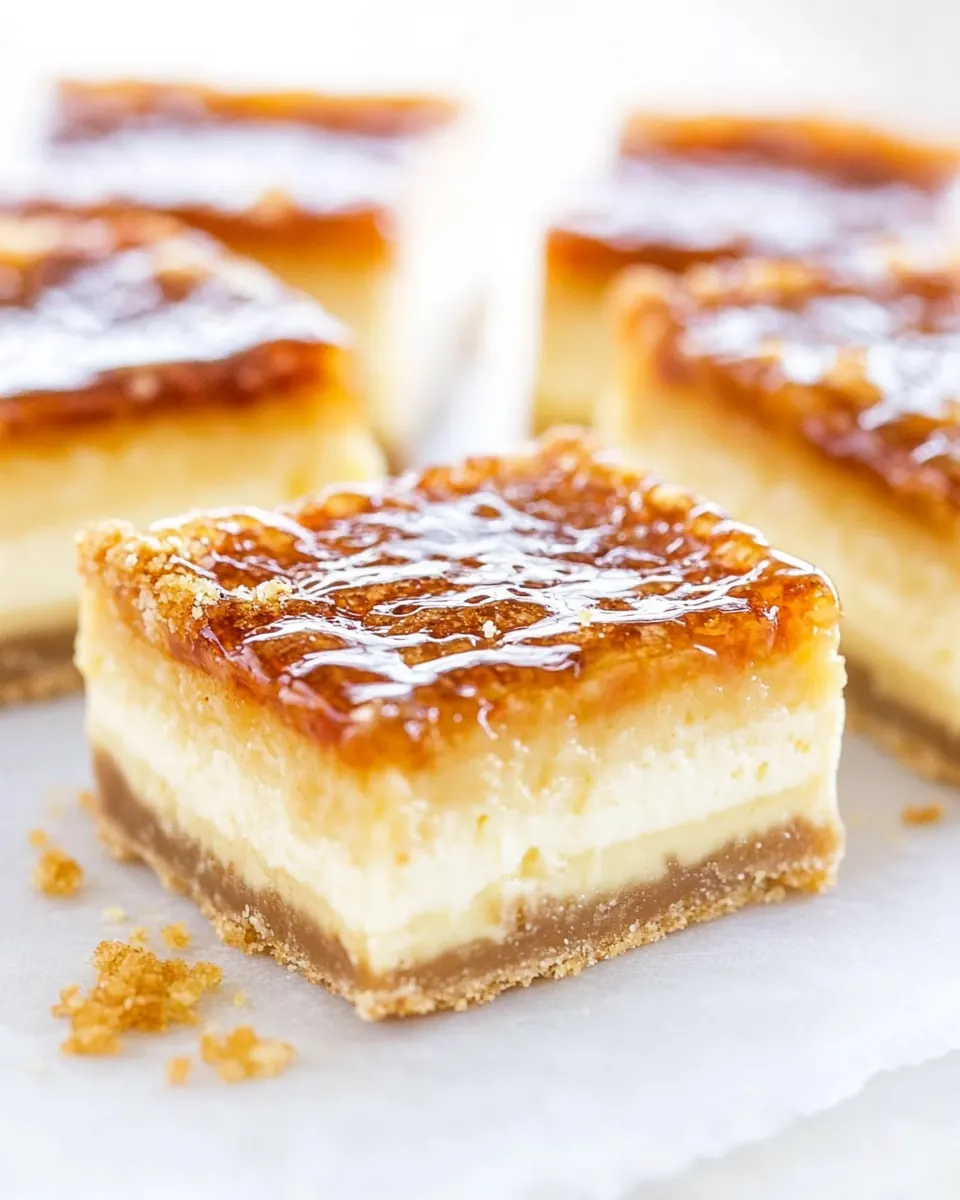
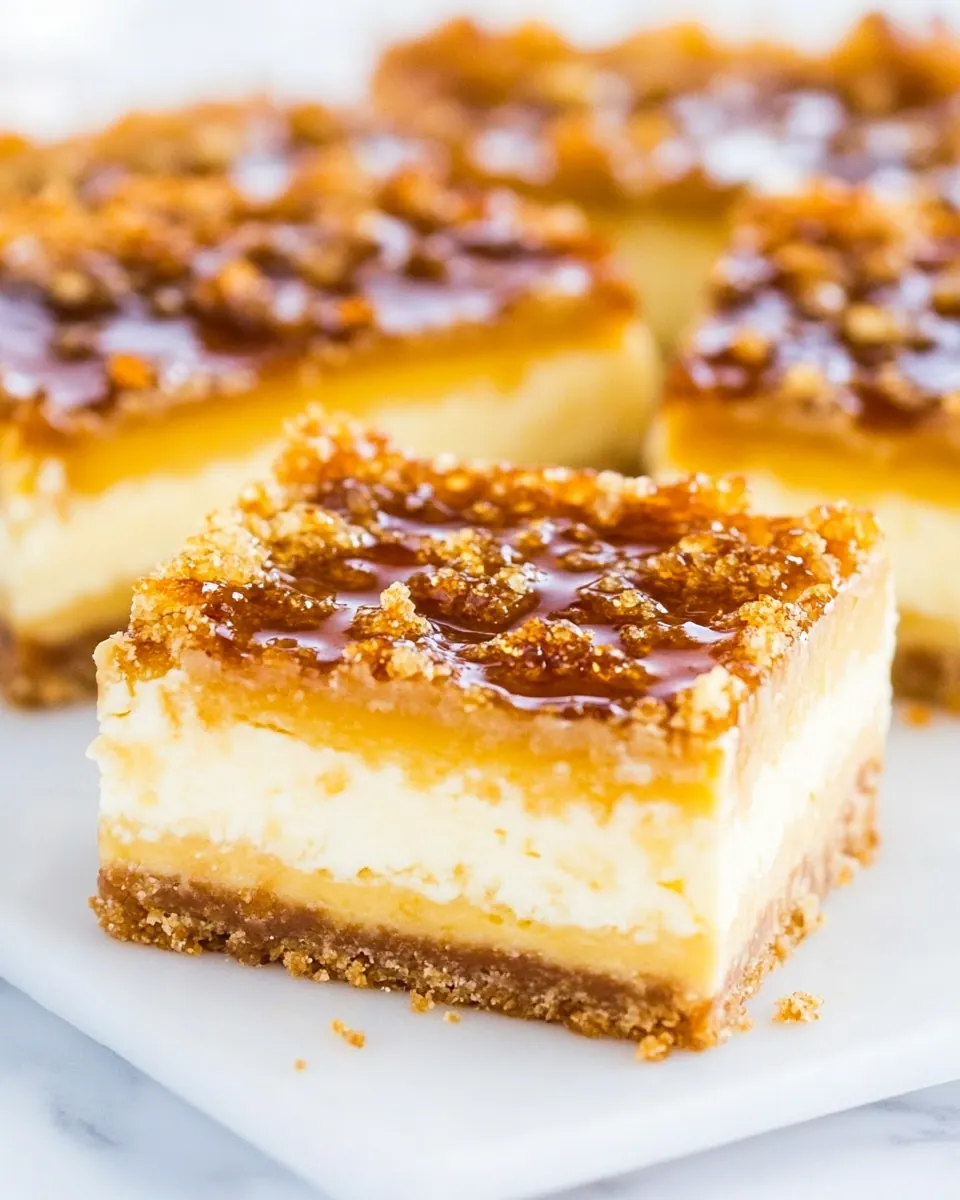
Creme Brulee Cheesecake Bars
Creme Brulee Cheesecake Bars are one of those desserts I reach for when I want to impress without fuss, and this version has been my go to for gatherings and weeknight treats alike.
I remember the first time I made these, how the kitchen filled with a warm, sweet aroma as the crust browned and the filling set. I was juggling a pot of coffee and a ringing phone, yet I kept stealing little tastes of the soft, velvety filling, already dreaming of the moment a fork would cut through that crisp top layer and meet the creamy center. The contrast between the crunchy cookie base and the custardy cheesecake middle felt indulgent, but not over the top, and everyone who tried them asked for the recipe.
Over the years I have tweaked times and tossed in toffee bits because I like a little salty sweet chew in the bite. I also learned to start with very soft cream cheese to avoid lumps and to trust the oven rather than panic when the center still has a whisper of jiggle. When chilled properly these bars slice cleanly and store well, so they are perfect for prepping ahead of a party.
Recipe Snapshot
60 mins
15 mins
45 mins
Medium
320 kcal
American
Gluten-Free, Low FODMAP
Desserts
9×13 inch pan, Aluminum foil, Handheld electric mixer, Mixing bowl, Measuring cup
The Best Thing About This Creme Brulee Cheesecake Bars
Layers of Texture
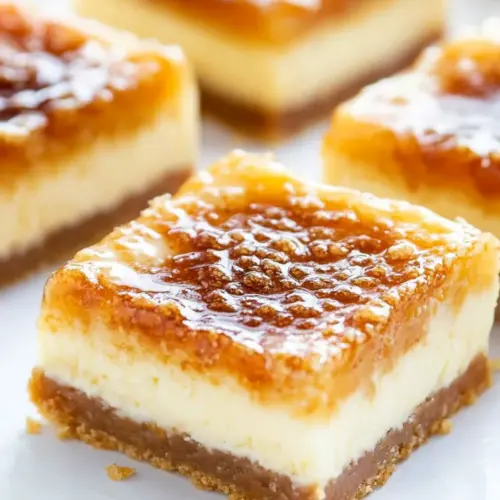
What draws me back to Creme Brulee Cheesecake Bars is the layered mouthfeel. The cookie crust gives a buttery, slightly crunchy foundation, the cheesecake filling is lusciously smooth, and the sprinkled toffee bits add pops of caramelized sweetness. I adore how each bite offers contrast, keeping the palate interested from start to finish.
Approachable Elegance
I love serving these when I want to look like I planned something special without spending hours in the kitchen. The components are straightforward, the technique is forgiving, and the result reads as patisserie quality. I bring them to potlucks because they travel well and present beautifully when chilled and sliced.
Reliable, Crowd Friendly Yield
With the recipe making a large sheet pan of bars, you get plenty for a crowd, and portioning is simple. I appreciate that I can pop them in the refrigerator ahead of time, and the bars will keep their texture and flavor for several days. That reliability is a big reason I make them for holidays and big gatherings.
Flexible Flavor Accents
While I stick with vanilla extract and toffee bits most of the time, this dessert is a good canvas. You can subtly shift the profile by adjusting the crust mix or sprinkling more toffee at the end. I enjoy how small tweaks produce noticeable differences, letting me adapt the bars to the occasion.
Simple Techniques, Big Rewards
The methods here are not fussy. Softening cream cheese, blending a smooth filling, and watching for the right visual set are techniques any home cook can master. Those modest skills pay off with an elegant dessert that tastes like you spent far more time on it than you actually did.
Ingredients for Creme Brulee Cheesecake Bars
These ingredients come together to create a harmonized dessert where texture and flavor are balanced. The crust provides a buttery foundation, the filling offers creamy, tangy richness, and the finishing bits add crunch and sweet salt contrast. Together they form a dessert that is both comforting and a little luxurious, with each player doing a clear job to make the whole greater than the sum of its parts.
- one 17.5 ounce pouch sugar cookie mix: Provides the base for the crust and contributes sweetness and structure; work into crumbs and press firmly to form an even, baked foundation for the bars.
- one 3.5 ounce box instant French vanilla pudding mix: Adds instant vanilla flavoring and a lightly custardy note to the crust or filling; whisk with dry ingredients to distribute flavor evenly and help thicken components if used in the filling.
- 1/2 cup unsalted butter, melted: Supplies fat to bind the cookie crumbs and enrich the crust; melt and stir into the cookie mix until evenly moistened before pressing into the pan.
- 1 large egg: Adds moisture and helps set the crust through protein coagulation; beat into the crust mixture for a tender, cohesive base.
- 2 tablespoons light brown sugar: Contributes a caramel-like sweetness and a slight crunch when sprinkled or folded in; use sparingly to balance overall sweetness and complement toffee bits.
- 2 teaspoons vanilla extract: Imparts a warm vanilla aroma and enhances overall flavor depth; add to either crust or filling to unify taste profiles.
- two 8-ounce blocks cream cheese, at room temp and very soft: Creates a rich, creamy filling with tang and body; beat until very soft and smooth to avoid lumps and achieve a velvety texture.
- 1 large egg: Helps set and stabilize the cheesecake filling while adding richness; incorporate gently for a smooth, even bake.
- 3 large egg yolks, discard whites or save for another use: Intensely thickens and enriches the filling while contributing a custard-like silkiness; whisk yolks thoroughly into the cream cheese mixture for a dense, creamy bite.
- 1/2 cup sour cream: Introduces a slight tang and creaminess that lightens the filling and balances sweetness; fold in at low speed to maintain a smooth consistency.
- 1/2 cup granulated sugar: Provides sweetness and structure to the filling while aiding in caramelization; dissolve well into the batter for even sweetness distribution.
- 2 teaspoons vanilla extract: Adds concentrated vanilla flavor to heighten and balance the dessert's sweetness; stir in with sugars and dairy to ensure homogenous flavor.
- 1/2 cup toffee bits: Delivers crunchy toffee pieces for textural contrast and additional caramel notes; fold in near the end of mixing to preserve bite and distribution.
Cooking Instructions for Creme Brulee Cheesecake Bars
These directions guide you through building a sturdy crust and a silken filling, then finishing and chilling the bars for clean slices. Trust visual cues and the texture of the filling rather than a strict minute count, and plan for chilling time to let flavors settle. Keep tools ready so the process flows smoothly from crust to cooling.
- Preheat oven to 350 F, line a 9×13-inch pan with aluminum foil for easier cleanup, spray with cooking spray; set aside.: You will notice the oven warmth swell and the air carry a faint metallic scent as it comes to temperature, which primes the baking environment for even heat. Ensuring the pan is lined with aluminum foil and sprayed makes removal and cleanup effortless, and it protects the crust edges from overbrowning. A common mistake is not fully preheating, which leads to uneven rise and longer bake times; always allow the oven to reach the stated heat before inserting your pan. When you slide the pan in, listen for the soft click of the oven light and keep the door closed so temperature remains steady.
- To a large bowl, add all the crust ingredients and stir to combine until a thick dough forms. Turn dough out into prepared pan into an even flat layer; set aside.: As you mix the sugar cookie mix , melted butter , egg , light brown sugar , and vanilla extract , the aroma of butter and vanilla will become noticeable, and the texture will change from powdery to cohesive. Use a sturdy spatula or spoon and press the mixture together until it forms a thick, slightly tacky dough; this indicates the fats have bound with the dry ingredients. If the dough seems too dry, it can yield a crumbly crust, so ensure the butter is fully incorporated. Overworking the mixture can lead to a dense crust, so stir only until combined.
- To the same large bowl (wipe it out with a paper towel if necessary), add all ingredients except the toffee bits, and beat with a handheld electric mixer on high speed until blended and smooth. Tip – Make sure your cream cheese is very soft otherwise it will be hard to fully emulsify the cream cheese and you’ll end up with little ‘blobs’ that are hard to blend.: When you press the crust into the lined pan, feel for even thickness across corners and edges to prevent thin spots that overbake. Using the back of a measuring cup or a flat spatula helps create a smooth, compact layer, and you should hear a faint scraping as the dough compresses. A common issue is an uneven crust that bakes inconsistently; take a few extra seconds to level it carefully. The surface should look uniform and slightly glossy where the butter has spread.
- Turn filling out over the crust and bake for about 40 to 45 minutes or until the center is set and not jiggly. Start checking for doneness at 30 minutes and bake as necessary. Note – I adapted this recipe from another website and that site says to bake for 30 to 35 minutes but the center of my bars was still way too loose at 35 minutes and I needed to bake for 45 minutes; bake as long as necessary given your oven and how your bars look.: As you blend cream cheese , instant French vanilla pudding mix , granulated sugar , sour cream , vanilla extract , egg , and egg yolks , the mixture will transform from lumpy to glossy and velvety; you will see strands of batter lifting from the beaters. This process creates a smooth emulsion that traps air and yields a tender texture once baked. If your cream cheese is not very soft, you may see stubborn little lumps that resist blending; to avoid this, ensure the blocks are at room temperature. Overbeating at high speed can introduce too much air, leading to cracks or a slightly spongy texture, so stop mixing as soon as the batter looks uniform and smooth.
- Immediately evenly sprinkle the toffee bits and allow bars to cool at room temp for about 30 minutes.: When you pour the filling onto the crust, it should flow and level smoothly, forming a glossy top. During baking the scent will shift to a richer, baked custard aroma, and the edges will take on a subtle golden tinge. Check for doneness by giving the pan a gentle nudge; the center should have a slight wobble but not be liquid. A usual trap is removing the bars too early because the exterior looks done while the center remains too loose; trust the jiggle test rather than surface color. If the edges are browning too quickly, tent loosely with foil to slow the browning while allowing the center to continue setting.
- Cover and refrigerate for at least 3 hours or until chilled before serving. Bars will keep airtight in the fridge for up to 1 week.: Right after the pan comes from the oven, the toffee bits will begin to soften slightly on contact with the warm surface, marrying into the top without melting completely. The scent will pick up a caramel note, and the contrast between warm filling and crisp toffee is delightful. Cooling at room temperature lets residual heat finish the set and prevents condensation when you wrap them for refrigeration. A common mistake is piling on too many toffee bits while the bars are still very hot, which can cause them to sink and create a sticky top rather than a charming sprinkle.
- Adapted from Betty Crocker: Chilling is essential to achieve clean slices and a firm, sliceable texture; as the bars cool, the filling tightens and flavors meld. In the fridge you will notice the ambient coolness taking the steam away, and the bars will become dense and satisfyingly cool to the touch. Skipping sufficient chilling leads to sloppy slices and a filling that weeps when cut; plan for at least three hours, and overnight is even better for flavor development. Store in an airtight container to prevent absorption of other fridge scents.
- Bars will keep airtight in the fridge for up to 1 week: Proper storage preserves texture and flavor, and each day the bars may taste slightly more cohesive as the vanilla and toffee meld into the filling. When retrieving a bar, let it sit a few minutes at room temperature for optimal softness, but avoid leaving it out too long to prevent sweating. One common oversight is stacking without separation, which can damage the top; use parchment layers or a rigid container to keep slices intact.
- Adapted from Betty Crocker: This credit acknowledges the recipe source and hints that the recipe has been refined from a trusted, classic foundation. Knowing the origin helps when troubleshooting because you can compare techniques and timing to the original. If you try variations, remember that the core structure relies on the balance between crust and filling, so major swaps may require adjustments to bake time and texture. Avoid combining too many changes at once, so you can pinpoint what works best.
Pro Tips and Tweaks
These pro tips will help you perfect texture, presentation, and timing. Read them before you start so you can set up ingredients and tools for a smooth workflow. Small adjustments in technique yield big improvements in the finished bars.
- Soften the cream cheese fully before starting to avoid lumps and reduce mixing time which preserves the smooth, dense texture of the filling.
- Use room temperature eggs to help the filling emulsify quickly and reduce the chance of curdling or separation during mixing.
- Press the crust firmly into the pan with the back of a measuring cup for an even base that bakes uniformly and slices cleanly.
- Rotate the pan halfway through baking if your oven has hot spots to promote even browning and consistent set across the sheet.
- Allow adequate chilling time because refrigeration firms the filling and improves sliceability and flavor melding.
- Store airtight to maintain texture and prevent absorption of other fridge odors; use parchment between layers when stacking slices.
What Complements This Creme Brulee Cheesecake Bars
These bars pair beautifully with light accompaniments or simple presentations. Consider serving styles and occasions to highlight their creamy center and crunchy bits. They travel well, so bring them to celebrations, and use chilled storage to maintain shape. Below are serving ideas and practical notes to elevate the experience.
- Casual gatherings, serve chilled squares on a platter for easy sharing at potlucks and backyard get togethers where guests can grab a bite without utensils.
- Special occasions, plate one or two bars with a small spoon of whipped topping on the side for a slightly dressed up dessert at dinner parties and holiday meals.
- Seasonal pairing, these bars are good all year, pairing well with light fruit in summer or warm spiced beverages in colder months depending on the occasion.
- Make ahead, bake the day before and refrigerate so you can focus on the main event; bars hold well for up to a week and actually slice neater after chilling overnight.
- Storage tips, keep in an airtight container and separate layers with parchment to avoid sticking, and let slices sit a few minutes at room temperature before serving for optimal softness.
FAQ
Conclusion
This recipe stands out for its layered textures and approachable technique, giving you a dessert that looks and tastes special with minimal fuss. I encourage you to give these bars a try because they are forgiving, make ahead friendly, and tailored for sharing at any gathering. Enjoy the process of building the buttery crust and silky filling, and take pride in serving a treat that will probably disappear fast.
Creme Brulee Cheesecake Bars
Equipment
- 9×13-inch pan
- Aluminum Foil
- Handheld electric mixer
- Mixing Bowl
- Measuring Cup
Ingredients
- one 17.5 ounce pouch sugar cookie mix Provides the base for the crust and contributes sweetness and structure; work into crumbs and press firmly to form an even, baked foundation for the bars.
- one 3.5 ounce box instant French vanilla pudding mix Adds instant vanilla flavoring and a lightly custardy note to the crust or filling; whisk with dry ingredients to distribute flavor evenly and help thicken components if used in the filling.
- 1/2 cup unsalted butter, melted Supplies fat to bind the cookie crumbs and enrich the crust; melt and stir into the cookie mix until evenly moistened before pressing into the pan.
- 1 large egg Adds moisture and helps set the crust through protein coagulation; beat into the crust mixture for a tender, cohesive base.
- 2 tablespoons light brown sugar Contributes a caramel-like sweetness and a slight crunch when sprinkled or folded in; use sparingly to balance overall sweetness and complement toffee bits.
- 2 teaspoons vanilla extract Imparts a warm vanilla aroma and enhances overall flavor depth; add to either crust or filling to unify taste profiles.
- two 8-ounce blocks cream cheese, at room temp and very soft Creates a rich, creamy filling with tang and body; beat until very soft and smooth to avoid lumps and achieve a velvety texture.
- 1 large egg Helps set and stabilize the cheesecake filling while adding richness; incorporate gently for a smooth, even bake.
- 3 large egg yolks, discard whites or save for another use Intensely thickens and enriches the filling while contributing a custard-like silkiness; whisk yolks thoroughly into the cream cheese mixture for a dense, creamy bite.
- 1/2 cup sour cream Introduces a slight tang and creaminess that lightens the filling and balances sweetness; fold in at low speed to maintain a smooth consistency.
- 1/2 cup granulated sugar Provides sweetness and structure to the filling while aiding in caramelization; dissolve well into the batter for even sweetness distribution.
- 2 teaspoons vanilla extract Adds concentrated vanilla flavor to heighten and balance the dessert's sweetness; stir in with sugars and dairy to ensure homogenous flavor.
- 1/2 cup toffee bits Delivers crunchy toffee pieces for textural contrast and additional caramel notes; fold in near the end of mixing to preserve bite and distribution.
Instructions
- Preheat oven to 350 F, line a 9×13-inch pan with aluminum foil for easier cleanup, spray with cooking spray; set aside.: You will notice the oven warmth swell and the air carry a faint metallic scent as it comes to temperature, which primes the baking environment for even heat. Ensuring the pan is lined with aluminum foil and sprayed makes removal and cleanup effortless, and it protects the crust edges from overbrowning. A common mistake is not fully preheating, which leads to uneven rise and longer bake times; always allow the oven to reach the stated heat before inserting your pan. When you slide the pan in, listen for the soft click of the oven light and keep the door closed so temperature remains steady.
- To a large bowl, add all the crust ingredients and stir to combine until a thick dough forms. Turn dough out into prepared pan into an even flat layer; set aside.: As you mix the sugar cookie mix , melted butter , egg , light brown sugar , and vanilla extract , the aroma of butter and vanilla will become noticeable, and the texture will change from powdery to cohesive. Use a sturdy spatula or spoon and press the mixture together until it forms a thick, slightly tacky dough; this indicates the fats have bound with the dry ingredients. If the dough seems too dry, it can yield a crumbly crust, so ensure the butter is fully incorporated. Overworking the mixture can lead to a dense crust, so stir only until combined.
- To the same large bowl (wipe it out with a paper towel if necessary), add all ingredients except the toffee bits, and beat with a handheld electric mixer on high speed until blended and smooth. Tip – Make sure your cream cheese is very soft otherwise it will be hard to fully emulsify the cream cheese and you’ll end up with little ‘blobs’ that are hard to blend.: When you press the crust into the lined pan, feel for even thickness across corners and edges to prevent thin spots that overbake. Using the back of a measuring cup or a flat spatula helps create a smooth, compact layer, and you should hear a faint scraping as the dough compresses. A common issue is an uneven crust that bakes inconsistently; take a few extra seconds to level it carefully. The surface should look uniform and slightly glossy where the butter has spread.
- Turn filling out over the crust and bake for about 40 to 45 minutes or until the center is set and not jiggly. Start checking for doneness at 30 minutes and bake as necessary. Note – I adapted this recipe from another website and that site says to bake for 30 to 35 minutes but the center of my bars was still way too loose at 35 minutes and I needed to bake for 45 minutes; bake as long as necessary given your oven and how your bars look.: As you blend cream cheese , instant French vanilla pudding mix , granulated sugar , sour cream , vanilla extract , egg , and egg yolks , the mixture will transform from lumpy to glossy and velvety; you will see strands of batter lifting from the beaters. This process creates a smooth emulsion that traps air and yields a tender texture once baked. If your cream cheese is not very soft, you may see stubborn little lumps that resist blending; to avoid this, ensure the blocks are at room temperature. Overbeating at high speed can introduce too much air, leading to cracks or a slightly spongy texture, so stop mixing as soon as the batter looks uniform and smooth.
- Immediately evenly sprinkle the toffee bits and allow bars to cool at room temp for about 30 minutes.: When you pour the filling onto the crust, it should flow and level smoothly, forming a glossy top. During baking the scent will shift to a richer, baked custard aroma, and the edges will take on a subtle golden tinge. Check for doneness by giving the pan a gentle nudge; the center should have a slight wobble but not be liquid. A usual trap is removing the bars too early because the exterior looks done while the center remains too loose; trust the jiggle test rather than surface color. If the edges are browning too quickly, tent loosely with foil to slow the browning while allowing the center to continue setting.
- Cover and refrigerate for at least 3 hours or until chilled before serving. Bars will keep airtight in the fridge for up to 1 week.: Right after the pan comes from the oven, the toffee bits will begin to soften slightly on contact with the warm surface, marrying into the top without melting completely. The scent will pick up a caramel note, and the contrast between warm filling and crisp toffee is delightful. Cooling at room temperature lets residual heat finish the set and prevents condensation when you wrap them for refrigeration. A common mistake is piling on too many toffee bits while the bars are still very hot, which can cause them to sink and create a sticky top rather than a charming sprinkle.
- Adapted from Betty Crocker: Chilling is essential to achieve clean slices and a firm, sliceable texture; as the bars cool, the filling tightens and flavors meld. In the fridge you will notice the ambient coolness taking the steam away, and the bars will become dense and satisfyingly cool to the touch. Skipping sufficient chilling leads to sloppy slices and a filling that weeps when cut; plan for at least three hours, and overnight is even better for flavor development. Store in an airtight container to prevent absorption of other fridge scents.
- Bars will keep airtight in the fridge for up to 1 week: Proper storage preserves texture and flavor, and each day the bars may taste slightly more cohesive as the vanilla and toffee meld into the filling. When retrieving a bar, let it sit a few minutes at room temperature for optimal softness, but avoid leaving it out too long to prevent sweating. One common oversight is stacking without separation, which can damage the top; use parchment layers or a rigid container to keep slices intact.
- Adapted from Betty Crocker: This credit acknowledges the recipe source and hints that the recipe has been refined from a trusted, classic foundation. Knowing the origin helps when troubleshooting because you can compare techniques and timing to the original. If you try variations, remember that the core structure relies on the balance between crust and filling, so major swaps may require adjustments to bake time and texture. Avoid combining too many changes at once, so you can pinpoint what works best.
Notes
- Soften the cream cheese fully before starting to avoid lumps and reduce mixing time which preserves the smooth, dense texture of the filling.
- Use room temperature eggs to help the filling emulsify quickly and reduce the chance of curdling or separation during mixing.
- Press the crust firmly into the pan with the back of a measuring cup for an even base that bakes uniformly and slices cleanly.
- Rotate the pan halfway through baking if your oven has hot spots to promote even browning and consistent set across the sheet.
- Allow adequate chilling time because refrigeration firms the filling and improves sliceability and flavor melding.
- Store airtight to maintain texture and prevent absorption of other fridge odors; use parchment between layers when stacking slices.