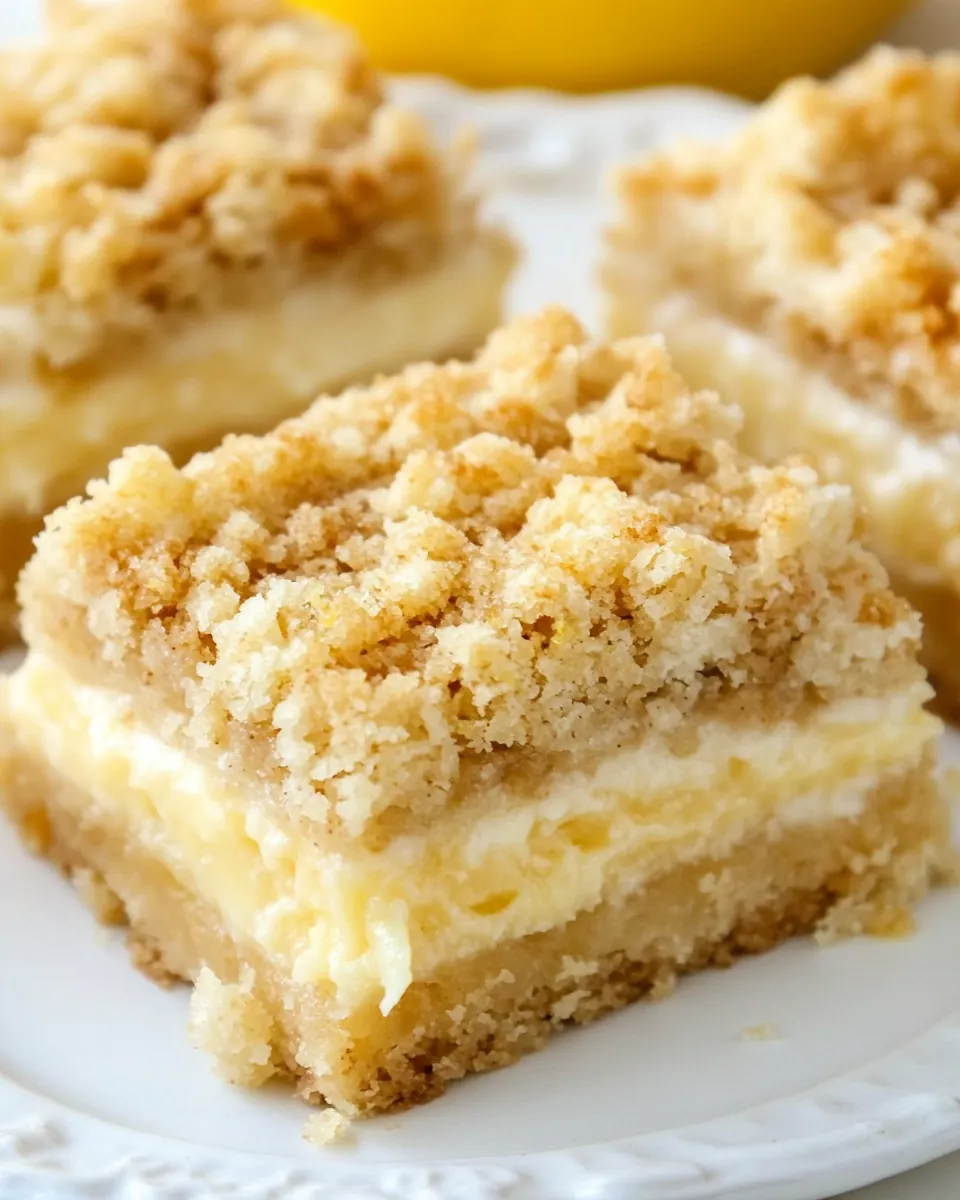
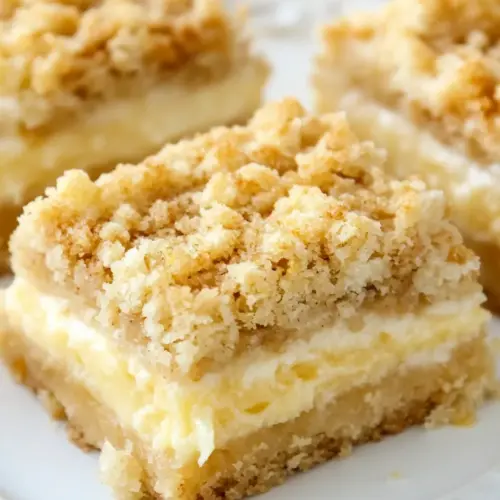
Creamy Lemon Crumb Bars
Creamy Lemon Crumb Bars are the sort of treat I reach for when I want something bright and comforting all at once. The first time I made these, a friend brought them to a small spring gathering and everyone kept asking for the recipe, especially after the second bite revealed that perfect tang of lemon against a sweet, buttery crumb. I still remember the way the kitchen filled with the aroma of browned butter and zested citrus, and how the bars seemed to vanish by the end of the night.
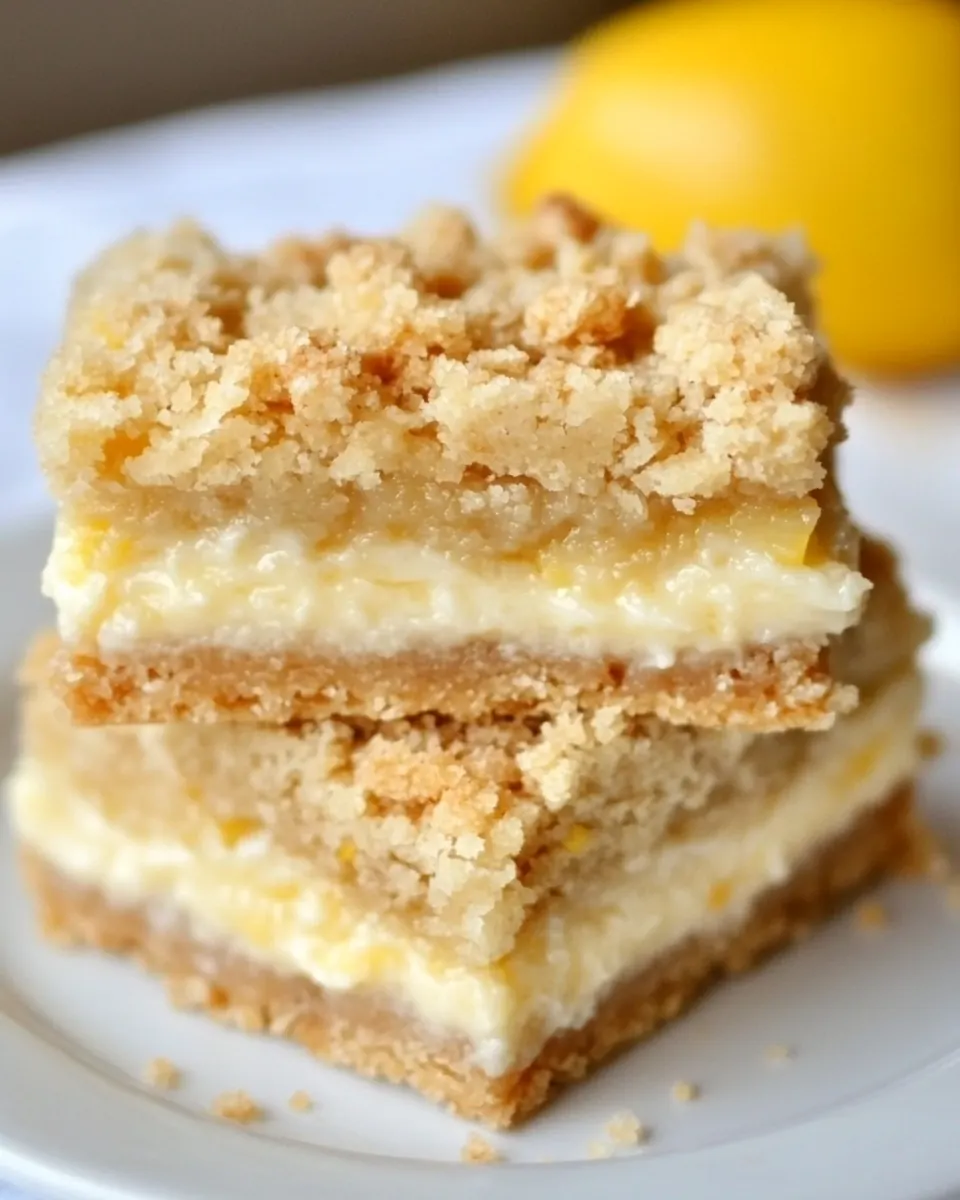
Over the years I have tweaked the balance between the sweet crumb and the creamy lemon filling, and every version has felt like a small victory. I love that these bars travel well, so I’ve taken them to potlucks, picnics, and afternoon tea with equal confidence. They slice neatly into squares if cooled fully, and the contrast of textures makes them feel more special than a simple cookie.
Recipe Snapshot
43 mins
15 mins
28 mins
Medium
200 kcal
American
Gluten-Free, Low FODMAP
Desserts
8 inch square baking pan, aluminum foil or parchment paper, medium mixing bowls, electric mixer, measuring cups and spoons, spatula
Why This Creamy Lemon Crumb Bars Stands Out
Bright citrus flavor that wakes the palate
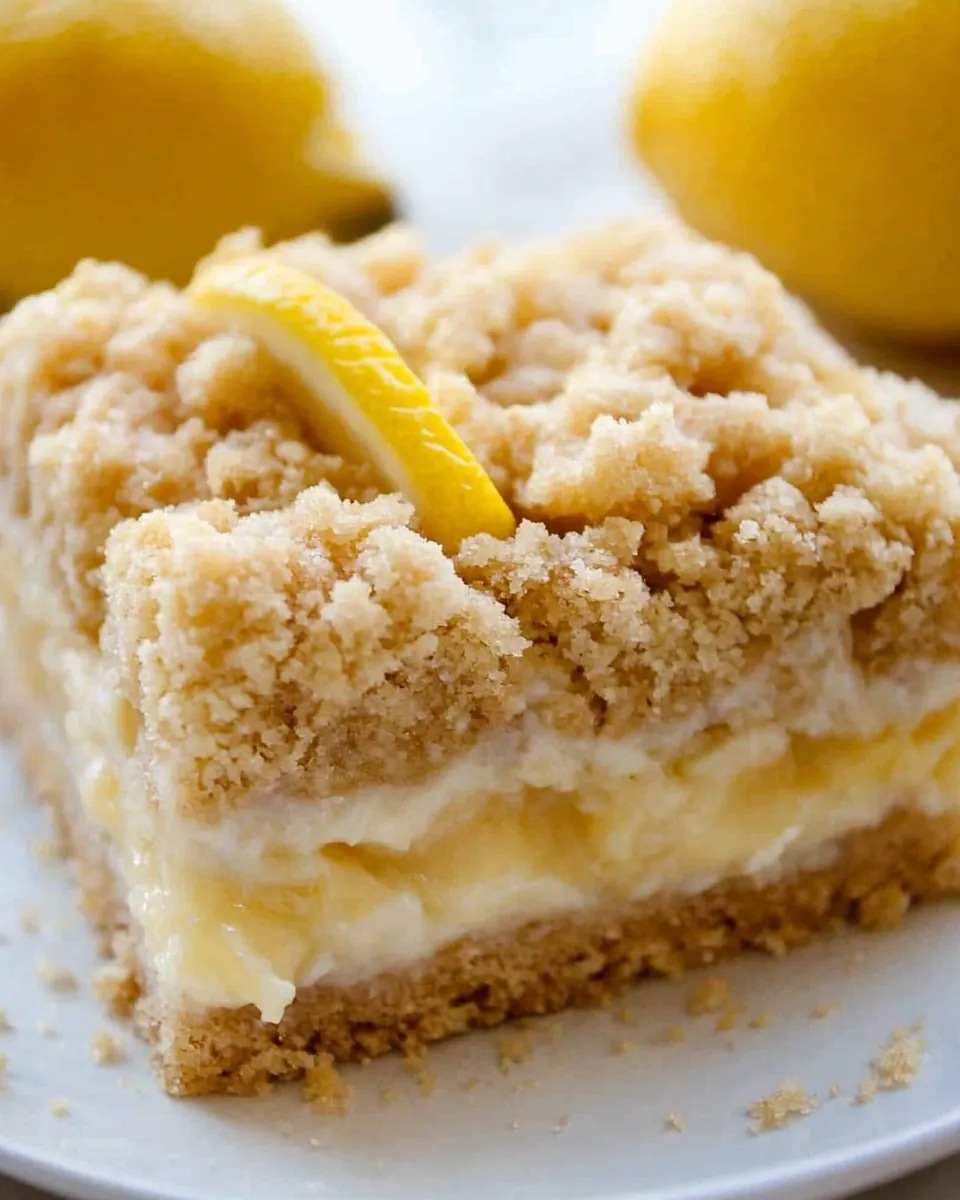
I love how Creamy Lemon Crumb Bars deliver an immediate lemon note from both the zest and the juice, which keeps the filling lively without being cloying. The acidity cuts through the richness, making each bite balanced and refreshing. For me, that brightness is what keeps people coming back for another square.
Buttery crumb with satisfying texture
The crumb layer gives you that satisfyingly crisp, slightly sandy feel underfoot, or rather under your teeth. When baked until golden, the edges crisp while the center remains tender, offering a contrast to the smooth filling. I often find guests closing their eyes for a moment after the first bite, savoring the texture transition.
Simple ingredients, big payoff
What makes me adore this recipe is how pantry staples transform into something elegant. With basics like all purpose flour, butter, and sugar, you get a dessert that tastes like it required more fuss than it really does. That kind of efficiency is a huge win on busy days.
Flexible and forgiving
These bars are forgiving if you swap sour cream for Greek yogurt, or if your crust is a touch thicker or thinner. Small deviations may change the texture slightly, but the overall result remains reliably delicious. I appreciate a dessert that adapts to what I already have in the fridge.
Great for sharing and gifting
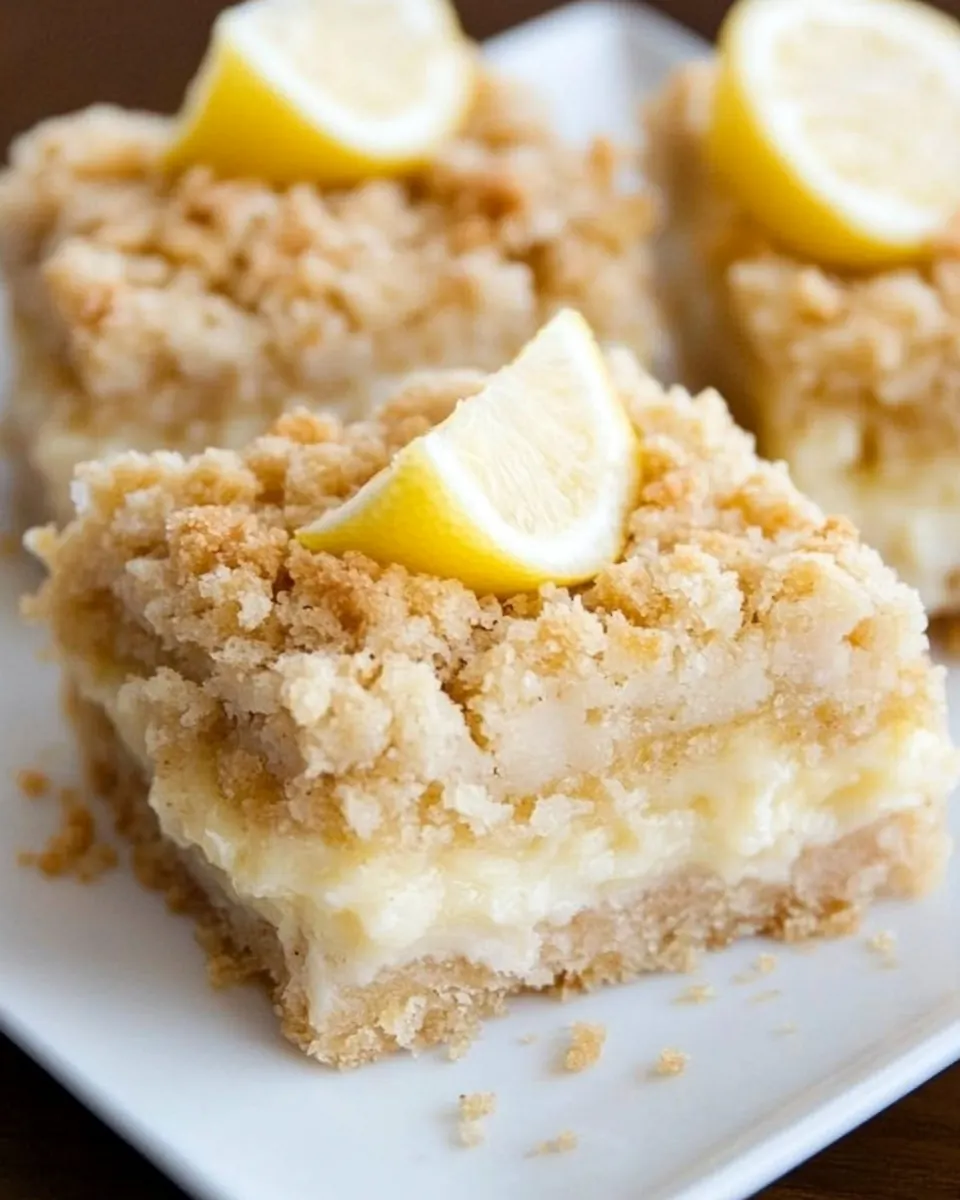
I always find Creamy Lemon Crumb Bars to be crowd pleasers. They store and transport well, and their bright flavor feels celebratory without being fussy. Whenever I bring a pan, people ask for the recipe because it tastes homemade and thoughtful.
Creamy Lemon Crumb Bars Ingredients
I believe good baking starts with simple, honest ingredients that each have a clear role. For Creamy Lemon Crumb Bars, the crumb provides buttered structure and toasted notes, while the filling brings tang, moisture, and a tender custard like center. The key players are the butter and flour for the crust, and the dairy and citrus for the bright, silky filling.
- 1/2 cup unsalted butter melted, cooled to room temperature: Melted and cooled to room temperature, provides rich fat that helps bind the crumb base while adding moisture and a tender texture to the bars. Incorporate evenly into the dry ingredients to create a cohesive, sandy crumb that browns nicely during baking.
- 1/2 cup packed light or dark brown sugar: Packed to ensure accurate measurement and contributes deep, caramel-like sweetness and moisture to the crust. Use to balance tartness from the lemon and to help achieve a chewy, flavorful crumb.
- 1.5 cup all-purpose flour: All-purpose flour supplies structure and bulk to both the crumb base and topping when combined with fats and sugars. Measure precisely to maintain the desired tender yet sturdy texture that holds the lemon filling.
- 1/2 teaspoon baking soda: Baking soda acts as a mild leavening agent that helps lighten the crumb and prevents density in the crust. Ensure it is fresh and well-mixed to produce a slight lift without disrupting the bar layers.
- 1/4 teaspoon salt: Salt enhances overall flavor by balancing sweetness and intensifying the lemon notes, while also strengthening gluten slightly for better texture. Even a small amount is important to avoid a flat-tasting finished product.
- 1 cup sour cream or Greek yogurt: Sour cream or Greek yogurt adds tang, moisture, and creaminess to the filling while contributing tenderness due to their acidity. Use to create a smooth, slightly tangy custard-like layer that complements the lemon.
- 3/4 cup granulated sugar: Granulated sugar sweetens the filling and helps achieve a silky texture when combined with egg and dairy. Dissolve well to ensure even sweetness and a balanced contrast to the lemon juice and zest.
- 2 tablespoon all-purpose flour: Additional all-purpose flour in the filling helps stabilize the custard by absorbing moisture and preventing excessive spreading. Whisk in smoothly to avoid lumps and to maintain a firm set after baking.
- 1 large egg: Large egg provides structure and emulsification to the filling, helping it set with a custardy consistency while contributing richness. Beat slightly before adding to ensure even incorporation throughout the mixture.
- 1 teaspoon vanilla extract: Vanilla extract contributes aromatic warmth and depth, rounding out the bright citrus notes without overpowering them. Add to the filling to enhance overall flavor complexity and provide a subtle sweet-fruity background.
- juice and zest from 1/2 lemon: Juice and zest from half a lemon supply concentrated citrus flavor, acidity, and brightness that define the bars' lemon character. Use zest for intense aromatic oils and juice for tang and balance against the sweet, creamy filling.
How to Prepare Creamy Lemon Crumb Bars
These directions are written to walk you through each tactile moment so you can bake with confidence. Expect sensory cues like a fragrant lemon aroma, a golden crumb, and a set filling that yields a clean slice when cooled. Read each step fully before starting to minimize surprises.
- Line an 8" square baking pan with aluminum foil or parchment paper. Set aside.: You will feel the tactile routine of creasing foil or smoothing parchment, which makes removing the bars effortless after baking. Ensure the liner covers the sides fully so you can lift the bars out cleanly, avoiding stuck edges that might tear the crumb. If the liner shifts, smooth it again before adding any batter, because a poorly lined pan can lead to uneven edges and tearing when cutting.
- Preheat oven to 375 degrees F.: As the oven reaches 375 degrees F , you will notice the kitchen warming and the faint scent of dry heat, which primes the pan for even browning. Preheating ensures the crumb begins to toast immediately on contact and the filling starts setting at the right pace. Do not skip preheating, because putting the unbaked pan into a cold oven can make the crumb soggy and the filling overbake to dryness.
- In a medium mixing bowl, stir together the crust and topping ingredients. Reserve 3/4 of a cup of the mixture for the topping.: As you combine butter , brown sugar , flour , baking soda , and salt , feel the mixture change from powdery to clumpy and fragrant with butter. Reserve exactly 3/4 of a cup to get the right distribution between crust and topping, because too little topping will leave the filling exposed, and too much will overpower the bars. A frequent slip is inaccurately eyeballing the reserved amount, which can create an unbalanced texture.
- In another medium mixing bowl, mix all the filling ingredients with an electric mixer.: When you blend sour cream or Greek yogurt , granulated sugar , flour , egg , vanilla , and the lemon juice and zest, you will hear a smooth, consistent whirr and see the filling become glossy and uniform. This emulsification helps the filling bake into a velvety custard. Avoid over mixing which can incorporate too much air and yield tiny bubbles or cracks in the finished surface.
- Pat down the crust mixture into the bottom of the prepared pan.: Press the reserved crust base into the lined pan until the surface is compact and even, feeling the slight resistance as the crumbs bind together. A firm, even press encourages a crisp base that supports the filling, while a loosely packed crust will crumble when sliced. Use the back of a measuring cup for an even surface and avoid pressing so hard the crust becomes dense.
- Pour the filling over the crust.: As you pour, notice the filling spread smoothly and begin to glisten, a sign it is properly combined. Use a spatula to coax it into corners, and keep the layer even so it bakes uniformly. If you pour into an uneven crust, the thinner areas can overbake while thicker spots remain underdone.
- Sprinkle the topping over the filling.: Scatter the reserved crumb topping so it lands in an even layer, creating pockets of golden crunch. The contrast between the soft filling and crunchy top is what defines these bars. Avoid compressing the topping; letting it remain loose yields better texture after baking.
- Bake 25 to 28 minutes or until the topping is golden brown and the filling appears set. There should be no unbaked jiggly filling in the center.: During baking you will notice the topping turning golden and a citrus aroma filling the kitchen. The filling should look slightly puffed and just set, not liquid or overly jiggly. Overbaking dries the filling and underbaking leaves it too soft to slice, so check at 25 minutes and watch closely to catch that sweet spot.
- Cool completely before cutting.: Cooling lets the filling finish setting, and you will appreciate the clean edges when slicing after it is fully chilled. The aroma will mellow as it cools and the texture firms to a tender, sliceable bar. Cutting too soon results in ragged pieces and a filling that oozes, so be patient and refrigerate briefly if your kitchen is warm.
Expert Tips about Creamy Lemon Crumb Bars
These tips reflect lessons I learned from baking many trays of Creamy Lemon Crumb Bars. They focus on texture, timing, and maximizing lemon flavor so each square is as memorable as possible.
- Measure flour properly, spoon it into the cup and level with a knife to avoid dense crumb due to too much all purpose flour.
- Cool the melted butter before mixing with dry ingredients so the fat doesn’t make the crumb greasy and the texture stays sandy.
- Zest before juicing to capture essential oils that give the filling an immediate, bright lemon aroma.
- Reserve topping carefully to maintain the intended ratio between crust and crunchy top, which creates the best textural contrast.
- Watch the bake time starting at 25 minutes and check for a lightly golden top, this prevents overbaking the creamy filling.
Perfect Matches for Creamy Lemon Crumb Bars
These serving ideas will help you present Creamy Lemon Crumb Bars beautifully, whether for a casual snack or a special spring gathering. Think about temperature contrasts, complementary flavors, and simple pairings that elevate the bars without overshadowing them.
- Serve slightly chilled, which gives the filling the cleanest slices and a refreshing mouthfeel perfect for warm weather gatherings.
- Pair with warm tea such as a light green or chamomile, the herbal notes harmonize with the lemon without adding sweetness.
- Bring to brunch as a bright dessert alongside fruit and yogurt, they offer a citrusy counterpoint to richer dishes.
- Pack for picnics because the bars travel well when cooled and wrapped, making them ideal for outdoor meals.
- Gift in a simple box, lined with parchment, these bars feel homey and thoughtful for neighbors or friends during spring celebrations.
FAQ
Conclusion
These Creamy Lemon Crumb Bars shine because they balance a buttery, crunchy crumb with a silky, tangy lemon filling. I encourage you to give them a try when you want a dessert that feels both bright and comforting, perfect for spring gatherings or a cozy afternoon treat. They are forgiving to make, travel well, and reward a little patience with clean slices and layered textures.
Creamy Lemon Crumb Bars
Equipment
- 8-inch square baking pan
- aluminum foil or parchment paper
- medium mixing bowls
- Electric Mixer
- Measuring Cups and Spoons
- Spatula
Ingredients
- 1/2 cup unsalted butter melted, cooled to room temperature Melted and cooled to room temperature, provides rich fat that helps bind the crumb base while adding moisture and a tender texture to the bars. Incorporate evenly into the dry ingredients to create a cohesive, sandy crumb that browns nicely during baking.
- 1/2 cup packed light or dark brown sugar Packed to ensure accurate measurement and contributes deep, caramel-like sweetness and moisture to the crust. Use to balance tartness from the lemon and to help achieve a chewy, flavorful crumb.
- 1.5 cup all-purpose flour All-purpose flour supplies structure and bulk to both the crumb base and topping when combined with fats and sugars. Measure precisely to maintain the desired tender yet sturdy texture that holds the lemon filling.
- 1/2 teaspoon baking soda Baking soda acts as a mild leavening agent that helps lighten the crumb and prevents density in the crust. Ensure it is fresh and well-mixed to produce a slight lift without disrupting the bar layers.
- 1/4 teaspoon salt Salt enhances overall flavor by balancing sweetness and intensifying the lemon notes, while also strengthening gluten slightly for better texture. Even a small amount is important to avoid a flat-tasting finished product.
- 1 cup sour cream or Greek yogurt Sour cream or Greek yogurt adds tang, moisture, and creaminess to the filling while contributing tenderness due to their acidity. Use to create a smooth, slightly tangy custard-like layer that complements the lemon.
- 3/4 cup granulated sugar Granulated sugar sweetens the filling and helps achieve a silky texture when combined with egg and dairy. Dissolve well to ensure even sweetness and a balanced contrast to the lemon juice and zest.
- 2 tablespoon all-purpose flour Additional all-purpose flour in the filling helps stabilize the custard by absorbing moisture and preventing excessive spreading. Whisk in smoothly to avoid lumps and to maintain a firm set after baking.
- 1 large egg Large egg provides structure and emulsification to the filling, helping it set with a custardy consistency while contributing richness. Beat slightly before adding to ensure even incorporation throughout the mixture.
- 1 teaspoon vanilla extract Vanilla extract contributes aromatic warmth and depth, rounding out the bright citrus notes without overpowering them. Add to the filling to enhance overall flavor complexity and provide a subtle sweet-fruity background.
- juice and zest from 1/2 lemon Juice and zest from half a lemon supply concentrated citrus flavor, acidity, and brightness that define the bars' lemon character. Use zest for intense aromatic oils and juice for tang and balance against the sweet, creamy filling.
Instructions
- Line an 8" square baking pan with aluminum foil or parchment paper. Set aside.: You will feel the tactile routine of creasing foil or smoothing parchment, which makes removing the bars effortless after baking. Ensure the liner covers the sides fully so you can lift the bars out cleanly, avoiding stuck edges that might tear the crumb. If the liner shifts, smooth it again before adding any batter, because a poorly lined pan can lead to uneven edges and tearing when cutting.
- Preheat oven to 375 degrees F.: As the oven reaches 375 degrees F , you will notice the kitchen warming and the faint scent of dry heat, which primes the pan for even browning. Preheating ensures the crumb begins to toast immediately on contact and the filling starts setting at the right pace. Do not skip preheating, because putting the unbaked pan into a cold oven can make the crumb soggy and the filling overbake to dryness.
- In a medium mixing bowl, stir together the crust and topping ingredients. Reserve 3/4 of a cup of the mixture for the topping.: As you combine butter , brown sugar , flour , baking soda , and salt , feel the mixture change from powdery to clumpy and fragrant with butter. Reserve exactly 3/4 of a cup to get the right distribution between crust and topping, because too little topping will leave the filling exposed, and too much will overpower the bars. A frequent slip is inaccurately eyeballing the reserved amount, which can create an unbalanced texture.
- In another medium mixing bowl, mix all the filling ingredients with an electric mixer.: When you blend sour cream or Greek yogurt , granulated sugar , flour , egg , vanilla , and the lemon juice and zest, you will hear a smooth, consistent whirr and see the filling become glossy and uniform. This emulsification helps the filling bake into a velvety custard. Avoid over mixing which can incorporate too much air and yield tiny bubbles or cracks in the finished surface.
- Pat down the crust mixture into the bottom of the prepared pan.: Press the reserved crust base into the lined pan until the surface is compact and even, feeling the slight resistance as the crumbs bind together. A firm, even press encourages a crisp base that supports the filling, while a loosely packed crust will crumble when sliced. Use the back of a measuring cup for an even surface and avoid pressing so hard the crust becomes dense.
- Pour the filling over the crust.: As you pour, notice the filling spread smoothly and begin to glisten, a sign it is properly combined. Use a spatula to coax it into corners, and keep the layer even so it bakes uniformly. If you pour into an uneven crust, the thinner areas can overbake while thicker spots remain underdone.
- Sprinkle the topping over the filling.: Scatter the reserved crumb topping so it lands in an even layer, creating pockets of golden crunch. The contrast between the soft filling and crunchy top is what defines these bars. Avoid compressing the topping; letting it remain loose yields better texture after baking.
- Bake 25 to 28 minutes or until the topping is golden brown and the filling appears set. There should be no unbaked jiggly filling in the center.: During baking you will notice the topping turning golden and a citrus aroma filling the kitchen. The filling should look slightly puffed and just set, not liquid or overly jiggly. Overbaking dries the filling and underbaking leaves it too soft to slice, so check at 25 minutes and watch closely to catch that sweet spot.
- Cool completely before cutting.: Cooling lets the filling finish setting, and you will appreciate the clean edges when slicing after it is fully chilled. The aroma will mellow as it cools and the texture firms to a tender, sliceable bar. Cutting too soon results in ragged pieces and a filling that oozes, so be patient and refrigerate briefly if your kitchen is warm.
Notes
- Measure flour properly, spoon it into the cup and level with a knife to avoid dense crumb due to too much all purpose flour.
- Cool the melted butter before mixing with dry ingredients so the fat doesn’t make the crumb greasy and the texture stays sandy.
- Zest before juicing to capture essential oils that give the filling an immediate, bright lemon aroma.
- Reserve topping carefully to maintain the intended ratio between crust and crunchy top, which creates the best textural contrast.
- Watch the bake time starting at 25 minutes and check for a lightly golden top, this prevents overbaking the creamy filling.