Cookies And Cream Ice Cream Cake
Cookies And Cream Ice Cream Cake is one of those simple, joyful desserts that always brings a smile when I pull it from the freezer. The first time I made it, it was for a hot summer block party, and folks kept asking for the recipe between bites, which told me I was onto something. I remember the way the cold, creamy layers contrasted with the crisp, chocolate cookie bits, and how every forkful felt like a small celebration.
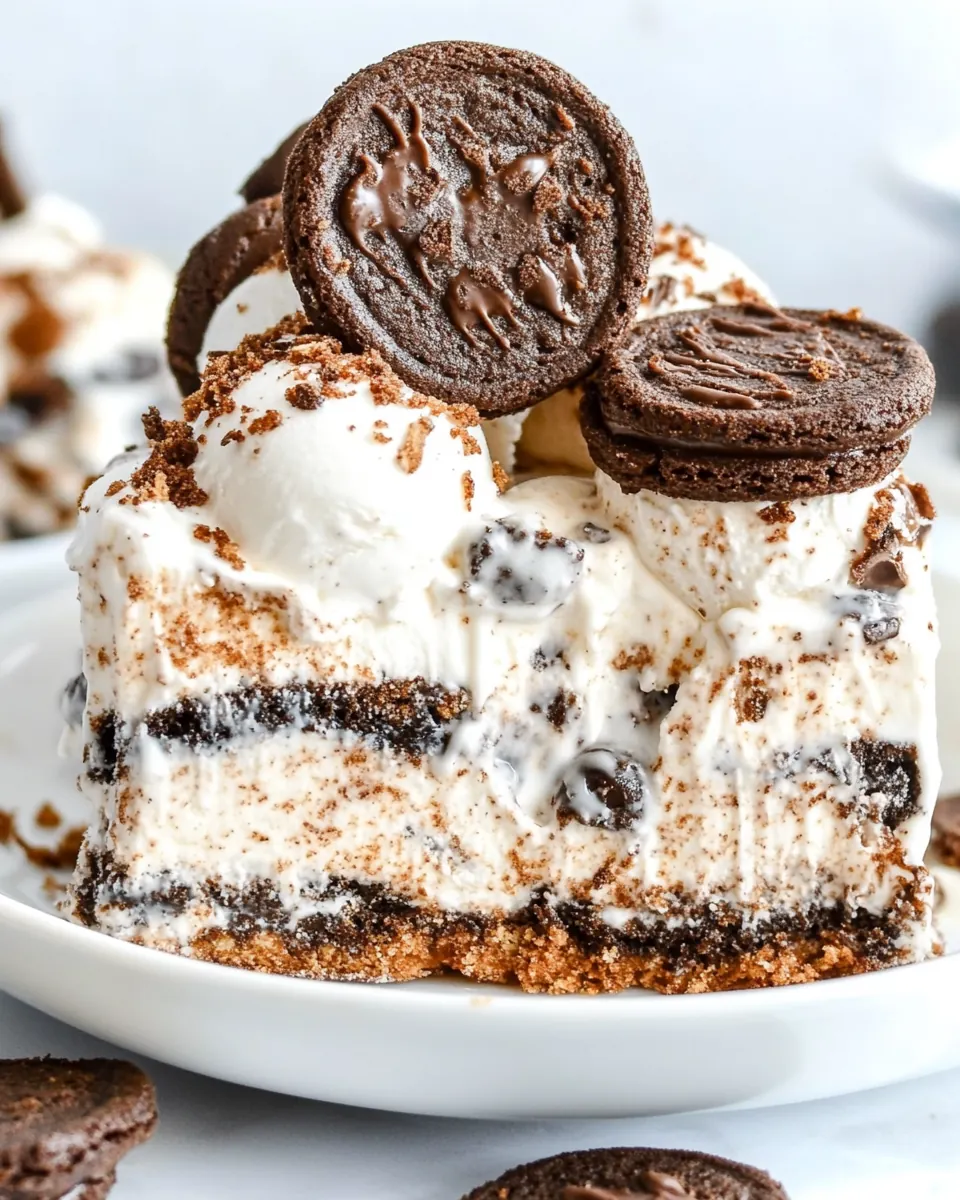
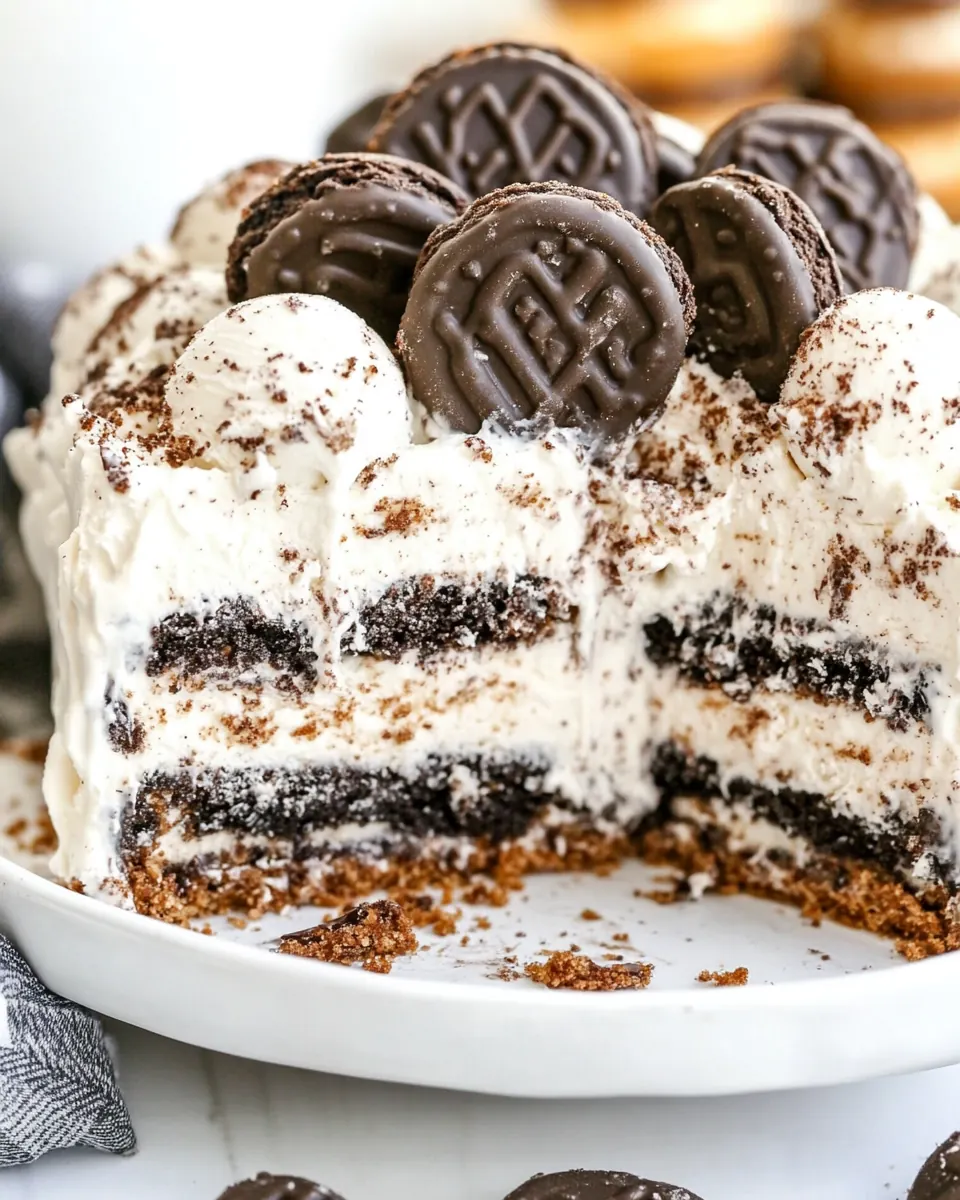
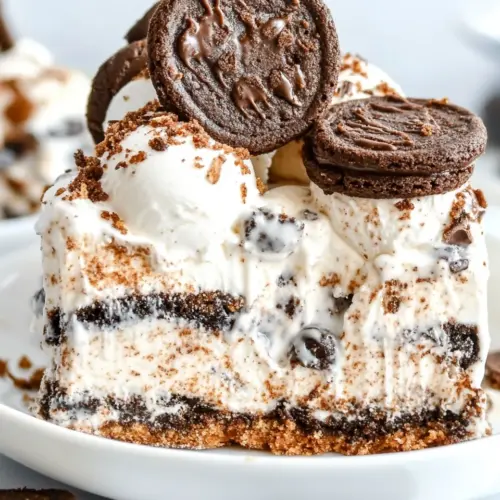
Over the years I have adapted the assembly to be faster and more forgiving, especially when you have to fit everything into a single 9 by 13 pan. I like to keep a stash of ice cream sandwiches in my freezer for weekends when I need a quick dessert that still feels special. When I slice into this cake, there is a clean cross section of layered ice cream sandwiches, pillowy frozen whipped topping, and ribboned chocolate sauce, finished with a shower of crushed chocolate sandwich cookies. It is a nostalgic riff on childhood treats, but dressed up for grown up guests.
Recipe Snapshot
4 hr 15 mins
15 mins
240 mins
Hard
300 kcal
American
Keto, Gluten-Free
Desserts
1 9×13 pan
Why This Cookies And Cream Ice Cream Cake Shines
It is unfussy and fast to assemble
I love that Cookies And Cream Ice Cream Cake does not demand hours of active work. With basic mise en place and a cold pan, you can be done in under half an hour. That ease makes it my go to when guests text an hour before arrival.
Textural contrast keeps every bite interesting
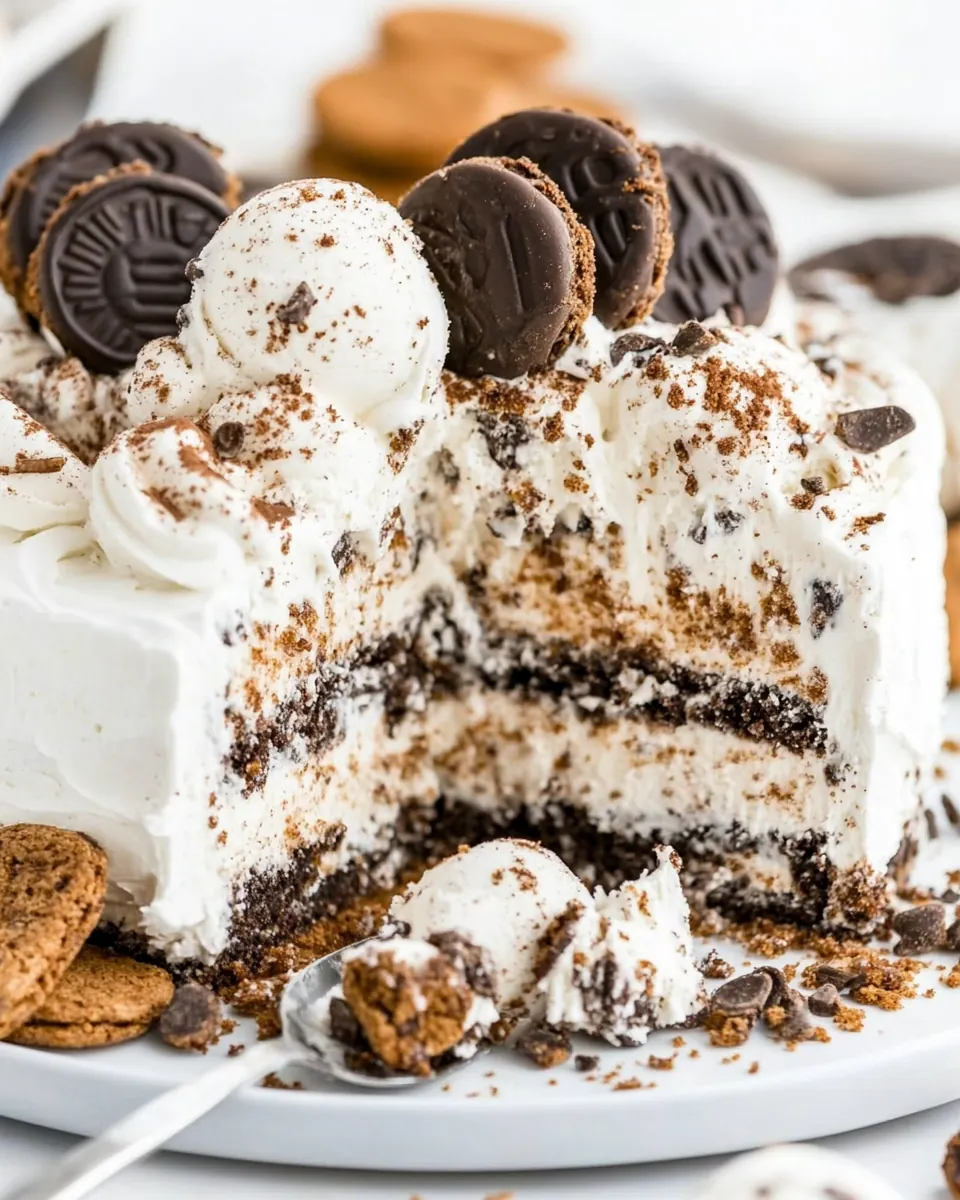
The combination of soft ice cream sandwiches, airy frozen whipped topping, and crunchy crushed chocolate sandwich cookies gives a delightful mouthfeel. I like how the cookie pieces add a playful snap, while the topping smooths everything into creamy bliss.
Highly adaptable for portion needs
I often halve or double layers depending on how many people I expect. The recipe scales well because you are literally stacking premade components, so you can build a small loaf or a full sheet cake with the same steps.
Perfect for warm weather entertaining
Because this dessert lives in the freezer, it shines on hot days. I bring mine to pool parties and potlucks, and it arrives ready to serve with minimal fuss. Transport in a cooler to keep the edges neat.
Comforting nostalgia with an elegant look
There is something instantly familiar about Cookies And Cream Ice Cream Cake, yet the presentation feels elevated when you garnish with extra crushed chocolate sandwich cookies. Guests comment on the simplicity, and I enjoy the relaxed applause it gets.
Cookies And Cream Ice Cream Cake Shopping List
These ingredients are all about teamwork. The star players are the ice cream sandwiches which form the structure, and the frozen whipped topping which provides creamy lift and a silky binder. The chocolate sauce gives visual drama and a concentrated chocolate note, while the crushed chocolate sandwich cookies supply crunch and flavor echoes. Together they create layers that are greater than the sum of their parts.
- 24 ice cream sandwiches: Provide a sweet, creamy layer and convenient shape that forms the cake’s primary structure; arrange sandwiches in a single layer or stacked pattern, allowing them to soften slightly for easier slicing and serving.
- 16 oz frozen whipped topping thawed, like Cool Whip or two 8 ounce containers: Fold into softened ice cream layers to add light, airy texture and stabilize the cake; spread evenly to create smooth tiers and prevent ice crystals while enhancing mouthfeel with a sweet whipped finish.
- 1/2 cup chocolate sauce: Add glossy chocolate flavor and moisture, creating ribbons or a marbled effect when drizzled between layers; pour sparingly to avoid sogginess while intensifying the dessert’s chocolate profile.
- 20 chocolate sandwich cookies Oreos, crushed, plus extra for garnish: Contribute crunchy, chocolatey cookie pieces and visible speckles when folded into layers or sprinkled on top; crush to desired size for texture contrast and reserve extras for garnish.
The Method for Cookies And Cream Ice Cream Cake
I like to think of building this cake as a calm, tactile process rather than a race. Keep your ice cream sandwiches straight from the freezer until assembly, work on a chilled surface if possible, and move deliberately so each layer stays neat. Below I expand each direction into clear, sensory-rich guidance to help you get perfect slices every time.
- Unwrap and place 12 ice cream sandwiches into the bottom of a 9×13 pan. Slice any ice cream sandwiches necessary with a knife to fit all ice cream sandwiches in a flat layer.: The cold clink of frozen bars against the pan is oddly satisfying, and you will feel the slight resistance as you nudge each ice cream sandwich into place. Aim for a tight, contiguous layer so there are no big gaps, which helps the finished cake hold together. If you need to slice pieces to fit edges, run a sharp knife under warm water, dry it quickly, then slice with a single confident stroke to prevent smearing. A common mistake here is letting the sandwiches thaw too much before arranging them, which makes them soft and hard to trim; keep a chilled kitchen towel nearby to cool your hands if needed. Visual cue, the surface should look like a compact grid of frozen rectangles that sits level in the pan.
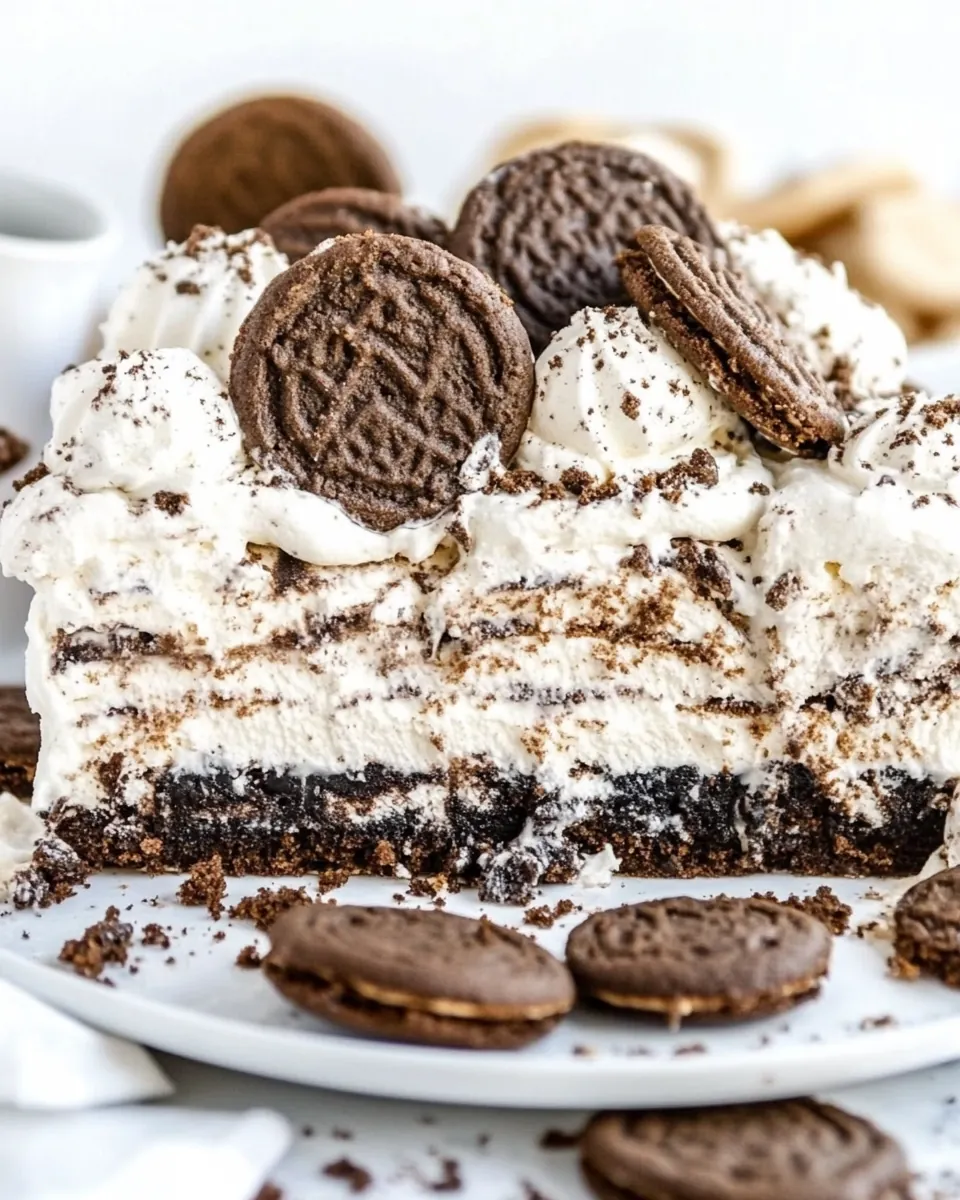
- Spread half of the thawed whipped topping over the ice cream sandwiches.: As you spread the cold, pillowy frozen whipped topping , you will notice it glides across the frozen surface, creating a matte, cloudlike layer. Use an offset spatula for the smoothest finish, applying gentle pressure to avoid tearing the sandwich layer. This topping acts as a buffer, preventing the next layer of sauce and crumbs from sinking into the ice cream, which preserves the distinct layers after slicing. A trap to avoid is overworking the topping, which warms it and makes it runny; always work quickly and keep the topping chilled until the last second. The right look is a uniform, even blanket of white that hides the cookie seams beneath.
- Drizzle 1/4 cup of the chocolate sauce over the top of the whipped cream layer.: The liquid sound of the sauce falling in ribbons is part of the fun, and the smell is instantly chocolatey and comforting. Hold the bottle a few inches above the surface and gently squeeze so the sauce forms thin streams across the white layer. This creates marbling and concentrated pockets of chocolate in each bite. If your sauce is too thick, warm it slightly in a bowl placed in hot water to loosen it; if too thin, let it cool to regain viscosity. Avoid pouring all at once into a single spot, which creates a puddle; instead, disperse evenly for balance and aesthetics. You want delicate ribbons that peek through the topping.
- Sprinkle half of the crushed Oreo cookies on top.: As you scatter the crushed chocolate sandwich cookies , listen for the soft pat as crumbs land. The mixture of fine crumbs and small chunks gives layered texture, so aim for variety in the crushed pieces. Pressing the crumbs lightly into the topping will help them adhere, but do not compact them flat, you want some loft to remain. A common error is crushing the cookies too finely into powder, which reduces the satisfying crunch; use a rolling pin or pulse in short bursts for the ideal mix. Visually, you should see a freckled surface with dark cookie bits contrasting against the white topping.
- Repeat the same layers again. First a second layer of ice cream sandwiches, then a second layer of whipped topping, then topped with 1/4 cup of chocolate sauce drizzled on top. Top with extra crushed Oreo cookies if desired.: Building the second tier is like composing a dessert painting, and you will appreciate how the chilled layers stack without collapsing. The second layer of ice cream sandwiches must be aligned so the cake cuts into neat bars. After spreading the second portion of frozen whipped topping , add the remaining chocolate sauce in delicate trails, and finish with the rest of the crushed chocolate sandwich cookies for drama. The second assembly seals the structure and sets the flavor profile into recognizable layers. Be careful not to press too hard when aligning the second set, which can squeeze out fillings and create uneven slices. The end result should look symmetrical, with a glossy drizzle and a topping of cookie crumbs.
- Cover the dish and place into the freezer for at least 3-4 hours. Then slice to serve, enjoy!: The waiting period is the quiet finale, where the cake firms and the layers knit together. Covering prevents freezer burn and keeps the surface pristine. After freezing, let the pan sit at room temperature for a few minutes so the knife can glide through cleanly, then slice with a warm, dry knife for neat portions. A common pitfall is trying to cut the cake immediately, which yields ragged edges and smeared layers; patient timing yields crisp slices. The textural payoff is worth the pause, with cold, creamy interiors and crisp cookie accents in each neat square.
Variations to Try
There are playful ways to put your own stamp on Cookies And Cream Ice Cream Cake. Below are practical, testable variations that keep the core method intact while nudging the flavor or presentation in new directions.
- Layer arrangement: Try building three thinner layers instead of two to create more visible strata and a cake that slices into taller, narrower servings.
- Cookie texture: Use half crushed and half roughly chopped chocolate sandwich cookies for a contrast between tiny crumbs and chunkier bites in each forkful.
- Chocolate sauce finish: Warm the chocolate sauce slightly so it forms thinner ribbons that set into pretty veining patterns across the topping.
- Whipped topping technique: Spread the frozen whipped topping in thin even coats, smoothing with a chilled offset spatula for a polished, bakery style surface.
- Portioning: Freeze the assembled cake until firm, then score the top into serving squares before returning to the freezer for cleaner slicing later.
- Presentation: After slicing, let pieces rest for a minute at room temperature so the texture softens slightly, enhancing the creamy mouthfeel without losing structure.
Serve This Cookies And Cream Ice Cream Cake With
This dessert is versatile for many occasions and serving styles. Below are thoughtful pairings, serving suggestions, and storage notes to help you present it beautifully for parties, warm weather gatherings, or casual family nights.
- Party platter: Arrange slices on a chilled platter with extra crushed chocolate sandwich cookies sprinkled around the plate for guests to take and admire.
- Kid friendly: Serve individual squares with small paper flags for birthdays or kid centric celebrations where sweet, handheld desserts are a hit.
- Summer entertaining: Bring to backyard barbecues or pool days stored in a cooler to beat the heat, offering a frozen treat everyone will appreciate.
- Storage tip: Wrap the pan tightly with plastic wrap and an outer layer of foil, then store flat in the freezer for up to one week to retain best texture.
- Occasion pairings: This cake is great for casual holidays and special weekends alike, and it works well as a make ahead dessert for busy hosting days.
- Serving size advice: Cut into 24 equal squares for consistent portions, and let each piece sit for a minute so the texture softens slightly before enjoying.
FAQ
Conclusion
Cookies And Cream Ice Cream Cake stands out because it pairs effortless assembly with nostalgic flavor and satisfying texture. It is a fuss free dessert that looks impressive and travels well, which makes it ideal for summer gatherings and impromptu celebrations. Give it a try the next time you need a make ahead sweet that everyone will love, and enjoy the little moment of applause when you slice into those perfect, layered squares.
Cookies And Cream Ice Cream Cake
Equipment
- 1 9×13 pan
Ingredients
- 24 ice cream sandwiches Provide a sweet, creamy layer and convenient shape that forms the cake’s primary structure; arrange sandwiches in a single layer or stacked pattern, allowing them to soften slightly for easier slicing and serving.
- 16 oz frozen whipped topping thawed, like Cool Whip or two 8 ounce containers Fold into softened ice cream layers to add light, airy texture and stabilize the cake; spread evenly to create smooth tiers and prevent ice crystals while enhancing mouthfeel with a sweet whipped finish.
- 1/2 cup chocolate sauce Add glossy chocolate flavor and moisture, creating ribbons or a marbled effect when drizzled between layers; pour sparingly to avoid sogginess while intensifying the dessert’s chocolate profile.
- 20 chocolate sandwich cookies Oreos, crushed, plus extra for garnish Contribute crunchy, chocolatey cookie pieces and visible speckles when folded into layers or sprinkled on top; crush to desired size for texture contrast and reserve extras for garnish.
Instructions
- Unwrap and place 12 ice cream sandwiches into the bottom of a 9×13 pan. Slice any ice cream sandwiches necessary with a knife to fit all ice cream sandwiches in a flat layer.: The cold clink of frozen bars against the pan is oddly satisfying, and you will feel the slight resistance as you nudge each ice cream sandwich into place. Aim for a tight, contiguous layer so there are no big gaps, which helps the finished cake hold together. If you need to slice pieces to fit edges, run a sharp knife under warm water, dry it quickly, then slice with a single confident stroke to prevent smearing. A common mistake here is letting the sandwiches thaw too much before arranging them, which makes them soft and hard to trim; keep a chilled kitchen towel nearby to cool your hands if needed. Visual cue, the surface should look like a compact grid of frozen rectangles that sits level in the pan.
- Spread half of the thawed whipped topping over the ice cream sandwiches.: As you spread the cold, pillowy frozen whipped topping , you will notice it glides across the frozen surface, creating a matte, cloudlike layer. Use an offset spatula for the smoothest finish, applying gentle pressure to avoid tearing the sandwich layer. This topping acts as a buffer, preventing the next layer of sauce and crumbs from sinking into the ice cream, which preserves the distinct layers after slicing. A trap to avoid is overworking the topping, which warms it and makes it runny; always work quickly and keep the topping chilled until the last second. The right look is a uniform, even blanket of white that hides the cookie seams beneath.
- Drizzle 1/4 cup of the chocolate sauce over the top of the whipped cream layer.: The liquid sound of the sauce falling in ribbons is part of the fun, and the smell is instantly chocolatey and comforting. Hold the bottle a few inches above the surface and gently squeeze so the sauce forms thin streams across the white layer. This creates marbling and concentrated pockets of chocolate in each bite. If your sauce is too thick, warm it slightly in a bowl placed in hot water to loosen it; if too thin, let it cool to regain viscosity. Avoid pouring all at once into a single spot, which creates a puddle; instead, disperse evenly for balance and aesthetics. You want delicate ribbons that peek through the topping.
- Sprinkle half of the crushed Oreo cookies on top.: As you scatter the crushed chocolate sandwich cookies , listen for the soft pat as crumbs land. The mixture of fine crumbs and small chunks gives layered texture, so aim for variety in the crushed pieces. Pressing the crumbs lightly into the topping will help them adhere, but do not compact them flat, you want some loft to remain. A common error is crushing the cookies too finely into powder, which reduces the satisfying crunch; use a rolling pin or pulse in short bursts for the ideal mix. Visually, you should see a freckled surface with dark cookie bits contrasting against the white topping.
- Repeat the same layers again. First a second layer of ice cream sandwiches, then a second layer of whipped topping, then topped with 1/4 cup of chocolate sauce drizzled on top. Top with extra crushed Oreo cookies if desired.: Building the second tier is like composing a dessert painting, and you will appreciate how the chilled layers stack without collapsing. The second layer of ice cream sandwiches must be aligned so the cake cuts into neat bars. After spreading the second portion of frozen whipped topping , add the remaining chocolate sauce in delicate trails, and finish with the rest of the crushed chocolate sandwich cookies for drama. The second assembly seals the structure and sets the flavor profile into recognizable layers. Be careful not to press too hard when aligning the second set, which can squeeze out fillings and create uneven slices. The end result should look symmetrical, with a glossy drizzle and a topping of cookie crumbs.
- Cover the dish and place into the freezer for at least 3-4 hours. Then slice to serve, enjoy!: The waiting period is the quiet finale, where the cake firms and the layers knit together. Covering prevents freezer burn and keeps the surface pristine. After freezing, let the pan sit at room temperature for a few minutes so the knife can glide through cleanly, then slice with a warm, dry knife for neat portions. A common pitfall is trying to cut the cake immediately, which yields ragged edges and smeared layers; patient timing yields crisp slices. The textural payoff is worth the pause, with cold, creamy interiors and crisp cookie accents in each neat square.
Notes
- Layer arrangement: Try building three thinner layers instead of two to create more visible strata and a cake that slices into taller, narrower servings.
- Cookie texture: Use half crushed and half roughly chopped chocolate sandwich cookies for a contrast between tiny crumbs and chunkier bites in each forkful.
- Chocolate sauce finish: Warm the chocolate sauce slightly so it forms thinner ribbons that set into pretty veining patterns across the topping.
- Whipped topping technique: Spread the frozen whipped topping in thin even coats, smoothing with a chilled offset spatula for a polished, bakery style surface.
- Portioning: Freeze the assembled cake until firm, then score the top into serving squares before returning to the freezer for cleaner slicing later.
- Presentation: After slicing, let pieces rest for a minute at room temperature so the texture softens slightly, enhancing the creamy mouthfeel without losing structure.