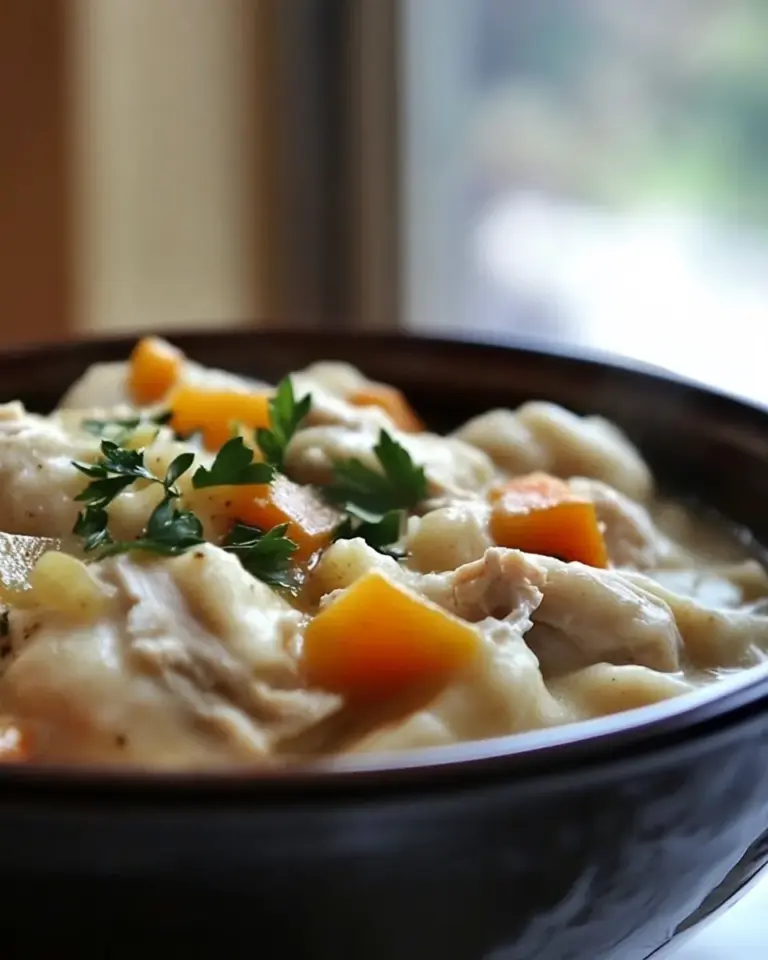
Classic Mashed Potatoes
Classic Mashed Potatoes have always been the warm, comforting side that pulls a meal together at my table. The first time I made them from scratch was during a blustery winter evening when I wanted something simple that felt like a hug. I remember peeling the potatoes while an old song played on the radio, and the kitchen filling with a faint, earthy scent that promised comfort. That night taught me how little fuss it takes to transform humble ingredients into something memorable.
Over the years I have tweaked the balance of butter and cream to suit different moods and guests. Sometimes I go richer when friends are coming, other times I keep the texture a touch lighter when serving with a saucy main. I enjoy the ritual of mashing, the way the potatoes change from rigid chunks into clouds under a steady hand. What hooks me most is the tiny choices you can make, like how much salt to add, or whether to leave a few small lumps for rustic mouthfeel.
Recipe Snapshot
45 mins
15 mins
30 mins
Medium
320 kcal
American
Gluten-Free, Low FODMAP
Side Dishes
Large stockpot, Medium saucepan, Potato masher
What Makes This Classic Mashed Potatoes Special
Comfort in every spoonful
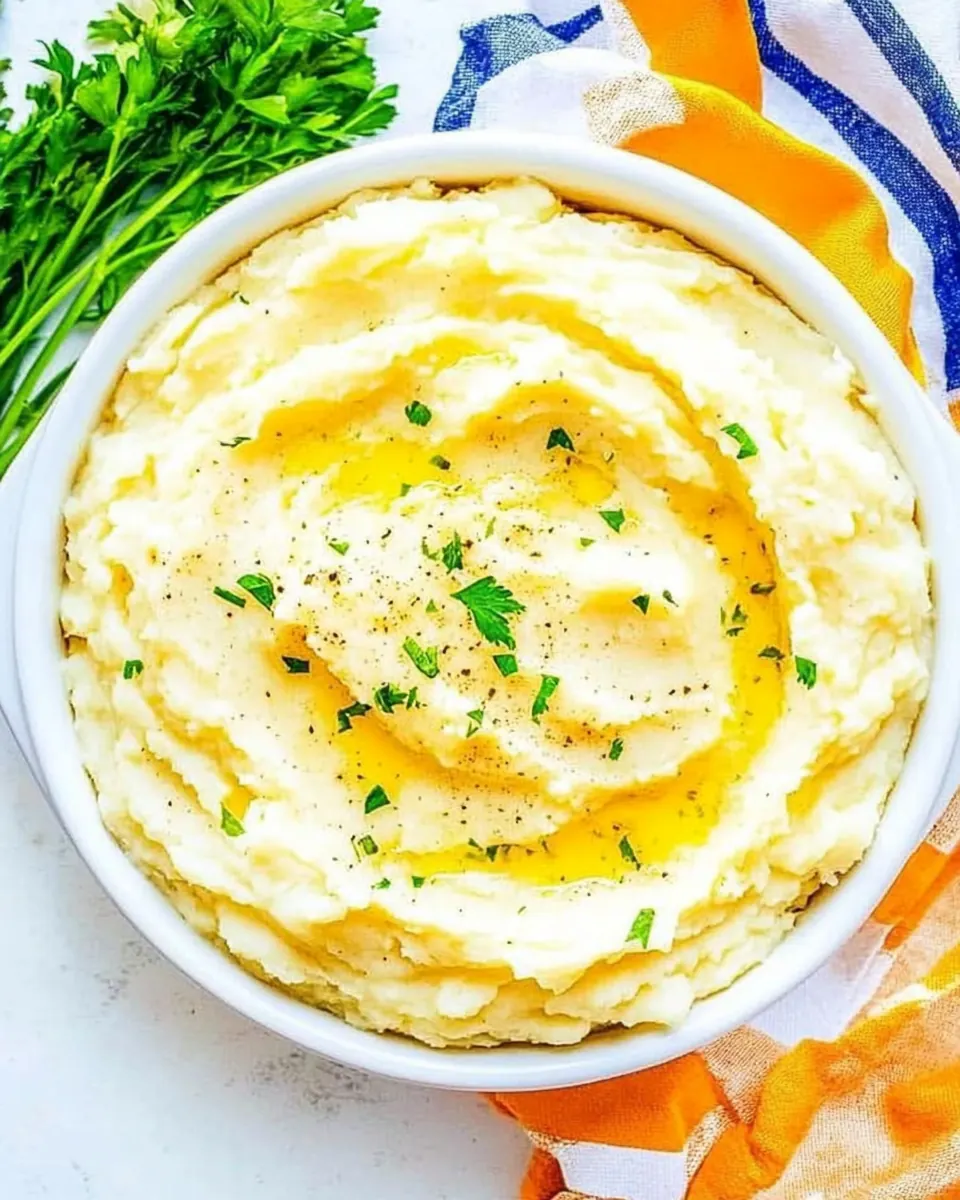
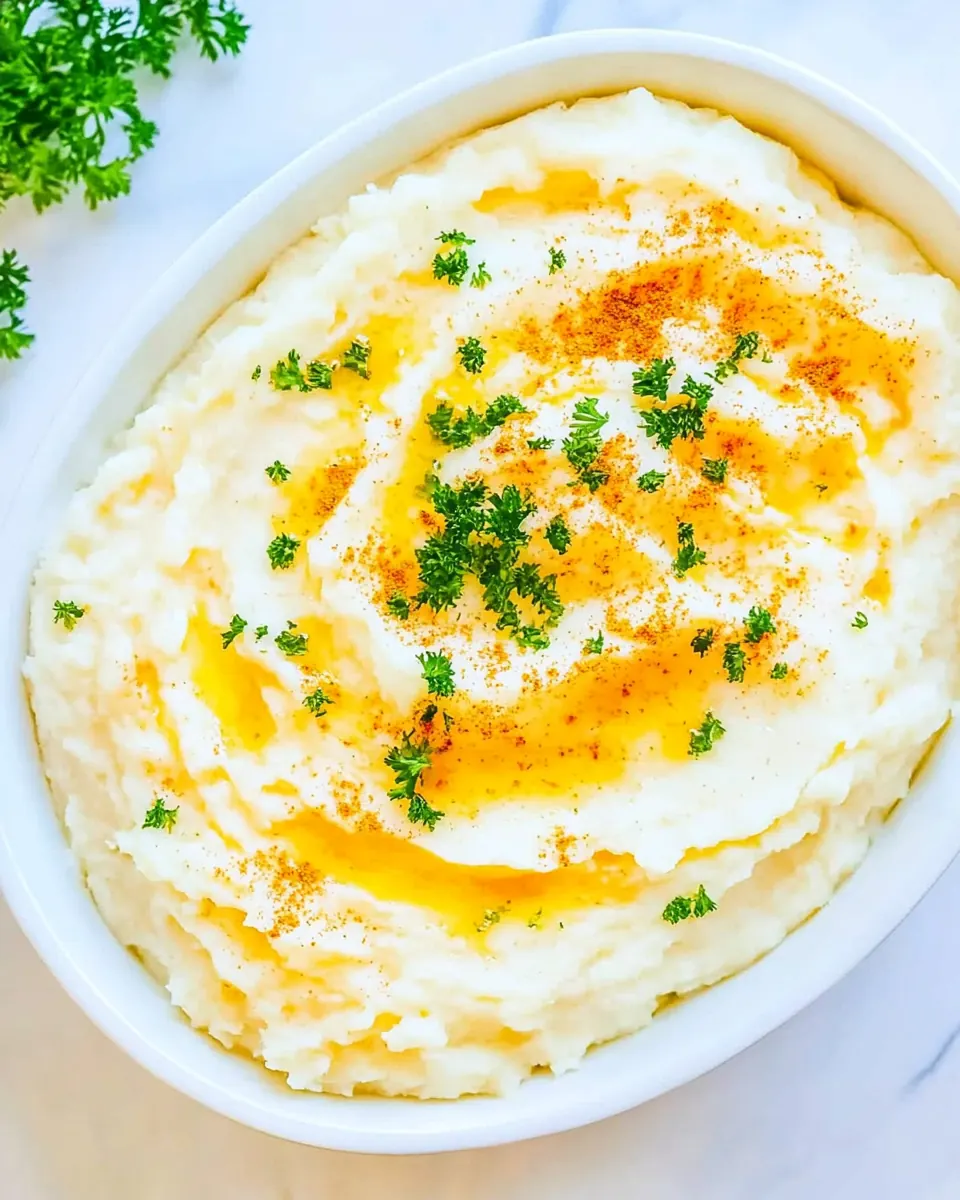
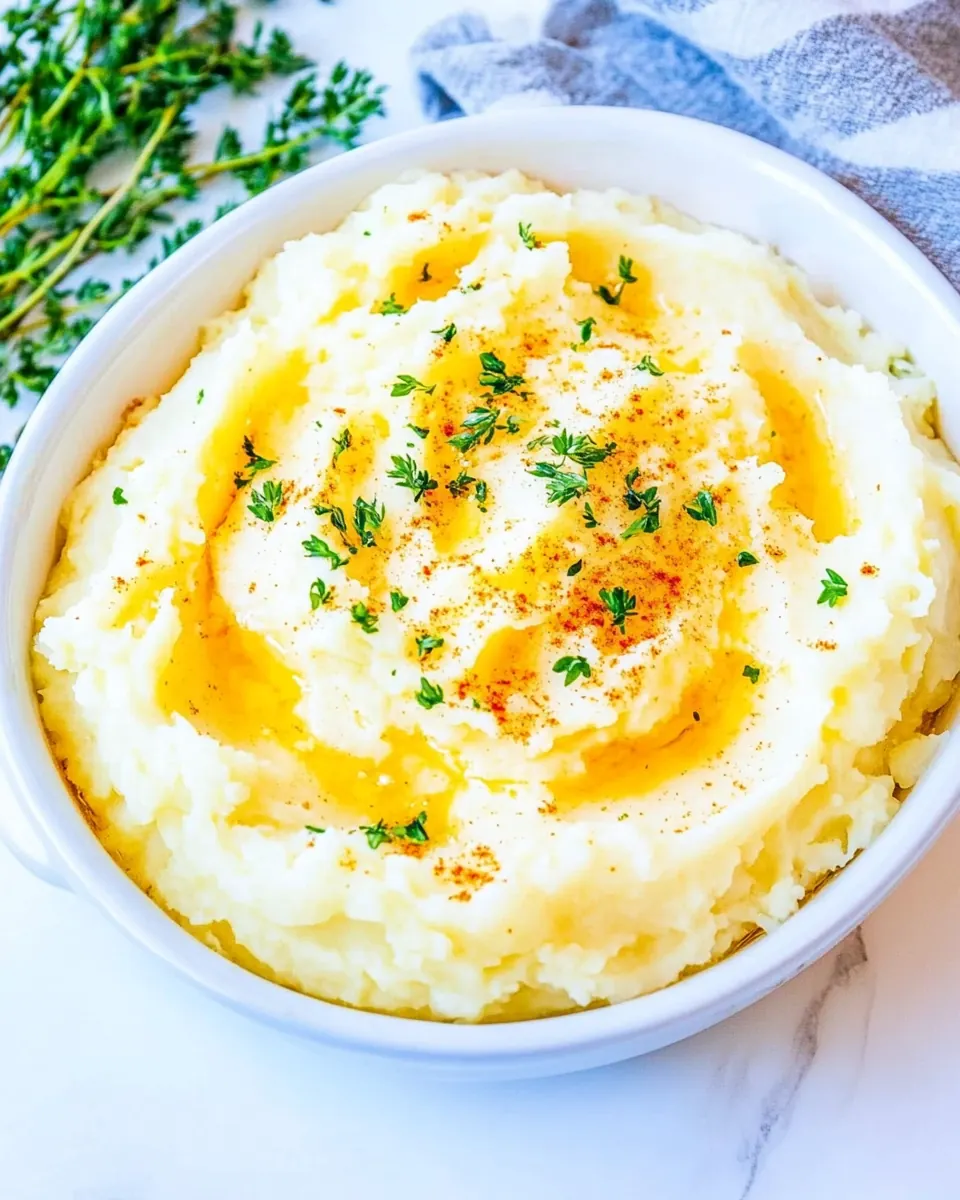
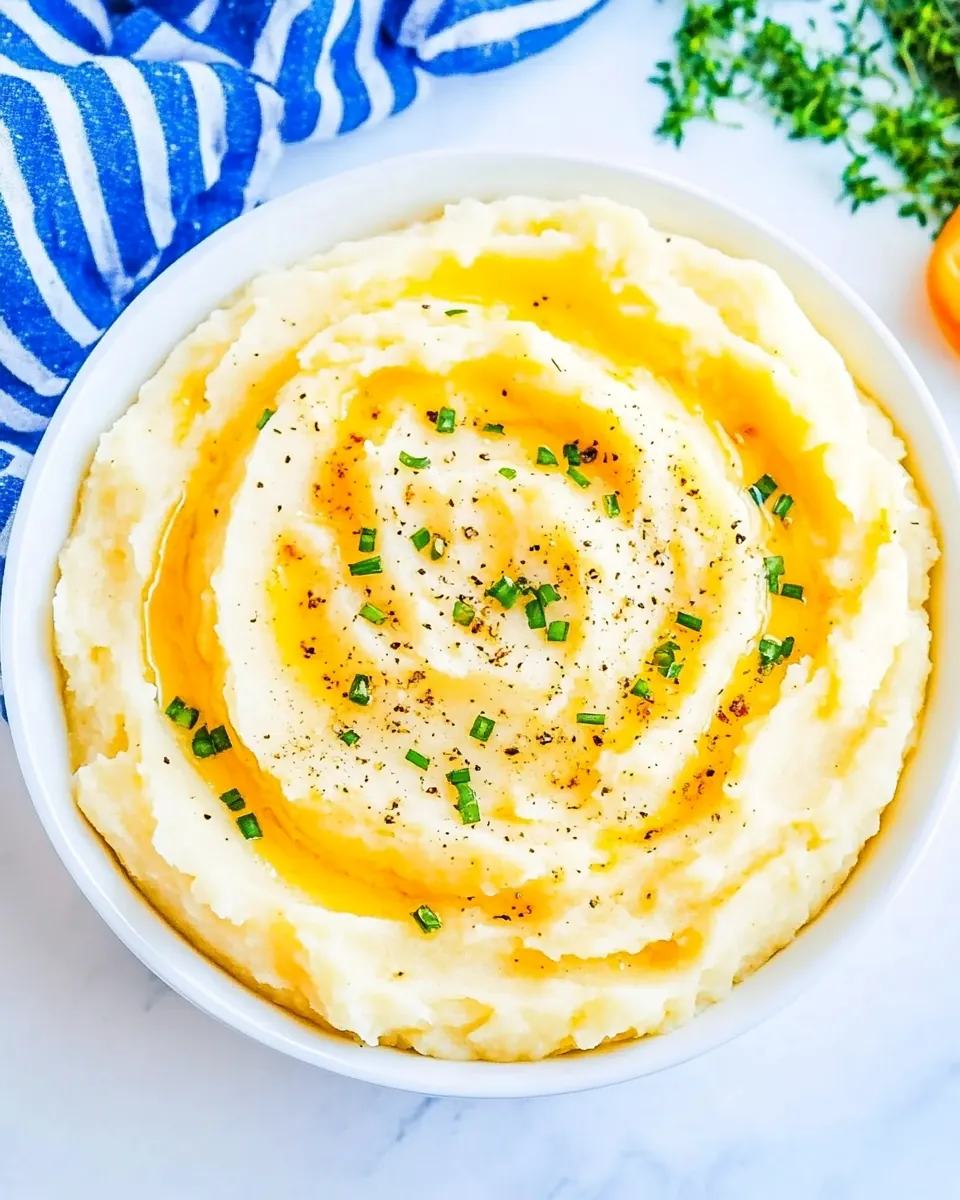
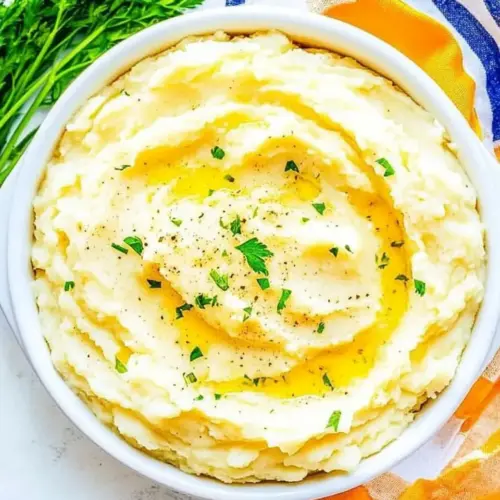
I love how Classic Mashed Potatoes turn simple potatoes into an instantly soothing accompaniment. The creaminess comes from the right ratio of warm butter and heated half-and-half, which melts into the hot potatoes and creates a luscious texture that feels homemade and satisfying.
Easy to adapt
One of the reasons I keep coming back to this recipe is how forgiving it is. Whether you prefer a chunkier texture or an ultra-smooth finish, small technique shifts—like vigorous shaking of the pot to remove steam, or warming the dairy—change the result dramatically without complex steps. That flexibility makes it a great choice for weeknight dinners and special occasions alike.
Reliable technique
We use a few purposeful steps to get consistent results. Starting the potatoes in cold water, draining and refilling, then finishing on heat to evaporate excess water, ensures the mash is never watery. These little rules help you avoid common pitfalls, such as gluey texture from too much starch or cool, clumpy mashed potatoes when cold dairy is added.
Feeds a crowd without stress
I frequently make this for gatherings because the ingredient list is straightforward and the method scales easily. With 5 pounds of potatoes, this batch will serve many, and it holds well for a short time if you keep it covered and warm. It is one of those dishes that lets you focus on your guests instead of elaborate last minute cooking.
Timeless pairing potential
Finally, the simplicity of Classic Mashed Potatoes allows it to shine alongside many mains. From roasted vegetables to rich gravies, these mashed potatoes act as the perfect canvas. When I plan a menu, I often build flavors around this dish, leaning on its creamy texture to balance bolder plates.
Everything You Need for Classic Mashed Potatoes
I think of the ingredients as a small ensemble where each player has a clear role. The potatoes are the foundation, offering starchy structure and that familiar earthy aroma. The butter provides silkiness and flavor, while the warm half-and-half melts into the mash to create a creamy mouthfeel. The kosher salt and black pepper are the final touches that wake up the dish and make the flavors sing together.
- 5 pounds Russet potatoes, peeled and cubed into 1 to 1 1/2-inch chunks (or a mixture of half Russet and half Yukon Gold potatoes): Provide a starchy, fluffy base that absorbs butter and cream for a smooth, hearty mashed potato texture; cube evenly to ensure uniform cooking and peel to achieve a silky mouthfeel.
- 1 1/2 cups unsalted butter, 3 sticks or 24 tablespoons: Add rich, creamy fat that enhances flavor and creates a luxuriously smooth consistency when mashed in; use unsalted butter to better control overall seasoning and melt gradually for even incorporation.
- 1 1/2 cups half-and-half, whole milk or heavy cream may be substituted: Contribute creaminess and moisture to loosen and enrich mashed potatoes, allowing adjustment of richness and thickness; choose half-and-half for balance or substitute whole milk or heavy cream for lighter or richer results respectively.
- 2 teaspoons kosher salt, or to taste: Season the potatoes to highlight natural flavors and balance the richness of butter and cream; dissolve kosher salt into the cooking water or add while mashing to ensure even distribution and taste control.
- 1/2 teaspoon freshly ground black pepper, or to taste: Provide a subtle, warm spice note that brightens the dish without overpowering; freshly ground black pepper added to taste complements the butter and dairy for a well-rounded finish.
The Process for Making Classic Mashed Potatoes
Get comfortable, because making perfect mashed potatoes is as much about gentle attention as it is about simple technique. I walk you through each stage from soaking the potatoes in cold water to keeping the dairy warm, so your final bowl is creamy, hot, and well seasoned.
- Add the potatoes to a large stockpot, cover with 2 inches cold water, drain the water (removes starch), and refill with more cold water to cover by 2 inches.: The cold water start lets the potatoes heat evenly, which prevents the outside from overcooking while the centers remain raw. When you briefly drain and refill, you remove excess surface starch that can cause a gummy texture, leaving you with fluffier results. You'll notice the water looks cloudier before the second refill, that's the starch leaving the surface, and it smells faintly earthy. A common misstep is using hot water to start, which can make the exterior collapse before the center cooks.
- Bring to a boil over high heat with a lid on the pot which will take about 10 minutes.: Keeping the lid on concentrates heat and brings the pot to a vigorous boil faster, which saves time and locks in an even cooking temperature. You will hear the water move and see rolling bubbles once it comes to a boil, and steam will escape from under the lid. The goal here is speed to prevent prolonged exposure to heat that can leach too much starch. Avoid leaving the lid on past the boil stage since that can push the water over.
- Once the water is boiling, remove the lid, and allow the potatoes to rapid simmer for about 15 to 20 minutes over medium-high heat, or until done. The potatoes are done when you can easily pierce with a fork or dinner knife. Don’t overboil the potatoes once they are done.: With the lid off you reduce the chance of violent boil overs and you can better monitor doneness. The potatoes should have an audible simmer and gentle bubbling; fork-tender pieces will yield easily when pierced. The scent becomes softly sweet and earthy as they cook. A typical error is overcooking, which can make the pieces waterlogged and prone to becoming gluey when mashed.
- While the potatoes are boiling, to a separate medium saucepan, add the butter, half-and-half, and heat over medium-low heat to allow the butter to melt. Once the butter has melted, keep the saucepan over medium-low or low heat. However, you do not want this to simmer but simply keep this butter-cream mixture warm until the potatoes are done cooking and ready to mash.: Warming the butter and half-and-half together creates an emulsion that integrates smoothly into the hot potatoes . Listen for gentle bubbling at the edges, and watch for the butter to fully liquefy. Keeping this mixture warm avoids cooling the mash and helps the dairy coat the starch for a glossy finish. Do not let the mixture boil, which can separate fats and alter texture.
- When the potatoes are done, drain the water, return the potatoes to the pot, and shake them around in the pot vigorously. This breaks them up a bit and will help to release excess steam and water, which you don’t want or need in your final dish.: Shaking breaks the pieces slightly and helps evaporate surface moisture, leading to a drier, fluffier mash. You will hear a rattling of pieces and steam will rise, signaling that excess water is leaving. This tactile step ensures the mash absorbs the warm dairy rather than becoming soupy. Avoid skipping the shaking, because residual water is often the hidden cause of thin mashed potatoes .
- Place the pot over medium-high heat for about a minute to help cook off any of the final amount of water that was released; turn the heat off.: The brief return to heat allows remaining moisture to escape as steam, and you may notice a faint sizzling sound as droplets evaporate. This step tightens the texture and readies the potatoes to accept the butter and cream without thinning out. Watch carefully so you do not brown the edges, which can change the flavor profile.
- Drizzle in melted butter and half-and-half mixture, add the salt, pepper, and mash to your desired consistency. For traditional mashed potatoes, I use this masher. For smoother use this smooth masher, and for ultra-smooth use this potato ricer.: As you add the warm dairy mixture you will see it glisten and coat the broken potatoes , making them look and feel silkier. Mashing releases steam and changes the texture from coarse to creamy, and different tools yield different results, from rustic lumps to very smooth purées. A common mistake is adding cold dairy or butter, which cools the mash and can make it clump rather than spread evenly.
- Taste, and adjust the salt and pepper to taste. I generally add more salt and pepper, but start with amounts called for and increase to your tastes. Serve immediately.: Tasting hot mashed potatoes is the final quality control step. As the temperature falls slightly, flavors shift, so season conservatively then adjust in small increments. You will notice how salt amplifies sweetness and the butter enriches the experience. Over-salting is hard to correct, so take it slow and remember you can always add more.
- Potatoes will keep airtight in the fridge for up to 4 days.: Mashed potatoes are at their peak right off the stove, warm and pillowy, with steam rising and the aroma of butter and potatoes filling the room. The texture should be cohesive and creamy, not separated or thin. If you must hold them briefly, keep them covered in a warm oven or insulated container. Leaving them uncovered will cool them quickly and change the mouthfeel.
- Potatoes will keep airtight in the fridge for up to 4 days: Proper storage preserves texture and safety, and you will see the mash firm slightly as it cools, which is normal. Reheat gently with a splash of warm half-and-half or by using a low oven to revive creaminess. A mistake to avoid is reheating too quickly at high heat, which can dry them out or cause separation.
Pro Tips and Tweaks
I like to think of these tips as the small moves that elevate Classic Mashed Potatoes from good to memorable. Use them to match texture, temperature, and seasoning to your preferences.
- Choose the right potato: Russet potatoes give a fluffy, absorbent mash while Yukon Golds provide a richer, naturally buttery flavor; mixing them balances texture and taste.
- Keep dairy warm: Warm the butter and half-and-half to avoid cooling the mash and to ensure smooth integration.
- Avoid overworking: Mash gently to your desired consistency; excessive handling can release too much starch and make the texture gluey.
- Control moisture: After draining, shake and briefly heat the potatoes to evaporate surplus water, preventing a watery finished dish.
- Season incrementally: Start with the recipe amounts for kosher salt and black pepper, then adjust after tasting while hot, because flavors settle as the mash cools.
- Make ahead with care: Store airtight in the fridge for up to 4 days, and reheat gently with added warm half-and-half to restore creaminess.
Perfect Pairings for Classic Mashed Potatoes
Classic Mashed Potatoes can anchor many meals, and I often plan sides and mains that let their creaminess shine. Think of the mash as a canvas that supports bold sauces and savory mains without competing for attention.
- Roasted vegetables: Serve alongside roasted carrots, Brussels sprouts, or green beans for a balanced plate with contrasting textures and colors.
- Hearty mains: Pair with roasted or braised dishes that have pan sauces or gravies, as the mash soaks up flavorful juices beautifully.
- Holiday table: These mashed potatoes are perfect for family gatherings and holiday meals during colder months, offering a comforting staple everyone recognizes.
- Make ahead and reheat: For busy entertaining, prepare ahead and store airtight. Reheat gently in a warm oven or on low heat with extra warm half-and-half to refresh texture.
- Seasonal touches: In winter I lean into richer dairy for extra comfort, while in milder months I might keep the mash lighter to complement brighter mains.
FAQ
Conclusion
Classic Mashed Potatoes shine because they transform a few simple ingredients into a comforting, crowd pleasing side. Give this recipe a try, and you will see how small technique choices make a big difference in texture and flavor. I hope you enjoy the warm, buttery result and find it becoming a regular on your table.
Classic Mashed Potatoes
Equipment
- Large Stockpot
- Medium Saucepan
- Potato Masher
Ingredients
- 5 pounds Russet potatoes, peeled and cubed into 1 to 1 1/2-inch chunks (or a mixture of half Russet and half Yukon Gold potatoes) Provide a starchy, fluffy base that absorbs butter and cream for a smooth, hearty mashed potato texture; cube evenly to ensure uniform cooking and peel to achieve a silky mouthfeel.
- 1 1/2 cups unsalted butter, 3 sticks or 24 tablespoons Add rich, creamy fat that enhances flavor and creates a luxuriously smooth consistency when mashed in; use unsalted butter to better control overall seasoning and melt gradually for even incorporation.
- 1 1/2 cups half-and-half, whole milk or heavy cream may be substituted Contribute creaminess and moisture to loosen and enrich mashed potatoes, allowing adjustment of richness and thickness; choose half-and-half for balance or substitute whole milk or heavy cream for lighter or richer results respectively.
- 2 teaspoons kosher salt, or to taste Season the potatoes to highlight natural flavors and balance the richness of butter and cream; dissolve kosher salt into the cooking water or add while mashing to ensure even distribution and taste control.
- 1/2 teaspoon freshly ground black pepper, or to taste Provide a subtle, warm spice note that brightens the dish without overpowering; freshly ground black pepper added to taste complements the butter and dairy for a well-rounded finish.
Instructions
- Add the potatoes to a large stockpot, cover with 2 inches cold water, drain the water (removes starch), and refill with more cold water to cover by 2 inches.: The cold water start lets the potatoes heat evenly, which prevents the outside from overcooking while the centers remain raw. When you briefly drain and refill, you remove excess surface starch that can cause a gummy texture, leaving you with fluffier results. You'll notice the water looks cloudier before the second refill, that's the starch leaving the surface, and it smells faintly earthy. A common misstep is using hot water to start, which can make the exterior collapse before the center cooks.
- Bring to a boil over high heat with a lid on the pot which will take about 10 minutes.: Keeping the lid on concentrates heat and brings the pot to a vigorous boil faster, which saves time and locks in an even cooking temperature. You will hear the water move and see rolling bubbles once it comes to a boil, and steam will escape from under the lid. The goal here is speed to prevent prolonged exposure to heat that can leach too much starch. Avoid leaving the lid on past the boil stage since that can push the water over.
- Once the water is boiling, remove the lid, and allow the potatoes to rapid simmer for about 15 to 20 minutes over medium-high heat, or until done. The potatoes are done when you can easily pierce with a fork or dinner knife. Don’t overboil the potatoes once they are done.: With the lid off you reduce the chance of violent boil overs and you can better monitor doneness. The potatoes should have an audible simmer and gentle bubbling; fork-tender pieces will yield easily when pierced. The scent becomes softly sweet and earthy as they cook. A typical error is overcooking, which can make the pieces waterlogged and prone to becoming gluey when mashed.
- While the potatoes are boiling, to a separate medium saucepan, add the butter, half-and-half, and heat over medium-low heat to allow the butter to melt. Once the butter has melted, keep the saucepan over medium-low or low heat. However, you do not want this to simmer but simply keep this butter-cream mixture warm until the potatoes are done cooking and ready to mash.: Warming the butter and half-and-half together creates an emulsion that integrates smoothly into the hot potatoes . Listen for gentle bubbling at the edges, and watch for the butter to fully liquefy. Keeping this mixture warm avoids cooling the mash and helps the dairy coat the starch for a glossy finish. Do not let the mixture boil, which can separate fats and alter texture.
- When the potatoes are done, drain the water, return the potatoes to the pot, and shake them around in the pot vigorously. This breaks them up a bit and will help to release excess steam and water, which you don’t want or need in your final dish.: Shaking breaks the pieces slightly and helps evaporate surface moisture, leading to a drier, fluffier mash. You will hear a rattling of pieces and steam will rise, signaling that excess water is leaving. This tactile step ensures the mash absorbs the warm dairy rather than becoming soupy. Avoid skipping the shaking, because residual water is often the hidden cause of thin mashed potatoes .
- Place the pot over medium-high heat for about a minute to help cook off any of the final amount of water that was released; turn the heat off.: The brief return to heat allows remaining moisture to escape as steam, and you may notice a faint sizzling sound as droplets evaporate. This step tightens the texture and readies the potatoes to accept the butter and cream without thinning out. Watch carefully so you do not brown the edges, which can change the flavor profile.
- Drizzle in melted butter and half-and-half mixture, add the salt, pepper, and mash to your desired consistency. For traditional mashed potatoes, I use this masher. For smoother use this smooth masher, and for ultra-smooth use this potato ricer.: As you add the warm dairy mixture you will see it glisten and coat the broken potatoes , making them look and feel silkier. Mashing releases steam and changes the texture from coarse to creamy, and different tools yield different results, from rustic lumps to very smooth purées. A common mistake is adding cold dairy or butter, which cools the mash and can make it clump rather than spread evenly.
- Taste, and adjust the salt and pepper to taste. I generally add more salt and pepper, but start with amounts called for and increase to your tastes. Serve immediately.: Tasting hot mashed potatoes is the final quality control step. As the temperature falls slightly, flavors shift, so season conservatively then adjust in small increments. You will notice how salt amplifies sweetness and the butter enriches the experience. Over-salting is hard to correct, so take it slow and remember you can always add more.
- Potatoes will keep airtight in the fridge for up to 4 days.: Mashed potatoes are at their peak right off the stove, warm and pillowy, with steam rising and the aroma of butter and potatoes filling the room. The texture should be cohesive and creamy, not separated or thin. If you must hold them briefly, keep them covered in a warm oven or insulated container. Leaving them uncovered will cool them quickly and change the mouthfeel.
- Potatoes will keep airtight in the fridge for up to 4 days: Proper storage preserves texture and safety, and you will see the mash firm slightly as it cools, which is normal. Reheat gently with a splash of warm half-and-half or by using a low oven to revive creaminess. A mistake to avoid is reheating too quickly at high heat, which can dry them out or cause separation.
Notes
- Choose the right potato: Russet potatoes give a fluffy, absorbent mash while Yukon Golds provide a richer, naturally buttery flavor; mixing them balances texture and taste.
- Keep dairy warm: Warm the butter and half-and-half to avoid cooling the mash and to ensure smooth integration.
- Avoid overworking: Mash gently to your desired consistency; excessive handling can release too much starch and make the texture gluey.
- Control moisture: After draining, shake and briefly heat the potatoes to evaporate surplus water, preventing a watery finished dish.
- Season incrementally: Start with the recipe amounts for kosher salt and black pepper, then adjust after tasting while hot, because flavors settle as the mash cools.
- Make ahead with care: Store airtight in the fridge for up to 4 days, and reheat gently with added warm half-and-half to restore creaminess.