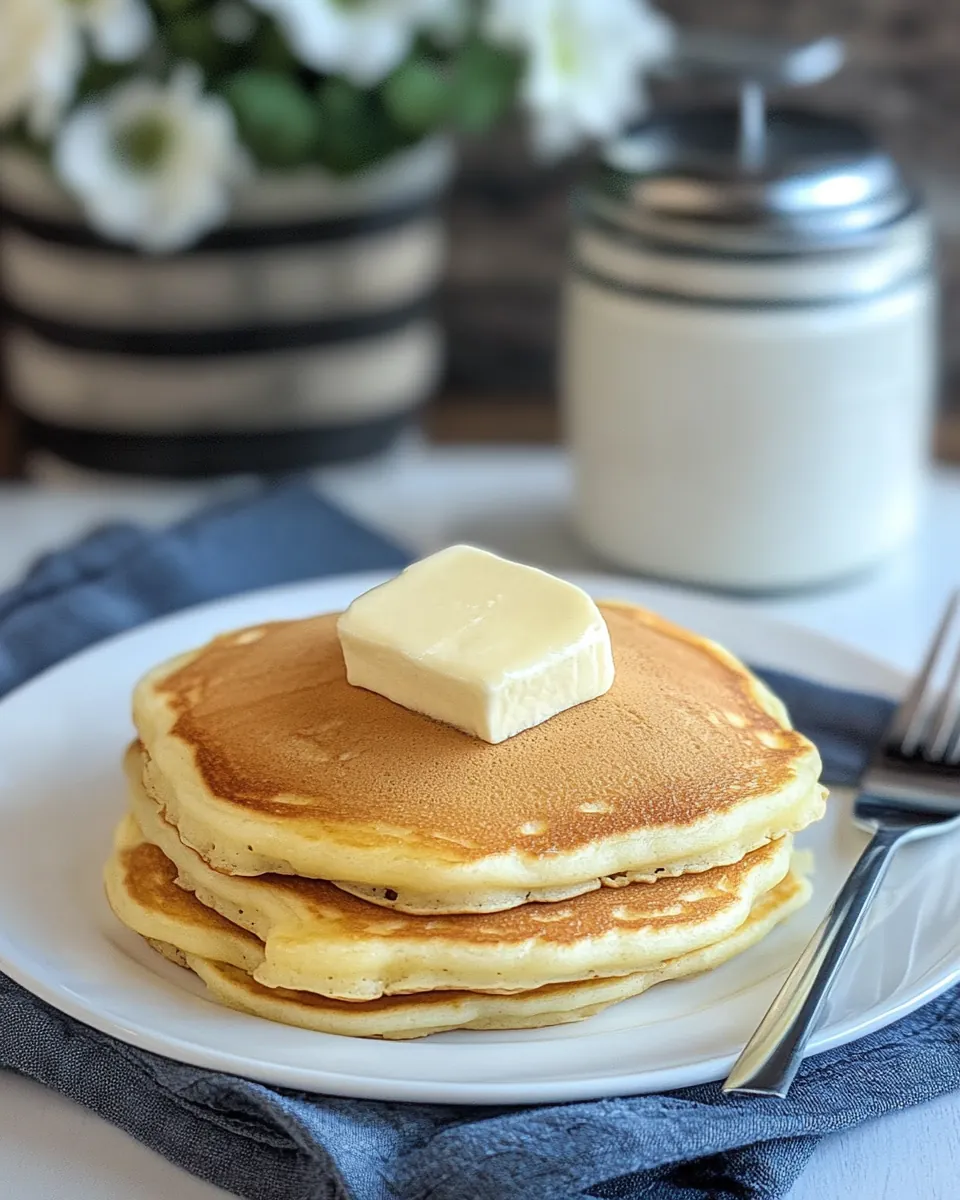
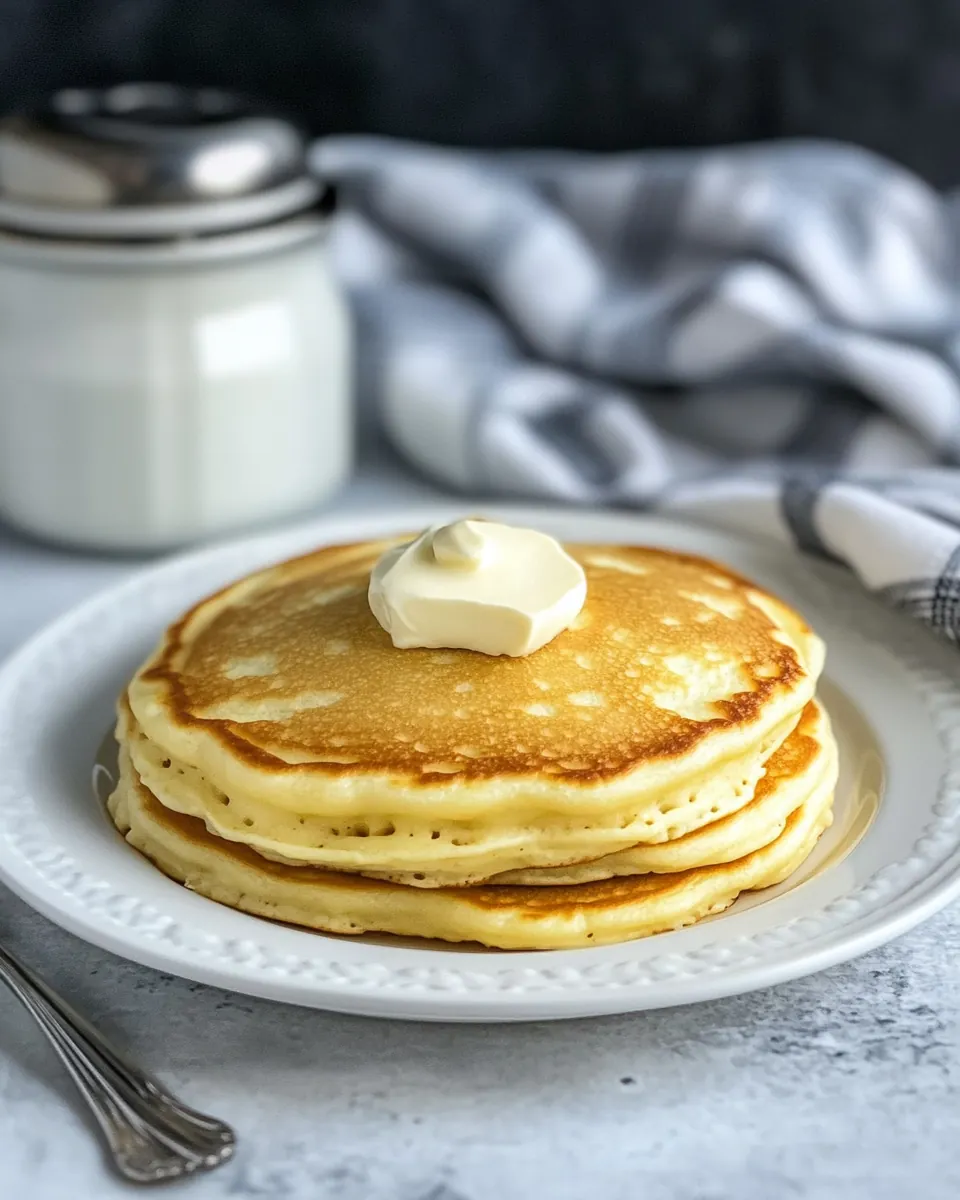
Classic Buttermilk Pancakes
Classic Buttermilk Pancakes have been my go to weekend treat since I was a kid, a simple stack that turns mornings into small celebrations. I can still remember the soft hiss when batter first met a warm griddle and the faint tang of buttermilk that promised tender, airy pancakes. I learned early that the best stacks come from little rituals, like whisking the egg just so and allowing the batter to rest while the pan heats, and those tiny practices make breakfast feel thoughtful.
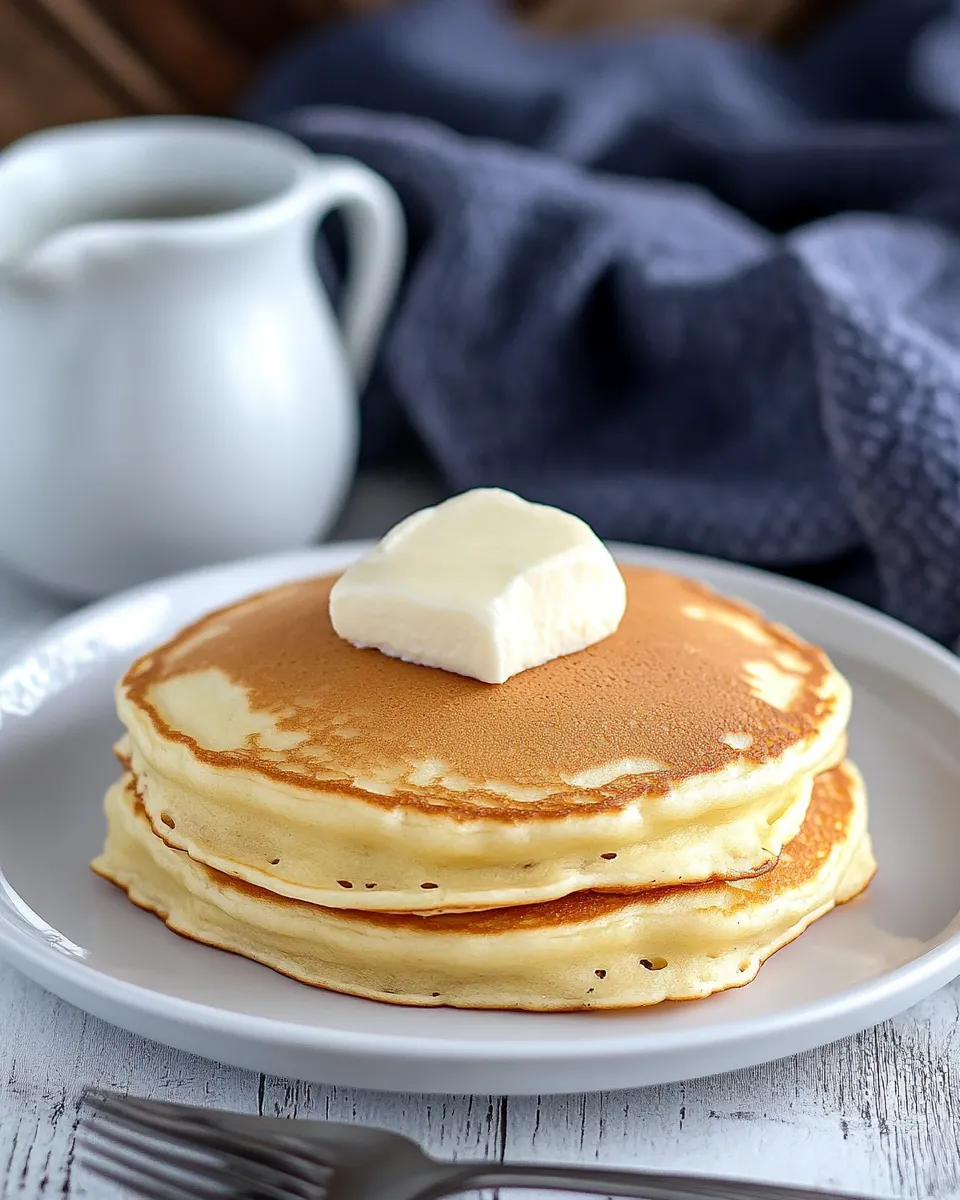
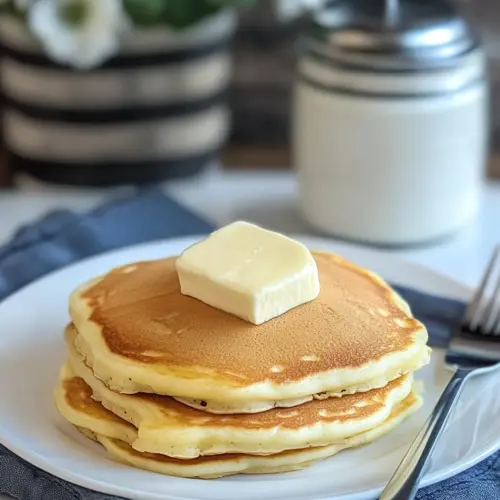
On slow Saturdays I make a double batch, inviting neighbors or letting the house fill with the smell while I sip coffee. There is a comfort in routine, the rhythm of scooping batter, watching bubbles gather and break across the surface, then flipping to a sunlit golden brown. I’m fond of keeping the accompaniments simple so the star, the pancakes themselves, can shine. Whether you like them dolloped with butter or brushed with a warm drizzle of syrup, the texture and tenderness of Classic Buttermilk Pancakes always win compliments.
I also love teaching friends a few tricks I picked up, small changes that turn a good pancake into a memorable one. I explain how the balance of flour, rising agents, and buttermilk creates lift and flavor, and how a well seasoned griddle helps form perfect edges. Those moments — swapping tips across the counter while pancakes steam on a plate — are the reason I keep returning to this recipe.
Recipe Snapshot
25 mins
10 mins
15 mins
Medium
200 kcal
American
Gluten-Free, Low FODMAP
Breakfast
Mixing bowls, Whisk, Griddle or skillet, Measuring cups and spoons, Spatula
Why You Need This Classic Buttermilk Pancakes
Reliable texture every single time
I adore how Classic Buttermilk Pancakes deliver a consistent texture, fluffy yet slightly dense where it matters. The combination of buttermilk with a touch of baking soda and baking powder gives both immediate lift and slow, steady rise, so you get softness inside and a slight chew on the edges. When I want dependable stacks for guests, this is the formula I reach for.
Simple pantry ingredients
One thing I appreciate is how these pancakes use familiar staples like flour, egg, and butter. That means I can whip them up without a special trip to the store. I love that there’s minimal fuss, yet the results feel elevated, which is perfect for weekday mornings when time is short but flavor still matters.
Versatile and forgiving
I’ve found Classic Buttermilk Pancakes to be forgiving of small mistakes, like a slightly overmixed batter or a griddle that is a touch too hot. The recipe tolerates minor tweaks, and texture can be tuned by adjusting resting time or griddle temperature. Because of that flexibility, I often feel experimental, confident that a small change will yield a pleasant outcome rather than disaster.
Comfort in every bite
For me, these pancakes are comfort food with personality. They are not overly sweet, and the subtle tang from buttermilk gives balance to syrup or fruit. I love serving them when I want to slow down with family, because the ritual of making and eating them invites conversation and togetherness.
Quick and satisfying
Finally, the speed is a highlight. With just a few minutes of prep and a short cook time, you get stacks that look and taste like a special breakfast. I value recipes that feel both efficient and rewarding, and these pancakes do exactly that, giving you more time to savor the morning.
Ingredients Required for Classic Buttermilk Pancakes
These six ingredients form a simple, well balanced team. The wet components add richness and tang, the dry components provide structure and lift, and a little butter seals the texture with a silky mouthfeel. Together they create batter that puffs, browns, and yields a tender crumb.
- 1 egg: Whisked to bind wet and dry components while adding richness and structure to the batter; eggs help create lift and tender crumb when cooked on a hot griddle. They also aid emulsification, allowing melted butter to disperse evenly for consistent texture.
- 1/2 teaspoon salt: Sprinkled to enhance and balance flavors while subtly strengthening gluten development; salt brightens sweetness and rounds out the overall taste profile. It also regulates yeast or chemical leavener activity, helping achieve uniform rise.
- 1 tablespoon sugar: Added to provide sweetness and promote browning through caramelization during cooking while contributing a touch of flavor complexity. Sugar also tenderizes the pancakes by retaining moisture and slightly inhibiting gluten formation.
- 1 cup buttermilk: Poured to impart tangy acidity that reacts with baking soda for leavening while contributing moisture and a tender crumb. Buttermilk’s acid also deepens flavor and creates a soft, slightly tangy profile characteristic of classic pancakes.
- 1/2 teaspoon baking soda: Stirred in as a fast-acting alkaline leavener that reacts with acidic buttermilk to produce carbon dioxide, creating lift and lightness. Baking soda also helps neutralize excess acidity, improving color and texture in the finished pancakes.
- 1/2 rounded teaspoon of baking powder: Measured to provide gentle secondary leavening for added lift and finer crumb while complementing the baking soda’s action. A rounded half teaspoon helps ensure a balanced rise without imparting an off-taste or overly coarse texture.
- 1 cup sifted flour: Sifted to ensure aeration and remove lumps, contributing to a light, uniform batter and tender pancake structure. Flour provides the starch and gluten framework necessary for trapping gases released during leavening and creating body.
- 3 tablespoons butter, melted: Melted to add richness and moisture while contributing flavor and a tender, flaky crumb when incorporated into the batter. Butter also aids in browning and prevents sticking on the griddle when some is reserved for cooking.
Making Classic Buttermilk Pancakes
These instructions are conversational and written to guide you gently through batter mixing, griddle management, and flipping. I explain what to look and listen for so you can trust your senses rather than a strict timer. Read each step fully before starting and prep your tools so the process flows.
- In one bowl, whisk together egg, salt and sugar.: As you whisk the egg , notice the change in color and texture, it becomes smoother and slightly glossy which signals that the proteins are evenly distributed. The salt will seem invisible but it amplifies the other flavors, while the sugar begins dissolving and will aid browning later. A common mistake here is under whisking, which leaves pockets of uneven texture; whisk until the mixture is cohesive but do not create foam. Aim for a gentle rhythm in your wrist so the mixture becomes uniformly pale and fluid without excessive air bubbles.
- Mix in buttermilk and set aside.: When you pour the buttermilk into the whisked egg , the batter will thin and give off a faint tangy aroma from the dairy. The temperature of the buttermilk matters, room temperature blends more readily and helps achieve even rise. Letting the mixture rest briefly softens the flour when added later, but do not leave it for too long or the chemical reactions with leaveners may begin prematurely. A typical misstep is adding cold buttermilk straight from the fridge, which can chill the batter and slow cooking performance.
- In a second bowl, whisk together baking soda, baking powder, and flour.: Whisking the dry ingredients aerates the flour and evenly distributes the baking powder and baking soda , which prevents uneven pockets of rise. The smell is faintly floury and neutral, and visually you want a uniformly pale mixture. If the leaveners clump, your pancakes will have uneven bubbles and texture, so ensure thorough combining. The common error is not sifting or breaking up lumps, which leads to dense spots in cooked pancakes.
- Add to buttermilk mixture, then stir in butter till incorporated.: Adding the dry mix to the wet transforms the batter into a thicker, pourable consistency and you will hear a slight change in viscosity as the spoon moves through it. Stir gently until most streaks of flour disappear; small lumps are fine and will hydrate during cooking. When you fold in melted butter , it should meld smoothly, giving the batter a glossy sheen and a richer aroma. Avoid overmixing at this stage, which develops gluten and causes toughness. Another mistake is adding hot butter which can partially cook the egg , so allow the butter to cool slightly before combining.
- Heat the griddle and grease lightly. Pour rounds of batter onto the hot griddle.: As the griddle warms, you may smell a neutral metallic scent before any butter browns, and the surface should shimmer slightly with heat. Test with a small drop of batter to ensure it sizzles softly; too vigorous a sizzle means the griddle is too hot. Greasing lightly keeps pancakes from sticking while still allowing edges to crisp. Pour batter in rounds and watch them spread, the edges should look set within a minute or two; if they brown too fast adjust the temperature down. Many beginners use too much oil or butter which leads to greasy pancakes, so apply just a thin film.
- Flip when bubbles on the surface start to break, adjusting the temperature of the griddle as needed.: Look for bubbles forming in the batter surface, then watch for them to open and leave small holes, a clear sign it is time to flip. The bottom should be a warm golden brown and sound slightly hollow when tapped. If the centers are still very wet after flipping, the griddle was likely too hot and you should lower it; conversely if there is no browning the surface may be too cool. A frequent mistake is flipping too early which yields undercooked centers, so rely on the bubble pattern and edge set rather than time alone.
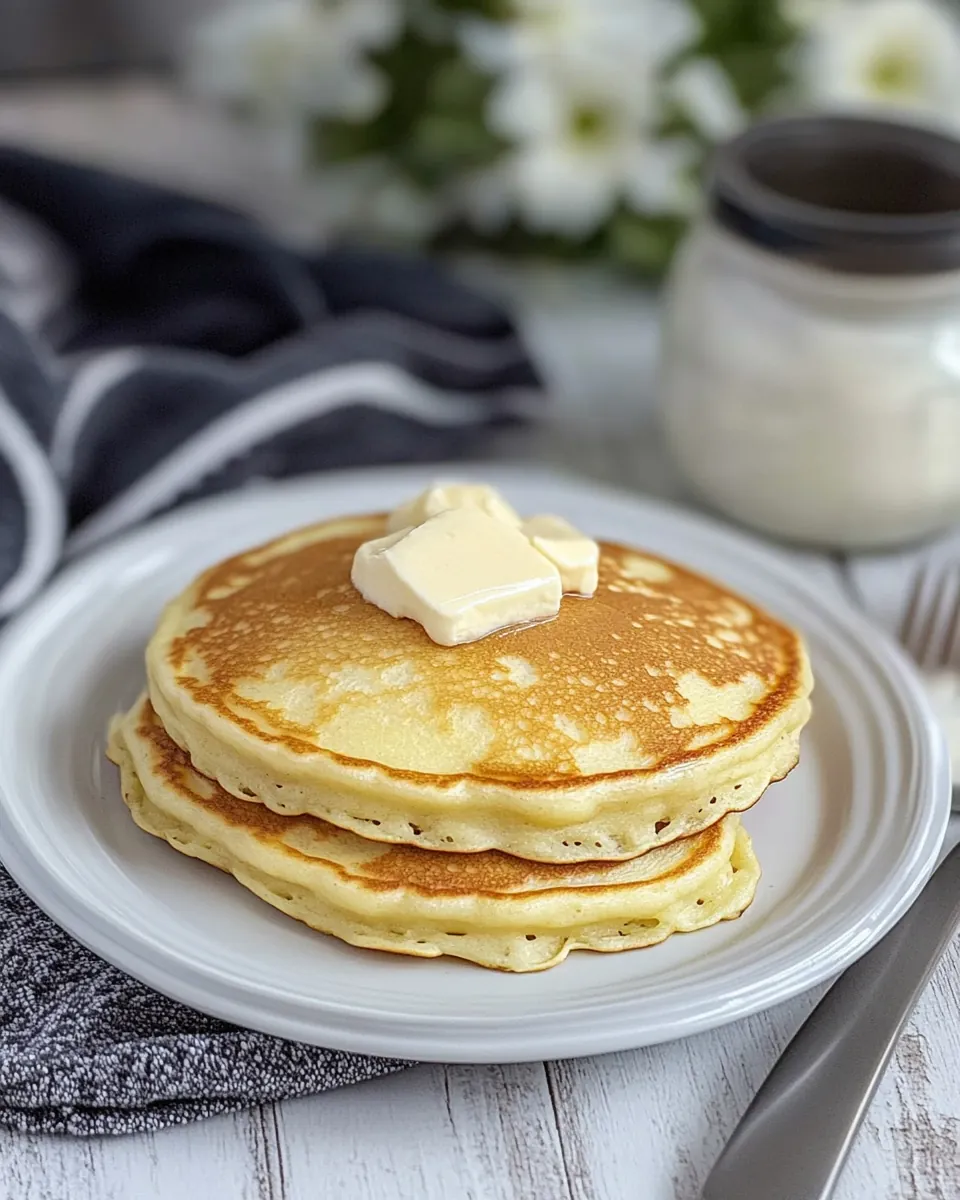
- Serve with butter, maple syrup, and berries if desired.: The final aroma is rich and buttery, with a lightly caramelized surface and a tender crumb steaming inside. Serve hot so the butter melts into the layers and syrup pools in the crevices. If you wait too long the pancakes may lose steam and become denser; keep them loosely tented in a warm oven if you need to hold them. Avoid stacking cold pancakes directly on top of each other, which traps moisture and softens the edges too much.
Tips and Tricks about Classic Buttermilk Pancakes
These tips come from years of weekend practice, focusing on techniques that consistently produce light, flavorful pancakes. I expand every point into actionable advice so you can avoid common pitfalls and make reliably good stacks.
- Warm the griddle gradually, start over medium heat and allow the surface to reach an even temperature so pancakes brown uniformly without burning. An unevenly heated griddle causes hotspots that produce dark spots and uneven cooking.
- Cool melted butter slightly before folding into the batter to prevent cooking the egg, which would create stringy textures. If the butter is too hot it can curdle components and alter batter consistency.
- Keep batter slightly lumpy, small lumps hydrate during cooking and help keep pancakes tender. Overmixing activates gluten in the flour and results in chewy pancakes instead of light ones.
- Test one small pancake first to check griddle temperature and adjust accordingly, this prevents wasting batter on incorrectly heated surfaces. Use this test pancake to gauge how fast the batter browns.
- Use a shallow ladle or measuring cup for consistent pancake sizes so each one cooks evenly and stacks neatly on the plate. Consistency helps timing and presentation for serving multiple people.
Serving Ideas for Classic Buttermilk Pancakes
These serving suggestions include warm accompaniments and pairing ideas that make pancakes feel special for any occasion. I focus on practical plating and seasonal touches that elevate a simple stack.
- Classic stack with butter and maple syrup, serve hot with a pat of butter melting into the crevices and warm maple syrup poured over for a timeless breakfast.
- Fresh berries and a dusting of powdered sugar, add seasonal fruit like strawberries or blueberries for brightness and color, perfect for a spring brunch.
- Serve family style, place a platter of warm pancakes in the center along with bowls of toppings so everyone can customize their plate during relaxed weekend mornings.
- Hold in a warm oven, keep pancakes on a sheet pan at low heat if you are making a large batch so they stay warm without steaming and losing crisp edges.
- Simple syrup soak for extra sheen, make a light syrup and brush the pancakes just before serving for a glossy finish that helps syrup adhere and enhances presentation.
- Pair with coffee or tea, choose a bright coffee or a mild tea to complement the tender texture and subtle tang of the pancakes for a balanced morning meal.
FAQ
Conclusion
Classic Buttermilk Pancakes stand out because they combine simplicity with consistently delicious results, producing tender, fluffy stacks with a gentle tang from the buttermilk. Give them a try on a relaxed morning and follow the sensory cues described so you develop confidence with timing and temperature. You will find that with just a few reliable steps and pantry ingredients you can create comforting pancakes that bring people to the table and make mornings feel special.
Classic Buttermilk Pancakes
Equipment
- Mixing Bowls
- Whisk
- Griddle or skillet
- Measuring Cups and Spoons
- Spatula
Ingredients
- 1 egg Whisked to bind wet and dry components while adding richness and structure to the batter; eggs help create lift and tender crumb when cooked on a hot griddle. They also aid emulsification, allowing melted butter to disperse evenly for consistent texture.
- 1/2 teaspoon salt Sprinkled to enhance and balance flavors while subtly strengthening gluten development; salt brightens sweetness and rounds out the overall taste profile. It also regulates yeast or chemical leavener activity, helping achieve uniform rise.
- 1 tablespoon sugar Added to provide sweetness and promote browning through caramelization during cooking while contributing a touch of flavor complexity. Sugar also tenderizes the pancakes by retaining moisture and slightly inhibiting gluten formation.
- 1 cup buttermilk Poured to impart tangy acidity that reacts with baking soda for leavening while contributing moisture and a tender crumb. Buttermilk’s acid also deepens flavor and creates a soft, slightly tangy profile characteristic of classic pancakes.
- 1/2 teaspoon baking soda Stirred in as a fast-acting alkaline leavener that reacts with acidic buttermilk to produce carbon dioxide, creating lift and lightness. Baking soda also helps neutralize excess acidity, improving color and texture in the finished pancakes.
- 1/2 rounded teaspoon of baking powder Measured to provide gentle secondary leavening for added lift and finer crumb while complementing the baking soda’s action. A rounded half teaspoon helps ensure a balanced rise without imparting an off-taste or overly coarse texture.
- 1 cup sifted flour Sifted to ensure aeration and remove lumps, contributing to a light, uniform batter and tender pancake structure. Flour provides the starch and gluten framework necessary for trapping gases released during leavening and creating body.
- 3 tablespoons butter, melted Melted to add richness and moisture while contributing flavor and a tender, flaky crumb when incorporated into the batter. Butter also aids in browning and prevents sticking on the griddle when some is reserved for cooking.
Instructions
- In one bowl, whisk together egg, salt and sugar.: As you whisk the egg , notice the change in color and texture, it becomes smoother and slightly glossy which signals that the proteins are evenly distributed. The salt will seem invisible but it amplifies the other flavors, while the sugar begins dissolving and will aid browning later. A common mistake here is under whisking, which leaves pockets of uneven texture; whisk until the mixture is cohesive but do not create foam. Aim for a gentle rhythm in your wrist so the mixture becomes uniformly pale and fluid without excessive air bubbles.
- Mix in buttermilk and set aside.: When you pour the buttermilk into the whisked egg , the batter will thin and give off a faint tangy aroma from the dairy. The temperature of the buttermilk matters, room temperature blends more readily and helps achieve even rise. Letting the mixture rest briefly softens the flour when added later, but do not leave it for too long or the chemical reactions with leaveners may begin prematurely. A typical misstep is adding cold buttermilk straight from the fridge, which can chill the batter and slow cooking performance.
- In a second bowl, whisk together baking soda, baking powder, and flour.: Whisking the dry ingredients aerates the flour and evenly distributes the baking powder and baking soda , which prevents uneven pockets of rise. The smell is faintly floury and neutral, and visually you want a uniformly pale mixture. If the leaveners clump, your pancakes will have uneven bubbles and texture, so ensure thorough combining. The common error is not sifting or breaking up lumps, which leads to dense spots in cooked pancakes.
- Add to buttermilk mixture, then stir in butter till incorporated.: Adding the dry mix to the wet transforms the batter into a thicker, pourable consistency and you will hear a slight change in viscosity as the spoon moves through it. Stir gently until most streaks of flour disappear; small lumps are fine and will hydrate during cooking. When you fold in melted butter , it should meld smoothly, giving the batter a glossy sheen and a richer aroma. Avoid overmixing at this stage, which develops gluten and causes toughness. Another mistake is adding hot butter which can partially cook the egg , so allow the butter to cool slightly before combining.
- Heat the griddle and grease lightly. Pour rounds of batter onto the hot griddle.: As the griddle warms, you may smell a neutral metallic scent before any butter browns, and the surface should shimmer slightly with heat. Test with a small drop of batter to ensure it sizzles softly; too vigorous a sizzle means the griddle is too hot. Greasing lightly keeps pancakes from sticking while still allowing edges to crisp. Pour batter in rounds and watch them spread, the edges should look set within a minute or two; if they brown too fast adjust the temperature down. Many beginners use too much oil or butter which leads to greasy pancakes, so apply just a thin film.
- Flip when bubbles on the surface start to break, adjusting the temperature of the griddle as needed.: Look for bubbles forming in the batter surface, then watch for them to open and leave small holes, a clear sign it is time to flip. The bottom should be a warm golden brown and sound slightly hollow when tapped. If the centers are still very wet after flipping, the griddle was likely too hot and you should lower it; conversely if there is no browning the surface may be too cool. A frequent mistake is flipping too early which yields undercooked centers, so rely on the bubble pattern and edge set rather than time alone.
- Serve with butter, maple syrup, and berries if desired.: The final aroma is rich and buttery, with a lightly caramelized surface and a tender crumb steaming inside. Serve hot so the butter melts into the layers and syrup pools in the crevices. If you wait too long the pancakes may lose steam and become denser; keep them loosely tented in a warm oven if you need to hold them. Avoid stacking cold pancakes directly on top of each other, which traps moisture and softens the edges too much.
Notes
- Warm the griddle gradually, start over medium heat and allow the surface to reach an even temperature so pancakes brown uniformly without burning. An unevenly heated griddle causes hotspots that produce dark spots and uneven cooking.
- Cool melted butter slightly before folding into the batter to prevent cooking the egg, which would create stringy textures. If the butter is too hot it can curdle components and alter batter consistency.
- Keep batter slightly lumpy, small lumps hydrate during cooking and help keep pancakes tender. Overmixing activates gluten in the flour and results in chewy pancakes instead of light ones.
- Test one small pancake first to check griddle temperature and adjust accordingly, this prevents wasting batter on incorrectly heated surfaces. Use this test pancake to gauge how fast the batter browns.
- Use a shallow ladle or measuring cup for consistent pancake sizes so each one cooks evenly and stacks neatly on the plate. Consistency helps timing and presentation for serving multiple people.