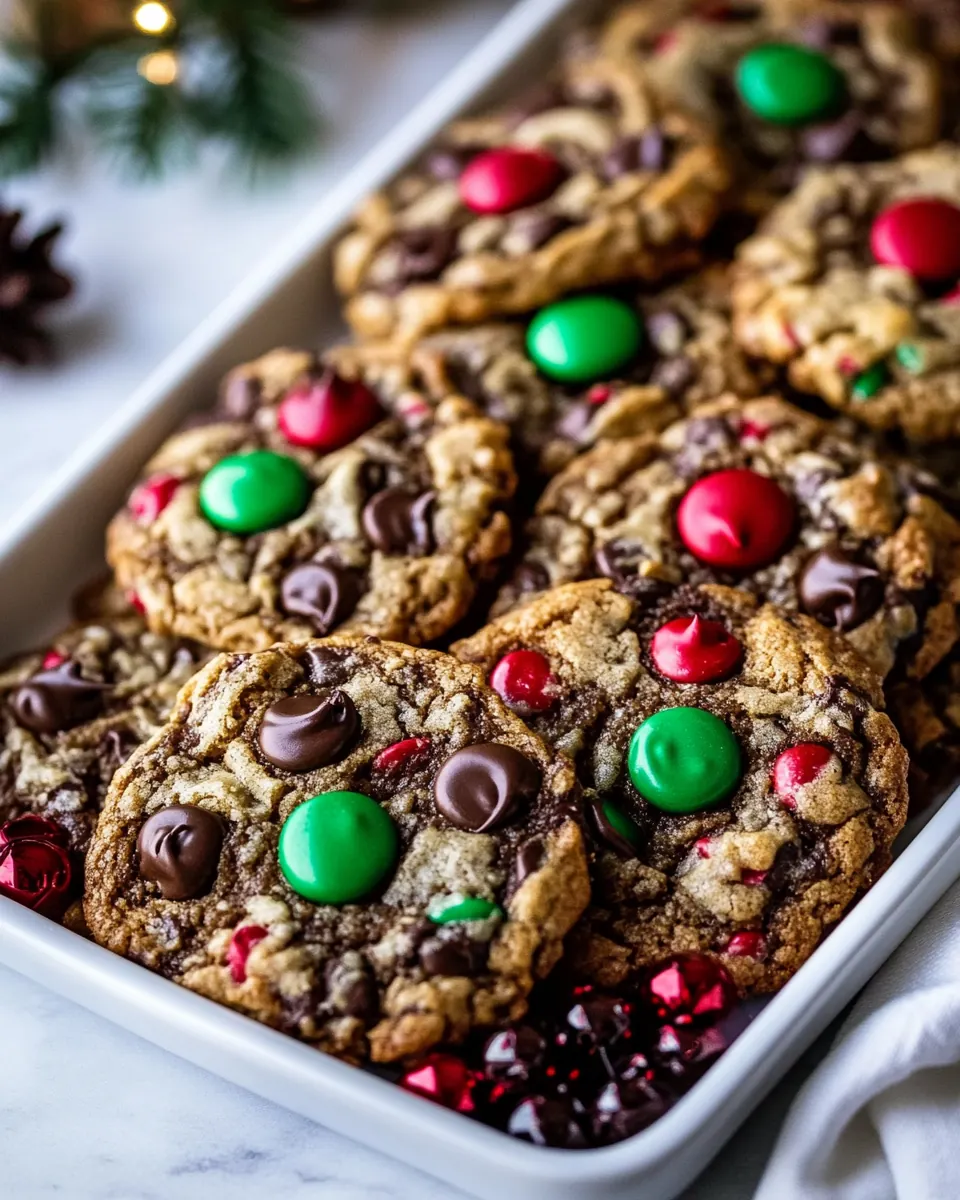
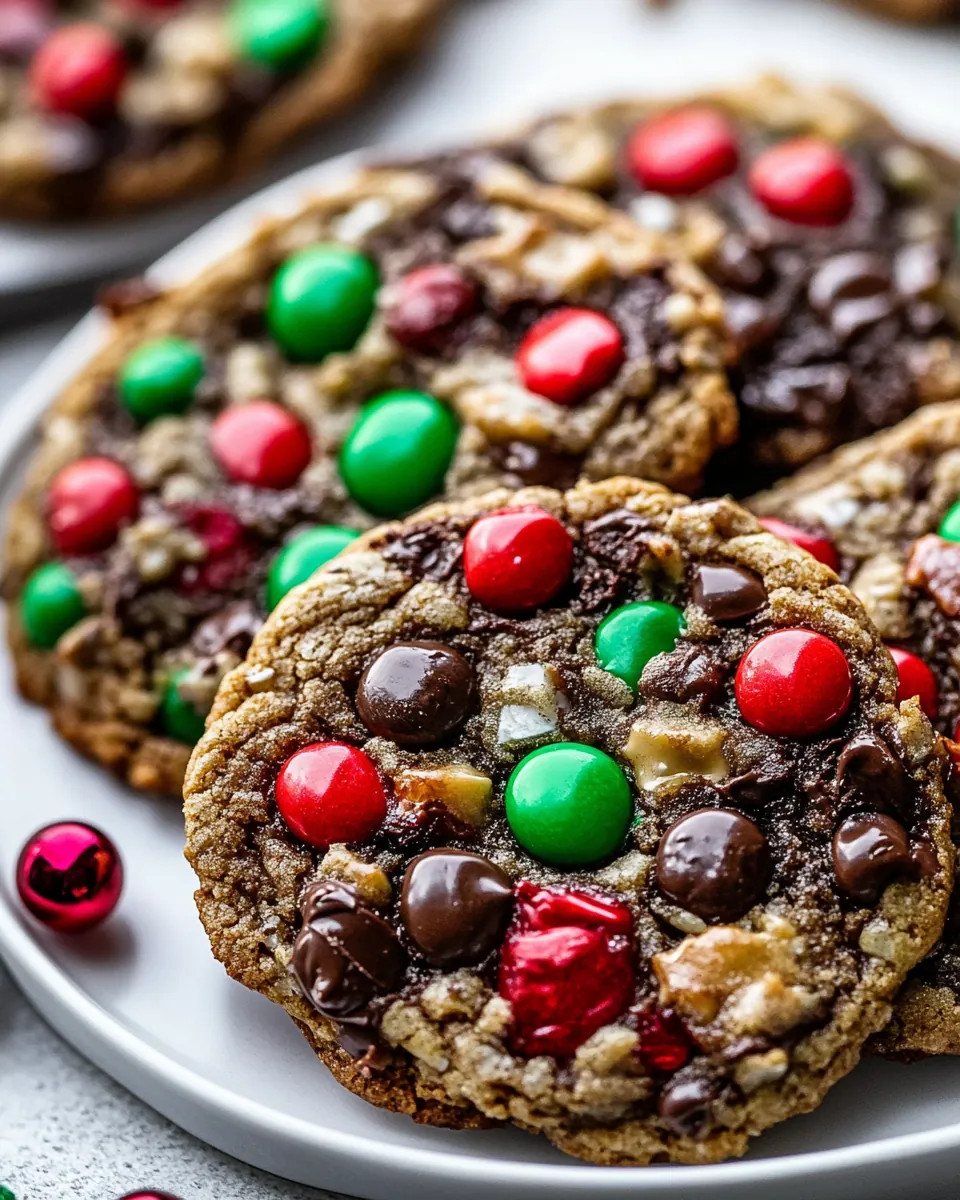
Christmas Monster Cookies
Christmas Monster Cookies are the kind of cookies that make holidays feel delightfully chaotic in the best possible way. I still remember the first batch I made for a neighborhood cookie swap, the kitchen full of laughter and a carpet of colorful candy as kids sneaked M&M’s straight from the bowl. That first tray came out slightly uneven, each cookie proudly different, and everyone declared them the winner. There is something so honest about a cookie that is unapologetically overstuffed, where every bite offers a different surprise.
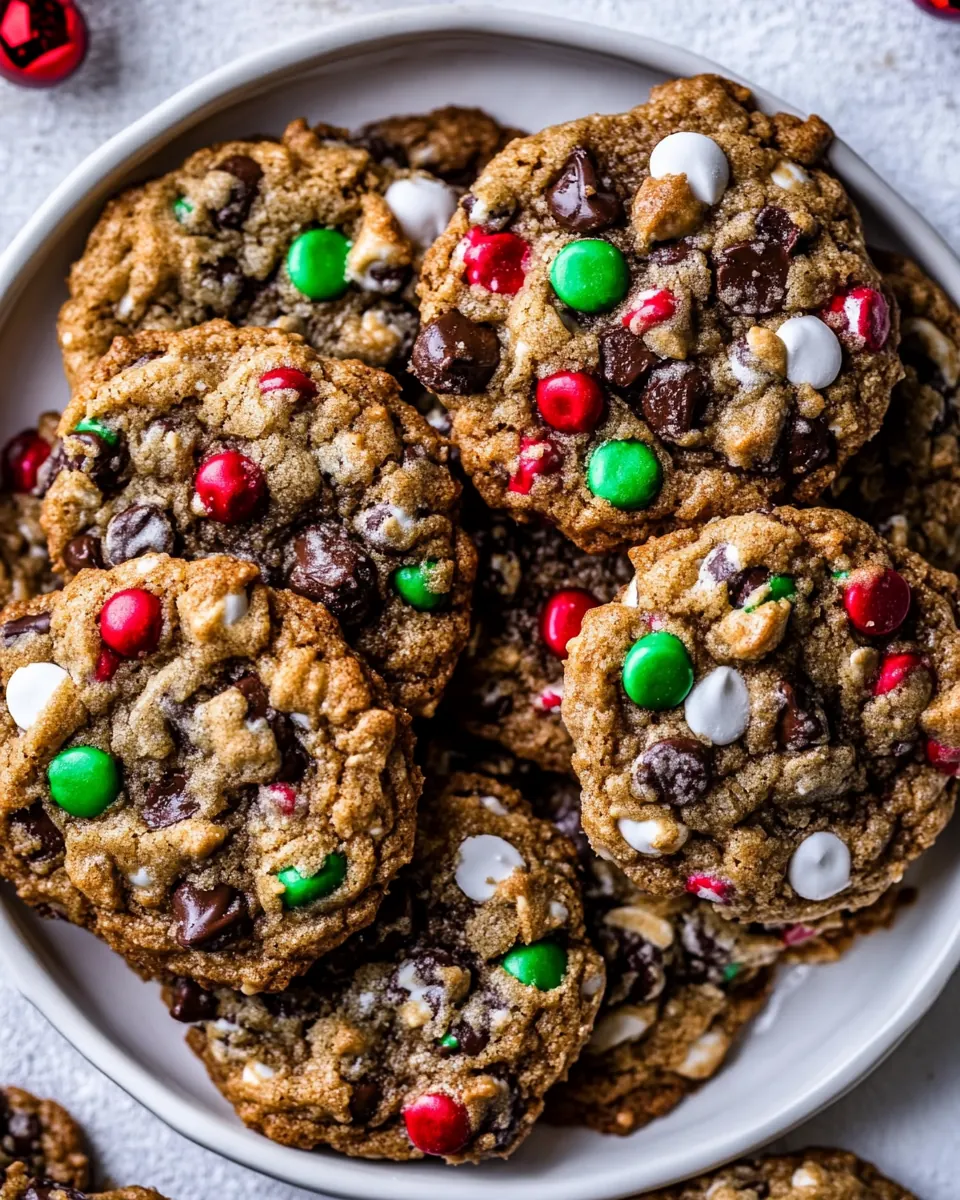
Years later I keep returning to this recipe when I want a guaranteed crowd pleaser. I like to think of these as festive comfort, a cookie that pairs stubbornly chewy oats with crunchy pretzel bits and pockets of chocolate that melt just enough to be indulgent but not sloppy. I often bring them to holiday parties, and they always spark conversation, usually about the M&M to pretzel ratio. When I bake them, the aroma that fills the house mixes brown sugar and toasty oats, and I swear the whole block seems to wander over for a taste test.
Recipe Snapshot
35 mins
20 mins
15 mins
Easy
150 kcal
American
Gluten-Free, Low FODMAP
Desserts
Mixing bowl, Electric mixer, Baking sheet, Parchment paper, Measuring cups, Spatula
The Appeal of This Christmas Monster Cookies
Generous, not precious
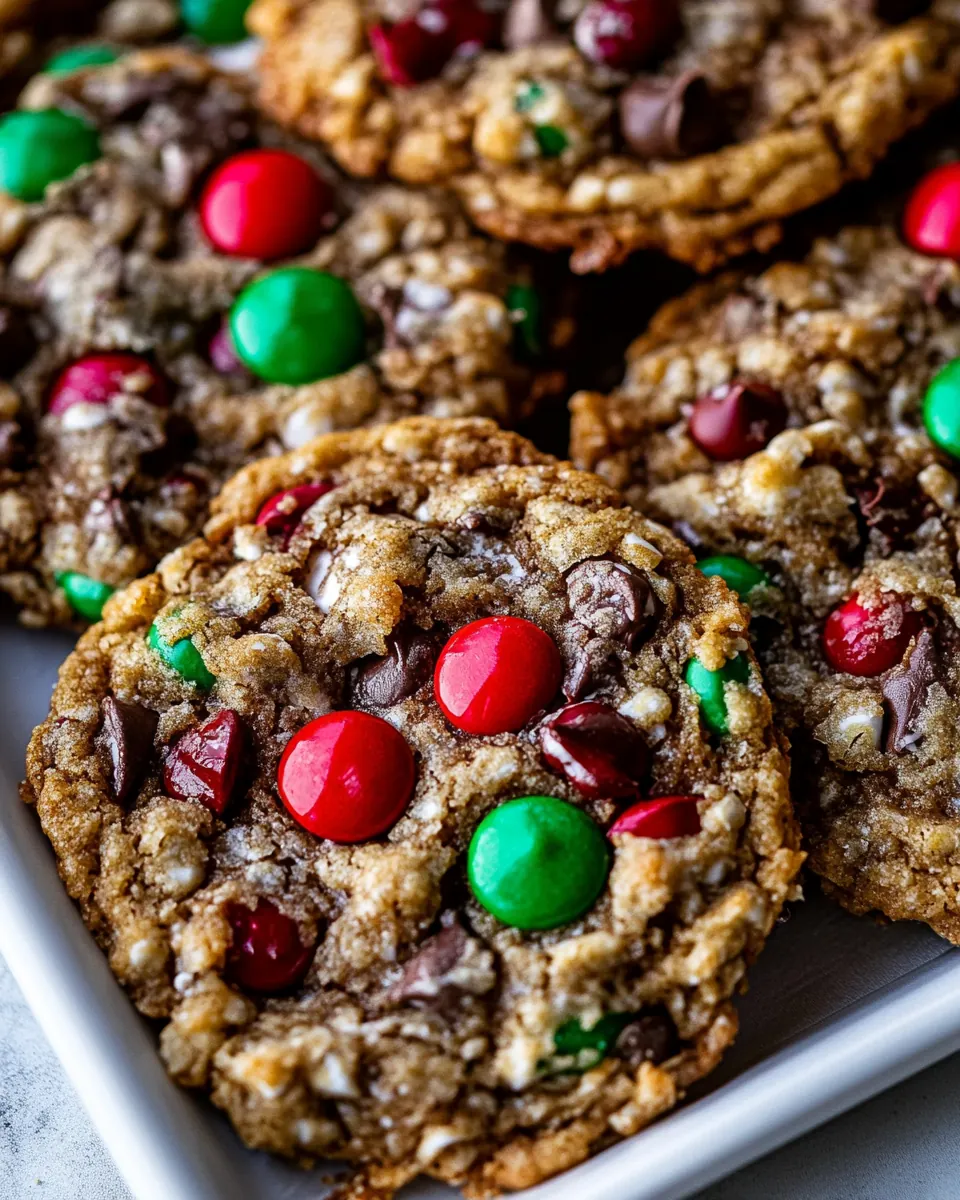
I love that Christmas Monster Cookies embrace abundance. These are not dainty cookies; they are joyful stacks of texture and color. The combination of all purpose flour, old fashioned oats, and a trio of chocolates and candy creates a dense, chewy crumb that holds up to being loaded with mix ins. I often tell friends that if you want to impress with little effort, make these.
Textural fireworks
The contrast between crunchy mini pretzel sticks and soft, melty chocolate is what keeps every bite interesting. I love how the holiday M&M’s add not only sweetness but bursts of color, turning a simple cookie into something celebratory. The oats provide chew and structure, so the cookies do not flatten out into thin discs when baked.
Comfortingly familiar flavors
There is a warmth to these cookies that feels like tradition. The brown sugar and butter deliver a caramel note, while the white chocolate chips offer sweet creaminess against the semi sweet chocolate. I favor recipes that combine familiar pantry staples so you can make them on a whim, and this one qualifies. You do not need rare ingredients to make a memorable cookie.
Kid friendly, party ready
When I bring these to gatherings, they disappear faster than I expect. They are ideal for cookie exchanges, school parties, and casual family nights because they are both fun and forgiving. Kids love to help fold in the candies and press a few extra pieces on top, which makes the whole process part of the treat. I recommend involving helpers for the rolling stage it speeds things and doubles the joy.
Simple techniques, big results
What I appreciate most is how accessible the method is. The dough comes together in one bowl, and simple steps like chilling are not necessary, so you can have hot cookies in under an hour. I always mention that little timing touches, like rotating the pan, make a real difference. Small attentions yield a cookie that is crisp at the edges and tender in the center.
Essential Ingredients for Christmas Monster Cookies
These ingredients feel like a holiday embrace. Each element plays a clear role, from structure to flavor to texture. The foundation of all purpose flour and old fashioned oats gives sturdy chew, while butter and sugars lend depth and tenderness. The mix ins are the stars, turning a humble cookie into a festive showpiece.
- 2 sticks (1 cup) salted butter at room temperature: Soften to room temperature to ensure easy creaming with sugar and to create a tender, evenly textured cookie base; contributes rich buttery flavor and helps cookies spread and brown during baking.
- 1 cup dark brown sugar: Provide deep, molasses-like sweetness and added moisture while enhancing chewiness and caramelized flavor; helps with overall color and pairs well with spices and chocolate.
- 1/2 cup granulated sugar: Add bright sweetness and assist in aeration when creamed with butter, balancing the deeper notes of brown sugar; helps achieve proper cookie structure and crisp edges.
- 2 large eggs, plus 1 egg yolk: Whisk until combined to provide lift, structure, and moisture; egg yolk adds extra richness and tenderness while the whites contribute stability and binding.
- 1 tablespoon vanilla extract: Impart warm, rounded flavor that enhances sweetness and enriches the overall aroma; helps mask any raw-batter notes and complements chocolate and oats.
- 2 cups all-purpose flour: Supply the primary structure and bulk of the cookie dough through gluten development; measure and mix gently to keep cookies tender rather than tough.
- 2 teaspoons baking soda: Act as a leavening agent to produce carbon dioxide, creating lift and lighter interior texture; balances with baking powder for the desired rise.
- 2 teaspoons baking powder: Contribute additional leavening and fine crumb texture while helping cookies rise evenly; works with baking soda to control pH and browning.
- 1/2 teaspoon kosher salt: Season and enhance all flavors while slightly strengthening dough proteins; optimizes taste balance and prevents cookies from tasting flat.
- 2 cups old fashioned oats: Add hearty texture, nutty flavor, and chewiness while absorbing some of the butter and sugars for balanced mouthfeel; gives cookies a rustic, satisfying bite.
- 1 1/4 cups holiday M&M’s: Provide colorful bursts of candy-sweet flavor and crunchy texture that create a festive appearance; distribute evenly for consistent sweetness in each bite.
- 1 cup mini pretzel sticks, crushed: Offer salty, crunchy contrast when crushed and folded in, enhancing flavor complexity and balancing sweetness; contributes a pleasing textural surprise.
- 1 cup semi-sweet chocolate chips or chunks: Deliver pockets of rich chocolate flavor and melty bites throughout the cookie, enhancing decadence and pairing well with oats and M&M’s.
- 1/2 cup white chocolate chips: Supply creamy, sweet white–chocolate notes for contrast against semi–sweet chocolate and salty pretzels; adds occasional pockets of smooth sweetness.
How to Cook Christmas Monster Cookies
These directions are straightforward and forgiving, which is why I enjoy making them whenever I want a quick festive treat. The process moves from creaming to mixing in the dry ingredients, then folding in the fun bits. Expect approachable steps that allow you to focus on texture and timing.
- Preheat the oven to 350° F. Line a baking sheet with parchment paper. In a large mixing bowl, beat together the butter, brown sugar, granulated sugar, and vanilla until combined. Beat in the eggs and 1 egg yolk, 1 at a time, until combined. Add the flour, baking soda, baking powder, and salt. Beat in the oats. Fold in 1 cup of the M&M's, the pretzels, chocolate chips, and white chocolate. Roll the dough into 1/4 cup size balls. Place 3 inches apart on the prepared baking sheet. Transfer to the oven and bake for 8 minutes, then rotate the pan and bake another 2 minutes. Pull the pan out and push the remaining M&M's into the cookies. Bake 2-3 minutes. Remove from the oven and let the cookies cool on the baking sheet. They will continue to cook slightly as they sit on the baking sheet. Eat warm (highly recommended) or let cool and store in an airtight container for up to 4 days.: The kitchen will begin to smell faintly warm and anticipatory as the oven heats, which primes the cookie chemistry. A properly preheated oven ensures even rising and consistent color. One common mistake is placing cookies in an oven that is not up to temperature, resulting in uneven spread and undercooked centers. Make sure the oven reaches 350° F before you slide the sheet in, and use a reliable oven thermometer if your oven runs hot or cold.
- Line a baking sheet with parchment paper: Lining the sheet helps the bottoms brown evenly while preventing sticking. You will notice less scorching and easier cleanup, and the parchment allows you to move cookies without tearing them. A frequent error is using a pan with worn nonstick surface without parchment, which can cause cookies to stick. If your parchment buckles when the oven heats, simply smooth it with a little weight until it flattens.
- Beat together the butter, brown sugar, granulated sugar, and vanilla until combined: As you beat, the mixture will lighten in color and become fluffier, signaling that air has been incorporated which helps the cookies lift. The aroma of caramelizing sugar and butter will begin to emerge. Overbeating after adding eggs can create a tight crumb, so stop when the mixture looks creamy and homogenous. If the butter was too cold, the mixture may be lumpy, so ensure it is softened to room temperature first.
- Beat in the eggs and 1 egg yolk, 1 at a time, until combined: Adding eggs one at a time allows the batter to emulsify properly, creating a cohesive dough. You should see the mixture smooth out and become glossy, and the batter will thicken slightly. A common issue is adding cold eggs, which can cause the butter to seize and look curdled; bring eggs to room temperature for best results. If curdling happens, continue beating gently until the batter comes back together.
- Add the flour, baking soda, baking powder, and salt: When these dry ingredients are incorporated, the dough will gain structure and become firmer. The leaveners are balanced to give the right rise without tasting chemical. Mix just until you do not see streaks of flour; overmixing develops gluten and makes cookies tough. If the dough feels overly stiff, a tablespoon of milk can soften it, but avoid adding extra liquid unless absolutely necessary.
- Beat in the oats: The addition of old fashioned oats will thicken the dough and introduce visible flecks and chewy texture. You should be able to see a cohesive dough studded with oats, which will create a pleasant rustic appearance. A mistake is using instant oats which can make the texture too fine, losing the signature chew. Stirring until just combined keeps the oats intact and yields the best mouthfeel.
- Fold in 1 cup of the M&M's, the pretzels, chocolate chips, and white chocolate: Folding prevents smashing the candies and preserves texture, leaving colorful pockets throughout the dough. The sound of candy and chips mixing feels playful, and the contrast of salty pretzel bits against sweet chocolate will be evident in the aroma. Beware of over mixing during this stage which can crush the M&M's and turn the dough speckled with color. Use a spatula and gentle motion to distribute ingredients evenly.
- Roll the dough into 1/4 cup size balls: Measuring scoops or a 1/4 cup scoop yields cookies that bake uniformly. The dough should be slightly tacky but hold shape when scooped. If it sticks to your hands, chilling briefly or lightly floured palms helps. A common slip up is rolling inconsistent sizes, which leads to uneven bake times; take a moment to match the balls so they bake together.
- Place 3 inches apart on the prepared baking sheet: Giving ample space prevents the cookies from merging into one another as they spread and rise. Visually the dough will relax and flatten slightly before the oven work begins. One mistake is crowding the pan which causes cookies to bake into a single large mass and alters texture. Arrange trays so air circulates freely, and use multiple sheets if needed.
- Transfer to the oven and bake for 8 minutes, then rotate the pan and bake another 2 minutes: During this bake the edges will begin to set and develop a gentle golden hue, while the centers remain soft. Rotating ensures even color and heat exposure, compensating for hot spots. Failing to rotate can produce uneven browning, with some cookies overdone. Keep an eye on the color; you want slight gold at the edges for the ideal chew.
- Pull the pan out and push the remaining M&M's into the cookies: Pressing fresh candies on top after the first bake gives a crisp, colorful finish and prevents the M&M's from fully melting into the center. The tops will glisten slightly from residual heat, and the added candies will adhere easily. If you skip this, the tops may look dull and miss that festive pop. Use gentle pressure so you do not compress the cookie too much.
- Bake 2 to 3 minutes: This short return to the oven sets the pressed candies and firms the top without overcooking interiors. You want the centers to still appear slightly underbaked because they will finish cooking on the hot pan. Overbaking at this stage will produce dry cookies, so watch closely for the faintest set in the middle before removing.
- Remove from the oven and let the cookies cool on the baking sheet: Cooling on the pan allows the cookies to finish cooking gently, which preserves a tender center. As they cool you will notice the edges firming and the centers settling into a perfect chew. A mistake is transferring warm cookies to a rack too soon, which can make them fragile and cause breakage. Let them rest a few minutes before moving to a cooling rack if you like crisp bottoms.
- They will continue to cook slightly as they sit on the baking sheet: Residual heat carries on the finishing work, so patience rewards you with ideal texture. The centers become just set while the edges crisp. Cutting into a cookie too early risks a doughy interior. Allowing the cookies to cool ensures balanced texture and better slicing if you share them on a platter.
- Eat warm (highly recommended) or let cool and store in an airtight container for up to 4 days: Warm cookies are indulgent, with melted pockets of chocolate and tender crumb. If storing, ensure they are fully cool to avoid condensation, which can make them soggy. A common storage error is stacking warm cookies which traps steam and softens them. Layer with parchment if storing multiple layers to keep them intact.
Make It Your Own
These tips will help you personalize texture, flavor, and appearance without breaking the recipe. Small swaps and shaping choices make the cookies uniquely yours while keeping the core profile intact.
- Adjust the pretzel size to control crunch, crush them finer for uniform texture or keep larger bits if you want big salty pockets.
- Swap chocolate format by using chunks for gooey pools or chips for more stable, defined pockets of chocolate.
- Boost chew by slightly increasing the old fashioned oats by two tablespoons, which adds texture without drying the dough.
- For brighter color press additional holiday M&M’s on top after baking to keep the candies vibrant and visible on each cookie.
- Control spread by chilling scooped dough for 10 minutes if your kitchen is warm, this tightens the dough and reduces loss of height.
- Keep extras crunchy store cookies in an airtight container with a paper towel to absorb any excess moisture and maintain texture.
What Complements This Christmas Monster Cookies
These cookies are versatile. Serve them at gatherings, tuck them into care packages, or add them to a festive dessert table. Their balance of sweet and salty means they pair well with simple accompaniments and suit many holiday occasions.
- Casual parties arrange these on a platter so guests can graze while mingling, they are perfect for cookie exchanges and potlucks.
- Holiday dessert table include them alongside simpler cookies to provide bold texture and color contrast, making the display lively.
- Gifting wrap a few in clear cellophane with a ribbon, they travel well and make a cheerful homemade present.
- Occasions they are ideal for winter celebrations like Christmas morning, family gatherings, or classroom parties where an easy crowd pleasing treat is needed.
- Storage tips fully cool before storing in an airtight container for up to four days, layer with parchment to prevent sticking and preserve shape.
- Serving style offer warm from the oven for melty centers or room temperature for easier stacking and gifting.
FAQ
Conclusion
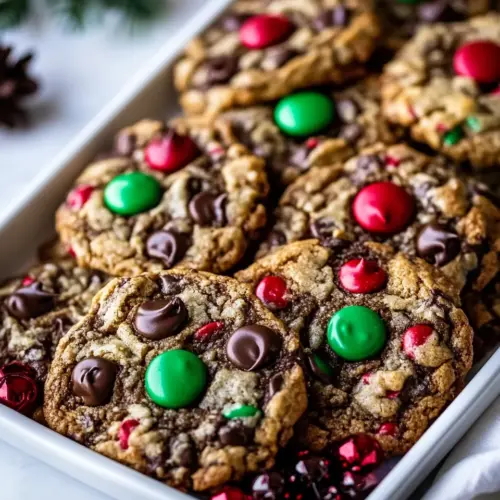
What makes these cookies special is their joyful abundance of texture and color, combining chewy oats, crunchy pretzels, and melty chocolate into a single festive bite. I encourage you to give them a try the next time you need an easy, crowd pleasing holiday treat, whether for a cookie swap, family gathering, or a cozy evening at home. Baking them is as much about the shared moments as it is about the cookies themselves; expect smiles, sticky fingers, and a tray that disappears fast.
Christmas Monster Cookies
Equipment
- Mixing Bowl
- Electric Mixer
- Baking Sheet
- Parchment Paper
- Measuring Cups
- Spatula
Ingredients
- 2 sticks (1 cup) salted butter at room temperature Soften to room temperature to ensure easy creaming with sugar and to create a tender, evenly textured cookie base; contributes rich buttery flavor and helps cookies spread and brown during baking.
- 1 cup dark brown sugar Provide deep, molasses-like sweetness and added moisture while enhancing chewiness and caramelized flavor; helps with overall color and pairs well with spices and chocolate.
- 1/2 cup granulated sugar Add bright sweetness and assist in aeration when creamed with butter, balancing the deeper notes of brown sugar; helps achieve proper cookie structure and crisp edges.
- 2 large eggs, plus 1 egg yolk Whisk until combined to provide lift, structure, and moisture; egg yolk adds extra richness and tenderness while the whites contribute stability and binding.
- 1 tablespoon vanilla extract Impart warm, rounded flavor that enhances sweetness and enriches the overall aroma; helps mask any raw-batter notes and complements chocolate and oats.
- 2 cups all-purpose flour Supply the primary structure and bulk of the cookie dough through gluten development; measure and mix gently to keep cookies tender rather than tough.
- 2 teaspoons baking soda Act as a leavening agent to produce carbon dioxide, creating lift and lighter interior texture; balances with baking powder for the desired rise.
- 2 teaspoons baking powder Contribute additional leavening and fine crumb texture while helping cookies rise evenly; works with baking soda to control pH and browning.
- 1/2 teaspoon kosher salt Season and enhance all flavors while slightly strengthening dough proteins; optimizes taste balance and prevents cookies from tasting flat.
- 2 cups old fashioned oats Add hearty texture, nutty flavor, and chewiness while absorbing some of the butter and sugars for balanced mouthfeel; gives cookies a rustic, satisfying bite.
- 1 1/4 cups holiday M&M’s Provide colorful bursts of candy-sweet flavor and crunchy texture that create a festive appearance; distribute evenly for consistent sweetness in each bite.
- 1 cup mini pretzel sticks, crushed Offer salty, crunchy contrast when crushed and folded in, enhancing flavor complexity and balancing sweetness; contributes a pleasing textural surprise.
- 1 cup semi-sweet chocolate chips or chunks Deliver pockets of rich chocolate flavor and melty bites throughout the cookie, enhancing decadence and pairing well with oats and M&M’s.
- 1/2 cup white chocolate chips Supply creamy, sweet white-chocolate notes for contrast against semi-sweet chocolate and salty pretzels; adds occasional pockets of smooth sweetness.
Instructions
- Preheat the oven to 350° F. Line a baking sheet with parchment paper. In a large mixing bowl, beat together the butter, brown sugar, granulated sugar, and vanilla until combined. Beat in the eggs and 1 egg yolk, 1 at a time, until combined. Add the flour, baking soda, baking powder, and salt. Beat in the oats. Fold in 1 cup of the M&M's, the pretzels, chocolate chips, and white chocolate. Roll the dough into 1/4 cup size balls. Place 3 inches apart on the prepared baking sheet. Transfer to the oven and bake for 8 minutes, then rotate the pan and bake another 2 minutes. Pull the pan out and push the remaining M&M's into the cookies. Bake 2-3 minutes. Remove from the oven and let the cookies cool on the baking sheet. They will continue to cook slightly as they sit on the baking sheet. Eat warm (highly recommended) or let cool and store in an airtight container for up to 4 days.: The kitchen will begin to smell faintly warm and anticipatory as the oven heats, which primes the cookie chemistry. A properly preheated oven ensures even rising and consistent color. One common mistake is placing cookies in an oven that is not up to temperature, resulting in uneven spread and undercooked centers. Make sure the oven reaches 350° F before you slide the sheet in, and use a reliable oven thermometer if your oven runs hot or cold.
- Line a baking sheet with parchment paper: Lining the sheet helps the bottoms brown evenly while preventing sticking. You will notice less scorching and easier cleanup, and the parchment allows you to move cookies without tearing them. A frequent error is using a pan with worn nonstick surface without parchment, which can cause cookies to stick. If your parchment buckles when the oven heats, simply smooth it with a little weight until it flattens.
- Beat together the butter, brown sugar, granulated sugar, and vanilla until combined: As you beat, the mixture will lighten in color and become fluffier, signaling that air has been incorporated which helps the cookies lift. The aroma of caramelizing sugar and butter will begin to emerge. Overbeating after adding eggs can create a tight crumb, so stop when the mixture looks creamy and homogenous. If the butter was too cold, the mixture may be lumpy, so ensure it is softened to room temperature first.
- Beat in the eggs and 1 egg yolk, 1 at a time, until combined: Adding eggs one at a time allows the batter to emulsify properly, creating a cohesive dough. You should see the mixture smooth out and become glossy, and the batter will thicken slightly. A common issue is adding cold eggs, which can cause the butter to seize and look curdled; bring eggs to room temperature for best results. If curdling happens, continue beating gently until the batter comes back together.
- Add the flour, baking soda, baking powder, and salt: When these dry ingredients are incorporated, the dough will gain structure and become firmer. The leaveners are balanced to give the right rise without tasting chemical. Mix just until you do not see streaks of flour; overmixing develops gluten and makes cookies tough. If the dough feels overly stiff, a tablespoon of milk can soften it, but avoid adding extra liquid unless absolutely necessary.
- Beat in the oats: The addition of old fashioned oats will thicken the dough and introduce visible flecks and chewy texture. You should be able to see a cohesive dough studded with oats, which will create a pleasant rustic appearance. A mistake is using instant oats which can make the texture too fine, losing the signature chew. Stirring until just combined keeps the oats intact and yields the best mouthfeel.
- Fold in 1 cup of the M&M's, the pretzels, chocolate chips, and white chocolate: Folding prevents smashing the candies and preserves texture, leaving colorful pockets throughout the dough. The sound of candy and chips mixing feels playful, and the contrast of salty pretzel bits against sweet chocolate will be evident in the aroma. Beware of over mixing during this stage which can crush the M&M's and turn the dough speckled with color. Use a spatula and gentle motion to distribute ingredients evenly.
- Roll the dough into 1/4 cup size balls: Measuring scoops or a 1/4 cup scoop yields cookies that bake uniformly. The dough should be slightly tacky but hold shape when scooped. If it sticks to your hands, chilling briefly or lightly floured palms helps. A common slip up is rolling inconsistent sizes, which leads to uneven bake times; take a moment to match the balls so they bake together.
- Place 3 inches apart on the prepared baking sheet: Giving ample space prevents the cookies from merging into one another as they spread and rise. Visually the dough will relax and flatten slightly before the oven work begins. One mistake is crowding the pan which causes cookies to bake into a single large mass and alters texture. Arrange trays so air circulates freely, and use multiple sheets if needed.
- Transfer to the oven and bake for 8 minutes, then rotate the pan and bake another 2 minutes: During this bake the edges will begin to set and develop a gentle golden hue, while the centers remain soft. Rotating ensures even color and heat exposure, compensating for hot spots. Failing to rotate can produce uneven browning, with some cookies overdone. Keep an eye on the color; you want slight gold at the edges for the ideal chew.
- Pull the pan out and push the remaining M&M's into the cookies: Pressing fresh candies on top after the first bake gives a crisp, colorful finish and prevents the M&M's from fully melting into the center. The tops will glisten slightly from residual heat, and the added candies will adhere easily. If you skip this, the tops may look dull and miss that festive pop. Use gentle pressure so you do not compress the cookie too much.
- Bake 2 to 3 minutes: This short return to the oven sets the pressed candies and firms the top without overcooking interiors. You want the centers to still appear slightly underbaked because they will finish cooking on the hot pan. Overbaking at this stage will produce dry cookies, so watch closely for the faintest set in the middle before removing.
- Remove from the oven and let the cookies cool on the baking sheet: Cooling on the pan allows the cookies to finish cooking gently, which preserves a tender center. As they cool you will notice the edges firming and the centers settling into a perfect chew. A mistake is transferring warm cookies to a rack too soon, which can make them fragile and cause breakage. Let them rest a few minutes before moving to a cooling rack if you like crisp bottoms.
- They will continue to cook slightly as they sit on the baking sheet: Residual heat carries on the finishing work, so patience rewards you with ideal texture. The centers become just set while the edges crisp. Cutting into a cookie too early risks a doughy interior. Allowing the cookies to cool ensures balanced texture and better slicing if you share them on a platter.
- Eat warm (highly recommended) or let cool and store in an airtight container for up to 4 days: Warm cookies are indulgent, with melted pockets of chocolate and tender crumb. If storing, ensure they are fully cool to avoid condensation, which can make them soggy. A common storage error is stacking warm cookies which traps steam and softens them. Layer with parchment if storing multiple layers to keep them intact.
Notes
- Adjust the pretzel size to control crunch, crush them finer for uniform texture or keep larger bits if you want big salty pockets.
- Swap chocolate format by using chunks for gooey pools or chips for more stable, defined pockets of chocolate.
- Boost chew by slightly increasing the old fashioned oats by two tablespoons, which adds texture without drying the dough.
- For brighter color press additional holiday M&M's on top after baking to keep the candies vibrant and visible on each cookie.
- Control spread by chilling scooped dough for 10 minutes if your kitchen is warm, this tightens the dough and reduces loss of height.
- Keep extras crunchy store cookies in an airtight container with a paper towel to absorb any excess moisture and maintain texture.