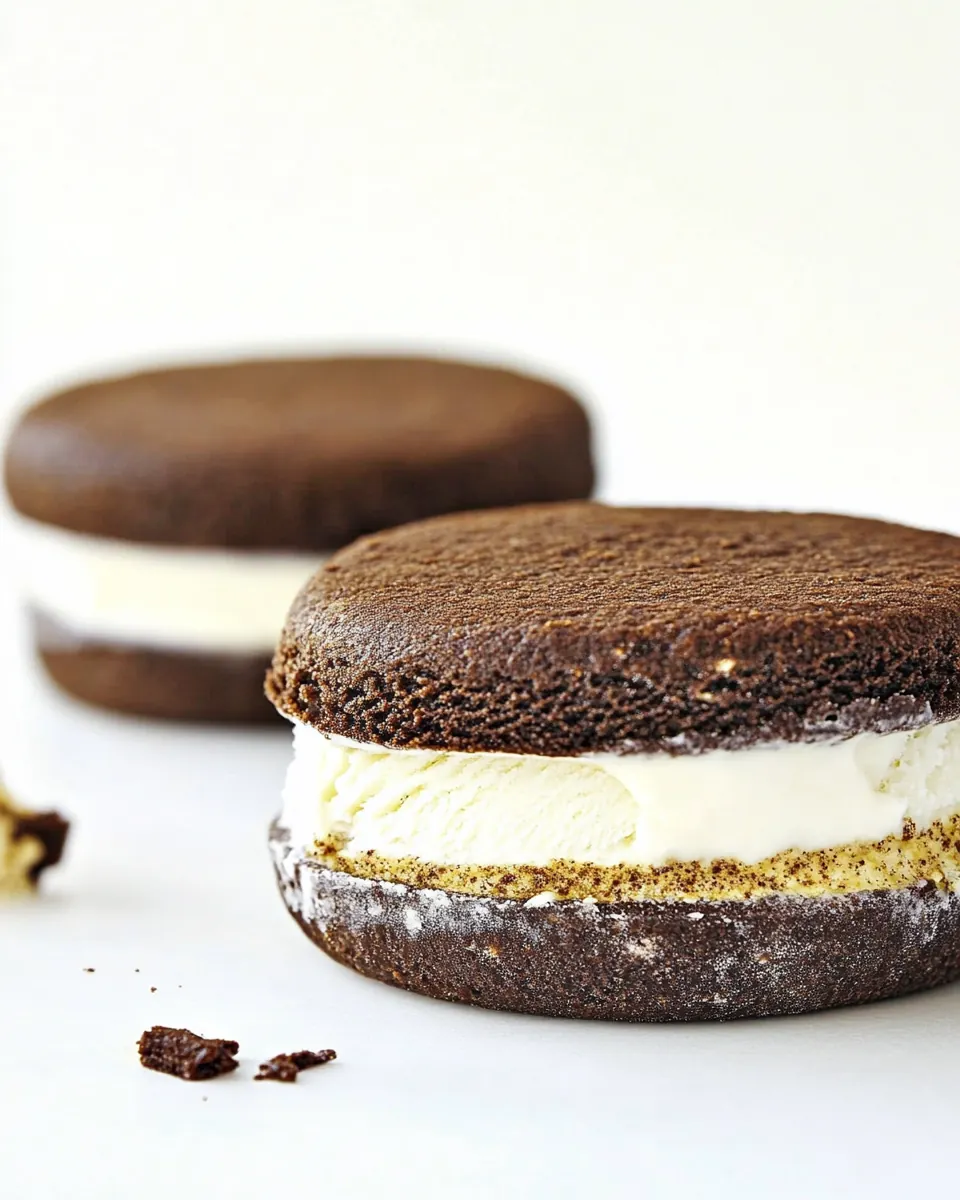
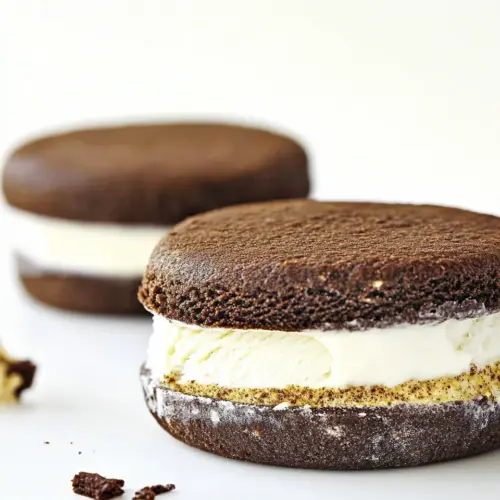
Chocolate Malt Ice Cream Sandwiches
Chocolate Malt Ice Cream Sandwiches are the kind of dessert that takes me right back to sunlit afternoons when I was a kid, hands sticky from melting treats and knees sandy from the playground. I remember the first time I made these, I was chasing that exact combination of airy, malted ice cream and tender, cocoa cookies that crumbled just enough to let the creamy center shine. The memory made me want to recreate that joy for guests, and I discovered how small details like chilling dough and tempering yolks transform a good idea into something memorable.
Every time I pull a tray from the freezer now, the kitchen fills with warm, chocolatey scents that somehow promise comfort and celebration at once. I like to set aside a quiet afternoon, play a playlist I love, and take my time with each stage, from whisking the custard until it thickens to flattening cookie dough into even disks. Friends always comment on how the malt note cuts through the richness of the ice cream, and I feel proud that a homemade touch can make something so nostalgic feel elevated.
Recipe Snapshot
45 mins
30 mins
15 mins
Medium
300 kcal
American
Gluten-Free, Low FODMAP
Desserts
Saucepan, Mixing bowls, Fine mesh sieve, Stand mixer or hand mixer, Quarter sheet pan or 9×9-inch pan, Ice cream maker, Baking sheet, Parchment paper, Cookie scoop, Wire rack
The Appeal of This Chocolate Malt Ice Cream Sandwiches
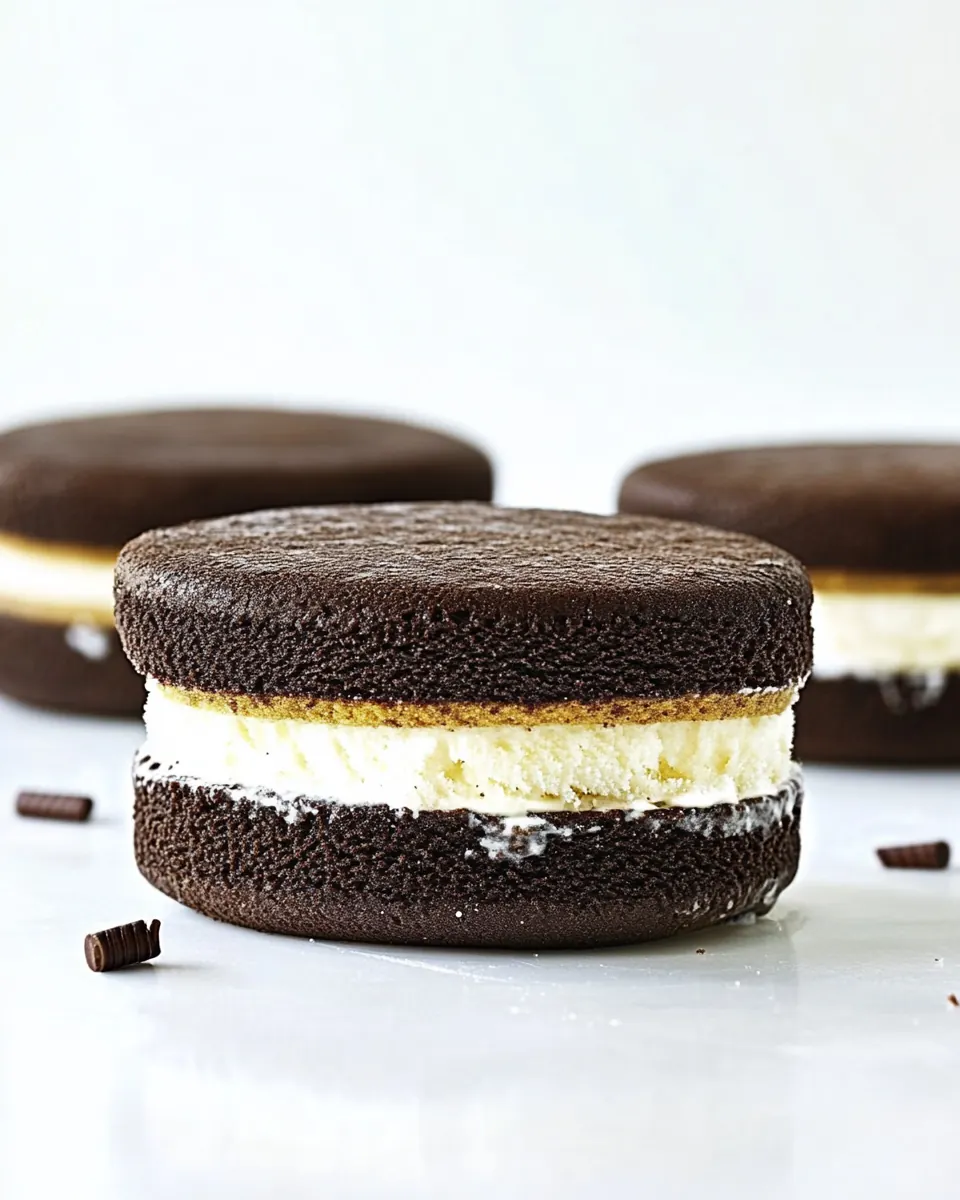
Buttery, balanced cookie texture
The cookies in Chocolate Malt Ice Cream Sandwiches have a tender crumb thanks to the combination of unsalted butter, granulated sugar, and light brown sugar. I love how the dough yields cookies that are crisp at the edges and soft in the middle, so they hold up to scooped ice cream without becoming rock hard. The cocoa and malted milk powder add depth, and when you bite in you get a satisfying contrast of crumb and cream.
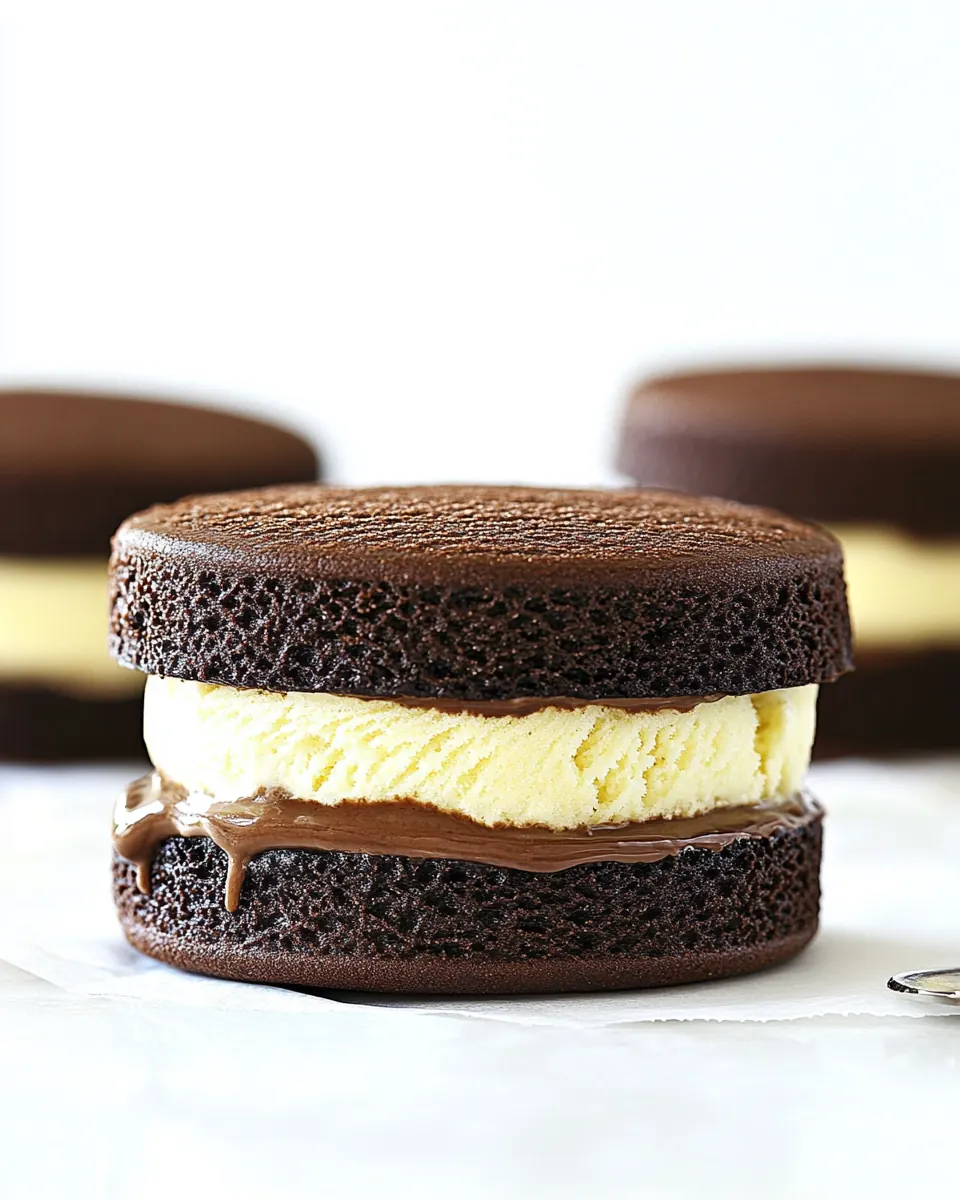
Malted ice cream with real custard richness
I always choose to make the ice cream base with a cooked custard using whole milk, heavy cream, and egg yolks. That custard builds a silkier mouthfeel than a simple churned cream would, and the malted milk powder adds a toasted, toffee like note that keeps the sweetness interesting. Chilling the base properly makes the churn more efficient and prevents iciness in the finished ice cream.
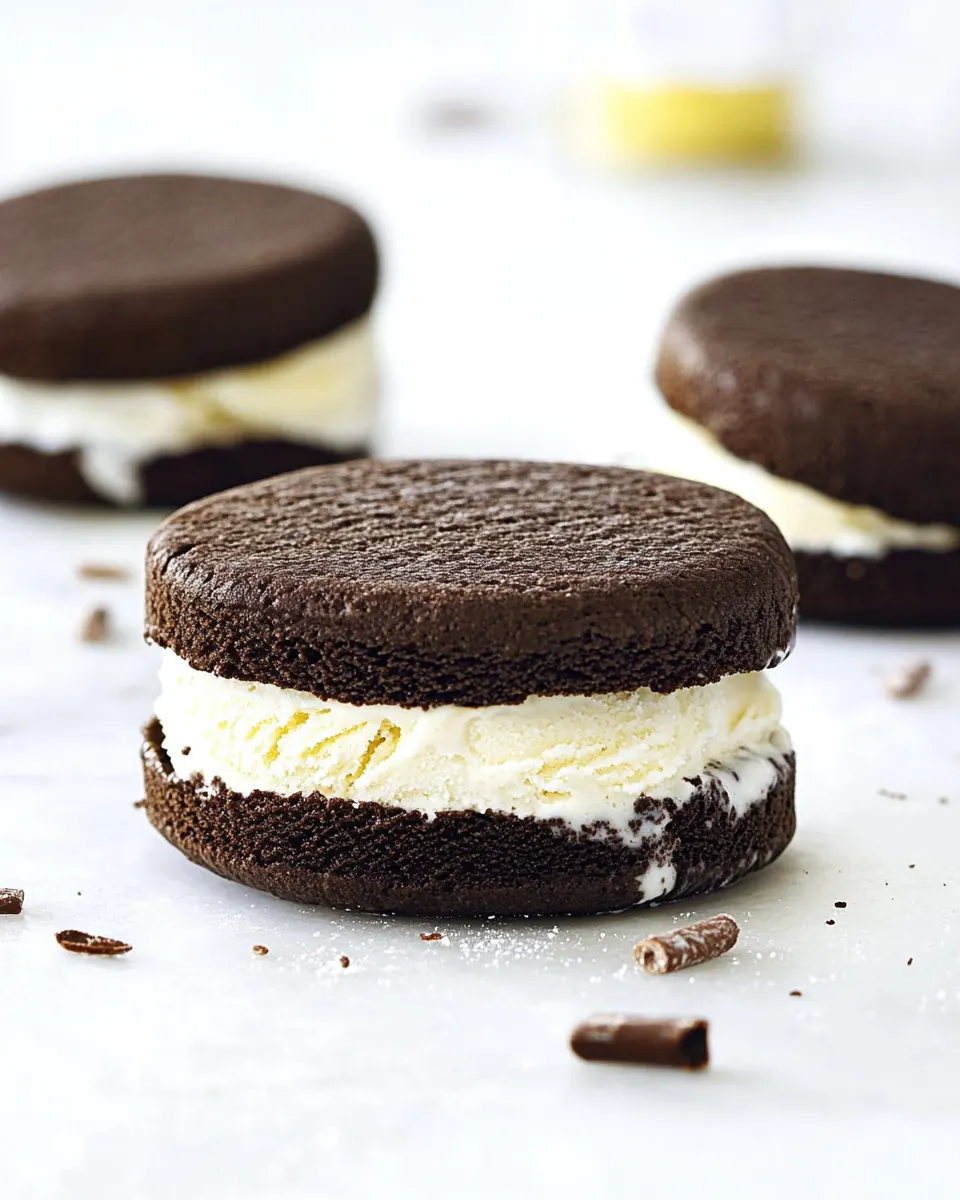
Textural play that keeps you coming back
What makes these sandwiches fun is the interplay between the soft ice cream and the slightly chewy cookie. When I roll the edges in crushed malted milk balls or sprinkles, it adds another layer of texture and a playful visual. Each bite rewards you with cream, cocoa, and malt in almost equal measure, and that harmonious balance is why I keep recommending this recipe at summer gatherings.
Make ahead friendly and crowd pleasing
I love that you can prepare the ice cream and cookies ahead of time, then assemble just before serving. It makes hosting effortless, and you can scale the recipe up for a party without losing quality. I often freeze the cookies and ice cream in separate containers, then form sandwiches the morning of the event, which keeps everything pristine and prevents soggy cookies.
Kid friendly and customizable
Kids and grown ups both adore these sandwiches because they feel like an upgrade to a classic treat. You can swap sprinkles for crushed candy, or keep them plain for a more sophisticated look. I like that the recipe is forgiving, so small tweaks in proportion or mix ins still yield an excellent result.
What You’ll Need for Chocolate Malt Ice Cream Sandwiches
These ingredients work together to create a deeply flavored, texturally balanced sandwich. The ice cream relies on a custard base built from dairy and yolks to achieve a creamy mouthfeel, while malted milk powder gives it that nostalgic, toffee like lift. The cookie ingredients are straightforward baking staples, with cocoa and malted milk powder providing a complementary chocolatey malt profile that pairs perfectly with the frozen filling.
- 1 1/2 cups whole milk: Provide a creamy dairy base that balances richness and texture in the ice cream custard, helping create a smooth mouthfeel when combined with cream and eggs.
- 1 1/2 cups heavy cream: Add abundant fat to enrich the custard, increase creaminess, and contribute to a silky texture and resistance to icy crystallization in the finished ice cream.
- 3/4 cup granulated sugar, divided: Sweeten the custard while helping to control freezing point; dividing it allows for initial infusion into warm milk and later adjustment for sweetness and texture.
- 1/2 cup plain malted milk powder: Introduce concentrated malt flavor and subtle sweetness with toasted cereal notes, intensifying the characteristic malted profile of the ice cream.
- 1/4 teaspoon fine sea salt: Enhance and balance sweetness by subtly brightening flavors and stabilizing the custard; fine sea salt also helps accentuate malt and chocolate notes.
- 1 teaspoon vanilla extract: Provide a floral, sweet aromatic lift that complements malt and chocolate, rounding out flavors and enhancing perceived sweetness without adding sugar.
- 4 large egg yolks: Thicken and enrich the custard by adding concentrated fat and proteins; yolks also act as emulsifiers to create a custardy, stable ice cream base.
- 1 3/4 cups all-purpose flour: Form the structure of the cookie sandwich component, supplying gluten for chewiness and bulk to the dough when combined with leavening and fats.
- 1/2 cup unsweetened dark or Dutch-process cocoa powder: Deliver deep chocolate flavor and color to the cookies, contribute slight dryness to the dough, and intensify cocoa notes in the sandwich.
- 1/3 cup plain malted milk powder: Contribute additional malted flavor to the cookie dough, reinforcing the ice cream’s malt profile and adding subtle toasted, milky notes.
- 1 teaspoon baking soda: Provide leavening to the cookie dough, creating lift and a tender crumb while reacting with acidic ingredients for lightness.
- 1/2 teaspoon fine sea salt: Season and balance the cookie dough by enhancing other flavors; the fine texture integrates smoothly for even seasoning throughout.
- 3/4 cup (1 1/2 sticks) unsalted butter, room temperature: Bring richness and tenderness to the cookies through butterfat, help leaven slightly when creamed with sugars, and contribute to mouthfeel.
- 1/2 cup granulated sugar: Add sweetness and assist in creaming with butter to create a light, aerated cookie texture while contributing to browning.
- 1/2 cup packed light brown sugar: Provide moisture, deeper caramel-like sweetness, and help keep the cookies soft while contributing to flavor complexity and color.
- 1 large egg: Add moisture, binding, and richness to the cookie dough while helping to incorporate air and structure during mixing.
- 1 1/2 teaspoons vanilla extract: Contribute a sweet aromatic note that complements vanilla and malt flavors, enhancing the overall flavor profile of the cookies.
- 2 tablespoons sour cream or plain yogurt: Introduce tenderness and slight tang that reacts with baking soda to aid lift, while contributing moistness and a subtle tang to the cookie texture.
Putting Together Chocolate Malt Ice Cream Sandwiches
Assembling these sandwiches is a joyful, step by step process that rewards patience. I like to prepare everything in stages, so the custard has time to chill and the cookies can rest before pairing. Below I expand on each direction with sensory cues, reasons behind the technique, and troubleshooting advice to help you achieve the best result.
- Prepare an ice bath by setting a medium heatproof bowl inside a larger bowl of ice water. Place a fine mesh sieve on top and set aside.: The cold bowl and sieve are your safety net for stopping the cooking process quickly when you finish the custard, which keeps the texture silky rather than grainy. You will feel the chill on your fingertips as you set the bowl, and when you pour the hot custard through the sieve, you will hear a gentle splash into the ice bath, which is oddly satisfying. This step matters because residual heat can keep cooking the yolks, producing over thickened curds or a cooked egg taste, so rapidly cooling is essential. A common mistake is using too small an ice bath that warms quickly, so make sure there is plenty of ice and water to maintain temperature. If you notice the ice water warming, refresh it so the custard cools efficiently.
- In a saucepan, combine the milk, cream, 1/2 cup sugar, malted milk powder, salt, and vanilla. Cook gently over medium heat, stirring frequently, until sugar has dissolved and mixture starts to steam. Remove from heat.: As the dairy warms, you'll smell the sweet malt and vanilla emerging and see small steam wisps rising from the surface, signaling the sugars dissolving. Gentle heat is crucial here to extract flavor without scalding the milk, which would give a burnt edge. Stirring frequently prevents a film from forming and ensures even heating. Avoid boiling, because boiling can cause proteins to denature and ruin the creaminess. A common error is turning the heat too high to rush things, which can create an unpleasant cooked flavor and force you to discard the batch.
- In a small bowl, whisk egg yolks with remaining 1/4 cup sugar. Slowly whisk in some of the warm cream mixture, 1/3 cup at a time, until about half of the cream mixture has been incorporated and egg mixture is warm to the touch. (Be sure to gradually whisk in the warm cream; you want to temper the eggs, not cook them.) Pour egg mixture back into saucepan and return to medium heat, stirring constantly, until mixture thickens slightly and coats the back of a spatula, about 5 to 7 minutes, or until it reaches approximately 175ºF. Do not let it boil.: You will notice the yolks becoming paler and a bit thicker as you whisk in the warm liquid, and that slow tempering prevents curdling. When you return the tempered yolks to the pan, continuous stirring is essential to distribute heat evenly, and you will see the custard gently thicken and cling to the spatula, leaving a coat when you run your finger through it. The aroma will be richer and more custardy, not eggy, if done correctly. Avoid heating to a full boil because that will scramble the yolks, producing lumps and an off texture. If you see any little cooked bits, immediately remove from heat and strain through the sieve prepared earlier.
- Pour mixture through a fine-mesh sieve into the ice bath. Stir until mixture is cool. Cover bowl with plastic wrap, carefully pressing it onto the surface of the cream mixture to prevent a skin from forming. Refrigerate until completely chilled, at least 3 hours or preferably overnight.: Pouring through the sieve removes any bits of cooked egg and aerates the custard slightly, giving a smoother result. As you stir the bowl in the ice bath, you will feel the temperature drop and see steam disappear, a clear sign that the custard is safe to chill. Pressing plastic wrap to the surface keeps a rubbery skin from forming, which can mar the texture and make the ice cream icy. Rushing the chill will increase ice crystal size, so resist the urge to churn until it is fully cold. A frequent misstep is not chilling long enough, leading to a soft churn that lacks body, so give it time.
- Line a quarter sheet pan or 9×9-inch baking pan with foil or parchment paper. Churn ice cream according to manufacturer’s instructions. Spread ice cream into the prepared pan to desired thickness. Cover with plastic wrap and freeze for at least 2-3 hours or until firm.: When you transfer the churned mixture to the lined pan, you will notice a glossy, dense texture that is more scoopable than a watery churn. Spreading it evenly ensures consistent thickness for cutting, and the parchment lets you lift the ice cream block out cleanly. As it firms, the surface will dull and become frosty, indicating it is ready to shape. Freezing too briefly results in a soft center that is difficult to cut, while freezing too long without protection can lead to freezer burn. If your ice cream seems icy after freezing, it likely needed more sugar or fat, or the base wasn't fully chilled before churning.
- For cookies, preheat oven to 350 degrees F. Line a large baking sheet with parchment paper or a silicone mat.: Preheating ensures even oven spring, so when the cookies go in they begin to set at the right rate. The aroma of butter and sugar will come alive during baking, and you will notice the cookies spread to their final diameter within minutes. Using parchment or a silicone mat prevents sticking and promotes even browning on the bottom. A common oversight is not allowing the oven to reach temperature which causes uneven bake and texture variations between cookies on the same tray.
- In a medium bowl, sift together flour, cocoa powder, malted milk powder, baking soda, and salt.: Sifting merges the dry ingredients evenly and removes lumps, especially important for cocoa which can clump. The dry mix will look uniform and dark, and you will get an even distribution of leavening so the cookies rise and spread predictably. If you skip sifting, pockets of dry cocoa or baking soda can create bitter specks or uneven texture. A good test is to rub a small pinch between your fingers to check for lumps before combining with wet ingredients.
- In a large mixing bowl or the bowl of a stand mixer, beat butter, sugar, and brown sugar on high speed until light and fluffy, about 1 to 2 minutes. Mix in egg, followed by vanilla and sour cream. Add flour mixture and beat on low speed until incorporated.: Beating the butter and sugars incorporates air which lightens the cookie, and you will see a pale, fluffy mixture that holds soft peaks. Adding the egg and then the vanilla and sour cream adds moisture and flavor, enriching the dough. Mixing the dry ingredients in on low prevents overworking the gluten, which keeps cookies tender. Overmixing here is a common cause of tough cookies, so stop as soon as the dough is homogenous. If the dough looks greasy or too soft, chilling briefly can help with shaping.
- Using a medium or large cookie scoop, drop dough by the heaping tablespoonful onto prepared baking sheet. Flatten to 1-inch thick disks with the palm of your hand. Bake for 10 to 12 minutes or until cookies are set. Let cool on baking sheet for minutes, then transfer to a wire rack to cool completely.: Scooping ensures uniform cookies so they bake evenly. Flattening to the recommended thickness helps them spread correctly and bake through in the provided time. You will notice edges setting and the center still slightly soft, which is the cue to remove them; they will firm as they cool. Leaving them on the baking sheet too long can overcook from residual heat, while moving them too soon risks breaking. If your cookies brown too quickly, your oven may run hot, so lower temperature slightly and extend baking time for even color.
- Freeze cookies for at least 1 hour before forming your sandwiches.: Chilled cookies are less likely to crumble when you spoon or press the cold ice cream between them, and the contrast between cold and room temperature helps them glue together. You will feel the cookies become firm to the touch, and that firmness makes assembly neater. Skipping this step can lead to messy sandwiches that sag or smear. If you are pressed for time, freeze for a bit longer rather than shorter to avoid soft cookies during assembly.
- To assemble, remove block of ice cream from sheet pan using the parchment or foil to lift it out of the pan. Choose a cookie cutter approximately the same size as your cookies to cut out rounds of ice cream. Place one round on a cookie, then top with a second cookie, pressing to adhere. Roll edges in sprinkles or crushed malted milk ball candies, if desired. Freeze for at least 1 hour before serving.: When you lift the ice cream block, it should hold its shape thanks to proper freezing, and the cutter will glide through leaving neat rounds. Pressing the cookies together seals the sandwich, and the crunchy edge coating adds a festive finish. You will hear a subtle squeeze as the cookies meet the cream, and the cookies should remain intact if properly chilled. A typical mistake is assembling with too soft ice cream which causes squishing and uneven edges, so work quickly and keep the ice cream as cold as possible. After assembly, freezing solidifies the bond and improves sliceability.
Variations to Try
These variations let you tailor Chocolate Malt Ice Cream Sandwiches to different tastes, textures, and occasions. I like to experiment with add ins or finishing touches to keep the recipe fresh for every gathering.
- Swap edge coatings Roll the sandwiches in crushed malted milk balls, sprinkles, or finely chopped nuts to add texture and visual interest, which makes serving more playful for parties.
- Adjust ice cream thickness Spread the churned ice cream thinner or thicker in the pan to control the ratio of cookie to cream, which changes the bite and how indulgent each sandwich feels.
- Make smaller sandwiches Use a smaller cookie scoop and cutter to create bite sized treats for events, which is great for grazing tables or kid friendly portions.
- Infuse more malt Increase malted milk powder slightly in either the ice cream or cookie to intensify the nostalgic malt flavor, but be careful not to overpower the chocolate.
- Prep ahead Freeze cookies and ice cream separately, then assemble on the day of serving for fresher texture and quicker party prep.
Serving Ideas for Chocolate Malt Ice Cream Sandwiches
These sandwiches are versatile and fit many occasions, from casual summer barbecues to more curated dessert spreads. Think about how you present them, whether you want a rustic platter or a neatly boxed treat for guests. Below are detailed serving ideas, pairings, and storage notes to help you serve them with confidence.
- Casual backyard parties Arrange a platter of sandwiches on a chilled tray with a few extra sprinkles or crushed candy on the side so guests can add a personal touch, which keeps service informal and fun.
- Family dessert night Bring them out after a relaxed meal with a scoop or two of leftover ice cream for anyone who wants an extra creamy bite; their nostalgic flavor makes them a hit with multiple generations.
- Picnic friendly Pack sandwiches in an insulated cooler with ice packs and separate layers with parchment to prevent sticking, making them easy to transport for outdoor gatherings.
- Special occasion platter For birthdays or celebrations, line a decorative tray with parchment and alternate plain and coated edges to create a visually appealing assortment that reads festive.
- Storage tips Keep assembled sandwiches in an airtight container with parchment between layers, and freeze up to two weeks. For best texture, let them sit at room temperature for 5 to 10 minutes before serving so the cookie softens slightly for optimal bite.
- Seasonal pairing Serve during summer for a cooling finale, or offer them at springtime gatherings when malted flavors feel comforting yet bright. Their creamy profile pairs well with fresh berries if you want a fruity contrast.
FAQ
Conclusion
What makes these Chocolate Malt Ice Cream Sandwiches special is the way a silky custard style malted ice cream pairs with tender, cocoa forward cookies for a nostalgic yet sophisticated dessert. I encourage you to try them because the recipe lets you control texture and flavor at every stage, and the result rewards patience with a delightful balance of cream, chocolate, and malt. Whether you serve them at a summer gathering or keep them for a cozy family treat, they offer a playful and memorable way to enjoy homemade ice cream in sandwich form.
Chocolate Malt Ice Cream Sandwiches
Equipment
- Saucepan
- Mixing Bowls
- Fine mesh sieve
- Stand mixer or hand mixer
- Quarter sheet pan or 9x9-inch pan
- Ice Cream Maker
- Baking Sheet
- Parchment Paper
- Cookie Scoop
- Wire Rack
Ingredients
- 1 1/2 cups whole milk Provide a creamy dairy base that balances richness and texture in the ice cream custard, helping create a smooth mouthfeel when combined with cream and eggs.
- 1 1/2 cups heavy cream Add abundant fat to enrich the custard, increase creaminess, and contribute to a silky texture and resistance to icy crystallization in the finished ice cream.
- 3/4 cup granulated sugar, divided Sweeten the custard while helping to control freezing point; dividing it allows for initial infusion into warm milk and later adjustment for sweetness and texture.
- 1/2 cup plain malted milk powder Introduce concentrated malt flavor and subtle sweetness with toasted cereal notes, intensifying the characteristic malted profile of the ice cream.
- 1/4 teaspoon fine sea salt Enhance and balance sweetness by subtly brightening flavors and stabilizing the custard; fine sea salt also helps accentuate malt and chocolate notes.
- 1 teaspoon vanilla extract Provide a floral, sweet aromatic lift that complements malt and chocolate, rounding out flavors and enhancing perceived sweetness without adding sugar.
- 4 large egg yolks Thicken and enrich the custard by adding concentrated fat and proteins; yolks also act as emulsifiers to create a custardy, stable ice cream base.
- 1 3/4 cups all-purpose flour Form the structure of the cookie sandwich component, supplying gluten for chewiness and bulk to the dough when combined with leavening and fats.
- 1/2 cup unsweetened dark or Dutch-process cocoa powder Deliver deep chocolate flavor and color to the cookies, contribute slight dryness to the dough, and intensify cocoa notes in the sandwich.
- 1/3 cup plain malted milk powder Contribute additional malted flavor to the cookie dough, reinforcing the ice cream’s malt profile and adding subtle toasted, milky notes.
- 1 teaspoon baking soda Provide leavening to the cookie dough, creating lift and a tender crumb while reacting with acidic ingredients for lightness.
- 1/2 teaspoon fine sea salt Season and balance the cookie dough by enhancing other flavors; the fine texture integrates smoothly for even seasoning throughout.
- 3/4 cup (1 1/2 sticks) unsalted butter, room temperature Bring richness and tenderness to the cookies through butterfat, help leaven slightly when creamed with sugars, and contribute to mouthfeel.
- 1/2 cup granulated sugar Add sweetness and assist in creaming with butter to create a light, aerated cookie texture while contributing to browning.
- 1/2 cup packed light brown sugar Provide moisture, deeper caramel-like sweetness, and help keep the cookies soft while contributing to flavor complexity and color.
- 1 large egg Add moisture, binding, and richness to the cookie dough while helping to incorporate air and structure during mixing.
- 1 1/2 teaspoons vanilla extract Contribute a sweet aromatic note that complements vanilla and malt flavors, enhancing the overall flavor profile of the cookies.
- 2 tablespoons sour cream or plain yogurt Introduce tenderness and slight tang that reacts with baking soda to aid lift, while contributing moistness and a subtle tang to the cookie texture.
Instructions
- Prepare an ice bath by setting a medium heatproof bowl inside a larger bowl of ice water. Place a fine mesh sieve on top and set aside.: The cold bowl and sieve are your safety net for stopping the cooking process quickly when you finish the custard, which keeps the texture silky rather than grainy. You will feel the chill on your fingertips as you set the bowl, and when you pour the hot custard through the sieve, you will hear a gentle splash into the ice bath, which is oddly satisfying. This step matters because residual heat can keep cooking the yolks, producing over thickened curds or a cooked egg taste, so rapidly cooling is essential. A common mistake is using too small an ice bath that warms quickly, so make sure there is plenty of ice and water to maintain temperature. If you notice the ice water warming, refresh it so the custard cools efficiently.
- In a saucepan, combine the milk, cream, 1/2 cup sugar, malted milk powder, salt, and vanilla. Cook gently over medium heat, stirring frequently, until sugar has dissolved and mixture starts to steam. Remove from heat.: As the dairy warms, you'll smell the sweet malt and vanilla emerging and see small steam wisps rising from the surface, signaling the sugars dissolving. Gentle heat is crucial here to extract flavor without scalding the milk, which would give a burnt edge. Stirring frequently prevents a film from forming and ensures even heating. Avoid boiling, because boiling can cause proteins to denature and ruin the creaminess. A common error is turning the heat too high to rush things, which can create an unpleasant cooked flavor and force you to discard the batch.
- In a small bowl, whisk egg yolks with remaining 1/4 cup sugar. Slowly whisk in some of the warm cream mixture, 1/3 cup at a time, until about half of the cream mixture has been incorporated and egg mixture is warm to the touch. (Be sure to gradually whisk in the warm cream; you want to temper the eggs, not cook them.) Pour egg mixture back into saucepan and return to medium heat, stirring constantly, until mixture thickens slightly and coats the back of a spatula, about 5 to 7 minutes, or until it reaches approximately 175ºF. Do not let it boil.: You will notice the yolks becoming paler and a bit thicker as you whisk in the warm liquid, and that slow tempering prevents curdling. When you return the tempered yolks to the pan, continuous stirring is essential to distribute heat evenly, and you will see the custard gently thicken and cling to the spatula, leaving a coat when you run your finger through it. The aroma will be richer and more custardy, not eggy, if done correctly. Avoid heating to a full boil because that will scramble the yolks, producing lumps and an off texture. If you see any little cooked bits, immediately remove from heat and strain through the sieve prepared earlier.
- Pour mixture through a fine-mesh sieve into the ice bath. Stir until mixture is cool. Cover bowl with plastic wrap, carefully pressing it onto the surface of the cream mixture to prevent a skin from forming. Refrigerate until completely chilled, at least 3 hours or preferably overnight.: Pouring through the sieve removes any bits of cooked egg and aerates the custard slightly, giving a smoother result. As you stir the bowl in the ice bath, you will feel the temperature drop and see steam disappear, a clear sign that the custard is safe to chill. Pressing plastic wrap to the surface keeps a rubbery skin from forming, which can mar the texture and make the ice cream icy. Rushing the chill will increase ice crystal size, so resist the urge to churn until it is fully cold. A frequent misstep is not chilling long enough, leading to a soft churn that lacks body, so give it time.
- Line a quarter sheet pan or 9×9-inch baking pan with foil or parchment paper. Churn ice cream according to manufacturer’s instructions. Spread ice cream into the prepared pan to desired thickness. Cover with plastic wrap and freeze for at least 2-3 hours or until firm.: When you transfer the churned mixture to the lined pan, you will notice a glossy, dense texture that is more scoopable than a watery churn. Spreading it evenly ensures consistent thickness for cutting, and the parchment lets you lift the ice cream block out cleanly. As it firms, the surface will dull and become frosty, indicating it is ready to shape. Freezing too briefly results in a soft center that is difficult to cut, while freezing too long without protection can lead to freezer burn. If your ice cream seems icy after freezing, it likely needed more sugar or fat, or the base wasn't fully chilled before churning.
- For cookies, preheat oven to 350 degrees F. Line a large baking sheet with parchment paper or a silicone mat.: Preheating ensures even oven spring, so when the cookies go in they begin to set at the right rate. The aroma of butter and sugar will come alive during baking, and you will notice the cookies spread to their final diameter within minutes. Using parchment or a silicone mat prevents sticking and promotes even browning on the bottom. A common oversight is not allowing the oven to reach temperature which causes uneven bake and texture variations between cookies on the same tray.
- In a medium bowl, sift together flour, cocoa powder, malted milk powder, baking soda, and salt.: Sifting merges the dry ingredients evenly and removes lumps, especially important for cocoa which can clump. The dry mix will look uniform and dark, and you will get an even distribution of leavening so the cookies rise and spread predictably. If you skip sifting, pockets of dry cocoa or baking soda can create bitter specks or uneven texture. A good test is to rub a small pinch between your fingers to check for lumps before combining with wet ingredients.
- In a large mixing bowl or the bowl of a stand mixer, beat butter, sugar, and brown sugar on high speed until light and fluffy, about 1 to 2 minutes. Mix in egg, followed by vanilla and sour cream. Add flour mixture and beat on low speed until incorporated.: Beating the butter and sugars incorporates air which lightens the cookie, and you will see a pale, fluffy mixture that holds soft peaks. Adding the egg and then the vanilla and sour cream adds moisture and flavor, enriching the dough. Mixing the dry ingredients in on low prevents overworking the gluten, which keeps cookies tender. Overmixing here is a common cause of tough cookies, so stop as soon as the dough is homogenous. If the dough looks greasy or too soft, chilling briefly can help with shaping.
- Using a medium or large cookie scoop, drop dough by the heaping tablespoonful onto prepared baking sheet. Flatten to 1-inch thick disks with the palm of your hand. Bake for 10 to 12 minutes or until cookies are set. Let cool on baking sheet for minutes, then transfer to a wire rack to cool completely.: Scooping ensures uniform cookies so they bake evenly. Flattening to the recommended thickness helps them spread correctly and bake through in the provided time. You will notice edges setting and the center still slightly soft, which is the cue to remove them; they will firm as they cool. Leaving them on the baking sheet too long can overcook from residual heat, while moving them too soon risks breaking. If your cookies brown too quickly, your oven may run hot, so lower temperature slightly and extend baking time for even color.
- Freeze cookies for at least 1 hour before forming your sandwiches.: Chilled cookies are less likely to crumble when you spoon or press the cold ice cream between them, and the contrast between cold and room temperature helps them glue together. You will feel the cookies become firm to the touch, and that firmness makes assembly neater. Skipping this step can lead to messy sandwiches that sag or smear. If you are pressed for time, freeze for a bit longer rather than shorter to avoid soft cookies during assembly.
- To assemble, remove block of ice cream from sheet pan using the parchment or foil to lift it out of the pan. Choose a cookie cutter approximately the same size as your cookies to cut out rounds of ice cream. Place one round on a cookie, then top with a second cookie, pressing to adhere. Roll edges in sprinkles or crushed malted milk ball candies, if desired. Freeze for at least 1 hour before serving.: When you lift the ice cream block, it should hold its shape thanks to proper freezing, and the cutter will glide through leaving neat rounds. Pressing the cookies together seals the sandwich, and the crunchy edge coating adds a festive finish. You will hear a subtle squeeze as the cookies meet the cream, and the cookies should remain intact if properly chilled. A typical mistake is assembling with too soft ice cream which causes squishing and uneven edges, so work quickly and keep the ice cream as cold as possible. After assembly, freezing solidifies the bond and improves sliceability.
Notes
- Swap edge coatings Roll the sandwiches in crushed malted milk balls, sprinkles, or finely chopped nuts to add texture and visual interest, which makes serving more playful for parties.
- Adjust ice cream thickness Spread the churned ice cream thinner or thicker in the pan to control the ratio of cookie to cream, which changes the bite and how indulgent each sandwich feels.
- Make smaller sandwiches Use a smaller cookie scoop and cutter to create bite sized treats for events, which is great for grazing tables or kid friendly portions.
- Infuse more malt Increase malted milk powder slightly in either the ice cream or cookie to intensify the nostalgic malt flavor, but be careful not to overpower the chocolate.
- Prep ahead Freeze cookies and ice cream separately, then assemble on the day of serving for fresher texture and quicker party prep.