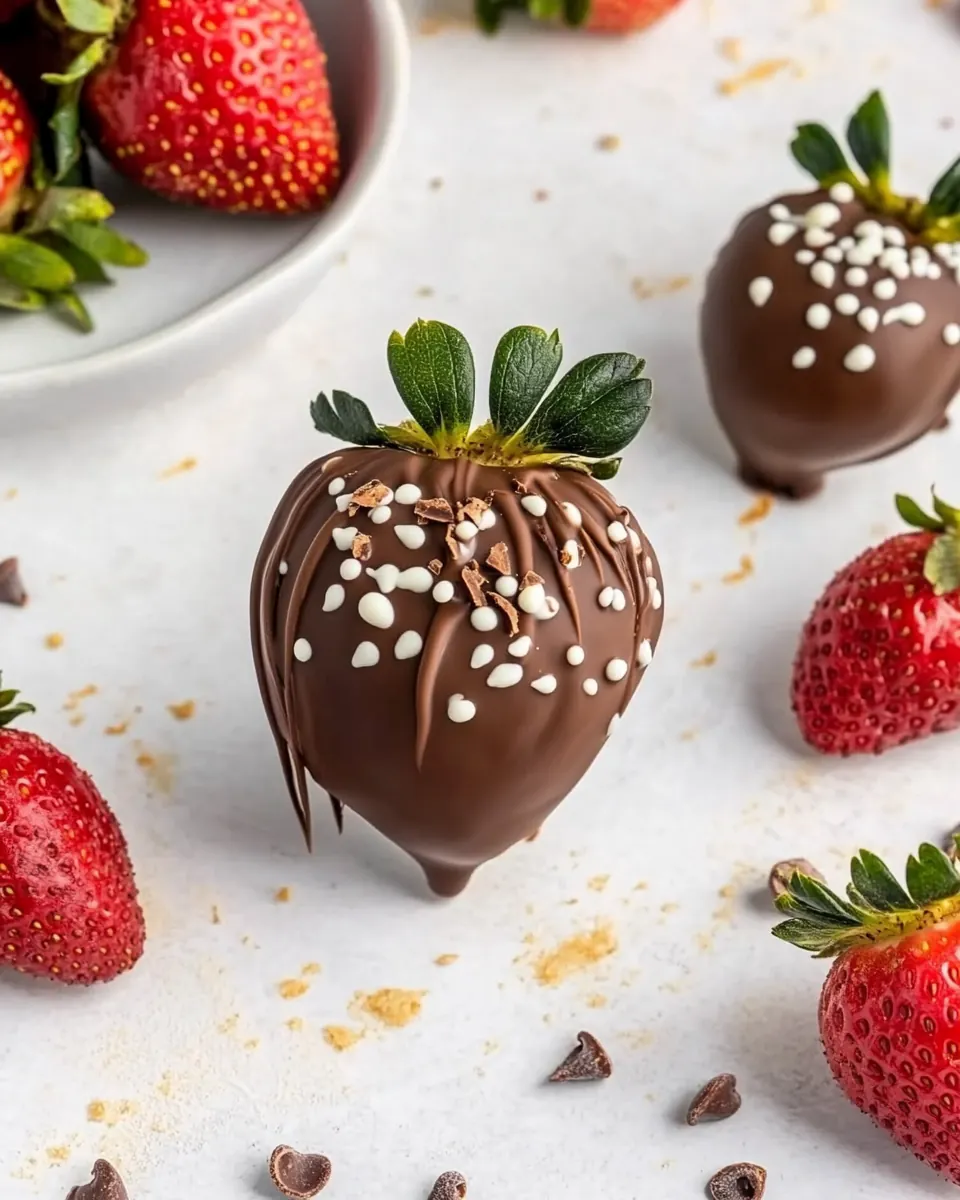
Chocolate Covered Strawberries
Chocolate Covered Strawberries have always been my go to for quick celebrations and impromptu dessert moments because they feel elegant without fuss. The first time I made them I was juggling a late night bouquet and a potluck, and these bright strawberries saved the day, turning into glossy, chocolatey little presents that vanished in minutes. I still remember the thrill of that first crack of tempered chocolate as it cooled, and how the aroma of warm chocolate filled the kitchen while my guests chatted in the living room.
Over the years I learned that success hinges on a few tiny details, like patting the strawberries completely dry and choosing the right kind of chocolate. I started swapping between semisweet and milk depending on company, and even kept a jar of refined coconut oil on hand to keep the ganache silky. There is a comfort in the ritual too, dipping each berry slowly, listening for the tiny soft thud as excess chocolate drips away onto parchment.
Recipe Snapshot
16 mins
15 mins
1 mins
Easy
200 kcal
American
Keto, Gluten-Free
Desserts
Microwave safe bowl, Parchment paper, Baking sheet, Paper towels
The Beauty of This Chocolate Covered Strawberries
The instant wow factor
I adore how quickly Chocolate Covered Strawberries transform from simple to show stopping. When guests arrive, the sight of glossy, perfectly coated strawberries on a platter feels celebratory. They require minimal prep, yet visually they read as thoughtful and luxurious, which makes them one of my favorite last minute desserts to bring to a gathering.
Minimal ingredients, maximum impact
One of the reasons I keep this recipe in my back pocket is how few components are involved. With just strawberries, chocolate, and a touch of coconut oil, you get a layered flavor experience. The bright acidity of the fruit balances the sweet, rich chocolate, and the oil helps the coating set with a beautiful sheen. It is efficient and reliable, which I appreciate on busy nights.
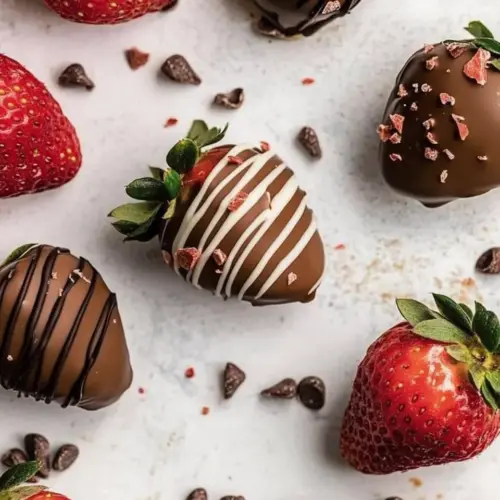
Endless customization
I love that each batch invites creativity. Rolling the berries in chopped nuts or toasted coconut, or drizzling contrasting melted chocolate, changes the texture and visual appeal. I often tailor toppings to the occasion, swapping sprinkles for crushed cookies when serving kids, or nuts for adult gatherings. That flexibility keeps the recipe exciting to revisit.
Perfect for special occasions
For holidays like Valentine’s Day these feel particularly apt, but they also suit bridal showers and quiet date nights. Their portability and single bite format make them ideal for parties. I especially value how they look on a platter, arranged with care, because presentation matters when you want to make an impression with minimal effort.
Fast to make, quick to vanish
Time is often limited, and I appreciate that these come together in under an hour from start to finish. That speed means you can make them the day of your event, keeping the berries at peak freshness. Watching everyone reach for one, smiling as their teeth break through the shell to the juicy center, is one of my greatest kitchen rewards.
Ingredients to Make Chocolate Covered Strawberries
These ingredients are simple, but each plays a clear role. The strawberries bring brightness and texture, the chocolate provides sweetness and structure, and the coconut oil smooths the melted chocolate, improving gloss and flow. Together they create a contrast of cool fruit and warm, set chocolate that feels indulgent yet effortless.
- 1 pound (454 g) strawberries: Rinse and dry thoroughly to remove dirt and extend shelf life; provide a fresh, juicy base that complements the chocolate coating and adds bright flavor and natural sweetness when served chilled.
- 8 ounces (227 g) chocolate, dark, semisweet, milk, or white: Melt and temper for a glossy, stable coating; supply the primary sweet or bittersweet flavor profile and textural contrast to the fruit while setting firm around the strawberries for an attractive finish.
- 1 tablespoon (14 g) coconut oil, refined: Melt into chocolate to improve flow and sheen; act as a plasticizer to produce a smoother, shinier coating that sets with a delicate snap while preventing chocolate bloom and easing dipping.
Step by Step Guide for Chocolate Covered Strawberries
I like to approach the process with calm focus, prepping and laying out everything before melting chocolate. With the strawberries cleaned and the parchment ready, the dipping moves quickly and smoothly.
- Wash the strawberries, rinsing them well under cold water. Then, take a paper towel and individually dry each strawberry, ensuring there is no excess water. Place them on a layer of paper towels to finish drying completely. This is super important; if the strawberries are even the slightest bit damp, the chocolate will not adhere.: The moment you bring cold water to the strawberries they release earth and any residual dirt, and you will notice the fragrance intensify as the water runs off. Patience here matters because any lingering moisture prevents chocolate adhesion. A common mistake is hurrying this step, which leads to chocolate sliding off or not setting properly. Make sure you handle each berry gently, keeping the stem intact to use as a natural handle while dipping.
- Line a baking sheet with parchment paper and set it aside. Assemble any optional toppings, if using.: Rubbing each strawberry dry with a paper towel eliminates tiny droplets that can cause the chocolate to seize. You will feel a slight resistance as you dry, and the berry surface will become satiny to the touch. If the towel is damp, switch to a fresh sheet to avoid reintroducing moisture. Avoid storing wet berries in a container, as trapped humidity will compromise the coating later.
- Place your chocolate and coconut oil in a microwave-safe bowl and heat in 30-second intervals on 50% power, stirring after each, until completely melted.: When you set the strawberries on paper towels they continue to wick moisture away, and you can observe subtle changes in their sheen as they dry. Letting them rest undisturbed ensures the chocolate will cling evenly. Rushing this can cause streaky or patchy chocolate coverage, so I give them a quiet ten minutes while I prepare the work surface and toppings.
- Take the strawberries one at a time and, holding them by the stem, dip them into the chocolate, ensuring it is completely coated, leaving a small bit at the top uncoated. Gently turn the strawberry to let excess chocolate drip off.: Moisture is the enemy of a smooth coating, and even tiny beads can make melted chocolate separate or slip off. You may notice small popping sounds if water meets hot chocolate, and that is a clear sign to dry more thoroughly. To avoid this, always check each berry under a bright light and feel for dampness before proceeding.
- If you are using optional toppings, roll the covered strawberries in the topping before placing them on the parchment-lined pan.: Preparing a parchment lined sheet gives you a nonstick surface that will catch drips and help the chocolate set evenly. The sound of berries settling on parchment is soft, and the contrast of glossy chocolate against the paper makes it easy to see progress. A common oversight is using wax paper, which can stick; always use parchment so the chocolate releases cleanly.
- Let the chocolate set at room temperature until firm, about 15 to 30 minutes. Once set, you can drizzle with additional melted chocolate if desired.: Having toppings ready means you can dip and finish without pausing, which keeps the melted chocolate at the right consistency. Arrange nuts, sprinkles, or crushed cookies in shallow bowls so the berries can roll through them easily. If you wait until after dipping to measure toppings, the chocolate can firm up too much and not accept the additions, so preparation is key.
- Place your chocolate and coconut oil in a microwave safe bowl and heat in 30 second intervals on 50% power, stirring after each, until completely melted: As you heat the chocolate you will see it soften, then become glossy and fluid as you stir. Stirring is crucial because it distributes heat and prevents hot pockets from burning the chocolate, which would make it grainy. If the chocolate becomes lumpy or smells scorched, stop and start over with fresh pieces, as burned chocolate cannot be rescued. The coconut oil blends in smoothly, creating a silky texture that glides off the spoon.
- Take the strawberries one at a time and, holding them by the stem, dip them into the chocolate, ensuring it is completely coated, leaving a small bit at the top uncoated: When you dip a berry the chocolate should flow over it like a thin cloak, pooling slightly at the base. Hold the berry steady and gently lift it, letting excess chocolate run back into the bowl before tapping the stem lightly to release drips. If the coating is too thick, the final bite will be clunky; if too thin, it might crack too easily. Aim for a medium coating that sets with a crisp snap and a warm aroma of melted chocolate .
- Gently turn the strawberry to let excess chocolate drip off: Rotating the strawberry allows gravity to do the work, and you will notice glossy rivers of chocolate smoothing out. Keep a steady wrist and a light touch; vigorous shaking can fling chocolate and create uneven finishes. If drips are stubborn, scrape the bottom edge of the berry on the bowl rim once to tidy the base, which gives a cleaner look when they rest on parchment.
- If you are using optional toppings, roll the covered strawberries in the topping before placing them on the parchment lined pan: Rolling while the chocolate is still wet ensures toppings adhere and bond into the coating, creating textural contrast. You might hear the light crunch of nuts meeting warm chocolate, and the added aroma of toasted toppings will bloom. A mistake to avoid is pressing toppings too hard, which can smear or flatten the berry; instead, roll gently so pieces sit neatly on the surface.
- Let the chocolate set at room temperature until firm, about 15 to 30 minutes: As the coating cools you will see it change from glossy to a slightly firmer sheen, and the sound when you tap it will shift from soft to a crisp click. Patience here rewards you with a clean snap and a smooth finish. Refrigerating can speed this, but it risks condensation forming on the strawberries , so I prefer room temperature unless I am in a hurry.
- Once set, you can drizzle with additional melted chocolate if desired: Drizzling creates pretty lines and adds another chocolate note to the treat, and the contrast in color can be striking. Use a spoon or piping bag for control, and move in a steady back and forth motion to create fine ribbons. A common slip is using chocolate that is too hot, which will run and flatten the base layer, so allow melted drizzle chocolate to cool slightly before decorating.
Customization Ideas
These Chocolate Covered Strawberries are a natural canvas for variations. Below are ideas to personalize texture, flavor, and presentation, each expanded into actionable tips you can try at home.
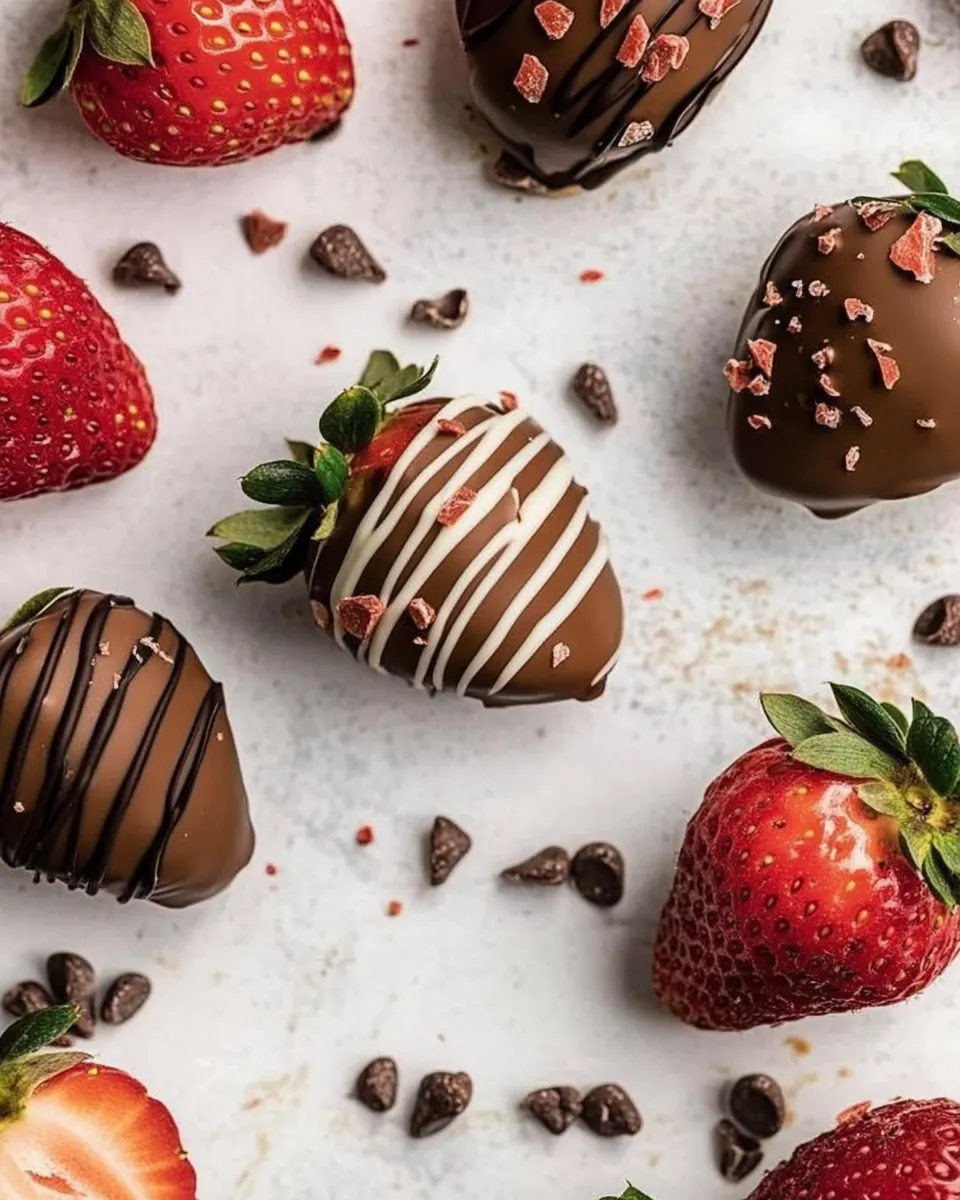
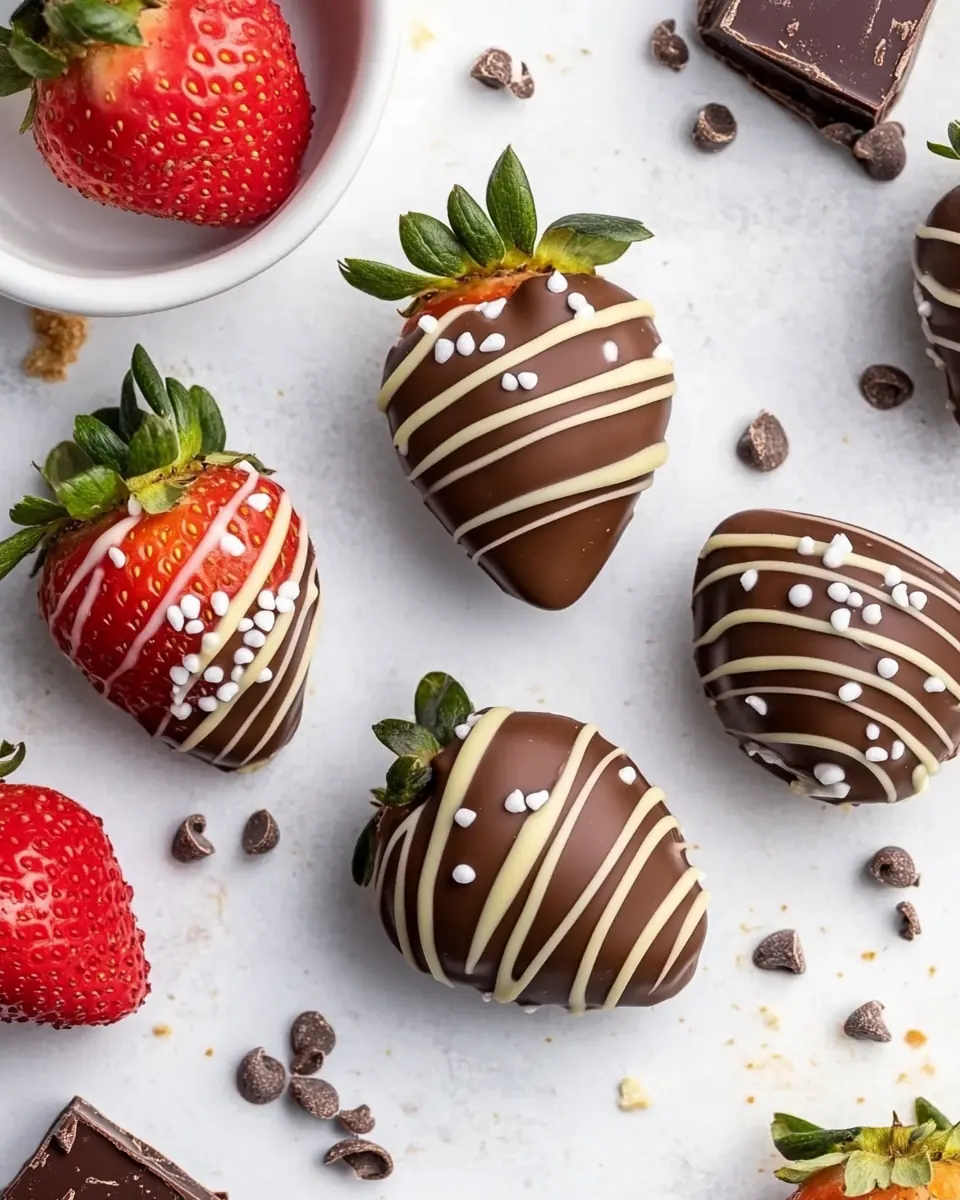
- Use different chocolate types – Swap between dark, semisweet, milk, or white chocolate to shift the flavor profile. Dark lends a sophisticated bitterness, milk reads creamy and nostalgic, and white offers a sweeter, buttery backdrop that pairs beautifully with tart strawberries. Combine two types for a marbled effect by drizzling one over the other once the base has set slightly.
- Add toasted nuts or seeds – Roll dipped strawberries in finely chopped toasted almonds, pistachios, or sesame seeds for crunch and savory contrast. Toasting intensifies aroma and helps the pieces adhere without drawing moisture from the berry. Chop to uniform sizes so the coating feels consistent and elegant.
- Try textured toppings – Press crushed cookies, graham cracker crumbs, or crushed pretzels into the wet chocolate for an interesting texture contrast. These toppings add a buttery or salty counterpoint that makes each bite more complex. Use a light hand to avoid smothering the berry’s freshness.
- Create decorative drizzles – Melt a contrasting chocolate and use a spoon or piping bag to drizzle thin lines across the set berries. Cooler drizzle chocolate holds shape more easily and creates clean lines. Practice your wrist motion on parchment before decorating the berries to steady your hand.
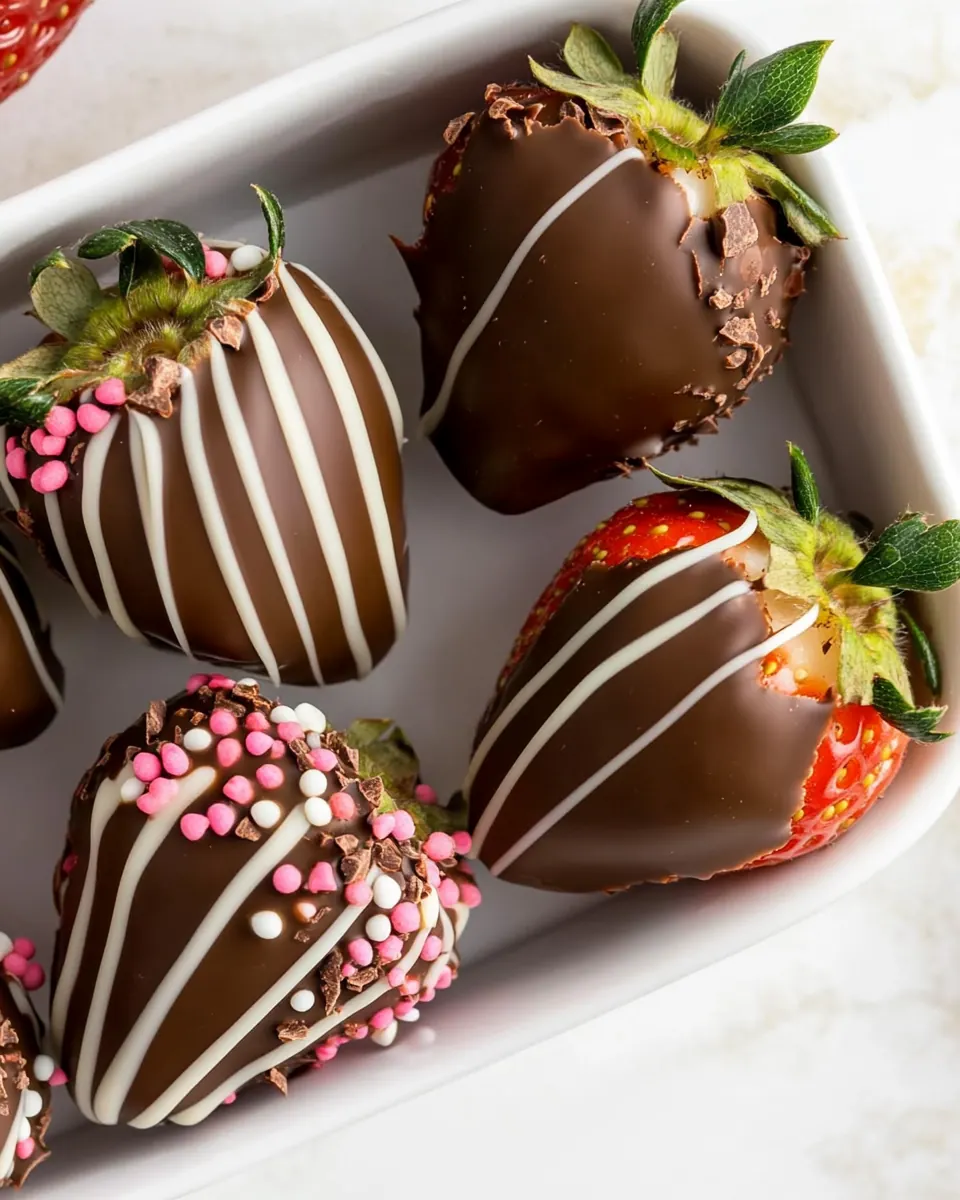
- Serve with matching accents – Present the berries on a platter with complementary colors, like a scattering of edible flowers or a few whole strawberries left uncoated for contrast. Visual variety makes the platter more inviting and helps guests choose; avoid overcrowding so each piece can be picked up without disturbing others.
Serving This Chocolate Covered Strawberries
These Chocolate Covered Strawberries shine at celebrations and intimate moments alike. They present beautifully, and with a little thought you can make them suit any occasion from casual brunches to holiday gatherings.
- Platter presentation – Arrange the berries in rows or concentric circles on a flat platter, alternating chocolate types for visual interest. Garnish with a few sprigs of mint for a fresh scent and color pop.
- Occasions – Ideal for Valentine’s Day, anniversaries, bridal showers, or as an elegant addition to dessert tables at parties. They work equally well for a simple dessert after a cozy dinner.
- Pairings – Serve alongside fresh fruit slices or light cookies to offer textural contrasts. For a more adult pairing, consider chocolate tastes that complement coffee or non alcoholic sparkling beverages.
- Storage – Keep leftovers in a single layer, uncovered, in the refrigerator for up to two days. To preserve texture, avoid stacking berries as this can cause the coating to stick together.
- Seasonal touches – For spring events, add edible flower petals or pastel sprinkles for a festive look; for winter, choose darker chocolate and nut toppings for a richer presentation.
FAQ
Conclusion
What makes this recipe special is its combination of simplicity and elegance, giving you a dessert that looks and tastes like a treat without complex steps. Try making a batch for an upcoming celebration or a quiet night in, and notice how a few thoughtful details transform simple ingredients into something memorable. Enjoy the process of dipping, decorating, and sharing, and take pleasure in the smiles that follow when guests taste the contrast of juicy strawberries and smooth chocolate.
Chocolate Covered Strawberries
Equipment
- Microwave-safe Bowl
- Parchment Paper
- Baking Sheet
- Paper towels
Ingredients
- 1 pound (454 g) strawberries Rinse and dry thoroughly to remove dirt and extend shelf life; provide a fresh, juicy base that complements the chocolate coating and adds bright flavor and natural sweetness when served chilled.
- 8 ounces (227 g) chocolate, dark, semisweet, milk, or white Melt and temper for a glossy, stable coating; supply the primary sweet or bittersweet flavor profile and textural contrast to the fruit while setting firm around the strawberries for an attractive finish.
- 1 tablespoon (14 g) coconut oil, refined Melt into chocolate to improve flow and sheen; act as a plasticizer to produce a smoother, shinier coating that sets with a delicate snap while preventing chocolate bloom and easing dipping.
Instructions
- Wash the strawberries, rinsing them well under cold water. Then, take a paper towel and individually dry each strawberry, ensuring there is no excess water. Place them on a layer of paper towels to finish drying completely. This is super important; if the strawberries are even the slightest bit damp, the chocolate will not adhere.: The moment you bring cold water to the strawberries they release earth and any residual dirt, and you will notice the fragrance intensify as the water runs off. Patience here matters because any lingering moisture prevents chocolate adhesion. A common mistake is hurrying this step, which leads to chocolate sliding off or not setting properly. Make sure you handle each berry gently, keeping the stem intact to use as a natural handle while dipping.
- Line a baking sheet with parchment paper and set it aside. Assemble any optional toppings, if using.: Rubbing each strawberry dry with a paper towel eliminates tiny droplets that can cause the chocolate to seize. You will feel a slight resistance as you dry, and the berry surface will become satiny to the touch. If the towel is damp, switch to a fresh sheet to avoid reintroducing moisture. Avoid storing wet berries in a container, as trapped humidity will compromise the coating later.
- Place your chocolate and coconut oil in a microwave-safe bowl and heat in 30-second intervals on 50% power, stirring after each, until completely melted.: When you set the strawberries on paper towels they continue to wick moisture away, and you can observe subtle changes in their sheen as they dry. Letting them rest undisturbed ensures the chocolate will cling evenly. Rushing this can cause streaky or patchy chocolate coverage, so I give them a quiet ten minutes while I prepare the work surface and toppings.
- Take the strawberries one at a time and, holding them by the stem, dip them into the chocolate, ensuring it is completely coated, leaving a small bit at the top uncoated. Gently turn the strawberry to let excess chocolate drip off.: Moisture is the enemy of a smooth coating, and even tiny beads can make melted chocolate separate or slip off. You may notice small popping sounds if water meets hot chocolate, and that is a clear sign to dry more thoroughly. To avoid this, always check each berry under a bright light and feel for dampness before proceeding.
- If you are using optional toppings, roll the covered strawberries in the topping before placing them on the parchment-lined pan.: Preparing a parchment lined sheet gives you a nonstick surface that will catch drips and help the chocolate set evenly. The sound of berries settling on parchment is soft, and the contrast of glossy chocolate against the paper makes it easy to see progress. A common oversight is using wax paper, which can stick; always use parchment so the chocolate releases cleanly.
- Let the chocolate set at room temperature until firm, about 15 to 30 minutes. Once set, you can drizzle with additional melted chocolate if desired.: Having toppings ready means you can dip and finish without pausing, which keeps the melted chocolate at the right consistency. Arrange nuts, sprinkles, or crushed cookies in shallow bowls so the berries can roll through them easily. If you wait until after dipping to measure toppings, the chocolate can firm up too much and not accept the additions, so preparation is key.
- Place your chocolate and coconut oil in a microwave safe bowl and heat in 30 second intervals on 50% power, stirring after each, until completely melted: As you heat the chocolate you will see it soften, then become glossy and fluid as you stir. Stirring is crucial because it distributes heat and prevents hot pockets from burning the chocolate, which would make it grainy. If the chocolate becomes lumpy or smells scorched, stop and start over with fresh pieces, as burned chocolate cannot be rescued. The coconut oil blends in smoothly, creating a silky texture that glides off the spoon.
- Take the strawberries one at a time and, holding them by the stem, dip them into the chocolate, ensuring it is completely coated, leaving a small bit at the top uncoated: When you dip a berry the chocolate should flow over it like a thin cloak, pooling slightly at the base. Hold the berry steady and gently lift it, letting excess chocolate run back into the bowl before tapping the stem lightly to release drips. If the coating is too thick, the final bite will be clunky; if too thin, it might crack too easily. Aim for a medium coating that sets with a crisp snap and a warm aroma of melted chocolate .
- Gently turn the strawberry to let excess chocolate drip off: Rotating the strawberry allows gravity to do the work, and you will notice glossy rivers of chocolate smoothing out. Keep a steady wrist and a light touch; vigorous shaking can fling chocolate and create uneven finishes. If drips are stubborn, scrape the bottom edge of the berry on the bowl rim once to tidy the base, which gives a cleaner look when they rest on parchment.
- If you are using optional toppings, roll the covered strawberries in the topping before placing them on the parchment lined pan: Rolling while the chocolate is still wet ensures toppings adhere and bond into the coating, creating textural contrast. You might hear the light crunch of nuts meeting warm chocolate, and the added aroma of toasted toppings will bloom. A mistake to avoid is pressing toppings too hard, which can smear or flatten the berry; instead, roll gently so pieces sit neatly on the surface.
- Let the chocolate set at room temperature until firm, about 15 to 30 minutes: As the coating cools you will see it change from glossy to a slightly firmer sheen, and the sound when you tap it will shift from soft to a crisp click. Patience here rewards you with a clean snap and a smooth finish. Refrigerating can speed this, but it risks condensation forming on the strawberries , so I prefer room temperature unless I am in a hurry.
- Once set, you can drizzle with additional melted chocolate if desired: Drizzling creates pretty lines and adds another chocolate note to the treat, and the contrast in color can be striking. Use a spoon or piping bag for control, and move in a steady back and forth motion to create fine ribbons. A common slip is using chocolate that is too hot, which will run and flatten the base layer, so allow melted drizzle chocolate to cool slightly before decorating.
Notes
- Use different chocolate types - Swap between dark, semisweet, milk, or white chocolate to shift the flavor profile. Dark lends a sophisticated bitterness, milk reads creamy and nostalgic, and white offers a sweeter, buttery backdrop that pairs beautifully with tart strawberries. Combine two types for a marbled effect by drizzling one over the other once the base has set slightly.
- Add toasted nuts or seeds - Roll dipped strawberries in finely chopped toasted almonds, pistachios, or sesame seeds for crunch and savory contrast. Toasting intensifies aroma and helps the pieces adhere without drawing moisture from the berry. Chop to uniform sizes so the coating feels consistent and elegant.
- Try textured toppings - Press crushed cookies, graham cracker crumbs, or crushed pretzels into the wet chocolate for an interesting texture contrast. These toppings add a buttery or salty counterpoint that makes each bite more complex. Use a light hand to avoid smothering the berry's freshness.
- Create decorative drizzles - Melt a contrasting chocolate and use a spoon or piping bag to drizzle thin lines across the set berries. Cooler drizzle chocolate holds shape more easily and creates clean lines. Practice your wrist motion on parchment before decorating the berries to steady your hand.
- Serve with matching accents - Present the berries on a platter with complementary colors, like a scattering of edible flowers or a few whole strawberries left uncoated for contrast. Visual variety makes the platter more inviting and helps guests choose; avoid overcrowding so each piece can be picked up without disturbing others.