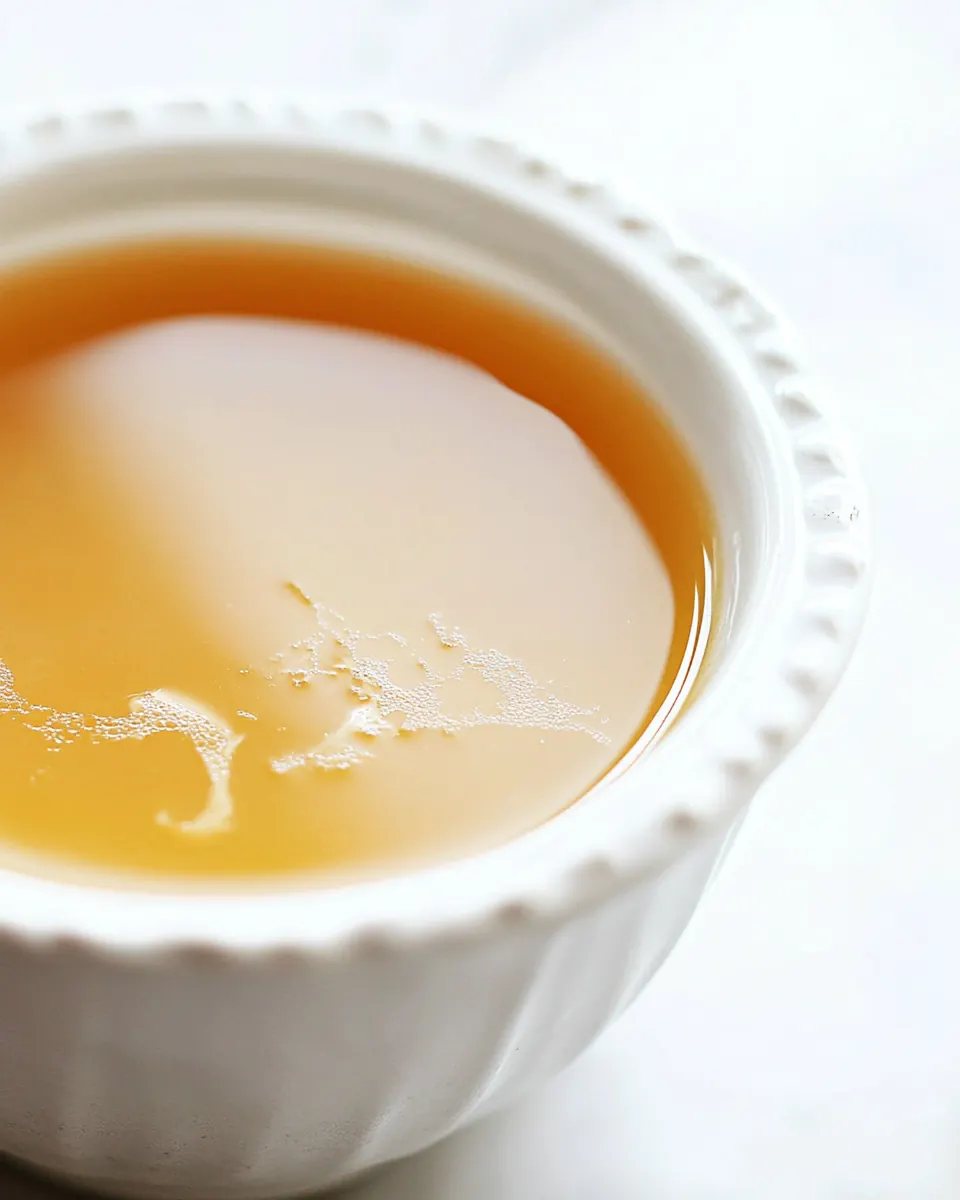
Chicken Broth
Chicken Broth is the kind of kitchen magic I fall back on whenever I want something honest and nourishing. The first time I made a big batch, I was nursing a cold and the steam from the pot felt like a warm blanket. I remember tucking a towel around the pot lid and pacing the kitchen while the house filled with a gentle, savory perfume that promised comfort.
Over the years I learned to treat this stock as more than soup base, it’s a flavor foundation that lifts everything from rice to sauces. I started saving bones in the freezer until I had a pile big enough, and that little ritual of collecting remnants made each batch taste like a story. When friends stop by, I offer them a cup, and their relaxed faces tell me I did something right.
Recipe Snapshot
50 mins
5 mins
45 mins
Medium
150 kcal
American
Gluten-Free, Paleo
Soups
Pressure Cooker, Slow Cooker, Stock Pot, Fine mesh strainer
Why This Chicken Broth Is So Good
Deep, layered flavor from humble ingredients
I love how a few simple items turn into something rich and complex. Using roasted or raw bones with onions, carrots, and celery creates layers of savory, sweet, and vegetal notes. The simmer time teases out gelatin and minerals, and that texture is what makes soups and sauces feel luxurious.
Versatility in the kitchen
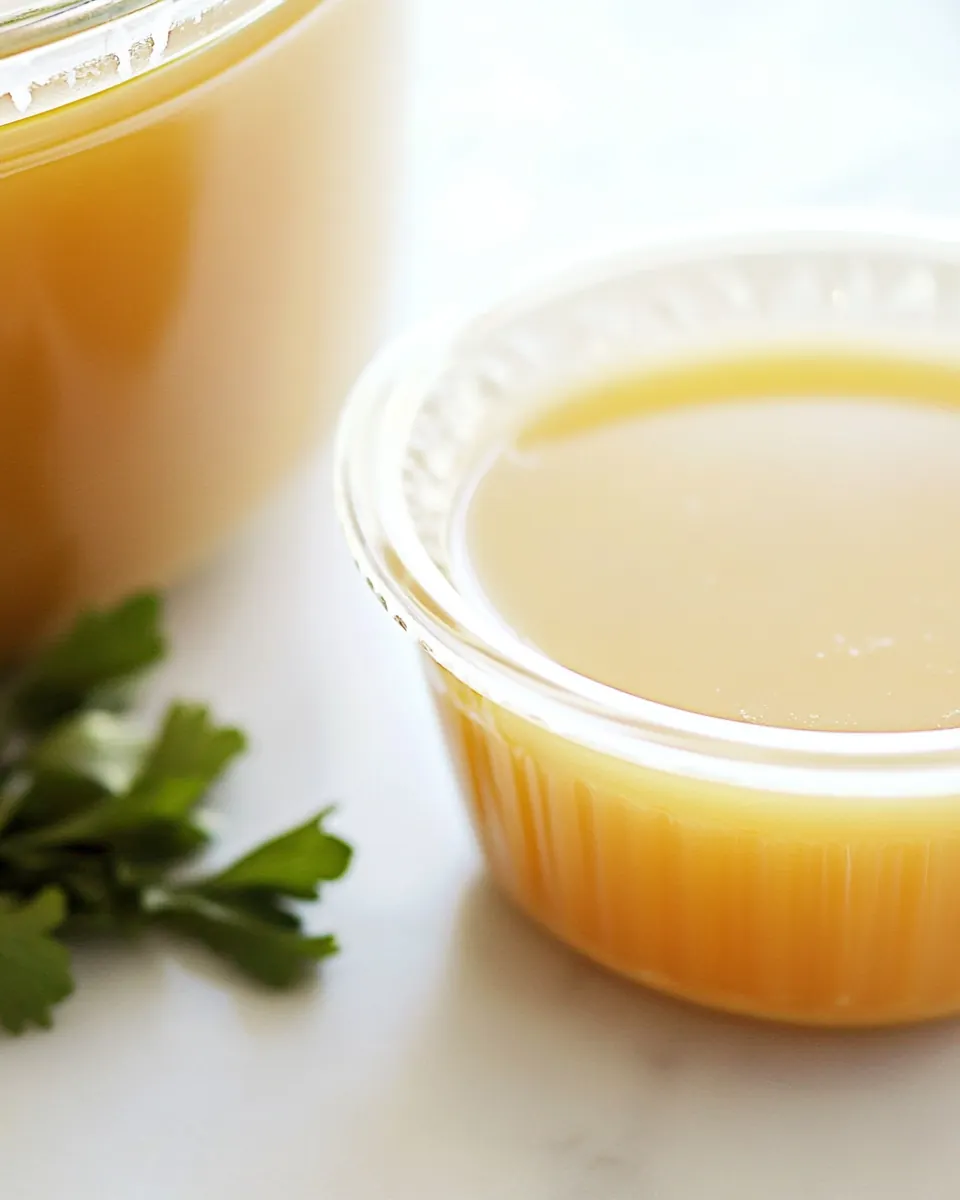
This version of Chicken Broth works for so many dishes, I keep a jar in the fridge at all times. It’s a quick way to upgrade a pan sauce, to cook grains, or to make a restorative bowl of soup. I often split a batch into portions so I have the right amount for both weeknight dinners and more elaborate meals.
Multiple methods to suit your gear
I appreciate the choice between pressure cooker, slow cooker, or stovetop. Each method delivers a slightly different character, and I choose based on time and patience. When I need broth fast, the pressure cooker gives depth without hours of attention. For lazy weekend simmering, the slow cooker makes hands off comfort.
Economical and sustainable
Making your own Chicken Broth is an excellent way to reduce waste and stretch grocery dollars. Saving bones and vegetable scraps means flavor that would otherwise be tossed adds value to many meals. I find it satisfying to turn leftovers into something nourishing, and guests always notice the homemade difference.
Customizable salt and seasoning
I love that you control the seasoning. You can keep the broth mellow and add salt later in dishes, or finish with seasoning before storing for a quicker finish in recipes. That flexibility is why I prefer making stock at home rather than buying it pre salted.
Ingredients Required for Chicken Broth
These ingredients form a classic, balanced stock. The bones provide body and gelatin, the aromatics give sweetness and complexity, and the herbs and spices add a subtle layer of warmth. Together they create a liquid that supports and elevates other dishes without overpowering them.
- 2 lb . chicken bones: Roast or simmer to extract deep, savory flavor and gelatin; provide the broth's body and mouthfeel. Break into smaller pieces if needed to release marrow and connective tissues during long simmering. Skim foam and impurities early to keep the stock clear and clean-tasting.
- 2 onions chopped: Sauté or char to build sweetness and aromatic depth, contributing savory complexity and subtle caramel notes. Chop roughly to release juices and essential oils that enrich the broth as it simmers. Add early so softened onions meld into the overall flavor profile.
- 2 carrots chopped: Add to provide natural sweetness, earthy aroma, and a subtle vegetal backbone that balances fat and savory elements. Chop to increase surface area so sugars and flavor compounds leach into the liquid. Simmer until tender to infuse gentle, rounded taste.
- 2 celery stalks chopped: Include for crisp aromatic celery notes and slight bitterness that brighten and balance richer elements. Chop to expose more surface for flavor extraction and to integrate texture into the stock. Simmer long enough to yield vegetal nuance without becoming overpowering.
- 1 handful parsley sprigs: Use for fresh, bright herbal lift that adds a green, slightly peppery note and aromatic complexity. Keep sprigs intact so leaves can be removed easily while still infusing flavor into the broth. Add toward the start or middle of the simmer to extract fragrance without turning bitter.
- 1 teaspoon whole black peppercorns: Crush or leave whole to release warm, pungent spice that rounds out the broth's flavor with subtle heat and depth. Use whole so peppercorns can be strained out easily after cooking while still contributing aromatic oils. Add with the other aromatics to disperse flavor evenly.
- 1 bay leaf: Add as a whole bay leaf to impart a subtle, savory herbaceous and slightly floral note that deepens the stock. Use one leaf to avoid overpowering bitterness; remove before serving. Simmer alongside other aromatics for a background layer of complexity.
- 1 cup roughly chopped leeks (optional): Include chopped leeks to lend a delicate, sweet onion-like flavor and additional aromatic depth when used. Use if desired for extra complexity and soft vegetal notes; wash thoroughly to remove grit before adding. Add early in the simmer to meld flavors, or later for a milder contribution.
- 12 cups water: Pour as the cooking medium to extract flavors, gelatin, and nutrients from bones and aromatics while controlling concentration. Use measured water to ensure proper stock strength; adjust simmer time based on desired reduction. Keep at a gentle simmer to preserve clarity and taste.
- Sea salt to taste: Season gradually to enhance and balance flavors, finishing to taste to avoid over-salting as the broth reduces. Use toward the end of cooking so concentration effects are accounted for, and adjust with small increments. Remember that low-sodium cooking allows flexible final seasoning.
Making Chicken Broth
Below are the stepwise directions adapted from classic pressure cooker, slow cooker, and stovetop approaches. I’ll walk you through sensory cues and troubleshooting, so you know you’re on the right track at each stage.
- Add all ingredients to your pressure cooker.: The aroma when you pile in chicken bones and rough chopped aromatics is immediate, a raw, vegetal scent that will mellow as heat transforms those elements. I like to arrange bones so they sit evenly, preventing hot spots. A common misstep here is overcrowding the pot, which can impede even extraction and make sealing problematic.
- Cover and seal the pressure cooker. Using the manual timer, set the pressure cooker to high for 25 minutes. Note: it will take time to come up to pressure with all that water!: it will take time to come up to pressure with all that water! : As the cooker comes to pressure, you will hear a rising series of clicks and a faint hissing, and the smell will become more concentrated and savory. This pressurized environment pulls gelatin and flavor efficiently, giving a deep body in a fraction of time. Be mindful not to overfill beyond the manufacturer s max fill line, which is a frequent mistake that causes messy releases.
- Once done, use natural pressure release for 10 minutes. Shut off pressure cooker. Carefully release any remaining steam and uncover.: During the natural release, the pot settles and the aromas deepen and round out. The broth will be hot and the surface may shimmer with a thin layer of fat, which helps lock flavor. Avoid the impulse to quick release right away, as that can cause violent sputtering and cooler broth extraction.
- Let the broth cool until it is easier to handle, and pour broth through a fine mesh strainer. You may want to strain twice!: As you strain, notice the clarity and scent, and how the liquid coats the back of a spoon. Straining twice removes small particulates for a cleaner mouthfeel. A typical error is pressing solids into the strainer, which pushes sediments through and makes the broth cloudy.
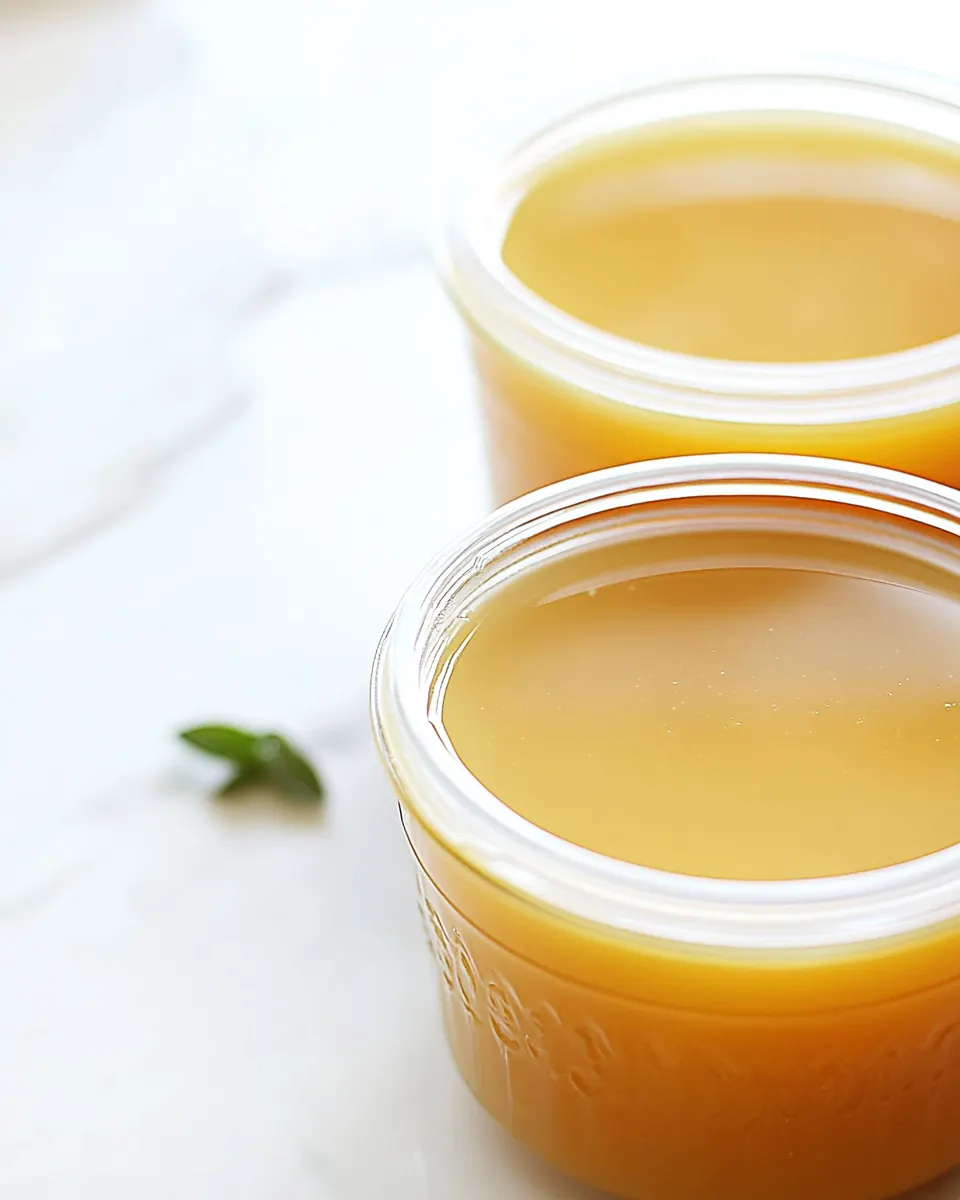
- Pour broth into storage containers and let cool completely before covering. Broth can be stored in the refrigerator for up to 5 days. If the broth is unused after 5 days bring it to a boil before using. You can also add salt here to taste, before storing, or add as using.: Cooling allows fat to congeal on the surface, which you can skim off for a leaner liquid. The smell at this point is mellow and balanced. Storing hot in sealed containers creates condensation and shorter shelf life, so patience here prevents spoilage.
- Combine all ingredients in a slow cooker and cover with just enough water to cover the vegetables and bones (this will vary depending on the size of your slow cooker).: In the slow cooker, the first hour brings out gentle, sweet aromas as the vegetables begin to soften. The low steady heat teases out gelatin slowly, producing a silky texture. A mistake is adding too much water which yields a weak tasting broth, so aim to just cover the bones and veg.
- Set it to low and cook for 8 to 10 hours.: Over the long simmer you will notice a gradual transformation from raw to richly savory, with a light steaming aroma that isn t overpowering. The slow method encourages clarity and depth, and the gentle bubbling prevents agitation that clouds stock. One common error is lifting the lid too often, which drops temperature and prolongs cooking time.
- Let the broth cool until it is easier to handle, and pour broth through a fine-mesh strainer. You may want to strain twice!: After long cooking the broth will be deeply aromatic and slightly viscous. Straining now removes softened vegetables and any small bone fragments. Be careful when pouring hot liquid into plastic containers, as the heat can warp them and cause leaching.
- Pour broth into storage containers and let cool completely before covering. Broth can be stored in the refrigerator for up to 5 days. If the broth is unused after 5 days bring it to a boil before using. You can also add salt here to taste, before storing, or add as using.: As it cools a thin layer of fat may rise and solidify, which you can remove if you prefer a lighter stock. The finished scent should be rounded and layered. A frequent oversight is sealing containers while still warm, which invites condensation and faster spoilage.
- Combine all ingredients in a very large stock pot and cover with just enough water to cover the vegetables and bones (this will vary depending on the size of your slow cooker).: On the stovetop you will get immediate visual cues, small rising bubbles, and a developing aroma as the heat extracts flavor. Starting with cold water and bringing it slowly to a simmer helps pull out collagen from the bones. A mistake is boiling too vigorously, which emulsifies fat and cloudies the broth.
- Bring it up to a boil over medium-high heat and then lower the heat to let the liquid simmer, continuing to cook, adding more water to keep the bones and veggies covered, for at least 2 hours. The longer you simmer the better.: As it simmers, the surface will show gentle movement and the aroma will grow steadier, deeper, and more savory. Periodic skimming of foam yields clearer stock and prevents bitter flavors. Over-simmering at high heat is the usual error, leading to reduced clarity and harsh aromas.
- Let the broth cool until it is easier to handle, and pour broth through a fine-mesh strainer. You may want to strain twice!: Once strained you ll see the color and translucence that indicate a well made stock, and the texture on the tongue will be rounded thanks to gelatine. Filtering through a cheesecloth if you want extra clarity is an option. Pressing solids through the strainer is a common mistake that reintroduces grit.
- Pour broth into storage containers and let cool completely before covering. Broth can be stored in the refrigerator for up to 5 days. If the broth is unused after 5 days bring it to a boil before using. You can also add salt here to taste, before storing, or add as using.: At this final step you re rewarded with a versatile liquid that brightens pan sauces and soups. Store in labeled containers so you always know age and salt level. Forgetting to cool before sealing is the usual culprit for shortened fridge life.
Ways to Customize
There are a few simple ways to tailor Chicken Broth to your needs, whether you want it lighter, richer, or more herbaceous. Below are practical tips drawn from my experience, expanded into usable suggestions.
- Make it richer, roast the bones at 400 F until browned first, this adds deep roasted notes and a darker color; watch carefully to avoid burning.
- Keep it light, skip roasting and use only raw bones with gentle simmering so the flavor stays clean and the color stays pale.
- Clarify for consommé, cool the broth and remove fat, then gently reheat with whisked egg whites to collect fine particles if you want crystal clear stock.
- Batch freezing, cool completely and freeze in portion sized containers or ice cube trays to make small amounts easy to grab for sauces or single servings.
- Adjust seasoning later, store unsalted when possible so you can season to taste when adding to recipes and avoid over salting.
Perfect Matches for Chicken Broth
Chicken Broth is a versatile base that pairs beautifully with many dishes and occasions. It s equally welcome at a quiet weekday lunch or as the foundation for a festive dinner. Below I outline serving styles, storage pointers, and suggested pairings to help you make the most of every batch.
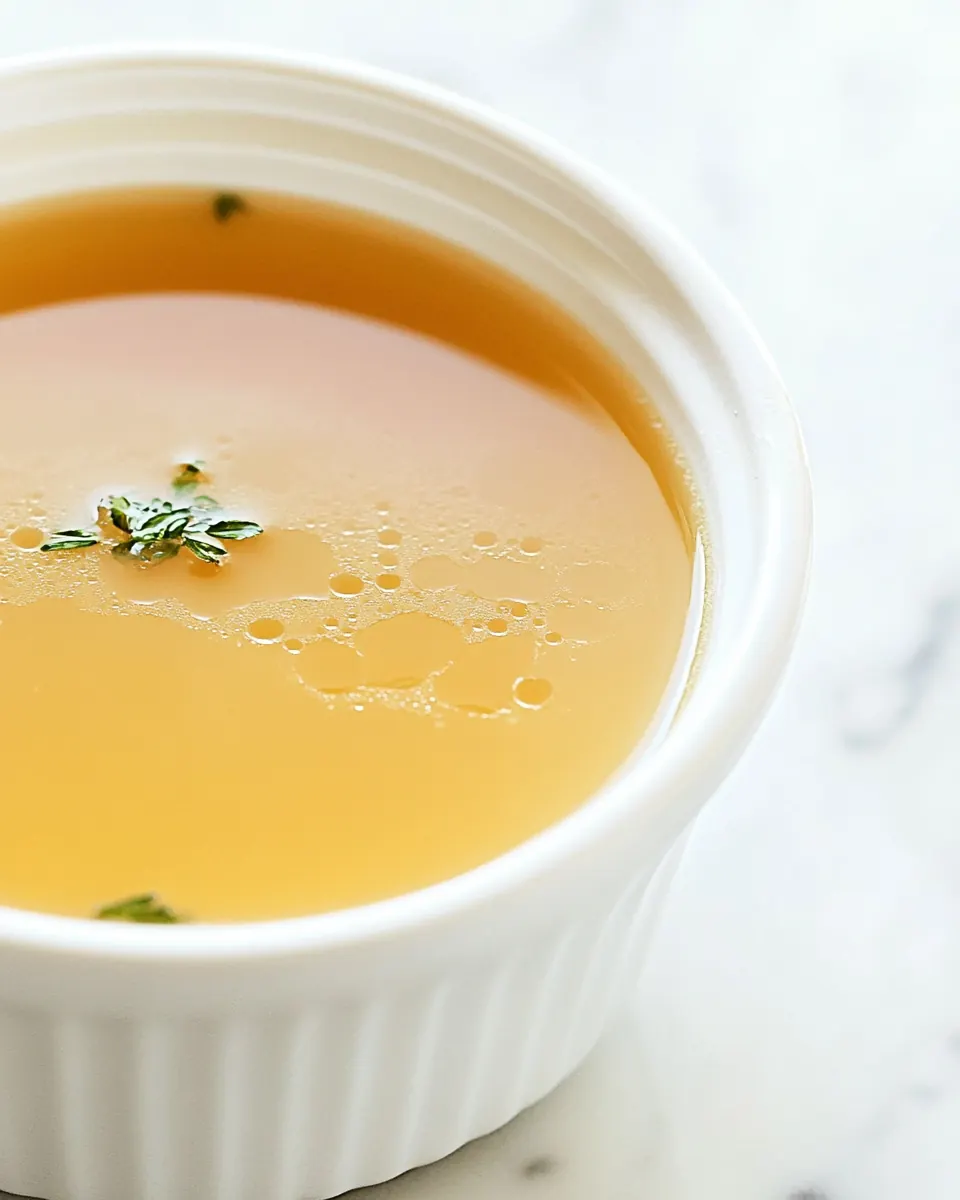
- Classic soup bowls, ladle warm broth into bowls with shredded meat and steamed vegetables for a light lunch or soothing dinner; garnish with fresh herbs for brightness.
- Cooking grains, use the broth to cook rice, quinoa, or barley to infuse them with savory depth and better texture, perfect for weeknight sides.
- Sauce base, reduce the broth to concentrate flavor and use it as the backbone of pan sauces for roasted or braised mains, adding richness without heaviness.
- Meal prep, store in labeled containers in the fridge for up to five days or freeze portions for up to three months; thaw in the fridge overnight for best results.
- Occasions, serve gently seasoned broth as a starter during winter dinners or Ramadan iftar; its restorative nature also suits recovery meals.
- Seasonal pairings, in winter use heartier herbs and long simmering to enhance warmth, while in transitional seasons keep it light with more fresh herbs added at the end.
FAQ
Conclusion
This Chicken Broth stands out for its comforting depth, economical use of scraps, and flexible preparation methods. It’s a simple technique that rewards patience with a liquid that enhances everything from weeknight soups to pan sauces, and it’s practical to freeze in portions for future use. I encourage you to try making a batch, adjust the seasoning to your preference, and notice how much more flavorful your meals become when you start from homemade stock. Homemade broth is one of those small acts in the kitchen that pays dividends in taste and satisfaction.

Chicken Broth
Equipment
- Pressure Cooker
- Slow Cooker
- Stock Pot
- Fine-mesh strainer
Ingredients
- 2 lb . chicken bones Roast or simmer to extract deep, savory flavor and gelatin; provide the broth's body and mouthfeel. Break into smaller pieces if needed to release marrow and connective tissues during long simmering. Skim foam and impurities early to keep the stock clear and clean-tasting.
- 2 onions chopped Sauté or char to build sweetness and aromatic depth, contributing savory complexity and subtle caramel notes. Chop roughly to release juices and essential oils that enrich the broth as it simmers. Add early so softened onions meld into the overall flavor profile.
- 2 carrots chopped Add to provide natural sweetness, earthy aroma, and a subtle vegetal backbone that balances fat and savory elements. Chop to increase surface area so sugars and flavor compounds leach into the liquid. Simmer until tender to infuse gentle, rounded taste.
- 2 celery stalks chopped Include for crisp aromatic celery notes and slight bitterness that brighten and balance richer elements. Chop to expose more surface for flavor extraction and to integrate texture into the stock. Simmer long enough to yield vegetal nuance without becoming overpowering.
- 1 handful parsley sprigs Use for fresh, bright herbal lift that adds a green, slightly peppery note and aromatic complexity. Keep sprigs intact so leaves can be removed easily while still infusing flavor into the broth. Add toward the start or middle of the simmer to extract fragrance without turning bitter.
- 1 teaspoon whole black peppercorns Crush or leave whole to release warm, pungent spice that rounds out the broth's flavor with subtle heat and depth. Use whole so peppercorns can be strained out easily after cooking while still contributing aromatic oils. Add with the other aromatics to disperse flavor evenly.
- 1 bay leaf Add as a whole bay leaf to impart a subtle, savory herbaceous and slightly floral note that deepens the stock. Use one leaf to avoid overpowering bitterness; remove before serving. Simmer alongside other aromatics for a background layer of complexity.
- 1 cup roughly chopped leeks optional Include chopped leeks to lend a delicate, sweet onion-like flavor and additional aromatic depth when used. Use if desired for extra complexity and soft vegetal notes; wash thoroughly to remove grit before adding. Add early in the simmer to meld flavors, or later for a milder contribution.
- 12 cups water Pour as the cooking medium to extract flavors, gelatin, and nutrients from bones and aromatics while controlling concentration. Use measured water to ensure proper stock strength; adjust simmer time based on desired reduction. Keep at a gentle simmer to preserve clarity and taste.
- Sea salt to taste Season gradually to enhance and balance flavors, finishing to taste to avoid over-salting as the broth reduces. Use toward the end of cooking so concentration effects are accounted for, and adjust with small increments. Remember that low-sodium cooking allows flexible final seasoning.
Instructions
- Add all ingredients to your pressure cooker.: The aroma when you pile in chicken bones and rough chopped aromatics is immediate, a raw, vegetal scent that will mellow as heat transforms those elements. I like to arrange bones so they sit evenly, preventing hot spots. A common misstep here is overcrowding the pot, which can impede even extraction and make sealing problematic.
- Cover and seal the pressure cooker. Using the manual timer, set the pressure cooker to high for 25 minutes. Note: it will take time to come up to pressure with all that water!: it will take time to come up to pressure with all that water! : As the cooker comes to pressure, you will hear a rising series of clicks and a faint hissing, and the smell will become more concentrated and savory. This pressurized environment pulls gelatin and flavor efficiently, giving a deep body in a fraction of time. Be mindful not to overfill beyond the manufacturer s max fill line, which is a frequent mistake that causes messy releases.
- Once done, use natural pressure release for 10 minutes. Shut off pressure cooker. Carefully release any remaining steam and uncover.: During the natural release, the pot settles and the aromas deepen and round out. The broth will be hot and the surface may shimmer with a thin layer of fat, which helps lock flavor. Avoid the impulse to quick release right away, as that can cause violent sputtering and cooler broth extraction.
- Let the broth cool until it is easier to handle, and pour broth through a fine mesh strainer. You may want to strain twice!: As you strain, notice the clarity and scent, and how the liquid coats the back of a spoon. Straining twice removes small particulates for a cleaner mouthfeel. A typical error is pressing solids into the strainer, which pushes sediments through and makes the broth cloudy.
- Pour broth into storage containers and let cool completely before covering. Broth can be stored in the refrigerator for up to 5 days. If the broth is unused after 5 days bring it to a boil before using. You can also add salt here to taste, before storing, or add as using.: Cooling allows fat to congeal on the surface, which you can skim off for a leaner liquid. The smell at this point is mellow and balanced. Storing hot in sealed containers creates condensation and shorter shelf life, so patience here prevents spoilage.
- Combine all ingredients in a slow cooker and cover with just enough water to cover the vegetables and bones (this will vary depending on the size of your slow cooker).: In the slow cooker, the first hour brings out gentle, sweet aromas as the vegetables begin to soften. The low steady heat teases out gelatin slowly, producing a silky texture. A mistake is adding too much water which yields a weak tasting broth, so aim to just cover the bones and veg.
- Set it to low and cook for 8 to 10 hours.: Over the long simmer you will notice a gradual transformation from raw to richly savory, with a light steaming aroma that isn t overpowering. The slow method encourages clarity and depth, and the gentle bubbling prevents agitation that clouds stock. One common error is lifting the lid too often, which drops temperature and prolongs cooking time.
- Let the broth cool until it is easier to handle, and pour broth through a fine-mesh strainer. You may want to strain twice!: After long cooking the broth will be deeply aromatic and slightly viscous. Straining now removes softened vegetables and any small bone fragments. Be careful when pouring hot liquid into plastic containers, as the heat can warp them and cause leaching.
- Pour broth into storage containers and let cool completely before covering. Broth can be stored in the refrigerator for up to 5 days. If the broth is unused after 5 days bring it to a boil before using. You can also add salt here to taste, before storing, or add as using.: As it cools a thin layer of fat may rise and solidify, which you can remove if you prefer a lighter stock. The finished scent should be rounded and layered. A frequent oversight is sealing containers while still warm, which invites condensation and faster spoilage.
- Combine all ingredients in a very large stock pot and cover with just enough water to cover the vegetables and bones (this will vary depending on the size of your slow cooker).: On the stovetop you will get immediate visual cues, small rising bubbles, and a developing aroma as the heat extracts flavor. Starting with cold water and bringing it slowly to a simmer helps pull out collagen from the bones. A mistake is boiling too vigorously, which emulsifies fat and cloudies the broth.
- Bring it up to a boil over medium-high heat and then lower the heat to let the liquid simmer, continuing to cook, adding more water to keep the bones and veggies covered, for at least 2 hours. The longer you simmer the better.: As it simmers, the surface will show gentle movement and the aroma will grow steadier, deeper, and more savory. Periodic skimming of foam yields clearer stock and prevents bitter flavors. Over-simmering at high heat is the usual error, leading to reduced clarity and harsh aromas.
- Let the broth cool until it is easier to handle, and pour broth through a fine-mesh strainer. You may want to strain twice!: Once strained you ll see the color and translucence that indicate a well made stock, and the texture on the tongue will be rounded thanks to gelatine. Filtering through a cheesecloth if you want extra clarity is an option. Pressing solids through the strainer is a common mistake that reintroduces grit.
- Pour broth into storage containers and let cool completely before covering. Broth can be stored in the refrigerator for up to 5 days. If the broth is unused after 5 days bring it to a boil before using. You can also add salt here to taste, before storing, or add as using.: At this final step you re rewarded with a versatile liquid that brightens pan sauces and soups. Store in labeled containers so you always know age and salt level. Forgetting to cool before sealing is the usual culprit for shortened fridge life.
Notes
- Make it richer, roast the bones at 400 F until browned first, this adds deep roasted notes and a darker color; watch carefully to avoid burning.
- Keep it light, skip roasting and use only raw bones with gentle simmering so the flavor stays clean and the color stays pale.
- Clarify for consommé, cool the broth and remove fat, then gently reheat with whisked egg whites to collect fine particles if you want crystal clear stock.
- Batch freezing, cool completely and freeze in portion sized containers or ice cube trays to make small amounts easy to grab for sauces or single servings.
- Adjust seasoning later, store unsalted when possible so you can season to taste when adding to recipes and avoid over salting.