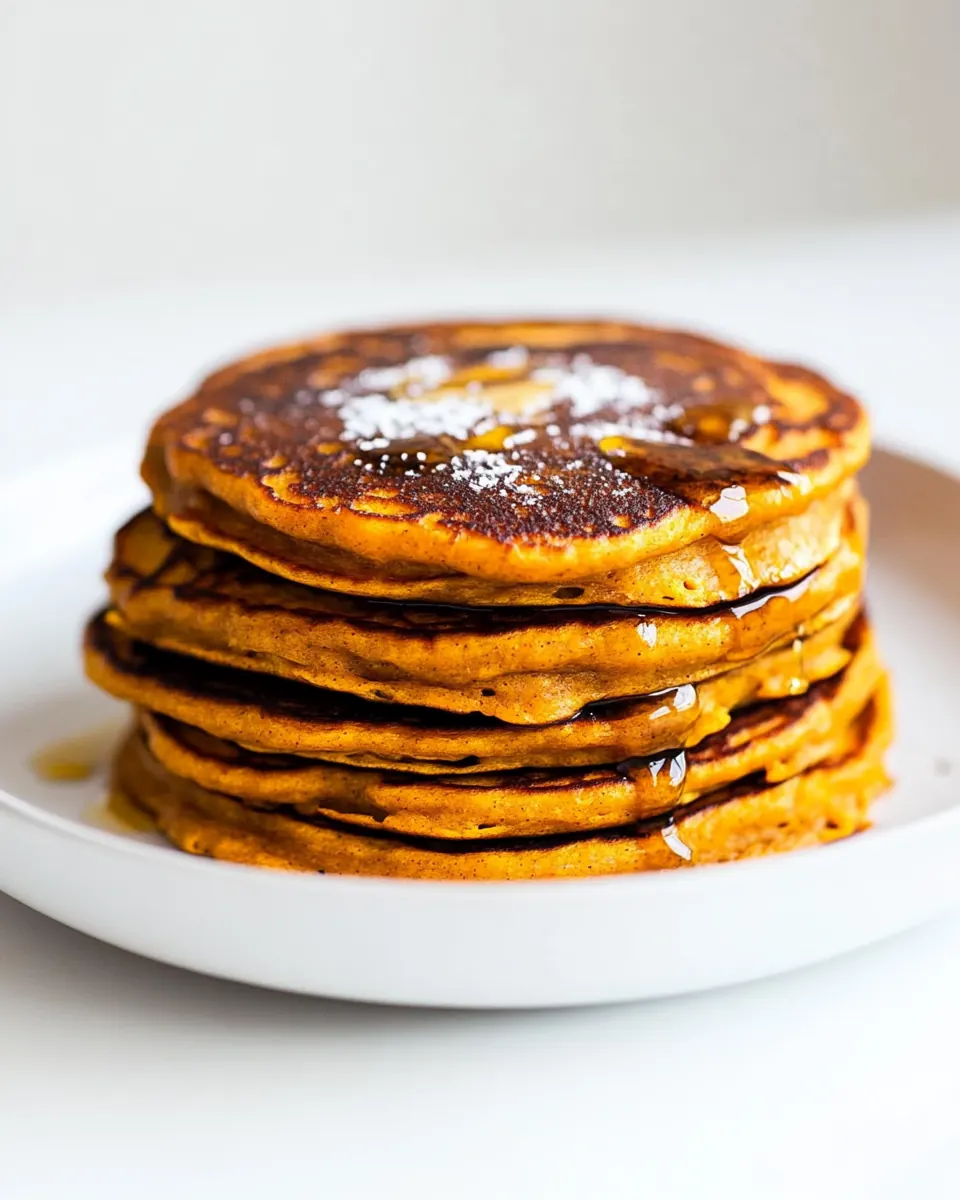
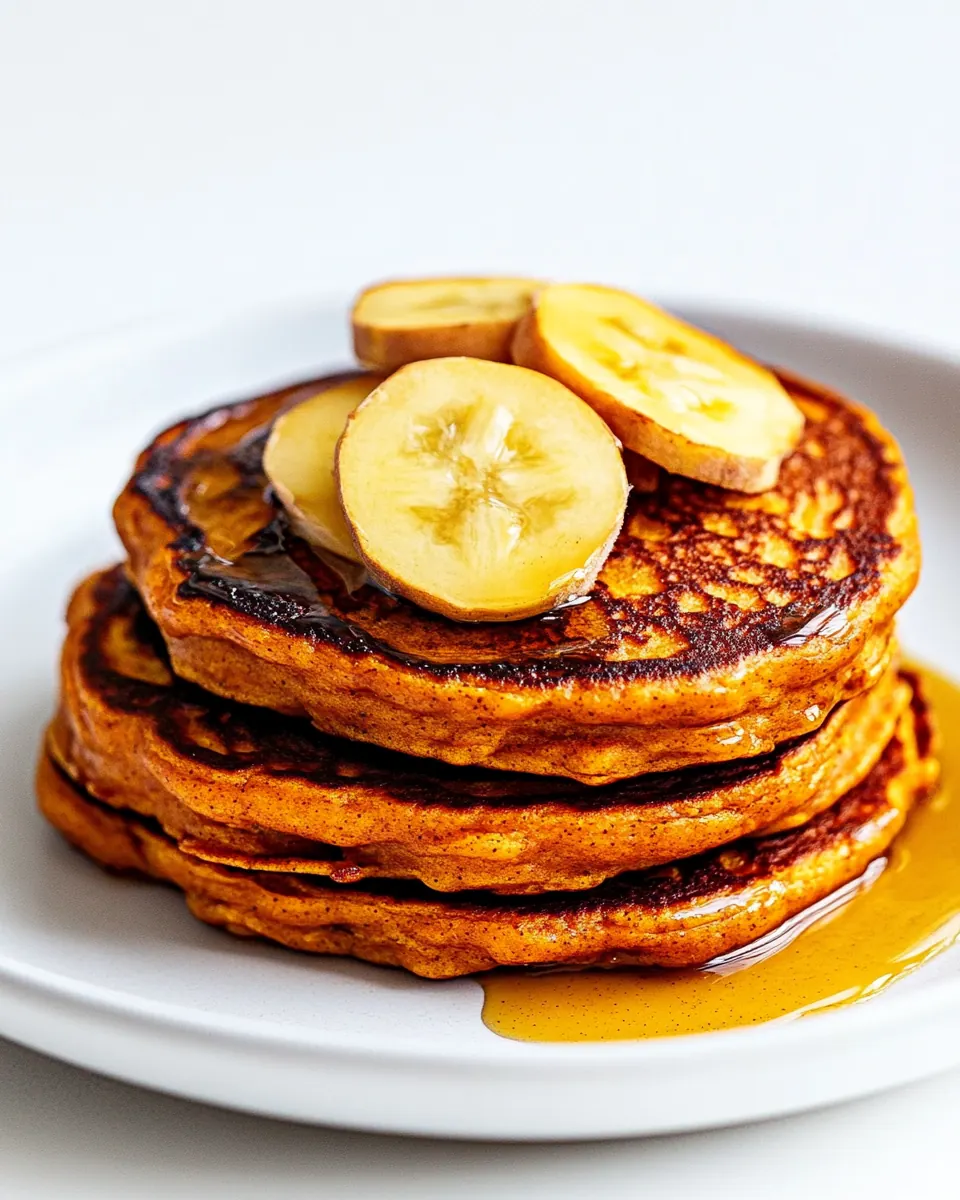
2 Ingredient Sweet Potato Pancakes
2 Ingredient Sweet Potato Pancakes started showing up on my weekend table one crisp autumn morning when I had more roasted sweet potatoes than I knew what to do with. I remember scooping forkfuls of warm, mashed sweet potatoes into a bowl and thinking how lucky I was to have something so simple and comforting on hand. I mixed them with a couple of eggs, and before long the kitchen smelled faintly of baked potato and sweet, toasty caramel notes that made me smile.
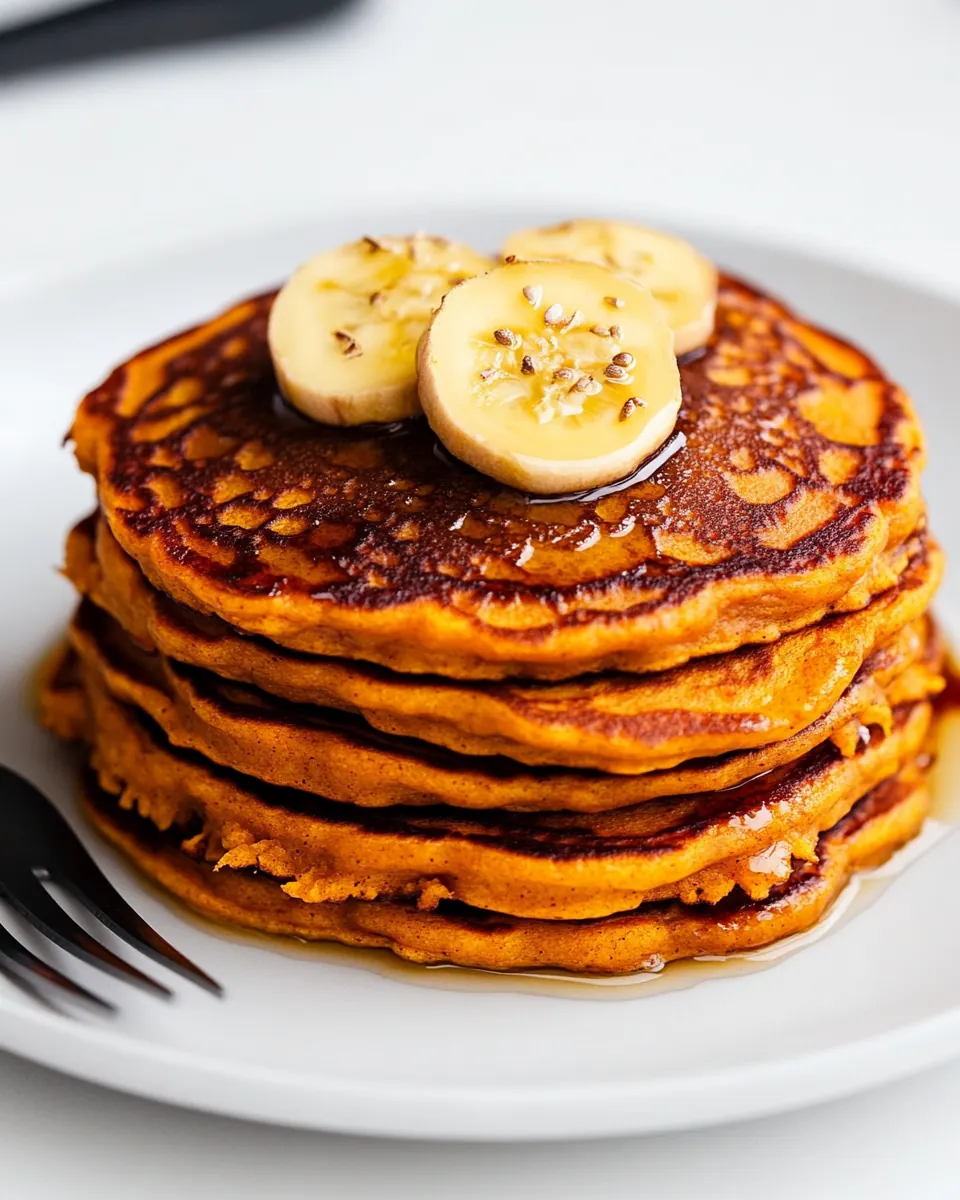
That first batch taught me a lot about texture and patience. The batter looks denser than a classic pancake batter, but once it hits a hot skillet you can watch the edges dry and tiny bubbles rise, a sure sign it is ready to flip. I like to serve these warm, watching kids and friends take that first bite and close their eyes at the cozy mash and gentle chew. Over time I learned a few small tricks to keep the outsides golden and the centers tender, and I still reach for this duo when mornings need a hug.
Recipe Snapshot
20 mins
10 mins
10 mins
Easy
200 kcal
American
Paleo, Gluten-Free
Breakfast
Skillet, Mixing bowl, Measuring cup, Spatula
The Appeal of This 2 Ingredient Sweet Potato Pancakes
They are unbelievably simple
I love that 2 Ingredient Sweet Potato Pancakes reduce breakfast to its bare essentials. With only sweet potatoes and eggs, there is minimal prep, and the result still feels homemade and thoughtful. This minimalism makes the recipe perfect for hectic mornings or an impromptu brunch, and I always appreciate recipes that give big flavor without a long ingredient list.
Comforting texture and flavor
The combination of mashed sweet potatoes and eggs yields a tender, slightly dense pancake that holds together beautifully. The natural sweetness of the sweet potatoes caramelizes when cooked, giving you pockets of warm, mellow flavor. I enjoy how the surface crisps while the inside stays plush, creating a contrast that feels indulgent without being heavy.
Flexible and forgiving
I appreciate how forgiving this recipe is. If the batter seems thick, a splash of water or a non dairy milk loosens it easily. If a pancake sticks, adjusting the heat a touch or greasing the pan between batches solves the issue. Those simple adjustments mean I rarely feel anxious about ruining a batch, and that relaxed feeling makes cooking more fun.
Great for seasonal cooking
Since I often roast extra sweet potatoes in fall, these pancakes are a natural way to stretch leftovers. The warm orange color and cozy mouthfeel make them a favorite when leaves are falling. I also like serving them for weekend breakfasts during holiday mornings because they feel special without demanding a long time in the kitchen.
A canvas for topping creativity
Even with only two ingredients, these pancakes invite toppings and small additions. From a drizzle of maple style syrup to a spoonful of fruit preserves, the pancakes pair well with many flavors. I sometimes add a pinch of cinnamon while stirring the batter, but they stand strong on their own, which is part of the charm.
What’s In This 2 Ingredient Sweet Potato Pancakes

These ingredients reflect a philosophy of simplicity and balance. I focus on two key players that do the heavy lifting: the starchy sweetness of the sweet potatoes, which gives body and natural sugars, and the eggs, which bind and add protein. Together they create a batter that browns beautifully and yields a soft interior, no extra flour or leavening required.
- 1 cup sweet potatoes mashed (about 2 medium potatoes, peeled and cooked): Mashed to provide a naturally sweet, moist base that binds and flavors the pancakes while contributing a tender texture and vibrant color; helps keep the batter cohesive without added flour or sugar and adds nutrients like beta-carotene and fiber.
- 2 eggs: Beaten to act as the primary binder and leavening contributor, creating structure and lift while setting the pancakes as they cook; supplies protein and moisture, enriching the batter and helping achieve a golden, custardy interior.
2 Ingredient Sweet Potato Pancakes Instructions
These steps are straightforward, and I like to move through them with patience so the pancakes develop a golden crust. Read the cues in the pan so you know when to flip. I find small adjustments in heat and timing make a big difference to the final texture.
- Combine the sweet potato and egg. Stir well. If desired, add 1/2 teaspoon cinnamon.: Right away you will notice the texture change, a soft, slightly sticky batter that smells faintly of roasted sweet potatoes . As you stir, watch for a uniform color and no large lumps, which means the eggs are fully incorporated. The sound is subtle, a quiet scraping of spoon on bowl, and you should feel the batter thicken slightly. This mixing step matters because even integration ensures each pancake cooks evenly and holds together. A common mistake is under mashing the sweet potatoes ; if pieces remain too chunky, they may not bind and can lead to a crumbly pancake. If you choose to add a pinch of cinnamon, fold it in here for gentle warmth.
- Lightly spray a skillet with non-stick spray and heat on medium heat. Pour about 1/4 cup of the batter into the pan. Cook about 3 to 4 minutes, or until pancakes begin to bubble in the center and the edges are dry. Carefully flip and cook for another 2 to 3 minutes. Once cooked, remove pancake from the pan and repeat the process until all the batter has been used. Grease the skillet as needed with non-stick spray in-between cooking the pancakes.: As the pan warms, you might notice a faint metallic warmth from the surface and a slight shimmer when the oil is ready. Test readiness by flicking a few drops of water, they should dance and evaporate quickly. Properly heating the skillet ensures the pancakes form an immediate crust that locks in moisture. If the pan is too cool, the pancakes spread thin and become greasy; if too hot, they can burn before the center cooks. Keep an eye on temperature and adjust now rather than later.
- Serve hot. If desired, top with maple syrup, honey, coconut butter, fresh fruit, or your favorite jam!: When the batter hits the skillet it should sizzle softly and spread into a round. The initial hiss indicates good contact and sets the edge while the center cooks. Use a measuring cup for consistent size, which helps with even cooking times. Visually, the surface will look wet and glossy at first, then matte as proteins set. A common error is pouring too much batter at once, leading to thick pancakes that cook unevenly, so stick to manageable portions.
- Cook about 3 to 4 minutes, or until pancakes begin to bubble in the center and the edges are dry: During this time you will see tiny bubbles rising on the surface and the edge will change from glossy to matte and slightly pull away. The underside should have developed golden brown spots; you can lift an edge gently to check. This sensory window is crucial because it signals the internal structure has set enough to flip without breaking. Avoid the temptation to flip early, or the center can remain undercooked and dense.
- Carefully flip and cook for another 2 to 3 minutes: After flipping, listen for a softer sizzle and watch the second side develop even browning. The aroma will shift to a deeper roasted sweetness, and the texture will tighten as the eggs finish coagulating. This finishing time ensures the interior is warmed through and the exterior is pleasantly crisp. A frequent mistake is flipping multiple times, which prevents a stable crust from forming.
- Once cooked, remove pancake from the pan and repeat the process until all the batter has been used: Stack the cooked pancakes on a plate and keep them warm if needed. As you continue, you may need to adjust pan heat slightly to maintain even browning, and reapply a quick spray of non stick to prevent sticking. Taste a finished pancake and note the balance of crisp edge to tender center, which guides your technique in later batches. Avoid overcrowding the pan, which can trap steam and produce soggy pancakes.
- Grease the skillet as needed with non stick spray in between cooking the pancakes: Periodically refreshing the pan surface prevents sticking and helps each pancake develop an even crust. The amount of spray required may vary with your pan, so watch the first few pancakes closely. Too much oil can fry the edges and make them greasy, while too little causes tearing and sticking. A light, even misting is usually all that is necessary.
- Serve hot: Serve immediately so the pancakes retain their tender interior and crisp edges. As they cool the texture becomes denser, so timing matters for best mouthfeel. Common serving mistakes include stacking too many while cold, which traps steam and softens the crust. If you like, top with maple style syrup, honey, coconut butter, fresh fruit, or jam, keeping in mind each topping will add moisture and sweetness to the finished bite.
How to Switch It Up
I like to offer a few ways to vary serving and technique while staying true to the simple core of the dish. Below are practical, tested ideas that keep the method intact but let you personalize the final plate.
- Add warming spices — Fold in a pinch of cinnamon or nutmeg into the batter for cozy aroma and subtle depth, but keep the quantity small so the sweet potato flavor remains dominant.
- Thin the batter carefully — If your batter is dense, add water or a neutral non dairy milk a teaspoon at a time until it pours gently, which improves spread and internal cook without diluting flavor.
- Control your heat — Start at medium and adjust down if the edges brown too quickly; a steady pan temperature yields even browning and a tender interior.
- Batch warming — Keep cooked pancakes on a wire rack in a low oven to maintain texture without trapping steam, which prevents sogginess when serving multiple people.
- Top with contrast — Bright toppings like a spoonful of tart fruit preserve or a squeeze of citrus can balance the natural sweetness, creating a more complex bite.
Great Combinations for 2 Ingredient Sweet Potato Pancakes
These pancakes can be dressed up or kept humble depending on the occasion. I often think about balance when serving, pairing warm, soft pancakes with crisp or acidic elements. Below are serving ideas, storage notes, and occasions where these pancakes shine.
- Weekend breakfast — Serve warm with a light drizzle of maple style syrup and a scattering of fresh fruit for a relaxed morning meal that feels special without fuss.
- Brunch party — Offer a small topping bar with preserves and coconut butter so guests can customize, keeping the pancakes the star of the table.
- Cozy autumn mornings — These are ideal when roasted sweet potatoes are in season, bringing seasonal color and warmth to the plate.
- Storage tip — Cool completely, then store in an airtight container in the fridge for up to three days, reheating briefly in a skillet to restore crispness.
- Meal prep — Make a double batch, freeze separated by parchment, and reheat in a skillet or toaster for quick breakfasts during the week.
FAQ
Conclusion
These 2 Ingredient Sweet Potato Pancakes shine because they deliver cozy flavor and satisfying texture with almost no fuss. I encourage you to give them a try, even on mornings when time is short, because they’re quick to make and endlessly adaptable. Serve them warm, experiment with simple toppings, and enjoy a comforting meal that feels homemade with minimal effort. They’ve become a staple for me when I want something nourishing, flavorful, and fast.

2 Ingredient Sweet Potato Pancakes
Equipment
- Skillet
- Mixing Bowl
- Measuring Cup
- Spatula
Ingredients
- 1 cup sweet potatoes mashed (about 2 medium potatoes, peeled and cooked) Mashed to provide a naturally sweet, moist base that binds and flavors the pancakes while contributing a tender texture and vibrant color; helps keep the batter cohesive without added flour or sugar and adds nutrients like beta-carotene and fiber.
- 2 eggs Beaten to act as the primary binder and leavening contributor, creating structure and lift while setting the pancakes as they cook; supplies protein and moisture, enriching the batter and helping achieve a golden, custardy interior.
Instructions
- Combine the sweet potato and egg. Stir well. If desired, add 1/2 teaspoon cinnamon.: Right away you will notice the texture change, a soft, slightly sticky batter that smells faintly of roasted sweet potatoes . As you stir, watch for a uniform color and no large lumps, which means the eggs are fully incorporated. The sound is subtle, a quiet scraping of spoon on bowl, and you should feel the batter thicken slightly. This mixing step matters because even integration ensures each pancake cooks evenly and holds together. A common mistake is under mashing the sweet potatoes ; if pieces remain too chunky, they may not bind and can lead to a crumbly pancake. If you choose to add a pinch of cinnamon, fold it in here for gentle warmth.
- Lightly spray a skillet with non-stick spray and heat on medium heat. Pour about 1/4 cup of the batter into the pan. Cook about 3 to 4 minutes, or until pancakes begin to bubble in the center and the edges are dry. Carefully flip and cook for another 2 to 3 minutes. Once cooked, remove pancake from the pan and repeat the process until all the batter has been used. Grease the skillet as needed with non-stick spray in-between cooking the pancakes.: As the pan warms, you might notice a faint metallic warmth from the surface and a slight shimmer when the oil is ready. Test readiness by flicking a few drops of water, they should dance and evaporate quickly. Properly heating the skillet ensures the pancakes form an immediate crust that locks in moisture. If the pan is too cool, the pancakes spread thin and become greasy; if too hot, they can burn before the center cooks. Keep an eye on temperature and adjust now rather than later.
- Serve hot. If desired, top with maple syrup, honey, coconut butter, fresh fruit, or your favorite jam!: When the batter hits the skillet it should sizzle softly and spread into a round. The initial hiss indicates good contact and sets the edge while the center cooks. Use a measuring cup for consistent size, which helps with even cooking times. Visually, the surface will look wet and glossy at first, then matte as proteins set. A common error is pouring too much batter at once, leading to thick pancakes that cook unevenly, so stick to manageable portions.
- Cook about 3 to 4 minutes, or until pancakes begin to bubble in the center and the edges are dry: During this time you will see tiny bubbles rising on the surface and the edge will change from glossy to matte and slightly pull away. The underside should have developed golden brown spots; you can lift an edge gently to check. This sensory window is crucial because it signals the internal structure has set enough to flip without breaking. Avoid the temptation to flip early, or the center can remain undercooked and dense.
- Carefully flip and cook for another 2 to 3 minutes: After flipping, listen for a softer sizzle and watch the second side develop even browning. The aroma will shift to a deeper roasted sweetness, and the texture will tighten as the eggs finish coagulating. This finishing time ensures the interior is warmed through and the exterior is pleasantly crisp. A frequent mistake is flipping multiple times, which prevents a stable crust from forming.
- Once cooked, remove pancake from the pan and repeat the process until all the batter has been used: Stack the cooked pancakes on a plate and keep them warm if needed. As you continue, you may need to adjust pan heat slightly to maintain even browning, and reapply a quick spray of non stick to prevent sticking. Taste a finished pancake and note the balance of crisp edge to tender center, which guides your technique in later batches. Avoid overcrowding the pan, which can trap steam and produce soggy pancakes.
- Grease the skillet as needed with non stick spray in between cooking the pancakes: Periodically refreshing the pan surface prevents sticking and helps each pancake develop an even crust. The amount of spray required may vary with your pan, so watch the first few pancakes closely. Too much oil can fry the edges and make them greasy, while too little causes tearing and sticking. A light, even misting is usually all that is necessary.
- Serve hot: Serve immediately so the pancakes retain their tender interior and crisp edges. As they cool the texture becomes denser, so timing matters for best mouthfeel. Common serving mistakes include stacking too many while cold, which traps steam and softens the crust. If you like, top with maple style syrup, honey, coconut butter, fresh fruit, or jam, keeping in mind each topping will add moisture and sweetness to the finished bite.
Notes
- Add warming spices — Fold in a pinch of cinnamon or nutmeg into the batter for cozy aroma and subtle depth, but keep the quantity small so the sweet potato flavor remains dominant.
- Thin the batter carefully — If your batter is dense, add water or a neutral non dairy milk a teaspoon at a time until it pours gently, which improves spread and internal cook without diluting flavor.
- Control your heat — Start at medium and adjust down if the edges brown too quickly; a steady pan temperature yields even browning and a tender interior.
- Batch warming — Keep cooked pancakes on a wire rack in a low oven to maintain texture without trapping steam, which prevents sogginess when serving multiple people.
- Top with contrast — Bright toppings like a spoonful of tart fruit preserve or a squeeze of citrus can balance the natural sweetness, creating a more complex bite.