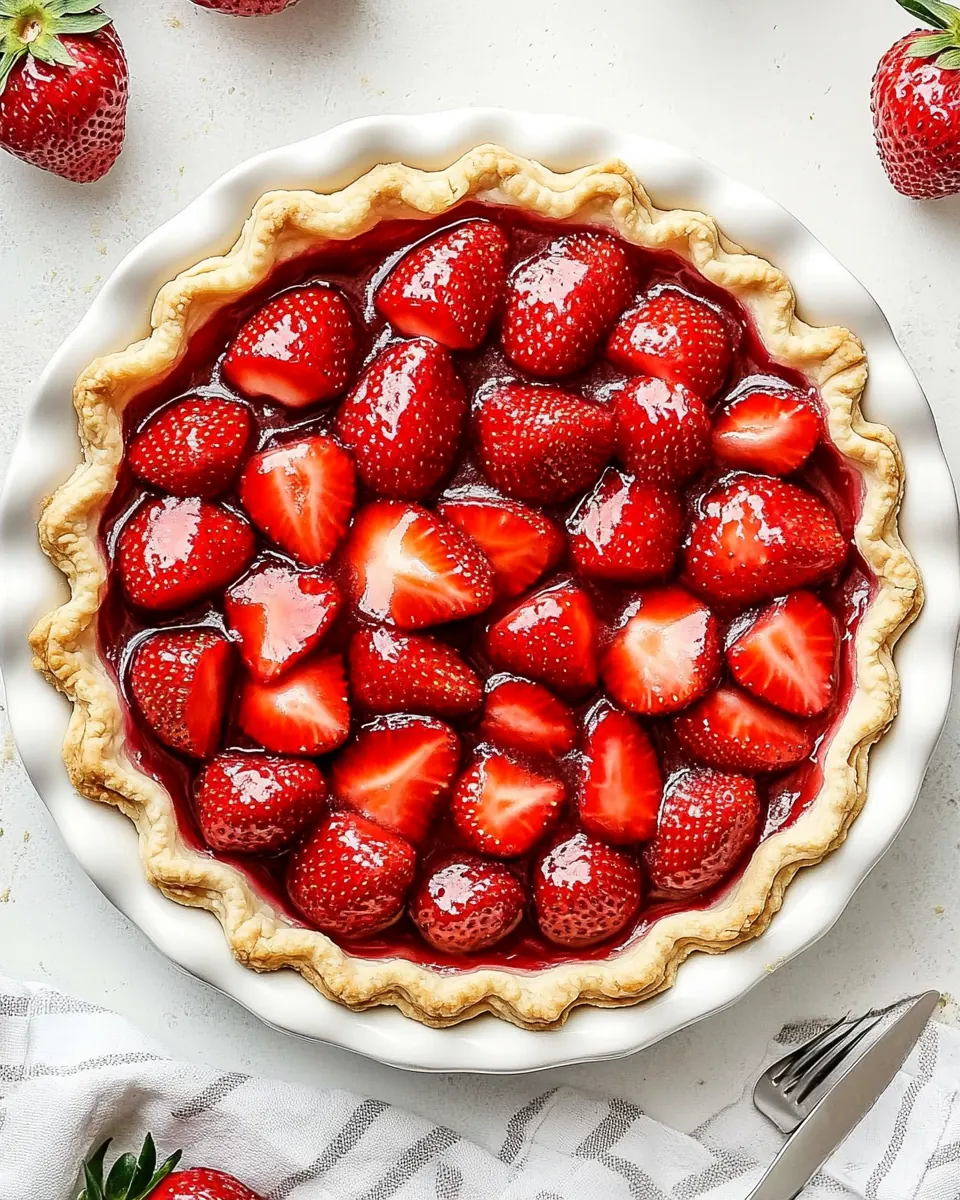
The Easiest Fresh Strawberry Pie
The Easiest Fresh Strawberry Pie is the kind of dessert I reach for when the sun finally warms the windowsill and strawberries appear at the market, gleaming like little promises. I remember the first time I made this pie for a summer cookout, juggling a toddler on my hip and a timer that kept dinging, and how the simple combination of a tender crust and bright strawberries made everyone pause mid conversation to take another bite. The first sentence I ever wrote about it in my notes was just the name, because everything else seemed obvious once those berries hit the crust.
That day I learned to value ease without sacrificing the fresh, juicy flavor that makes a pie feel like summer. I like that this version is forgiving, so you can pull it together between errands or after work, and still end up with a centerpiece that looks like you spent hours. Friends kept asking for the recipe not because it was fancy, but because it tasted like ripe strawberries amplified with a glossy, slightly set filling that lets the fruit shine.
Over the years, I tweaked the method to be even more straightforward, and discovered little tricks that keep the crust crisp and the filling balanced. When I bring it to gatherings now, people often tell me it tastes like childhood memory and sunshine, and I smile because that is exactly what I intended. The combination of a store ready pie crust and fresh, hulled strawberries makes this recipe reliably delicious, even on busy days.
Recipe Snapshot
45 mins
30 mins
15 mins
Medium
220 kcal
American
Gluten-Free, Low FODMAP
Desserts
Oven, Saucepan, Whisk, Refrigerator
The Charm of This The Easiest Fresh Strawberry Pie
Strawberry Forward Flavor
I love how this recipe keeps the spotlight on fresh strawberries. There are no heavy creams or competing flavors, so the fruit’s natural sweetness and slight tartness come through. That bright berry note makes each bite feel clean and seasonal, and I often taste the ripeness first, then the velvety set of the filling.
Effortless Technique
We all crave desserts that do not demand an entire afternoon. This pie uses a ready pie crust and a simple cooked fruit glaze, which means you do the hard work in under an hour. For busy hosts, that simplicity is a relief, and it still presents beautifully, which is why I turn to it for last minute plans.
Textural Contrast
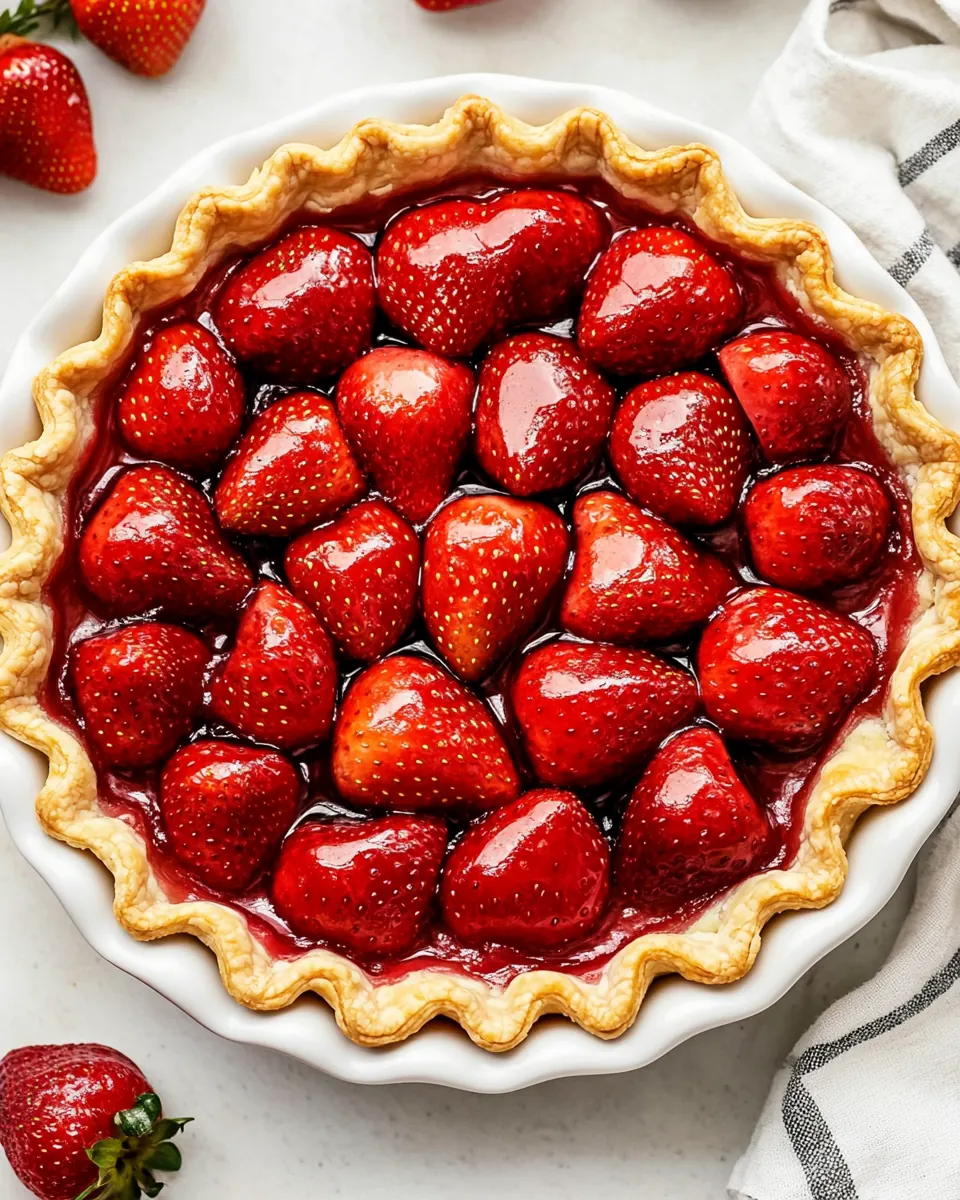
The combination of a crisp baked pie crust and the glossy, slightly gelled filling creates a lovely contrast. When you bite in, you’ll notice the initial crunch, followed by the soft, succulent burst of strawberries, which keeps the experience interesting and satisfying. That contrast is a big reason I keep making it.
Family Friendly Appeal
Kids and adults alike tend to adore this pie because it is sweet but not cloying. The straightforward ingredients are familiar, and serving it with a dollop of fresh whipping cream adds an extra layer of comfort without overpowering the fruit. I appreciate recipes that please a crowd without fuss, and this one does exactly that.
Flexible Serving Options
Whether I serve it at a picnic, a holiday, or a quiet weekend dessert, the pie adapts. You can refrigerate it overnight to make it ahead, or let it chill just long enough for a spontaneous treat. That adaptability makes it a reliable choice whenever strawberries are in season.
What to Buy for The Easiest Fresh Strawberry Pie
These ingredients are intentionally simple and work in harmony to showcase ripe strawberries. The pie crust provides a buttery, crisp base that contrasts with the juicy fruit. The glaze ingredients bind the berries so each slice holds together while adding a clear, shiny finish. Fresh whipping cream offers a soft, airy counterpoint at the table.
- 1 9 inch pie crust: Provides a buttery, flaky base to hold filling and strawberries; prebaked or store-bought crust saves time and ensures structure. Complements the sweet, gelatinous filling while adding textural contrast for each bite.
- 2 tbsp cornstarch: Thickens the water and gelatin mixture into a glossy filling; whisked with cold water to prevent lumps and cooked briefly to activate its setting properties. Helps the filling cling to sliced strawberries for an even, sliceable pie.
- 3/4 cups sugar: Sweetens the gelatin mixture and balances the tartness of the strawberries; dissolved into the water before cooking to ensure uniform sweetness. Can be adjusted slightly for riper or tarter berry flavor without affecting set.
- 1 cup water: Serves as the liquid base to dissolve cornstarch, sugar, and gelatin; heated to activate thickening and fully dissolve dry ingredients. Controls consistency of the filling—more water yields a looser set, less yields firmer texture.
- 1 3 ounce package strawberry jello: Adds concentrated strawberry flavor and color while helping the filling gel; dissolved into the hot liquid and combined with cornstarch for stability. Enhances shelf life of the set filling and intensifies fruitiness without altering texture.
- 4 cups fresh strawberries sliced: Provides fresh, juicy fruit that is the star of the pie; sliced evenly for consistent coverage and attractive presentation. Contributes natural sweetness, texture, and moisture that pair with the glossy gelatin to create a classic strawberry pie.
- Fresh whipping cream.: Adds a light, airy finish and creamy contrast when whipped and served on slices; sweeten to taste and pipe or dollop over each serving. Balances the tartness and adds a rich mouthfeel to the dessert.
Recipe Directions for The Easiest Fresh Strawberry Pie
I like to think of the directions as a relaxed rhythm rather than a race. Start by prepping the crust and fruit, then make the glossy glaze on the stove. Once combined, the pie needs time to chill so it sets properly, which makes it a great make ahead dessert.
- Bake the crust according to package directions. To help the crust stay in place while baking, line the crust with aluminum foil and bake for 8 minutes, remove foil, and bake for an additional 5.: When you slide the crust into the oven, you should hear a faint warmth shift in the kitchen and smell a buttery aroma as it begins to brown, signaling that the layers are crisping. The foil step is practical, it prevents the center from slumping while the edges firm up, which yields an even base for the filling. Watch for subtle golden edges and a firm surface before removing it, because underbaked crust can become soggy under the glaze. A common mistake is skipping the initial foil lined bake which can lead to bubbling and uneven rise, so tent the foil snugly and press any air pockets flat before the first bake.
- In a small saucepan, combine cornstarch, sugar and water and whisk until smooth. Bring it to a boil and whisk for 2 minutes until it starts to thicken. Remove from the heat and stir in the strawberry jello until dissolved. Let the mixture cool for about 15 minutes.: As the mixture warms, you will see it go from translucent to slightly opalescent, and the whisking creates a silky surface that thickens as starch granules bloom. The bubbling boil concentrates the flavors and activates the thickener so the glaze will cling to the fruit rather than pool. Once off the heat, stirring in the strawberry jello deepens the color and amplifies the strawberry note while the residual heat melts it smoothly. If you pour it in too hot, it will make the berries soggy, so cooling for the recommended time is essential. Avoid under whisking which causes lumps, and if lumps appear, strain through a fine sieve for a smooth finish.
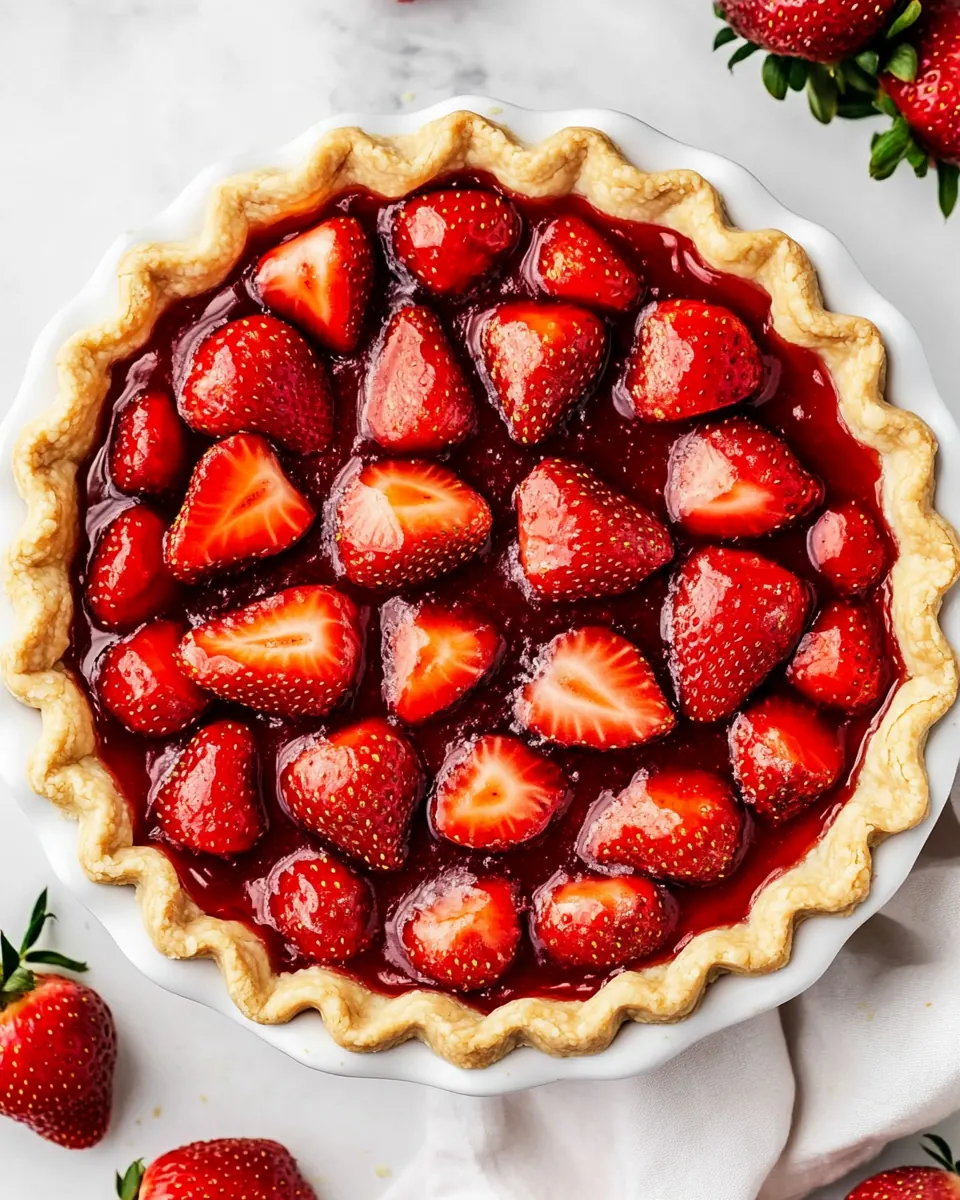
- Place the strawberries into the crust and pour the cooled mixture over the strawberries. Refrigerate 3 hours or overnight until set. Serve with fresh whipping cream.: When you arrange the strawberries in the baked crust, the surface becomes a mosaic of red slices that catch the light. Pouring the glaze slowly lets it seep between pieces and coat each slice evenly, creating that glossy look. Once refrigerated, the mixture firms to a delicate gel that holds the fruit in place and allows clean slicing. You should notice the filling become slightly resilient to the touch when fully set. A typical pitfall is pouring the glaze while it is still too hot, which softens the berries and makes the crust soggy; aim for a warm, not hot, glaze for the best texture.
- Serve with fresh whipping cream.: The final flourish of a spoonful of cold, softly whipped fresh whipping cream brightens each slice with cool, creamy contrast. The cream adds a light mouthfeel that complements the bright, slightly firm filling and flaky crust. When you dollop it, the whipped cream should hold a gentle peak and melt slowly against the warm flavors on the plate, offering a luxurious finish. Don’t overwhip the cream or it will become dense and lose that inviting cloud like texture; stop when it still moves pleasingly on the spoon.
Recipe Variations about The Easiest Fresh Strawberry Pie
This recipe adapts well to small changes that still keep the fresh fruit star intact. Below are practical variations and serving suggestions that I often use when planning menus.
- Make it with mixed berries: Swap half the strawberries for blueberries or raspberries to add color contrast and a slightly tangy dimension while keeping the same glaze, but maintain even slice sizes for a tidy presentation.
- Adjust sweetness: Tweak the 3/4 cups sugar up or down based on berry ripeness, tasting the glaze warm to ensure it balances the fruit without becoming cloying.
- Use a pre blind baked crust: Follow package directions closely and use foil and weights if available to keep the crust flat for a crisp bottom that resists sogginess from the glaze.
- Chill for easier slicing: Refrigerate overnight so the filling firms completely, which yields clean, photogenic slices for gatherings.
- Serve cream on the side: Keep whipped fresh whipping cream in a chilled bowl and let guests add their own amount, which helps those watching sugar intake control portions.
Serving Ideas for The Easiest Fresh Strawberry Pie
I love serving this pie in ways that emphasize its seasonal feel. It is excellent for casual lunches, celebratory gatherings, or as a light finish to a more substantial meal. Here are detailed serving ideas and pairings.
- Summer picnic centerpiece: Pack the pie in a sturdy container with a chilled gel pack underneath to keep the filling firm during transport, and bring a small jar of fresh whipping cream for guests to spoon on as they like.
- After dinner dessert: Slice the pie into generous wedges and serve slightly chilled with a modest dollop of fresh whipping cream, letting the fruity brightness provide a refreshing end to a heavy meal.
- Holiday brunch: Place the pie on a decorated platter alongside other fruit based dishes for a spring or springtime brunch; the visual red pop of the strawberries makes it feel festive without being rich.
- Make ahead for gatherings: Assemble and refrigerate overnight so you can focus on other dishes the day of the event, the pie will slice cleaner and save you last minute work.
- Storage tips: Keep the pie covered in the refrigerator for up to three days to preserve texture; the crust may soften slightly over time, so plan to serve sooner for optimum crispness.
- Seasonal pairing: Pair with light tea or a sparkling non alcoholic beverage for afternoon service, the bright flavors of the strawberries complement lighter drinks beautifully.
FAQ
Conclusion
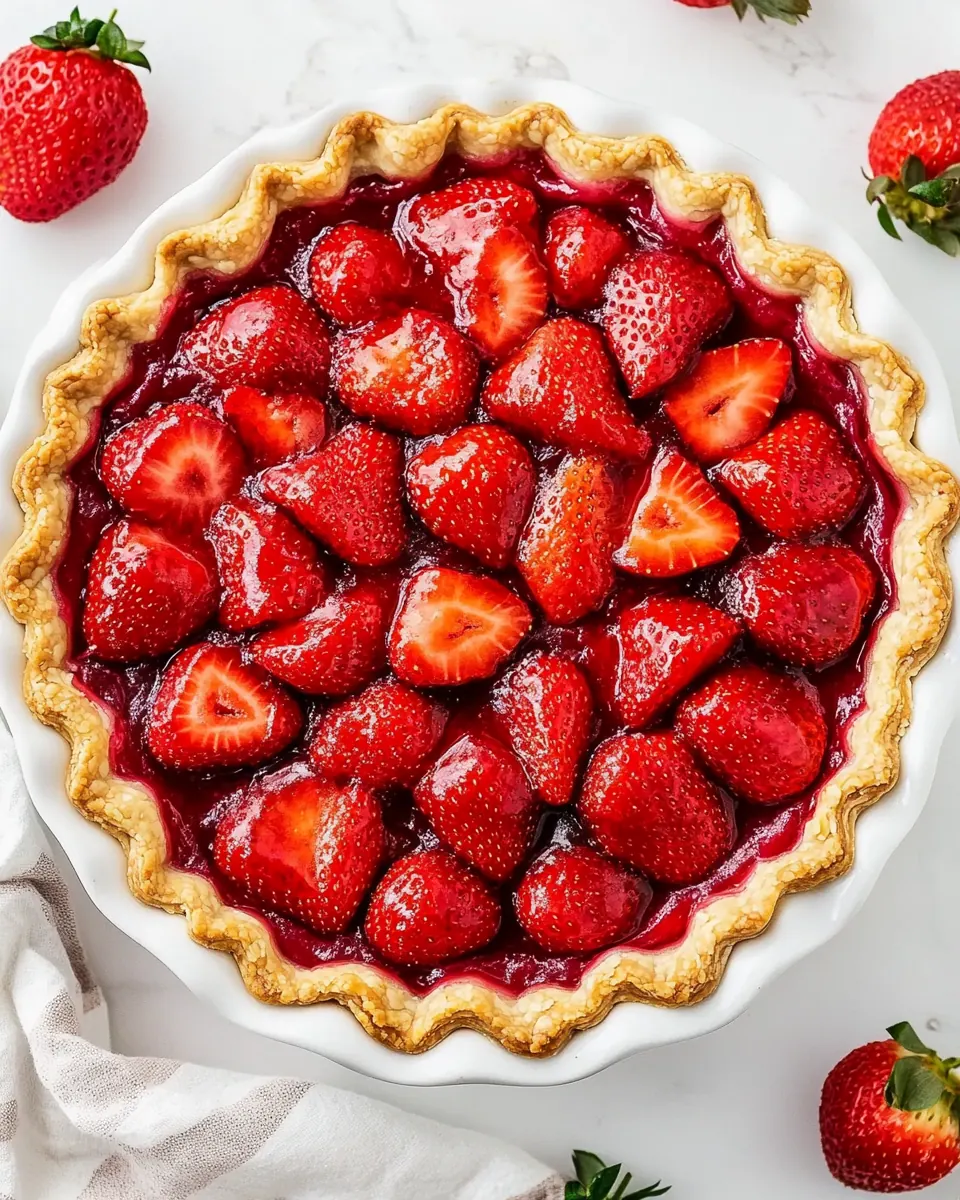
This recipe stands out because it celebrates fresh strawberries with a simple, glossy glaze and an easy ready made crust that still delivers on flavor and texture. I encourage you to try it when strawberries are at their peak, because the natural sweetness and brightness of the fruit are what make this pie sing. It is forgiving enough for busy cooks yet elegant enough for guests, and once you taste the contrast of flaky crust, juicy fruit, and cool whipped cream, you will find yourself returning to it again and again.
The Easiest Fresh Strawberry Pie
Equipment
- Oven
- Saucepan
- Whisk
- Refrigerator
Ingredients
- 1 9 inch pie crust Provides a buttery, flaky base to hold filling and strawberries; prebaked or store-bought crust saves time and ensures structure. Complements the sweet, gelatinous filling while adding textural contrast for each bite.
- 2 tbsp cornstarch Thickens the water and gelatin mixture into a glossy filling; whisked with cold water to prevent lumps and cooked briefly to activate its setting properties. Helps the filling cling to sliced strawberries for an even, sliceable pie.
- 3/4 cups sugar Sweetens the gelatin mixture and balances the tartness of the strawberries; dissolved into the water before cooking to ensure uniform sweetness. Can be adjusted slightly for riper or tarter berry flavor without affecting set.
- 1 cup water Serves as the liquid base to dissolve cornstarch, sugar, and gelatin; heated to activate thickening and fully dissolve dry ingredients. Controls consistency of the filling—more water yields a looser set, less yields firmer texture.
- 1 3 ounce package strawberry jello Adds concentrated strawberry flavor and color while helping the filling gel; dissolved into the hot liquid and combined with cornstarch for stability. Enhances shelf life of the set filling and intensifies fruitiness without altering texture.
- 4 cups fresh strawberries sliced Provides fresh, juicy fruit that is the star of the pie; sliced evenly for consistent coverage and attractive presentation. Contributes natural sweetness, texture, and moisture that pair with the glossy gelatin to create a classic strawberry pie.
- Fresh whipping cream. Adds a light, airy finish and creamy contrast when whipped and served on slices; sweeten to taste and pipe or dollop over each serving. Balances the tartness and adds a rich mouthfeel to the dessert.
Instructions
- Bake the crust according to package directions. To help the crust stay in place while baking, line the crust with aluminum foil and bake for 8 minutes, remove foil, and bake for an additional 5.: When you slide the crust into the oven, you should hear a faint warmth shift in the kitchen and smell a buttery aroma as it begins to brown, signaling that the layers are crisping. The foil step is practical, it prevents the center from slumping while the edges firm up, which yields an even base for the filling. Watch for subtle golden edges and a firm surface before removing it, because underbaked crust can become soggy under the glaze. A common mistake is skipping the initial foil lined bake which can lead to bubbling and uneven rise, so tent the foil snugly and press any air pockets flat before the first bake.
- In a small saucepan, combine cornstarch, sugar and water and whisk until smooth. Bring it to a boil and whisk for 2 minutes until it starts to thicken. Remove from the heat and stir in the strawberry jello until dissolved. Let the mixture cool for about 15 minutes.: As the mixture warms, you will see it go from translucent to slightly opalescent, and the whisking creates a silky surface that thickens as starch granules bloom. The bubbling boil concentrates the flavors and activates the thickener so the glaze will cling to the fruit rather than pool. Once off the heat, stirring in the strawberry jello deepens the color and amplifies the strawberry note while the residual heat melts it smoothly. If you pour it in too hot, it will make the berries soggy, so cooling for the recommended time is essential. Avoid under whisking which causes lumps, and if lumps appear, strain through a fine sieve for a smooth finish.
- Place the strawberries into the crust and pour the cooled mixture over the strawberries. Refrigerate 3 hours or overnight until set. Serve with fresh whipping cream.: When you arrange the strawberries in the baked crust, the surface becomes a mosaic of red slices that catch the light. Pouring the glaze slowly lets it seep between pieces and coat each slice evenly, creating that glossy look. Once refrigerated, the mixture firms to a delicate gel that holds the fruit in place and allows clean slicing. You should notice the filling become slightly resilient to the touch when fully set. A typical pitfall is pouring the glaze while it is still too hot, which softens the berries and makes the crust soggy; aim for a warm, not hot, glaze for the best texture.
- Serve with fresh whipping cream.: The final flourish of a spoonful of cold, softly whipped fresh whipping cream brightens each slice with cool, creamy contrast. The cream adds a light mouthfeel that complements the bright, slightly firm filling and flaky crust. When you dollop it, the whipped cream should hold a gentle peak and melt slowly against the warm flavors on the plate, offering a luxurious finish. Don’t overwhip the cream or it will become dense and lose that inviting cloud like texture; stop when it still moves pleasingly on the spoon.
Notes
- Make it with mixed berries: Swap half the strawberries for blueberries or raspberries to add color contrast and a slightly tangy dimension while keeping the same glaze, but maintain even slice sizes for a tidy presentation.
- Adjust sweetness: Tweak the 3/4 cups sugar up or down based on berry ripeness, tasting the glaze warm to ensure it balances the fruit without becoming cloying.
- Use a pre blind baked crust: Follow package directions closely and use foil and weights if available to keep the crust flat for a crisp bottom that resists sogginess from the glaze.
- Chill for easier slicing: Refrigerate overnight so the filling firms completely, which yields clean, photogenic slices for gatherings.
- Serve cream on the side: Keep whipped fresh whipping cream in a chilled bowl and let guests add their own amount, which helps those watching sugar intake control portions.