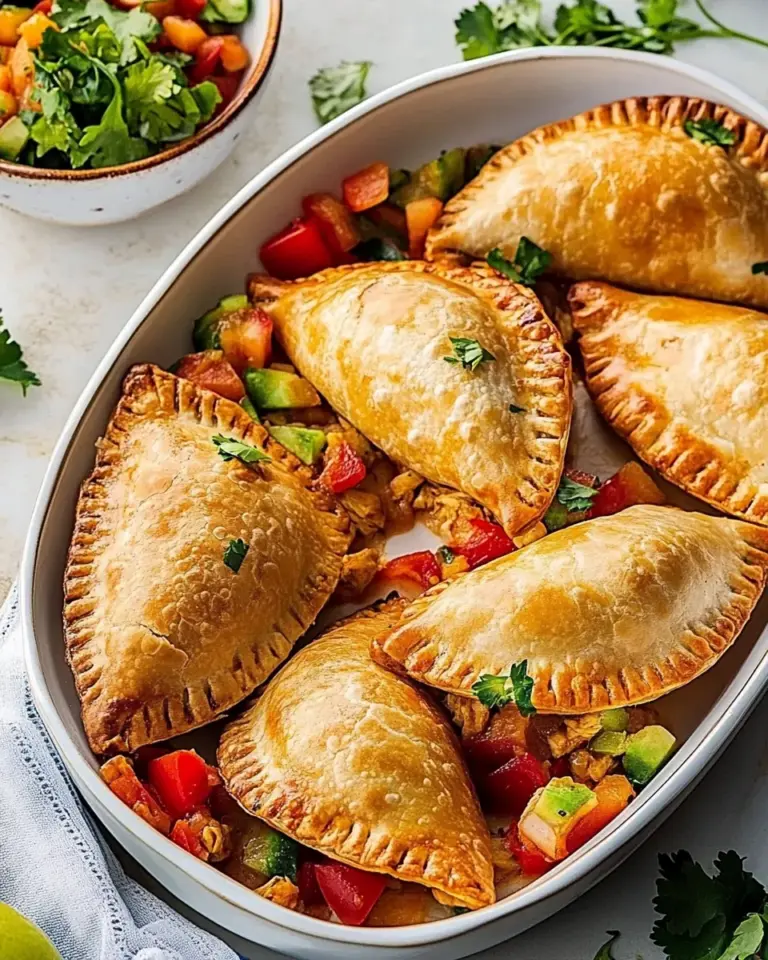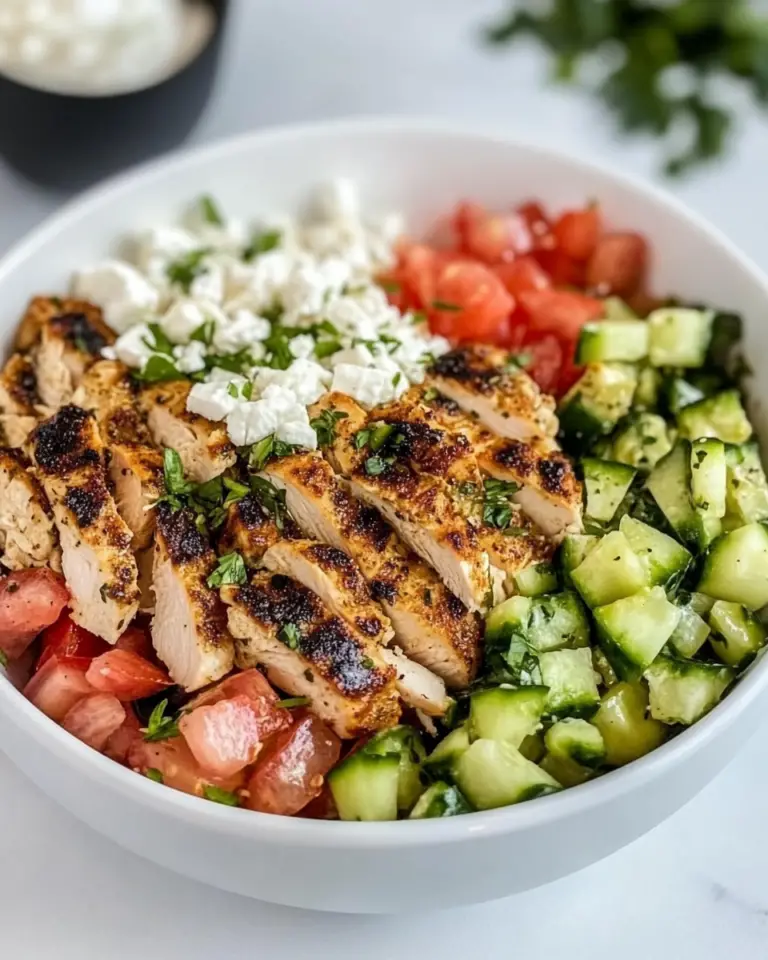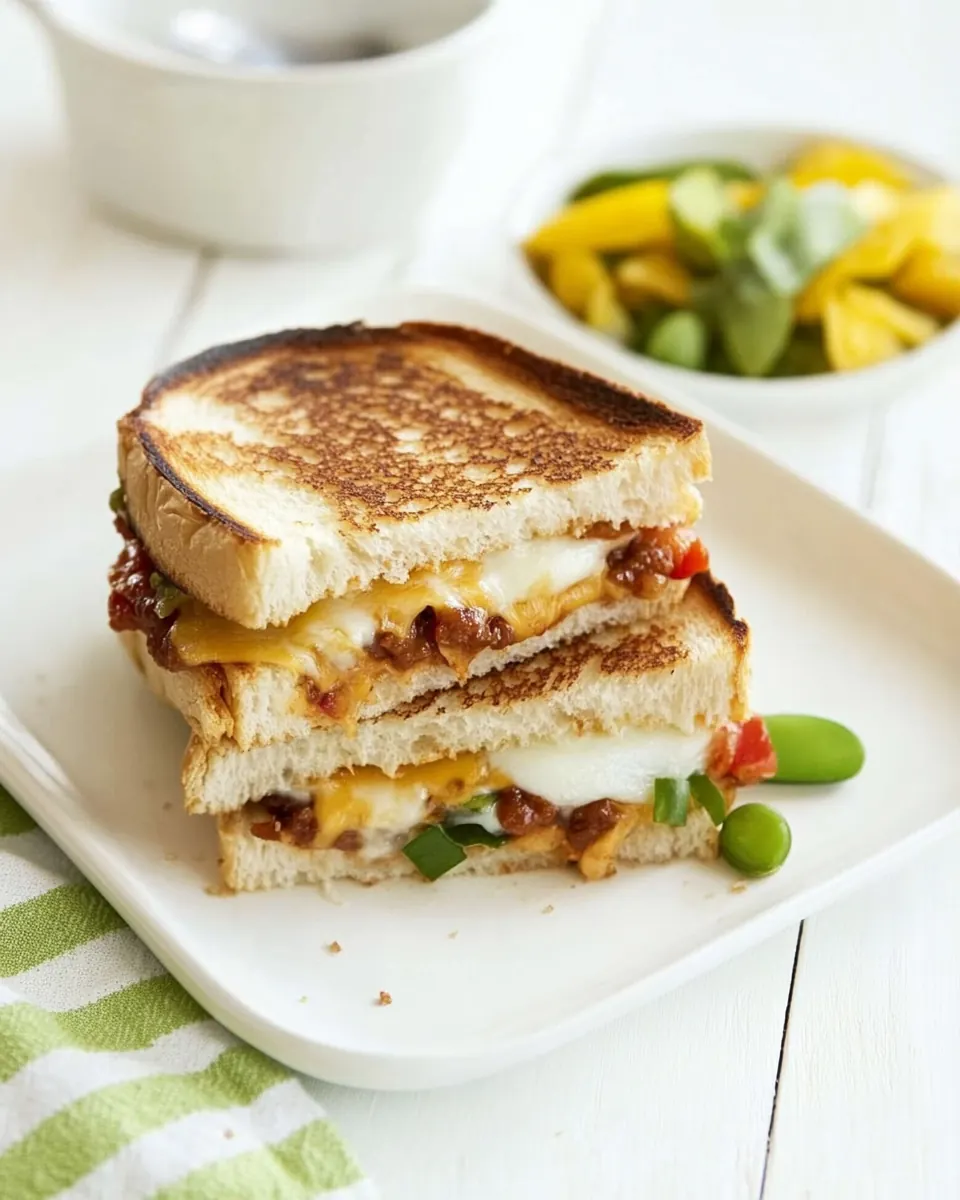
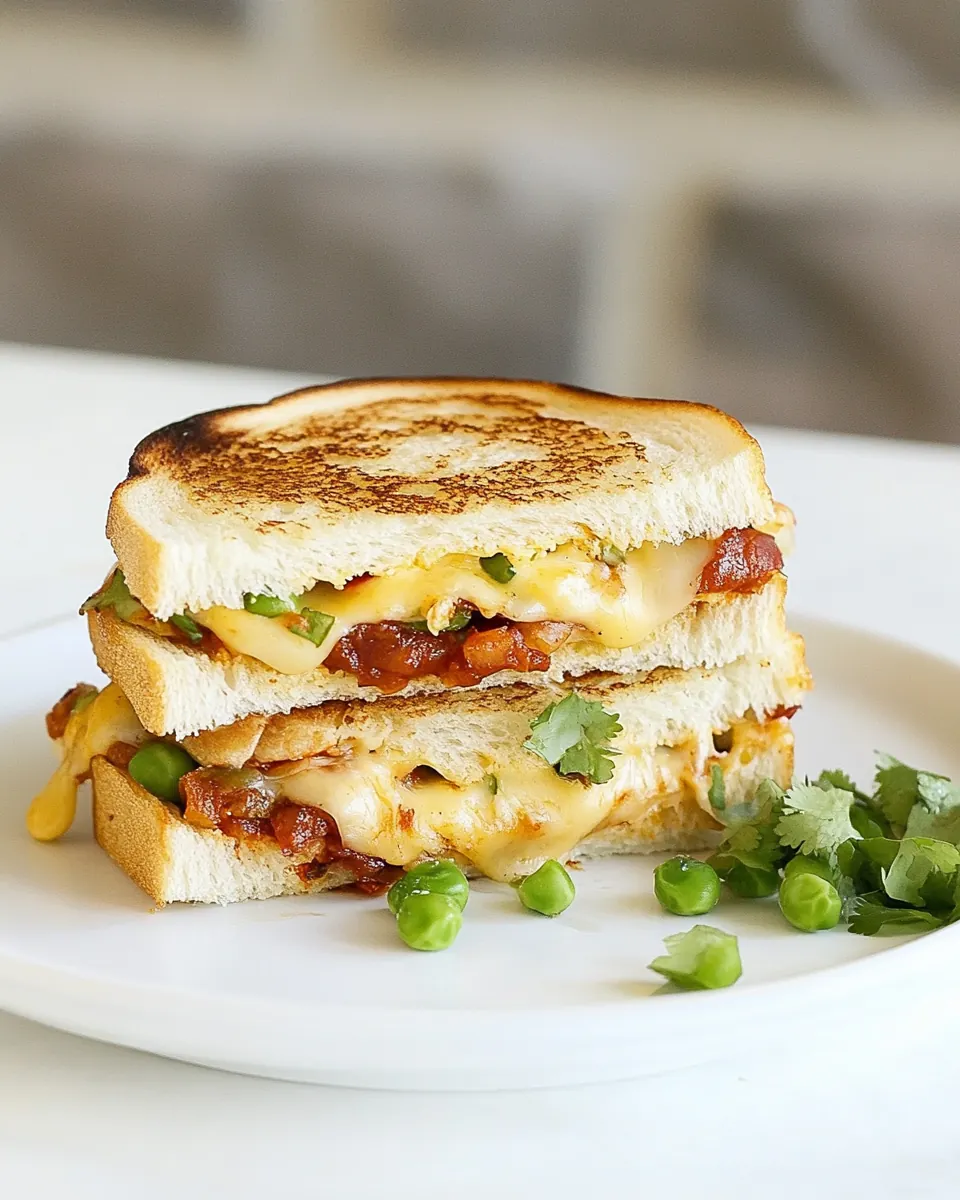
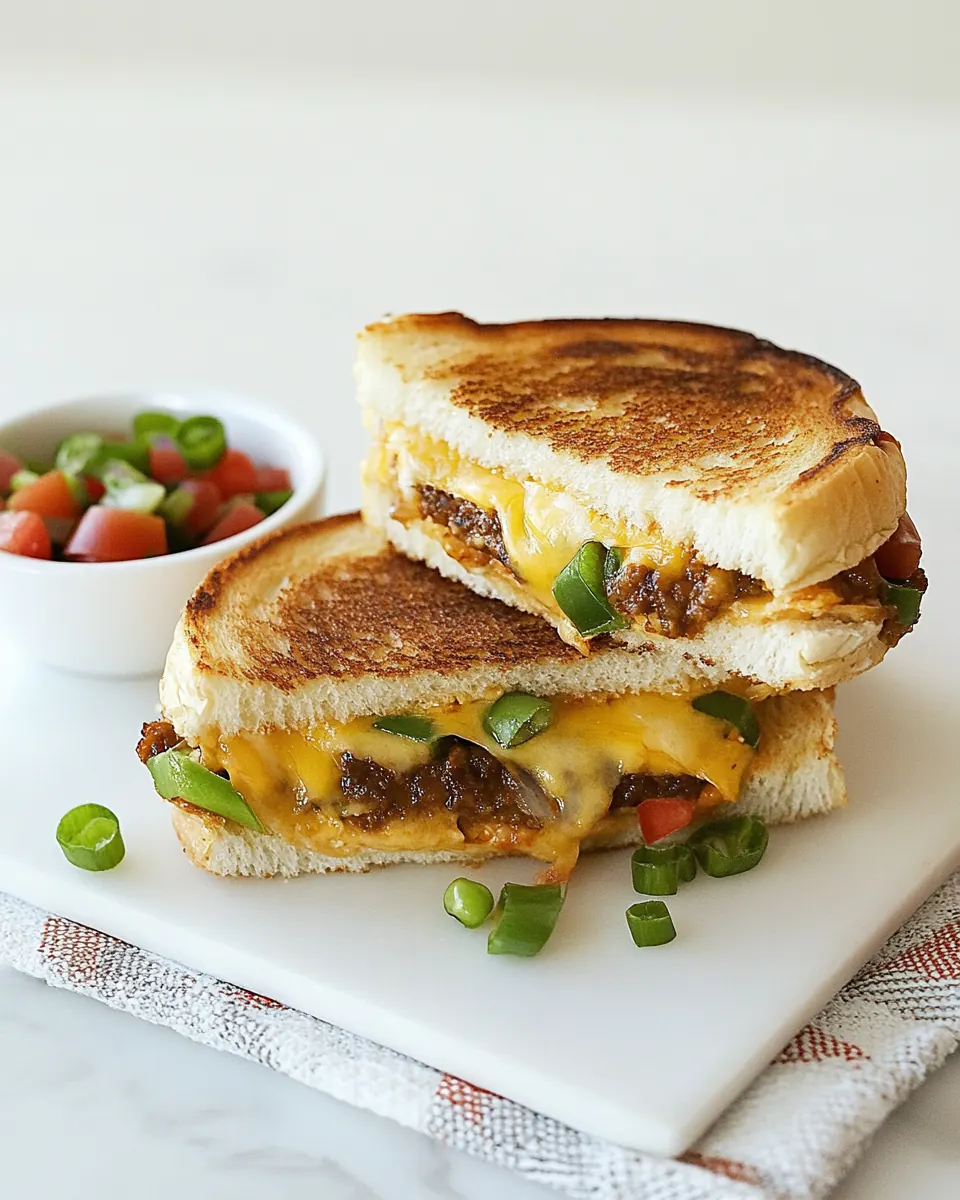
Taco Grilled Cheese Sandwich
Taco Grilled Cheese Sandwich is the kind of sandwich I reach for when I want something quick yet wildly satisfying, a mashup that makes weeknight dinners feel special. The very first time I made this, I was cleaning out the fridge, and what started as a tidy way to use up leftover taco meat turned into a crunchy, melty revelation that I kept repeating for a week.
There is a comfort to the ritual of assembling this sandwich, from buttering the bread to hearing that first sizzle in the pan. I remember standing over the stove, the aroma of warm taco-seasoned beef rising up, and the soft give of melting Cheddar cheese as the two slices pressed together. Each bite balanced crisp toastiness with the juicy, seasoned filling and a cool smear of sour cream when I wanted it.
What I love most is how adaptable it feels. Some days I keep it classic with just avocado and salsa, other times I tuck in extra black olives for briny pops that contrast the creamy Cheddar. I’ve packed this into lunchboxes where it arrived warm enough to still be gooey, and I’ve made it late at night when I needed a fast, satisfying snack. Over time I learned the tiny tricks that make the crust golden and the cheese stretch just right.
Recipe Snapshot
15 mins
10 mins
5 mins
Easy
450 kcal
Mexican
Gluten-Free, Low FODMAP
Dinner
Equipment, Kids Lunch Box, 101 Packed Lunches, Dips or Dressings, 1, ice pack
Why This Taco Grilled Cheese Sandwich Hits Different
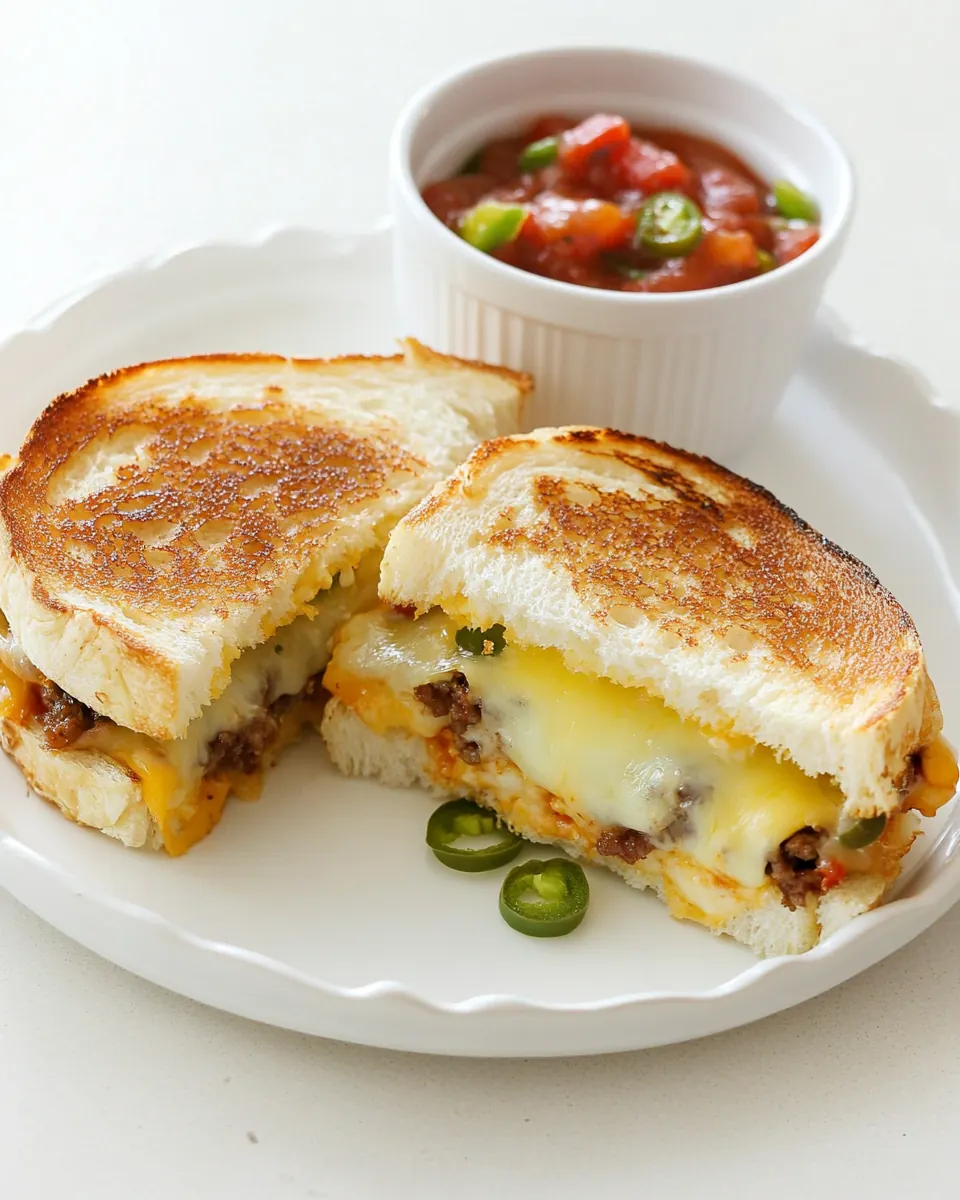
Crispy meets creamy
I love how the outer bread crisps to a golden brown while the center becomes molten with Cheddar cheese. That contrast is immediately rewarding, and it gives every bite both texture and comfort. When the pan heat is just right, you get a gentle sizzle and a thin, toasty edge that adds structure to the sandwich.
Easy weeknight magic
This recipe is an effortless winner when time is short. Using leftover taco-seasoned beef means the flavor work is already done, so you can assemble and grill in minutes. I find it perfect for nights when I want something homey without a long ingredient list or a long clean up.
Layered savory flavors
Between the savory beef, the tang of salsa, and the creamy richness of avocado and sour cream, each mouthful feels thoughtfully composed. The black olives add a bright, salty counterpoint that keeps the sandwich from feeling one note, and a sprinkle of cilantro lifts the whole profile.
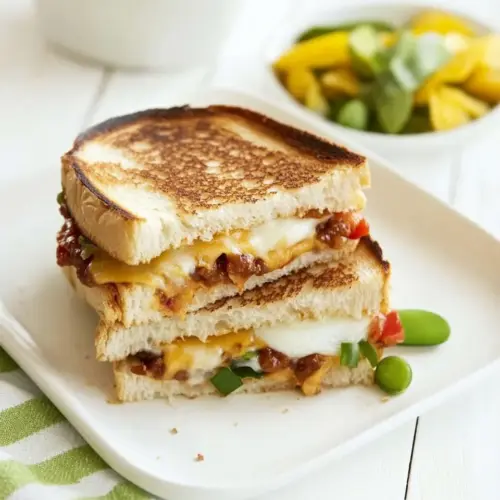
Great for lunchboxes and leftovers
I often make a batch for packed lunches because this sandwich travels well once cooled slightly. It reheats beautifully in a skillet to bring back that crisp edge, and the filling stays flavorful even after a few hours out of the fridge. It’s become my preferred way to repurpose leftover taco filling into something delightfully fresh.
Kid friendly, grown up friendly
The recipe bridges generations with its familiar melted cheese appeal and bold taco flavors. Kids love the melty texture, and adults appreciate the layers of seasoning and texture. It’s one of those simple recipes that sparks smiles across the table.
What Goes Into Taco Grilled Cheese Sandwich
These ingredients are a study in balance. The sturdy bread supports the warm, seasoned filling while the Cheddar cheese binds everything together with gooey richness. The small bright accents like salsa, avocado, and black olives bring acidity and salt that prevent the sandwich from feeling heavy. Butter is the unsung hero, delivering that even, golden crust you want every time.
- 2 slices thick bread, such as Italian or rustic bread: Provides hearty structure and absorbs butter for crisping; choose thick Italian or rustic slices to hold fillings without becoming soggy. Offers a chewy interior and sturdy crust that complements melty cheese and taco–seasoned beef, adding rustic flavor and texture to the sandwich.
- 1/2 tablespoon butter, for grilling: Adds a golden, flaky crust when melted into the pan and prevents sticking; use about half a tablespoon for even browning. Contributes subtle richness and helps achieve a crunchy exterior that contrasts with the gooey interior.
- 2 slices Cheddar cheese: Melts into creamy, tangy layers that bind other fillings together; Cheddar brings sharp flavor that balances the savory taco beef. Provides a pleasant stretch and mouthfeel when grilled, enhancing each bite with familiar cheesy comfort.
- 3 tablespoons cooked leftover taco-seasoned beef: Contributes concentrated savory, spiced meatiness from leftover taco seasoning; adds texture and robust flavor in small amounts. Integrates with melted cheese and salsa to create the sandwich's signature taco-inspired profile without overwhelming other components.
- 1 tablespoon fresh salsa: Imparts bright acidity and fresh tomato-onion-herb flavors; a tablespoon adds moisture and zesty contrast to rich cheese and beef. Acts as a flavor amplifier that lifts the overall sandwich and balances fatty elements.
- 1/4 avocado, sliced: Introduces creamy, buttery texture and mild, nutty flavor when sliced thin; a quarter avocado adds richness and cooling contrast. Helps mellow spicy components and contributes healthy fats for a satisfying bite.
- 1 tablespoon black olives: Provides briny, umami bursts that cut through richness; use a tablespoon for subtle olive flavor and small textural pops. Complements the taco–seasoned beef and ties together Mediterranean and Mexican-inspired notes.
- 1 tablespoon sour cream (optional): Adds cool, tangy creaminess when used; sour cream can be spooned sparingly to mellow heat and enrich mouthfeel. Offers optional smoothness and acidity that harmonizes with salsa and avocado if included.
- 1/2 tablespoon chopped cilantro (optional): Contributes fresh, citrusy herb brightness and a hint of green flavor; chopped cilantro adds aromatic lift when sprinkled on the sandwich. Serves as an optional finishing touch to brighten heavier ingredients and add visual freshness.
Cooking Method for Taco Grilled Cheese Sandwich
This method is straightforward, and it focuses on timing and temperature to get that perfect crisp exterior and fully melted center. Follow the order below and pay attention to visual and sensory cues so you end up with a sandwich that is warm through and beautifully textured.
- Lay the bread on a flat surface. Spread butter over each slice, flip and place one slice of cheese onto each slice of bread.: The initial setup should feel calm and organized, you want a clean workspace where you can butter and assemble without rushing. Notice the texture of your bread under your fingertips, a firm slice will yield a crisp, golden exterior when cooked. One sign something is off is if the bread feels damp or unevenly sliced, which can cause uneven grilling.
- Top one slice of bread with beef, salsa, avocado, olives, sour cream, and a sprinkle of chopped cilantro. Close the sandwich, making sure the cheese is against the bread on both sides.: As you spread the butter , smell the creamy dairy scent that signals proper fat coverage. Flipping the bread so the butter faces out ensures a uniform brown as it hits the hot pan, and placing Cheddar cheese against each inner face of the bread encourages efficient melting toward the center. If the butter pools, dab excess to avoid hot spots that can burn.
- In a non-stick pan or griddle, over medium-high heat, place the sandwich and grill for 2 to 3 minutes until it's golden and the cheese has begun to melt.: Layer the taco–seasoned beef first so its heat will help melt the cheese from within, then add the salsa and sliced avocado for freshness and creaminess. The pop of black olives and optional sour cream and cilantro completes the balance. Pay attention to distribution so each bite has a mix of flavors; overcrowding leads to uneven heating and a sandwich that may fall apart.
- Flip and grill on the other side for an additional minute or 2 until it's golden, crispy, and the cheese has melted. Remove from heat and serve immediately.: When you press the two halves together, feel for an even seal and listen for the faint sound of settling ingredients. The sandwich should sit snugly, which helps heat transfer and keeps ingredients from sliding out. If things feel lopsided, adjust now before cooking to promote even browning and melting.
- If packing in a lunchbox, allow the sandwich to cool down to room temperature before slicing and packing in a lunch container. In another compartment or container, store fruit, veggies, and your favorite sides.: As the sandwich hits the pan you should hear a steady sizzle and see the edges turn an even golden brown, that is your cue to leave it be so the crust forms properly. The smell will change, the butter browning slightly and aromatics from the beef will bloom. A common mistake is turning too early, which prevents the crust from forming and the cheese from starting to melt.
- Flip and grill on the other side for an additional minute or 2 until it's golden, crispy, and the cheese has melted: After flipping, watch closely for an even color and gentle bubbling of the Cheddar cheese at the edges; that bubbling tells you the center is warm and melty. Use a spatula to press slightly so the surfaces bond, but avoid excessive force which can squeeze out the filling. If you cook at too high heat now the outside can burn before the inside finishes melting.
- Remove from heat and serve immediately: When you lift the sandwich its weight should feel cohesive and warm, and the visual cue is a glossy, slightly compressed profile where the cheese peeks at the seam. Cutting it right away will reveal strings of melted Cheddar and the layered filling, offering a sensory reward. Letting it sit too long cools the cheese and reduces the textural contrast between crust and center.
- If packing in a lunchbox, allow the sandwich to cool down to room temperature before slicing and packing in a lunch container: Cooling prevents condensation which can make the crust soggy; feel the sandwich with clean hands and only pack when it is no longer steaming. Store the sandwich in an airtight compartment, and place moist items separately to keep the toasted surface intact. Packing while hot is a frequent cause of limp bread and diminished texture.
- In another compartment or container, store fruit, veggies, and your favorite sides: Separating sides preserves the sandwich texture and allows for a varied meal experience. Choose components that contrast with the warm, savory main, and pack them so they do not transfer moisture. A common oversight is putting wet sides next to the sandwich which leads to a less appealing meal at lunchtime.
Recipe Variations about Taco Grilled Cheese Sandwich
I like to think of variations as small experiments that keep this sandwich exciting. Here are practical, tested ideas that alter texture, temperature, or flavor without changing the core method. Each suggestion starts with a bold lead to highlight the technique.
- Double cheese swap Try mixing Cheddar cheese with another melting cheese for a silkier center, but still keep the sandwich structure the same to maintain crispness.
- Adjust the heat Use milder or hotter taco-seasoned beef depending on your tolerance, and balance it with extra sour cream if it needs cooling down.
- Chunky salsa choice Choose a thicker, chunkier salsa so you get texture without excess moisture, spooning off any excess liquid first.
- Avocado timing Add sliced avocado at the end to keep it green and fresh, rather than mixing it into the warm filling where it can become overly soft.
- Olive distribution Chop the black olives finely to ensure they are evenly spread so each bite contains a little briny contrast.
- Lunchbox packing Let the sandwich cool completely before sealing in a container and put wetter sides in separate compartments to preserve texture.
Serving Suggestions
This sandwich can be dressed up or down depending on the occasion. Whether you serve it for a casual lunch, a quick weeknight dinner, or a packed meal for busy days, small accompaniments elevate the experience. Below are practical serving ideas and storage tips laid out so you can choose what fits your meal plan.
- Serve hot with a simple salad A crisp green salad contrasts the warm, cheesy sandwich and adds a refreshing balance.
- Pack for lunch Cool the sandwich to room temperature before placing it in a lunchbox, and store fruit or raw veggies in a separate compartment to keep things fresh.
- Offer dipping options Place a small container of extra salsa or sour cream on the side for dipping, this adds moisture for those who prefer it.
- Occasion friendly Great for casual gatherings, kids lunches, or a quick solo dinner when you want something satisfying with minimal fuss.
- Storage tip Refrigerate leftovers in an airtight container for up to one day, then reheat in a skillet to restore the crisp exterior rather than using a microwave which softens the crust.
- Seasonal pairing During warmer months keep extra avocado and salsa on hand for freshness, while in cooler months a heartier side like roasted vegetables complements the sandwich.
FAQ
Conclusion
This sandwich shines because it combines crunchy, buttery toast with warm, seasoned taco fillings and molten Cheddar for a satisfying bite every time. Give it a try on a busy weeknight or pack it for a lunch that feels a little indulgent but still simple. I hope you enjoy the mix of textures and flavors as much as I do, and that it becomes one of your fast go to favorites.
Taco Grilled Cheese Sandwich
Equipment
- Equipment
- Kids Lunch Box
- 101 Packed Lunches
- Dips or Dressings
- 1
- ice pack
Ingredients
- 2 slices thick bread, such as Italian or rustic bread Provides hearty structure and absorbs butter for crisping; choose thick Italian or rustic slices to hold fillings without becoming soggy. Offers a chewy interior and sturdy crust that complements melty cheese and taco-seasoned beef, adding rustic flavor and texture to the sandwich.
- 1/2 tablespoon butter, for grilling Adds a golden, flaky crust when melted into the pan and prevents sticking; use about half a tablespoon for even browning. Contributes subtle richness and helps achieve a crunchy exterior that contrasts with the gooey interior.
- 2 slices Cheddar cheese Melts into creamy, tangy layers that bind other fillings together; Cheddar brings sharp flavor that balances the savory taco beef. Provides a pleasant stretch and mouthfeel when grilled, enhancing each bite with familiar cheesy comfort.
- 3 tablespoons cooked leftover taco-seasoned beef Contributes concentrated savory, spiced meatiness from leftover taco seasoning; adds texture and robust flavor in small amounts. Integrates with melted cheese and salsa to create the sandwich's signature taco-inspired profile without overwhelming other components.
- 1 tablespoon fresh salsa Imparts bright acidity and fresh tomato-onion-herb flavors; a tablespoon adds moisture and zesty contrast to rich cheese and beef. Acts as a flavor amplifier that lifts the overall sandwich and balances fatty elements.
- 1/4 avocado, sliced Introduces creamy, buttery texture and mild, nutty flavor when sliced thin; a quarter avocado adds richness and cooling contrast. Helps mellow spicy components and contributes healthy fats for a satisfying bite.
- 1 tablespoon black olives Provides briny, umami bursts that cut through richness; use a tablespoon for subtle olive flavor and small textural pops. Complements the taco-seasoned beef and ties together Mediterranean and Mexican-inspired notes.
- 1 tablespoon sour cream, optional Adds cool, tangy creaminess when used; sour cream can be spooned sparingly to mellow heat and enrich mouthfeel. Offers optional smoothness and acidity that harmonizes with salsa and avocado if included.
- 1/2 tablespoon chopped cilantro, optional Contributes fresh, citrusy herb brightness and a hint of green flavor; chopped cilantro adds aromatic lift when sprinkled on the sandwich. Serves as an optional finishing touch to brighten heavier ingredients and add visual freshness.
Instructions
- Lay the bread on a flat surface. Spread butter over each slice, flip and place one slice of cheese onto each slice of bread.: The initial setup should feel calm and organized, you want a clean workspace where you can butter and assemble without rushing. Notice the texture of your bread under your fingertips, a firm slice will yield a crisp, golden exterior when cooked. One sign something is off is if the bread feels damp or unevenly sliced, which can cause uneven grilling.
- Top one slice of bread with beef, salsa, avocado, olives, sour cream, and a sprinkle of chopped cilantro. Close the sandwich, making sure the cheese is against the bread on both sides.: As you spread the butter , smell the creamy dairy scent that signals proper fat coverage. Flipping the bread so the butter faces out ensures a uniform brown as it hits the hot pan, and placing Cheddar cheese against each inner face of the bread encourages efficient melting toward the center. If the butter pools, dab excess to avoid hot spots that can burn.
- In a non-stick pan or griddle, over medium-high heat, place the sandwich and grill for 2 to 3 minutes until it's golden and the cheese has begun to melt.: Layer the taco-seasoned beef first so its heat will help melt the cheese from within, then add the salsa and sliced avocado for freshness and creaminess. The pop of black olives and optional sour cream and cilantro completes the balance. Pay attention to distribution so each bite has a mix of flavors; overcrowding leads to uneven heating and a sandwich that may fall apart.
- Flip and grill on the other side for an additional minute or 2 until it's golden, crispy, and the cheese has melted. Remove from heat and serve immediately.: When you press the two halves together, feel for an even seal and listen for the faint sound of settling ingredients. The sandwich should sit snugly, which helps heat transfer and keeps ingredients from sliding out. If things feel lopsided, adjust now before cooking to promote even browning and melting.
- If packing in a lunchbox, allow the sandwich to cool down to room temperature before slicing and packing in a lunch container. In another compartment or container, store fruit, veggies, and your favorite sides.: As the sandwich hits the pan you should hear a steady sizzle and see the edges turn an even golden brown, that is your cue to leave it be so the crust forms properly. The smell will change, the butter browning slightly and aromatics from the beef will bloom. A common mistake is turning too early, which prevents the crust from forming and the cheese from starting to melt.
- Flip and grill on the other side for an additional minute or 2 until it's golden, crispy, and the cheese has melted: After flipping, watch closely for an even color and gentle bubbling of the Cheddar cheese at the edges; that bubbling tells you the center is warm and melty. Use a spatula to press slightly so the surfaces bond, but avoid excessive force which can squeeze out the filling. If you cook at too high heat now the outside can burn before the inside finishes melting.
- Remove from heat and serve immediately: When you lift the sandwich its weight should feel cohesive and warm, and the visual cue is a glossy, slightly compressed profile where the cheese peeks at the seam. Cutting it right away will reveal strings of melted Cheddar and the layered filling, offering a sensory reward. Letting it sit too long cools the cheese and reduces the textural contrast between crust and center.
- If packing in a lunchbox, allow the sandwich to cool down to room temperature before slicing and packing in a lunch container: Cooling prevents condensation which can make the crust soggy; feel the sandwich with clean hands and only pack when it is no longer steaming. Store the sandwich in an airtight compartment, and place moist items separately to keep the toasted surface intact. Packing while hot is a frequent cause of limp bread and diminished texture.
- In another compartment or container, store fruit, veggies, and your favorite sides: Separating sides preserves the sandwich texture and allows for a varied meal experience. Choose components that contrast with the warm, savory main, and pack them so they do not transfer moisture. A common oversight is putting wet sides next to the sandwich which leads to a less appealing meal at lunchtime.
Notes
- Double cheese swap Try mixing Cheddar cheese with another melting cheese for a silkier center, but still keep the sandwich structure the same to maintain crispness.
- Adjust the heat Use milder or hotter taco-seasoned beef depending on your tolerance, and balance it with extra sour cream if it needs cooling down.
- Chunky salsa choice Choose a thicker, chunkier salsa so you get texture without excess moisture, spooning off any excess liquid first.
- Avocado timing Add sliced avocado at the end to keep it green and fresh, rather than mixing it into the warm filling where it can become overly soft.
- Olive distribution Chop the black olives finely to ensure they are evenly spread so each bite contains a little briny contrast.
- Lunchbox packing Let the sandwich cool completely before sealing in a container and put wetter sides in separate compartments to preserve texture.