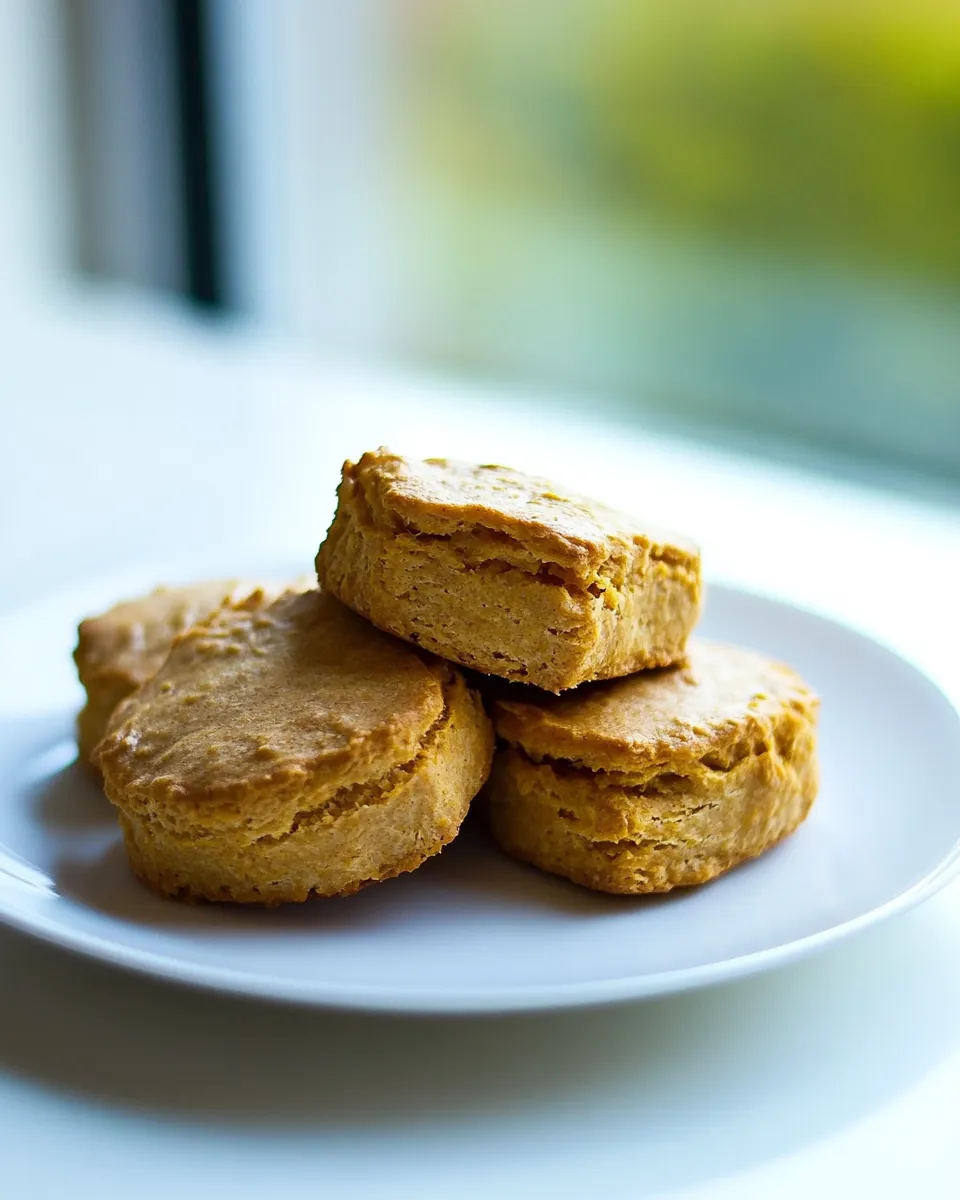
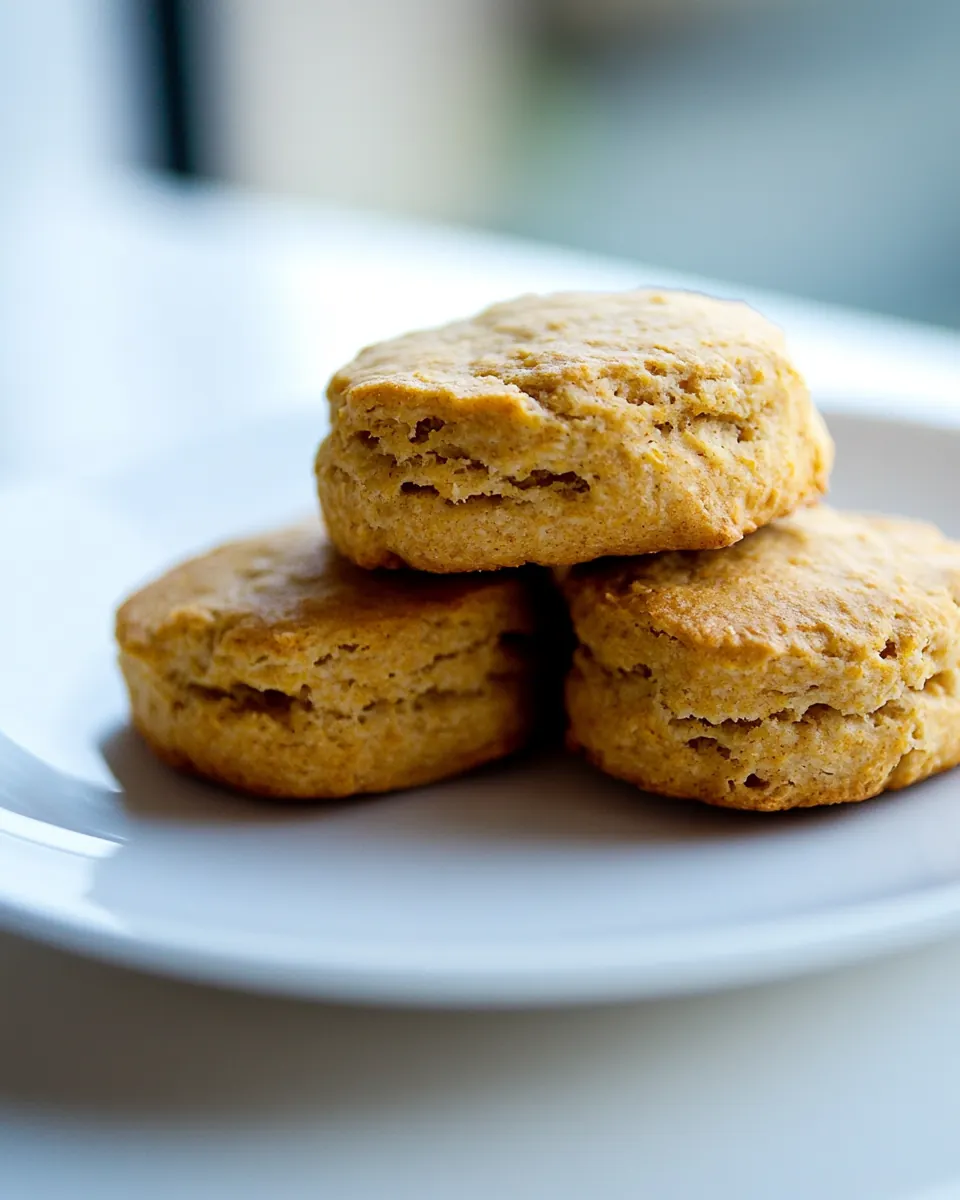
Sweet Potato Buttermilk Biscuits
Sweet Potato Buttermilk Biscuits have a way of showing up unannounced at my table, warm and slightly sweet, and instantly changing the mood of a meal. The first time I made these, I was experimenting with leftover mashed sweet potato after a hectic week, and the combination of the tuber’s natural sweetness with tangy buttermilk felt like a small revelation. I remember the dough feeling cool under my hands, the scent of butter faint and promising, and how the oven timer seemed to tick slower with every moment the biscuits turned from pale to golden.
Over several seasons I’ve refined the process. I learned to keep the **butter** fridge cold so that the pieces create flaky layers, and to chill the **sweet potato puree** so it doesn’t melt the butter while you work. I also discovered that arranging the rounds snugly in the pan helps them rise taller and remain tender at the edges. Each batch tells a little story, and friends who come by expect these biscuits with coffee or soup, or as part of a relaxed holiday spread.
Recipe Snapshot
39 mins
15 mins
24 mins
Easy
200 kcal
American
Gluten-Free, Low FODMAP
Breakfast
Large bowl, Pastry blender or two knives, Small bowl, 2 inch biscuit cutter, 8 inch cake pan, Oven
Why This Sweet Potato Buttermilk Biscuits Is a Winner
Comfort with a twist
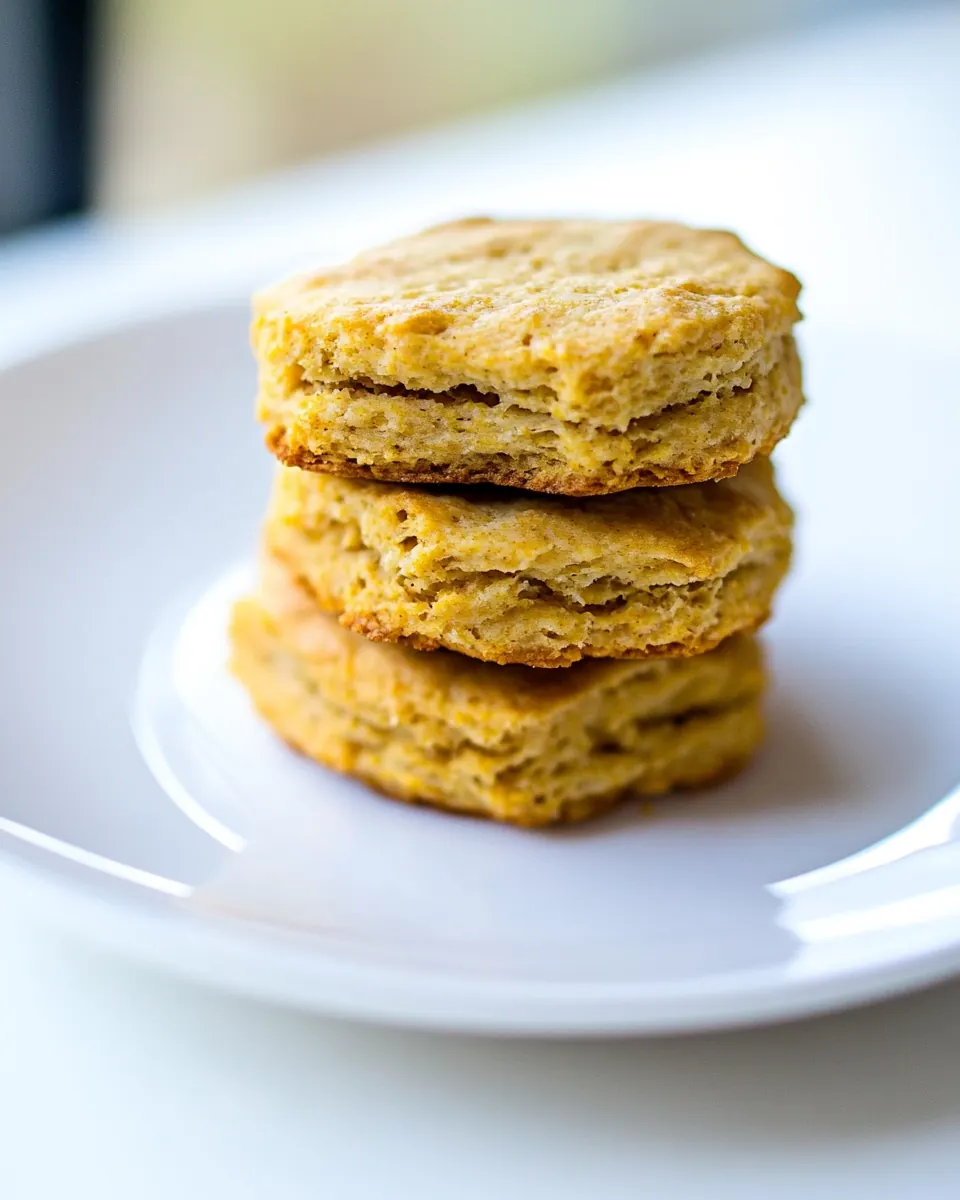
I love how Sweet Potato Buttermilk Biscuits feel familiar yet a bit unexpected. The texture is soft with delicate layers, and the mild sweetness from the sweet potato puree gives the biscuits character without stealing the show. I often make them when I want something cozy but not overly rich.
Simple ingredients, impressive result
What I appreciate is that the ingredient list is straightforward: all purpose flour, leavening, a bit of sugar, chilled butter, sweet potato puree, and buttermilk. Each player has an obvious role, and the final texture depends on treating them correctly. When I measure carefully and keep the butter cold, the biscuits bake into light, tender rounds that seem more elaborate than they are.
Versatile for occasions
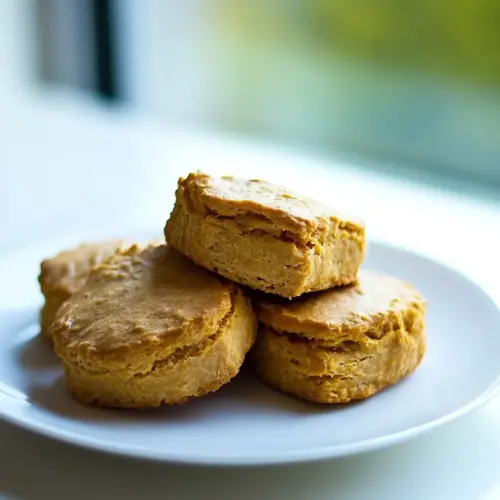
These biscuits work both as a centerpiece for a casual brunch and as a side that complements a festive meal. I bring them to fall gatherings because the sweet potato puree ties into seasonal flavors, and I enjoy how they pair with both savory and subtly sweet dishes. You can dress them up or keep them simple, which is why I keep the recipe in my rotation.
Technique makes the difference
One thing I always tell friends is to handle the dough gently. The brief kneading and cold fat create the flakiness that makes these biscuits special. I like to explain why resting, cutting, and arranging the rounds snugly matters for height and tenderness. It’s a small learning curve with a big payoff, and I enjoy guiding curious bakers through it.
Reliable and forgiving
Finally, this recipe is forgiving in a way that encourages experimentation. If you need to add a touch more flour because your dough is sticky, it still shines. I appreciate recipes that allow small adjustments without derailing the outcome, and these biscuits fit that bill. They reward attention and also accommodate real life in the kitchen.
What You Need for Sweet Potato Buttermilk Biscuits
These ingredients combine to create a biscuit that is tender, slightly sweet, and layered. The philosophy here is balance: structure from all purpose flour, lift from the leavening agents, richness and flakiness from cold butter, moisture and flavor from the sweet potato puree, and tang from the buttermilk. Each component pulls its weight to produce a biscuit that is both sturdy enough to hold and soft enough to melt on the tongue.
- 1 3/4 cup all-purpose flour, plus more for kneading and shaping 2 tablespoons light-brown sugar 2 1/2 teaspoons baking powder 1 teaspoon salt 1/2 teaspoon baking soda 6 tablespoons chilled unsalted butter, cut into pieces, plus 1/2 tablespoon melted butter and more for pan 3/4 cup sweet-potato puree, chilled 1/3 cup buttermilk: Measured and sifted to provide structure and gluten development, contributing the bulk of the biscuit dough while extra for kneading prevents sticking and aids in shaping to maintain light, tender layers. Ground granulated sugar integrated for subtle sweetness and enhanced browning. Leavening agents activated during mixing and baking create lift and flaky texture. Fats and liquids combined with chilled butter and sweet–potato puree produce laminated pockets, while buttermilk reacts with baking soda for additional tenderness and a slight tang.
Instructions for Sweet Potato Buttermilk Biscuits
These steps will walk you through making the dough, shaping the rounds, and baking to a golden finish. Read each part slowly so you can feel the changes in texture as you mix and handle the dough. Keep ingredients cold and your movements confident to get the best rise.
- Make the dough: In a large bowl, whisk together flour, sugar, baking powder, salt, and baking soda. With a pastry blender or two knives, cut in butter until mixture resembles coarse meal, with some pea-sized lumps of butter remaining. In a small bowl, whisk together sweet potato purée and buttermilk; stir quickly into flour mixture until combined (do not overmix).: The bowl will smell faintly of butter and flour, and the mixture should have a coarse, sandy texture with little pea sized flecks of cold fat. When you cut the chilled pieces of butter into the dry all purpose flour , you will hear a slightly crunchy, granular sound as the butter fragments. That remaining pea sized butter is essential because as the biscuits bake, the bits create little steam pockets that puff the layers and give a flaky interior. You should combine the sweet potato puree and the buttermilk until smooth and slightly glossy so they incorporate quickly without overworking the flour. A common mistake here is overmixing, which develops gluten and yields a tough biscuit, so stop as soon as the dough holds together and still looks a bit shaggy.
- Shape the biscuits: Turn out dough onto a lightly floured surface, and knead very gently until dough comes together but is still slightly lumpy, five or six times. (If dough is too sticky, work in up to 1/4 cup additional flour.) Shape into a disk, and pat to an even 1-inch thickness. With a floured 2-inch biscuit cutter, cut out biscuits as close together as possible. Gather together scraps, and repeat to cut out more biscuits (do not reuse scraps more than once).: The tactile signals are important when you turn the dough out; it should feel cool and slightly tacky but not wet. When you knead very gently, just five or six times, you are aligning the bits of dough enough so they hold together, while preserving those butter pockets. Patting the disk to a consistent 1 inch thickness gives an even bake and uniform rise across rounds. Using a floured cutter, press straight down rather than twisting, which seals the edges and helps the biscuits rise tall. If the dough seems overly sticky, sprinkling up to 1/4 cup additional flour is acceptable, but adding too much will dry the crumb, so err on the cautious side. Avoid reusing scraps more than once because overworking them can lead to dense biscuits.
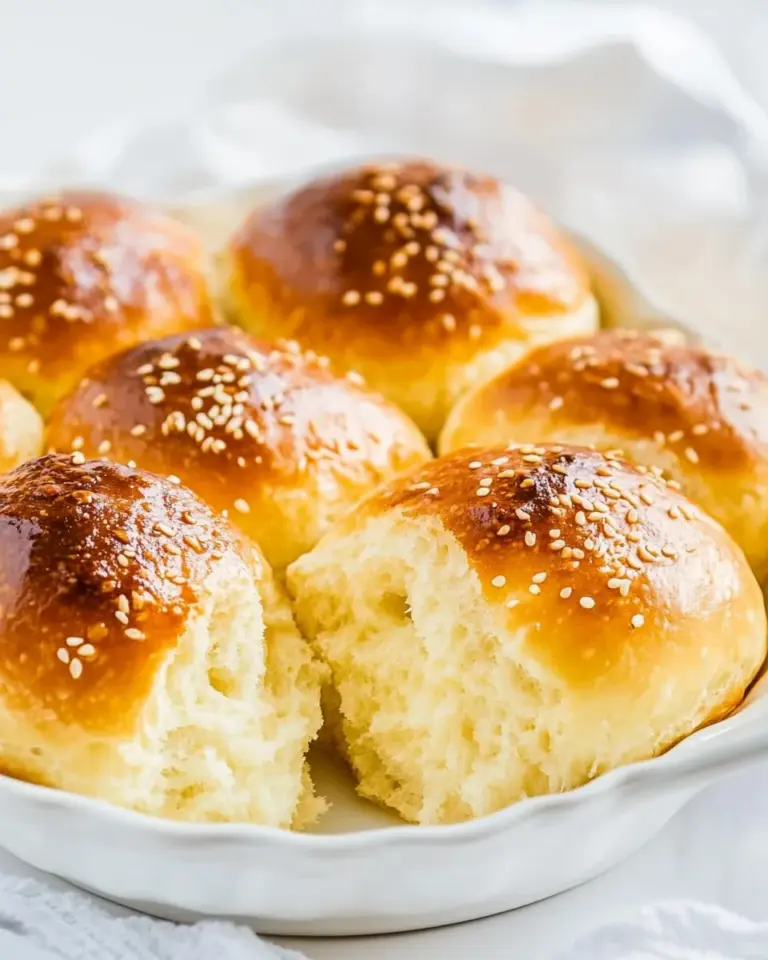
- Bake the biscuits: Preheat oven to 425 degrees with rack on lower shelf. Butter an 8-inch cake pan. Arrange biscuits snugly in pan (to help them stay upright). Brush with melted butter. Bake until golden, rotating once, 20 to 24 minutes.: The oven environment is crucial here, so preheat to 425 degrees on the lower rack to encourage even bottom coloring and oven spring. Arranging the biscuits snugly in the buttered 8 inch pan keeps their sides supported so they rise vertically, creating tender, soft sides rather than flat ones. Brushing with the 1/2 tablespoon of melted butter gives a glossy, rich crust and helps the top brown evenly. As they bake, listen for quiet crackles as steam escapes and watch the tops move from pale to golden; rotating once ensures even color. A common pitfall is opening the oven too often, which lets heat escape and reduces rise, so check only near the end of the suggested 20 to 24 minute window.
Tips for Success
These tips will help you nail texture, flavor, and presentation. I share the habits I follow every time I make Sweet Potato Buttermilk Biscuits, because small details translate into consistent results.
- Chill everything – Keep the butter and sweet potato puree cold until the moment they go into the dough; this preserves pockets of fat that create flakiness.
- Gentle handling – Minimize kneading to avoid developing too much gluten in the all purpose flour, which keeps the biscuits tender.
- Measure carefully – Use the spoon and level method for all purpose flour to prevent adding excess, which can dry out the final texture.
- Use fresh leaveners – Ensure your baking powder and baking soda are fresh for reliable rise and an airy crumb.
- Cut straight down – Press the cutter straight through the dough rather than twisting; this helps the biscuits rise tall and evenly.
- Brush before baking – A light brush of melted butter on top encourages a golden, appealing crust and adds flavor.
Great Combinations for Sweet Potato Buttermilk Biscuits
These biscuits pair well with many dishes and fit cozy meals, seasonal gatherings, and simple breakfasts. Below are serving ideas and storage tips to get the most from each batch.
- Brunch centerpiece – Serve warm with a selection of preserves or softened spreads and a pot of hot coffee for an easy weekend spread.
- Holiday side – Include them on a fall or Thanksgiving table as a tender, subtly sweet complement to roasted mains and braised vegetables.
- Soup companion – These biscuits are excellent alongside a warm bowl, providing a soft vehicle for sopping up broths while adding a hint of sweetness.
- Casual dinner – Offer them as a bread option with roasted vegetables and a simple salad for a weeknight family meal.
- Make ahead – You can shape the rounds and freeze them on a tray, then transfer to a bag; bake from frozen adding a few minutes so they cook through without burning the exterior.
- Storage tips – Keep cooled biscuits in an airtight container at room temperature for up to two days, or freeze for up to one month; reheat gently to restore tenderness.
FAQ
Conclusion
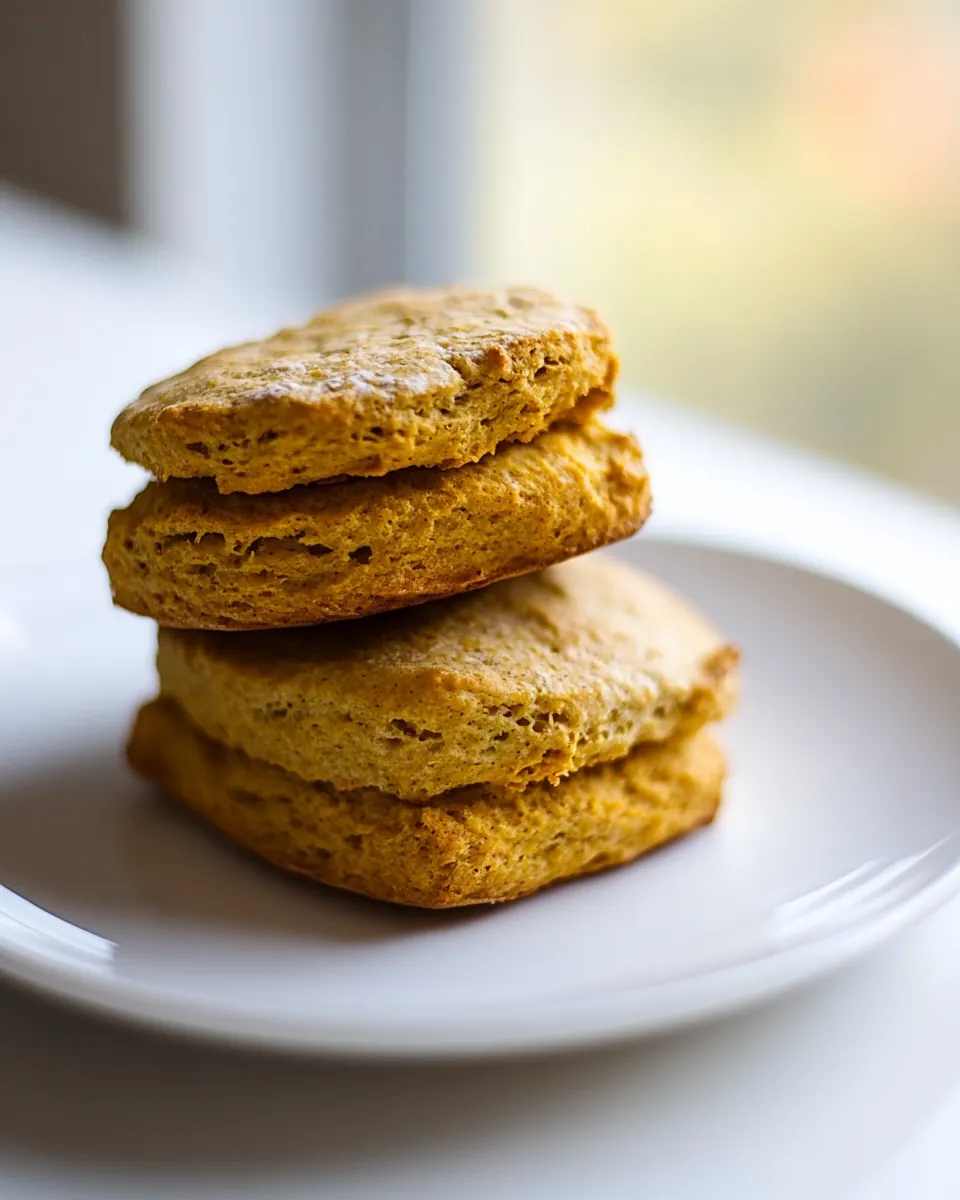
What makes these biscuits special is their balance of tender, flaky texture with a hint of sweet earthy flavor from the sweet potato. Give them a try because they are forgiving to make, versatile to serve, and reliably comforting when shared with friends or family. Baking these will reward you with warm, aromatic rounds that feel like a little celebration at the table, and I hope they become a staple in your kitchen rotation.
Sweet Potato Buttermilk Biscuits
Equipment
- Large Bowl
- Pastry blender or two knives
- Small Bowl
- 2 inch biscuit cutter
- 8 inch cake pan
- Oven
Ingredients
- 1 3/4 cup all-purpose flour, plus more for kneading and shaping 2 tablespoons light-brown sugar 2 1/2 teaspoons baking powder 1 teaspoon salt 1/2 teaspoon baking soda 6 tablespoons chilled unsalted butter, cut into pieces, plus 1/2 tablespoon melted butter and more for pan 3/4 cup sweet-potato puree, chilled 1/3 cup buttermilk Measured and sifted to provide structure and gluten development, contributing the bulk of the biscuit dough while extra for kneading prevents sticking and aids in shaping to maintain light, tender layers. Ground granulated sugar integrated for subtle sweetness and enhanced browning. Leavening agents activated during mixing and baking create lift and flaky texture. Fats and liquids combined with chilled butter and sweet-potato puree produce laminated pockets, while buttermilk reacts with baking soda for additional tenderness and a slight tang.
Instructions
- Make the dough: In a large bowl, whisk together flour, sugar, baking powder, salt, and baking soda. With a pastry blender or two knives, cut in butter until mixture resembles coarse meal, with some pea-sized lumps of butter remaining. In a small bowl, whisk together sweet potato purée and buttermilk; stir quickly into flour mixture until combined (do not overmix).: The bowl will smell faintly of butter and flour, and the mixture should have a coarse, sandy texture with little pea sized flecks of cold fat. When you cut the chilled pieces of butter into the dry all purpose flour , you will hear a slightly crunchy, granular sound as the butter fragments. That remaining pea sized butter is essential because as the biscuits bake, the bits create little steam pockets that puff the layers and give a flaky interior. You should combine the sweet potato puree and the buttermilk until smooth and slightly glossy so they incorporate quickly without overworking the flour. A common mistake here is overmixing, which develops gluten and yields a tough biscuit, so stop as soon as the dough holds together and still looks a bit shaggy.
- Shape the biscuits: Turn out dough onto a lightly floured surface, and knead very gently until dough comes together but is still slightly lumpy, five or six times. (If dough is too sticky, work in up to 1/4 cup additional flour.) Shape into a disk, and pat to an even 1-inch thickness. With a floured 2-inch biscuit cutter, cut out biscuits as close together as possible. Gather together scraps, and repeat to cut out more biscuits (do not reuse scraps more than once).: The tactile signals are important when you turn the dough out; it should feel cool and slightly tacky but not wet. When you knead very gently, just five or six times, you are aligning the bits of dough enough so they hold together, while preserving those butter pockets. Patting the disk to a consistent 1 inch thickness gives an even bake and uniform rise across rounds. Using a floured cutter, press straight down rather than twisting, which seals the edges and helps the biscuits rise tall. If the dough seems overly sticky, sprinkling up to 1/4 cup additional flour is acceptable, but adding too much will dry the crumb, so err on the cautious side. Avoid reusing scraps more than once because overworking them can lead to dense biscuits.
- Bake the biscuits: Preheat oven to 425 degrees with rack on lower shelf. Butter an 8-inch cake pan. Arrange biscuits snugly in pan (to help them stay upright). Brush with melted butter. Bake until golden, rotating once, 20 to 24 minutes.: The oven environment is crucial here, so preheat to 425 degrees on the lower rack to encourage even bottom coloring and oven spring. Arranging the biscuits snugly in the buttered 8 inch pan keeps their sides supported so they rise vertically, creating tender, soft sides rather than flat ones. Brushing with the 1/2 tablespoon of melted butter gives a glossy, rich crust and helps the top brown evenly. As they bake, listen for quiet crackles as steam escapes and watch the tops move from pale to golden; rotating once ensures even color. A common pitfall is opening the oven too often, which lets heat escape and reduces rise, so check only near the end of the suggested 20 to 24 minute window.
Notes
- Chill everything - Keep the butter and sweet potato puree cold until the moment they go into the dough; this preserves pockets of fat that create flakiness.
- Gentle handling - Minimize kneading to avoid developing too much gluten in the all purpose flour, which keeps the biscuits tender.
- Measure carefully - Use the spoon and level method for all purpose flour to prevent adding excess, which can dry out the final texture.
- Use fresh leaveners - Ensure your baking powder and baking soda are fresh for reliable rise and an airy crumb.
- Cut straight down - Press the cutter straight through the dough rather than twisting; this helps the biscuits rise tall and evenly.
- Brush before baking - A light brush of melted butter on top encourages a golden, appealing crust and adds flavor.