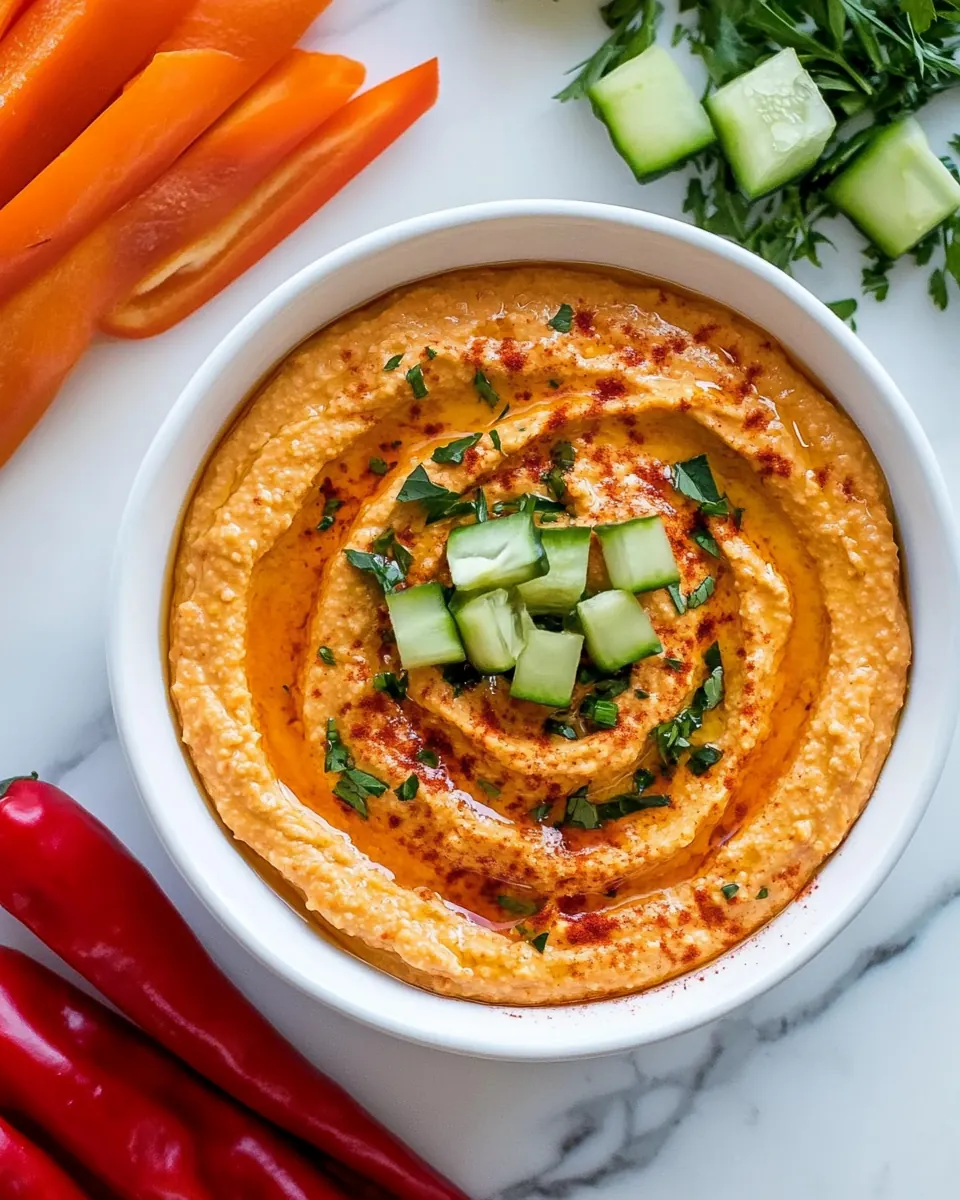
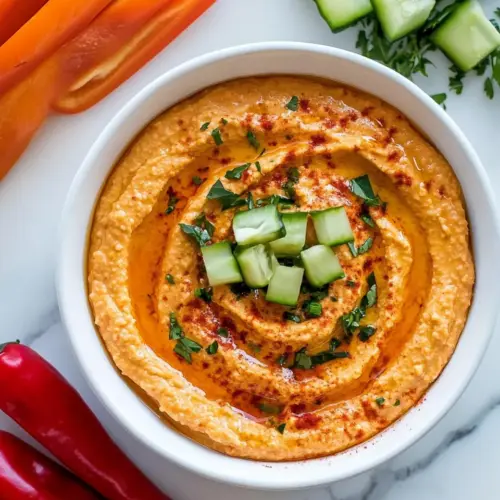
Roasted Red Pepper Hummus
Roasted Red Pepper Hummus is one of those recipes I reach for when I want something bright, creamy, and effortlessly social. From the first time I stirred a jar of smoky roasted red peppers into a bowl of chickpeas, I knew this would become my go to for casual get togethers and simple weeknight spreads. The color alone lifts the mood, and the blend of textures always makes guests ask for the recipe.
When I make Roasted Red Pepper Hummus, I like to slow down and appreciate the little rituals. I reserve a splash of the chickpea liquid, the aquafaba, because it transforms the texture into something velvety without adding any fuss. I also find myself tasting as I go, adjusting the salt and lemon until it sings. This is the kind of recipe that rewards curiosity, and every batch has taught me something subtle about balance.
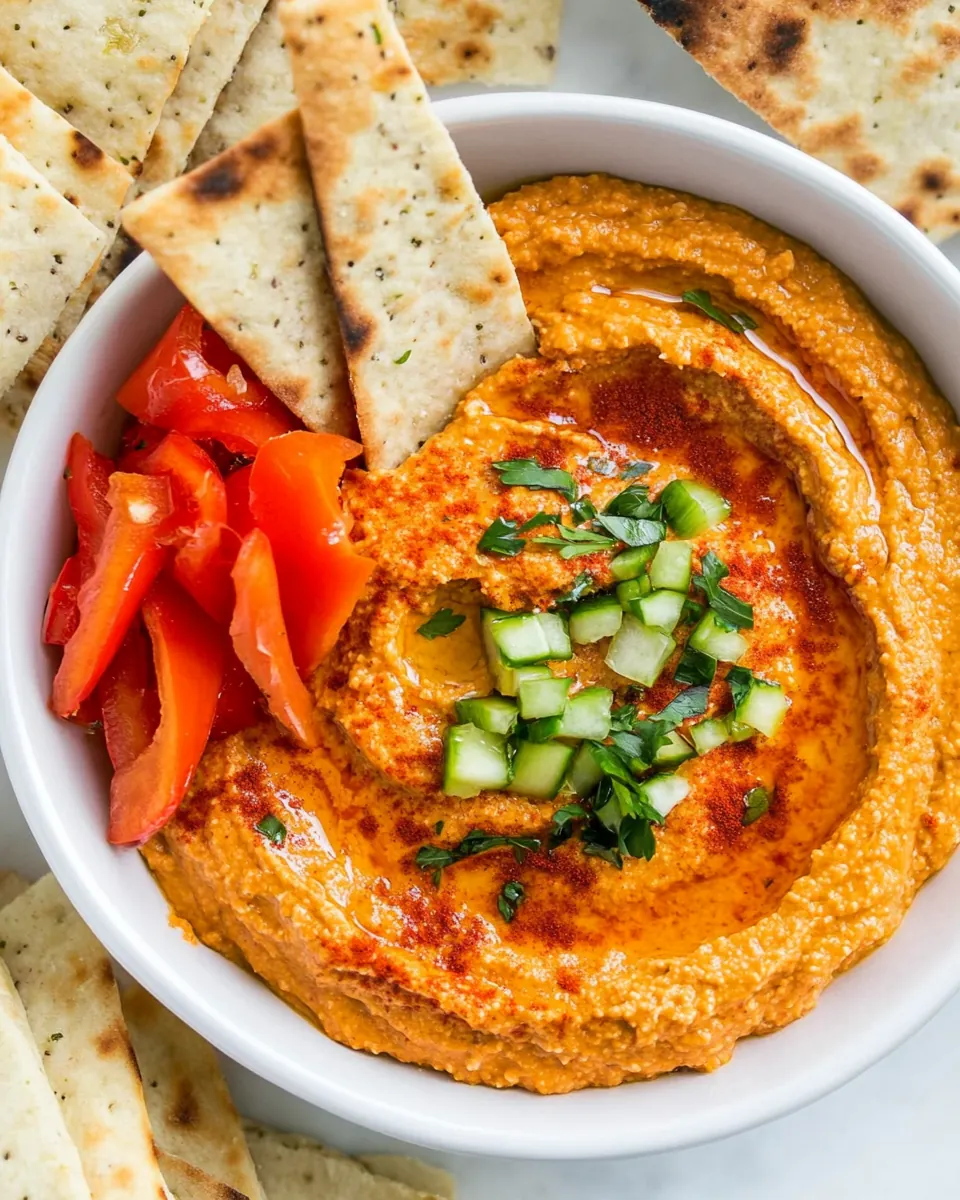
There is also a comforting practicality to this dip. It keeps beautifully in the fridge, so I often make a batch on a Sunday and it becomes a grab and go snack for the week. I enjoy serving it with crisp vegetables, warm pita, or simple crackers, and watching the variety of ways people return to the bowl. Making Roasted Red Pepper Hummus has become part technique, part nostalgia for shared plates and easy gatherings, and part selfish pleasure in having a reliable, flavorful dip ready at hand.
Recipe Snapshot
6 mins
5 mins
1 mins
Easy
150 kcal
Mediterranean
Vegan, Gluten-Free
Appetizers
Food processor, Spatula, Can opener
Why This Roasted Red Pepper Hummus Shines
Smoky, bright flavor that stands out
I love how the jarred roasted red peppers bring a smoky sweetness that lifts the whole dip, without overpowering the gentle nuttiness of the chickpeas. That contrast makes the hummus feel elevated, like a simple pantry trick turned into something special.
Silky texture from aquafaba
Using reserved aquafaba gives the hummus a luscious, whipped mouthfeel. I often skip extra oil when the aquafaba is used well, since it helps bind and lighten the puree. Trust me, it makes a difference when you scoop it with a pita.
Minimal ingredients, maximum impact
This recipe is efficient. A few high quality items tahini, extra virgin olive oil, and fresh lemon juice—work together to create a complex profile. I appreciate recipes that respect simplicity while delivering bold results.
Versatile for many occasions
I turn to Roasted Red Pepper Hummus for everything from casual snacking to party platters. It pairs beautifully with raw vegetables for a healthy snack, or as part of a mezze spread when I want to impress with little effort.
Keeps well and improves slightly over time
One of my favorite things is that the flavors meld and mellow after a day in the fridge. The texture stays creamy, and the sweetness of the peppers integrates further, so leftovers are often even better than the first scoop.
Ingredients You’ll Need for Roasted Red Pepper Hummus
I choose ingredients that bring both structure and personality to this hummus. The chickpeas provide body and protein, the tahini contributes a creamy, nutty depth, and the jarred roasted red peppers give the hummus its signature color and smoky note. Small elements like lemon juice and garlic spark brightness and aroma, while olive oil and reserved aquafaba ensure a smooth, spreadable finish.
- 1 15-ounce can chickpeas drained and rinsed (save some liquid for blending): Provide creamy, protein-rich body and a slightly nutty flavor; mashed and blended to form the hummus base while reserved liquid helps adjust consistency during processing.
- 2 tablespoons Tahini: Add a rich, sesame-based creaminess and depth; whisked into the blend to contribute silkiness and a subtle, slightly bitter undertone that balances acidity.
- 7 ounces jarred roasted red peppers drained: Bring smoky-sweet flavor and vibrant color; pureed with the chickpeas to impart roasted pepper character and visual appeal while contributing moisture.
- 1/4 cup lemon juice: Lend bright acidity and fresh citrus notes; squeezed and added to brighten flavors, balance richness, and help preserve the hummus for a fresher taste.
- 2 teaspoons garlic minced: Introduce pungent, aromatic heat and savory bite; minced and incorporated to enhance overall flavor complexity and provide a sharp contrast to creamy elements.
- 3 tablespoons extra virgin olive oil plus more for serving: Contribute fruity, peppery richness and smooth mouthfeel; drizzled into the puree and used for finishing to add shine and enhance richness of the spread.
- 3 tablespoons aquafaba (reserved liquid from canned chickpeas): Provide viscous binding and egg-white-like emulsification; stirred or blended in to boost creaminess and help stabilize texture without altering flavor.
- 1/2 teaspoon Kosher salt plus more for taste: Season and amplify flavors while controlling salinity; measured and adjusted to taste to ensure the hummus is properly seasoned and balanced.
Directions for Roasted Red Pepper Hummus
I like to approach the process like a short ritual, tidy and sensory, where each moment contributes to a creamy, balanced hummus. Take your time with textures and tastes, and keep a spoon handy for small adjustments. Below I expand on each step to help you get predictable results and avoid common pitfalls.
- Before you drain and rinse the chickpeas, save some of the liquid from the can. This is called aquafaba and will help give a creamy texture to the hummus.: The jar or can liquid, called aquafaba , carries starches and proteins that help create a mousse like texture when blended. As you open the can you may notice a slightly viscous liquid, and that is what you want to reserve in a small cup. The scent is mild and slightly beany, and keeping a tablespoon or three makes it simple to adjust consistency later. Why this matters, the aquafaba mimics the emulsifying effect of extra oil, so you can achieve creaminess with less fat. Troubleshooting tip: a common mistake is discarding all the liquid, which can result in a dense, pasty hummus; if that happens, stir in small amounts of aquafaba to loosen the texture.
- To a food processor or blender, add the drained chickpeas, drained roasted red peppers, lemon juice, tahini, garlic, olive oil, aquafaba, and salt.: Once everything is in the bowl, you will notice a colorful, roughly textured assembly that smells of citrus and roasted pepper. Work in pulses to break down the solids, and stop periodically to scrape the sides with a spatula so no pockets of ingredients remain. The initial sound is a coarse rhythmic grinding that gradually smooths into a steady hum as the blades work. This technique matters because pulsing prevents overworking and helps incorporate air gradually for a lighter result. Troubleshooting tip: if your motor strains or the mixture clings to the sides, add a teaspoon of aquafaba or lemon juice to help the blades grab the mixture.
- Blend until smooth making sure to scrape the sides throughout the blending process. Add more aquafaba if the hummus is too thick.: As you blend the hummus, watch for visual cues like a glossy surface and a consistent, lump free texture. Pause every few pulses to scrape down the bowl so small bits of chickpea and peppers are reincorporated. The aroma will become more unified and the color will even out into a vivid coral. Why this helps, continuous scraping ensures even blending and prevents overheating localized bits, preserving fresh flavors. Troubleshooting tip: if you see tiny flecks of tahini that do not integrate, stop and scrape, then blend again in short bursts to avoid a grainy mouthfeel.
- Blend for about 30 seconds to get a smooth and creamy consistency. If you prefer your hummus thicker, leave this step out.: After an initial blending, test the texture by scooping with a spoon; it should hold shape but be spreadable. Add small increments of aquafaba , about a teaspoon at a time, blending between additions until you reach the desired silkiness. You will notice the hummus become glossier and lighter, and the sound of the blender will change to a smoother tone. This incremental method matters because it prevents overshooting into a runny sauce. Troubleshooting tip: avoid adding large amounts at once which can thin the hummus too much; correct by folding in a bit more mashed chickpea if available.
- Serve with veggies, crackers, or pita bread.: A final short burst polishes the texture and brings the flavors together, leaving a uniform sheen and a velvety mouthfeel. Pay attention to the sound and the way the blades move; when the hummus no longer slaps against the bowl and moves in a steady stream, it is likely ready. This finishing burst helps emulsify the olive oil and tahini with the liquids, creating a cohesive texture. Troubleshooting tip: if you prefer thicker hummus, skip this final smoothing step and reserve some texture; over blending can eliminate pleasant body.
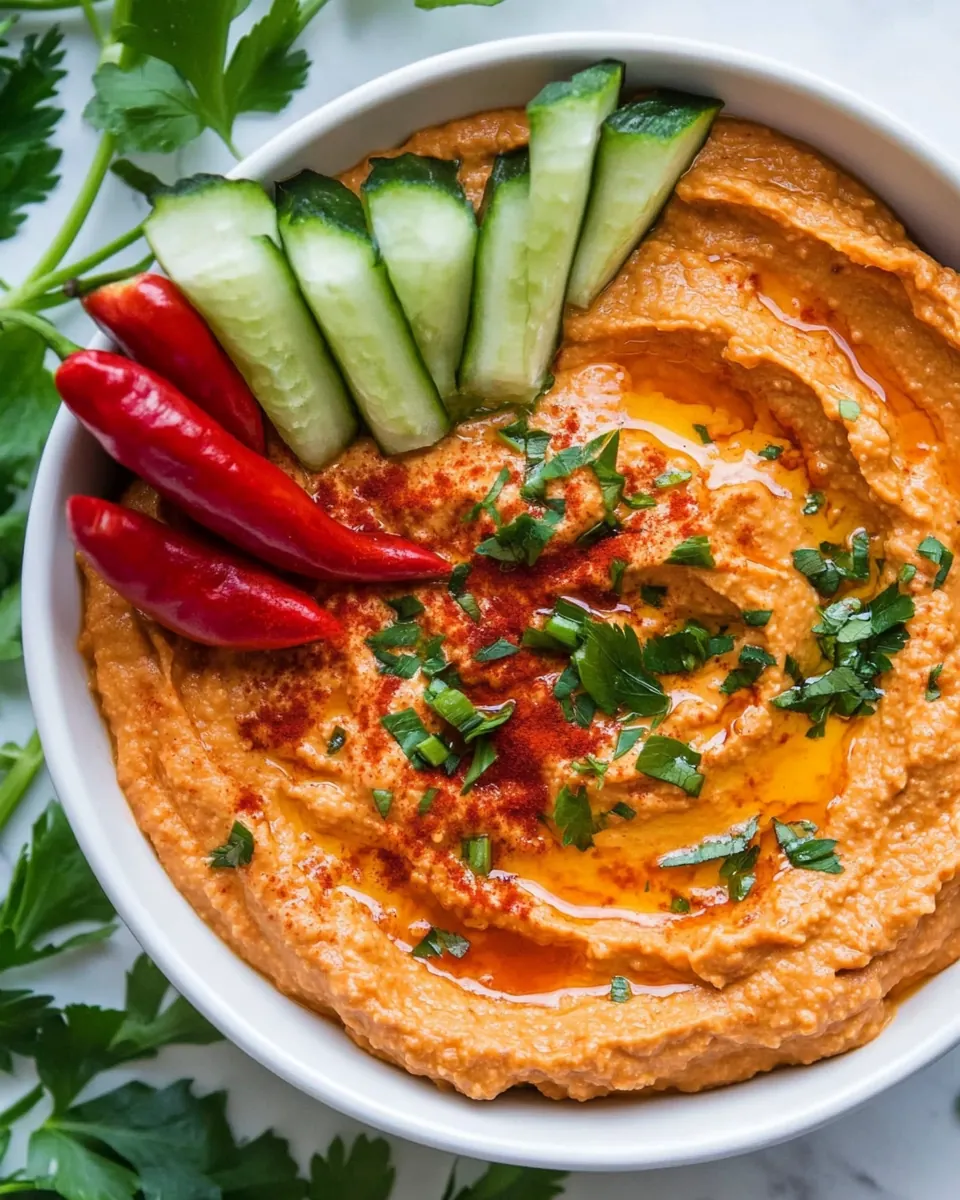
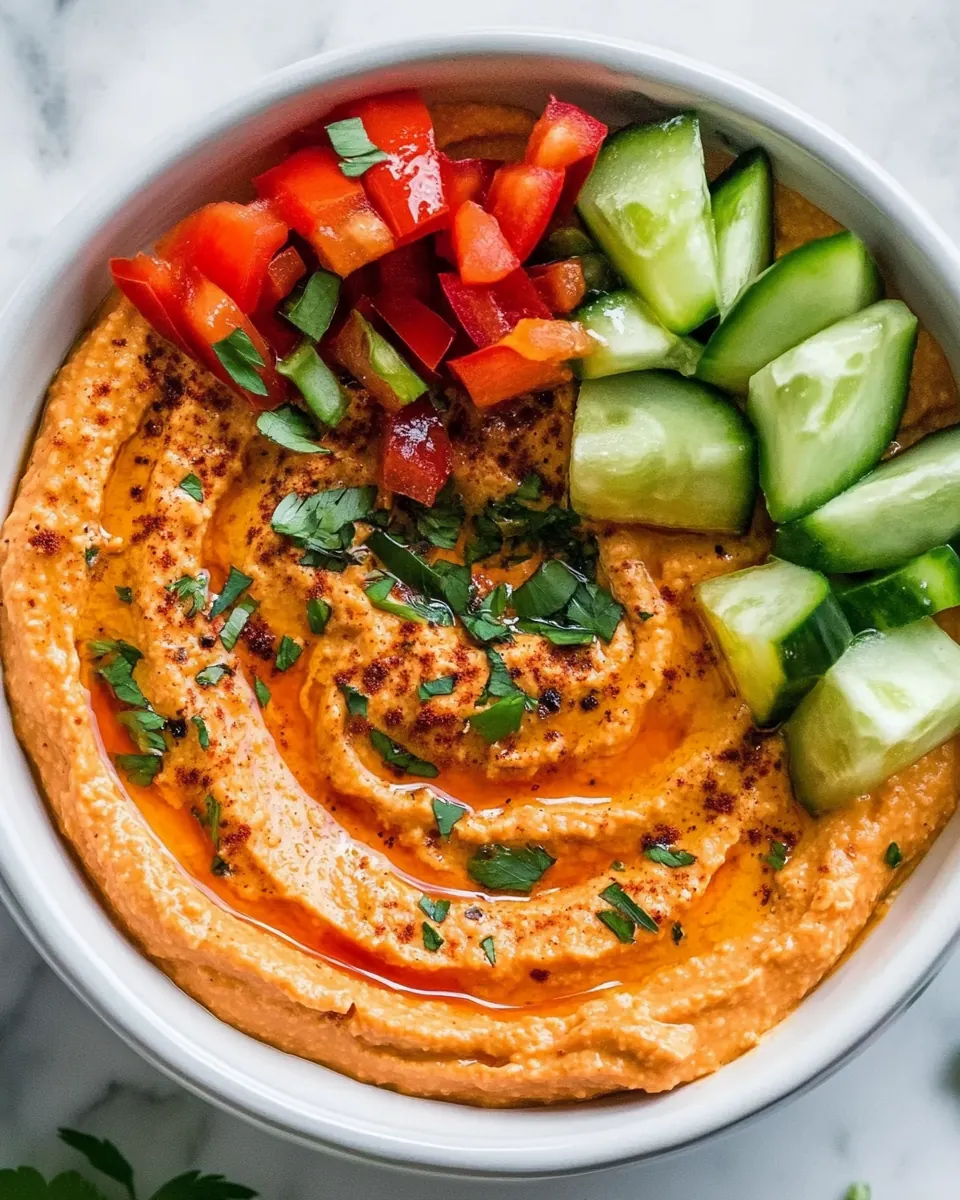
- Serve with veggies crackers or pita bread: Present the hummus in a shallow bowl, drizzle a little extra virgin olive oil on top, and add a sprinkle of salt if desired. The aroma of citrus and roasted pepper will be inviting, and the color will pop against fresh vegetables or warm pita. Serving temperature matters, slightly chilled hummus tends to hold its shape while room temperature elevates the aroma. Troubleshooting tip: avoid leaving the hummus out too long in warm conditions; refrigerate any leftovers promptly to preserve freshness and flavor.
Helpful Hints
These tips come from many batches and a few experiments that went right. I focus on texture and balance, because with hummus those two things carry the whole recipe. Read through and pick the suggestions that match how you like your dip.
- Reserve aquafaba: Keep at least three tablespoons of the can liquid before rinsing the chickpeas; add gradually to reach the perfect silky consistency without over thinning.
- Measure tahini: Stir your tahini first and level it in the tablespoon so it blends smoothly, preventing clumps and ensuring even sesame flavor.
- Drain peppers well: Pat or gently press the jarred roasted red peppers to remove excess liquid, unless you want a looser texture, in which case reserve a touch of the pepper liquid for thinning.
- Taste for salt at the end: Add the initial Kosher salt amount, then sample after blending; canned and jarred items differ in salt so small adjustments are common.
- Finish with olive oil: A thin ribbon of extra virgin olive oil on the surface before serving adds gloss and a fruit forward aroma that complements the peppers.
- Make ahead: The hummus benefits from resting for a few hours in the fridge, allowing the flavors to integrate for a slightly mellower, more unified profile.
What Goes Well With This Roasted Red Pepper Hummus
Roasted Red Pepper Hummus pairs effortlessly with a range of accompaniments and occasions. It is equally at home on a casual snack plate or as part of a larger mezze spread. Below I outline serving ideas and storage tips in detail so you can plan for seasons and gatherings.
- Vegetable platter: Crisp vegetables like carrot sticks, cucumber rounds, and bell pepper strips provide a refreshing contrast in texture and coolness, making them ideal for summer snacking or healthy lunches.
- Pita and flatbreads: Warmed pita wedges or toasted flatbreads offer a tender, pillowy vessel to scoop the hummus, perfect for casual dinners or appetizer courses at gatherings.
- Crackers and chips: Choose sturdy crackers or baked chips when you want a crunchy counterpoint; these are great for parties where guests prefer finger foods.
- Mediterranean mezze: Include this hummus alongside olives, roasted vegetables, and simple salads for a diverse platter that works well for communal meals and festive occasions.
- Occasions: This dip suits lunch, light dinner, potlucks, and Ramadan iftar spreads where small plates and shared bites are appreciated, because it is easy to scale and transport.
- Storage tips: Store in an airtight container in the fridge for up to four to five days; the flavors deepen with time, so leftovers often taste richer the next day.
- Seasonal pairing: Bright, fresh crudites are lovely in spring and summer, while warm pita and roasted vegetables feel comforting in cooler months, making the hummus truly versatile across seasons.
FAQ
Conclusion
Roasted Red Pepper Hummus shines because it combines smoky, bright, and creamy elements into one effortless spread. Give it a try when you want a quick yet impressive dip for friends, family, or simple weeknight snacks. The recipe rewards small adjustments and tasting along the way, so make it your own, enjoy the color and aroma, and watch it become a reliable favorite in your refrigerator.
Roasted Red Pepper Hummus
Equipment
- Food Processor
- Spatula
- Can opener
Ingredients
- 1 15-ounce can chickpeas drained and rinsed (save some liquid for blending) Provide creamy, protein-rich body and a slightly nutty flavor; mashed and blended to form the hummus base while reserved liquid helps adjust consistency during processing.
- 2 tablespoons Tahini Add a rich, sesame-based creaminess and depth; whisked into the blend to contribute silkiness and a subtle, slightly bitter undertone that balances acidity.
- 7 ounces jarred roasted red peppers drained Bring smoky-sweet flavor and vibrant color; pureed with the chickpeas to impart roasted pepper character and visual appeal while contributing moisture.
- 1/4 cup lemon juice Lend bright acidity and fresh citrus notes; squeezed and added to brighten flavors, balance richness, and help preserve the hummus for a fresher taste.
- 2 teaspoons garlic minced Introduce pungent, aromatic heat and savory bite; minced and incorporated to enhance overall flavor complexity and provide a sharp contrast to creamy elements.
- 3 tablespoons extra virgin olive oil plus more for serving Contribute fruity, peppery richness and smooth mouthfeel; drizzled into the puree and used for finishing to add shine and enhance richness of the spread.
- 3 tablespoons aquafaba (reserved liquid from canned chickpeas) Provide viscous binding and egg-white-like emulsification; stirred or blended in to boost creaminess and help stabilize texture without altering flavor.
- 1/2 teaspoon Kosher salt plus more for taste Season and amplify flavors while controlling salinity; measured and adjusted to taste to ensure the hummus is properly seasoned and balanced.
Instructions
- Before you drain and rinse the chickpeas, save some of the liquid from the can. This is called aquafaba and will help give a creamy texture to the hummus.: The jar or can liquid, called aquafaba , carries starches and proteins that help create a mousse like texture when blended. As you open the can you may notice a slightly viscous liquid, and that is what you want to reserve in a small cup. The scent is mild and slightly beany, and keeping a tablespoon or three makes it simple to adjust consistency later. Why this matters, the aquafaba mimics the emulsifying effect of extra oil, so you can achieve creaminess with less fat. Troubleshooting tip: a common mistake is discarding all the liquid, which can result in a dense, pasty hummus; if that happens, stir in small amounts of aquafaba to loosen the texture.
- To a food processor or blender, add the drained chickpeas, drained roasted red peppers, lemon juice, tahini, garlic, olive oil, aquafaba, and salt.: Once everything is in the bowl, you will notice a colorful, roughly textured assembly that smells of citrus and roasted pepper. Work in pulses to break down the solids, and stop periodically to scrape the sides with a spatula so no pockets of ingredients remain. The initial sound is a coarse rhythmic grinding that gradually smooths into a steady hum as the blades work. This technique matters because pulsing prevents overworking and helps incorporate air gradually for a lighter result. Troubleshooting tip: if your motor strains or the mixture clings to the sides, add a teaspoon of aquafaba or lemon juice to help the blades grab the mixture.
- Blend until smooth making sure to scrape the sides throughout the blending process. Add more aquafaba if the hummus is too thick.: As you blend the hummus, watch for visual cues like a glossy surface and a consistent, lump free texture. Pause every few pulses to scrape down the bowl so small bits of chickpea and peppers are reincorporated. The aroma will become more unified and the color will even out into a vivid coral. Why this helps, continuous scraping ensures even blending and prevents overheating localized bits, preserving fresh flavors. Troubleshooting tip: if you see tiny flecks of tahini that do not integrate, stop and scrape, then blend again in short bursts to avoid a grainy mouthfeel.
- Blend for about 30 seconds to get a smooth and creamy consistency. If you prefer your hummus thicker, leave this step out.: After an initial blending, test the texture by scooping with a spoon; it should hold shape but be spreadable. Add small increments of aquafaba , about a teaspoon at a time, blending between additions until you reach the desired silkiness. You will notice the hummus become glossier and lighter, and the sound of the blender will change to a smoother tone. This incremental method matters because it prevents overshooting into a runny sauce. Troubleshooting tip: avoid adding large amounts at once which can thin the hummus too much; correct by folding in a bit more mashed chickpea if available.
- Serve with veggies, crackers, or pita bread.: A final short burst polishes the texture and brings the flavors together, leaving a uniform sheen and a velvety mouthfeel. Pay attention to the sound and the way the blades move; when the hummus no longer slaps against the bowl and moves in a steady stream, it is likely ready. This finishing burst helps emulsify the olive oil and tahini with the liquids, creating a cohesive texture. Troubleshooting tip: if you prefer thicker hummus, skip this final smoothing step and reserve some texture; over blending can eliminate pleasant body.
- Serve with veggies crackers or pita bread: Present the hummus in a shallow bowl, drizzle a little extra virgin olive oil on top, and add a sprinkle of salt if desired. The aroma of citrus and roasted pepper will be inviting, and the color will pop against fresh vegetables or warm pita. Serving temperature matters, slightly chilled hummus tends to hold its shape while room temperature elevates the aroma. Troubleshooting tip: avoid leaving the hummus out too long in warm conditions; refrigerate any leftovers promptly to preserve freshness and flavor.
Notes
- Reserve aquafaba: Keep at least three tablespoons of the can liquid before rinsing the chickpeas; add gradually to reach the perfect silky consistency without over thinning.
- Measure tahini: Stir your tahini first and level it in the tablespoon so it blends smoothly, preventing clumps and ensuring even sesame flavor.
- Drain peppers well: Pat or gently press the jarred roasted red peppers to remove excess liquid, unless you want a looser texture, in which case reserve a touch of the pepper liquid for thinning.
- Taste for salt at the end: Add the initial Kosher salt amount, then sample after blending; canned and jarred items differ in salt so small adjustments are common.
- Finish with olive oil: A thin ribbon of extra virgin olive oil on the surface before serving adds gloss and a fruit forward aroma that complements the peppers.
- Make ahead: The hummus benefits from resting for a few hours in the fridge, allowing the flavors to integrate for a slightly mellower, more unified profile.