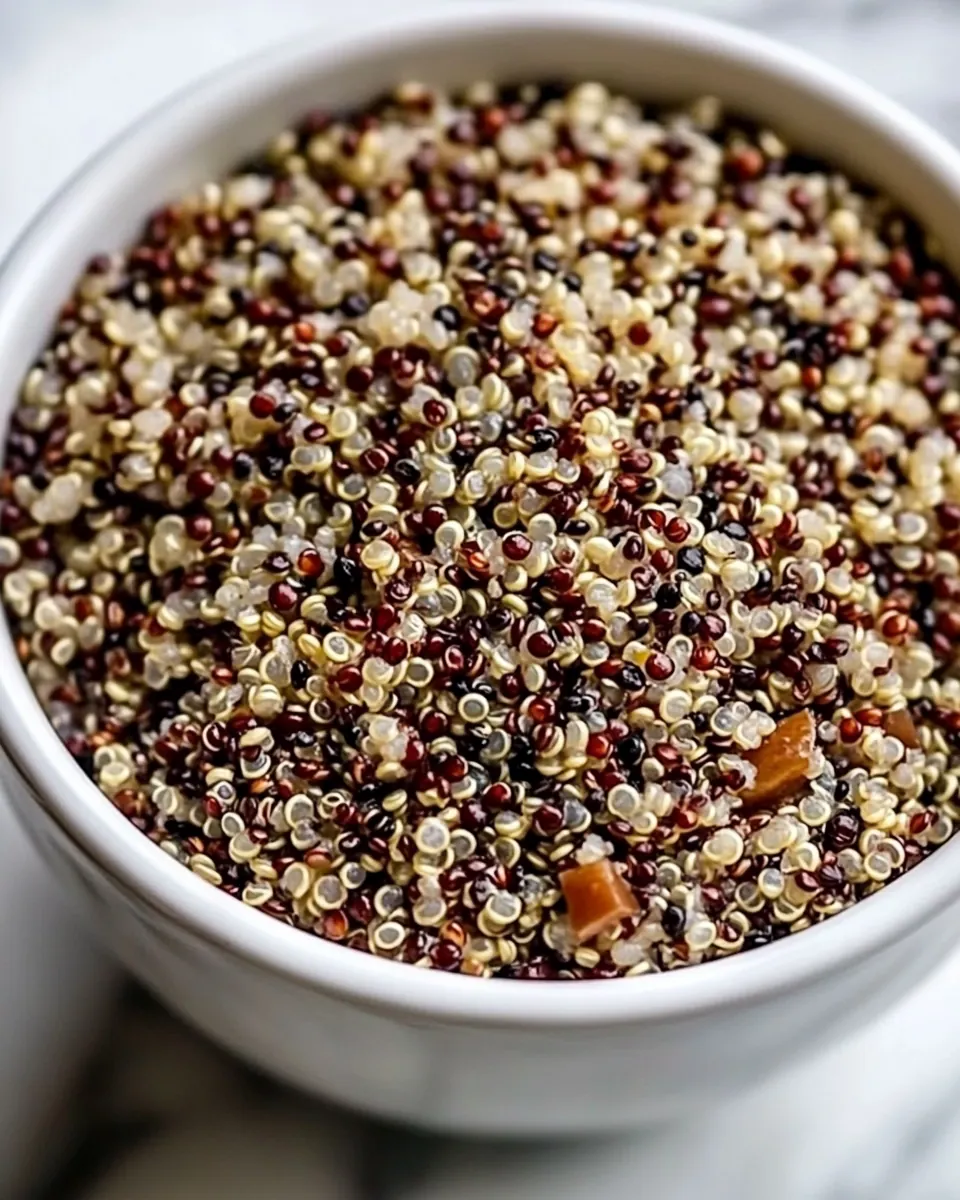
Perfect Instant Pot Quinoa
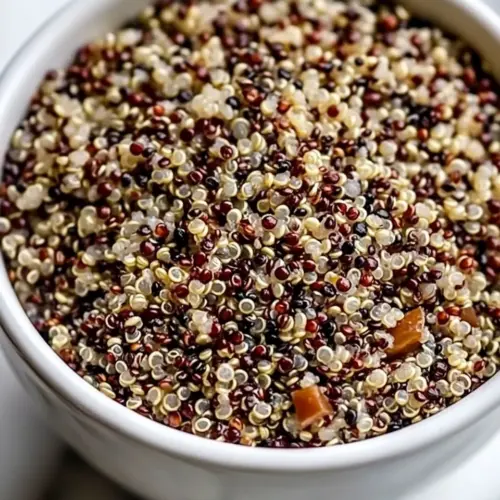
Perfect Instant Pot Quinoa is the pantry hero I turn to when life speeds up and I still want something wholesome on the table. The very first time I tried this recipe I was juggling groceries and a late afternoon meeting, and the Instant Pot let me walk away with confidence, coming back to a pot of fluffy, separated seeds that smelled faintly nutty and looked jewel like when I used tricolor quinoa. I remember thinking, yes, this is the kind of staple I want in my rotation.
Over the years I tinkered with the water ratio and the brief, pressurized cook so the texture hits that sweet spot, tender but not mushy, with each grain holding its shape. I also learned to rinse the quinoa properly to remove any bitter notes, which makes a surprising difference. There are nights when I serve this warm with a spoonful of olive oil and a squeeze of lemon, and other times when I let it cool for salads that travel well to work. These variations keep the recipe feeling fresh and useful.
What I love most is how forgiving this method is. Even if you slightly mismeasure your liquid, the Instant Pot’s sealed environment helps produce consistent results, and the natural pressure release gives the grains a chance to finish steaming without overcooking. That gentle finish is what creates the light, fluffy texture rather than a stodgy mash. If you have a moment, fluffing with a fork and giving it a couple of minutes to settle changes everything.
Recipe Snapshot
15 mins
0 mins
15 mins
Easy
222 kcal
American
Gluten-Free, AIP
Side Dishes
Instant Pot
What Makes This Perfect Instant Pot Quinoa Special
Reliable texture every time
I adore that Perfect Instant Pot Quinoa consistently comes out fluffy. The sealed pressure environment and the short cook time mean I get separated grains without babysitting a pot, which is a big win when I need dependable results for meal prep.
Speed without sacrifice
When I’m short on time, this method delivers. The quick pressure cook is intense but brief, locking in heat so the quinoa cooks through evenly. I appreciate that speed does not equal a compromise in texture or flavor.
Flexible and neutral base
This recipe creates a neutral, slightly nutty canvas. I often use the quinoa for grain bowls, salads, or as a side for roasted vegetables. Because the flavor is restrained, it pairs with bold dressings and simple weeknight proteins alike.
Minimal equipment, maximum payoff
Using an Instant Pot means I don’t need a stove or multiple pans. I love how tidy the process is, and the cleanup is minimal. For busy cooks, that convenience is priceless.
Meal prep friendly
I make a big batch and refrigerate portions for the week. The texture holds well and reheats nicely, whether I steam it briefly or use it cold in a salad. That reliability makes it a go to for planning lunches and quick dinners.
Ingredient List for Perfect Instant Pot Quinoa
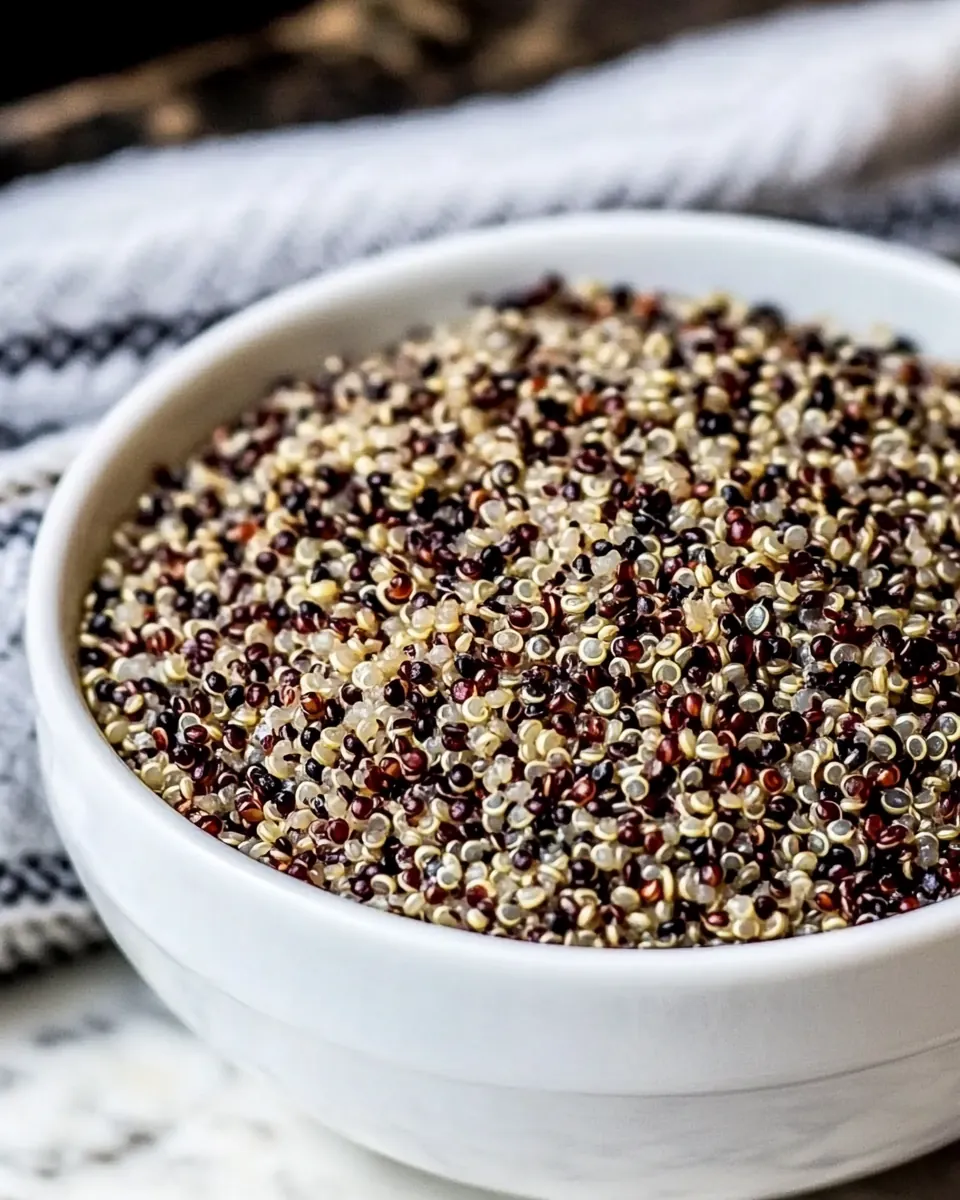
These ingredients form a concise, purposeful team. The star is quinoa, versatile and protein rich, while the liquid acts as the flavor carrier. Together they create a light, fluffy base that works across meals, from warm bowls to chilled salads. I treat them as partners rather than extras, because getting their ratio right is the secret to success.
- 1 cup quinoa, red or tricolor: Rinse thoroughly to remove natural saponins and reduce bitterness; ensure grains are drained before cooking to improve texture and prevent foam. Toast briefly in the Instant Pot on saute for nuttier flavor if desired, then proceed with liquid for even cooking. Fluff with a fork after pressure release to separate grains and preserve light, fluffy consistency.
- 1 1/2 cups liquid, water, vegetable or chicken broth: Provide necessary moisture and gentle steam to cook the quinoa evenly under pressure; choose water for a neutral taste or vegetable/chicken broth to add savory depth. Measure precisely to maintain a 1:1.5 ratio for tender, not mushy, grains and use warm liquid to shorten come-to-pressure time. Adjust seasoning in broth choices to control final dish saltiness.
Step by Step Guide for Perfect Instant Pot Quinoa
Below you’ll find the full set of directions rewritten with my personal notes and sensory cues. These expanded steps will help you know exactly when the quinoa is done and how to avoid common pitfalls.
- Rinse the quinoa under cold running water to remove quinoa's natural coating, called saponin, which can make it taste bitter or soapy. Some boxed quinoa is often pre-rinsed, it doesn't hurt to give the seeds an additional rinse.: The grains should feel slightly slippery as you rinse, and the water will run off clearer after a few swirls, which signals that the saponin is gone. I like to use a fine mesh sieve and rub the quinoa gently with my fingers while the cold water runs, listening to the soft patter of water and watching the foam dissipate. This step matters because any leftover coating can impart a soapy bitterness, masking the nutty aroma that makes quinoa appealing. A common mistake is rushing this step, leaving residues that dull the flavor, so take an extra 15 to 30 seconds if needed.
- Add quinoa and liquid to the Instant Pot. Turn valve to sealing.: When you add the rinsed quinoa and measured liquid , you should see the tiny seeds floating briefly before settling. Gently level the surface so the liquid covers the grains evenly. Setting the valve to sealing creates the pressurized environment that cooks the quinoa uniformly. I always scrape the sides with a spoon to ensure nothing is clinging, which prevents hot spots and uneven cooking. A typical misstep is overfilling or undersealing the valve, so double check the seal and the pot's max fill line before you close the lid.
- Cover and cook 2 minutes on high pressure and then let pressure release naturally, about 10 minutes.: As the pot builds pressure you'll hear a low hum and occasional clicks, and the scent becomes faintly toasty as heat penetrates the seeds. The short, high pressure cook hacks through the grain quickly, and the natural release allows trapped steam to finish the cooking gently, creating that ideal texture. It's important not to force open the valve early, because a quick release can leave the quinoa undercooked and wet. One thing I've learned is to let the pot rest undisturbed so condensation can settle, which helps each grain remain distinct instead of clumping.
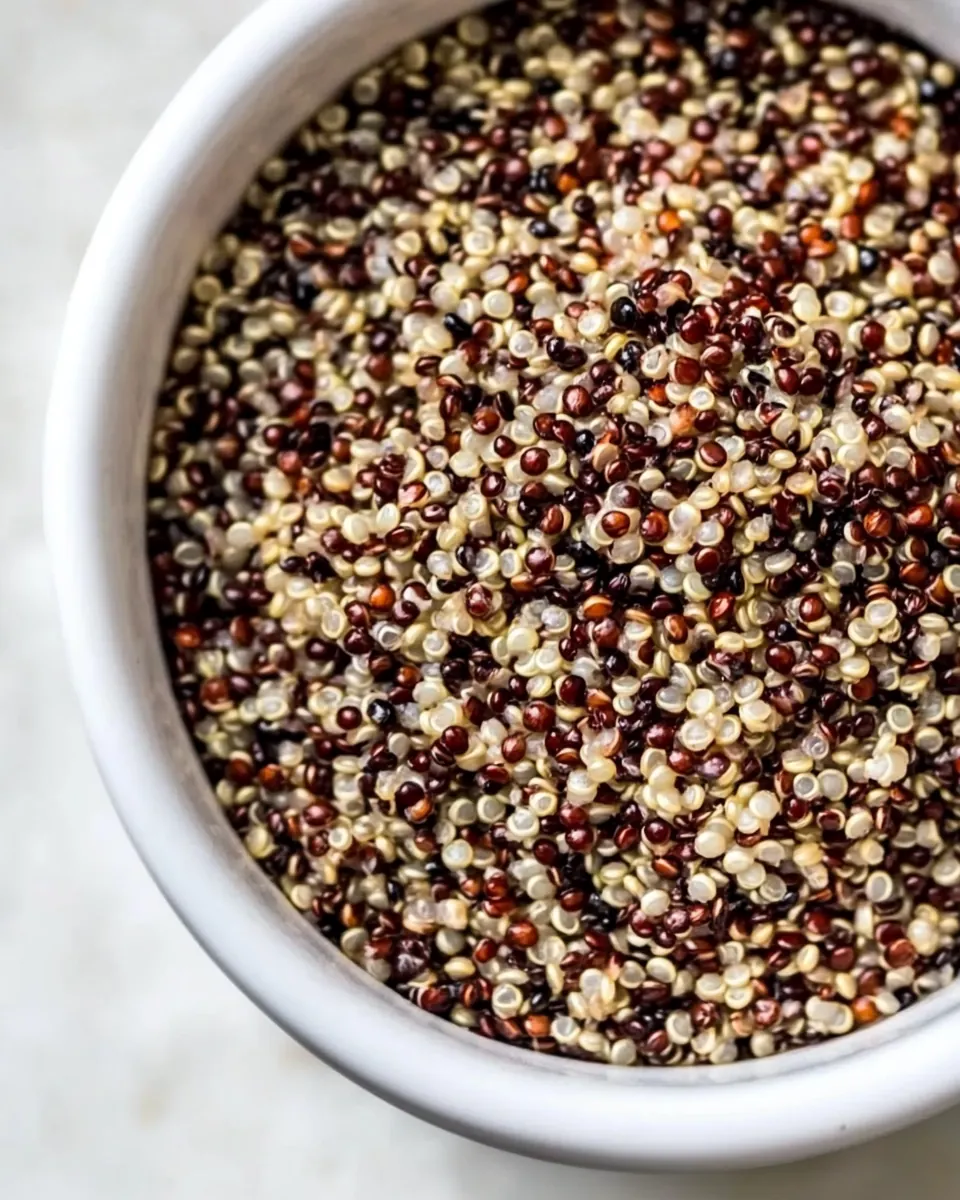
- Fluff with a fork then set aside to cool.: After opening the lid, you'll see a steamy, glossy surface and individual grains that look plump. Use a fork to lift and separate the seeds with light, airy strokes; you'll hear a soft rustling as the grains part. Fluffing introduces air and prevents packing, preserving a light mouthfeel. Letting it sit off heat for a few minutes cools the steam and firms the grains slightly, making it easier to portion. Avoid stirring aggressively with a spoon or the quinoa will become mushy, so be gentle and patient to keep the texture perfect.
Make It Your Own
I like to offer small ideas that keep the base recipe versatile. The following tips help you adapt Perfect Instant Pot Quinoa for different meals, textures, and storage needs.
- Rinse thoroughly — Always rinse the quinoa under cold running water until the water runs clear to remove any bitterness from the saponin coating, this yields a cleaner nutty flavor.
- Choose your liquid — Use water for a neutral base or a savory broth for extra depth, remembering that broth will impart salt and complexity so adjust seasoning accordingly.
- Mind the ratio — The 1 to 1.5 cup ratio is tuned for a light, separate texture; deviating too much can make the grains overly soft or undercooked.
- Natural release matters — Letting pressure release naturally for about 10 minutes finishes the grains gently, avoiding the gummy texture that can come from quick release.
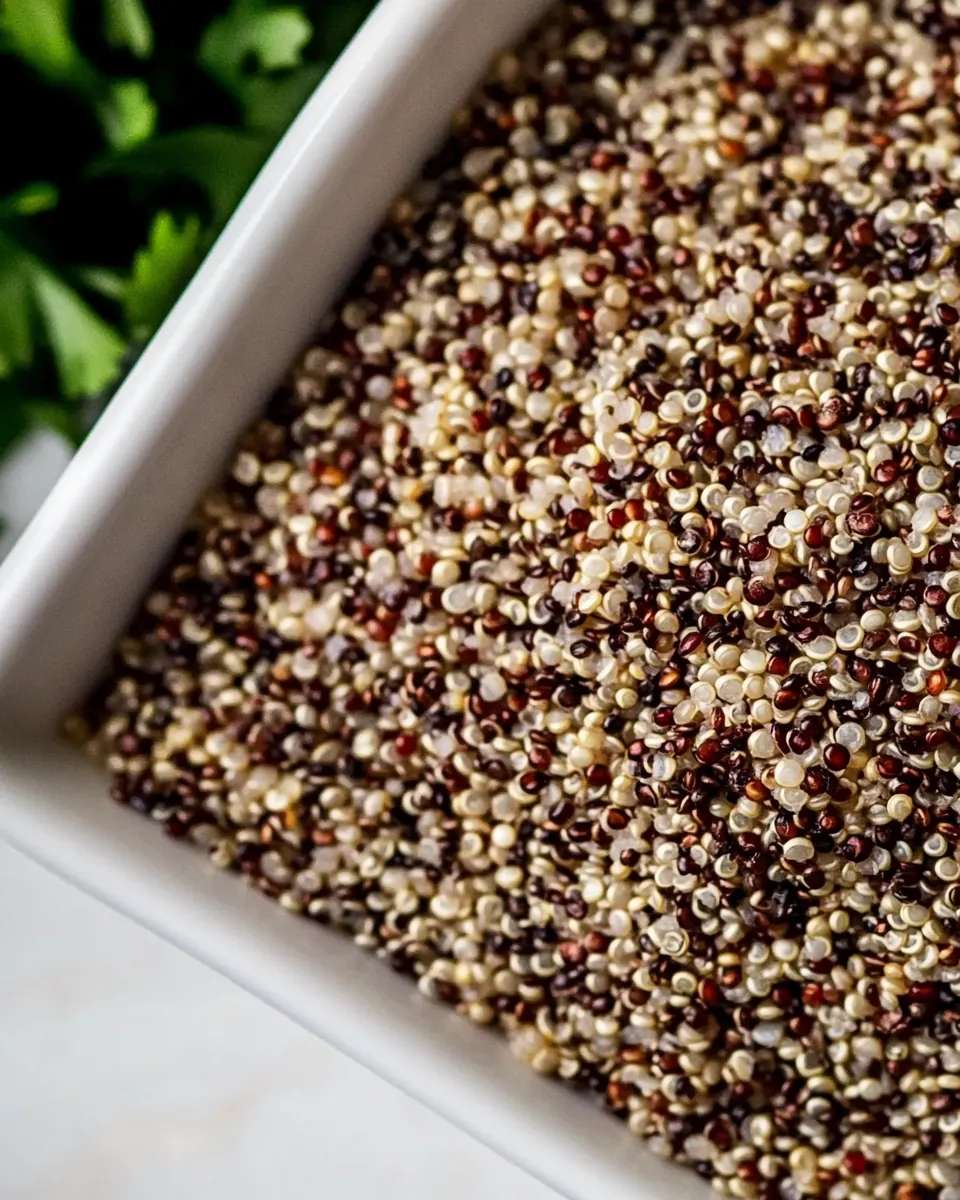
- Cool for salads — If you plan to use the quinoa in salads, cool it uncovered briefly to release steam so it does not wilt fresh vegetables when mixed.
- Store smart — Refrigerate portions in airtight containers for 3 to 5 days for ready to use meal prep, and reheat with a sprinkling of water to revive moisture.
What to Serve Alongside Perfect Instant Pot Quinoa
Perfect Instant Pot Quinoa is a wonderful accompaniment and base for many meals. Below I explain pairing ideas, occasions, and storage thoughts to help you serve it with confidence.
- Simple roasted vegetables — Roasted carrots, broccoli, or sweet potatoes complement the nutty quinoa, adding caramelized edges and savory contrast; serve warm for dinner plates.
- Grain bowls — Layer cooled quinoa with greens and a creamy dressing for an easy lunch, perfect for meal prep and workday lunches.
- Salad base — Use chilled quinoa as the base for Mediterranean style salads with tomatoes and cucumbers for bright, refreshing sides suitable for spring and summer gatherings.
- Batch cooking for busy weeks — Make a large pot and store in portions in the refrigerator for 3 to 5 days, then reheat gently with a splash of water to restore fluffiness for quick dinners.
- Serve at gatherings — Its neutral profile makes Perfect Instant Pot Quinoa suitable for buffets and potlucks, pairing well with multiple sauces and dressings to accommodate diverse tastes.
- Seasonal adaptations — In cooler months, serve warm with roasted root vegetables; in warmer months, toss with fresh herbs and lemon for a bright side dish.
FAQ
Conclusion
Perfect Instant Pot Quinoa stands out because it reliably delivers light, fluffy, and versatile grains with minimal effort. If you want a pantry staple that adapts to salads, bowls, and sides while saving time, this method is a great addition to your routine. Give it a try when you need a dependable, flavorful base that stores and reheats well, and you ll likely find yourself reaching for it again and again as a simple foundation for creative meals.
Perfect Instant Pot Quinoa
Equipment
- Instant Pot
Ingredients
- 1 cup quinoa, red or tricolor Rinse thoroughly to remove natural saponins and reduce bitterness; ensure grains are drained before cooking to improve texture and prevent foam. Toast briefly in the Instant Pot on saute for nuttier flavor if desired, then proceed with liquid for even cooking. Fluff with a fork after pressure release to separate grains and preserve light, fluffy consistency.
- 1 1/2 cups liquid, water, vegetable or chicken broth Provide necessary moisture and gentle steam to cook the quinoa evenly under pressure; choose water for a neutral taste or vegetable/chicken broth to add savory depth. Measure precisely to maintain a 1:1.5 ratio for tender, not mushy, grains and use warm liquid to shorten come-to-pressure time. Adjust seasoning in broth choices to control final dish saltiness.
Instructions
- Rinse the quinoa under cold running water to remove quinoa's natural coating, called saponin, which can make it taste bitter or soapy. Some boxed quinoa is often pre-rinsed, it doesn't hurt to give the seeds an additional rinse.: The grains should feel slightly slippery as you rinse, and the water will run off clearer after a few swirls, which signals that the saponin is gone. I like to use a fine mesh sieve and rub the quinoa gently with my fingers while the cold water runs, listening to the soft patter of water and watching the foam dissipate. This step matters because any leftover coating can impart a soapy bitterness, masking the nutty aroma that makes quinoa appealing. A common mistake is rushing this step, leaving residues that dull the flavor, so take an extra 15 to 30 seconds if needed.
- Add quinoa and liquid to the Instant Pot. Turn valve to sealing.: When you add the rinsed quinoa and measured liquid , you should see the tiny seeds floating briefly before settling. Gently level the surface so the liquid covers the grains evenly. Setting the valve to sealing creates the pressurized environment that cooks the quinoa uniformly. I always scrape the sides with a spoon to ensure nothing is clinging, which prevents hot spots and uneven cooking. A typical misstep is overfilling or undersealing the valve, so double check the seal and the pot's max fill line before you close the lid.
- Cover and cook 2 minutes on high pressure and then let pressure release naturally, about 10 minutes.: As the pot builds pressure you'll hear a low hum and occasional clicks, and the scent becomes faintly toasty as heat penetrates the seeds. The short, high pressure cook hacks through the grain quickly, and the natural release allows trapped steam to finish the cooking gently, creating that ideal texture. It's important not to force open the valve early, because a quick release can leave the quinoa undercooked and wet. One thing I've learned is to let the pot rest undisturbed so condensation can settle, which helps each grain remain distinct instead of clumping.
- Fluff with a fork then set aside to cool.: After opening the lid, you'll see a steamy, glossy surface and individual grains that look plump. Use a fork to lift and separate the seeds with light, airy strokes; you'll hear a soft rustling as the grains part. Fluffing introduces air and prevents packing, preserving a light mouthfeel. Letting it sit off heat for a few minutes cools the steam and firms the grains slightly, making it easier to portion. Avoid stirring aggressively with a spoon or the quinoa will become mushy, so be gentle and patient to keep the texture perfect.
Notes
- Rinse thoroughly — Always rinse the quinoa under cold running water until the water runs clear to remove any bitterness from the saponin coating, this yields a cleaner nutty flavor.
- Choose your liquid — Use water for a neutral base or a savory broth for extra depth, remembering that broth will impart salt and complexity so adjust seasoning accordingly.
- Mind the ratio — The 1 to 1.5 cup ratio is tuned for a light, separate texture; deviating too much can make the grains overly soft or undercooked.
- Natural release matters — Letting pressure release naturally for about 10 minutes finishes the grains gently, avoiding the gummy texture that can come from quick release.
- Cool for salads — If you plan to use the quinoa in salads, cool it uncovered briefly to release steam so it does not wilt fresh vegetables when mixed.
- Store smart — Refrigerate portions in airtight containers for 3 to 5 days for ready to use meal prep, and reheat with a sprinkling of water to revive moisture.