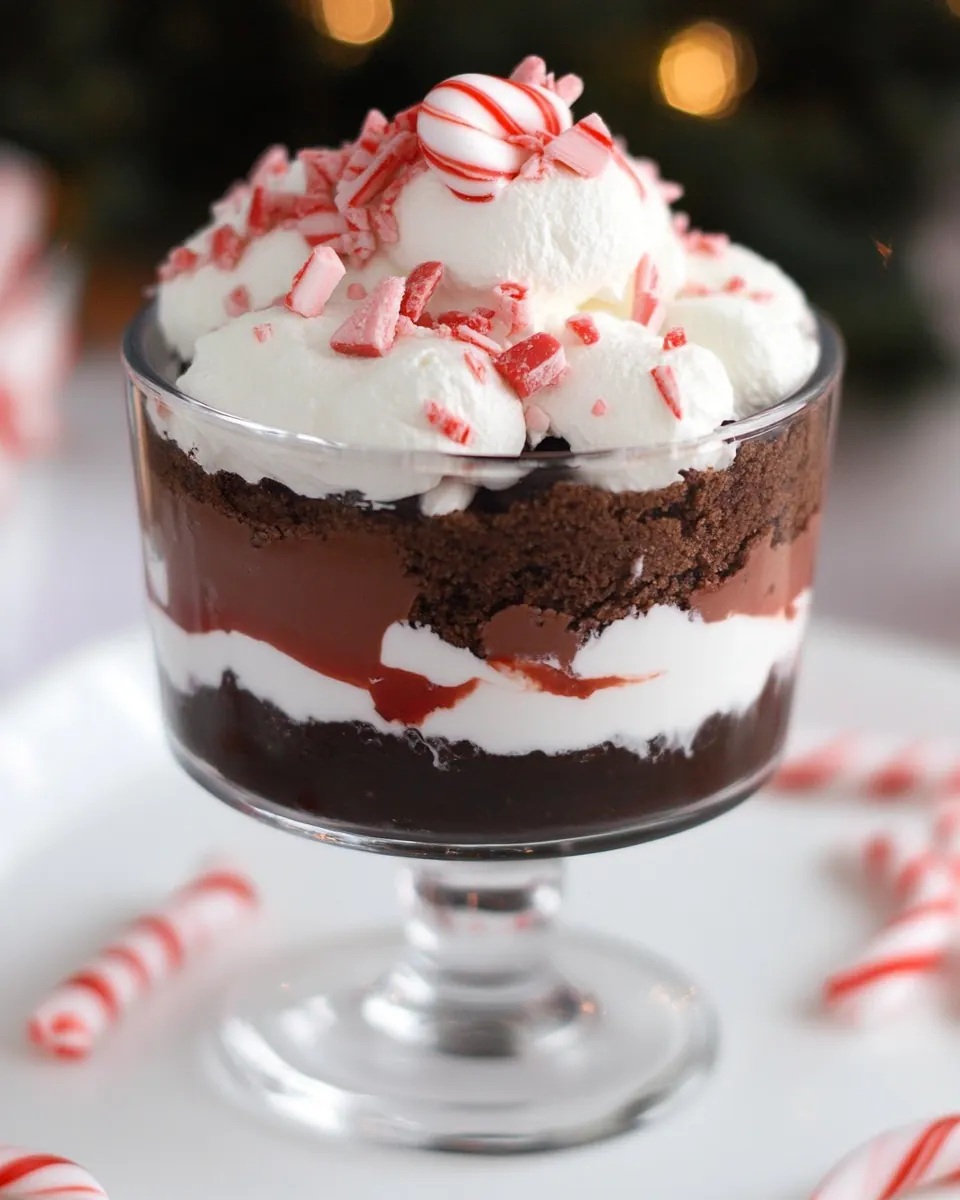
Peppermint Brownie Trifle
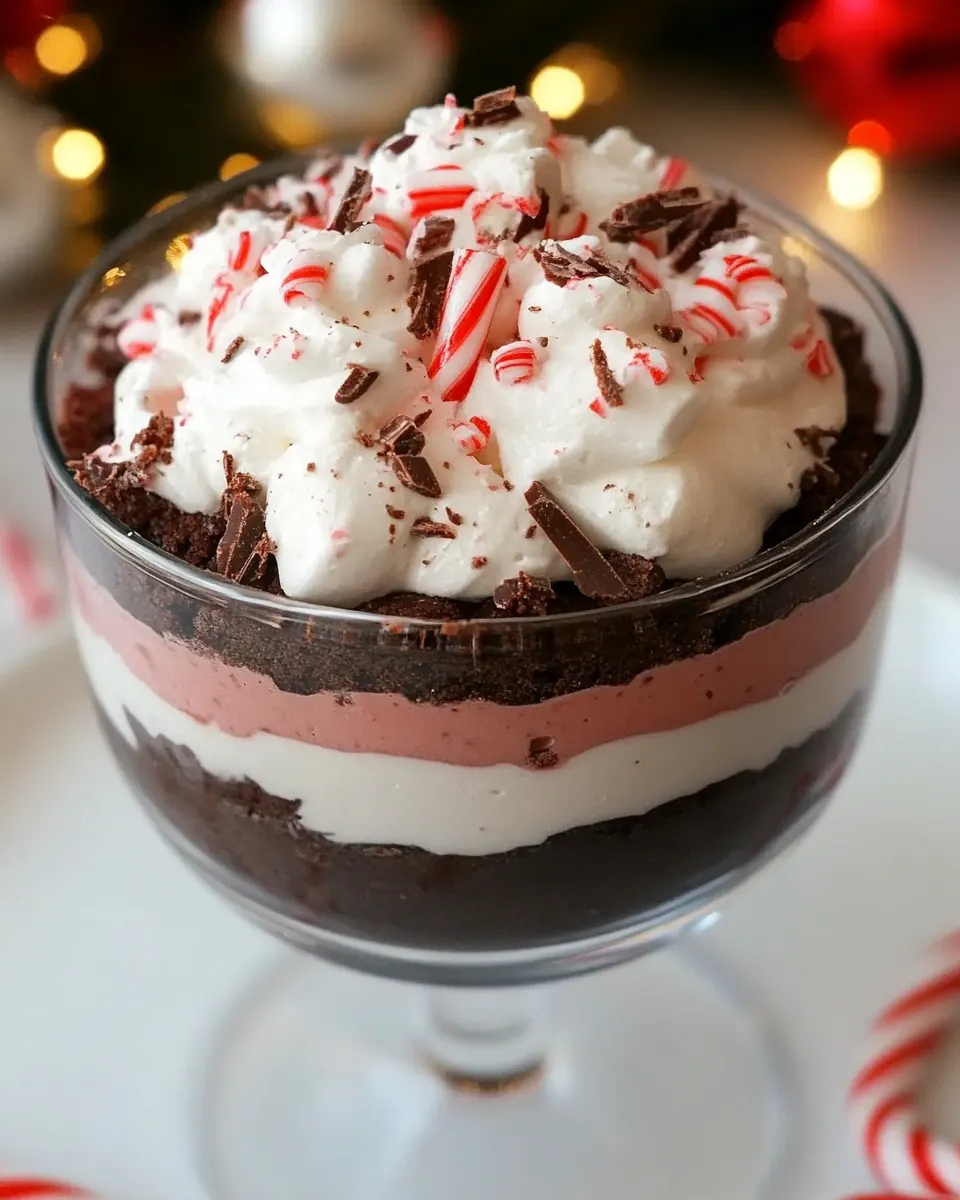
Peppermint Brownie Trifle arrived in my life on a blustery winter afternoon when I needed something cheerful to bring to a neighborhood cookie swap. I remember carrying a clear trifle bowl through light snow, the layered colors peeking through glass, and the way people leaned in asking what was inside. That bowl felt like a tiny celebration, and every spoonful seemed to announce the season with bright peppermint notes and rich chocolate comfort.
Over the years I have tweaked the balance between mousse and pudding until the texture sings. I like a tall glass so the layers cascade, and I usually make components ahead because I enjoy the calm of assembly day. Friends always ask for the recipe, and I tell them it is one of those desserts that looks fancy but is surprisingly forgiving. The contrast between fudgy brownie pieces and the airy white chocolate mousse sprinkled with crunchy peppermint candy is what keeps me coming back.
Recipe Snapshot
30 mins
25 mins
5 mins
Medium
350 kcal
American
Keto, Gluten-Free
Desserts
Hand mixer
What’s Great About This Peppermint Brownie Trifle
Layered texture contrast
I love how Peppermint Brownie Trifle plays with texture. The dense brownie base holds a spoonable foundation, then creamy chocolate pudding adds silk, and the whipped white chocolate mousse brings air. Each bite alternates between chewy and fluffy, which keeps the palate engaged and makes repeat helpings irresistible.
Bright winter flavor
We get a festive lift from the crushed peppermint candy. It adds a cool pop that cuts through the richness of the chocolate elements, making the dessert feel seasonal rather than cloying. I always save a little extra peppermint to scatter on top, because that final crunch is the best part.
Make ahead ease
This recipe is a dream for planning. You can prepare the mousse and pudding a day ahead, which frees up the assembly time and reduces stress on the day you serve. I appreciate recipes that let me breathe, and this one rewards you for doing a bit of prep early.
Feeds a crowd without fuss
A single 19 by 13 inch batch of brownies stretches a long way when layered into individual cups or a trifle dish. It looks like effort went into it, but it mostly involves simple mixing and layering. I rely on this dish whenever I need to bring something impressive without spending all afternoon in the kitchen.
Adaptable and forgiving
There are few points where the recipe will break, and most mistakes are easily fixed. If the mousse seems loose, chilling tightens it up. If the pudding sets a touch too firm, a gentle whisk before layering smooths it out. I find this flexibility makes the dessert approachable for cooks at any level.
Peppermint Brownie Trifle Ingredients
I think of these ingredients as a small cast of characters, each with a clear job. The brownie pieces supply structure and chocolate depth, the chocolate pudding contributes creamy cocoa notes, the white chocolate mousse brings sweetness and a silky mouthfeel, and the peppermint candy wakes everything up with crunchy, minty contrast. Together they create balance between texture and flavor.
- 2 cups heavy whipping cream divided: Whip 2 cups heavy whipping cream divided to create both a stabilized whipped cream layer and a lighter fold-in for texture; reserve half for topping and use the other half to lighten the white chocolate mixture. Add a touch of sugar or vanilla if desired and whip to soft peaks so the trifle layers hold shape without becoming dense.
- 10 ounces white chocolate coarsely chopped, or ghirardelli white chocolate chips: Melt 10 ounces white chocolate coarsely chopped gently over a double boiler or in short bursts in the microwave to form a smooth, creamy layer; use higher-quality chocolate for better flavor and sheen. Temper slightly if needed and fold into warmed cream to make a silky white chocolate mousse component that contrasts the chocolate pudding.
- 1 cup peppermint candy crushed, divided (about 12 candy canes, crushed): Crush 1 cup peppermint candy divided finely to add crunchy speckles and bright mint flavor throughout the trifle; reserve some larger pieces for decorative topping and fold some into the cream or sprinkle between layers. Use crushed candy sparingly to avoid overwhelming sweetness and to maintain a pleasant textural contrast with soft brownie and pudding layers.
- 3 cups chocolate pudding: Layer 3 cups chocolate pudding to provide a rich, creamy chocolate mid-layer that amplifies the brownie base and balances the white chocolate and peppermint elements; choose a smooth, thick pudding for best layering. Chill pudding slightly before assembling so it sets well and prevents mixing between layers during construction.
- 19 x 13'' pan Brownies, baked: Cut 19 x 13'' pan Brownies, baked into cubes or slices as the structural base and primary chocolate component of the trifle; use fudgy brownies for moisture and dense chocolate flavor that soaks up adjacent creamy layers. Arrange brownies in an even layer to support subsequent pudding and cream, ensuring each spoonful contains cake, pudding, and whipped cream.
How to Cook Peppermint Brownie Trifle
Layering this trifle is where the fun begins. I like to work with chilled components, and I lay everything out so assembly becomes rhythmic. Below I expand each direction into a sensory and practical guide so you know exactly what to look for and how to fix issues as they arise.
- Add 1 cup heavy cream to a saucepan over medium heat. Bring to a simmer. Pour white chocolate chips into a mixing bowl. Pour simmering cream over the top, and stir until melted and smooth. Set aside to cool.: Warmth releases the white chocolate's aroma, which is sweet and slightly milky, and you will hear a soft whisper as the cream starts to simmer. The surface will show small bubbles at the edge, signaling it is hot enough to melt the chocolate. Stirring creates a glossy emulsion, and you should see the chips dissolve into a satin sheen. This hot cream method matters because it melts the white chocolate gently, preventing graininess. If the mixture separates or looks oily, let it cool and whisk vigorously to re emulsify, or add a tiny splash of warm cream while whisking. Avoid boiling the cream, because scalding can change the texture and leave a cooked dairy flavor.
- Add remaining 1 cup of cream to a large mixing bowl and beat until stiff peaks.: As you beat the cold heavy whipping cream , first it will look glossy and thick, then it will form soft peaks, and finally firm peaks that stand tall on the whisk. The sound changes from a watery slosh to a denser tap as air is incorporated. Stiff peaks mean the mousse will hold structure when folded in. If you overbeat, the cream can turn grainy or start to separate into butter and buttermilk, so stop as soon as firm peaks form. Chilling the bowl and beaters helps the cream come to peak more smoothly.
- Fold into the cooled white chocolate mixture, along with 1/2 cup of the crushed candy. Cover with plastic wrap, and refrigerate for 3-4 hours.: The cooled white chocolate will smell richly sweet and look thick but pourable, and folding in the whipped heavy whipping cream brings lightness to the mixture. Use a gentle figure eight motion so you keep the air incorporated; you want a silky mousse with visible folds rather than flattened cream. Adding 1/2 cup of the peppermint candy gives speckles of mint and crunchy texture throughout. Chilling allows the mousse to firm up and the flavors to meld, resulting in a mousse that is cold and pillowy. If the mousse looks runny after chilling, it may not have been fully cooled before folding, so next time allow the chocolate base to reach near room temperature before combining.
- Make the chocolate pudding and set aside.: When you prepare the chocolate pudding it should thicken until it coats the back of a spoon and gives off a warm cocoa scent. As it cools it will tighten further; smooth its surface to prevent a skin from forming, or press plastic wrap directly on the pudding to keep it glossy. The pudding layer provides concentrated chocolate flavor and a creamy body that contrasts the airy mousse. If the pudding is too thick for easy scooping, whisk it briefly to loosen; if it is too thin, allow more time to set in the refrigerator.
- Make the brownies and allow to cool completely. Cut into small squares.: Freshly baked brownies will smell deeply of chocolate and will have a slightly crisp top if they were baked in a single layer. Cooling all the way is important so they hold their shape when layered, and cutting into small squares ensures even distribution in each trifle portion. Room temperature brownies absorb moisture from pudding as the dessert sits, which creates a lovely, tender bite. If the brownies are still warm, they can make the pudding and mousse looser, so always cool fully before assembling.
- Cover the bottom of your serving cups (or a large trifle dish) with brownie pieces. Add spoonfuls of pudding on top.: Press the brownie pieces so they form an even bed, and the first smell you get will be rich chocolate warmth from the cake. Spoon the chocolate pudding gently to avoid displacing the brownies, creating a distinct layer that contrasts textures. The pudding acts like a glue, holding subsequent layers in place. A common mistake is overfilling early layers, which makes assembly top heavy; leave a little room to repeat layers cleanly.
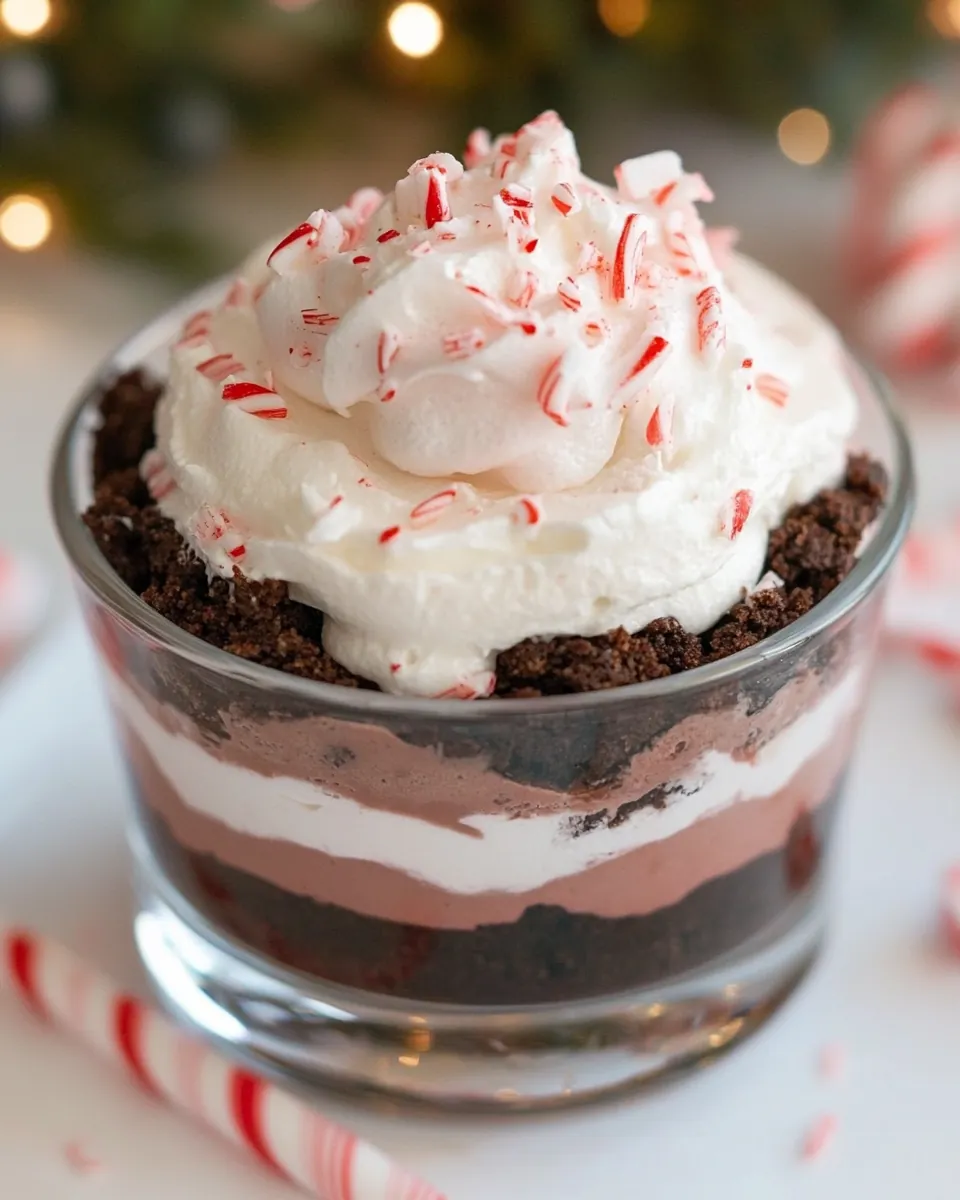
- Smooth a layer of mousse on top of the pudding. Repeat with 2 more layers.: When you spread the white chocolate mousse, the surface should look airy and glossy, and you will feel slight resistance as the spatula moves through it. Building two or three layers gives a pleasing height and ensures every spoonful contains each component. Layering also lets flavors meld and gives the dessert an elegant striped look. Avoid compressing the layers; gentle placement preserves the mousse's air and keeps the texture light rather than dense.
- Cover with plastic wrap until ready to serve. Garnish with crushed peppermint candies just before serving.: Chilling after assembly allows the layers to settle together and the mousse to firm slightly, making clean scoops simple. When you uncover the trifle later the top will look set and inviting, and sprinkling the remaining peppermint candy adds a fresh scent and a bright visual contrast. Garnish at the last minute so the candy stays crunchy. If the candy is added too early it can soften from moisture, so keep the topping for service time.
Substitutions and Tips
I like to offer options while still honoring the original balance of this dessert. Below are practical tips and small substitutions that keep the texture and flavor profile intact. Each tip starts with a bold action phrase so you can scan quickly.
- Make ahead strategy: Prepare the mousse and pudding a day or two in advance to save time and allow flavors to mellow.
- Chocolate texture: Use coarsely chopped white chocolate for a smoother melt and cleaner mouthfeel than tiny chips, which sometimes resist melting evenly.
- Crunch control: Crush the peppermint candy into different sizes so you have both a fine dust to flavor and larger shards for visual and textural contrast.
- Serving ease: Assemble individual cups for grab and go portions, which is perfect for parties and reduces the stress of plating.
- Storage tip: Cover assembled trifles and store in the refrigerator up to two days, but add the remaining garnish only at service to keep the candy crisp.
Best Served With
When I serve Peppermint Brownie Trifle, I think about balance and occasion. It shines during holiday gatherings, after heavy meals, and as a show stopping dessert for winter parties. Below are ideas for pairing, occasions, and storage in a list format that you can use as a quick reference.
- Holiday dessert centerpiece: This trifle is ideal for Christmas gatherings when festive flavors like peppermint are welcome and a large dessert is needed to feed many guests.
- After dinner treat: Serve in small cups to follow a rich main course, giving guests a sweet note without feeling overwhelmed.
- Party buffet: Place individual servings on a dessert table so guests can help themselves, making portioning effortless and tidy.
- Seasonal pairing: Pair with warm beverages on a cold day, the contrast between a hot drink and the cold mousse and pudding is comforting.
- Storage and advance prep: Keep components chilled separately if you need to make them several days ahead, and assemble the day of for the best texture.
- Occasion fit: Perfect for winter potlucks, holiday cookie swaps, family dinners, and festive brunch dessert spreads where a showy sweet is appreciated.
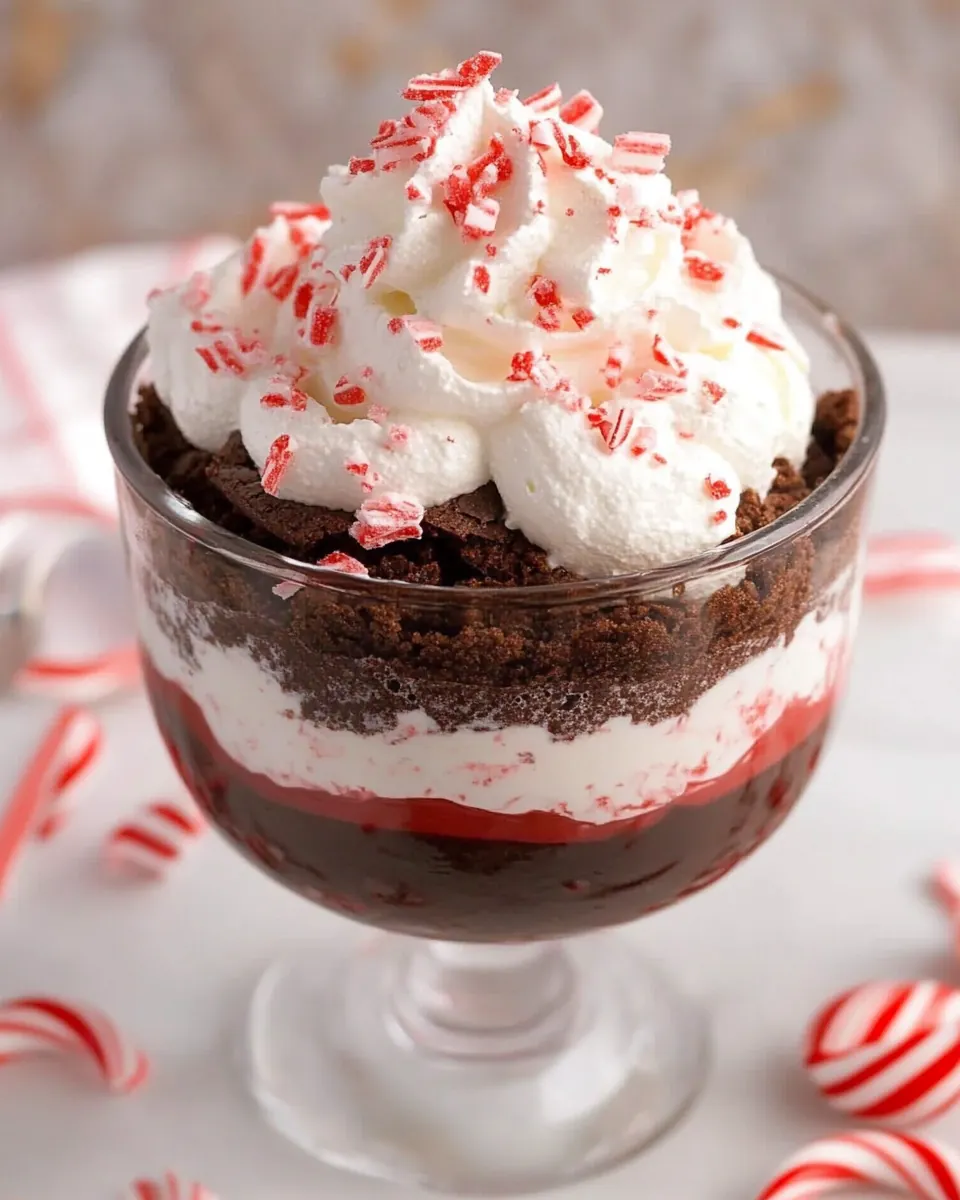
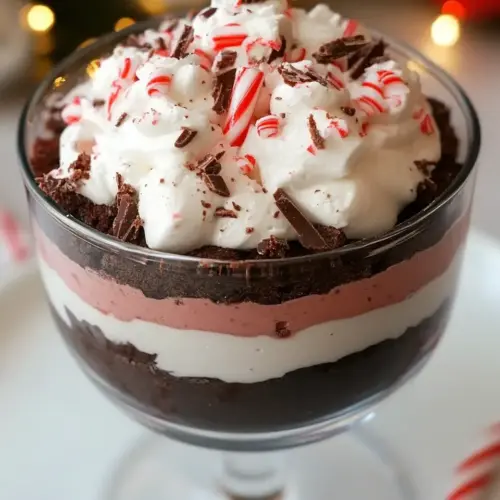
- Presentation tip: Use clear glassware to show the layers, and finish with a small sprinkle of crushed peppermint candy right before serving for sparkle and crunch.
FAQ
Conclusion
This recipe stands out because it balances rich chocolate, airy white chocolate mousse, and bright peppermint into a layered dessert that is both festive and approachable. I encourage you to try it for your next winter gathering or holiday celebration, because it scales easily and rewards a little advance prep with a stunning final presentation. Serve it chilled, add the crunchy peppermint at the last minute, and enjoy watching friends and family dig into a spoonful of seasonal nostalgia.
Peppermint Brownie Trifle
Equipment
- Hand Mixer
Ingredients
- 2 cups heavy whipping cream divided Whip 2 cups heavy whipping cream divided to create both a stabilized whipped cream layer and a lighter fold-in for texture; reserve half for topping and use the other half to lighten the white chocolate mixture. Add a touch of sugar or vanilla if desired and whip to soft peaks so the trifle layers hold shape without becoming dense.
- 10 ounces white chocolate coarsely chopped, or ghirardelli white chocolate chips Melt 10 ounces white chocolate coarsely chopped gently over a double boiler or in short bursts in the microwave to form a smooth, creamy layer; use higher-quality chocolate for better flavor and sheen. Temper slightly if needed and fold into warmed cream to make a silky white chocolate mousse component that contrasts the chocolate pudding.
- 1 cup peppermint candy crushed, divided (about 12 candy canes, crushed) Crush 1 cup peppermint candy divided finely to add crunchy speckles and bright mint flavor throughout the trifle; reserve some larger pieces for decorative topping and fold some into the cream or sprinkle between layers. Use crushed candy sparingly to avoid overwhelming sweetness and to maintain a pleasant textural contrast with soft brownie and pudding layers.
- 3 cups chocolate pudding Layer 3 cups chocolate pudding to provide a rich, creamy chocolate mid-layer that amplifies the brownie base and balances the white chocolate and peppermint elements; choose a smooth, thick pudding for best layering. Chill pudding slightly before assembling so it sets well and prevents mixing between layers during construction.
- 19 x 13'' pan Brownies, baked Cut 19 x 13'' pan Brownies, baked into cubes or slices as the structural base and primary chocolate component of the trifle; use fudgy brownies for moisture and dense chocolate flavor that soaks up adjacent creamy layers. Arrange brownies in an even layer to support subsequent pudding and cream, ensuring each spoonful contains cake, pudding, and whipped cream.
Instructions
- Add 1 cup heavy cream to a saucepan over medium heat. Bring to a simmer. Pour white chocolate chips into a mixing bowl. Pour simmering cream over the top, and stir until melted and smooth. Set aside to cool.: Warmth releases the white chocolate's aroma, which is sweet and slightly milky, and you will hear a soft whisper as the cream starts to simmer. The surface will show small bubbles at the edge, signaling it is hot enough to melt the chocolate. Stirring creates a glossy emulsion, and you should see the chips dissolve into a satin sheen. This hot cream method matters because it melts the white chocolate gently, preventing graininess. If the mixture separates or looks oily, let it cool and whisk vigorously to re emulsify, or add a tiny splash of warm cream while whisking. Avoid boiling the cream, because scalding can change the texture and leave a cooked dairy flavor.
- Add remaining 1 cup of cream to a large mixing bowl and beat until stiff peaks.: As you beat the cold heavy whipping cream , first it will look glossy and thick, then it will form soft peaks, and finally firm peaks that stand tall on the whisk. The sound changes from a watery slosh to a denser tap as air is incorporated. Stiff peaks mean the mousse will hold structure when folded in. If you overbeat, the cream can turn grainy or start to separate into butter and buttermilk, so stop as soon as firm peaks form. Chilling the bowl and beaters helps the cream come to peak more smoothly.
- Fold into the cooled white chocolate mixture, along with 1/2 cup of the crushed candy. Cover with plastic wrap, and refrigerate for 3-4 hours.: The cooled white chocolate will smell richly sweet and look thick but pourable, and folding in the whipped heavy whipping cream brings lightness to the mixture. Use a gentle figure eight motion so you keep the air incorporated; you want a silky mousse with visible folds rather than flattened cream. Adding 1/2 cup of the peppermint candy gives speckles of mint and crunchy texture throughout. Chilling allows the mousse to firm up and the flavors to meld, resulting in a mousse that is cold and pillowy. If the mousse looks runny after chilling, it may not have been fully cooled before folding, so next time allow the chocolate base to reach near room temperature before combining.
- Make the chocolate pudding and set aside.: When you prepare the chocolate pudding it should thicken until it coats the back of a spoon and gives off a warm cocoa scent. As it cools it will tighten further; smooth its surface to prevent a skin from forming, or press plastic wrap directly on the pudding to keep it glossy. The pudding layer provides concentrated chocolate flavor and a creamy body that contrasts the airy mousse. If the pudding is too thick for easy scooping, whisk it briefly to loosen; if it is too thin, allow more time to set in the refrigerator.
- Make the brownies and allow to cool completely. Cut into small squares.: Freshly baked brownies will smell deeply of chocolate and will have a slightly crisp top if they were baked in a single layer. Cooling all the way is important so they hold their shape when layered, and cutting into small squares ensures even distribution in each trifle portion. Room temperature brownies absorb moisture from pudding as the dessert sits, which creates a lovely, tender bite. If the brownies are still warm, they can make the pudding and mousse looser, so always cool fully before assembling.
- Cover the bottom of your serving cups (or a large trifle dish) with brownie pieces. Add spoonfuls of pudding on top.: Press the brownie pieces so they form an even bed, and the first smell you get will be rich chocolate warmth from the cake. Spoon the chocolate pudding gently to avoid displacing the brownies, creating a distinct layer that contrasts textures. The pudding acts like a glue, holding subsequent layers in place. A common mistake is overfilling early layers, which makes assembly top heavy; leave a little room to repeat layers cleanly.
- Smooth a layer of mousse on top of the pudding. Repeat with 2 more layers.: When you spread the white chocolate mousse, the surface should look airy and glossy, and you will feel slight resistance as the spatula moves through it. Building two or three layers gives a pleasing height and ensures every spoonful contains each component. Layering also lets flavors meld and gives the dessert an elegant striped look. Avoid compressing the layers; gentle placement preserves the mousse's air and keeps the texture light rather than dense.
- Cover with plastic wrap until ready to serve. Garnish with crushed peppermint candies just before serving.: Chilling after assembly allows the layers to settle together and the mousse to firm slightly, making clean scoops simple. When you uncover the trifle later the top will look set and inviting, and sprinkling the remaining peppermint candy adds a fresh scent and a bright visual contrast. Garnish at the last minute so the candy stays crunchy. If the candy is added too early it can soften from moisture, so keep the topping for service time.
Notes
- Make ahead strategy: Prepare the mousse and pudding a day or two in advance to save time and allow flavors to mellow.
- Chocolate texture: Use coarsely chopped white chocolate for a smoother melt and cleaner mouthfeel than tiny chips, which sometimes resist melting evenly.
- Crunch control: Crush the peppermint candy into different sizes so you have both a fine dust to flavor and larger shards for visual and textural contrast.
- Serving ease: Assemble individual cups for grab and go portions, which is perfect for parties and reduces the stress of plating.
- Storage tip: Cover assembled trifles and store in the refrigerator up to two days, but add the remaining garnish only at service to keep the candy crisp.