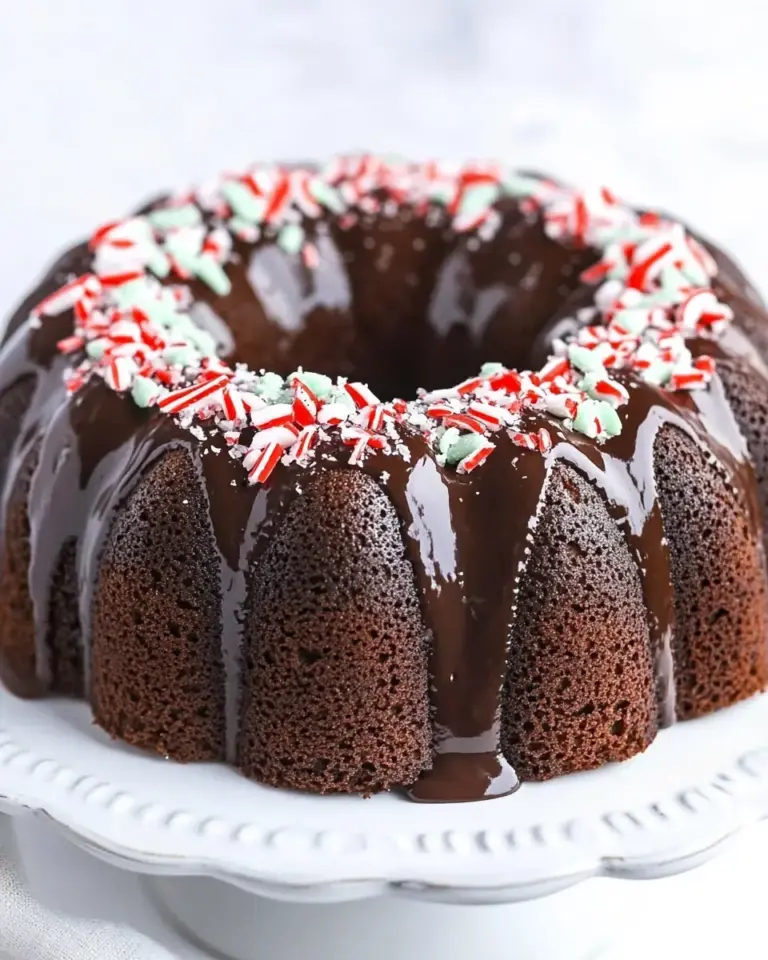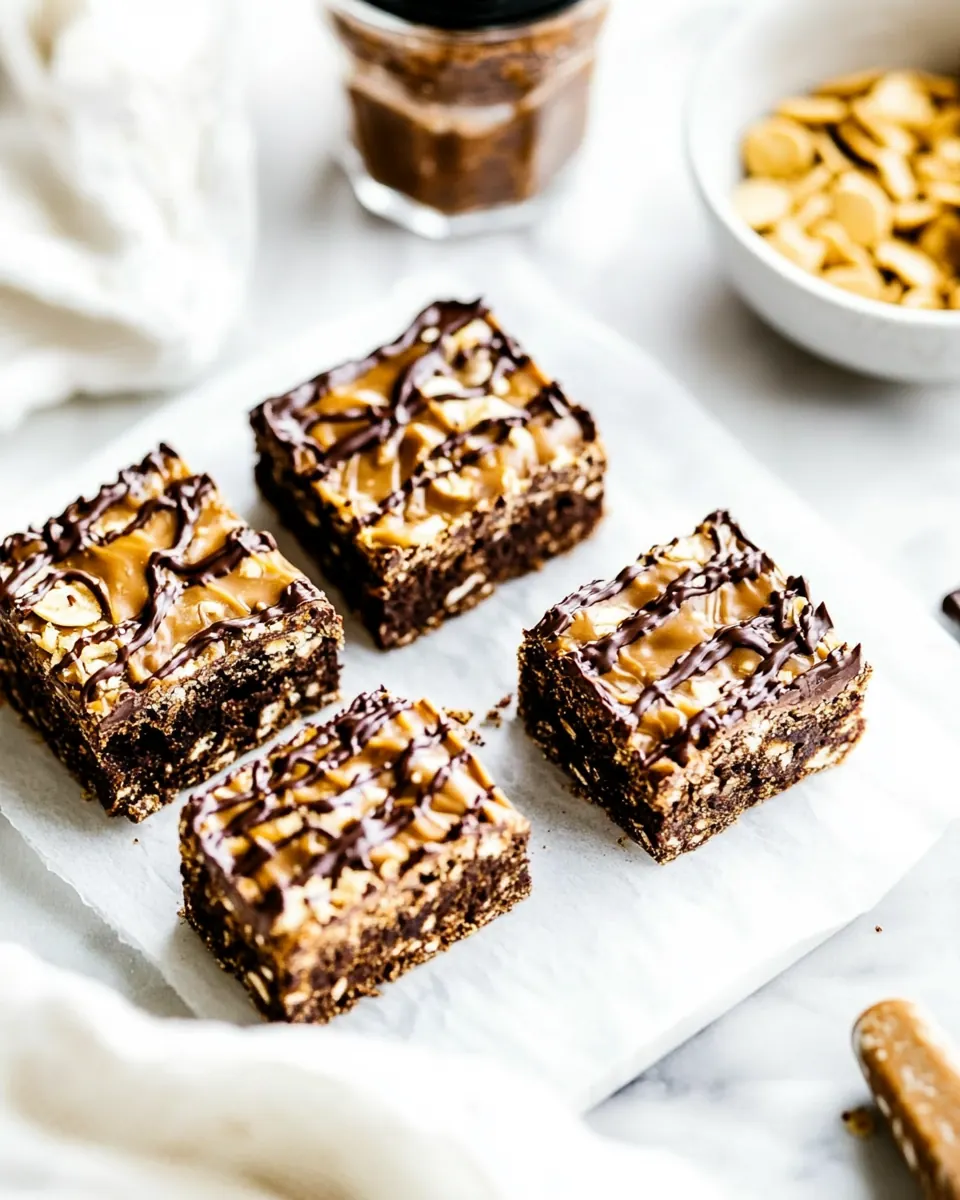
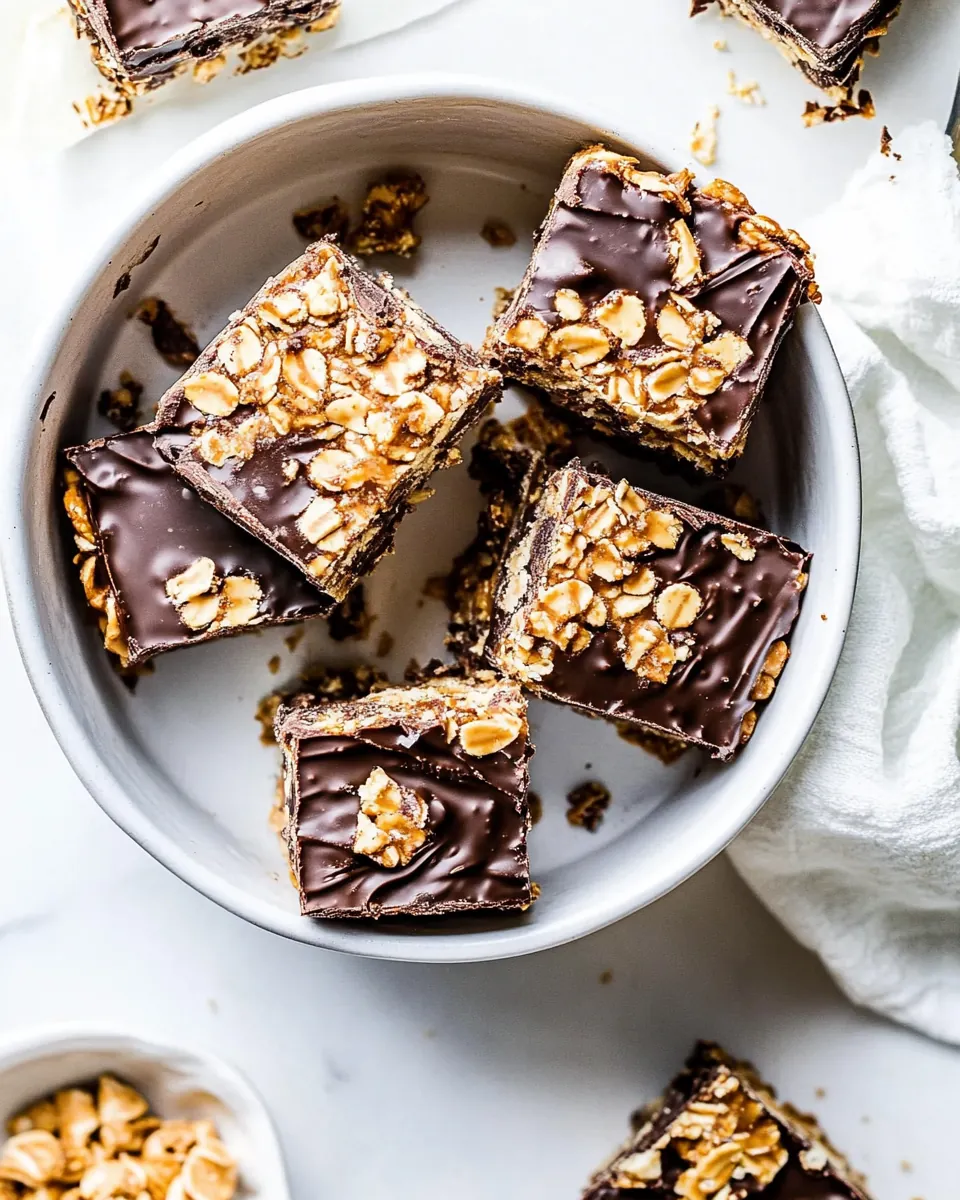
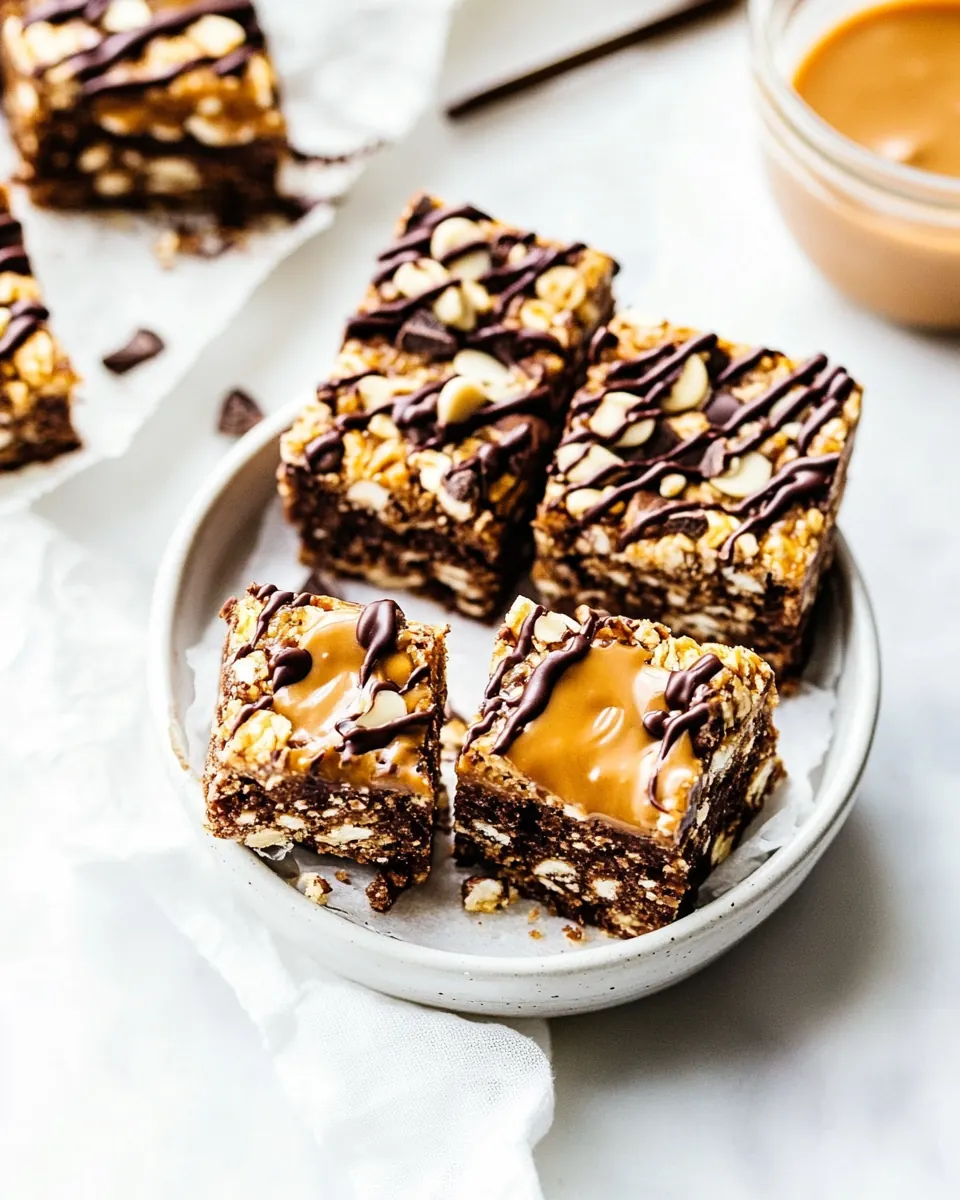
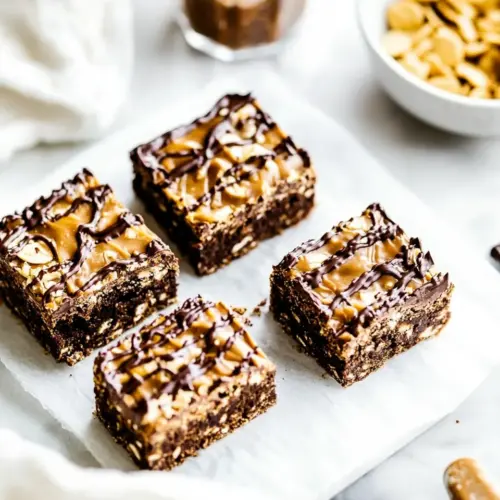
Peanut Butter Chocolate Crunch Bars
Peanut Butter Chocolate Crunch Bars have been one of my go to treats for years, the kind I make when I need a quick, comforting sweet that still feels homemade. The first time I mixed melted chocolate with creamy peanut butter and stirred in crisp rice cereal, I remember being surprised by how the textures came together, a contrast of silky chocolate and airy crunch that felt almost too good to share. Over time I adjusted salt levels and chilling time until the bars would slice cleanly and hold their shape.
When friends come over I often pop these out of the fridge and watch them reach for one like it is the last cookie at a bake sale. I like that they require very little equipment and no baking, so they are perfect for moments when you want an indulgent snack without a big time commitment. If you have kids, they are great for involving little hands in simple stirring and pressing the mixture into the pan. For evenings when I just want a small, satisfying bite after dinner, a thin bar with a touch of flaky sea salt hits the spot.
Recipe Snapshot
26 mins
25 mins
1 mins
Easy
150 kcal
American
Gluten-Free, Vegan
Desserts
Microwave safe bowl, Loaf pan, Parchment paper, Spatula, Sharp knife
Why Try This Peanut Butter Chocolate Crunch Bars
Crunch and Cream in Every Bite
I love how these bars pair creamy peanut butter with crisp textures from the crisp rice cereal. The contrast keeps each bite interesting, and you get a satisfying crunch that feels substantial despite the bar being rich and smooth.
Fast and Almost Foolproof
One of the biggest draws for me is speed. Because the recipe uses melted chocolate chips and no oven, you can be eating in under an hour. I appreciate recipes that deliver big flavor without a lot of babysitting, especially on busy days.
Flexible for Every Pantry
I like that the ingredient list is short and pantry friendly. If you keep peanut butter and chocolate chips on hand, you can usually pull these together spontaneously. The simplicity makes them a reliable fallback for unexpected guests.
Perfect Sweet Salty Balance
The sprinkle of flaky sea salt at the end brings out the chocolate and deepens the peanut butter flavor. I always say salt is not optional, it transforms the bars from sweet snack to craveable treat.
Kid Friendly and Crowd Approved
These bars are easy to scale and transport, which is why I often bring them to potlucks. People of all ages tend to love the familiar flavors, and they slice neatly when chilled, so serving is simple.
What You’ll Need for Peanut Butter Chocolate Crunch Bars
These ingredients play together like a small team where each member has a clear job. The chocolate chips create the rich coating, creamy peanut butter provides body and depth, the crisp rice cereal delivers the textural lift, and a touch of flaky sea salt sharpens all the flavors.
- 1 cup chocolate chips: Melted to create a glossy chocolate coating and binding layer; provides rich cocoa flavor and structural set once cooled. Use quality chips for smooth texture and even melting, stirring gently to avoid seizing. Can be tempered slightly by mixing with coconut oil for easier pouring and a firmer finish.
- 2 teaspoons coconut oil: Added to thin and gloss the melted chocolate while improving pourability; contributes a subtle tropical aroma and silky mouthfeel. Use sparingly to prevent an overly oily finish, melting it together with the chocolate for an even emulsion. Helps the chocolate layer set with a shiny appearance and better snap.
- 1/3 cup creamy peanut butter: Stirred in to lend creaminess, nutty sweetness, and cohesive richness to the cereal mixture; acts as a binder to help bars hold together. Choose a smooth, spreadable creamy peanut butter for uniform texture and easy mixing. Balances the sweetness of the chocolate and provides a satisfying savory note.
- 1 teaspoon pure vanilla extract: Incorporated to brighten flavors and add a delicate aromatic lift that enhances both chocolate and peanut butter. Use pure vanilla extract for authentic, rounded flavor; add after heating to preserve its volatile compounds. Small amount goes a long way in deepening overall complexity.
- 2 cups crisp rice cereal: Folded in to provide crispness, volume, and the signature crunch of the bars while keeping them light and airy. Use fresh, well-textured crisp rice cereal to maintain crunch and avoid sogginess; gently mix to coat evenly with peanut butter and chocolate. Serves as the structural base that defines the bar's texture.
- 1/4 teaspoon flaky sea salt, plus more for sprinkling: Sprinkled and mixed in to add a delicate salty contrast and occasional bursts of briny flavor that enhance sweetness. Use flaky sea salt for visible crystals and a clean finish, adding some into the mixture and more on top for presentation. Balances flavors and elevates the overall taste profile without overpowering.
Instructions for Peanut Butter Chocolate Crunch Bars
These no bake bars come together in simple phases: prepare the pan, melt and mix, fold in the cereal, then press and chill. I like to set my workspace up first so I can move through each stage without scrambling.
- Line a 9×5-inch loaf pan with parchment paper. If you don't have a loaf pan, you can use an 8×8-inch pan.: The aroma of this step is minimal, but the tactile satisfaction of laying parchment so it fits the pan smoothly is important, it prevents sticking and makes removal effortless once the bars are set. Press the paper into corners and leave an overhang for easy lifting. A common mistake is using too small a pan, which makes the mixture too thick; if you prefer thinner bars use an 8×8 inch pan as noted in the original guidance.
- Add the chocolate chips and coconut oil in a large microwave safe bowl. Place in the microwave and heat in 30 second intervals until smooth.: As the chocolate warms you will notice a sweet, cocoa scent rising, and the oil helps the chips transition to a glossy liquid. Heat in 30 second bursts, stirring between intervals until smooth, which prevents scalding. Overheating is the usual trap here, watch for steam and stop when a few lumps remain, stirring will finish the melt.
- Add the peanut butter, vanilla extract, and flaky sea salt; stir until smooth. Gently fold in the crispy rice cereal until well combined.: The sound is a quiet hum from the microwave, and visually you want a silky pourable chocolate, free of grainy bits. Stirring between bursts keeps temperature even. If you see the chocolate clump or separate, let it cool slightly and stir gently to reincorporate rather than adding more heat which can seize it.
- Press mixture into an even layer into the prepared pan. Sprinkle with flaky sea salt. Freeze for 15 minutes to set up.: When the chocolate is warm but not scalding, stirring in peanut butter releases a warm nutty aroma and yields a glossy homogeneous mixture. Vanilla brings a floral lift and the sea salt anchors sweetness. Stir until fully smooth and cohesive, then pause to taste; balance is key. Avoid adding cold peanut butter straight from the fridge as it can cause the chocolate to firm prematurely, instead let it come to room temperature.
- Use a sharp knife to cut into bars.: As you whisk, the mixture should become uniform and slightly thinner, making it easy to fold with the cereal. The texture should be velvety, and the scent should be a rounded chocolate nutty mix. If the mixture seems too thin, a short chill will firm it; if too thick, a teaspoon of warm coconut oil can loosen it. A common error is overworking the mix which can crush the cereal later, so stir just to combine.
- Gently fold in the crispy rice cereal until well combined: Folding preserves the cereal's crispness, you want to see distinct pieces coated but not pulverized; the sound of cereal moving against the bowl signals the right texture. Use a wide spatula and lift from the bottom to ensure even coating. If you stir vigorously the cereal will break down and the bars will become dense rather than airy.
- Press mixture into an even layer into the prepared pan: Use the back of a spatula or a piece of parchment to press the mixture evenly, listening for slight compressive sounds. An even surface ensures uniform slices and neat bars. Don t press so hard that the cereal compacts into a brick, aim for firm but light pressure to maintain crunch. Uneven pressing leads to bars that crumble in places and stay loose in others.
- Sprinkle with flaky sea salt: The tiny crystals will glint on the surface, and their immediate burst of saltiness when you taste a piece is what elevates the whole bar. Sprinkle sparingly so you get pockets of bright flavor without overpowering. Too much salt will mask the chocolate and peanut butter, so less is often more.
- Freeze for 15 minutes to set up: The bars will firm quickly, the chocolate losing its gloss as it cools and the mixture becoming sliceable. Freezing briefly speeds this and helps achieve clean cuts. If you skip chilling, the bars may be too soft and fall apart when sliced, so allow the full time for best results.
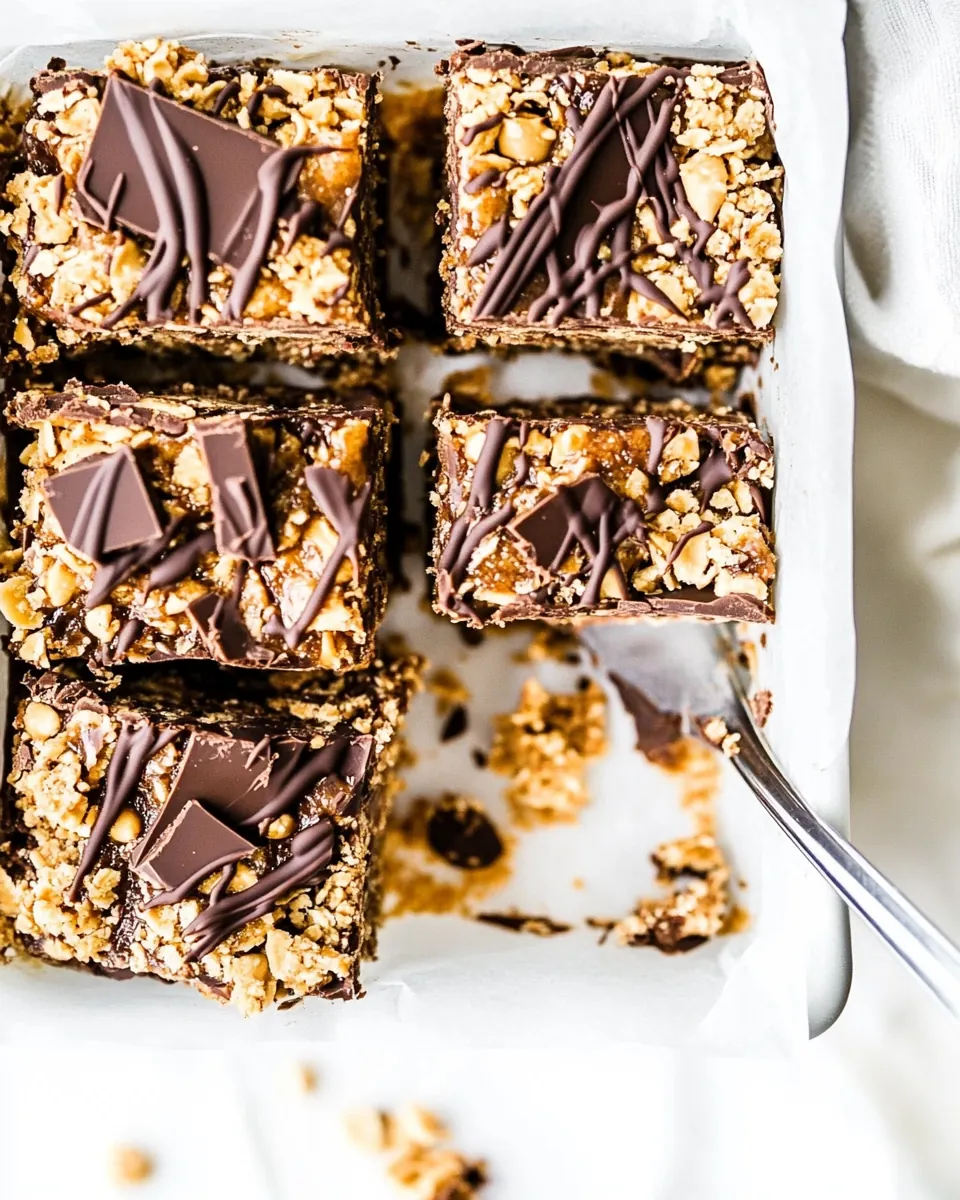
- Use a sharp knife to cut into bars: A sharp blade yields clean edges, and wiping the knife between cuts keeps slices tidy. Hold the pan steady and cut with a single smooth motion for the best presentation. If the knife drags, return the pan to chill a few minutes, as forcing slices will crumble the bars and ruin the clean look.
Recipe Notes about Peanut Butter Chocolate Crunch Bars
These notes expand on storage, texture adjustments, and small tricks that make the bars easier to slice and share. I include practical tips I’ve learned by testing variations and storing leftover bars.
- Storage suggestion: Store bars in an airtight container in the refrigerator for up to two weeks, layering parchment between pieces to prevent sticking. Chilled bars keep their shape and are easier to slice. If you prefer a firmer texture store them in the freezer for up to one month, thaw slightly before serving for the best chew.
- Texture tweak: For a slightly fudgier bar, reduce the amount of crisp rice cereal by one quarter cup, which increases the density and chew. Keep in mind that less cereal reduces the pronounced crunch, so choose based on desired mouthfeel.
- Chocolate choice: Use semi sweet chocolate chips for balance, or swap to milk chocolate for a sweeter profile. Darker chocolate will give a more intense cocoa note and cut through the sweetness of the peanut butter.
- Pressing technique: Use a sheet of parchment over the top when pressing to get a smooth surface and prevent hands from sticking, this also helps create a uniform thickness so bars slice consistently.
- Serving temperature: Serve chilled for clean slices and a firm snap, or allow to sit ten minutes at room temperature for a softer, chewier bite. Both are enjoyable depending on preference.
What Goes Well With This Peanut Butter Chocolate Crunch Bars
These bars are versatile and travel friendly, fitting into many occasions. Serve them sliced for snack plates, tuck them into lunchboxes, or bring them to gatherings where a no bake option is welcome.
- Casual snack plates: Arrange bars with fresh fruit or nuts for a simple afternoon spread that pairs sweet and fresh elements.
- Party finger food: Cut into small squares and serve on a platter, they are easy for guests to grab and enjoy without utensils.
- Lunchbox addition: Wrap individually and include as a treat in packed lunches, they keep well and travel without crumbling if chilled beforehand.
- Seasonal gifting: Package in small boxes or cellophane for holiday or special occasion treats, their simplicity and shelf stability make them great for gifting.
- Storage tips: For short term keep in the refrigerator in a single layer or with parchment separators, for long term freeze in a sealed container and thaw briefly before serving.
- Occasions: Ideal for picnics, potlucks, bake sales, or anytime you want an easy dessert that does not require an oven.
FAQ
Conclusion
These Peanut Butter Chocolate Crunch Bars shine because they deliver satisfying texture and flavor without an oven, combining glossy chocolate, creamy peanut butter, and airy cereal into one easy no bake treat. Give them a try when you want a quick dessert or a make ahead snack for gatherings. They slice cleanly when chilled and travel well, making them an ideal choice for potlucks, lunchboxes, or a simple sweet to keep on hand.
Peanut Butter Chocolate Crunch Bars
Equipment
- Microwave-safe Bowl
- Loaf Pan
- Parchment Paper
- Spatula
- Sharp Knife
Ingredients
- 1 cup chocolate chips Melted to create a glossy chocolate coating and binding layer; provides rich cocoa flavor and structural set once cooled. Use quality chips for smooth texture and even melting, stirring gently to avoid seizing. Can be tempered slightly by mixing with coconut oil for easier pouring and a firmer finish.
- 2 teaspoons coconut oil Added to thin and gloss the melted chocolate while improving pourability; contributes a subtle tropical aroma and silky mouthfeel. Use sparingly to prevent an overly oily finish, melting it together with the chocolate for an even emulsion. Helps the chocolate layer set with a shiny appearance and better snap.
- 1/3 cup creamy peanut butter Stirred in to lend creaminess, nutty sweetness, and cohesive richness to the cereal mixture; acts as a binder to help bars hold together. Choose a smooth, spreadable creamy peanut butter for uniform texture and easy mixing. Balances the sweetness of the chocolate and provides a satisfying savory note.
- 1 teaspoon pure vanilla extract Incorporated to brighten flavors and add a delicate aromatic lift that enhances both chocolate and peanut butter. Use pure vanilla extract for authentic, rounded flavor; add after heating to preserve its volatile compounds. Small amount goes a long way in deepening overall complexity.
- 2 cups crisp rice cereal Folded in to provide crispness, volume, and the signature crunch of the bars while keeping them light and airy. Use fresh, well-textured crisp rice cereal to maintain crunch and avoid sogginess; gently mix to coat evenly with peanut butter and chocolate. Serves as the structural base that defines the bar's texture.
- 1/4 teaspoon flaky sea salt, plus more for sprinkling Sprinkled and mixed in to add a delicate salty contrast and occasional bursts of briny flavor that enhance sweetness. Use flaky sea salt for visible crystals and a clean finish, adding some into the mixture and more on top for presentation. Balances flavors and elevates the overall taste profile without overpowering.
Instructions
- Line a 9×5-inch loaf pan with parchment paper. If you don't have a loaf pan, you can use an 8×8-inch pan.: The aroma of this step is minimal, but the tactile satisfaction of laying parchment so it fits the pan smoothly is important, it prevents sticking and makes removal effortless once the bars are set. Press the paper into corners and leave an overhang for easy lifting. A common mistake is using too small a pan, which makes the mixture too thick; if you prefer thinner bars use an 8×8 inch pan as noted in the original guidance.
- Add the chocolate chips and coconut oil in a large microwave safe bowl. Place in the microwave and heat in 30 second intervals until smooth.: As the chocolate warms you will notice a sweet, cocoa scent rising, and the oil helps the chips transition to a glossy liquid. Heat in 30 second bursts, stirring between intervals until smooth, which prevents scalding. Overheating is the usual trap here, watch for steam and stop when a few lumps remain, stirring will finish the melt.
- Add the peanut butter, vanilla extract, and flaky sea salt; stir until smooth. Gently fold in the crispy rice cereal until well combined.: The sound is a quiet hum from the microwave, and visually you want a silky pourable chocolate, free of grainy bits. Stirring between bursts keeps temperature even. If you see the chocolate clump or separate, let it cool slightly and stir gently to reincorporate rather than adding more heat which can seize it.
- Press mixture into an even layer into the prepared pan. Sprinkle with flaky sea salt. Freeze for 15 minutes to set up.: When the chocolate is warm but not scalding, stirring in peanut butter releases a warm nutty aroma and yields a glossy homogeneous mixture. Vanilla brings a floral lift and the sea salt anchors sweetness. Stir until fully smooth and cohesive, then pause to taste; balance is key. Avoid adding cold peanut butter straight from the fridge as it can cause the chocolate to firm prematurely, instead let it come to room temperature.
- Use a sharp knife to cut into bars.: As you whisk, the mixture should become uniform and slightly thinner, making it easy to fold with the cereal. The texture should be velvety, and the scent should be a rounded chocolate nutty mix. If the mixture seems too thin, a short chill will firm it; if too thick, a teaspoon of warm coconut oil can loosen it. A common error is overworking the mix which can crush the cereal later, so stir just to combine.
- Gently fold in the crispy rice cereal until well combined: Folding preserves the cereal's crispness, you want to see distinct pieces coated but not pulverized; the sound of cereal moving against the bowl signals the right texture. Use a wide spatula and lift from the bottom to ensure even coating. If you stir vigorously the cereal will break down and the bars will become dense rather than airy.
- Press mixture into an even layer into the prepared pan: Use the back of a spatula or a piece of parchment to press the mixture evenly, listening for slight compressive sounds. An even surface ensures uniform slices and neat bars. Don t press so hard that the cereal compacts into a brick, aim for firm but light pressure to maintain crunch. Uneven pressing leads to bars that crumble in places and stay loose in others.
- Sprinkle with flaky sea salt: The tiny crystals will glint on the surface, and their immediate burst of saltiness when you taste a piece is what elevates the whole bar. Sprinkle sparingly so you get pockets of bright flavor without overpowering. Too much salt will mask the chocolate and peanut butter, so less is often more.
- Freeze for 15 minutes to set up: The bars will firm quickly, the chocolate losing its gloss as it cools and the mixture becoming sliceable. Freezing briefly speeds this and helps achieve clean cuts. If you skip chilling, the bars may be too soft and fall apart when sliced, so allow the full time for best results.
- Use a sharp knife to cut into bars: A sharp blade yields clean edges, and wiping the knife between cuts keeps slices tidy. Hold the pan steady and cut with a single smooth motion for the best presentation. If the knife drags, return the pan to chill a few minutes, as forcing slices will crumble the bars and ruin the clean look.
Notes
- Storage suggestion: Store bars in an airtight container in the refrigerator for up to two weeks, layering parchment between pieces to prevent sticking. Chilled bars keep their shape and are easier to slice. If you prefer a firmer texture store them in the freezer for up to one month, thaw slightly before serving for the best chew.
- Texture tweak: For a slightly fudgier bar, reduce the amount of crisp rice cereal by one quarter cup, which increases the density and chew. Keep in mind that less cereal reduces the pronounced crunch, so choose based on desired mouthfeel.
- Chocolate choice: Use semi sweet chocolate chips for balance, or swap to milk chocolate for a sweeter profile. Darker chocolate will give a more intense cocoa note and cut through the sweetness of the peanut butter.
- Pressing technique: Use a sheet of parchment over the top when pressing to get a smooth surface and prevent hands from sticking, this also helps create a uniform thickness so bars slice consistently.
- Serving temperature: Serve chilled for clean slices and a firm snap, or allow to sit ten minutes at room temperature for a softer, chewier bite. Both are enjoyable depending on preference.