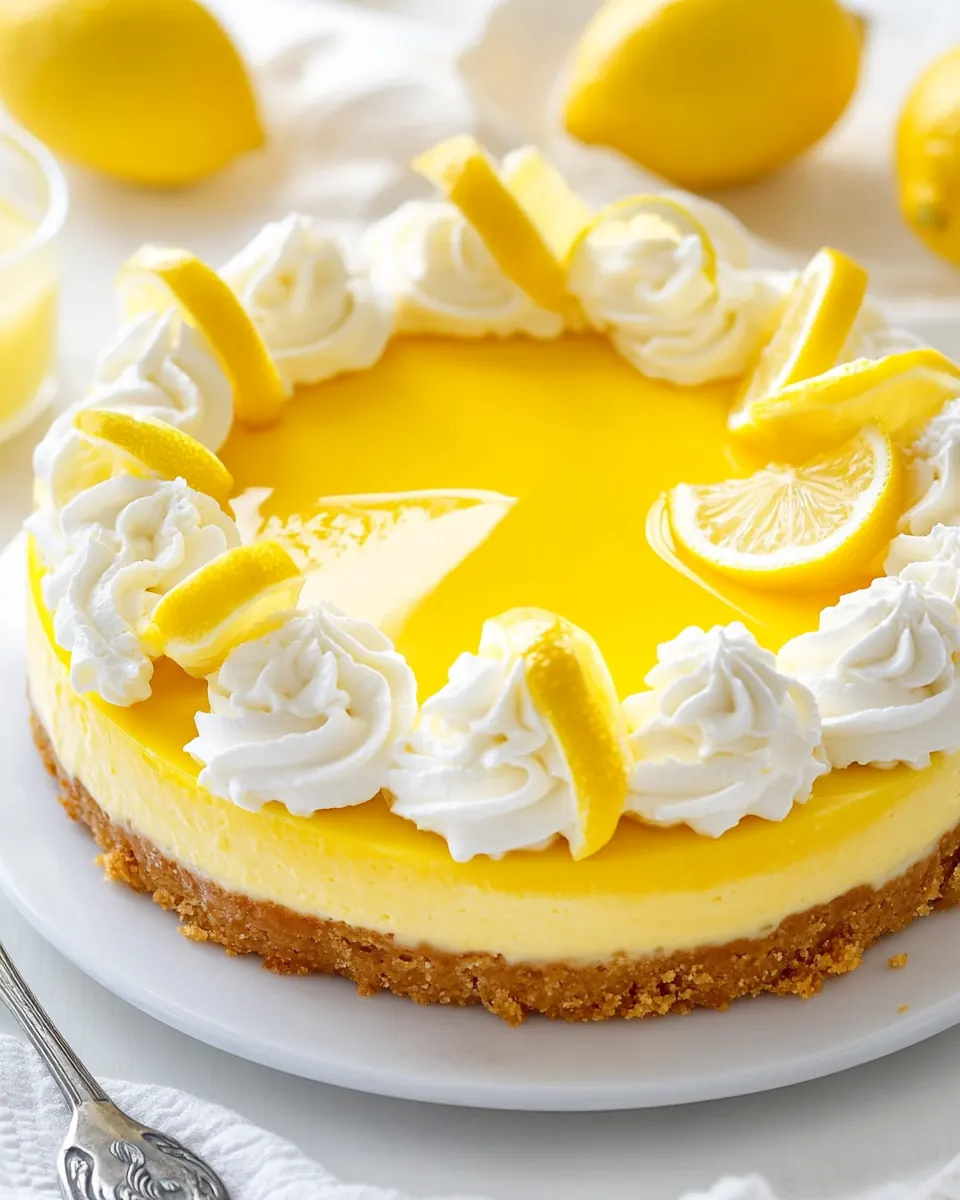
Lemon Cheesecake
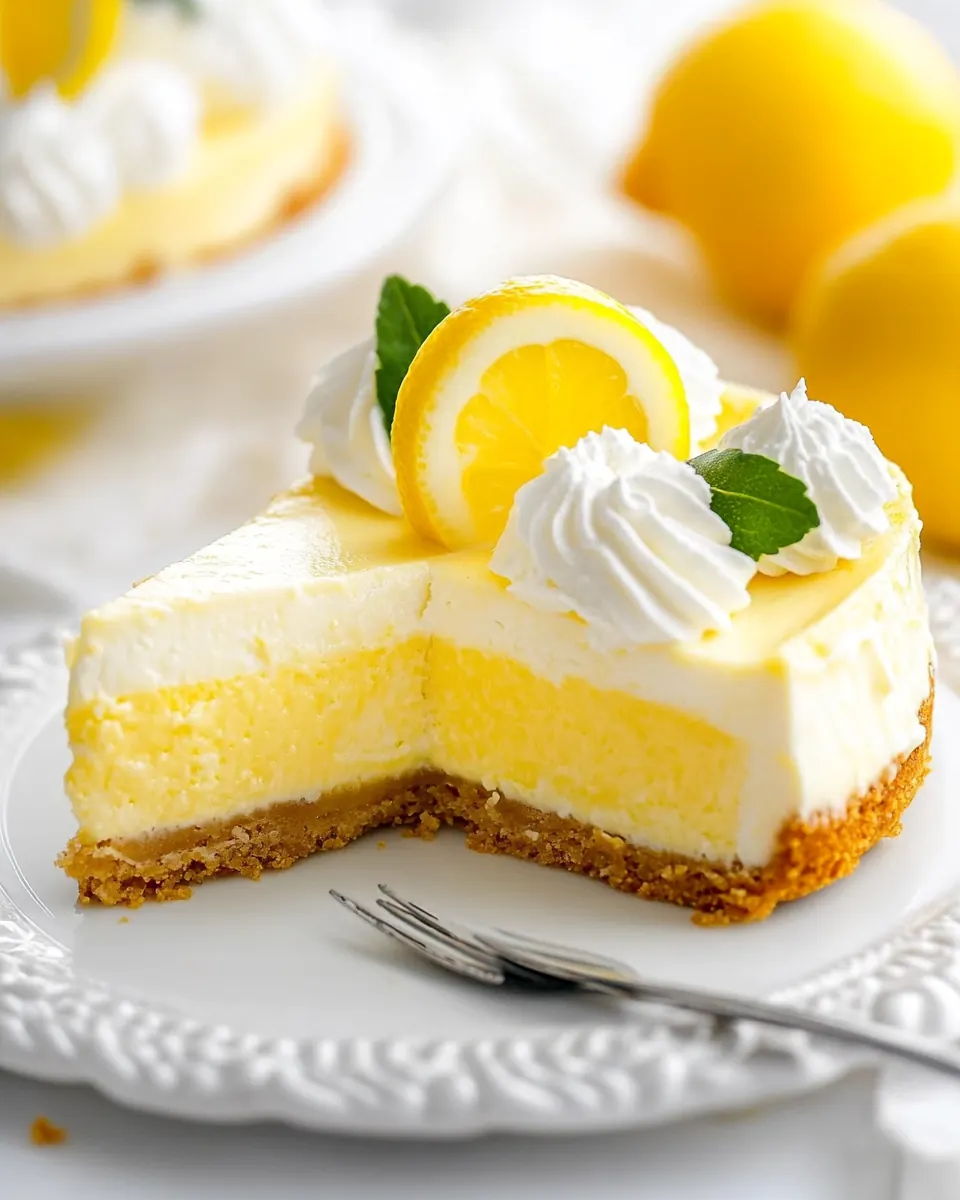
Lemon Cheesecake is one of those recipes that always makes an appearance at family gatherings and quiet Sunday afternoons at my house. I remember the first time I baked this one, a friend handed me a jar of homemade lemon curd and dared me to turn it into something unforgettable. I accepted the challenge, and that citrus brightness paired with the silky texture of the filling immediately won over even the most committed chocolate lovers in the room.
The ritual of making Lemon Cheesecake became part of my weekend routine. I love setting the oven timer and letting the kitchen fill with the warm, sweet scent of baking graham cracker crumbs and melted butter. While the cake cools, I usually take a moment to sip tea and think about how the crisp crust and creamy center will balance with a glossy layer of lemon curd. Sometimes I spread a little extra curd on top, because I live boldly when it comes to citrus.
Recipe Snapshot
1 hr 20 mins
30 mins
50 mins
Medium
350 kcal
American
Gluten-Free, Low FODMAP
Desserts
1 9-inch springform pan
What Makes This Lemon Cheesecake Special
Bright and Balanced Flavor
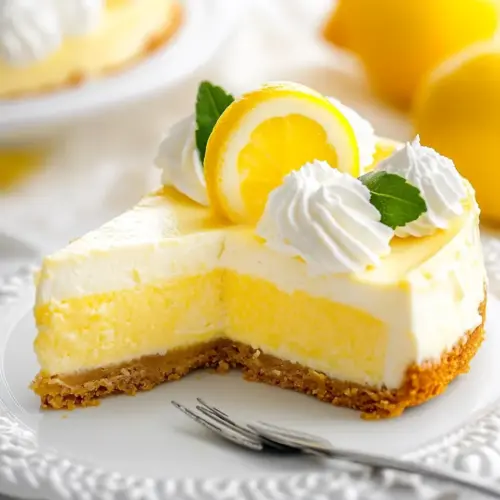
I adore how Lemon Cheesecake manages to be both rich and refreshing. The tang from the lemon zest and the sweet, silky filling create a lovely contrast that keeps every forkful interesting. I find that this balance is what makes it approachable for people who think cheesecake is too heavy, and for those who crave indulgence.
Reliable Texture Every Time
Over the years I refined this approach to give consistently creamy results. Using room temperature cream cheese and beating at moderate speed avoids lumps and over aeration, so the center sets gently while staying smooth. I look for a slight jiggle in the center as my cue, and that visual signal never fails me.
Simple Ingredients, Big Impact
The ingredient list is deceptively straightforward: graham cracker crumbs, butter, cream cheese, sugar, eggs, and a kiss of vanilla and lemon zest. Each component plays a clear role, and you do not need exotic items to make a dessert that looks and tastes special. I love that you can pull together pantry staples and create something that feels celebratory.
Make Ahead Friendly
I often prepare Lemon Cheesecake a day in advance. The chilling time lets flavors meld and the texture steady. For gatherings, this is a lifesaver because you can focus on finishing touches like the lemon curd and any optional garnishes at the last minute. It reduces stress and improves flavor.
Versatile for Occasions
Whether it is a casual afternoon tea or a special holiday table, this cheesecake adapts well. The lemon notes feel spring fresh, and a glossy layer of lemon curd makes it feel dressed up without much effort. I turn to this recipe when I want something familiar yet a little elevated.
What to Buy for Lemon Cheesecake
These ingredients form a harmonious team that produces a classic, creamy cheesecake with bright citrus lift. The crust ingredients provide a crisp, buttery base, while the filling components bring richness, structure, and subtle sweetness. The lemon zest and lemon curd are the stars for flavor contrast, and the eggs are vital for setting and a smooth mouthfeel.
- 5 tablespoons unsalted butter, melted: Melted to bind and flavor the crust, providing richness and helping graham crumbs clump together for a firm base. Adds buttery moisture and enhances browning when baked or chilled, contributing to an appealing texture.
- 1 3/4 cups graham cracker crumbs, about 20 crackers finely crushed: Finely crushed to form the primary structure of the crust, creating a crisp, sandy texture that holds when combined with melted butter. Supplies bulk and a toasty flavor that contrasts with the creamy filling.
- 1/4 cup granulated sugar: Used to sweeten and balance the crust, promoting caramelization and a subtle crunch within the base. Helps round out the buttery and graham flavors for a well-balanced foundation.
- 3 (8-ounce) packages cream cheese, at room temperature: Softened to create the smooth, creamy cheesecake filling that provides structure and tang, allowing for easy incorporation of sugar and flavorings. Contributes richness, body, and a velvety mouthfeel once whipped and baked or chilled.
- 1 cup granulated sugar: Added to sweeten the filling and balance the tang of cream cheese and lemon, assisting in achieving a consistent sweetness throughout. Helps stabilize texture when beaten into the cream cheese, contributing to a silky, cohesive batter.
- 4 large eggs, well beaten: Beaten to add volume, richness, and structure to the filling, helping to set the cheesecake during baking or chilling. Eggs improve binding and create a custard-like texture when incorporated uniformly into the batter.
- 1 lemon, zested (no juice): Zested to impart concentrated lemon aroma and bright citrus flavor without adding extra liquid that could affect texture. Provides fragrant oils that enhance the overall lemon profile and complement the tang of cream cheese.
- 1 teaspoon vanilla extract: Included to enhance and round out flavor, offering warm, aromatic notes that deepen the filling's complexity. A small amount provides balance and highlights the sweetness and acidity of other components.
- 3/4 cup lemon curd, more if desired: Spread or swirled to introduce an intense lemon flavor and glossy finish, boosting both taste and visual appeal. Adds a bright, sweet-tart layer that complements the creamy filling and can be increased for stronger citrus presence.
Instructions for Lemon Cheesecake
I like to approach the process with calm focus because cheesecake rewards gentle handling. The method is straightforward, but attention to temperature and timing ensures a smooth, crack free finish. Read the steps through once so you feel ready, then move steadily and enjoy the sensory cues along the way.
- Preheat the oven to 350 ℉.: Warmth fills the kitchen and creates anticipation. You will notice a faint toasty note in the air as the oven warms, which sets the stage for baking the crust and filling properly. Preheating ensures the crust starts setting right away, preventing sogginess. A common mistake is skipping preheat, which can alter baking times and texture, so always wait until the oven reaches the temperature shown on the dial before placing anything inside.
- In a medium bowl, mix together graham cracker crumbs, 5 tablespoons butter and 1/4 cup sugar until well combined.: The mixture should smell buttery and slightly sweet, with the crumbs evenly moistened by the melted butter . As you stir, you can feel the texture change from dry to cohesive, which is the right indicator for pressing into the pan. This step matters because an evenly mixed crust bakes uniformly and holds the filling without crumbling. If you see dry pockets of crumbs, press and stir more, as uneven mixing leads to weak spots in the base.
- Using the flat bottom of a small measuring cup, press the crust in an even layer into the bottom of a 9-inch springform pan. Bake 5 minutes. Transfer to a baking sheet and let cool.: Pressing yields a compact, even foundation that will support the filling. You will hear a slight compacting sound and feel resistance as the crumbs compress. The short bake sets the butter and slightly toasts the crumbs, giving a subtle depth of flavor. Remove carefully to avoid warping the ring, and let cool so the filling goes onto a firm base. A typical error is pressing unevenly which causes thin or thick spots that change slice integrity.
- Using an electric mixer or a stand mixer fitted with a paddle attachment, beat together 3, 8-ounce packages softened cream cheese with 1 cup sugar on medium speed until smooth. Stir in 4 eggs, lemon zest and 1 teaspoon vanilla. Beat 2 minutes, or until smooth and creamy. Pour over cooled crust. Tap on the counter to make it even.: The bowl will emit a sweet, creamy aroma as the cream cheese and sugar become glossy and smooth. When you add the lightly beaten eggs , the mixture loosens and takes on a silkier texture, while the zesty perfume of lemon zest rises. Tapping the pan removes trapped air bubbles, creating a uniform surface that bakes evenly. This technique prevents over aeration which can cause cracking and large cracks or a spongy texture. If you still see lumps after beating, scrape the bowl thoroughly and continue at low speed until homogenous.
- Bake 40-50 minutes, or until the edges have puffed slightly and barely starting to brown. The center should be baked to the touch but still wiggle a bit.: During baking you will notice the edges firming and pulling away slightly from the pan, and the top will develop a delicate sheen. The slight jiggle in the center is a blessing, signaling that the filling finished baking without drying out. This balance produces a dense, creamy interior rather than a dry, crumbly loaf. Resist the urge to overbake, because excess time will remove moisture and make the texture chalky.
- Let cool on top of the oven 10 minutes before using a knife to run along the inside of the pan to loosen the crust and help prevent cracking as the cheesecake cools. Do not remove the ring from the pan. Let cool to room temperature then chill for at least 7 1/2 hours up to overnight.: As the cake rests, aromas settle and steam escapes, which eases internal pressure and reduces cracking. Running a knife gently around the edge while warm prevents the cake from clinging to the pan and tearing when it cools. The long chill time is crucial; it lets the proteins firm and the fats set so slices hold their shape. A frequent misstep is removing the ring too soon, which often causes the top to crack or the sides to slump.
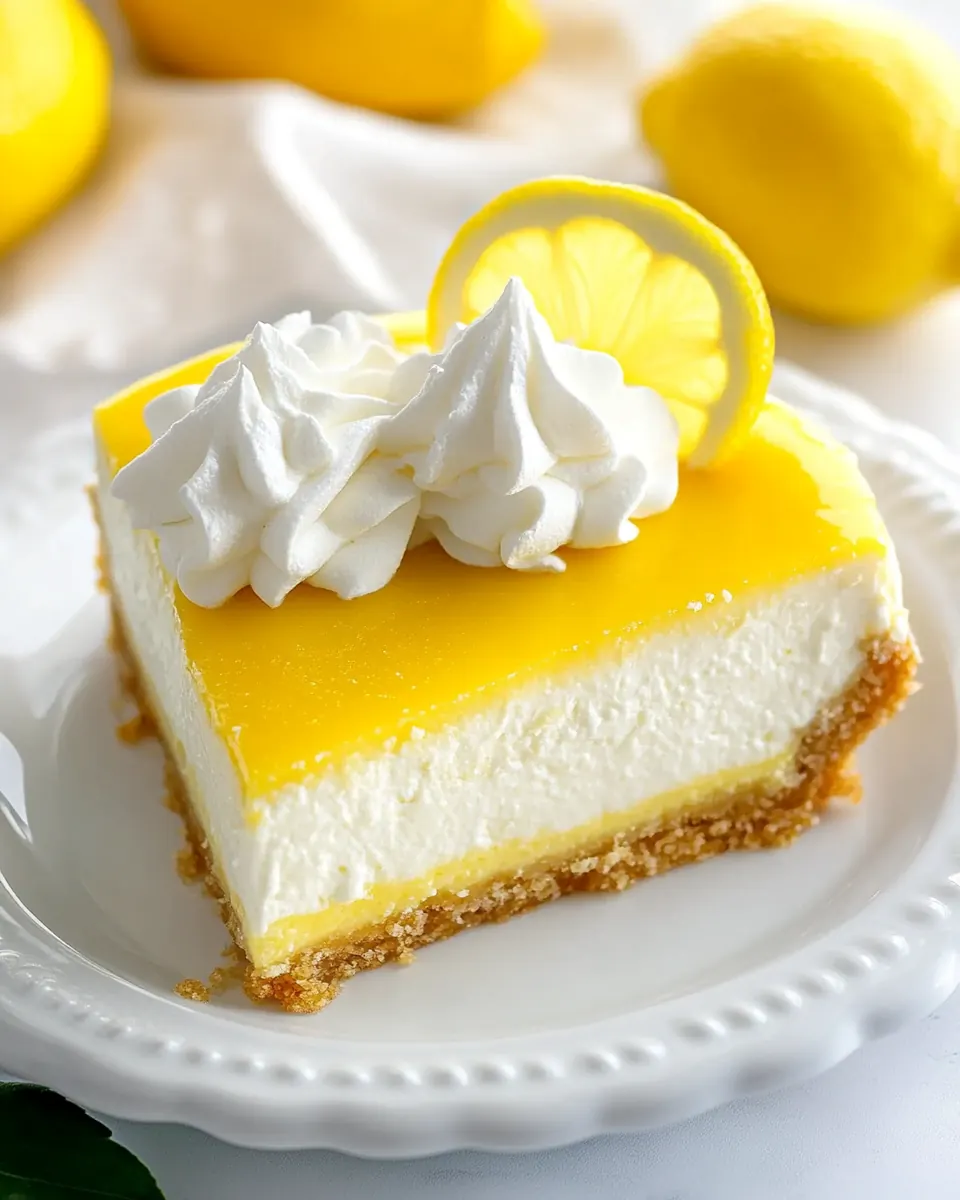
- After the cheesecake has chilled, remove from springform pan then spread the lemon curd over the top. Add whipped cream if desired.: The chilled surface is cool and slightly firm, perfect for a glossy layer of lemon curd . The curd should spread smoothly, glinting under light and offering a concentrated citrus burst in each bite. Adding whipped cream is optional, and it provides airy contrast to the dense filling. If the curd is too soft, pop it in the fridge briefly to thicken so it does not run off the edges. The final look and texture are worth taking this extra care with.
Tips for Success
I often rely on a handful of trusted tricks to make sure the cheesecake turns out beautifully. These tips reflect lessons learned from baking, testing, and serving this dessert many times. They will help you avoid common pitfalls and elevate the final presentation.
- Room temperature ingredients: Make sure the cream cheese and eggs are at room temperature, which helps them blend smoothly and reduces bumps in the filling.
- Gentle mixing: Beat at moderate speed and stop once the mixture is uniformly smooth to avoid incorporating too much air that can cause cracks.
- Even crust: Use the flat bottom of a measuring cup to press the graham cracker crumbs into a uniform layer, which ensures each slice has consistent structure.
- Brief pre-bake: Bake the crust for the full 5 minutes to set the base and enhance toasty flavor, preventing a soggy bottom after adding the filling.
- Touch test: Look for a slight jiggle in the center when done, this indicates it is cooked but still creamy without being raw.
- Long chill: Chill for at least 7 1/2 hours or overnight, which allows flavors to meld and the texture to firm up for cleaner slices.
What to Serve Alongside Lemon Cheesecake
This dessert is versatile and pairs well with light accompaniments that complement its bright citrus profile. For special occasions I like to present it with a few thoughtful additions that enhance texture and flavor without overpowering the delicate filling. Consider seasonal fruits or lightly sweetened creams to balance the tang.
- Fresh berries: A medley of strawberries, raspberries, or blueberries adds juicy contrast and visual color on the plate, perfect for spring and warm weather gatherings.
- Whipped cream: Lightly sweetened whipped cream brings airy texture that offsets the dense cheesecake, and you can pipe rosettes around the edge for a polished look.
- Extra lemon curd: Offer a small spoonful on the side for guests who love extra citrus intensity, which brightens each forkful without altering the cake layers.
- Tea service: Serve with herbal or green tea for a gentle, cleansing sip between bites, ideal for afternoon gatherings and relaxed coffee hours.
- Storage tips: Keep the cheesecake covered in the refrigerator and consume within three days for best quality, this ensures the cream cheese stays fresh and the texture remains perfect.
- Occasions: This cake shines at spring celebrations, birthdays, or anytime you want a dessert that feels both homey and elegant, and it travels well for potlucks if chilled thoroughly.
FAQ
Conclusion
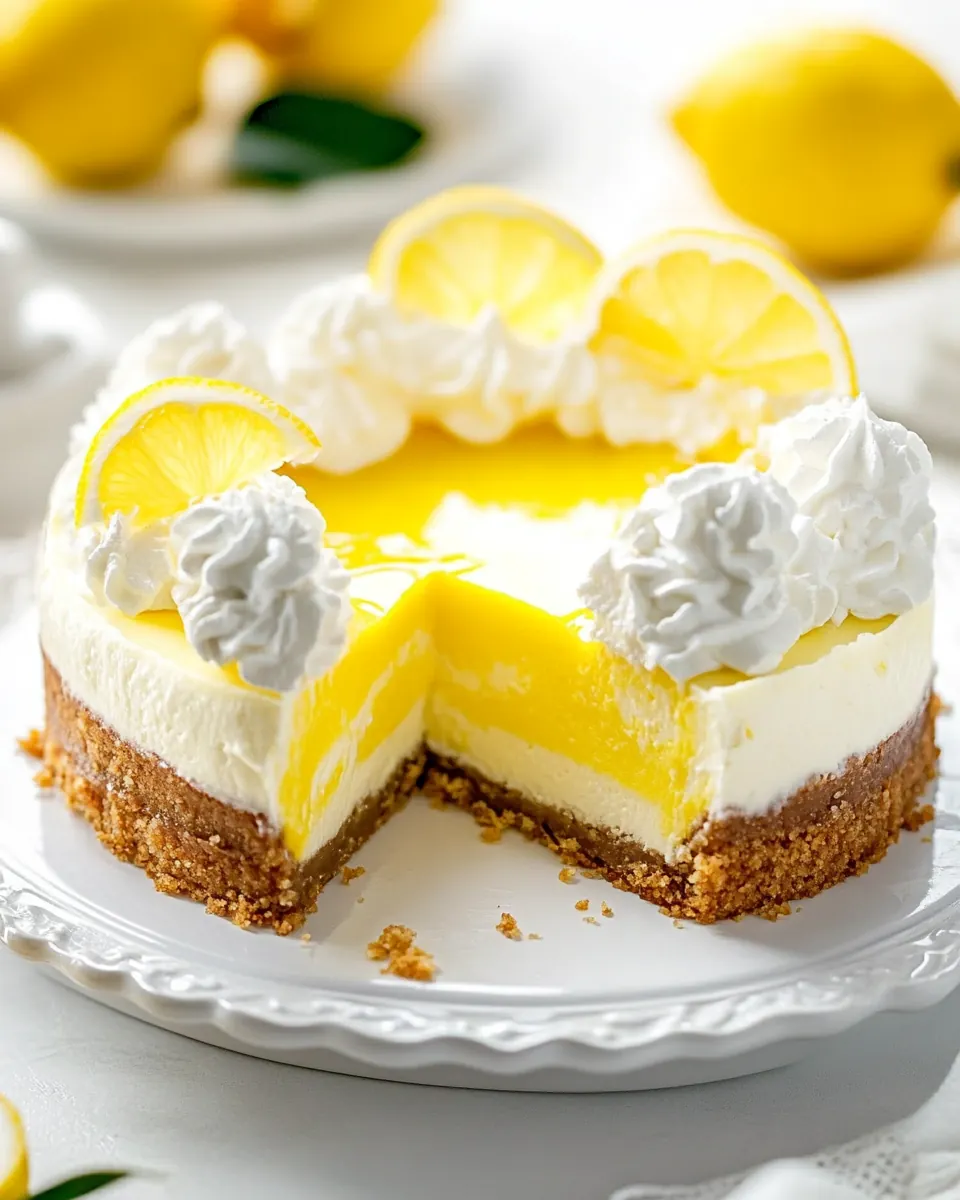
This Lemon Cheesecake stands out for its creamy texture and bright citrus lift, making it a dependable dessert for many occasions. Try it when you want something that feels both homely and elegant, and let the chilled slices shine with a glossy layer of lemon curd. I hope you enjoy the process as much as the moment you serve it, and that it becomes a favorite at your table for years to come.
Lemon Cheesecake
Equipment
- 1 9-inch springform pan
Ingredients
- 5 tablespoons unsalted butter, melted Melted to bind and flavor the crust, providing richness and helping graham crumbs clump together for a firm base. Adds buttery moisture and enhances browning when baked or chilled, contributing to an appealing texture.
- 1 3/4 cups graham cracker crumbs, about 20 crackers finely crushed Finely crushed to form the primary structure of the crust, creating a crisp, sandy texture that holds when combined with melted butter. Supplies bulk and a toasty flavor that contrasts with the creamy filling.
- 1/4 cup granulated sugar Used to sweeten and balance the crust, promoting caramelization and a subtle crunch within the base. Helps round out the buttery and graham flavors for a well-balanced foundation.
- 3 (8-ounce) packages cream cheese, at room temperature Softened to create the smooth, creamy cheesecake filling that provides structure and tang, allowing for easy incorporation of sugar and flavorings. Contributes richness, body, and a velvety mouthfeel once whipped and baked or chilled.
- 1 cup granulated sugar Added to sweeten the filling and balance the tang of cream cheese and lemon, assisting in achieving a consistent sweetness throughout. Helps stabilize texture when beaten into the cream cheese, contributing to a silky, cohesive batter.
- 4 large eggs, well beaten Beaten to add volume, richness, and structure to the filling, helping to set the cheesecake during baking or chilling. Eggs improve binding and create a custard-like texture when incorporated uniformly into the batter.
- 1 lemon, zested (no juice) Zested to impart concentrated lemon aroma and bright citrus flavor without adding extra liquid that could affect texture. Provides fragrant oils that enhance the overall lemon profile and complement the tang of cream cheese.
- 1 teaspoon vanilla extract Included to enhance and round out flavor, offering warm, aromatic notes that deepen the filling's complexity. A small amount provides balance and highlights the sweetness and acidity of other components.
- 3/4 cup lemon curd, more if desired Spread or swirled to introduce an intense lemon flavor and glossy finish, boosting both taste and visual appeal. Adds a bright, sweet-tart layer that complements the creamy filling and can be increased for stronger citrus presence.
Instructions
- Preheat the oven to 350 ℉.: Warmth fills the kitchen and creates anticipation. You will notice a faint toasty note in the air as the oven warms, which sets the stage for baking the crust and filling properly. Preheating ensures the crust starts setting right away, preventing sogginess. A common mistake is skipping preheat, which can alter baking times and texture, so always wait until the oven reaches the temperature shown on the dial before placing anything inside.
- In a medium bowl, mix together graham cracker crumbs, 5 tablespoons butter and 1/4 cup sugar until well combined.: The mixture should smell buttery and slightly sweet, with the crumbs evenly moistened by the melted butter . As you stir, you can feel the texture change from dry to cohesive, which is the right indicator for pressing into the pan. This step matters because an evenly mixed crust bakes uniformly and holds the filling without crumbling. If you see dry pockets of crumbs, press and stir more, as uneven mixing leads to weak spots in the base.
- Using the flat bottom of a small measuring cup, press the crust in an even layer into the bottom of a 9-inch springform pan. Bake 5 minutes. Transfer to a baking sheet and let cool.: Pressing yields a compact, even foundation that will support the filling. You will hear a slight compacting sound and feel resistance as the crumbs compress. The short bake sets the butter and slightly toasts the crumbs, giving a subtle depth of flavor. Remove carefully to avoid warping the ring, and let cool so the filling goes onto a firm base. A typical error is pressing unevenly which causes thin or thick spots that change slice integrity.
- Using an electric mixer or a stand mixer fitted with a paddle attachment, beat together 3, 8-ounce packages softened cream cheese with 1 cup sugar on medium speed until smooth. Stir in 4 eggs, lemon zest and 1 teaspoon vanilla. Beat 2 minutes, or until smooth and creamy. Pour over cooled crust. Tap on the counter to make it even.: The bowl will emit a sweet, creamy aroma as the cream cheese and sugar become glossy and smooth. When you add the lightly beaten eggs , the mixture loosens and takes on a silkier texture, while the zesty perfume of lemon zest rises. Tapping the pan removes trapped air bubbles, creating a uniform surface that bakes evenly. This technique prevents over aeration which can cause cracking and large cracks or a spongy texture. If you still see lumps after beating, scrape the bowl thoroughly and continue at low speed until homogenous.
- Bake 40-50 minutes, or until the edges have puffed slightly and barely starting to brown. The center should be baked to the touch but still wiggle a bit.: During baking you will notice the edges firming and pulling away slightly from the pan, and the top will develop a delicate sheen. The slight jiggle in the center is a blessing, signaling that the filling finished baking without drying out. This balance produces a dense, creamy interior rather than a dry, crumbly loaf. Resist the urge to overbake, because excess time will remove moisture and make the texture chalky.
- Let cool on top of the oven 10 minutes before using a knife to run along the inside of the pan to loosen the crust and help prevent cracking as the cheesecake cools. Do not remove the ring from the pan. Let cool to room temperature then chill for at least 7 1/2 hours up to overnight.: As the cake rests, aromas settle and steam escapes, which eases internal pressure and reduces cracking. Running a knife gently around the edge while warm prevents the cake from clinging to the pan and tearing when it cools. The long chill time is crucial; it lets the proteins firm and the fats set so slices hold their shape. A frequent misstep is removing the ring too soon, which often causes the top to crack or the sides to slump.
- After the cheesecake has chilled, remove from springform pan then spread the lemon curd over the top. Add whipped cream if desired.: The chilled surface is cool and slightly firm, perfect for a glossy layer of lemon curd . The curd should spread smoothly, glinting under light and offering a concentrated citrus burst in each bite. Adding whipped cream is optional, and it provides airy contrast to the dense filling. If the curd is too soft, pop it in the fridge briefly to thicken so it does not run off the edges. The final look and texture are worth taking this extra care with.
Notes
- Room temperature ingredients: Make sure the cream cheese and eggs are at room temperature, which helps them blend smoothly and reduces bumps in the filling.
- Gentle mixing: Beat at moderate speed and stop once the mixture is uniformly smooth to avoid incorporating too much air that can cause cracks.
- Even crust: Use the flat bottom of a measuring cup to press the graham cracker crumbs into a uniform layer, which ensures each slice has consistent structure.
- Brief pre-bake: Bake the crust for the full 5 minutes to set the base and enhance toasty flavor, preventing a soggy bottom after adding the filling.
- Touch test: Look for a slight jiggle in the center when done, this indicates it is cooked but still creamy without being raw.
- Long chill: Chill for at least 7 1/2 hours or overnight, which allows flavors to meld and the texture to firm up for cleaner slices.