How to Melt Chocolate
How to Melt Chocolate is one of those tiny kitchen skills that makes a big difference, and I remember the first time I learned it the hard way, with a bowl of seized white chocolate and a sink full of dishes. I was determined to get it right for a small party, and after a few experiments I discovered reliable techniques that save time and preserve glossy texture. I still smile when guests dip strawberries into a thick, shiny pool of chocolate I melted with minimal fuss.
Over the years I built a simple toolkit of tricks that covers everything from chips to baking bars to candy melts. I like to keep things practical and forgiving, so I favor methods that let you rescue a batch if it starts to thicken or clump. You will find that a little attention and the right approach turn melting into a calm, satisfying task rather than a frantic scramble.
Recipe Snapshot
10 mins
5 mins
5 mins
Easy
200 kcal
American
Keto, Gluten-Free
Desserts
Microwave safe bowl, Heat proof bowl, Pot, Spatula
Why This How to Melt Chocolate Stands Out
Versatility for every project
I love how How to Melt Chocolate works for so many uses. Whether you are coating cookies, drizzling over fruit, or preparing a ganache base, melted chocolate adapts beautifully. I often switch between chips, baking bars, and melts, because each one lends a slightly different texture and sheen. That flexibility means you can use what you have on hand and still get great results.
Quick and forgiving techniques
One reason I keep coming back to these methods is speed. Using a microwave in short bursts or a gentle double boiler gives precise control. I appreciate being able to stop and stir frequently, so overheating is rare. When things get too thick, a small amount of vegetable oil or shortening can bring the mixture back to life, which I find reassuring when I am under time pressure.
Reliable texture and shine
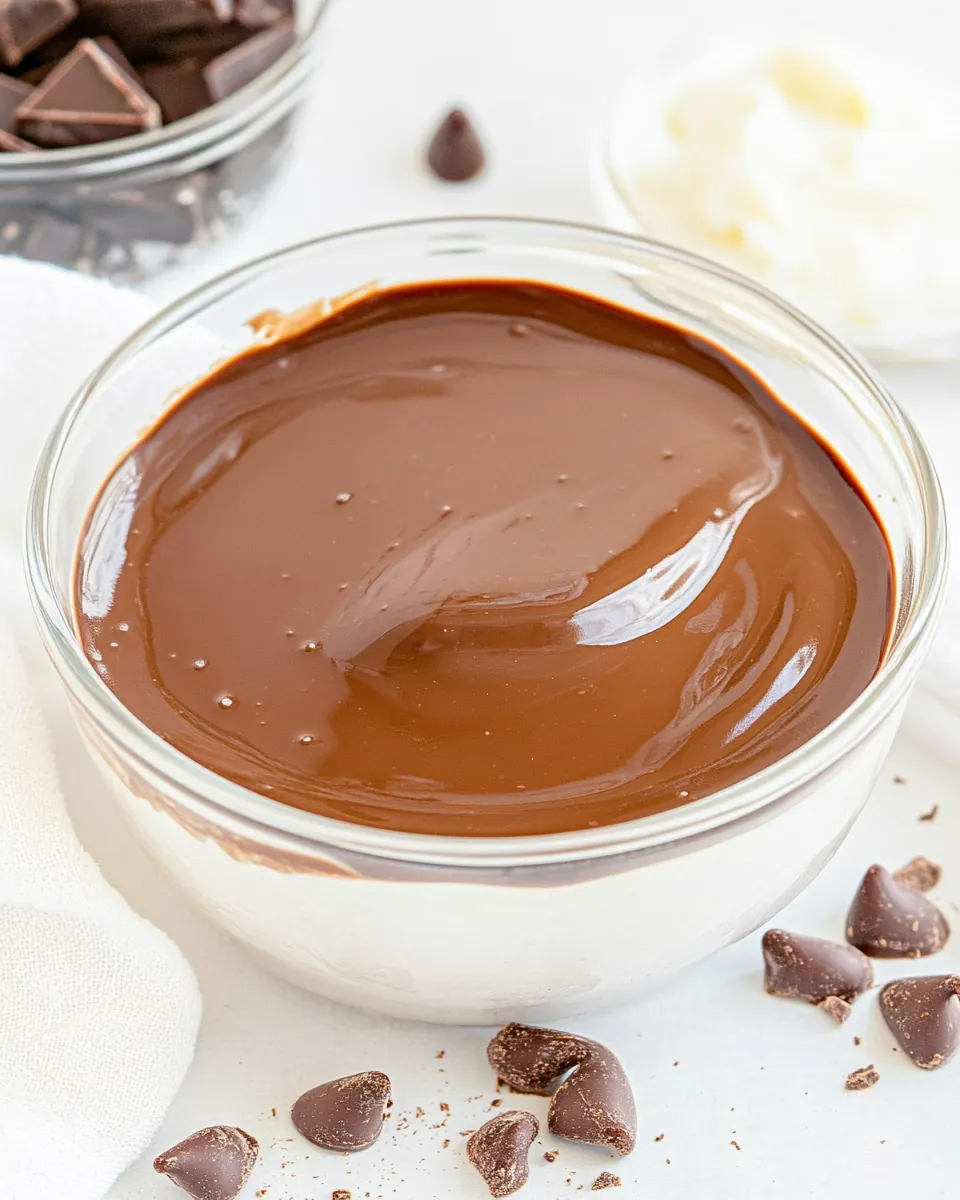
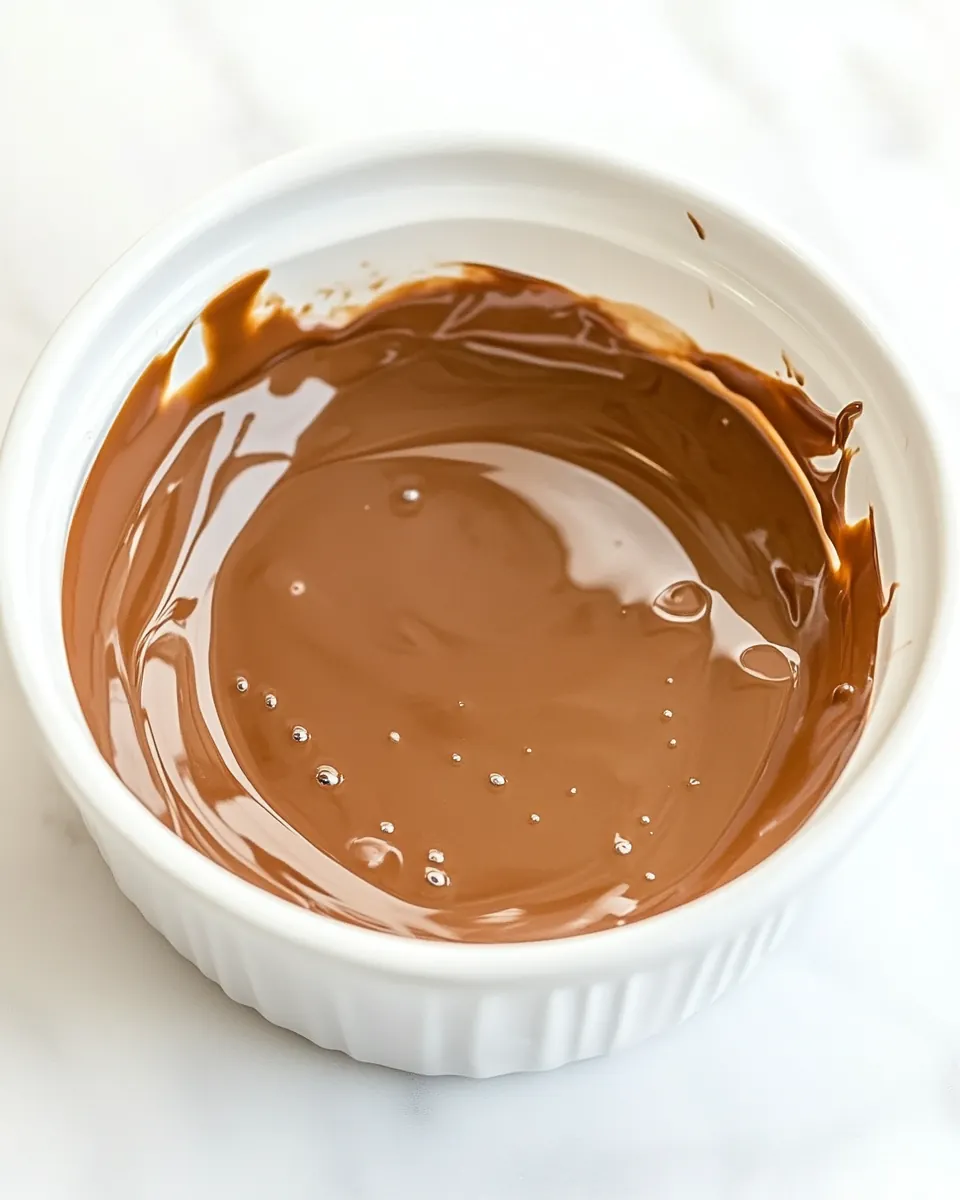
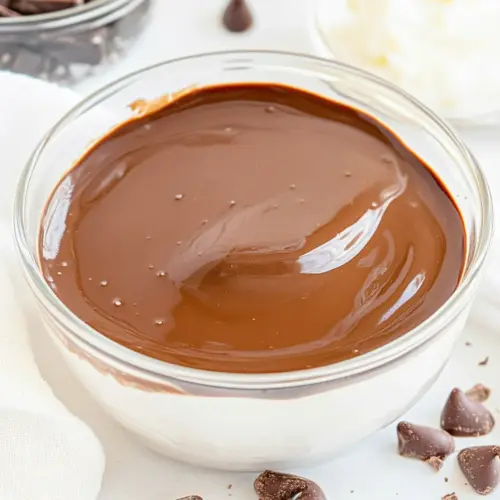
Controlling temperature and stirring consistently are the keys to glossy melted chocolate. I always watch for that silky flow and smooth surface, because it means the temper and texture are right. These methods help avoid grainy or seized results, so your finished coating looks professional without a lot of fuss.
Easy to troubleshoot
I like that each approach offers a clear rescue path. If you see stiffness, adding a little oil works. If you suspect water contamination, switching to a dry bowl and drying off utensils solves the issue. Over the years I have developed quick checks and fixes that keep me calm and productive at the counter.
Great for cooks at any level
Finally, this is a skill that scales. I can teach a friend to melt chocolate in five minutes, or I can execute a larger batch for entertaining. The methods are simple to learn, and once you get the hang of them, you will rely on them for desserts, snacks, and party treats. I love that accessibility, because it empowers everyone to create beautiful confections.
Recipe Ingredients for How to Melt Chocolate
These ingredients are the foundation of controlled, glossy melted chocolate. The list covers common forms you will likely encounter: chocolate chips, baking bars, candy melts or almond bark, and a small amount of neutral fat like vegetable oil or shortening to adjust texture. Each plays a clear role in how the final melt behaves, from viscosity to shine.
- 1 cup chocolate chips: Melt to provide a smooth, sweet base for sauces, dips, or coatings; melts quickly over low heat and can be stirred to an even consistency. Use gentle warming and frequent stirring to prevent scorching and to maintain a glossy finish for dipping or drizzling.
- 4 ounces baking chocolate: Melt slowly to add intense cocoa flavor and structure; break into small pieces and use a double boiler or low heat to avoid seizing. Incorporate gradually into recipes where a firmer set or deeper chocolate taste is desired, and temper if a snap and shine are required.
- 8 10 ounces chocolate melts or almond bark: Melt evenly to create a convenient coating or candy shell; designed to flow smoothly when warmed and reset to a firm texture as it cools. Use moderate heat and stir until homogeneous for dipping treats, molding, or creating a protective glaze.
- 1 tablespoon vegetable oil or shortening: Add to smoothness by thinning chocolate and improving shine; stir in small amounts while melting to enhance flow and prevent stiffness. Choose vegetable oil or shortening for neutral flavor and better coverage when coating or drizzling.
Making How to Melt Chocolate

These instructions walk through several approaches you may use depending on the chocolate type. I prefer to keep the pace measured, stir frequently, and prioritize texture checks. With practice you will learn to recognize visual and tactile cues that tell you the chocolate is ready.
- To melt chocolate chips: Place chocolate chips in a microwave safe bowl and heat at 50% power in 30 second increments, stirring between each, until melted and smooth. If the chocolate doesn't seem to be melting after 1 minute, add oil or shortening.: Place chocolate chips in a microwave safe bowl and heat at 50% power in 30 second increments, stirring between each, until melted and smooth : The aroma will become richer as the bowl warms, with small glossy beads forming before the mixture becomes uniformly smooth. Stirring is key, because residual heat melts the chocolate without overcooking it, and stopping to stir prevents hot spots that burn. If the bowl feels too warm to the touch, switch to 10 second pulses and stir gently until sheen appears. A typical error is using full power, which risks scorching and a grainy texture, so be patient and keep the microwave at medium power.
- To melt baking chocolate: Place baking chocolate in a microwave safe bowl and heat at 50% power in 30 second increments, stirring between each, until melted and smooth.: Place baking chocolate in a microwave safe bowl and heat at 50% power in 30 second increments, stirring between each, until melted and smooth : Baking chocolate releases a deep, cocoa forward scent as it warms, and the pieces will first sag and then flow into a glossy ribbon when stirred. Because this chocolate is denser, it may need slightly longer rests between pulses; rely on stirring to blend residual heat. Avoid vigorous whisking that incorporates air and dulls the shine. A common misstep is assuming larger chunks melt faster, so chop uniformly if needed to speed melting without overheating.
- To melt chocolate melts: Place chocolate melts or almond bark in a microwave safe bowl and heat at 50% power in 30 second increments, stirring between each, until melted and smooth.: Place chocolate melts or almond bark in a microwave safe bowl and heat at 50% power in 30 second increments, stirring between each, until melted and smooth : As the melts liquefy the scent will be sweet and candy like, and the surface should look silky and even. These products are made to melt consistently, so they often require less coaxing than chips or bars. Still, stir frequently to blend any thicker pockets and achieve an even gloss. If the mixture pools or hardens at the edges, bring it back to medium pulses and fold carefully rather than blasting heat, which can cause streaks or graininess.
- Place a heat proof bowl over a pot of water and bring to a low boil. Make sure the bowl fits snug around the top of the pot and the bottom of the bowl doesn't touch the water.: With a double boiler setup you will feel warm steam and gentle condensation on the bowl, but no splashes if the pot is sized correctly. The indirect heat is more forgiving, and I use it when I want precise control or I am melting a larger batch. Keep the water at a low simmer so the bowl heats evenly without becoming too hot. A frequent oversight is letting the bowl touch the water, which concentrates heat and risks scorching; the bowl should sit above the water for gentle transfer of heat.
- Add desired chocolate. Stir almost constantly until melted and smooth. To thin chocolate chips, add vegetable oil or shortening.: This snug fit traps steam and creates a gentle warming environment, which encourages even melting and glossy texture. You will notice small rivulets and a sheen as the chocolate softens, and stirring distributes that smoothness. If the bowl wobbles or touches the water, reposition it to avoid direct heat and sudden temperature spikes. One mistake to avoid is letting condensation drip from the bowl into the chocolate, because even a drop of water can seize the mixture.
- Add desired chocolate: When you add the chocolate to the heated bowl there is an immediate change in texture and aroma, with pieces becoming soft and streaky before fully melting. Stir almost constantly until melted and smooth, using a flexible spatula to scrape the sides and keep temperature uniform. This continuous motion prevents separation and ensures a glossy finish. If you see thick granules, stop heating briefly and stir until they dissolve; overcooking at this point will harden the mixture rather than smooth it.
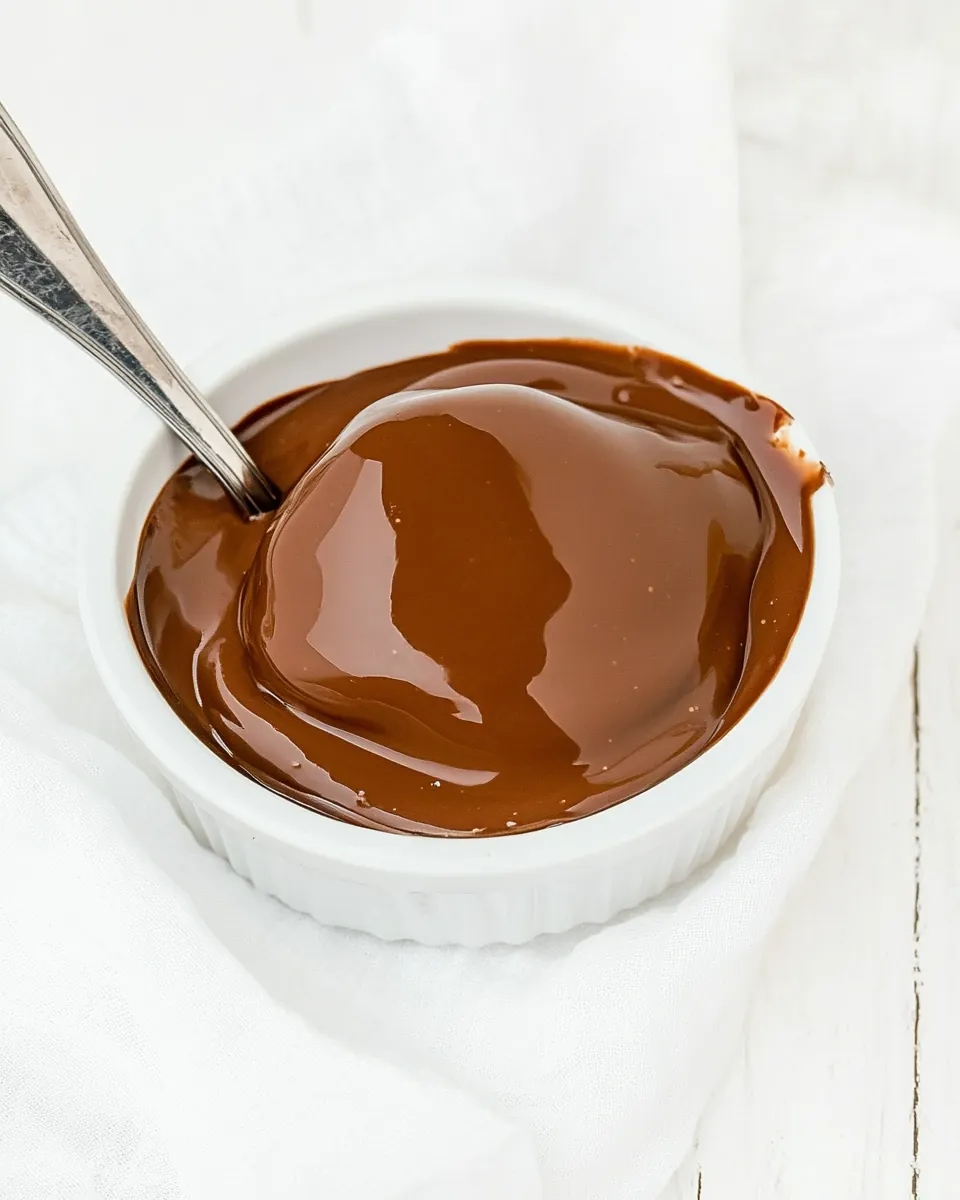
- Stir almost constantly until melted and smooth: The sound is subtle, a soft swish as the spatula moves, and visually the chocolate transitions from matte lumps to a reflective surface. Maintain a steady mixing motion, scraping the bowl to incorporate the warm outer edges. This method protects against scorching and promotes a uniform melt that coats evenly. A common error is walking away to multitask, which leads to hot spots and uneven texture, so stay present during this stage.
- To thin chocolate chips, add vegetable oil or shortening: Adding a small amount of vegetable oil or shortening loosens viscosity and increases shine, giving a smoother pour for dipping or drizzling. Add a teaspoon at a time and mix thoroughly until you reach the desired flow, because too much turns the chocolate greasy. The smell will become slightly rounder, and the sheen more pronounced; I use this sparingly for chips that are too thick. Avoid adding water based liquids, which can cause seizing and ruin the batch.
Ways to Customize
There are simple ways to adapt melting for different projects and chocolates. Below I share practical customizations that I use often, ranging from texture fixes to substitutions for easier coating. Each tip begins with a focused phrase so you can scan quickly while you work.
- Adjust shine with oil: If your melted chocolate is thick or not glossy enough, add a teaspoon of vegetable oil at a time until you reach the desired consistency. This helps for dipping fruit or coating cookies, but avoid overdoing it, otherwise the finish can look greasy.
- White chocolate caution: White chips are sensitive and prone to seizing, so I recommend melting them over a double boiler or adding a bit of oil before microwaving to stabilize the texture. Keep the heat very gentle and stop stirring as soon as the mixture is smooth, because prolonged heat dulls the shine.
- Rescue seized chocolate: If moisture causes seizing, stir in a small amount of warm oil gradually; this can often restore a pourable texture. Another approach is to strain the mixture and reheat gently, but prevention by keeping utensils dry is the best strategy.
- Use candy melts for easy coating: For projects where a quick set and uniform appearance matter, chocolate melts or almond bark are forgiving and fast. They set up nicely at room temperature and are less likely to clump or separate.
- Choose quality brands: I find that higher quality chocolate chips and baking bars melt more evenly and taste better. Brands I favor typically contain better cocoa butter content, which helps with smoothness and flavor.
Side Dish Ideas for How to Melt Chocolate
Melted chocolate pairs with many accompaniments, whether you are serving it for dessert, a party dip, or as a finishing touch. Below are ideas for serving contexts, storage, and seasonal suggestions that help you present your melted chocolate with confidence.
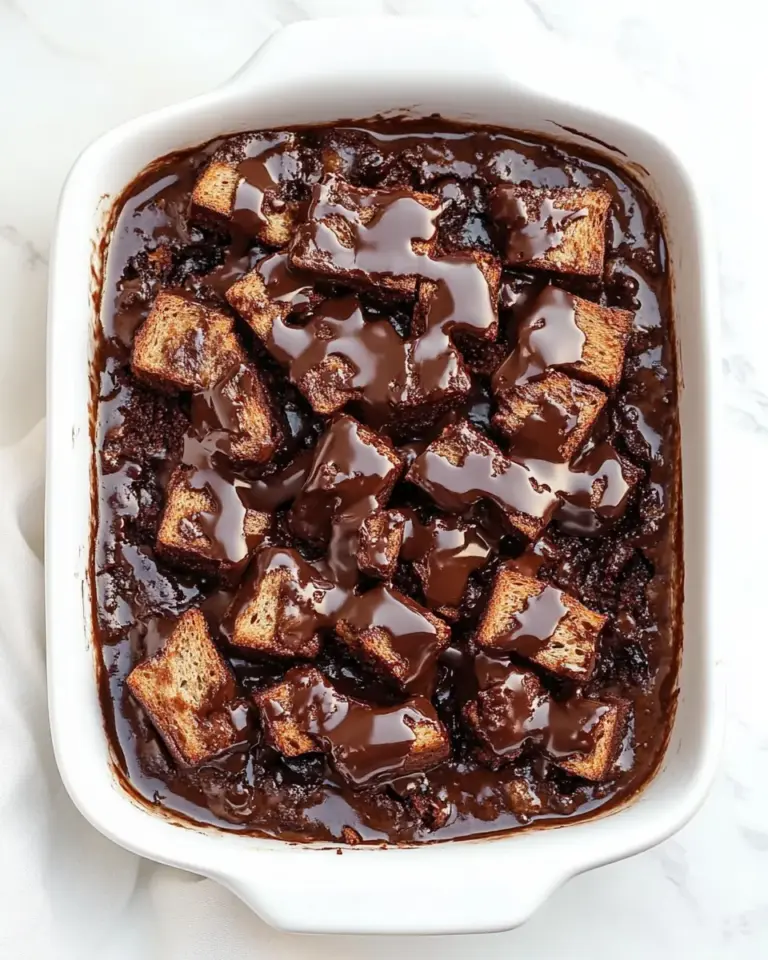
- Fruit for dipping: Serve melted chocolate with fresh strawberries, apple slices, or banana chunks for a simple, elegant treat that works for casual gatherings or celebratory events.
- Cookies and biscotti: Provide an assortment of cookies and biscotti to dip, which creates a satisfying contrast between crunchy textures and silky melted chocolate.
- Party fondue: Use melted chocolate as the centerpiece of a fondue spread, with skewers, marshmallows, and cubed cake nearby for guests to enjoy during a festive evening.
- Storage tips: Place any leftover melted chocolate in a covered container and refrigerate briefly; to reuse, warm gently over a double boiler or in short microwave pulses with stirring to restore smoothness.
- Seasonal pairings: In cooler months, pair melted chocolate with spiced pears or roasted nuts for a cozy flavor profile; in warmer months, keep it chilled slightly and serve with bright citrus segments.
- Occasion ideas: Ideal for birthdays, informal get togethers, holiday dessert tables, or anytime you want a quick, impressive sweet component that looks professional with little effort.
FAQ
Conclusion
Melted chocolate is a small technique with big rewards, and these methods make it approachable and consistent. Try one of the approaches next time you need a glossy coating or a quick drizzle, and you will appreciate how little effort creates a polished result. Have fun experimenting with different chocolates and serving ideas, and remember that patience and gentle heat are your best friends when working with melted chocolate.
How to Melt Chocolate
Equipment
- Microwave-safe Bowl
- heat proof bowl
- Pot
- Spatula
Ingredients
- 1 cup chocolate chips Melt to provide a smooth, sweet base for sauces, dips, or coatings; melts quickly over low heat and can be stirred to an even consistency. Use gentle warming and frequent stirring to prevent scorching and to maintain a glossy finish for dipping or drizzling.
- 4 ounces baking chocolate Melt slowly to add intense cocoa flavor and structure; break into small pieces and use a double boiler or low heat to avoid seizing. Incorporate gradually into recipes where a firmer set or deeper chocolate taste is desired, and temper if a snap and shine are required.
- 8 -10 ounces chocolate melts or almond bark Melt evenly to create a convenient coating or candy shell; designed to flow smoothly when warmed and reset to a firm texture as it cools. Use moderate heat and stir until homogeneous for dipping treats, molding, or creating a protective glaze.
- 1 tablespoon vegetable oil or shortening Add to smoothness by thinning chocolate and improving shine; stir in small amounts while melting to enhance flow and prevent stiffness. Choose vegetable oil or shortening for neutral flavor and better coverage when coating or drizzling.
Instructions
- To melt chocolate chips: Place chocolate chips in a microwave safe bowl and heat at 50% power in 30 second increments, stirring between each, until melted and smooth. If the chocolate doesn't seem to be melting after 1 minute, add oil or shortening.: Place chocolate chips in a microwave safe bowl and heat at 50% power in 30 second increments, stirring between each, until melted and smooth : The aroma will become richer as the bowl warms, with small glossy beads forming before the mixture becomes uniformly smooth. Stirring is key, because residual heat melts the chocolate without overcooking it, and stopping to stir prevents hot spots that burn. If the bowl feels too warm to the touch, switch to 10 second pulses and stir gently until sheen appears. A typical error is using full power, which risks scorching and a grainy texture, so be patient and keep the microwave at medium power.
- To melt baking chocolate: Place baking chocolate in a microwave safe bowl and heat at 50% power in 30 second increments, stirring between each, until melted and smooth.: Place baking chocolate in a microwave safe bowl and heat at 50% power in 30 second increments, stirring between each, until melted and smooth : Baking chocolate releases a deep, cocoa forward scent as it warms, and the pieces will first sag and then flow into a glossy ribbon when stirred. Because this chocolate is denser, it may need slightly longer rests between pulses; rely on stirring to blend residual heat. Avoid vigorous whisking that incorporates air and dulls the shine. A common misstep is assuming larger chunks melt faster, so chop uniformly if needed to speed melting without overheating.
- To melt chocolate melts: Place chocolate melts or almond bark in a microwave safe bowl and heat at 50% power in 30 second increments, stirring between each, until melted and smooth.: Place chocolate melts or almond bark in a microwave safe bowl and heat at 50% power in 30 second increments, stirring between each, until melted and smooth : As the melts liquefy the scent will be sweet and candy like, and the surface should look silky and even. These products are made to melt consistently, so they often require less coaxing than chips or bars. Still, stir frequently to blend any thicker pockets and achieve an even gloss. If the mixture pools or hardens at the edges, bring it back to medium pulses and fold carefully rather than blasting heat, which can cause streaks or graininess.
- Place a heat proof bowl over a pot of water and bring to a low boil. Make sure the bowl fits snug around the top of the pot and the bottom of the bowl doesn't touch the water.: With a double boiler setup you will feel warm steam and gentle condensation on the bowl, but no splashes if the pot is sized correctly. The indirect heat is more forgiving, and I use it when I want precise control or I am melting a larger batch. Keep the water at a low simmer so the bowl heats evenly without becoming too hot. A frequent oversight is letting the bowl touch the water, which concentrates heat and risks scorching; the bowl should sit above the water for gentle transfer of heat.
- Add desired chocolate. Stir almost constantly until melted and smooth. To thin chocolate chips, add vegetable oil or shortening.: This snug fit traps steam and creates a gentle warming environment, which encourages even melting and glossy texture. You will notice small rivulets and a sheen as the chocolate softens, and stirring distributes that smoothness. If the bowl wobbles or touches the water, reposition it to avoid direct heat and sudden temperature spikes. One mistake to avoid is letting condensation drip from the bowl into the chocolate, because even a drop of water can seize the mixture.
- Add desired chocolate: When you add the chocolate to the heated bowl there is an immediate change in texture and aroma, with pieces becoming soft and streaky before fully melting. Stir almost constantly until melted and smooth, using a flexible spatula to scrape the sides and keep temperature uniform. This continuous motion prevents separation and ensures a glossy finish. If you see thick granules, stop heating briefly and stir until they dissolve; overcooking at this point will harden the mixture rather than smooth it.
- Stir almost constantly until melted and smooth: The sound is subtle, a soft swish as the spatula moves, and visually the chocolate transitions from matte lumps to a reflective surface. Maintain a steady mixing motion, scraping the bowl to incorporate the warm outer edges. This method protects against scorching and promotes a uniform melt that coats evenly. A common error is walking away to multitask, which leads to hot spots and uneven texture, so stay present during this stage.
- To thin chocolate chips, add vegetable oil or shortening: Adding a small amount of vegetable oil or shortening loosens viscosity and increases shine, giving a smoother pour for dipping or drizzling. Add a teaspoon at a time and mix thoroughly until you reach the desired flow, because too much turns the chocolate greasy. The smell will become slightly rounder, and the sheen more pronounced; I use this sparingly for chips that are too thick. Avoid adding water based liquids, which can cause seizing and ruin the batch.
Notes
- Adjust shine with oil: If your melted chocolate is thick or not glossy enough, add a teaspoon of vegetable oil at a time until you reach the desired consistency. This helps for dipping fruit or coating cookies, but avoid overdoing it, otherwise the finish can look greasy.
- White chocolate caution: White chips are sensitive and prone to seizing, so I recommend melting them over a double boiler or adding a bit of oil before microwaving to stabilize the texture. Keep the heat very gentle and stop stirring as soon as the mixture is smooth, because prolonged heat dulls the shine.
- Rescue seized chocolate: If moisture causes seizing, stir in a small amount of warm oil gradually; this can often restore a pourable texture. Another approach is to strain the mixture and reheat gently, but prevention by keeping utensils dry is the best strategy.
- Use candy melts for easy coating: For projects where a quick set and uniform appearance matter, chocolate melts or almond bark are forgiving and fast. They set up nicely at room temperature and are less likely to clump or separate.
- Choose quality brands: I find that higher quality chocolate chips and baking bars melt more evenly and taste better. Brands I favor typically contain better cocoa butter content, which helps with smoothness and flavor.