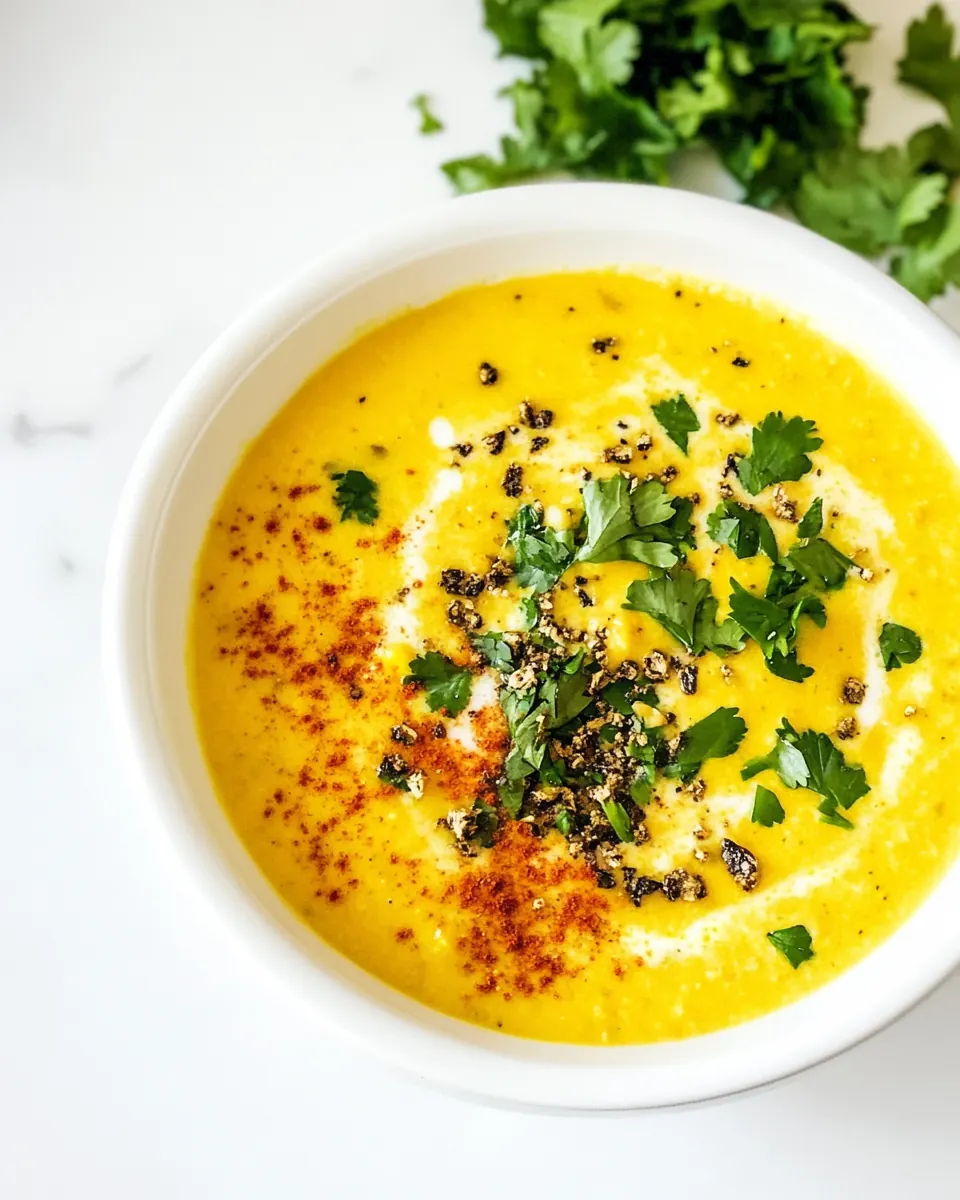
Golden Goddess Soup
Golden Goddess Soup first found me on a chilly winter evening when I needed something warm, bright, and deeply comforting. I remember the scent of roasted cauliflower and toasted curry filling the kitchen while a soft simmer hummed on the stove, and I knew this was a bowl I would come back to again and again.
That night I served a steaming pot to friends who had been out in the cold, and the room changed immediately. Conversations slowed as spoons dipped into the velvety soup, and someone squeezed a lemon wedge that sent a tiny citrus spark through the bowl. From that night on I kept a can of chickpeas and a head of cauliflower in the pantry ready for the first frost.
I’ve tweaked the spices and techniques over time, learning to roast the vegetables until they whisper caramel notes, and to blend until the texture feels like silk on the tongue. Each time I make Golden Goddess Soup I try a small variation, sometimes swapping heavy cream for coconut milk to add a tropical roundness, sometimes saving a handful of roasted veggies for garnish so the bowl looks as good as it tastes. Those little choices make the recipe feel personal and lively.
Cooking this soup always makes me slow down, to savor the small sensory victories like the buttered edge of an onion turning translucent or the fragrant steam that rises when the soup hits the bowl. If you enjoy food that warms both hands and heart, you’ll find this recipe becomes a reliable favorite in your rotation.
Recipe Snapshot
40 mins
10 mins
30 mins
Easy
250 kcal
Global
Gluten-Free, Vegan
Soups
Sheet pan, Large heavy duty pot, Immersion blender, Mixing bowl
Why This Golden Goddess Soup Is a Winner
Roasted depth that sings
I love how roasting the cauliflower, carrots, and chickpeas adds a caramelized backbone to the soup. Those browned edges bring savory complexity that you simply cannot get from boiling alone, and they lift the overall profile into something soulful and satisfying.
Spice balance without heat overload
Using curry powder and turmeric together gives the soup an aromatic warmth that is vibrant but not overpowering. I rely on this harmony of spices to make the bowl feel exotic while still comforting, perfect for any weeknight when you want bold flavor without fuss.
Flexible dairy options for every pantry
The choice between heavy cream and coconut milk means you can tailor the mouthfeel and richness to your preference. I often choose coconut milk to keep things lighter and to introduce a silky, slightly sweet counterpoint to the savory roast.
Textural play that keeps each bite interesting
Leaving some roasted vegetables aside for garnish gives each spoonful a contrast between velvety soup and crisp roasted bits. I adore that little crunch and visual cue, it turns a simple bowl into a composed dish that feels more special.
Fast enough for weeknights, impressive enough for guests
From start to finish this recipe slots neatly into a busy evening, yet when guests arrive it looks intentional and thoughtful. I like that it bridges convenience and hospitality with ease.
Golden Goddess Soup Shopping List
These ingredients are chosen to build layers of flavor and texture. The roasted vegetables form the savory base, the spices add warmth and color, and the creamy element rounds everything into a silky, comforting bowl. The key players are the roasted cauliflower and chickpeas, which provide body and substance, while the curry powder and turmeric give the signature golden hue.
- 1 (15 oz) can chickpeas: Drained and rinsed to add creamy texture and plant-based protein while contributing subtle nuttiness and body to the soup.
- 1 medium head of cauliflower, cut into small florets: Cut into small florets to provide a silky, velvety base when cooked and blended, lending mild, slightly sweet cauliflower flavor and thickness.
- 2 large carrots, peeled, cut into 1/2-inch-thick rounds: Peeled and sliced into rounds to introduce natural sweetness, color, and a tender bite that enhances the soup's depth and mouthfeel.
- 2 tablespoons curry powder: Measured and toasted briefly to release warm, aromatic notes of cumin and coriander, creating the signature curry backbone that flavors the entire dish.
- 1 teaspoon ground turmeric: Ground and added for bright, earthy warmth and vivid golden color, enhancing anti-inflammatory notes and complementing the curry blend.
- 1 teaspoon kosher salt: Measured and incorporated to season and balance flavors, enhancing sweetness and suppressing bitterness while supporting overall taste.
- 3 tablespoons olive or avocado oil: Chosen and heated to sauté aromatics and coat vegetables, providing a silky mouthfeel and carrying fat-soluble flavors throughout the soup.
- 1 small yellow onion, chopped: Chopped to form the aromatic base when softened, offering mild sweetness and savory depth that builds the soup's foundational flavor.
- 1 tablespoon grated ginger: Grated to introduce sharp, zesty heat and fresh brightness, cutting through richness and reinforcing the soup's aromatic profile.
- 4 garlic cloves, minced: Minced to add pungent, savory depth and aromatic complexity, blooming during sauté to integrate with spices and balance sweetness.
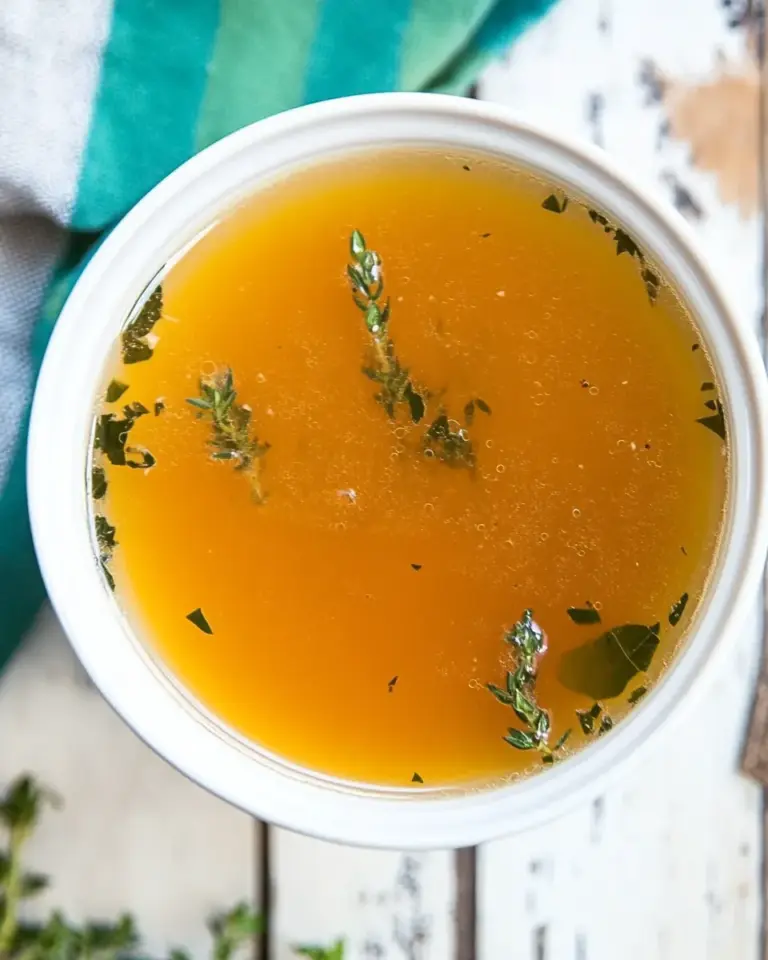
- 4 cups vegetable or chicken stock: Poured in as the cooking liquid to simmer vegetables and meld flavors, providing a savory backbone and desired soup consistency.
- 1/2 cup heavy cream, or coconut milk: Added to enrich and smooth the finished soup with creamy richness and subtle sweetness, offering either dairy or dairy-free options for texture.
- Lemon wedges and cilantro, for serving: Served as finishing elements to brighten and freshen each bowl with citrus acidity and herbaceous contrast that lifts the rich, spiced flavors.
How to Cook Golden Goddess Soup
I approach this soup like a small ritual of roasting then building layers on the stovetop. The roast brings caramel and texture, the sauté develops the spice base, and blending creates the luxurious finish. Below I expand each original direction into detailed steps to guide you through the sensory cues and to help you avoid common mistakes.
- Preheat the oven to 425°F. Wash, rinse, and pat the chickpeas dry with a paper towel. To a large bowl, add the chickpeas, cauliflower, carrots, 1 tablespoon of curry powder, 1/2 teaspoon turmeric, 1/2 teaspoon salt, and 2 tablespoons oil. Transfer to a sheet pan and bake until slightly golden and tender.: Warmth signals readiness, and when the oven hits 425°F you will hear the small sizzle as vegetables begin browning, a sound that tells you the Maillard reactions are starting. The high heat encourages deep caramelization on the cauliflower , carrots , and chickpeas , producing those golden edges that turn into savory notes in the finished soup. You should see the vegetables blister and gain dark flecks, not char completely, which would taste bitter. A common mistake is overcrowding the sheet pan, which produces steaming rather than roasting, so spread items in a single layer to ensure airflow and crisping while the oven does the heavy lifting.
- Meanwhile, heat 1 tablespoon of oil in a large heavy-duty pot. Add the onions and cook for 3-4 minutes or until the edges turn golden. Add the garlic and ginger, then sauté for 30 seconds, then stir in the remaining curry powder, turmeric, and salt and sauté for 30 seconds. Pour in the chicken stock. Add about 1/2 the roasted vegetables to the soup and bring to a boil then simmer for 5 minutes or until vegetables are softened.: Drying the canned chickpeas helps them crisp when roasted, and you can hear tiny pops and see them take on a toasted exterior as water evaporates. Removing excess moisture prevents sogginess and promotes even browning, which delivers crunch and concentrated flavor. If you skip this step, the chickpeas will steam and remain soft, robbing the soup of those textural highlights that make each bite interesting.
- Blend the soup using an immersion blender until creamy. Pour in the heavy cream and add the remaining veggies to the soup. Sometimes I like to save some veggies for garnish. Stir the soup and bring to a gentle simmer then turn off the heat.: Tossing spreads the spice and oil evenly so each piece roasts with seasoning. You will smell the spices bloom slightly as they meet hot oil; that aroma is an early indicator the flavor is building correctly. Make sure each vegetable piece is lightly coated rather than drenched, which prevents sogginess and encourages crisp edges. Over-salting at this stage can push the dish too salty after reduction, so err on the lighter side and adjust later.
- Taste and adjust seasonings. Serve with lemon wedges and garnish with the reserved roasted veggies and chopped cilantro.: As the vegetables roast, observe the color shift to golden brown and give them a gentle shake halfway through to promote even browning. You should see caramelized bits around the edges and feel a firmer texture when pierced with a fork, signaling readiness. Under-roasted vegetables will blend into a dull puree, missing the toasty complexity; over-roasted ones may become dry, so aim for that sweet spot where tenderness meets golden color.
- Meanwhile, heat 1 tablespoon of oil in a large heavy-duty pot: Heating your pot lets the onion sizzle on contact, releasing moisture then sugar, and creating those translucent edges that smell slightly sweet and nutty. The oil temperature should be medium to medium high so the onion softens without burning, which would introduce bitter notes. A common error is using too high heat which browns the onion too fast, so regulate the flame and stir gently until soft.
- Add the onions and cook for 3 to 4 minutes or until the edges turn golden: Listen for a gentle hiss and watch the onion change from opaque to translucent, then to faintly golden at the tips, which imparts sweet, savory foundation to the soup. This stage builds depth so the final bowl does not taste flat, and the visual cue is key: when edges are golden, you can progress. If onions stick to the pot, lower the heat and add a splash of stock to deglaze and retrieve those browned bits.
- Add the garlic and ginger, then sauté for 30 seconds: The aroma will shift instantly, releasing bright, peppery and pungent notes that complement the curry. Thirty seconds is enough to wake the flavors without letting garlic burn, which turns it bitter. When the scent becomes fragrant and mouth watering, proceed, but if the pan becomes too hot reduce the flame immediately to preserve the clean, aromatic character.
- Stir in the remaining curry powder, turmeric, and salt and sauté for 30 seconds: Toasting the spices briefly in the pot deepens their flavor and helps them integrate into the stock, giving the soup a balanced, fragrant base. You will notice a warm, nutty perfume as the spice oils release, which is the signal to move on. Avoid leaving spices unattended as they can scorch fast, introducing an unpleasant bitterness.
- Pour in the chicken stock: Adding the stock deglazes the pot, lifting those fond bits and turning them into savory liquid gold. Once the stock meets the pot you should hear a soft bubbling, and you will see the base take on a richer color. Bringing the stock to a simmer allows the flavors to marry; boiling too hard can evaporate liquid and concentrate saltiness, so aim for a gentle simmer.
- Add about 1/2 the roasted vegetables to the soup and bring to a boil then simmer for 5 minutes or until vegetables are softened: Adding half the roasted mix introduces those caramelized flavors into the liquid while keeping the remainder for texture and garnish. As the soup simmers you will see the vegetables soften and shed color into the broth, making it thicker and more flavorful. A frequent mistake is adding all roasted pieces at once, losing the delight of contrasting textures, so reserve some for finishing.
- Blend the soup using an immersion blender until creamy: Use the immersion blender to turn the softened vegetables into a smooth, velvety body, watching the texture transform from chunky to silky. The sound changes too, from bubbling and clatter to a steady whirl, and the aroma becomes more homogenous. If you prefer chunkier texture, pulse sparingly instead of fully pureeing. Be cautious of hot splashes, and blend until you reach a luxurious, ladle friendly consistency.
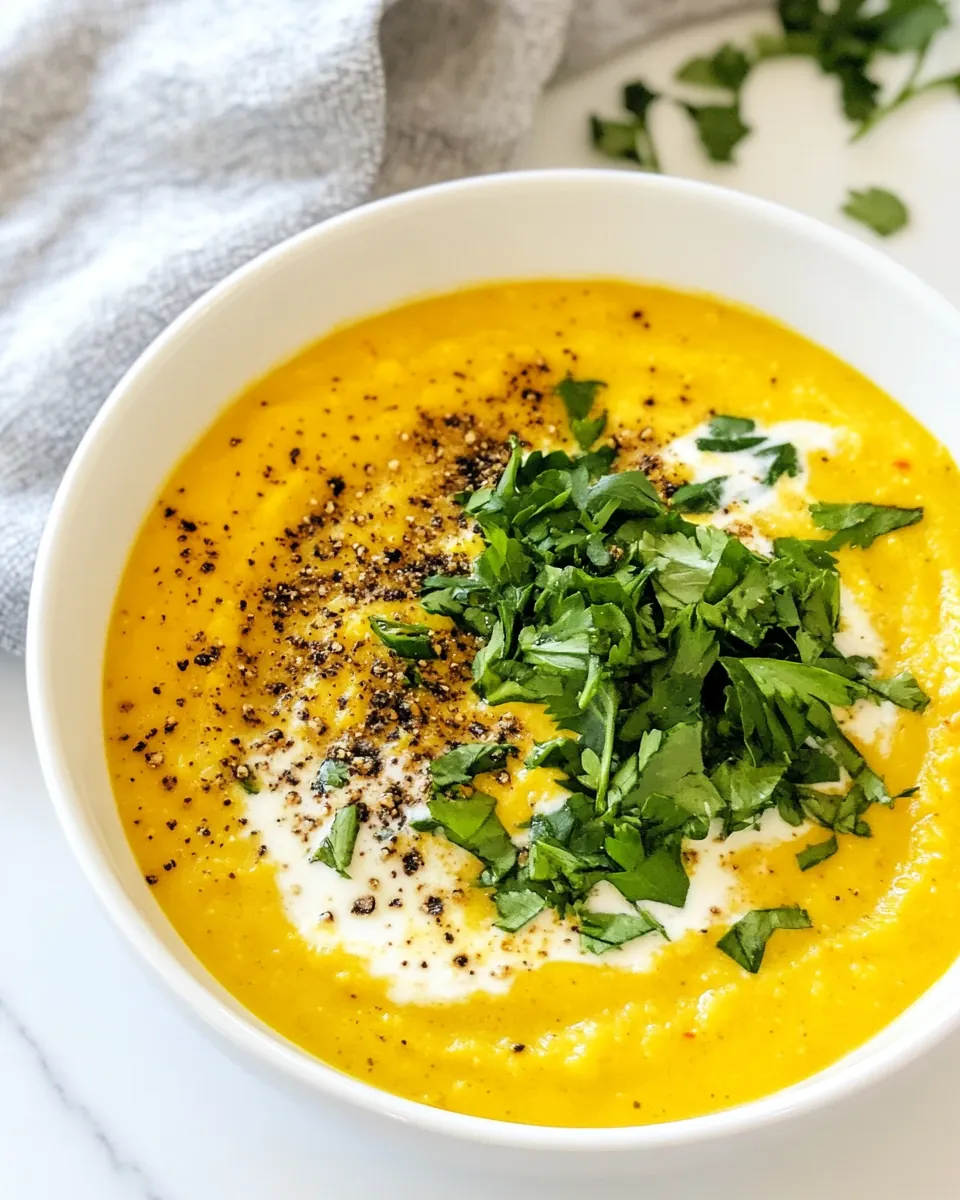
- Pour in the heavy cream and add the remaining veggies to the soup: The cream or coconut milk rounds the edges of the flavors and creates that indulgent mouthfeel, while returning the reserved roasted vegetables adds contrast and visual appeal. Stir gently to combine and watch the surface become glossy and rich. Adding the cream off heat helps avoid splitting; if it curdles, lower the temperature and stir slowly to reincorporate.
- Sometimes I like to save some veggies for garnish: Reserving a few roasted pieces provides a crisp counterpoint and makes the bowl look intentional, with a rustic, inviting finish. Those bites add texture and remind the eater of the roasting step, which is the backbone of the soup’s flavor profile. Avoid saving soggy pieces, choose those with firm edges to retain the contrast.
- Stir the soup and bring to a gentle simmer then turn off the heat: A brief gentle simmer integrates the cream and flavors, and the surface will show small, soft bubbles rather than a rolling boil. Turning off at the right moment keeps the cream smooth and preserves aromatic brightness. Over simmering can reduce the liquid too much and concentrate salt, so remove at the tender stage.
- Taste and adjust seasonings: Tasting is the final calibration, and you will notice how the lemon or a pinch more salt can lift the whole bowl. Look for balance between savory, sweet, and bright notes before serving. A common oversight is under seasoning after blending, since pureed soups often need a finishing touch.
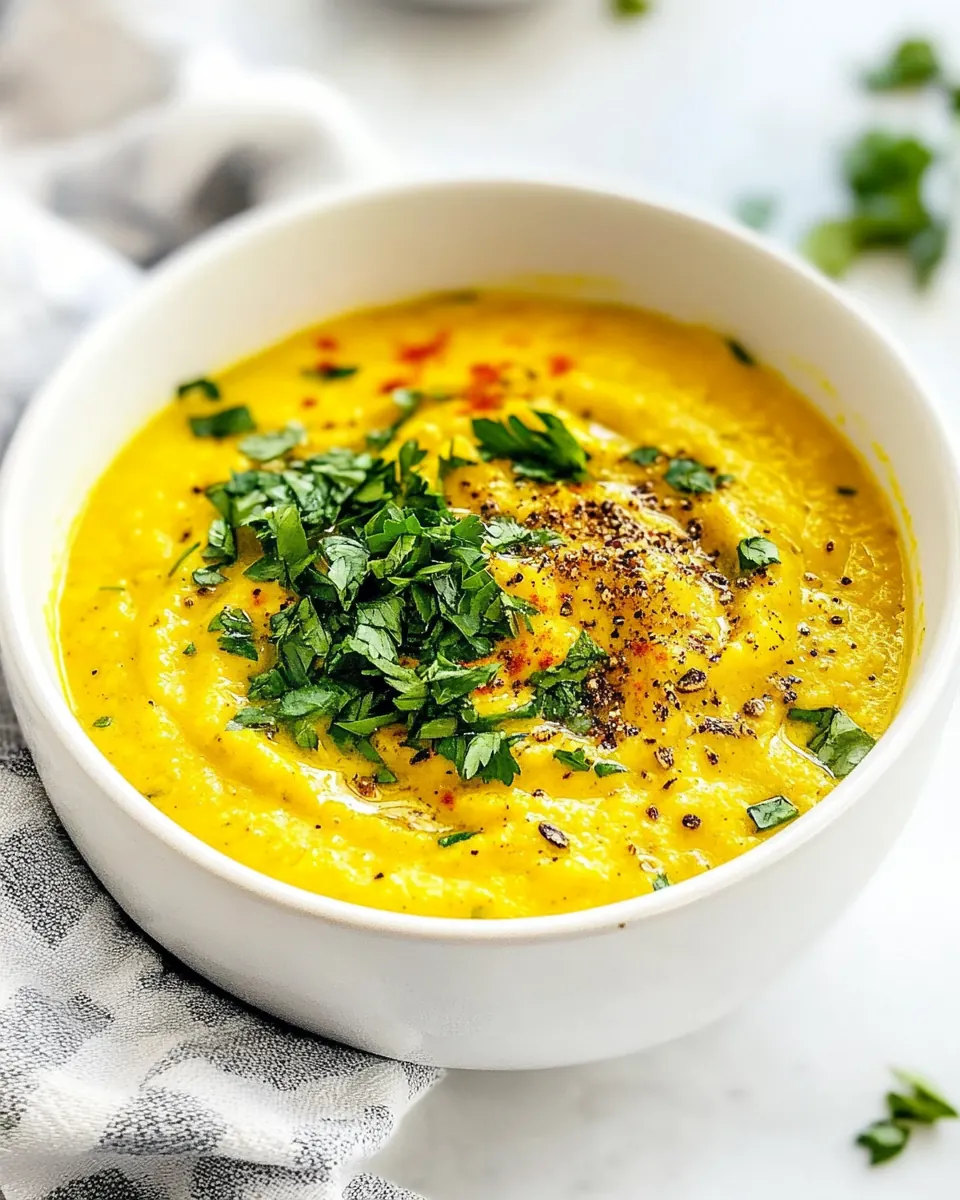
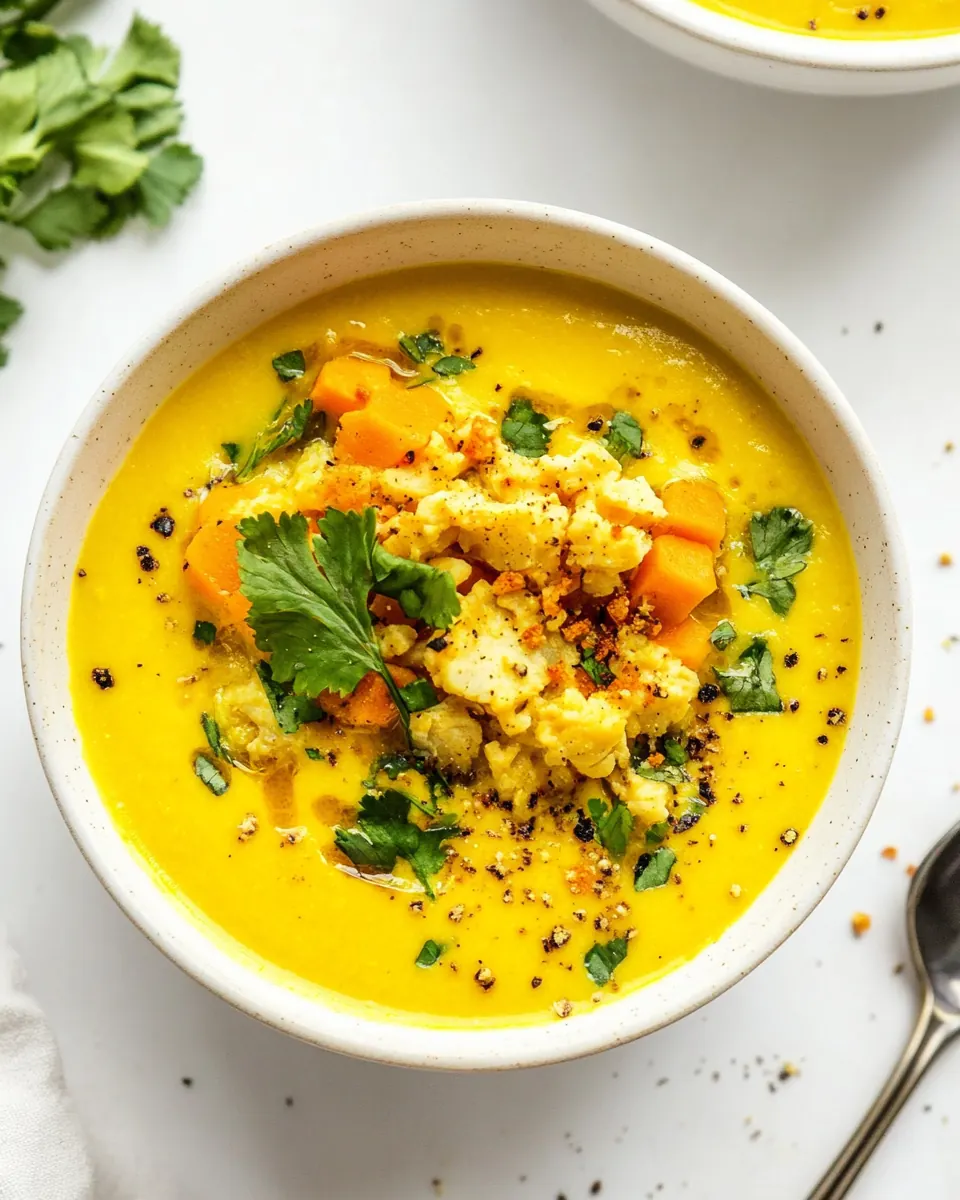
- Serve with lemon wedges and garnish with the reserved roasted veggies and chopped cilantro: The fresh acidity of a lemon squeeze cuts through richness and wakes up the aromas, while chopped cilantro contributes herbaceous brightness. The final presentation with reserved roasted veggies gives textural intrigue and makes the bowl visually enticing. Avoid heavy garnish that overwhelms the soup, choose modest amounts to complement rather than dominate.
Recipe Tips about Golden Goddess Soup
This soup rewards small attentions during roasting and seasoning, and each tip below focuses on maximizing flavor and texture. They are practical steps I use regularly to ensure consistent, delicious results every time I make Golden Goddess Soup.
- Control oven temperature: Maintaining 425°F ensures efficient browning, and I recommend preheating the oven for at least 15 minutes so the sheet pan receives even heat.
- Don’t overcrowd the pan: Give each piece breathing room to roast properly, which preserves crisp edges and concentrates flavors.
- Use fresh grated ginger: Fresh ginger provides a lively brightness that ground substitutes cannot fully replicate, adding a peppery lift to the bowl.
- Pulse if you prefer texture: If you enjoy some body in your soup, pulse with the immersion blender rather than fully pureeing to keep small, pleasant morsels.
- Adjust salt at the end: Pureed soups can taste muted before seasoning, so always taste and fine tune salt and acidity after blending.
- Garnish thoughtfully: Reserve crisp roasted pieces and fresh cilantro to add contrasting texture and an herbaceous finish that lifts the entire bowl.
Best Served With
This soup is versatile for many meals, from weeknight dinners to cozy winter gatherings. Below I outline pairing ideas, serving styles, and storage notes so you can plan the meal around the bowl.
- Crusty bread for dipping: A warm, crusty loaf makes the soup feel like a full meal, perfect for casual weeknight dinners where people can scoop and savor.
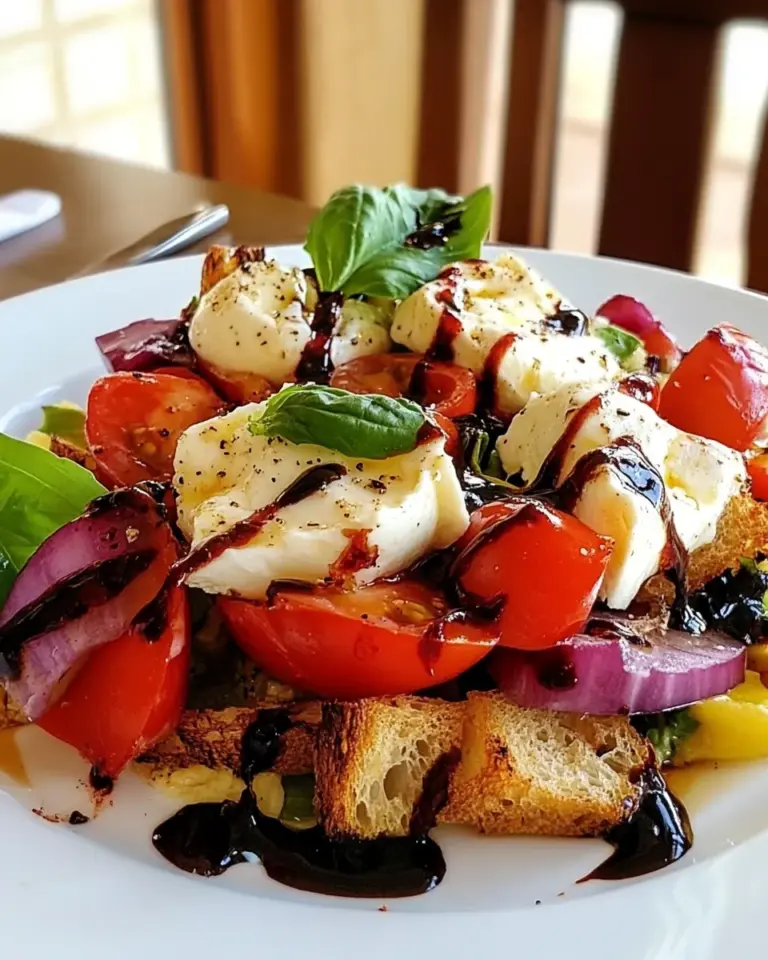
- Light salad for contrast: A crisp green salad with a bright vinaigrette complements the soup’s richness and balances the meal for lunch or light dinner occasions.
- Family style for gatherings: Serve the soup in a large pot on the table with bowls and garnishes for friends, making it suitable for winter get togethers and informal dinner parties.
- Storage tips: Cool the soup quickly, store in airtight containers in the refrigerator for up to four days, and reheat gently over low heat to avoid separating the cream.
- Seasonal pairings: This works beautifully in winter when root vegetables are at their best, and you can lean into heartier accompaniments like roasted squash if you want to stretch the meal.
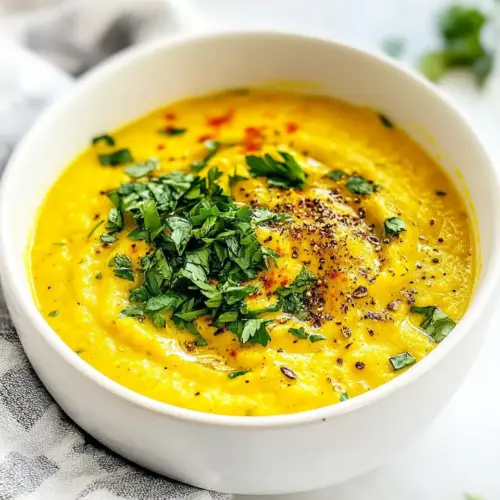
- Serving style: Ladle into shallow bowls and finish with a squeeze of lemon and a sprinkle of chopped cilantro for bright contrast and appealing presentation.
FAQ
Conclusion
This recipe stands out because it combines roasted vegetables, warm spices, and a creamy finish for a bowl that is comforting yet bright. I encourage you to try it on a cool evening, saving a few roasted pieces for garnish and finishing with a squeeze of lemon and chopped cilantro. It’s approachable, adaptable, and rewarding to make, and I hope it becomes one of those dishes you return to whenever you want something both simple and soul warming.
Golden Goddess Soup
Equipment
- Sheet Pan
- Large heavy duty pot
- Immersion Blender
- Mixing Bowl
Ingredients
- 1 (15 oz) can chickpeas Drained and rinsed to add creamy texture and plant-based protein while contributing subtle nuttiness and body to the soup.
- 1 medium head of cauliflower, cut into small florets Cut into small florets to provide a silky, velvety base when cooked and blended, lending mild, slightly sweet cauliflower flavor and thickness.
- 2 large carrots, peeled, cut into 1/2-inch-thick rounds Peeled and sliced into rounds to introduce natural sweetness, color, and a tender bite that enhances the soup's depth and mouthfeel.
- 2 tablespoons curry powder Measured and toasted briefly to release warm, aromatic notes of cumin and coriander, creating the signature curry backbone that flavors the entire dish.
- 1 teaspoon ground turmeric Ground and added for bright, earthy warmth and vivid golden color, enhancing anti-inflammatory notes and complementing the curry blend.
- 1 teaspoon kosher salt Measured and incorporated to season and balance flavors, enhancing sweetness and suppressing bitterness while supporting overall taste.
- 3 tablespoons olive or avocado oil Chosen and heated to sauté aromatics and coat vegetables, providing a silky mouthfeel and carrying fat-soluble flavors throughout the soup.
- 1 small yellow onion, chopped Chopped to form the aromatic base when softened, offering mild sweetness and savory depth that builds the soup's foundational flavor.
- 1 tablespoon grated ginger Grated to introduce sharp, zesty heat and fresh brightness, cutting through richness and reinforcing the soup's aromatic profile.
- 4 garlic cloves, minced Minced to add pungent, savory depth and aromatic complexity, blooming during sauté to integrate with spices and balance sweetness.
- 4 cups vegetable or chicken stock Poured in as the cooking liquid to simmer vegetables and meld flavors, providing a savory backbone and desired soup consistency.
- 1/2 cup heavy cream, or coconut milk Added to enrich and smooth the finished soup with creamy richness and subtle sweetness, offering either dairy or dairy-free options for texture.
- Lemon wedges and cilantro, for serving Served as finishing elements to brighten and freshen each bowl with citrus acidity and herbaceous contrast that lifts the rich, spiced flavors.
Instructions
- Preheat the oven to 425°F. Wash, rinse, and pat the chickpeas dry with a paper towel. To a large bowl, add the chickpeas, cauliflower, carrots, 1 tablespoon of curry powder, 1/2 teaspoon turmeric, 1/2 teaspoon salt, and 2 tablespoons oil. Transfer to a sheet pan and bake until slightly golden and tender.: Warmth signals readiness, and when the oven hits 425°F you will hear the small sizzle as vegetables begin browning, a sound that tells you the Maillard reactions are starting. The high heat encourages deep caramelization on the cauliflower , carrots , and chickpeas , producing those golden edges that turn into savory notes in the finished soup. You should see the vegetables blister and gain dark flecks, not char completely, which would taste bitter. A common mistake is overcrowding the sheet pan, which produces steaming rather than roasting, so spread items in a single layer to ensure airflow and crisping while the oven does the heavy lifting.
- Meanwhile, heat 1 tablespoon of oil in a large heavy-duty pot. Add the onions and cook for 3-4 minutes or until the edges turn golden. Add the garlic and ginger, then sauté for 30 seconds, then stir in the remaining curry powder, turmeric, and salt and sauté for 30 seconds. Pour in the chicken stock. Add about 1/2 the roasted vegetables to the soup and bring to a boil then simmer for 5 minutes or until vegetables are softened.: Drying the canned chickpeas helps them crisp when roasted, and you can hear tiny pops and see them take on a toasted exterior as water evaporates. Removing excess moisture prevents sogginess and promotes even browning, which delivers crunch and concentrated flavor. If you skip this step, the chickpeas will steam and remain soft, robbing the soup of those textural highlights that make each bite interesting.
- Blend the soup using an immersion blender until creamy. Pour in the heavy cream and add the remaining veggies to the soup. Sometimes I like to save some veggies for garnish. Stir the soup and bring to a gentle simmer then turn off the heat.: Tossing spreads the spice and oil evenly so each piece roasts with seasoning. You will smell the spices bloom slightly as they meet hot oil; that aroma is an early indicator the flavor is building correctly. Make sure each vegetable piece is lightly coated rather than drenched, which prevents sogginess and encourages crisp edges. Over-salting at this stage can push the dish too salty after reduction, so err on the lighter side and adjust later.
- Taste and adjust seasonings. Serve with lemon wedges and garnish with the reserved roasted veggies and chopped cilantro.: As the vegetables roast, observe the color shift to golden brown and give them a gentle shake halfway through to promote even browning. You should see caramelized bits around the edges and feel a firmer texture when pierced with a fork, signaling readiness. Under-roasted vegetables will blend into a dull puree, missing the toasty complexity; over-roasted ones may become dry, so aim for that sweet spot where tenderness meets golden color.
- Meanwhile, heat 1 tablespoon of oil in a large heavy-duty pot: Heating your pot lets the onion sizzle on contact, releasing moisture then sugar, and creating those translucent edges that smell slightly sweet and nutty. The oil temperature should be medium to medium high so the onion softens without burning, which would introduce bitter notes. A common error is using too high heat which browns the onion too fast, so regulate the flame and stir gently until soft.
- Add the onions and cook for 3 to 4 minutes or until the edges turn golden: Listen for a gentle hiss and watch the onion change from opaque to translucent, then to faintly golden at the tips, which imparts sweet, savory foundation to the soup. This stage builds depth so the final bowl does not taste flat, and the visual cue is key: when edges are golden, you can progress. If onions stick to the pot, lower the heat and add a splash of stock to deglaze and retrieve those browned bits.
- Add the garlic and ginger, then sauté for 30 seconds: The aroma will shift instantly, releasing bright, peppery and pungent notes that complement the curry. Thirty seconds is enough to wake the flavors without letting garlic burn, which turns it bitter. When the scent becomes fragrant and mouth watering, proceed, but if the pan becomes too hot reduce the flame immediately to preserve the clean, aromatic character.
- Stir in the remaining curry powder, turmeric, and salt and sauté for 30 seconds: Toasting the spices briefly in the pot deepens their flavor and helps them integrate into the stock, giving the soup a balanced, fragrant base. You will notice a warm, nutty perfume as the spice oils release, which is the signal to move on. Avoid leaving spices unattended as they can scorch fast, introducing an unpleasant bitterness.
- Pour in the chicken stock: Adding the stock deglazes the pot, lifting those fond bits and turning them into savory liquid gold. Once the stock meets the pot you should hear a soft bubbling, and you will see the base take on a richer color. Bringing the stock to a simmer allows the flavors to marry; boiling too hard can evaporate liquid and concentrate saltiness, so aim for a gentle simmer.
- Add about 1/2 the roasted vegetables to the soup and bring to a boil then simmer for 5 minutes or until vegetables are softened: Adding half the roasted mix introduces those caramelized flavors into the liquid while keeping the remainder for texture and garnish. As the soup simmers you will see the vegetables soften and shed color into the broth, making it thicker and more flavorful. A frequent mistake is adding all roasted pieces at once, losing the delight of contrasting textures, so reserve some for finishing.
- Blend the soup using an immersion blender until creamy: Use the immersion blender to turn the softened vegetables into a smooth, velvety body, watching the texture transform from chunky to silky. The sound changes too, from bubbling and clatter to a steady whirl, and the aroma becomes more homogenous. If you prefer chunkier texture, pulse sparingly instead of fully pureeing. Be cautious of hot splashes, and blend until you reach a luxurious, ladle friendly consistency.
- Pour in the heavy cream and add the remaining veggies to the soup: The cream or coconut milk rounds the edges of the flavors and creates that indulgent mouthfeel, while returning the reserved roasted vegetables adds contrast and visual appeal. Stir gently to combine and watch the surface become glossy and rich. Adding the cream off heat helps avoid splitting; if it curdles, lower the temperature and stir slowly to reincorporate.
- Sometimes I like to save some veggies for garnish: Reserving a few roasted pieces provides a crisp counterpoint and makes the bowl look intentional, with a rustic, inviting finish. Those bites add texture and remind the eater of the roasting step, which is the backbone of the soup’s flavor profile. Avoid saving soggy pieces, choose those with firm edges to retain the contrast.
- Stir the soup and bring to a gentle simmer then turn off the heat: A brief gentle simmer integrates the cream and flavors, and the surface will show small, soft bubbles rather than a rolling boil. Turning off at the right moment keeps the cream smooth and preserves aromatic brightness. Over simmering can reduce the liquid too much and concentrate salt, so remove at the tender stage.
- Taste and adjust seasonings: Tasting is the final calibration, and you will notice how the lemon or a pinch more salt can lift the whole bowl. Look for balance between savory, sweet, and bright notes before serving. A common oversight is under seasoning after blending, since pureed soups often need a finishing touch.
- Serve with lemon wedges and garnish with the reserved roasted veggies and chopped cilantro: The fresh acidity of a lemon squeeze cuts through richness and wakes up the aromas, while chopped cilantro contributes herbaceous brightness. The final presentation with reserved roasted veggies gives textural intrigue and makes the bowl visually enticing. Avoid heavy garnish that overwhelms the soup, choose modest amounts to complement rather than dominate.
Notes
- Control oven temperature: Maintaining 425°F ensures efficient browning, and I recommend preheating the oven for at least 15 minutes so the sheet pan receives even heat.
- Don’t overcrowd the pan: Give each piece breathing room to roast properly, which preserves crisp edges and concentrates flavors.
- Use fresh grated ginger: Fresh ginger provides a lively brightness that ground substitutes cannot fully replicate, adding a peppery lift to the bowl.
- Pulse if you prefer texture: If you enjoy some body in your soup, pulse with the immersion blender rather than fully pureeing to keep small, pleasant morsels.
- Adjust salt at the end: Pureed soups can taste muted before seasoning, so always taste and fine tune salt and acidity after blending.
- Garnish thoughtfully: Reserve crisp roasted pieces and fresh cilantro to add contrasting texture and an herbaceous finish that lifts the entire bowl.